Chances are you’re no stranger to my absolute love of paint. Honestly, it is just SUCH an amazing way to transform a space, without having to spend too much, or do something too drastic. Paint is utterly flexible and completely adaptable. And that’s why I love it.
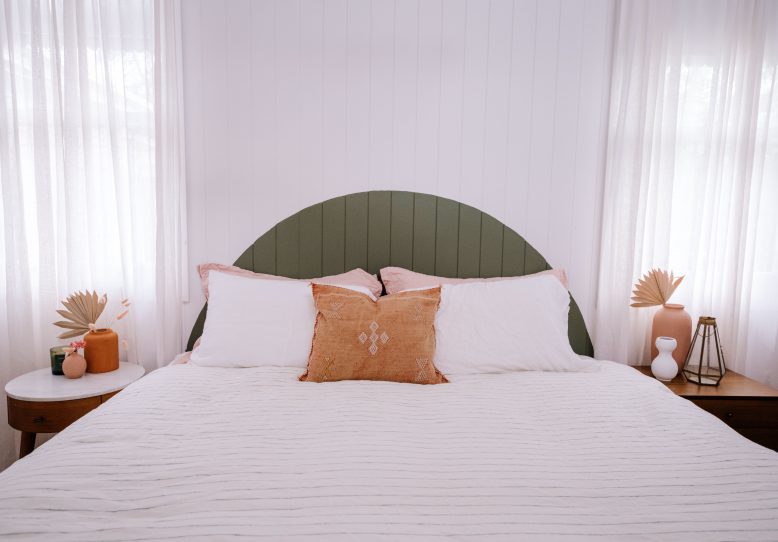
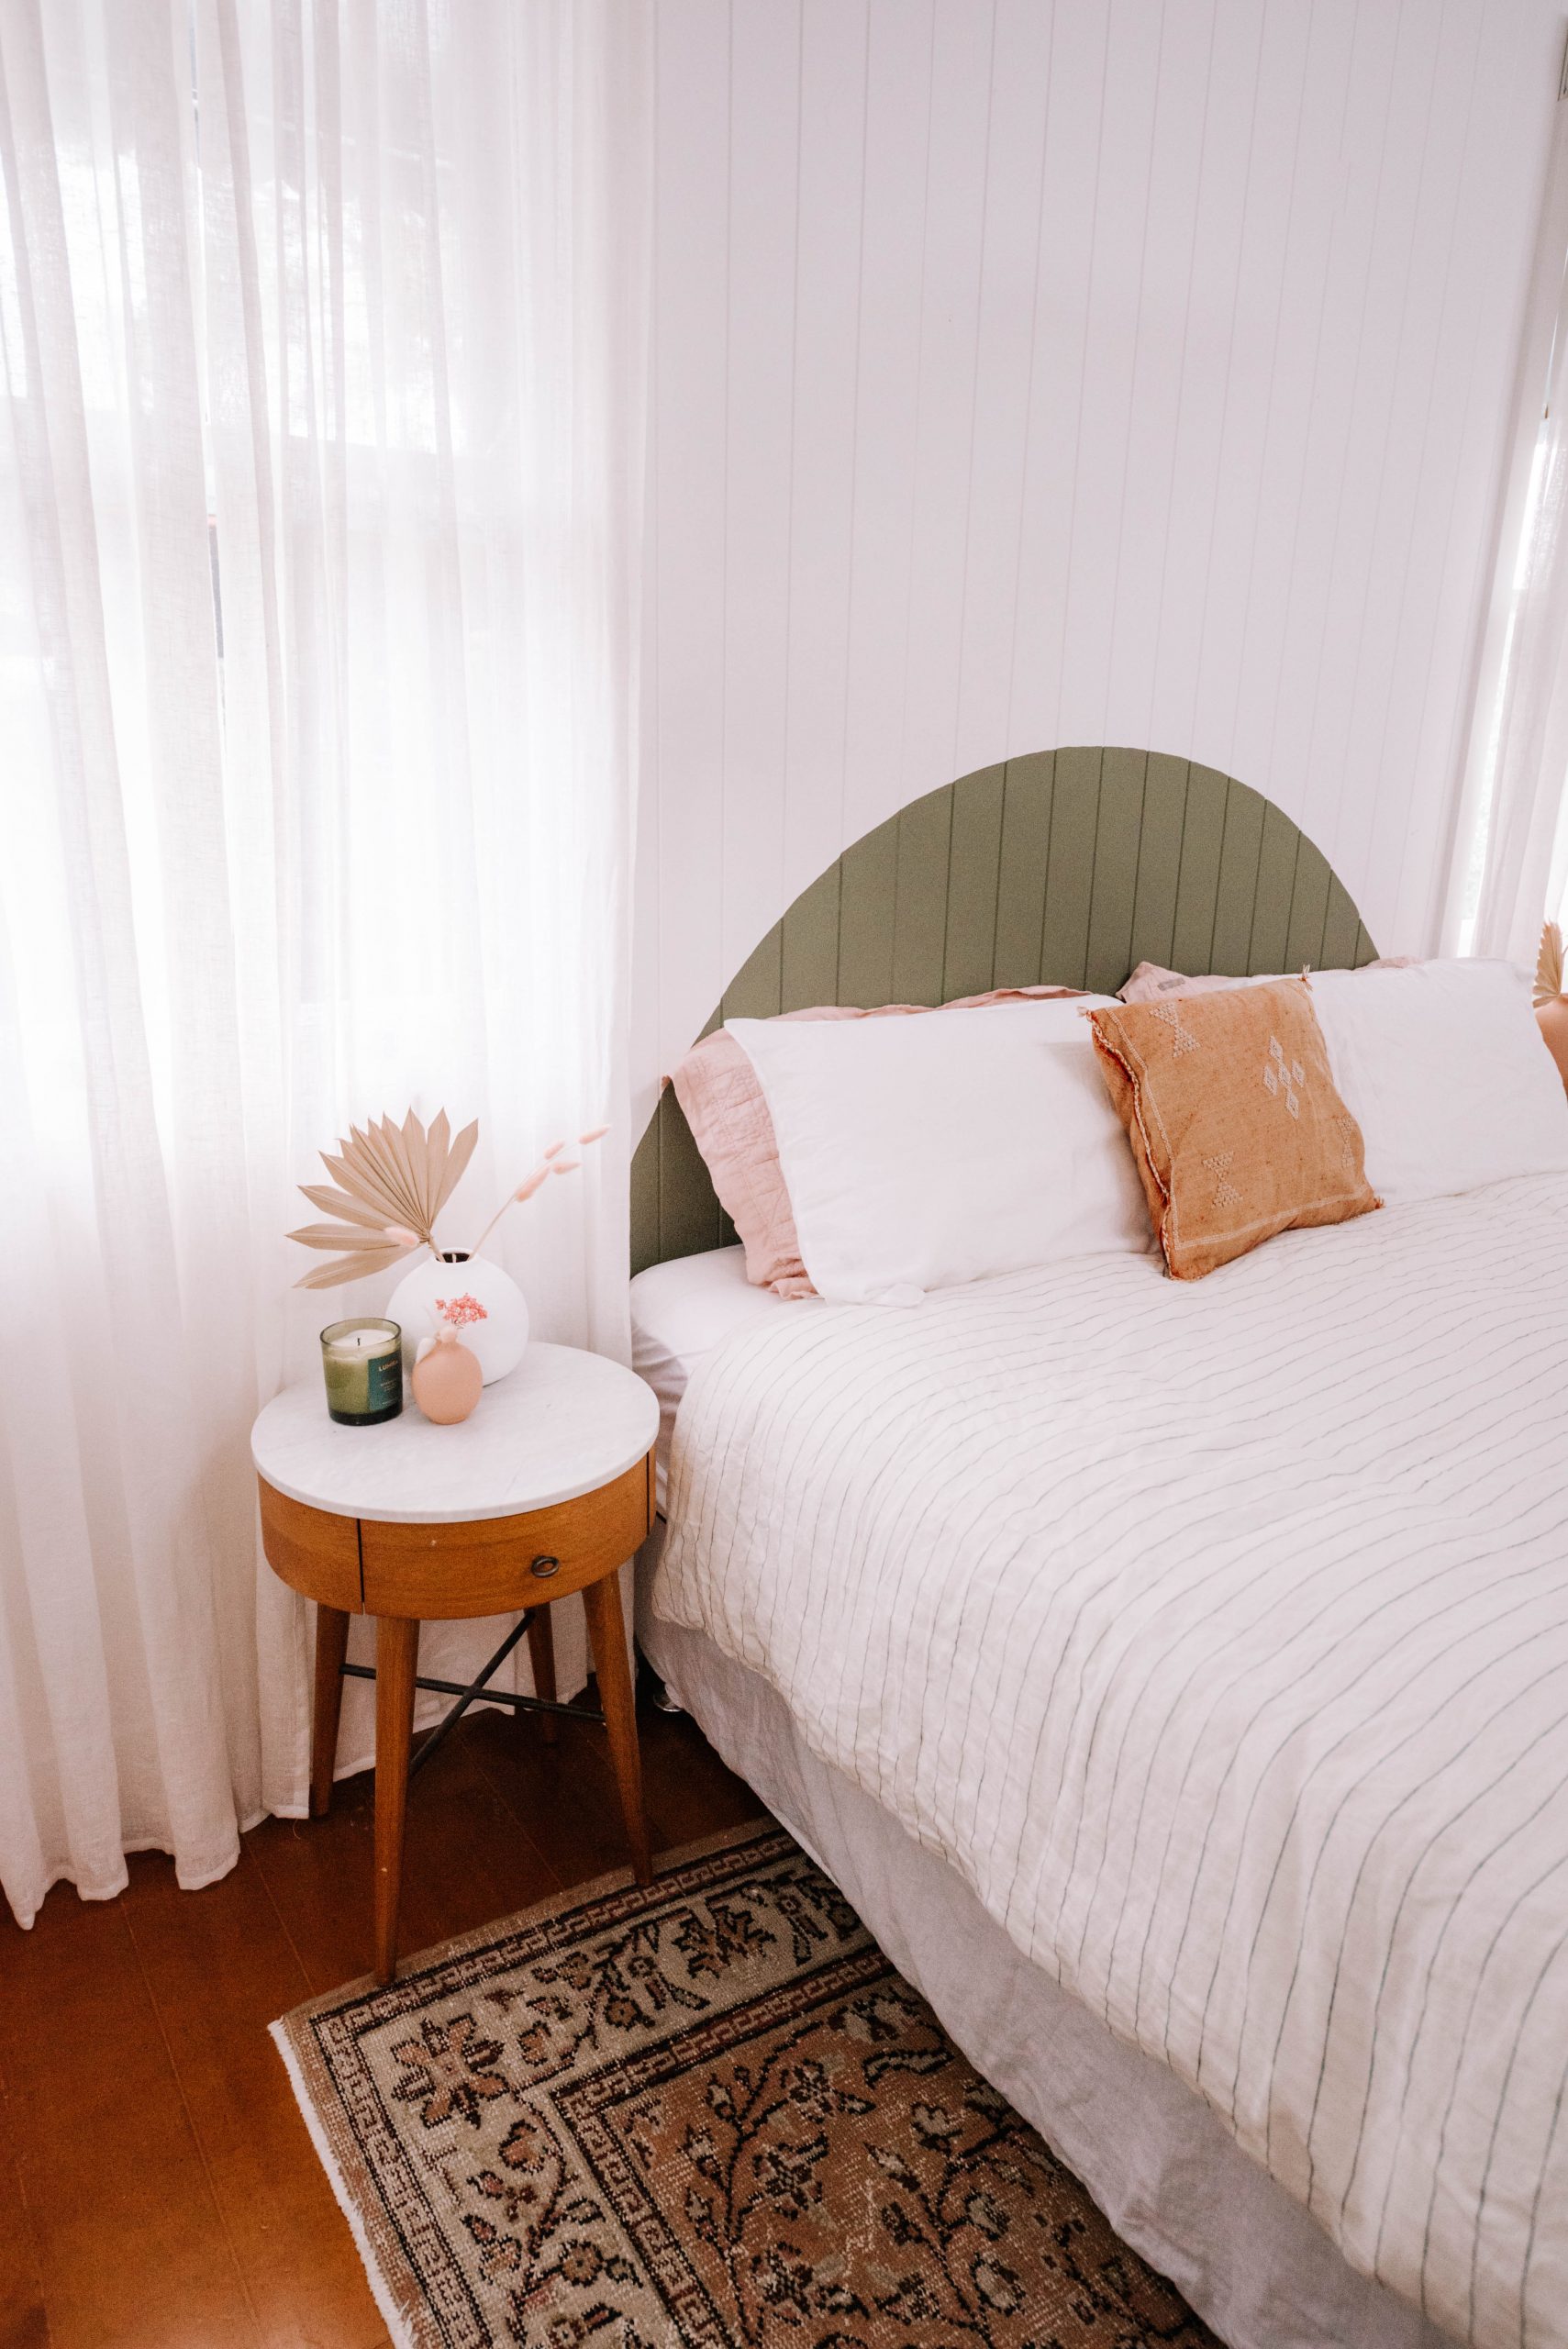
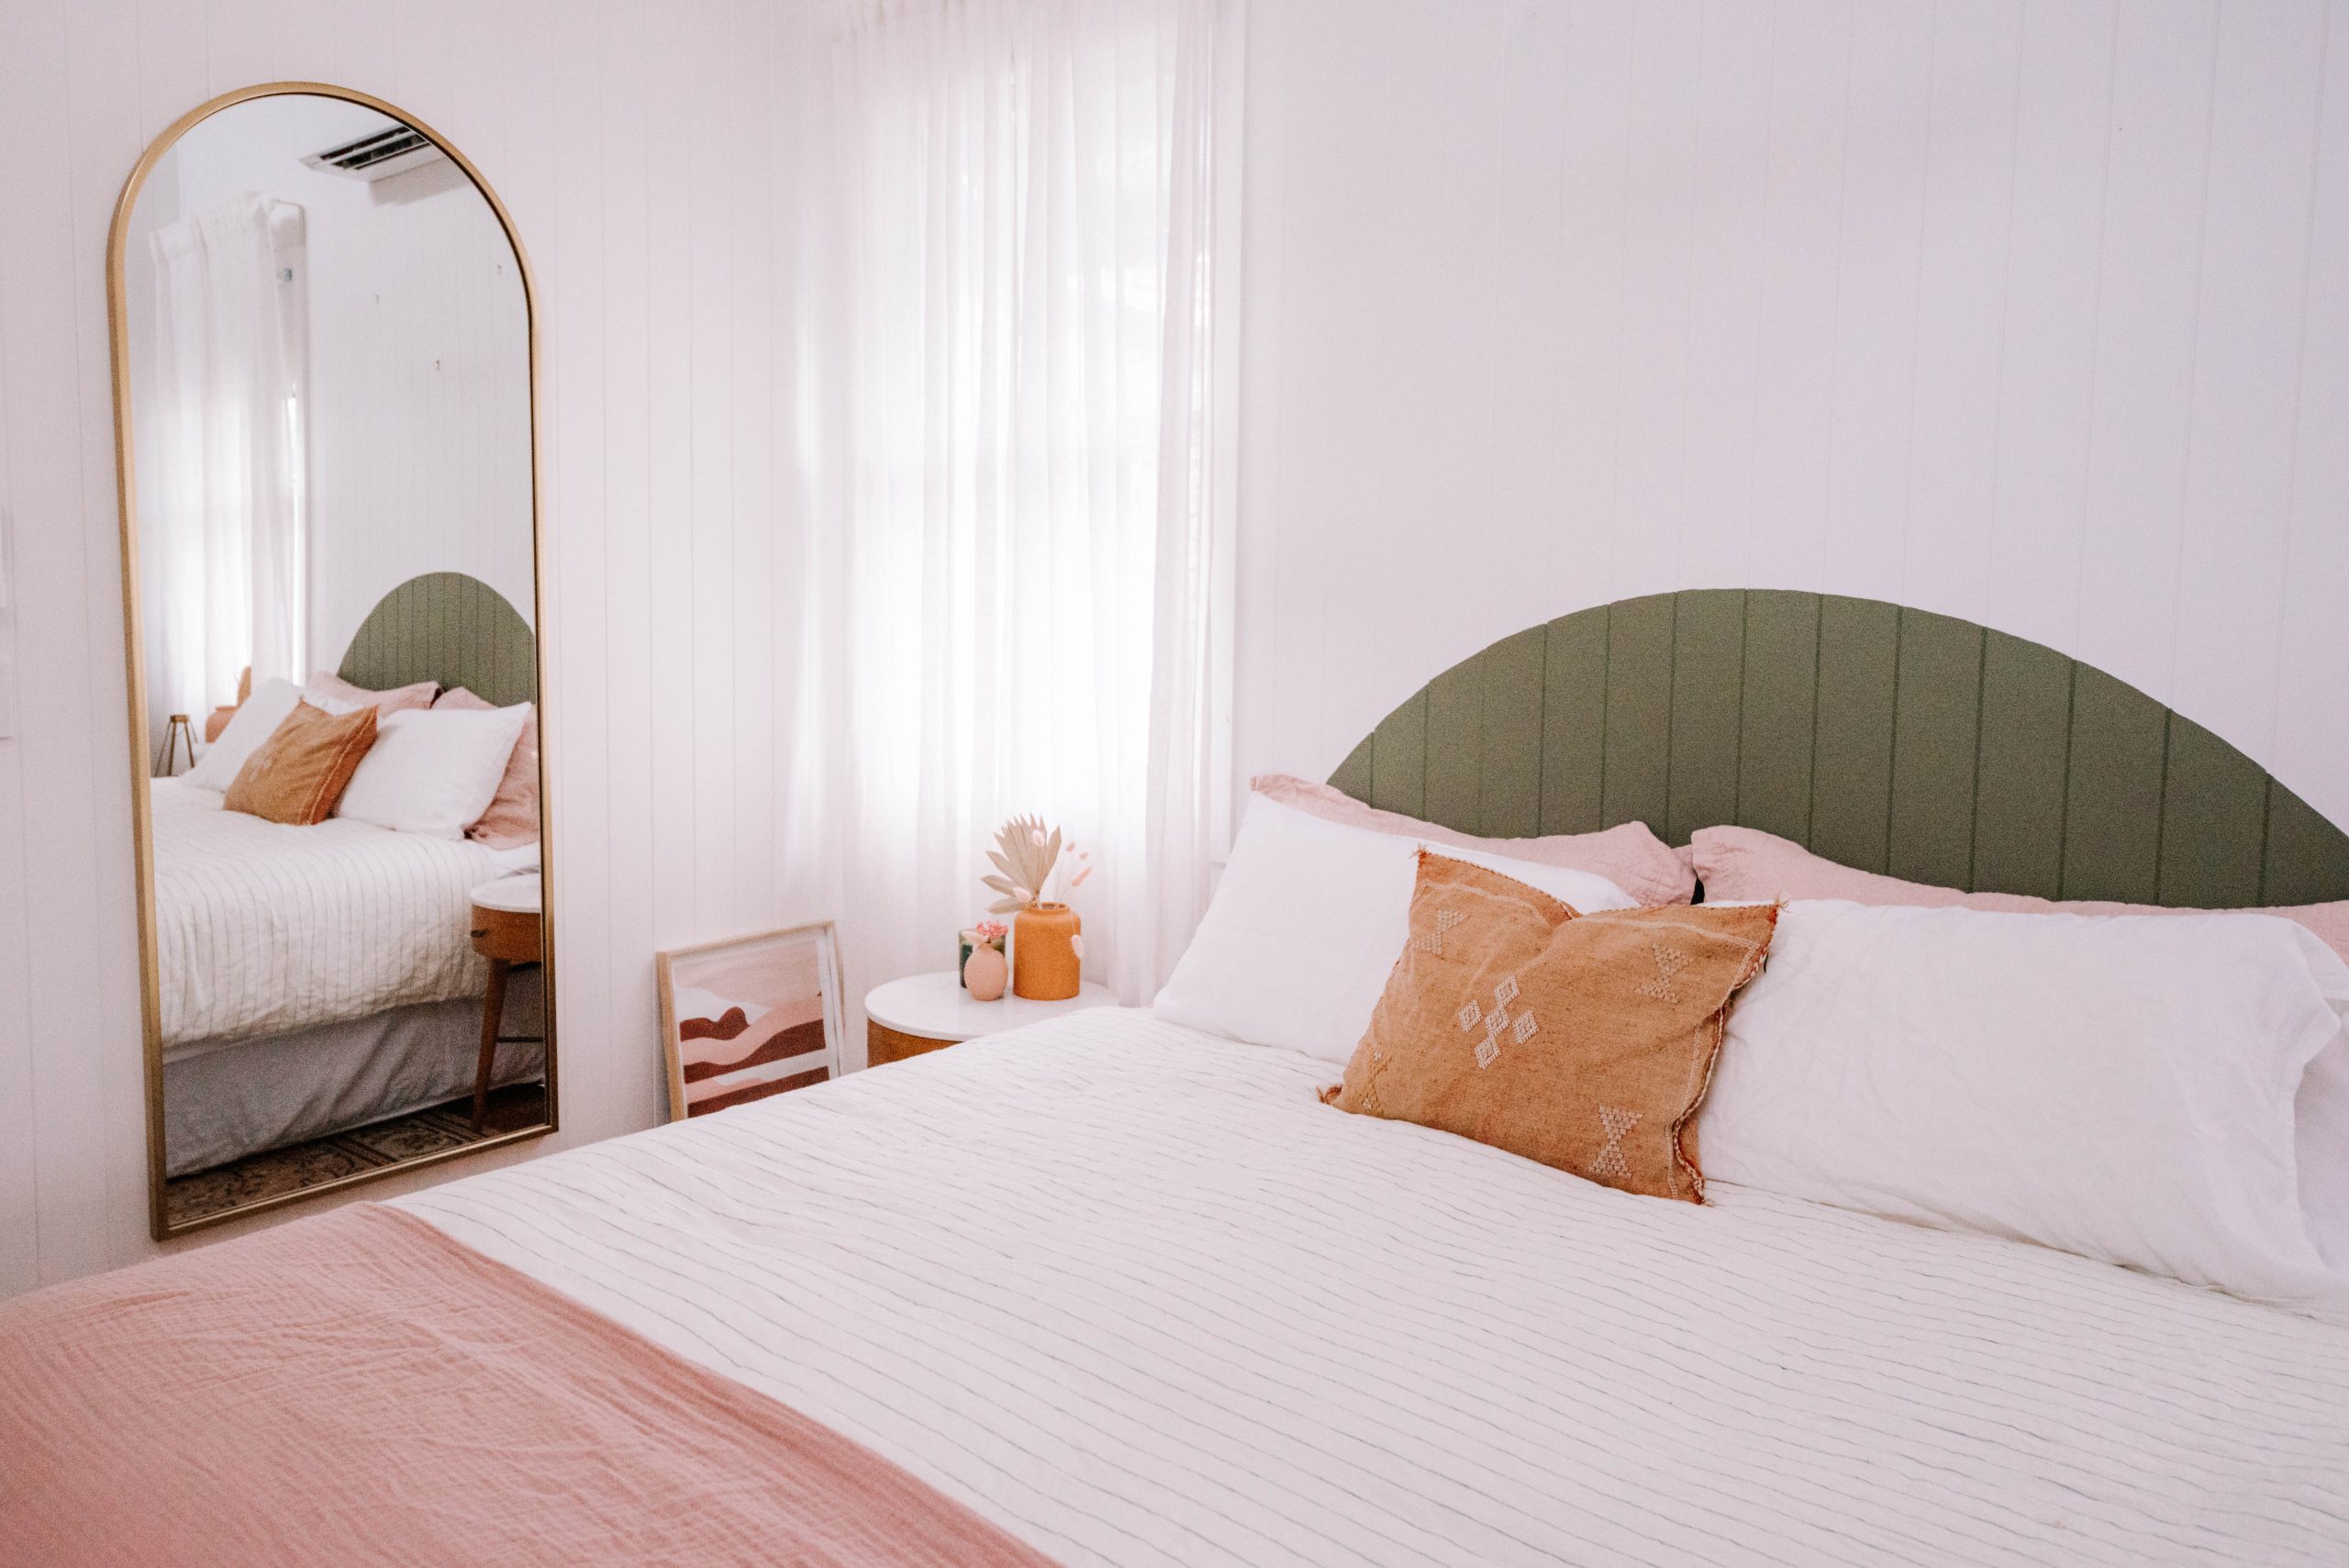
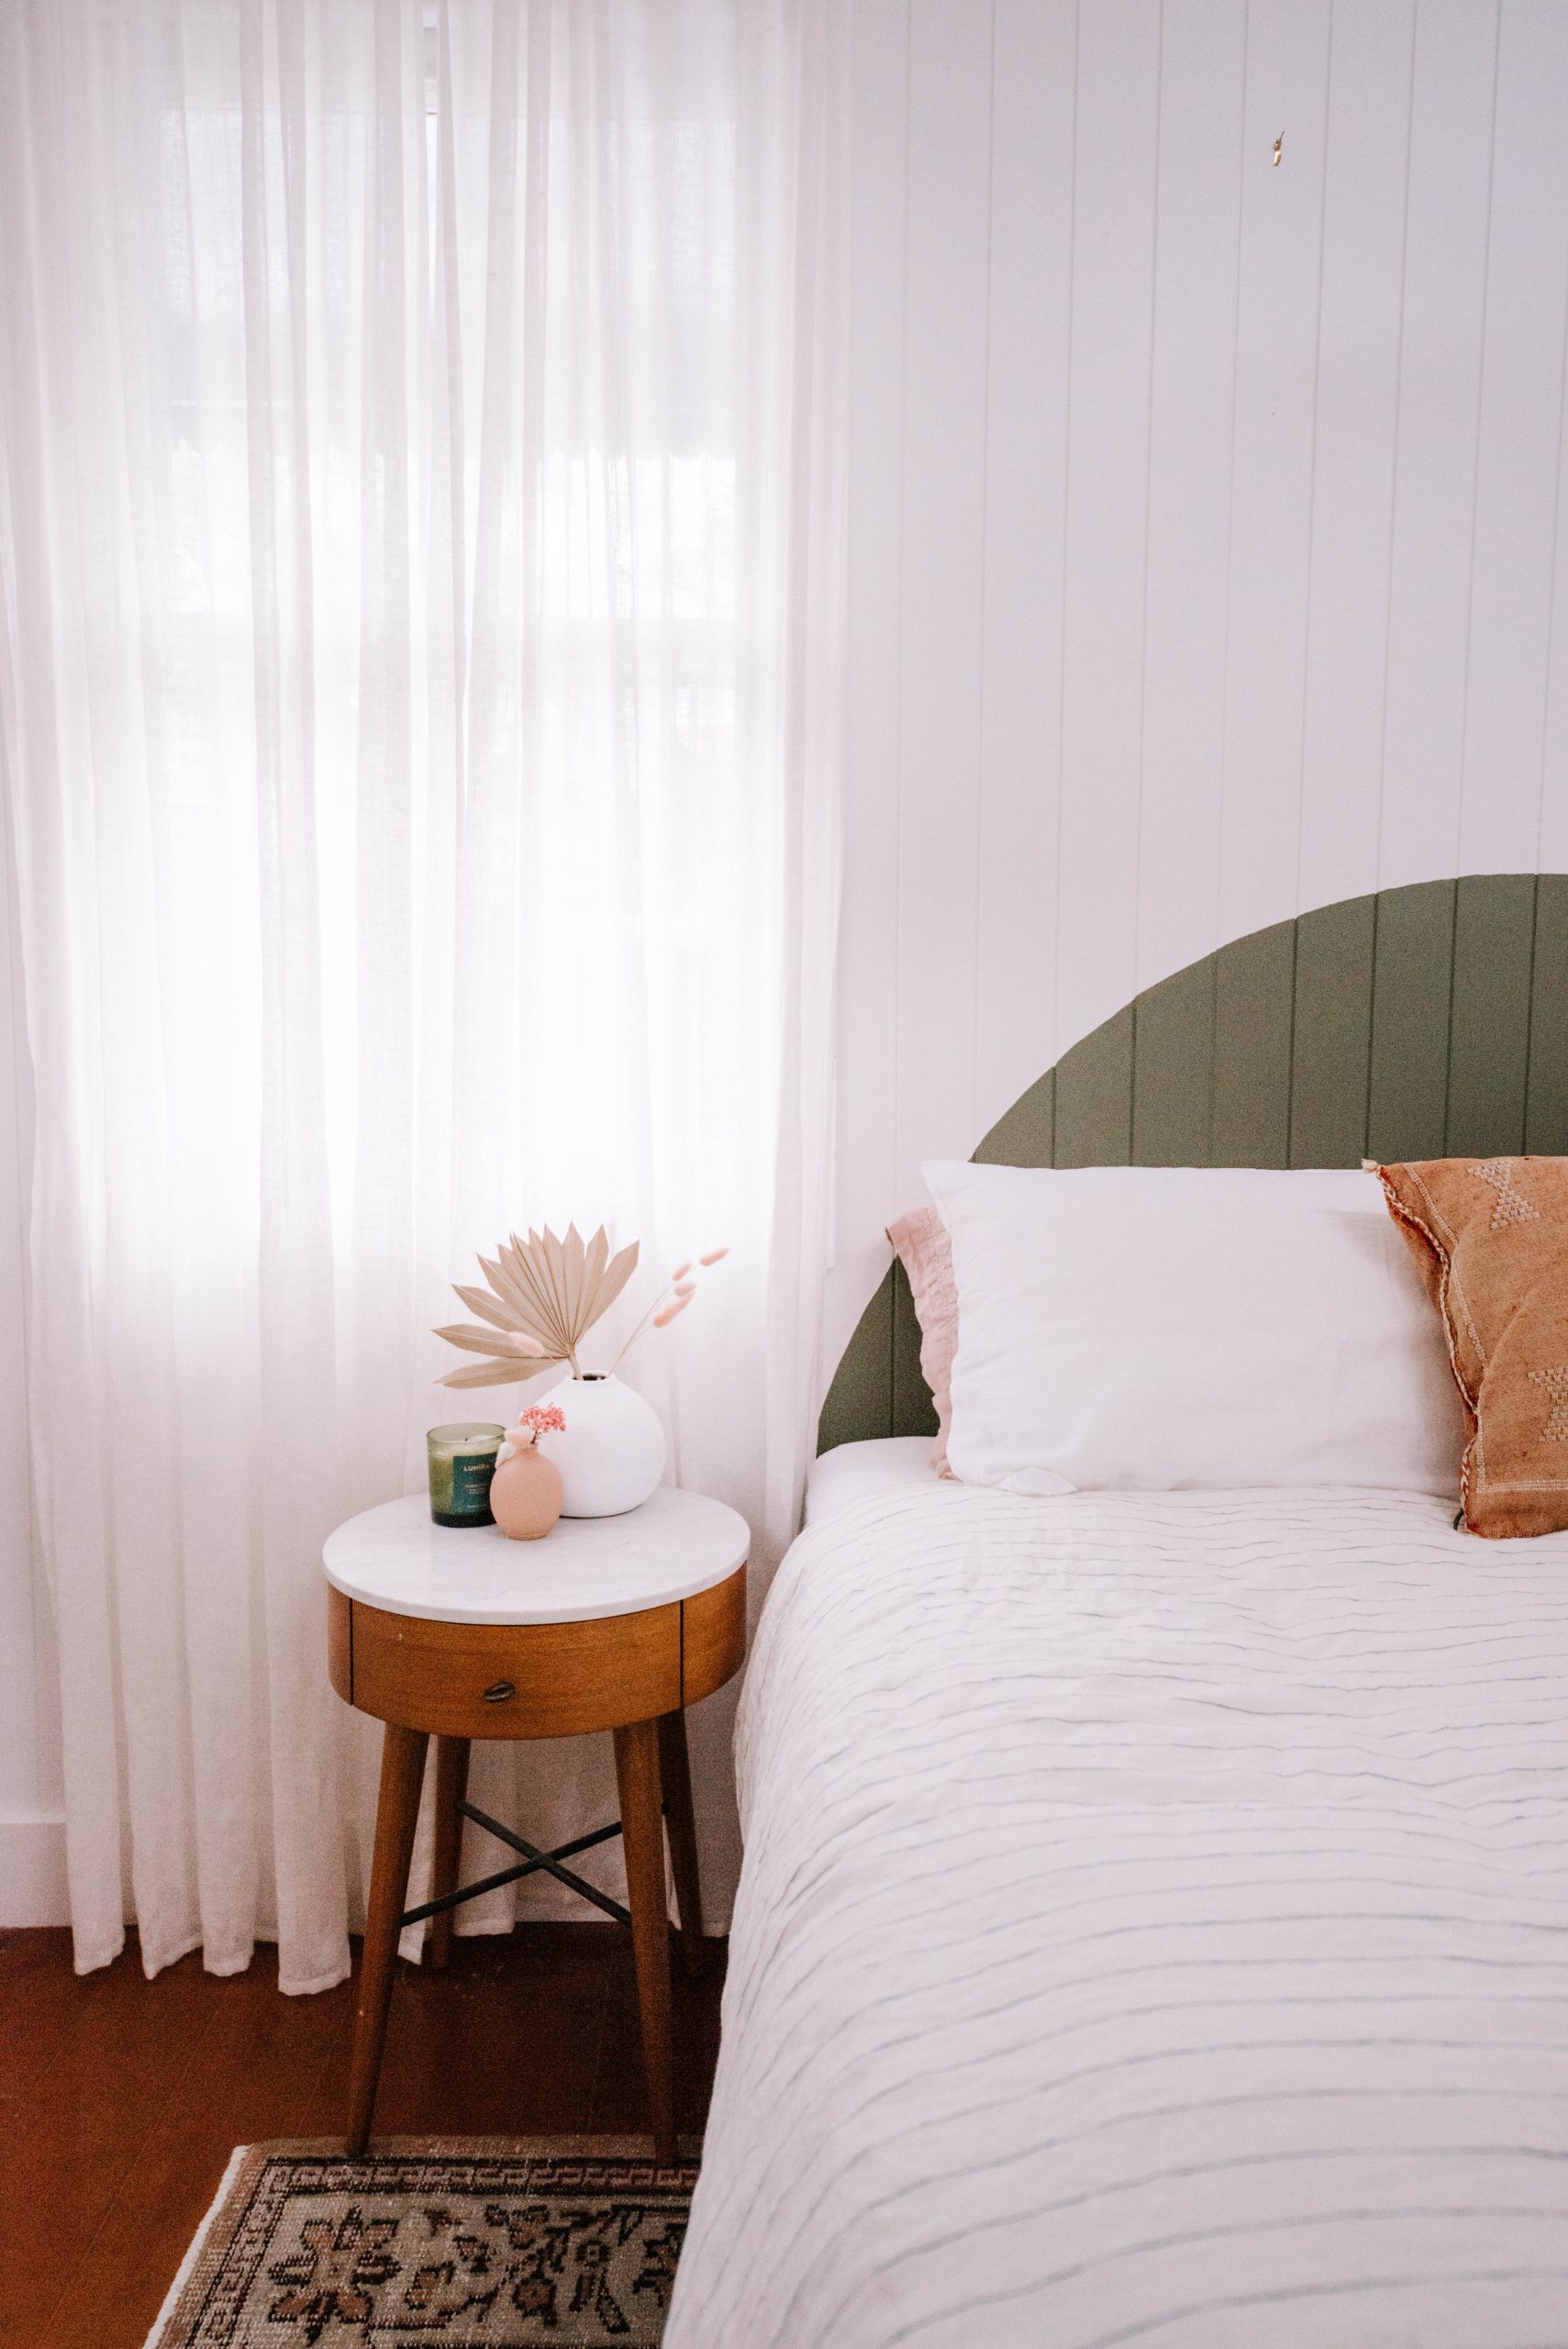
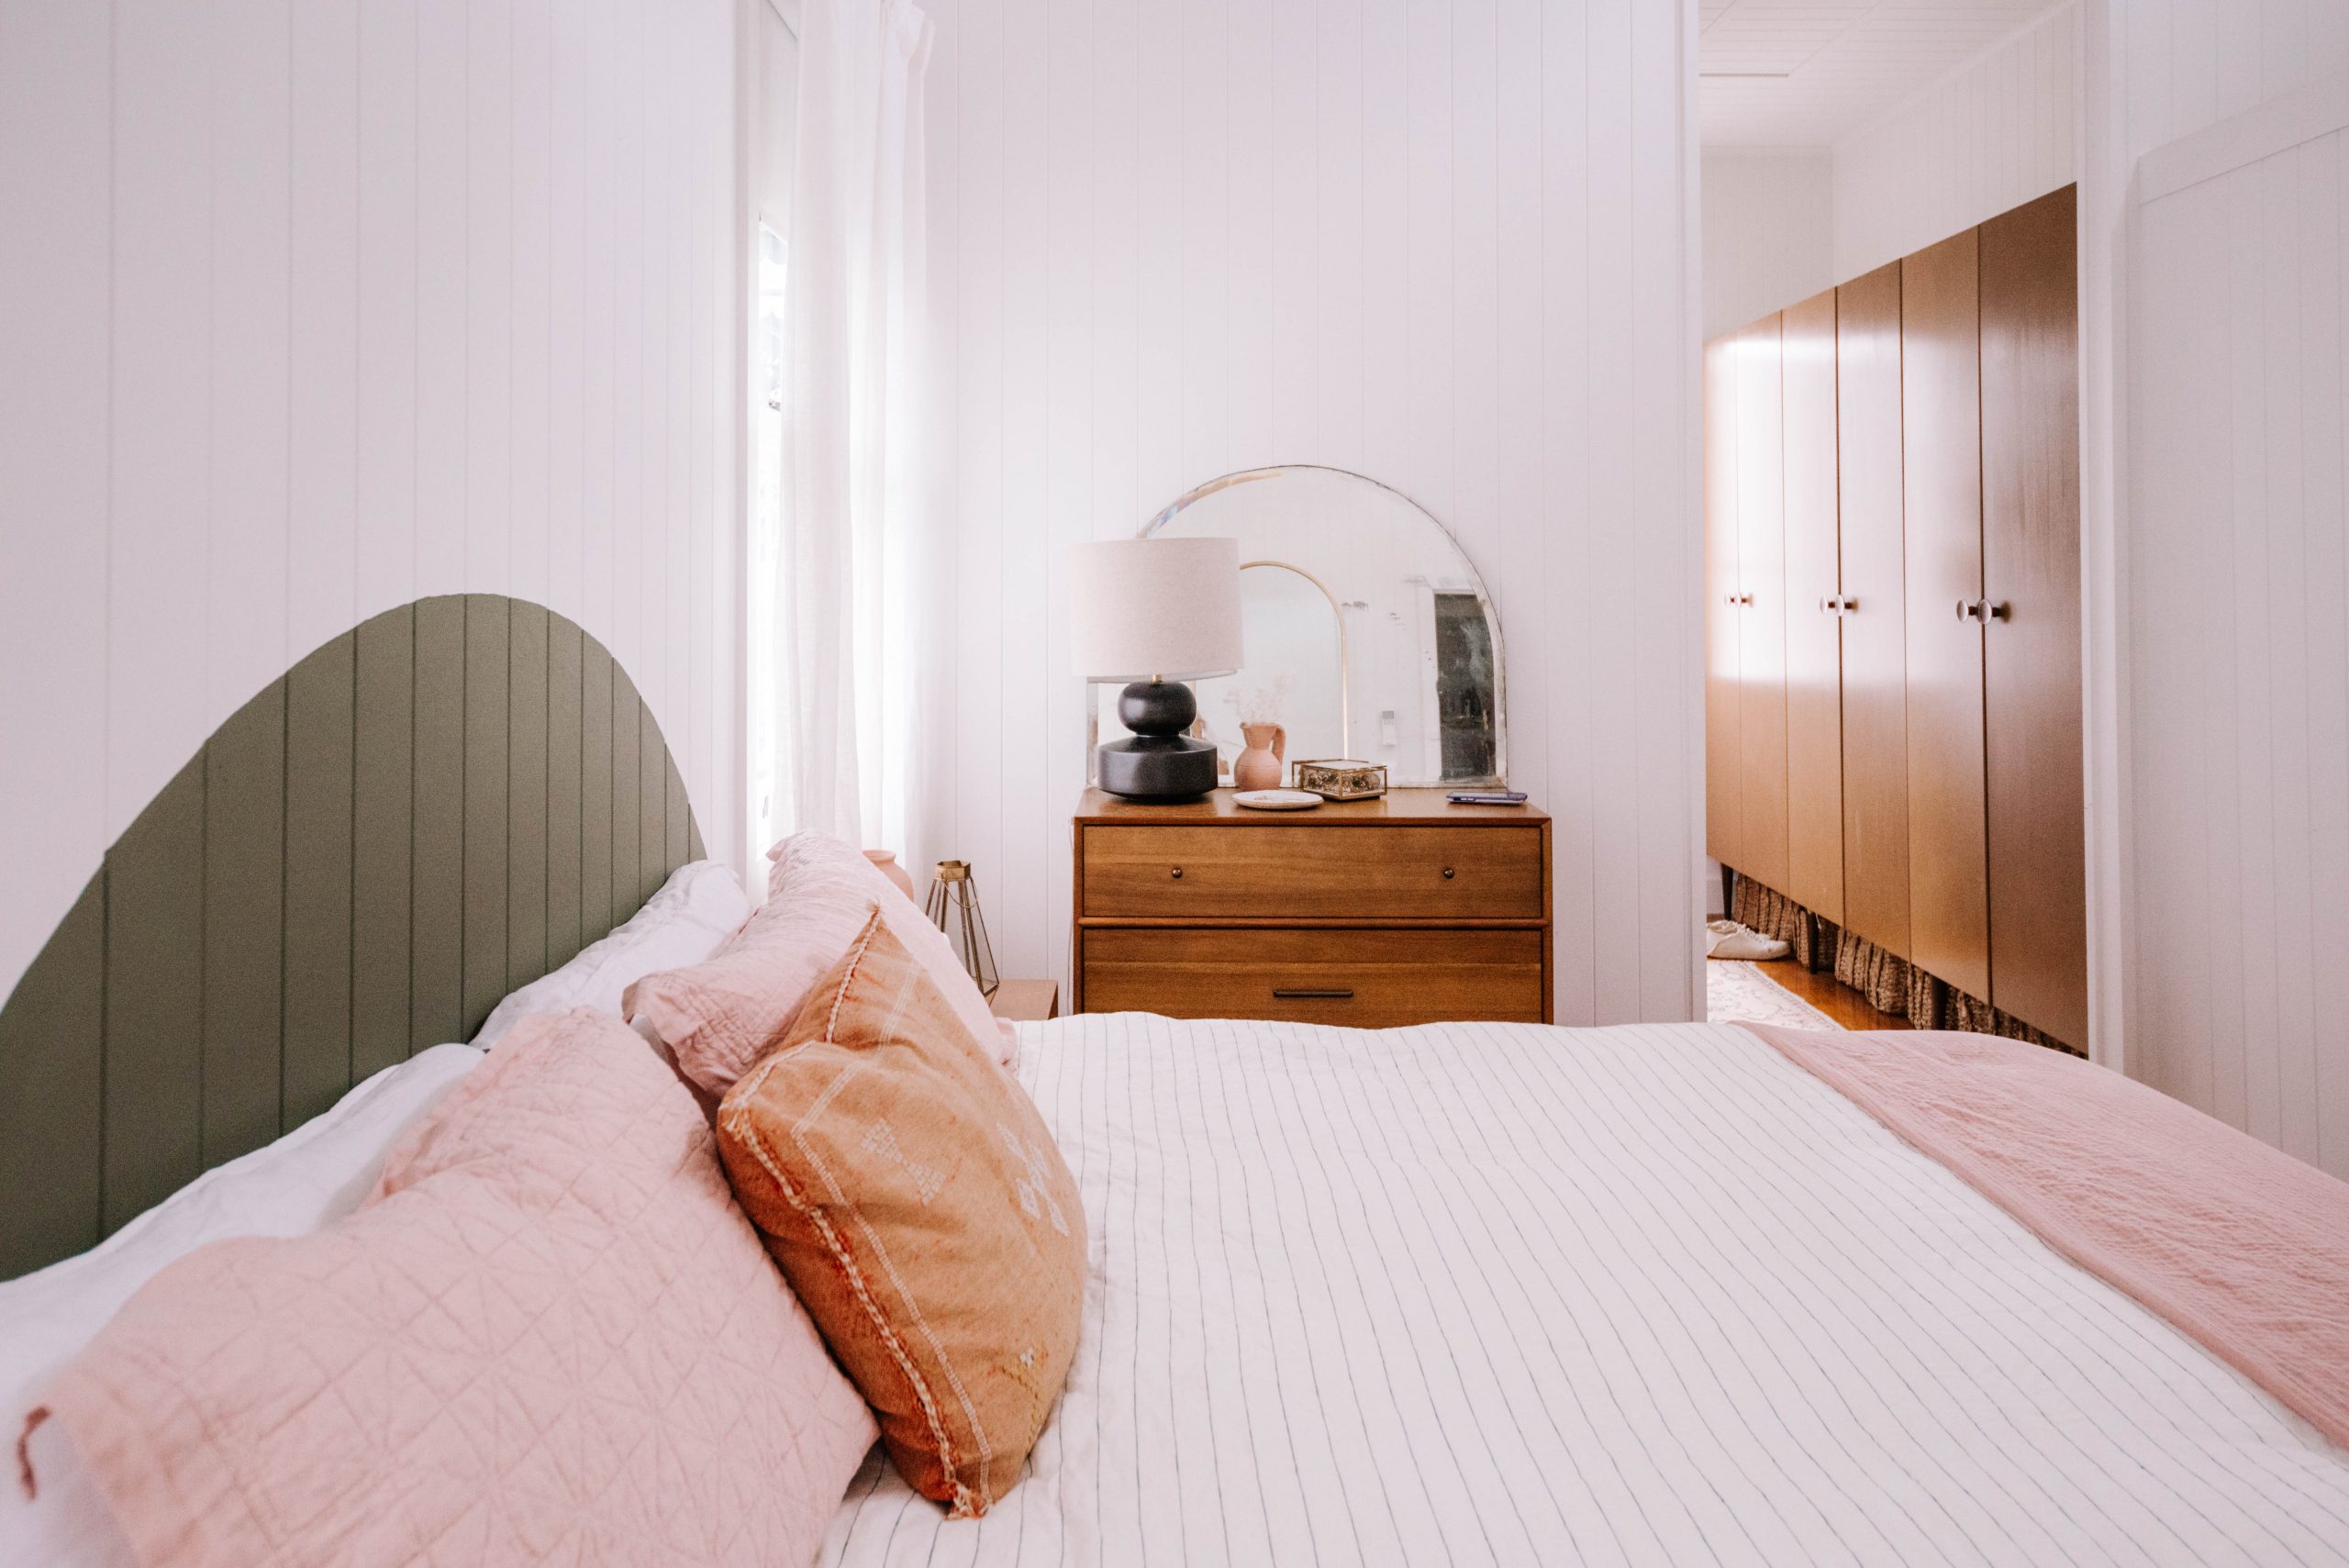
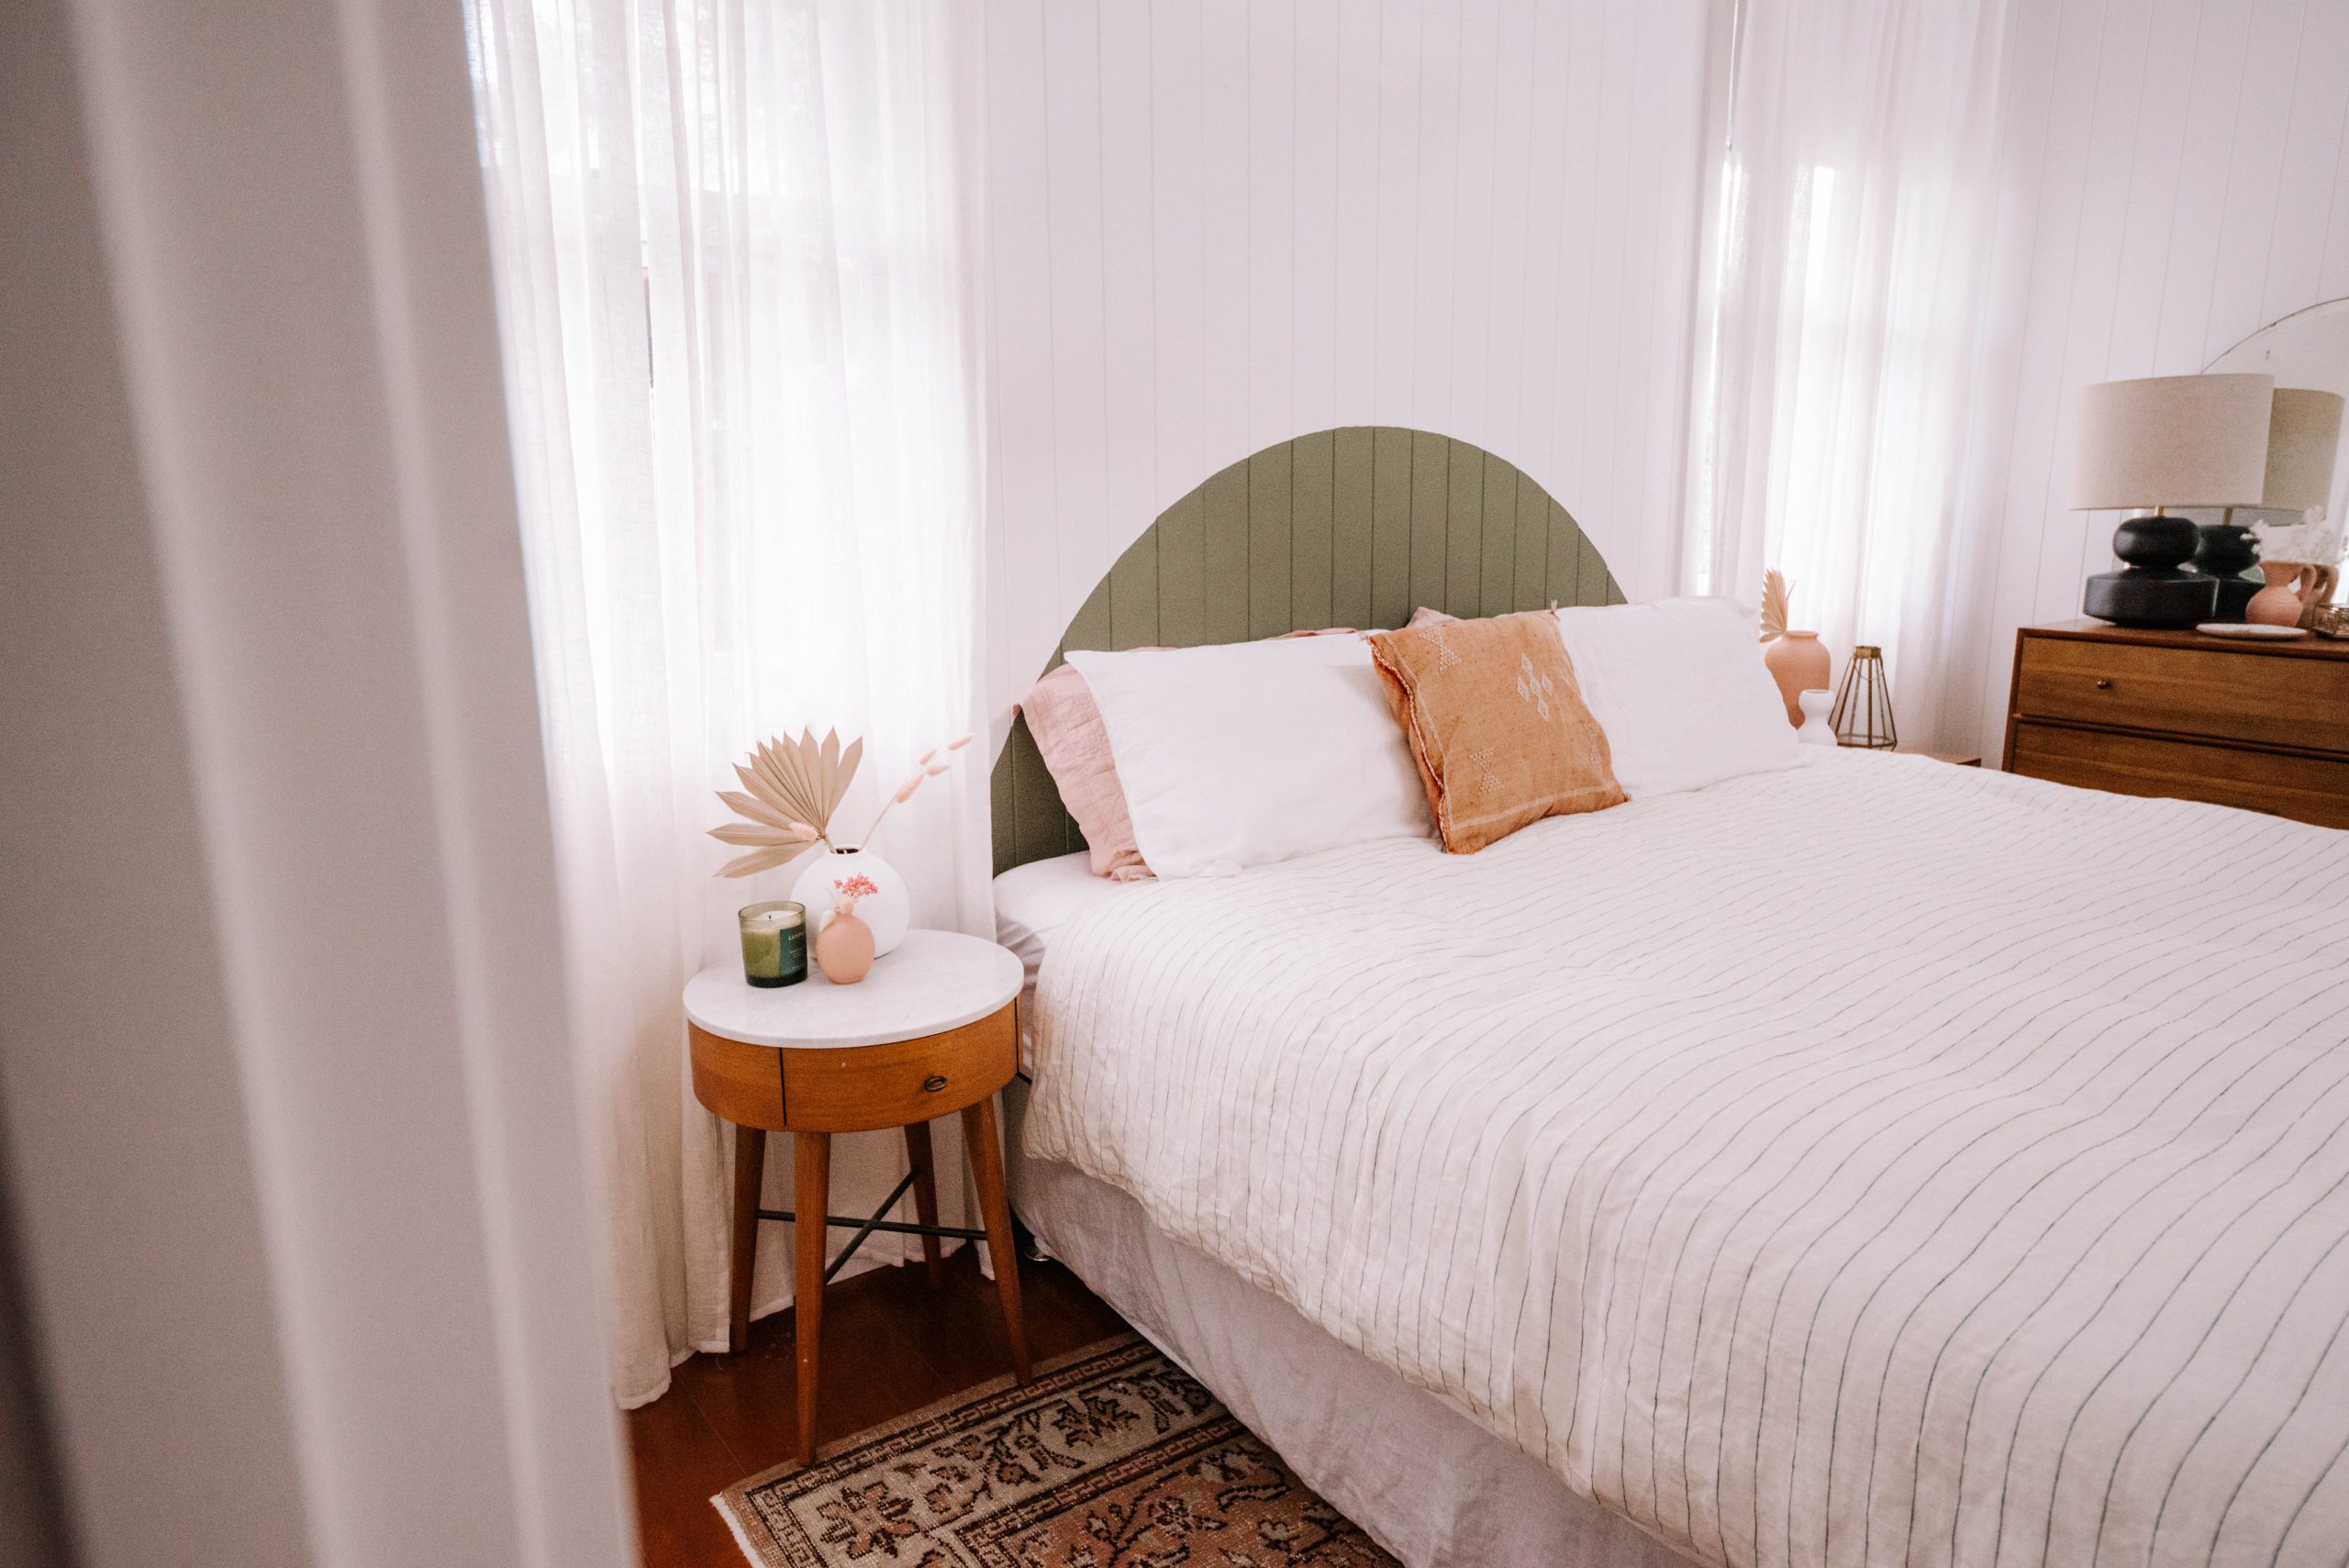
Recently I was excited to hear that Porter’s Paints have created a collection for Bunnings. Having used them before I know they are just such great paint to work with, with unique and truly beautiful colours that you don’t find anywhere else. To celebrate this new arrival to my favourite store (and they deliver), I decided it was time to tackle a project I have been wanting to do for a long time. A painted headboard.
I loved using this paint for this project, but equally you can use any paint you have at home to make this update to your space. So it’s the perfect stay at home project. Also, thanks to everyone who let me know they had seen this project featured on the front of this month’s Bunnings magazine!
Choosing The Paints
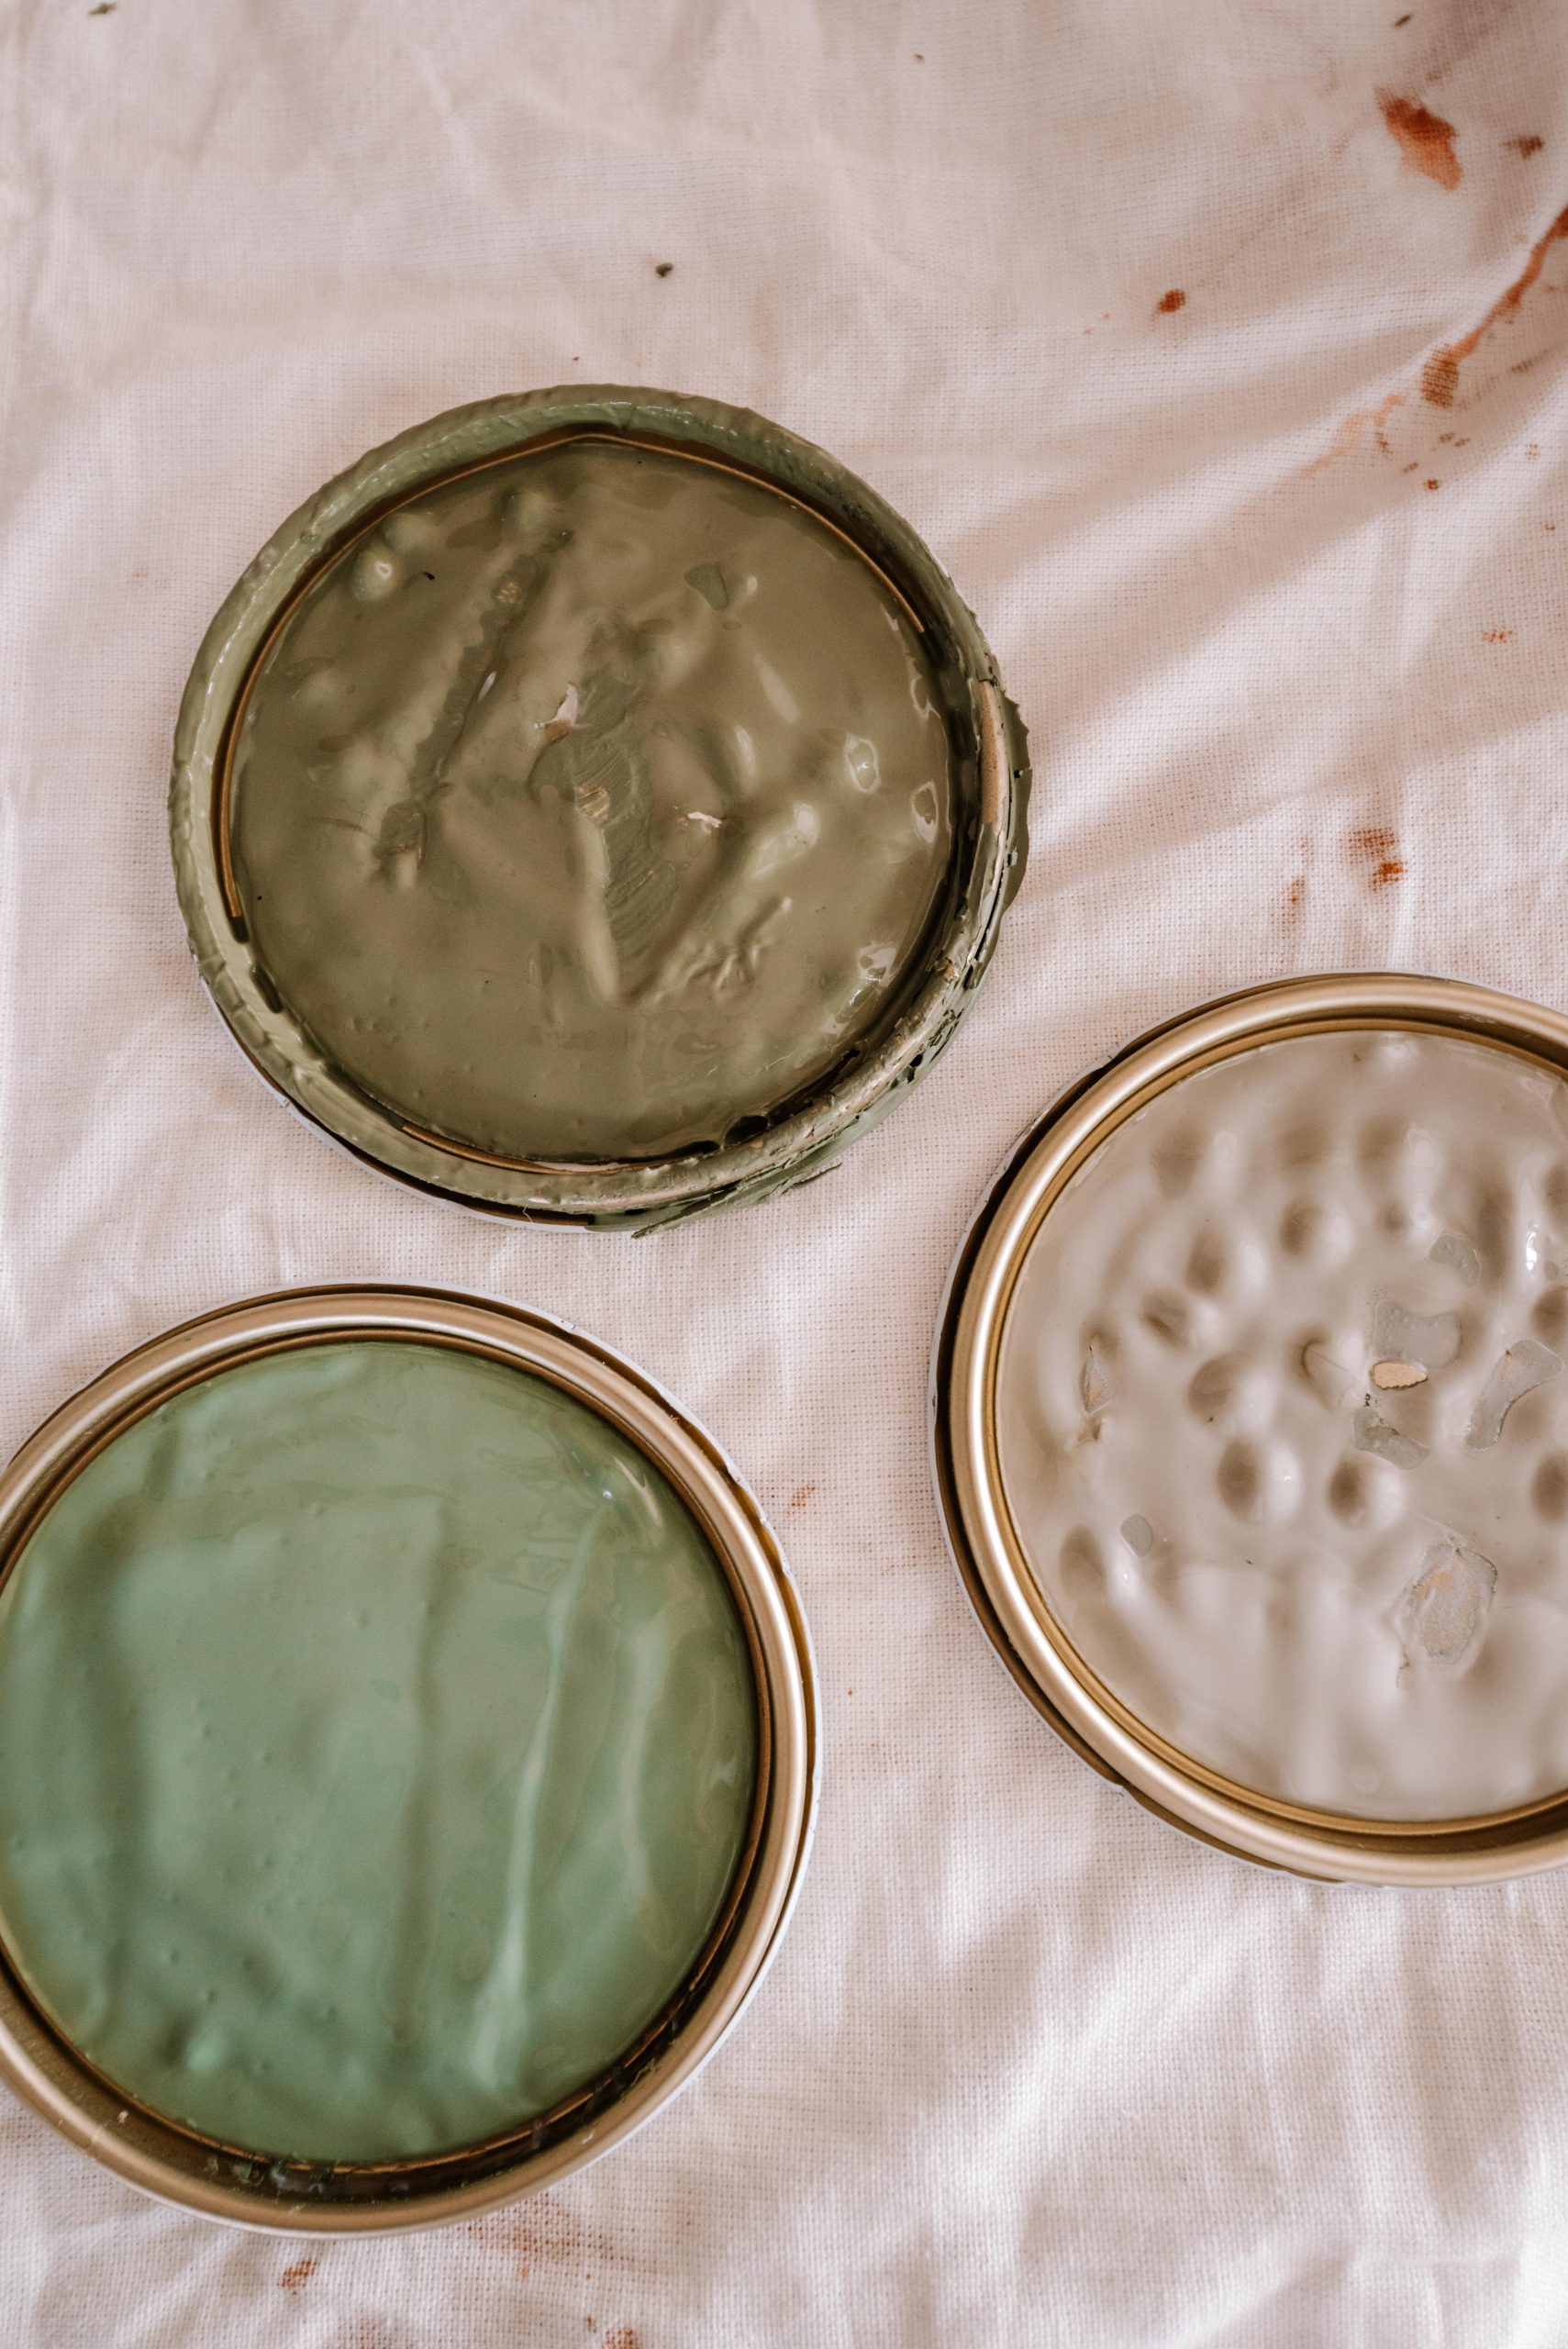
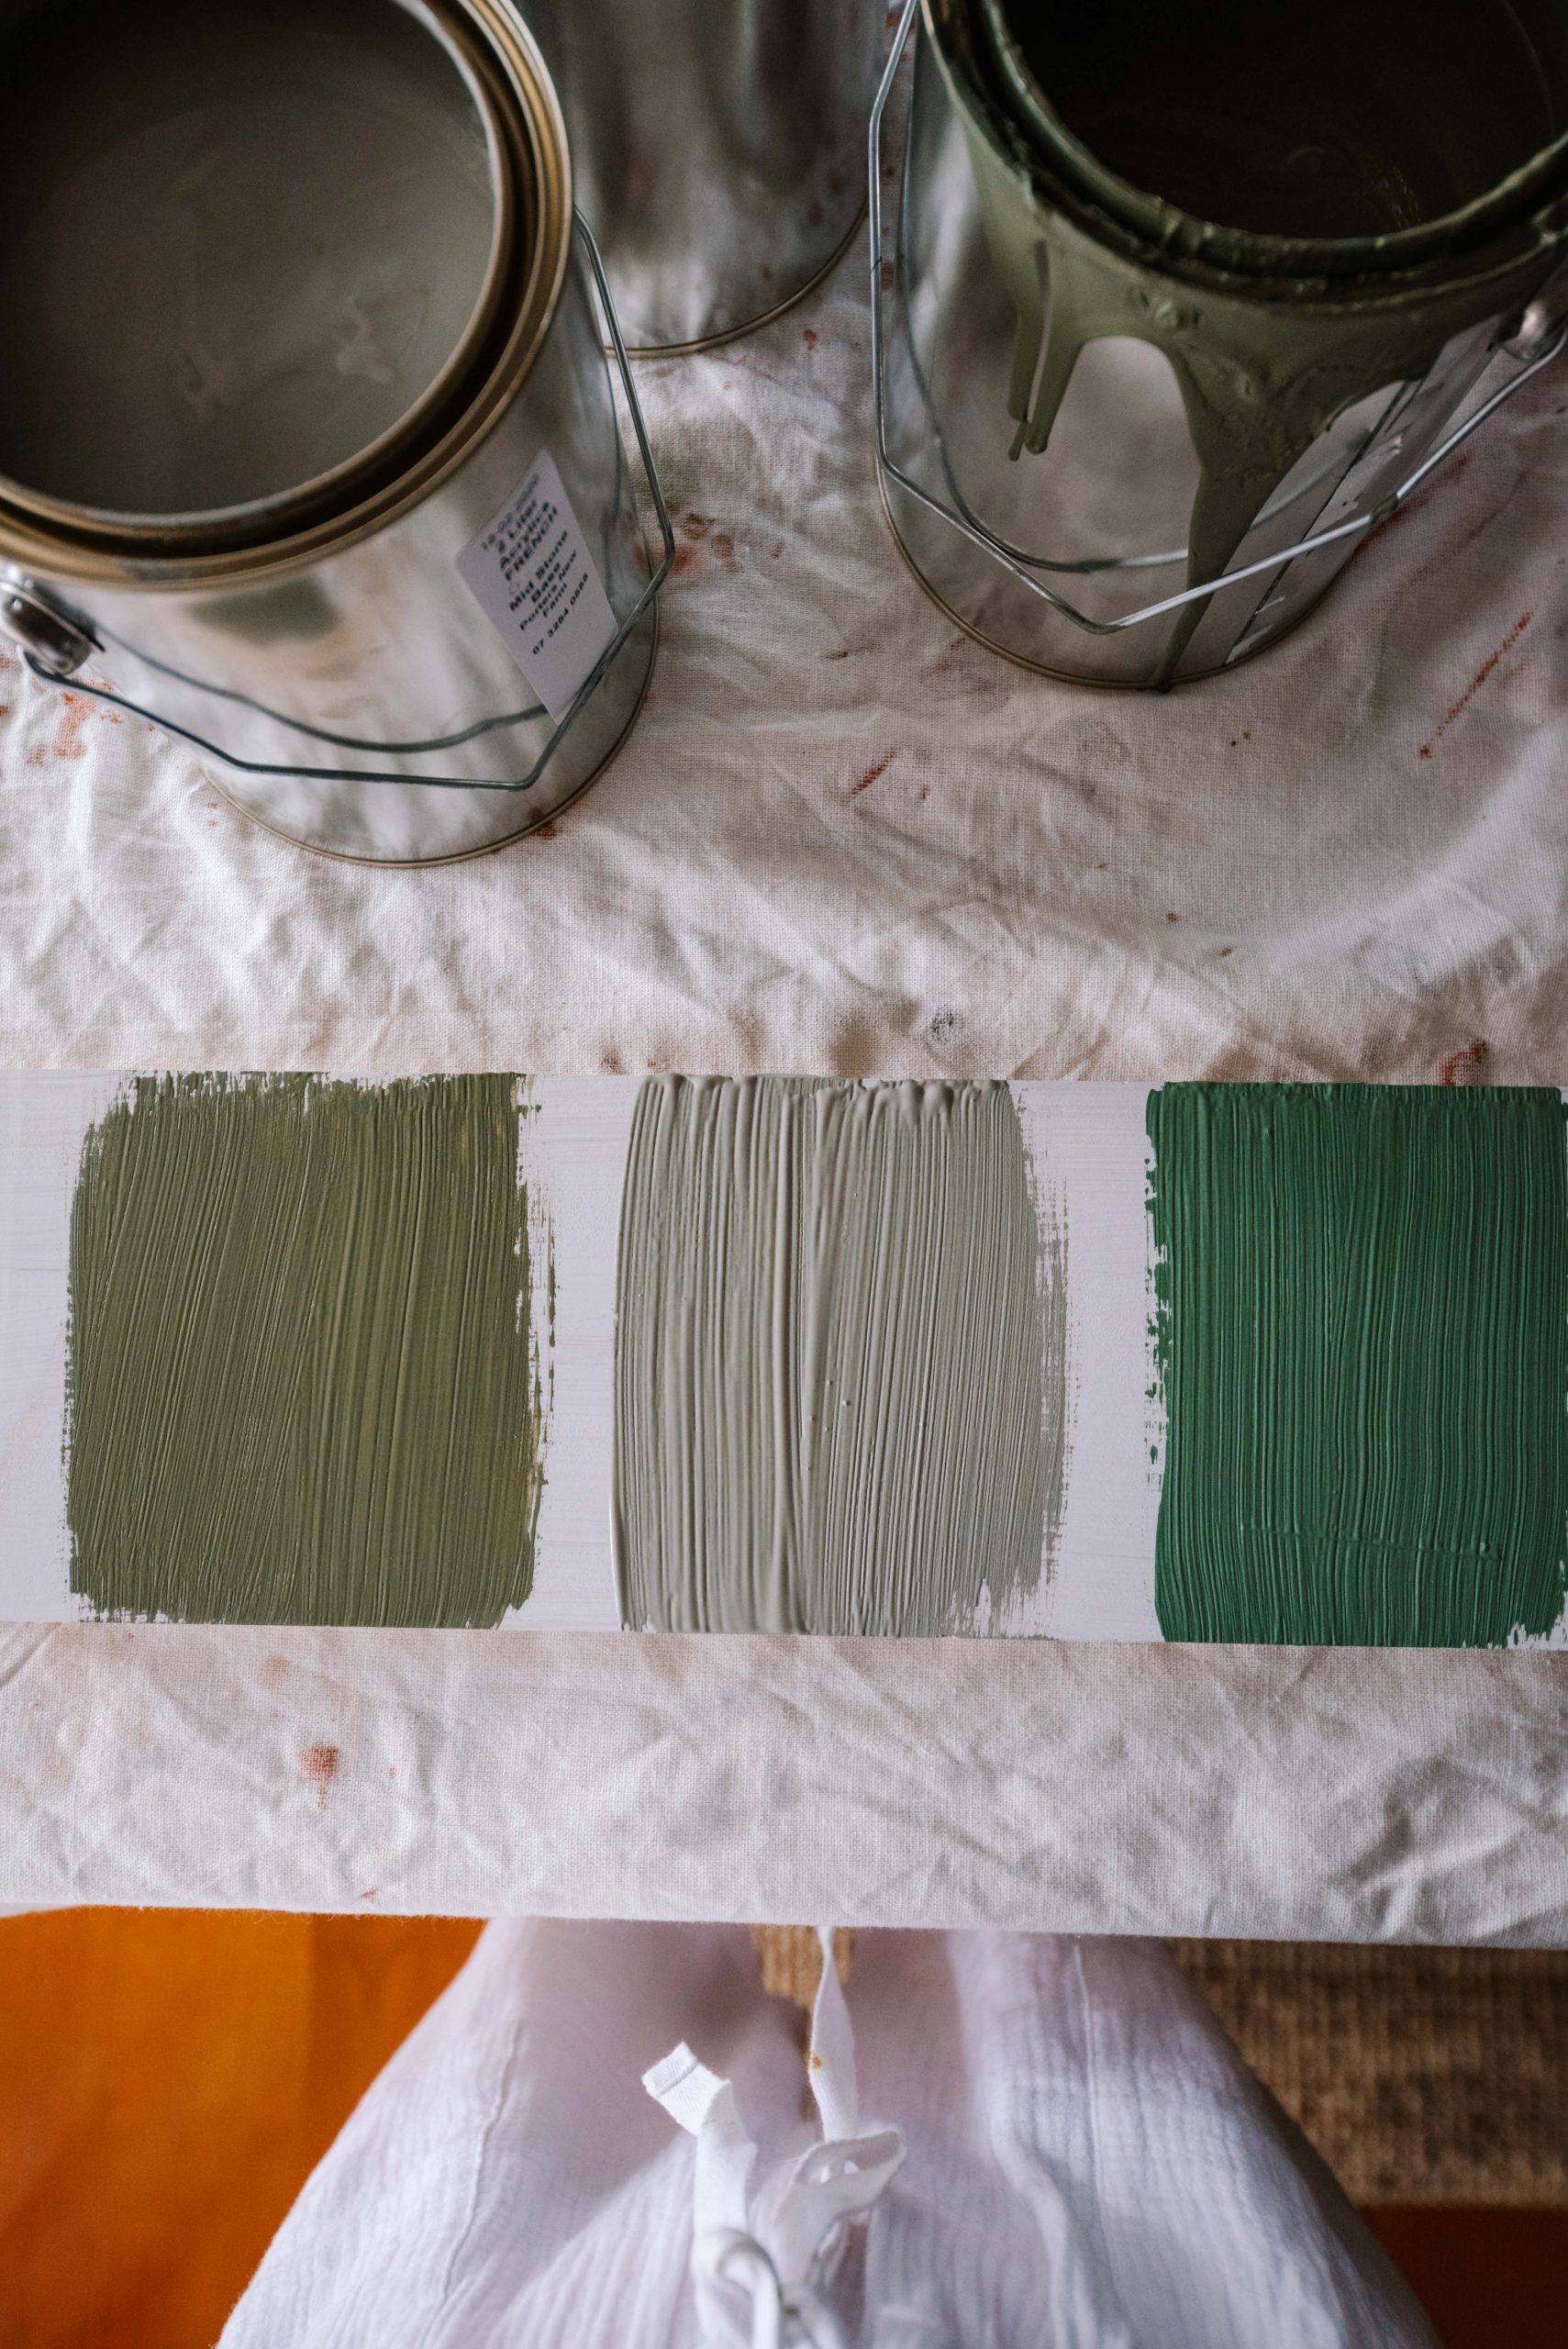
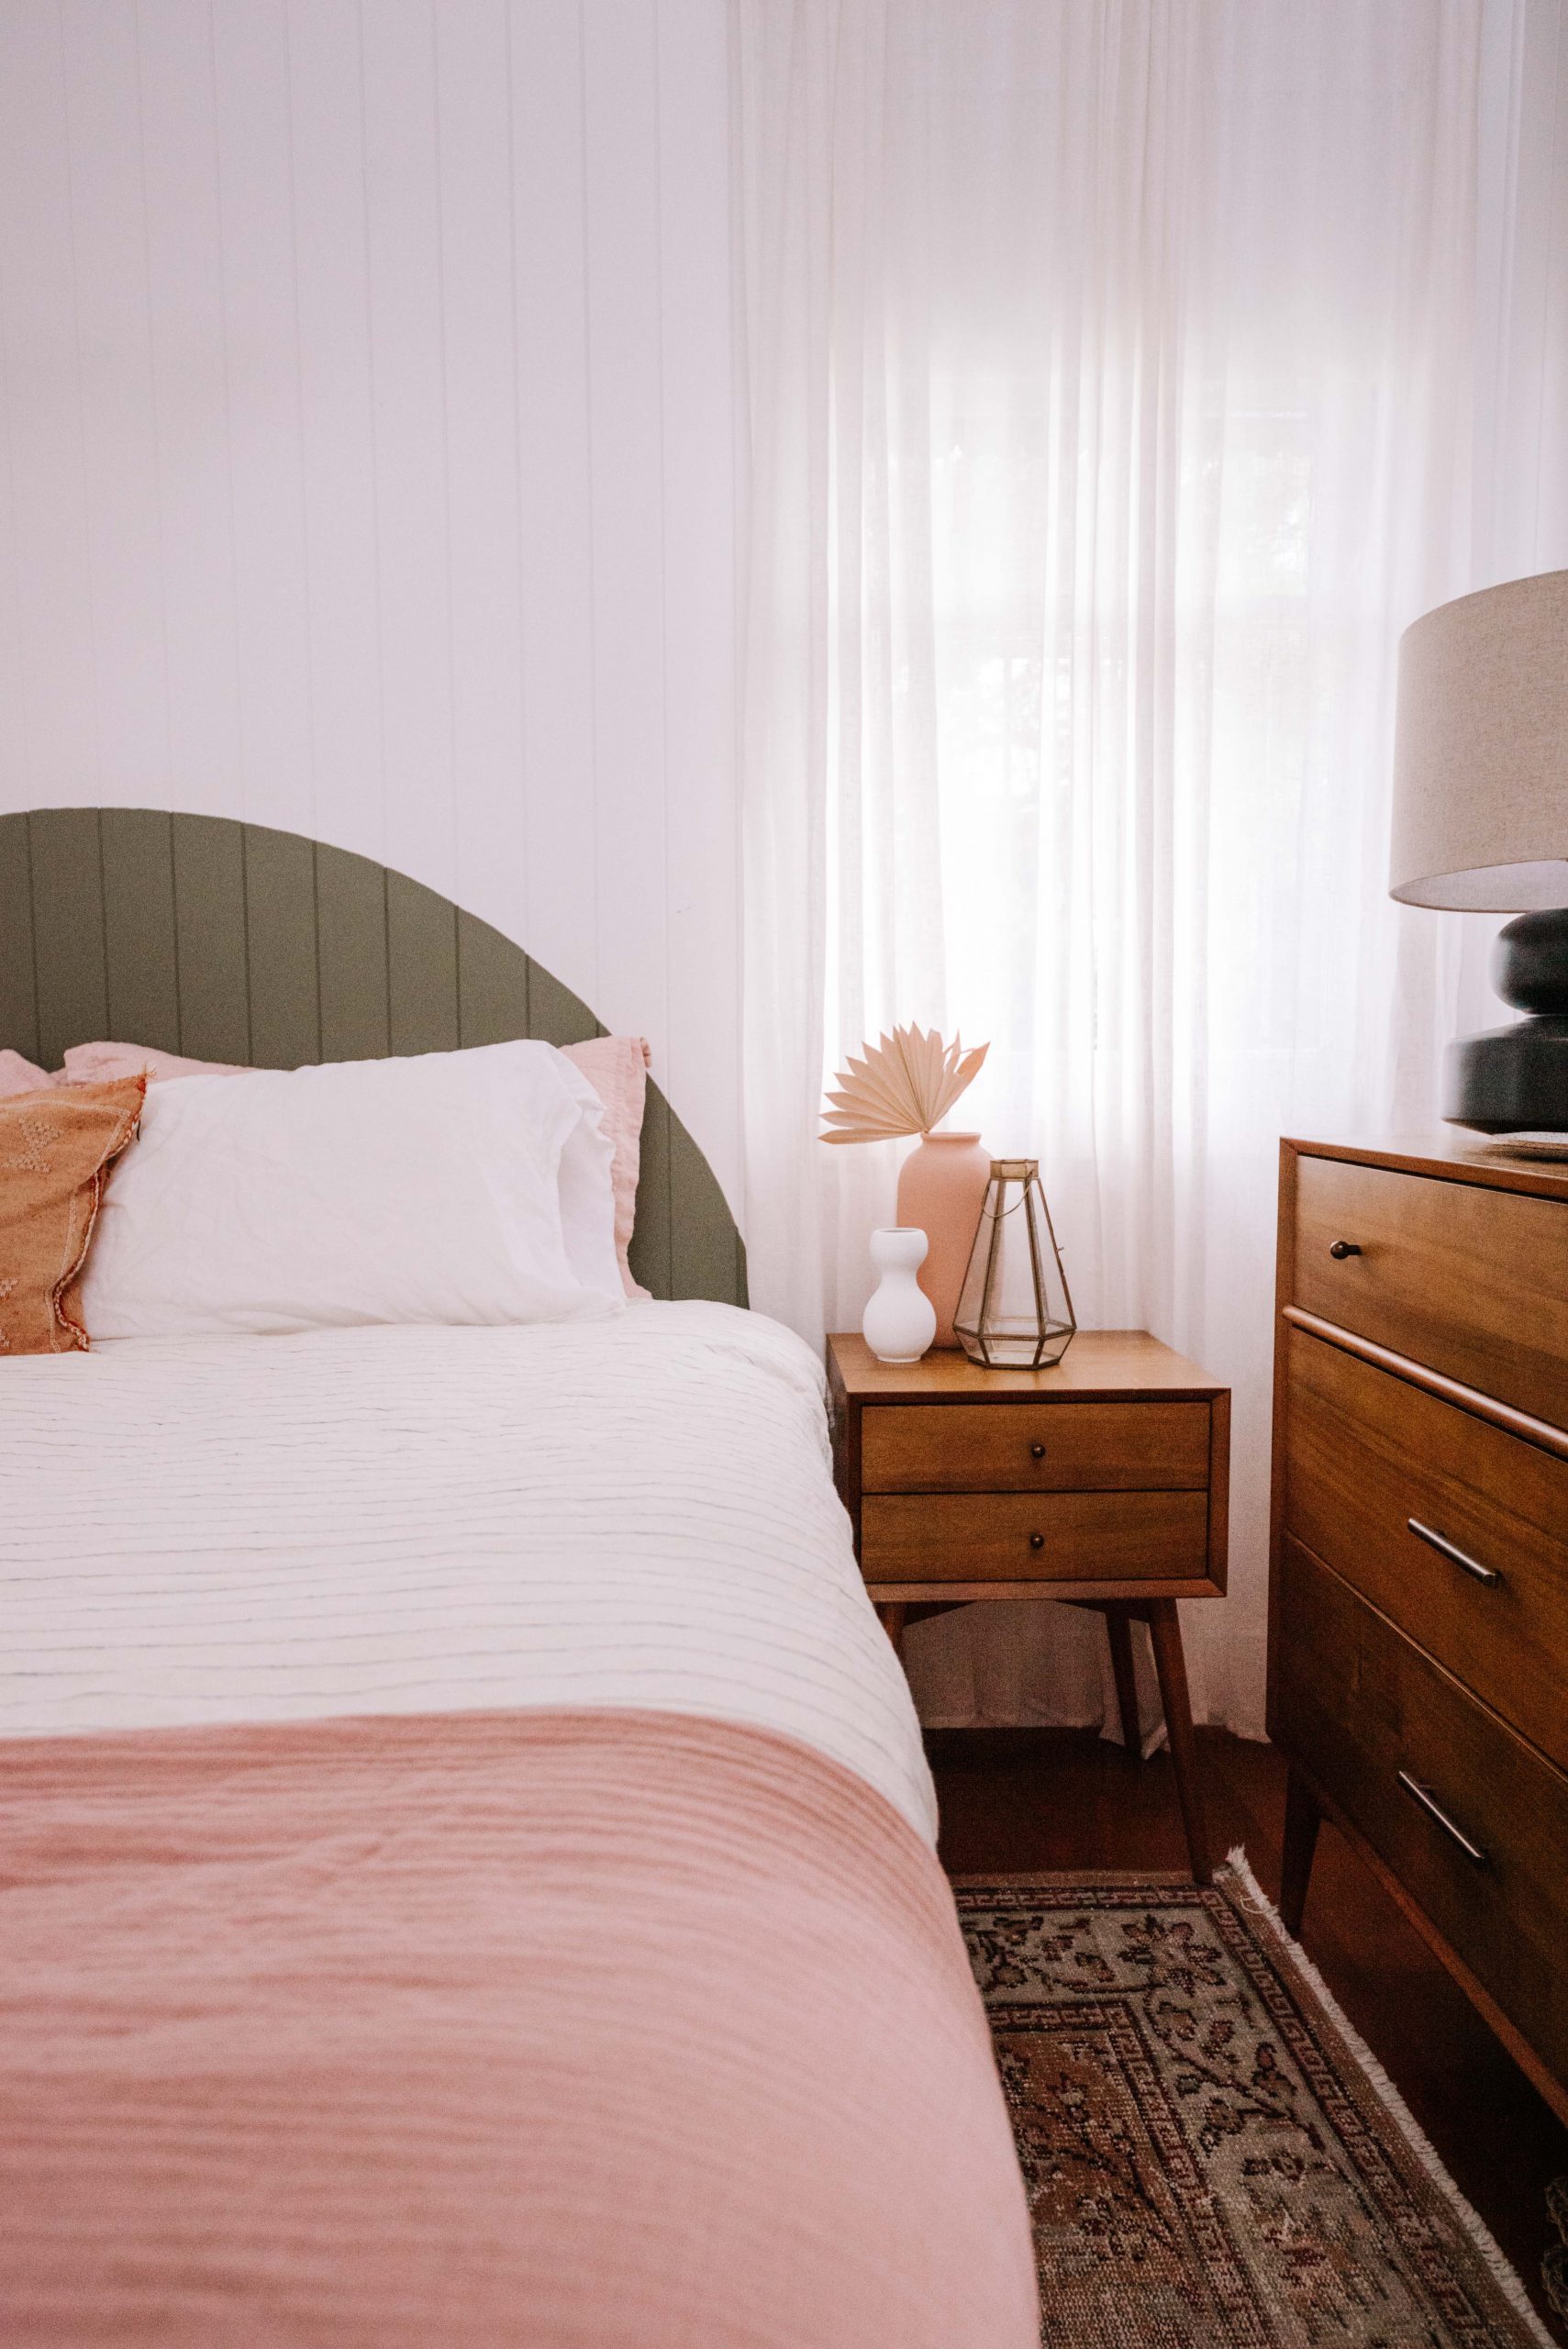
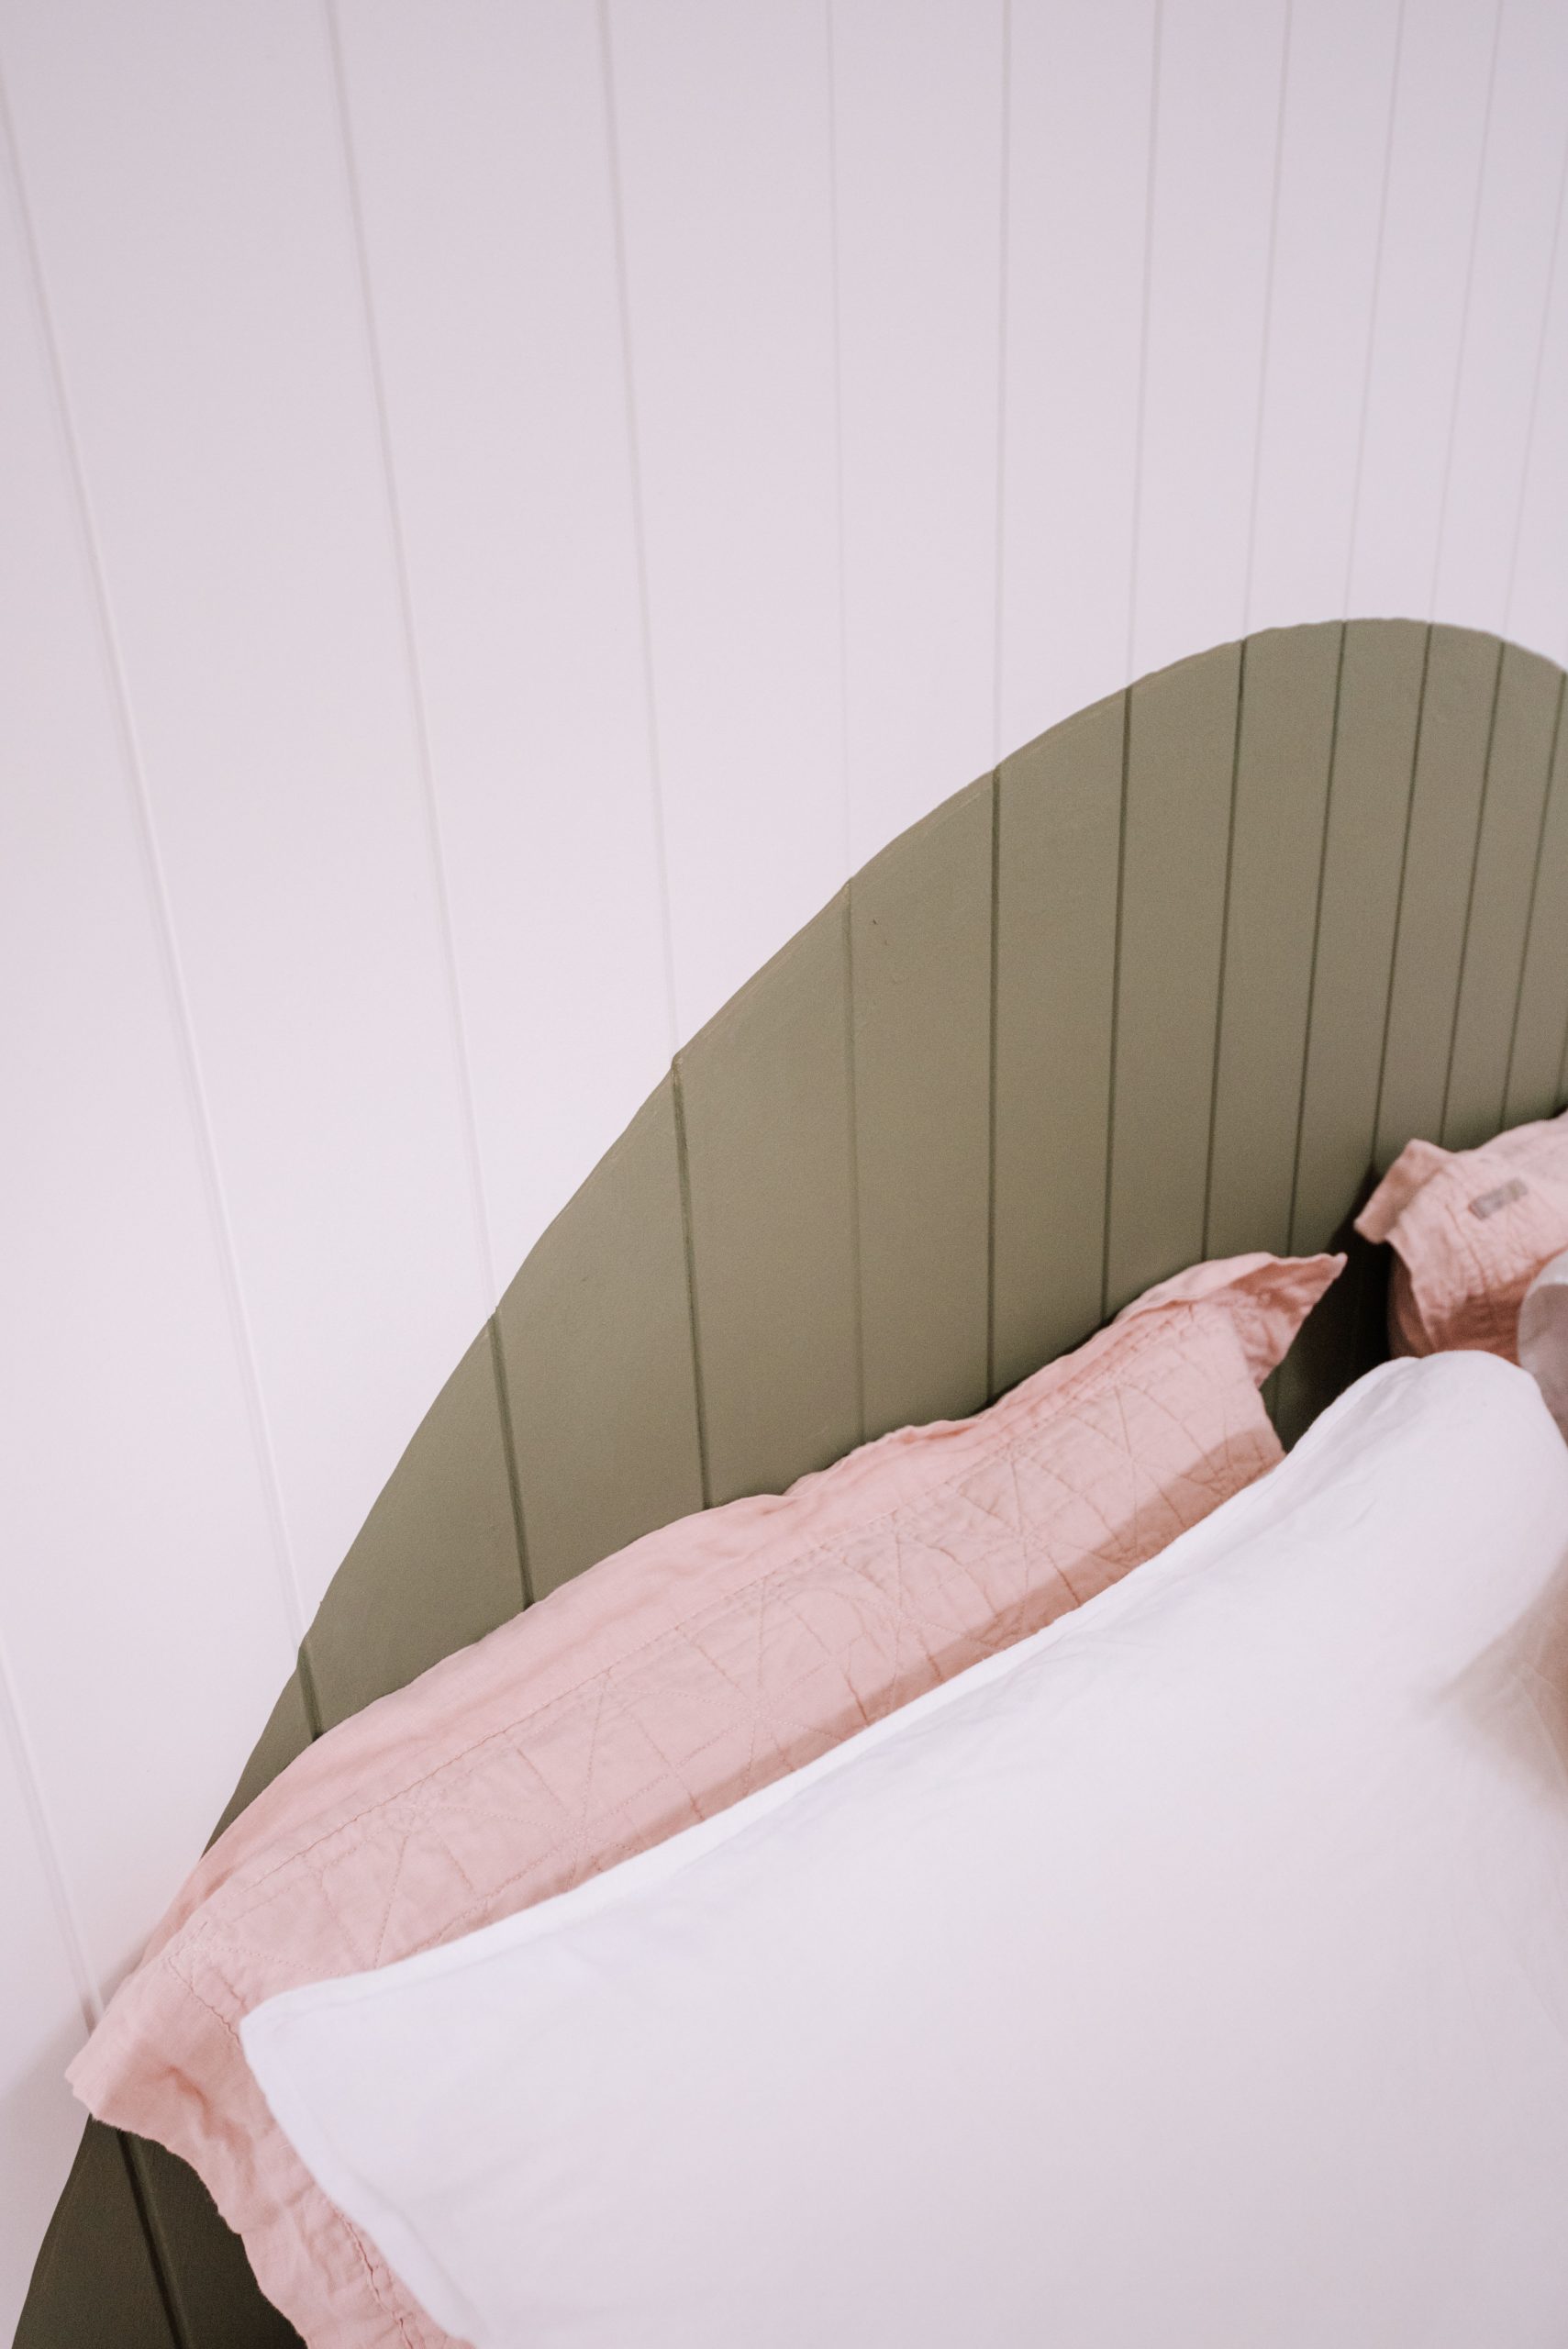
Choosing paints is as much part of this project as the actual painting is! I suggest you grab a few tester pots first and paint them on a small section of wall in the middle of the bedhead to see what they will look like in situ (read more about choosing paints here). From the Porter’s Paint range I tried out Timberline, French Green and Bay Leaf. Sidebar: Porters have the CUTEST tester pots and I want to buy them all just to have then on hand! This process led me to choose Timberline for the headboard. I wanted a green that worked well with the other shades in the house, and one that would feel a little bit masculine amongst the lighter more feminine tones of the bedroom. Once I had decided, I bought around 1L of paint for this project.
Deciding On The Shape
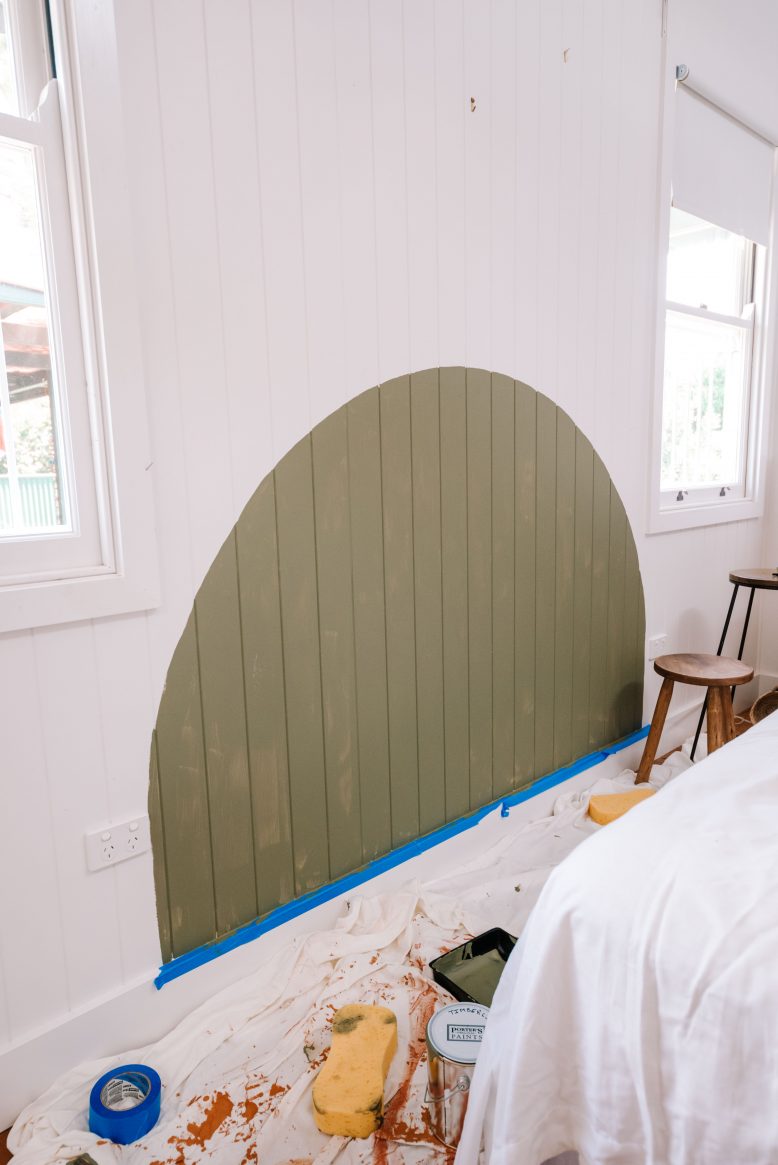
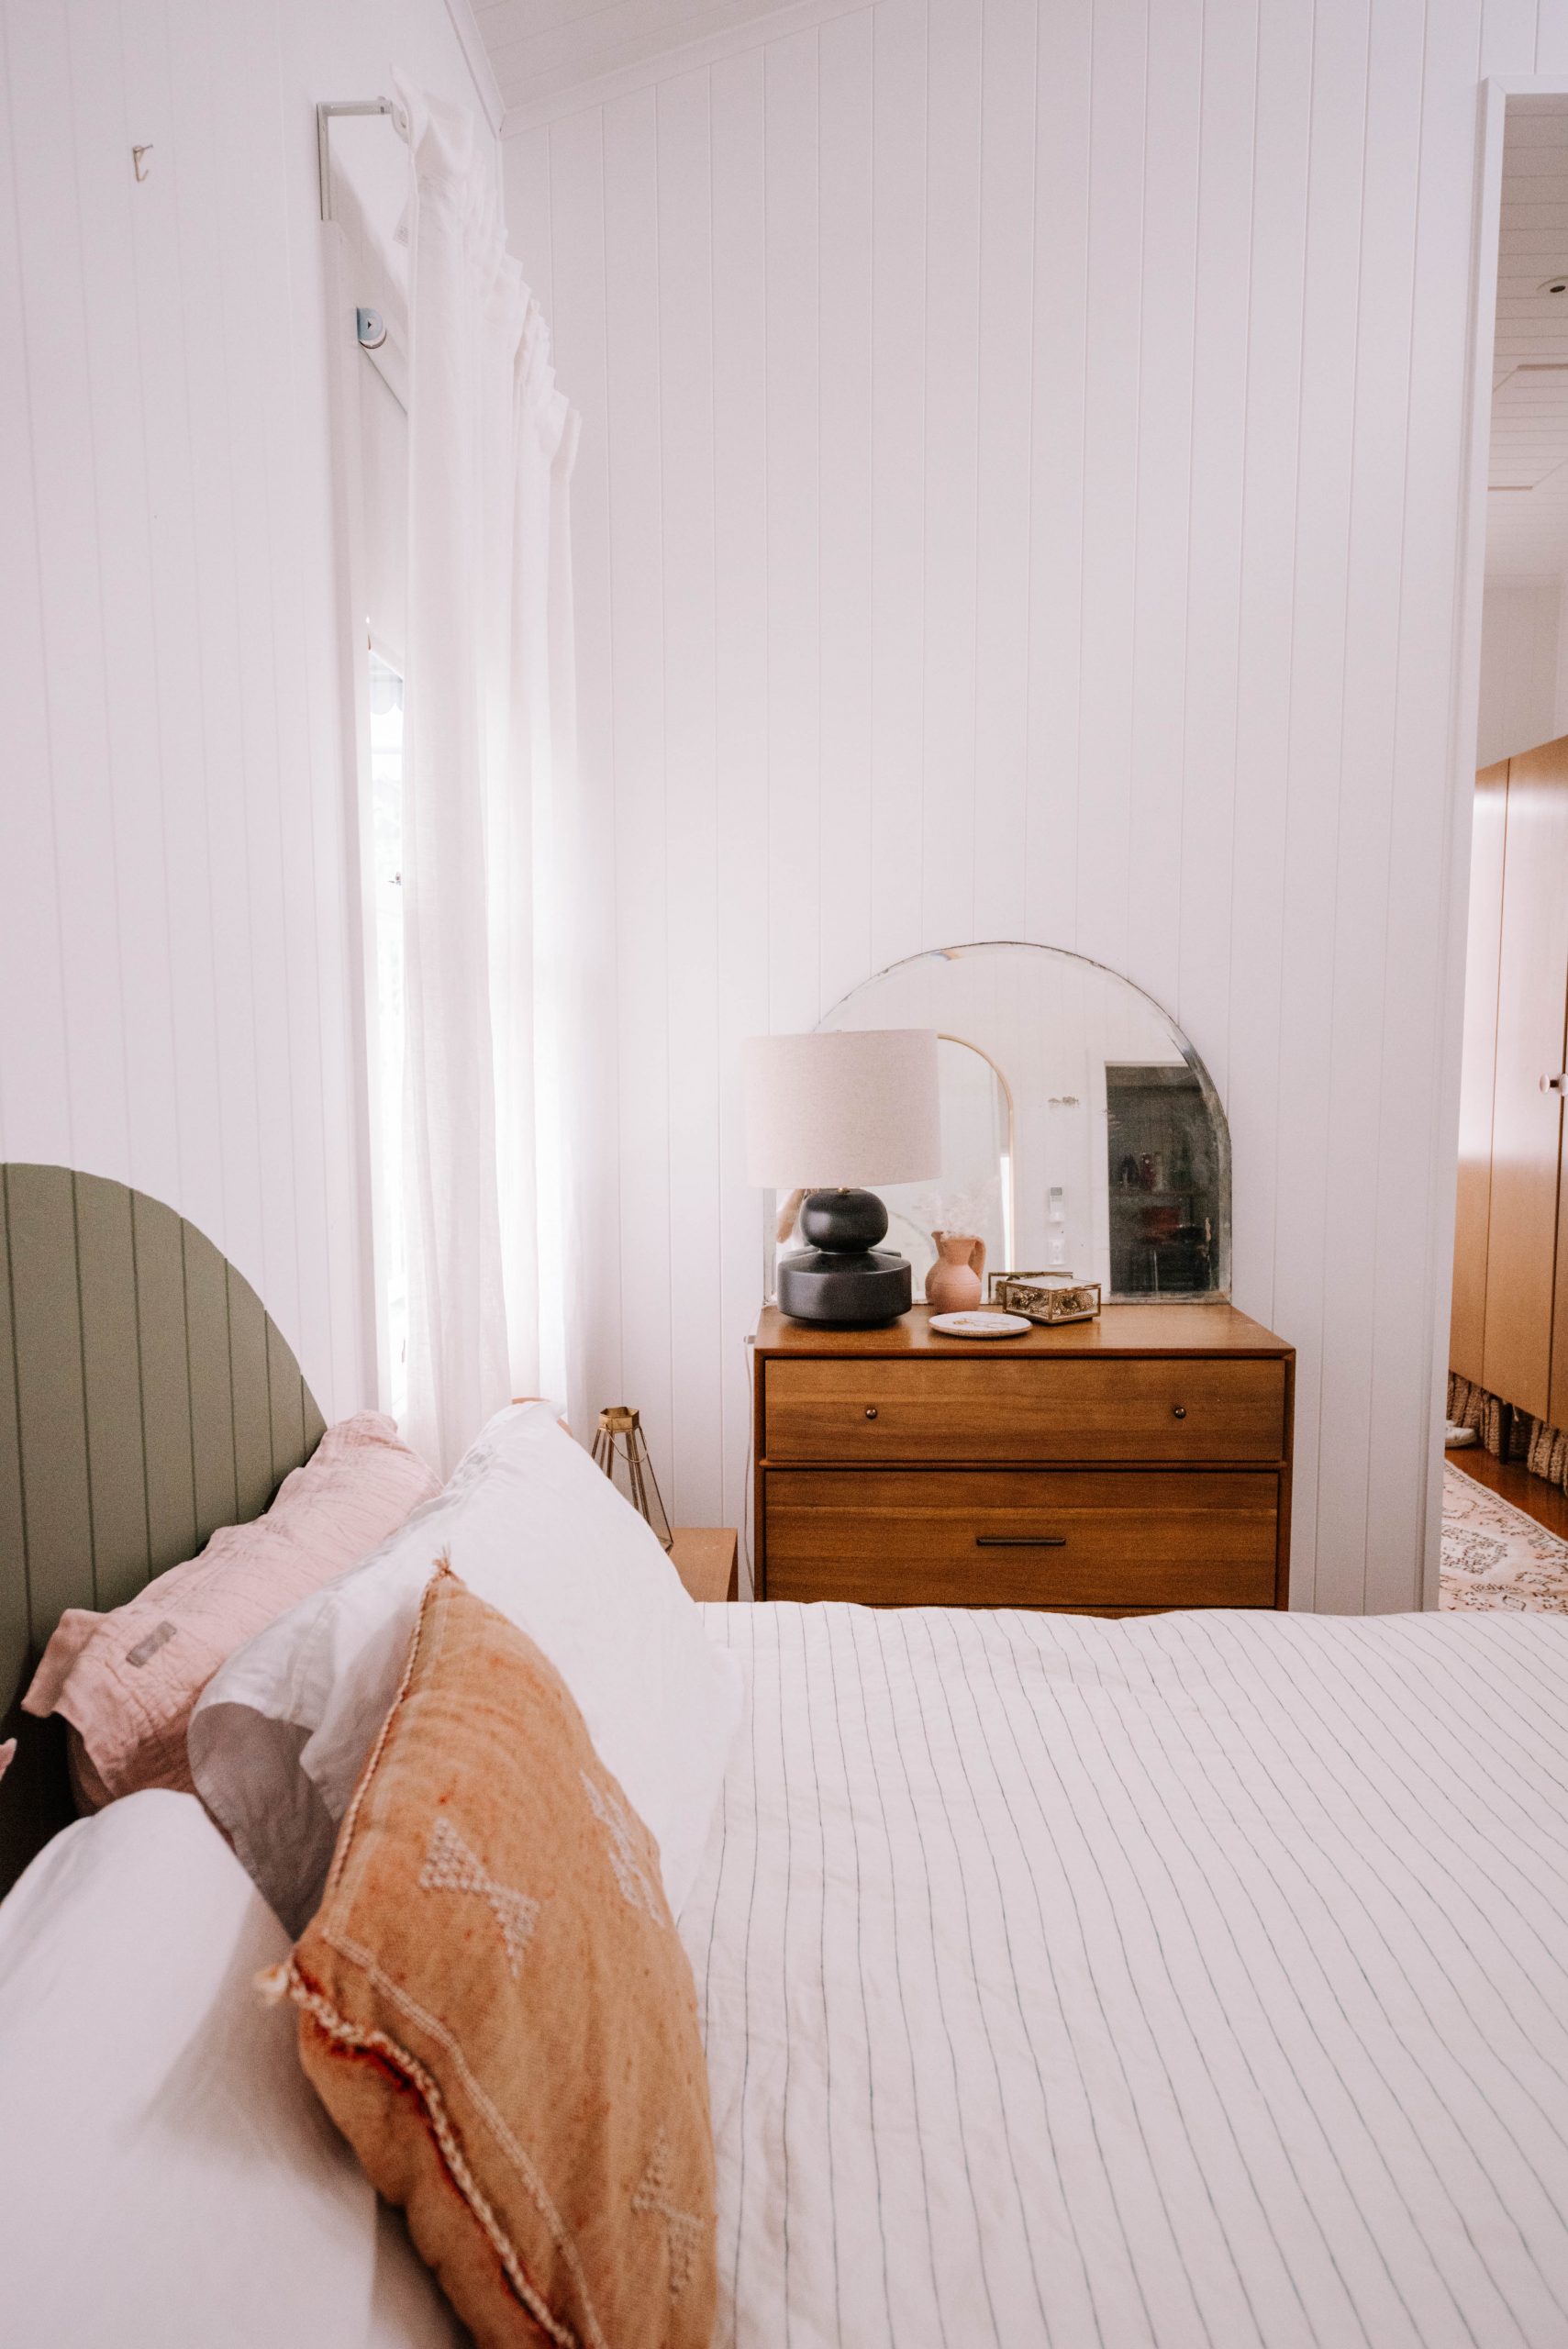
In keeping with the theme of arches in our house, annnddd given that almost all of you guys preferred the arch in the space when I shared it on IG stories, I decided I wanted to do a rounded headboard. This also fit the best between the windows in the bedroom. You can think about a few different shapes before you decide – a square or rectangular shape would look really great, and a larger circle would also be amazing!
Painting The Wall
Once you’ve chosen a colour, it’s time to start painting! Here’s how I did it.
Materials
- Around 1L of paint for a king sized headboard. I used Porter’s Paint in Timberline.
- Paintbrushes. I used the Monarch Precision Cutting in brush.
- Roller and paint tray
- Nail & hammer
- String
- Pencil
Steps
1
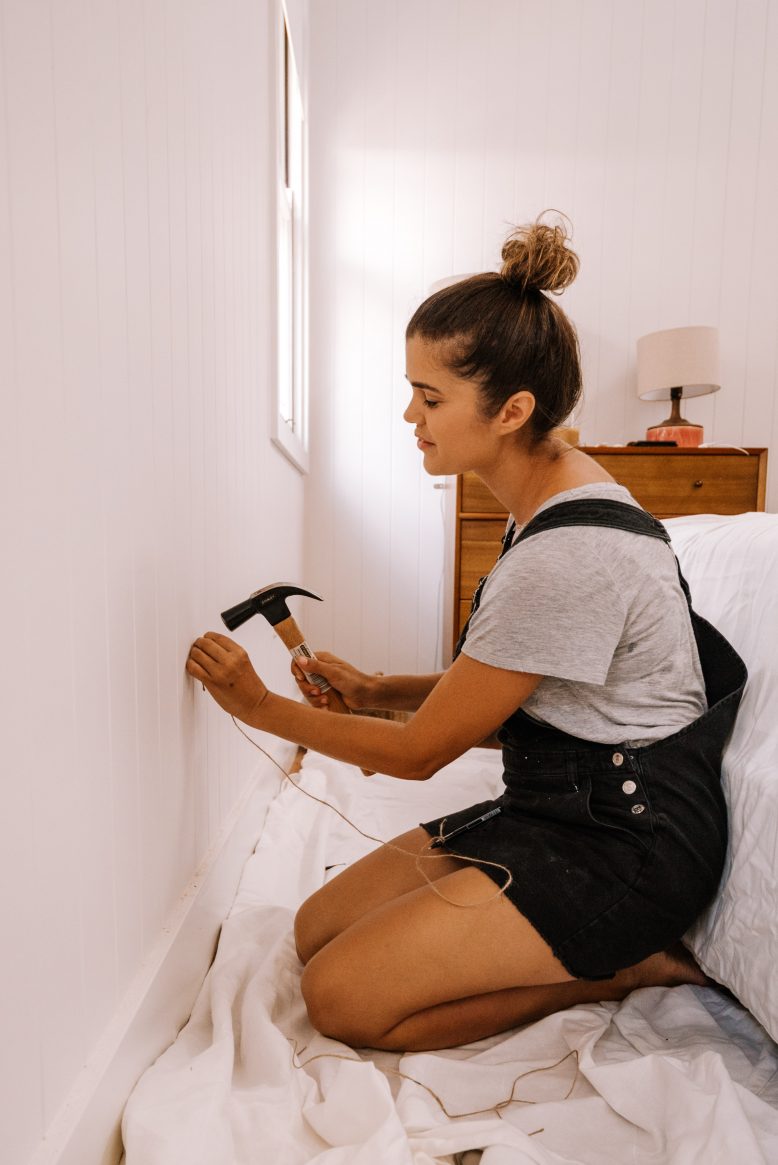
First, you need to trace out the shape of your headboard. Because of the rounded shape, it's easier to do this one by hand, rather than tape it off. I started by measuring the width of the wall. My wall space was 1.8m wide.I then calculated halfway, which was around 90cm. This is the point at which I nailed in my centrepoint.
2
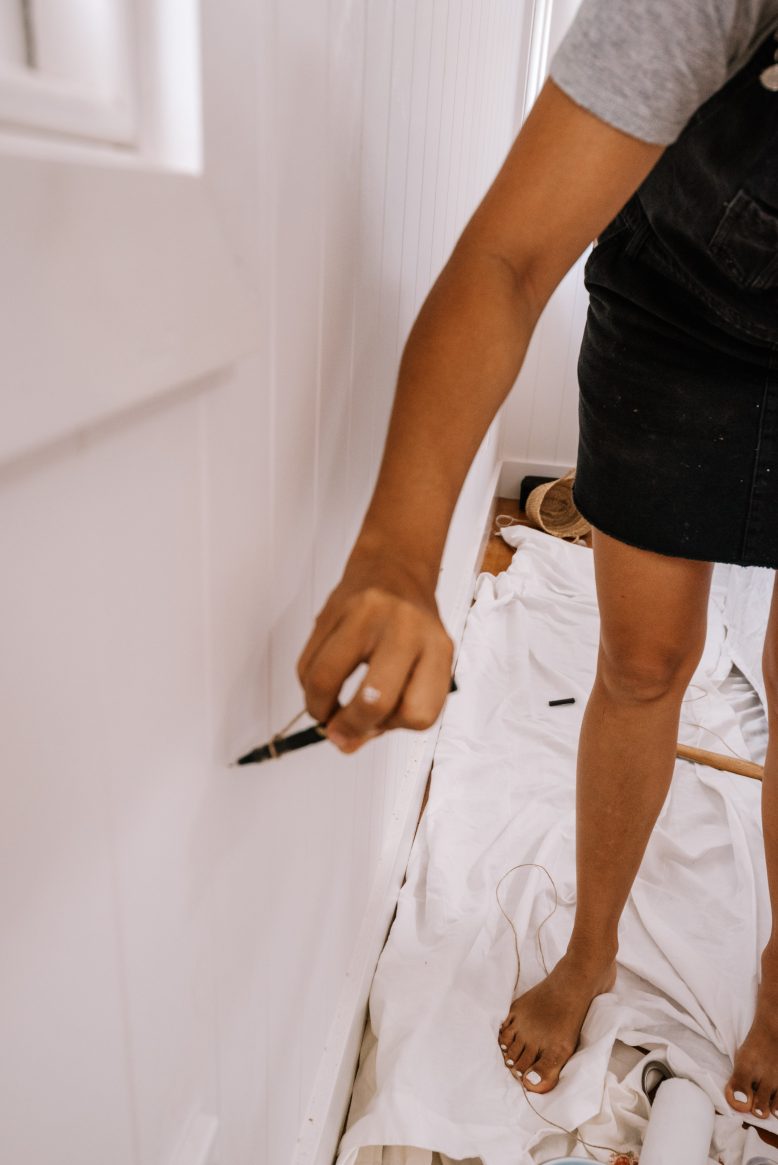
I then tied the pencil to a piece of string, and tied that string to the nail, making sure the distance of the string was around 90cm. This was to ensure an even shape. Making sure to hold the pencil firmly, I drew the arc.
4
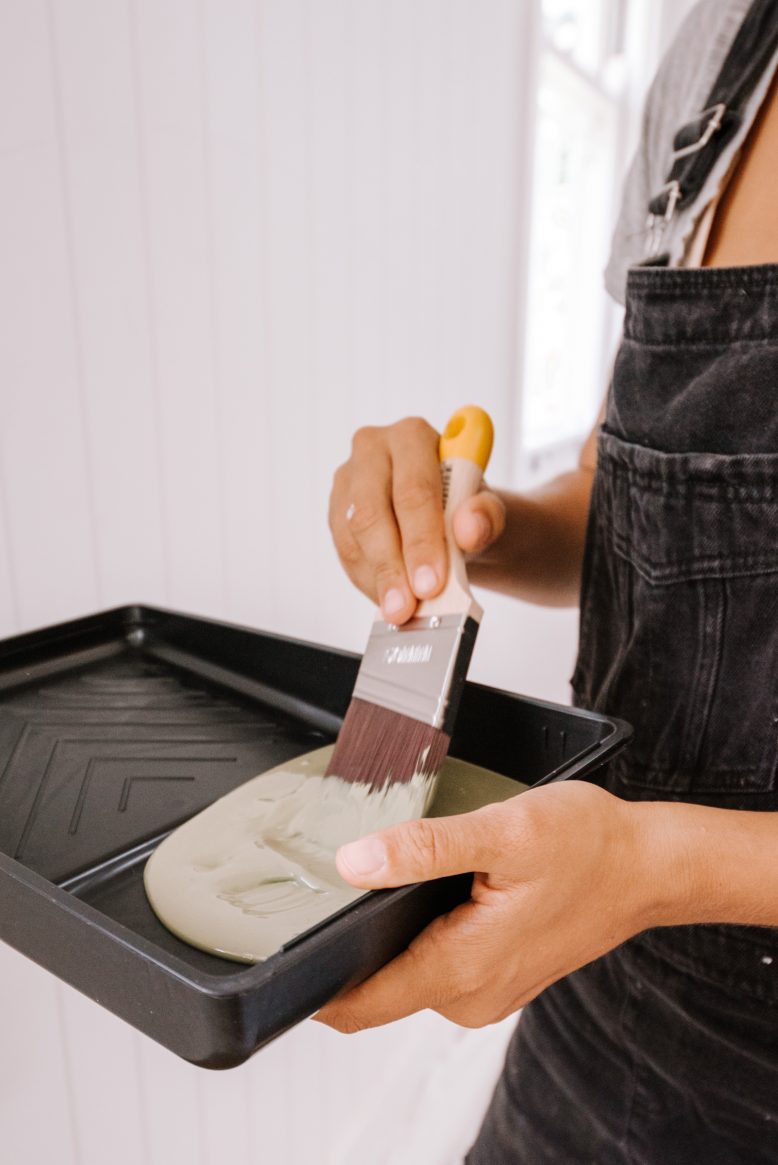
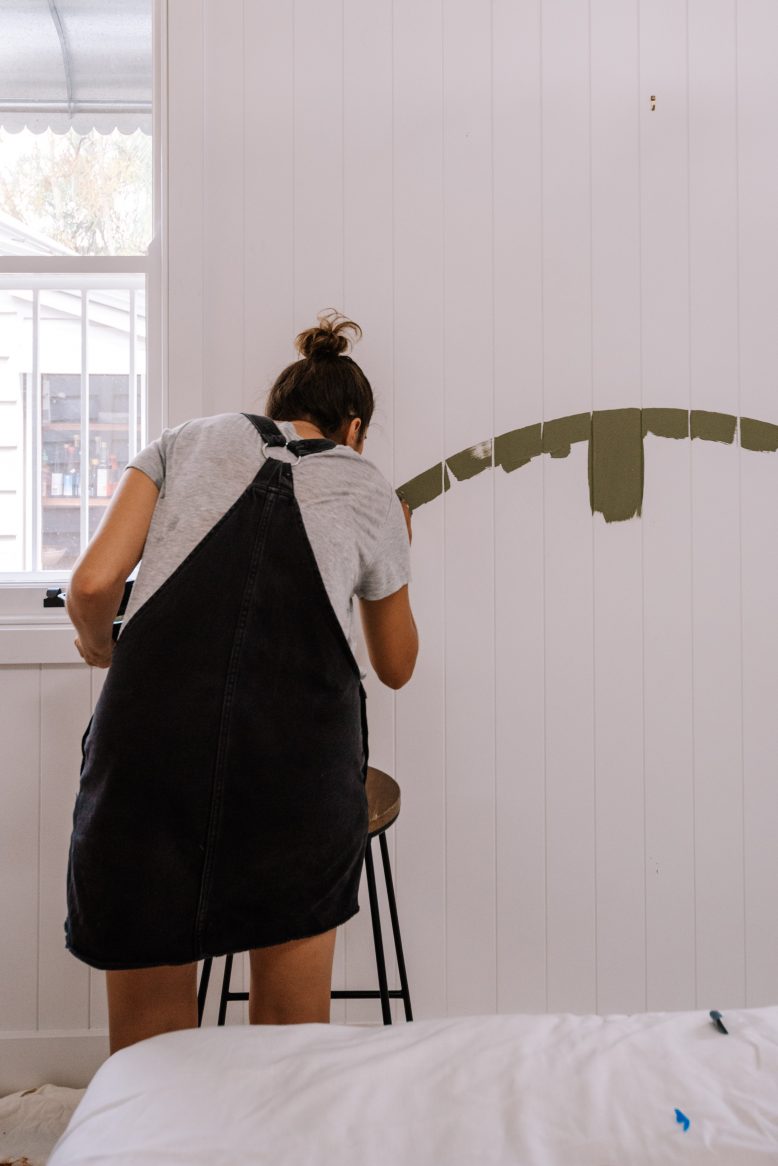
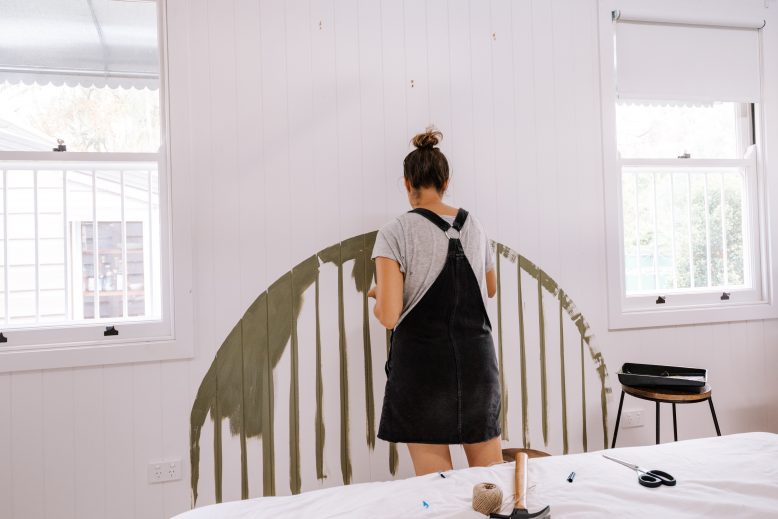
Using a cutting in brush, I first drew the outline of the arc. I did this by loading the paint brush up, and then carefully drawing along the arc. This part takes some time and it's best not to rush it.
5
Because we have the VJ cladding, I then cut in each of those joints so that the paint was well applied and there was no gaps. I used a normal paintbrush to paint the rest of the first coat.
6
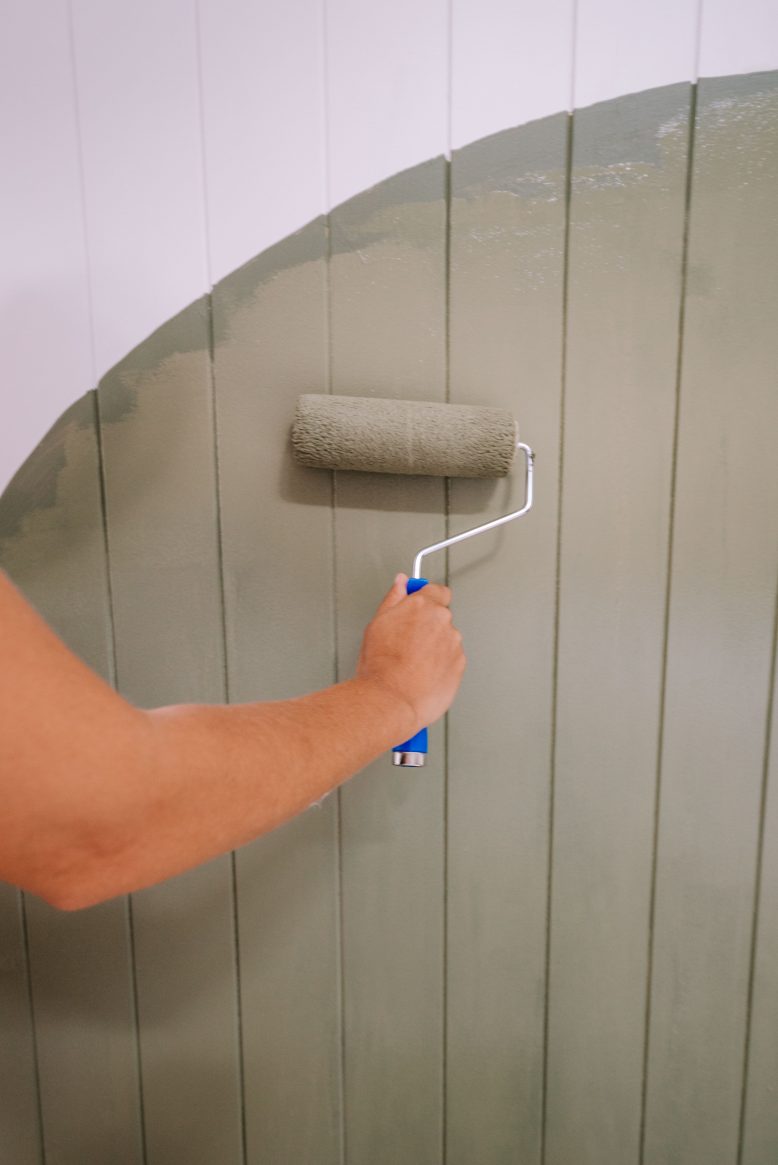
I let it dry for two hours, and then used a roller to apply the next coat, doing the edges again with the cutting in brush. The roller gave a really nice texture and finish.
Voila
I hope you enjoyed this project guys. It’s been helpful for me to have a few things to work on while I have been housebound recently. I’m trying not to put too much pressure on myself to be PRODUCTIVE, with all the pressure that implies. I mean, being cooped up all day and trying to do the minimum of work is hard enough. But making tweaks to the house and doing little projects has been keeping me sane, so I hope you don’t mind me continuing to share them with you. Stay safe and healthy guys.
This post is in collaboration with Bunnings.
