Bringing macrame out of the 20th century into the here and now
I have to admit that up until recently macrame would have been at the end of the list of things I wanted to hang on my walls – to me it brought back memories of mildewed brown pieces I found by the dozen in thrift stores when I was growing up. One particular macrame find – an owl made out of twine – comes to mind. But as proof that tastes and trends come full circle if only you give them time (I bet that owl is fetching a pretty penny at some hip vintage boutique right now) I’ve recently found myself with a taste for this (not so) forgotten art.
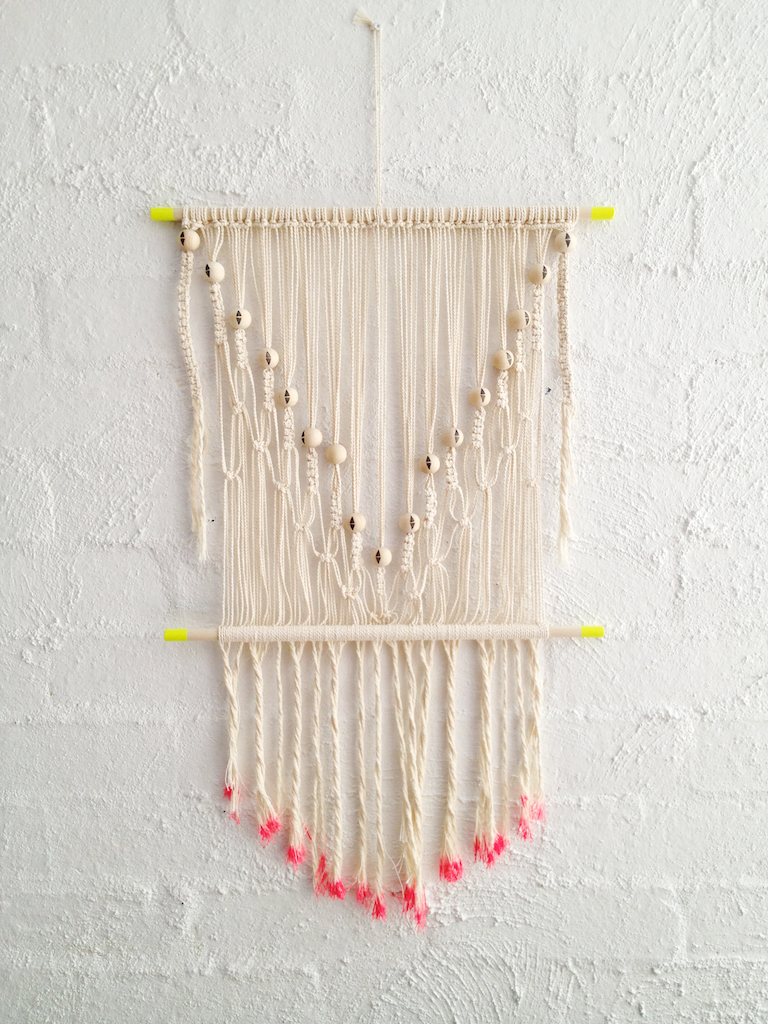
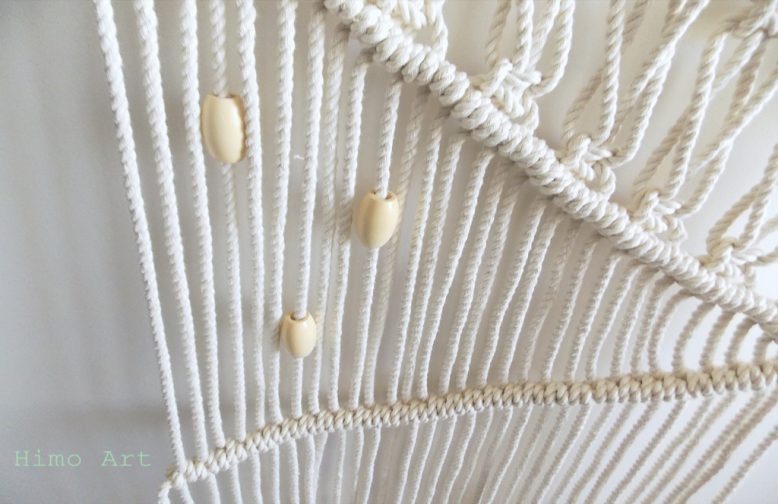
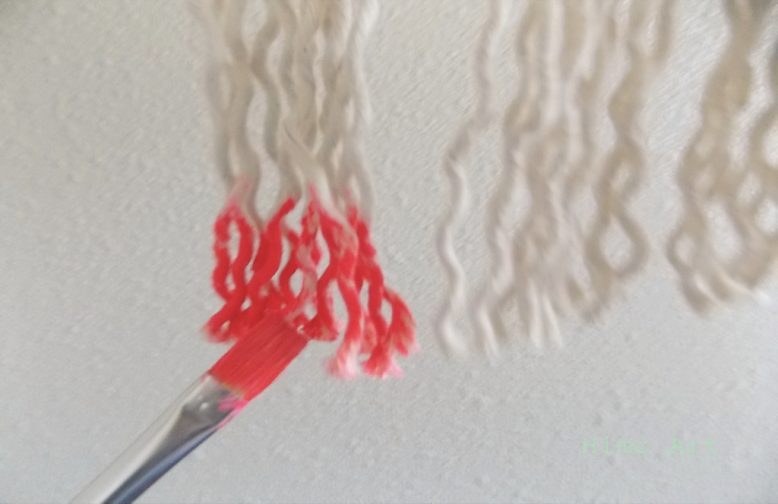
Case in point – my friend Jess recently bought the most gorgeous wall hanging on Etsy (the one you see below), complete with pops of neon to lend a touch of modern cool. After I saw it I was desperate to know more about how these pieces are created – and was so happy when May of Himo Art agreed to give me the run down. May has done an amazing job of bringing macrame out of the 20th century into the here and now (perfect for recent macrame converts like me) and I’m thrilled she decided to give us a peek at her – what turns out to be pretty complicated – process. Time to brush up on your knotting skills kids!
1
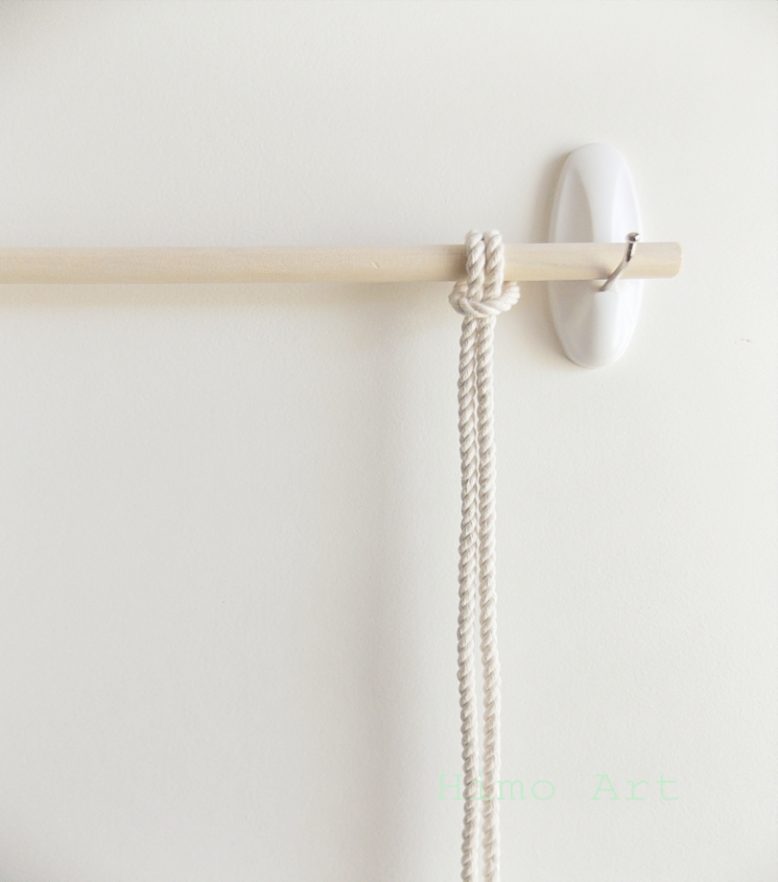
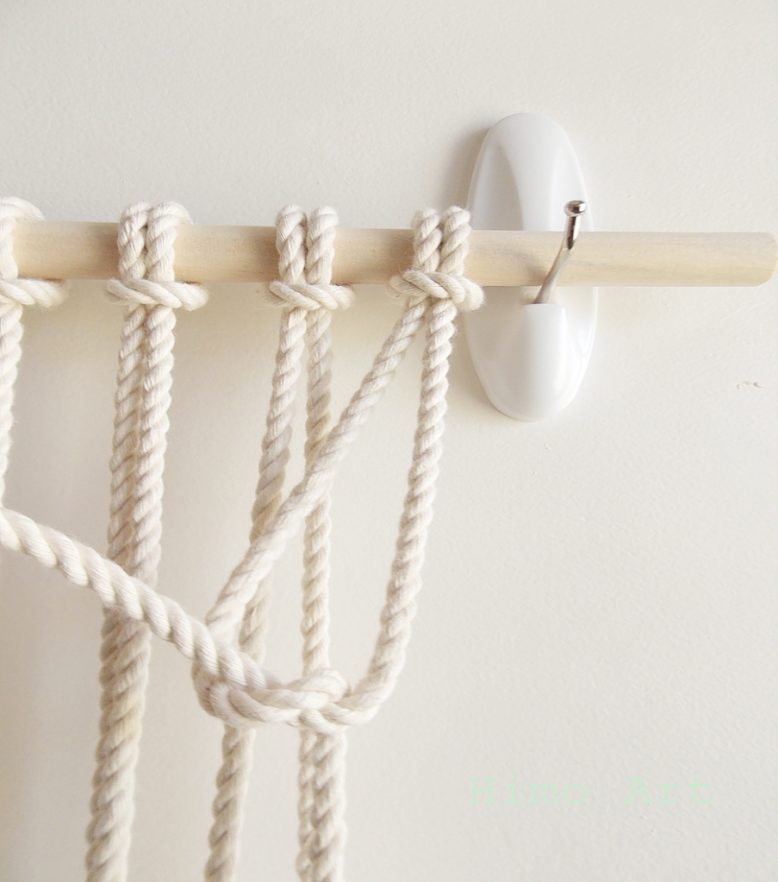
May attaches the dowel to the wall - she's using removable hooks because it's a great way to avoid drilling holes in the wall.
2
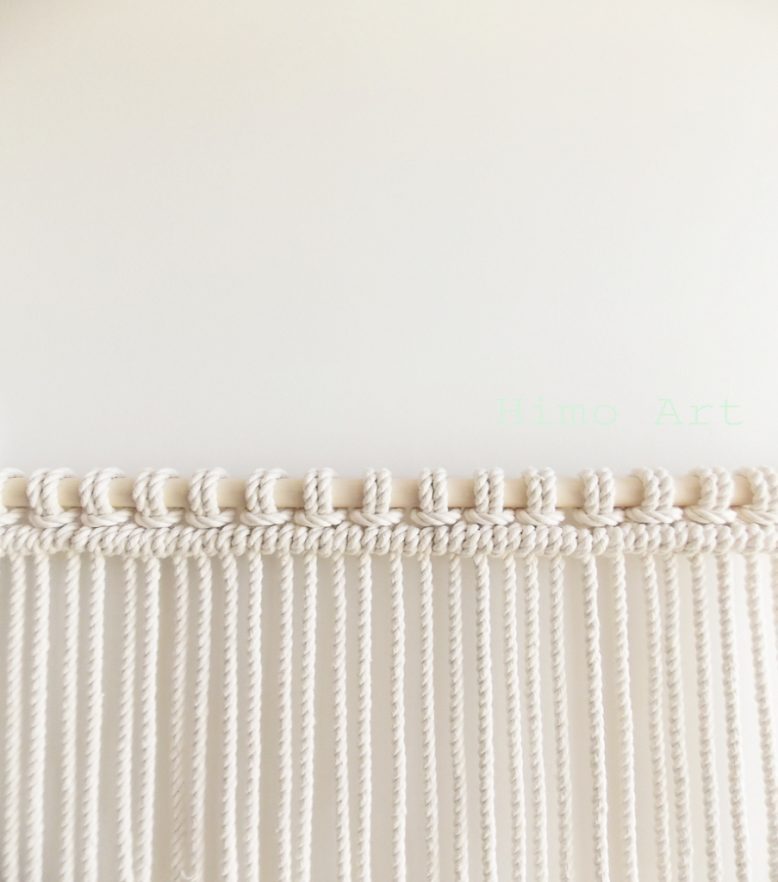
May cuts the rope up into 14 x 4 yard pieces and 2 x 5 yard pieces. She then starts tying the rope in larks head knots, bookending the dowel with the 5 yard pieces (one on each end)
14
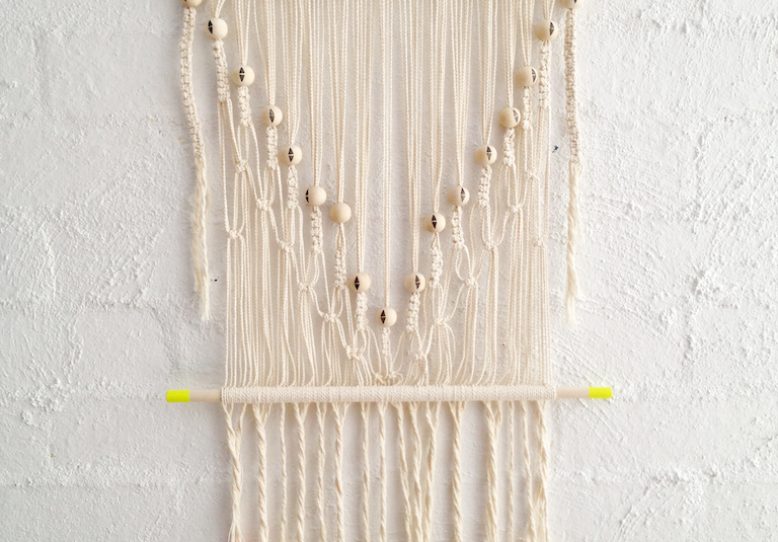
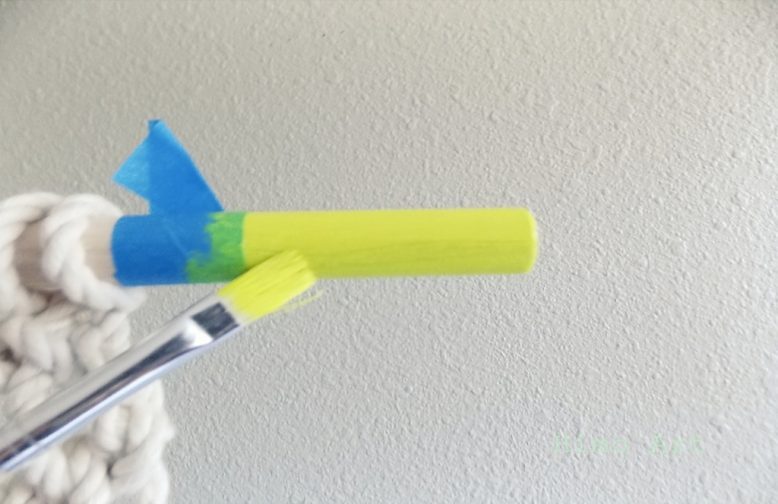
She covers off a section of the ends of the dowel to paint and add a hint of neon (a woman after my own heart!)
And there you have it, a gorgeous macrame wall hanging. I for one can appreciate the work that goes into these pieces – not a craft for the fainthearted or ham fisted!
Make sure to check out Himo Art for her other amazing macrame pieces.
Top photo by Jess of Ela Hawke Vintage and the rest by May
Like this Macrame tutorial? Pin it on Pinterest!
