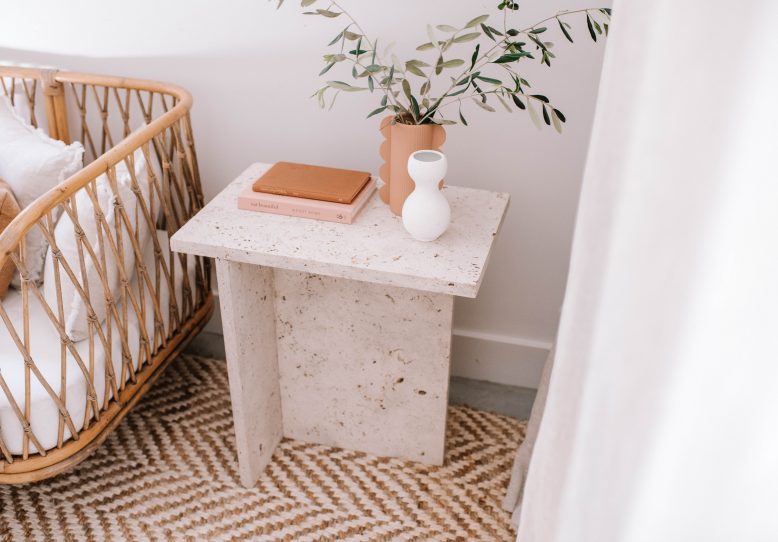
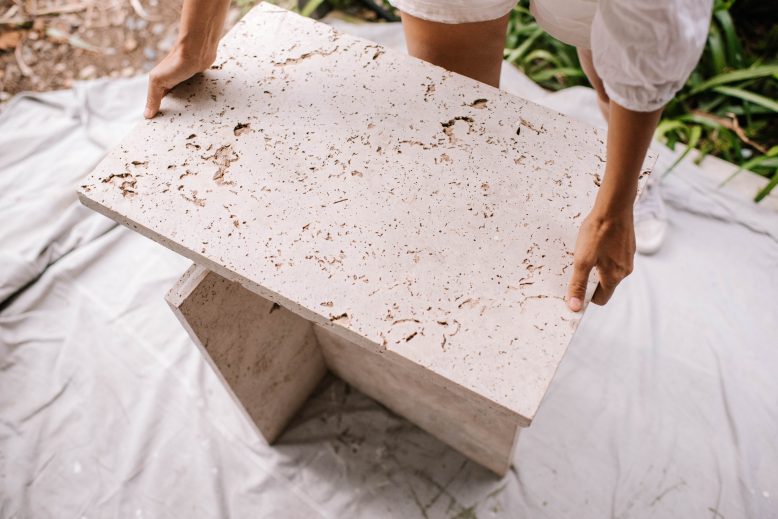
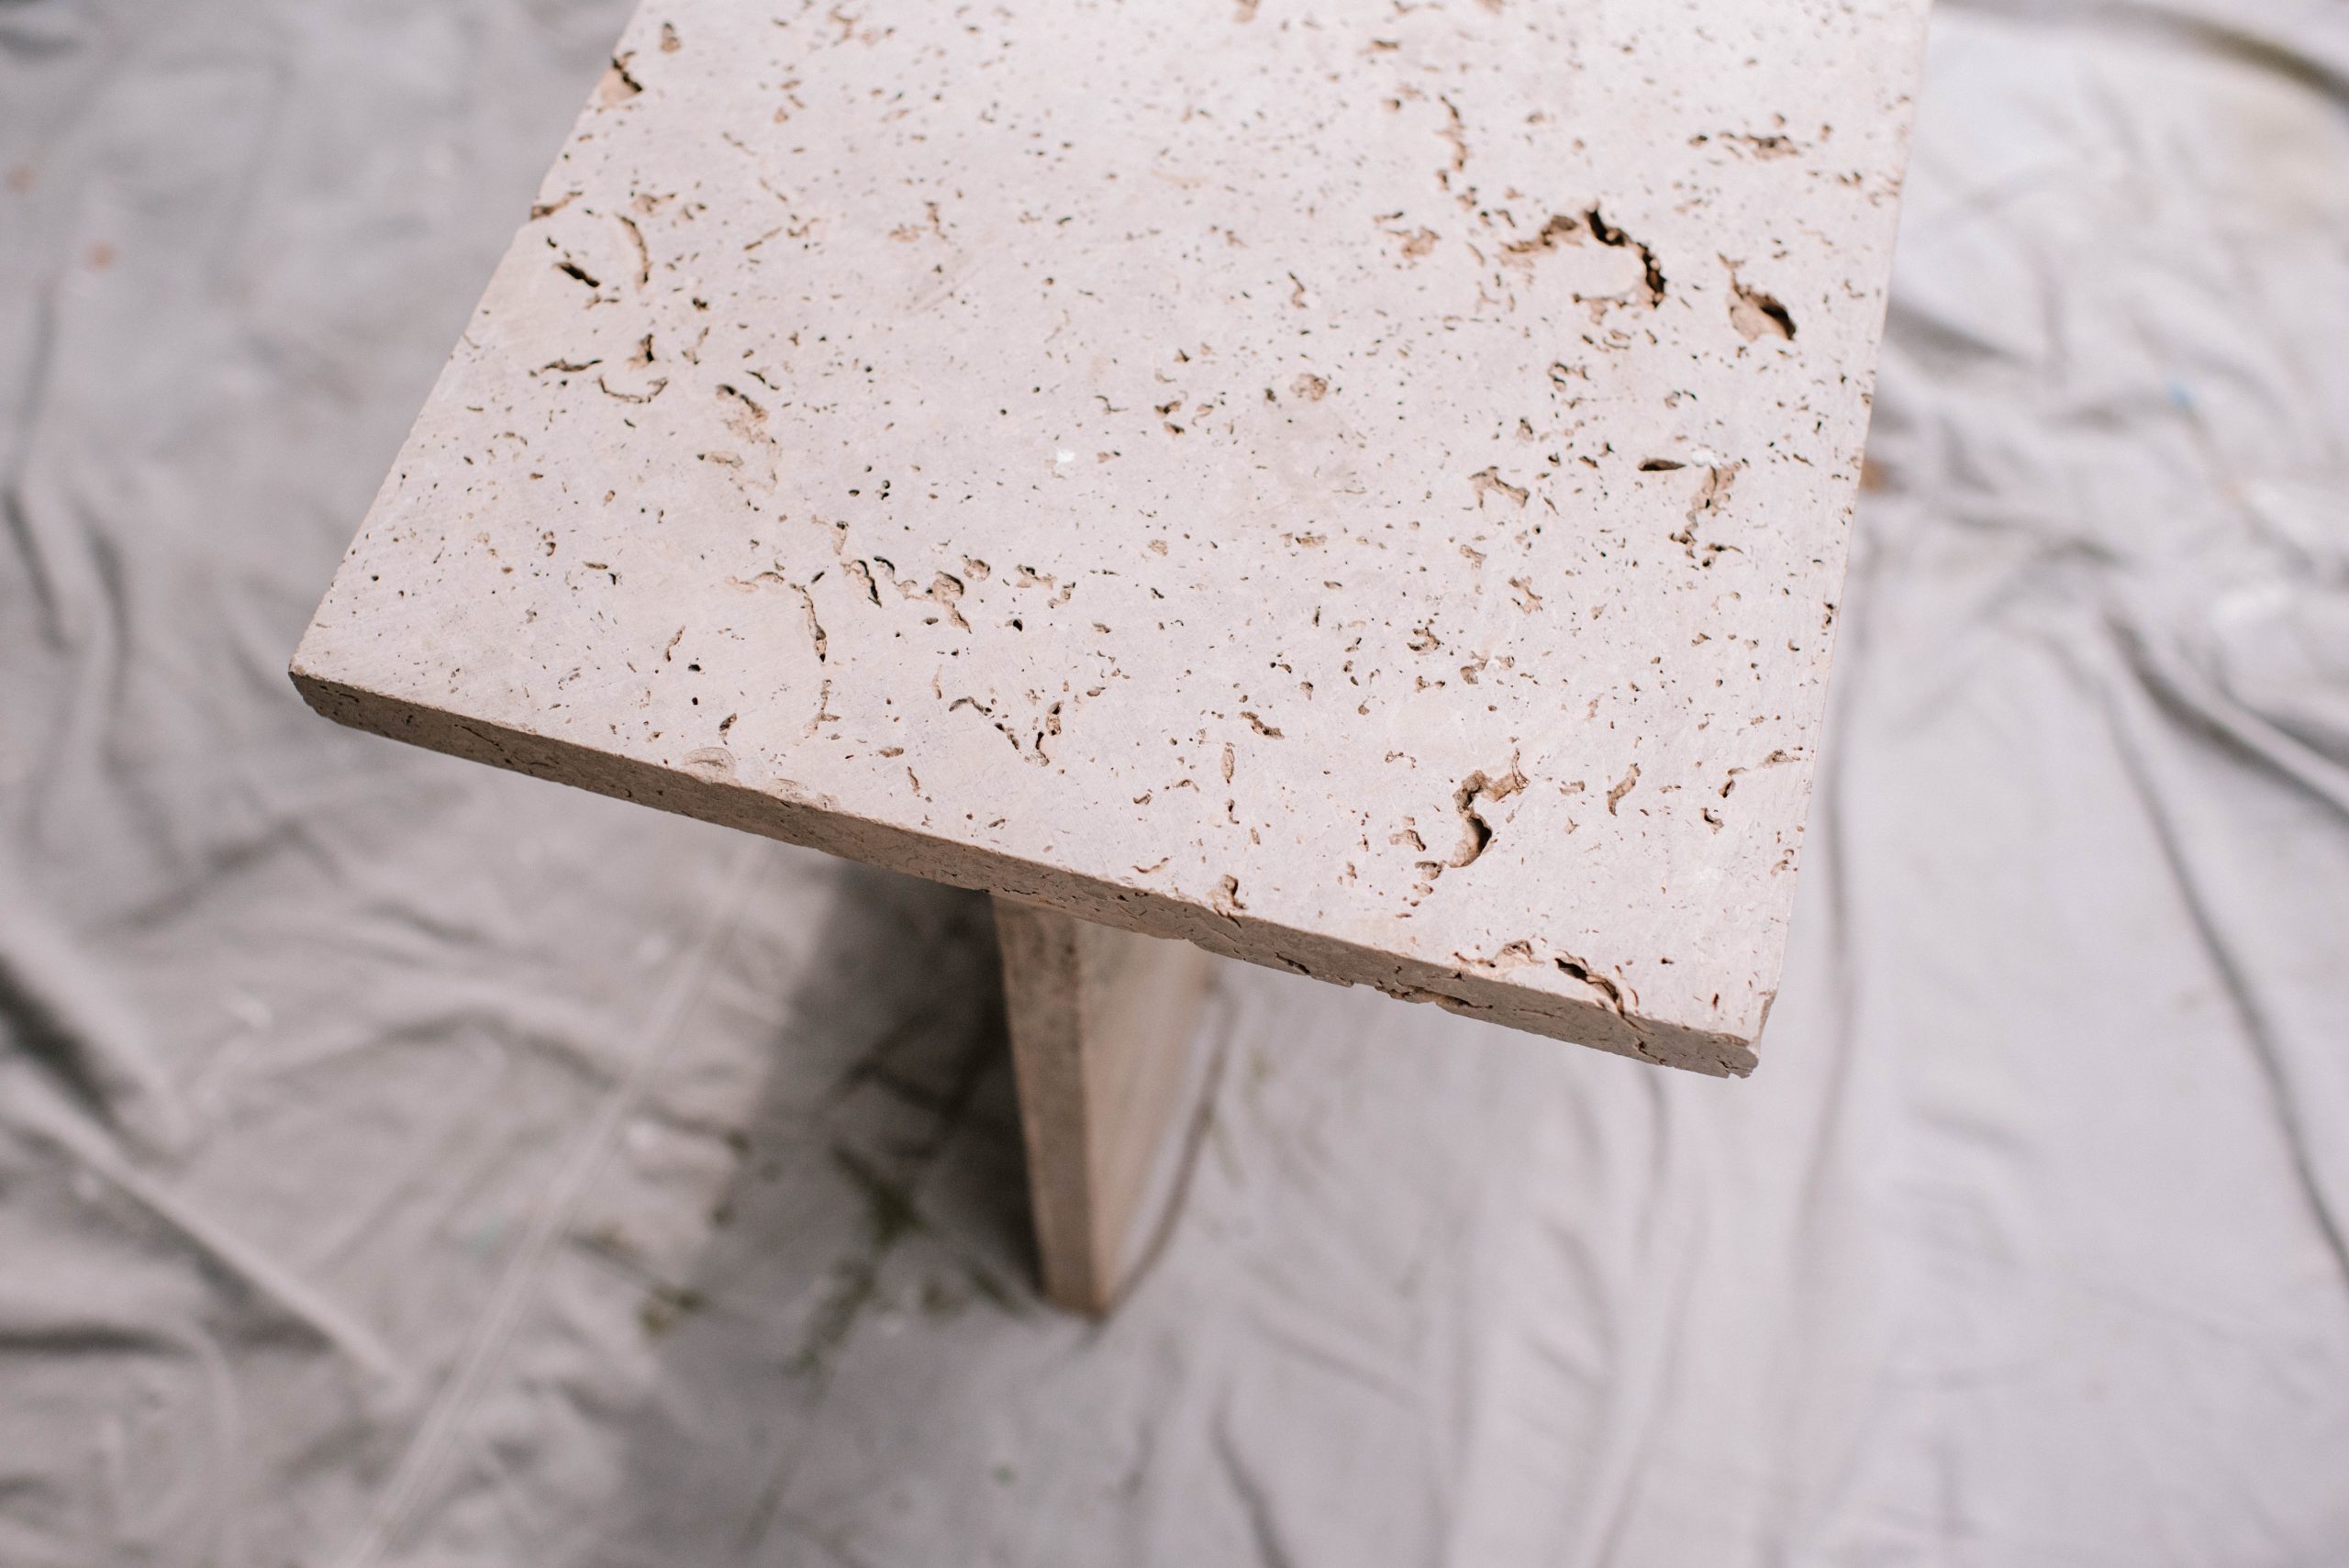
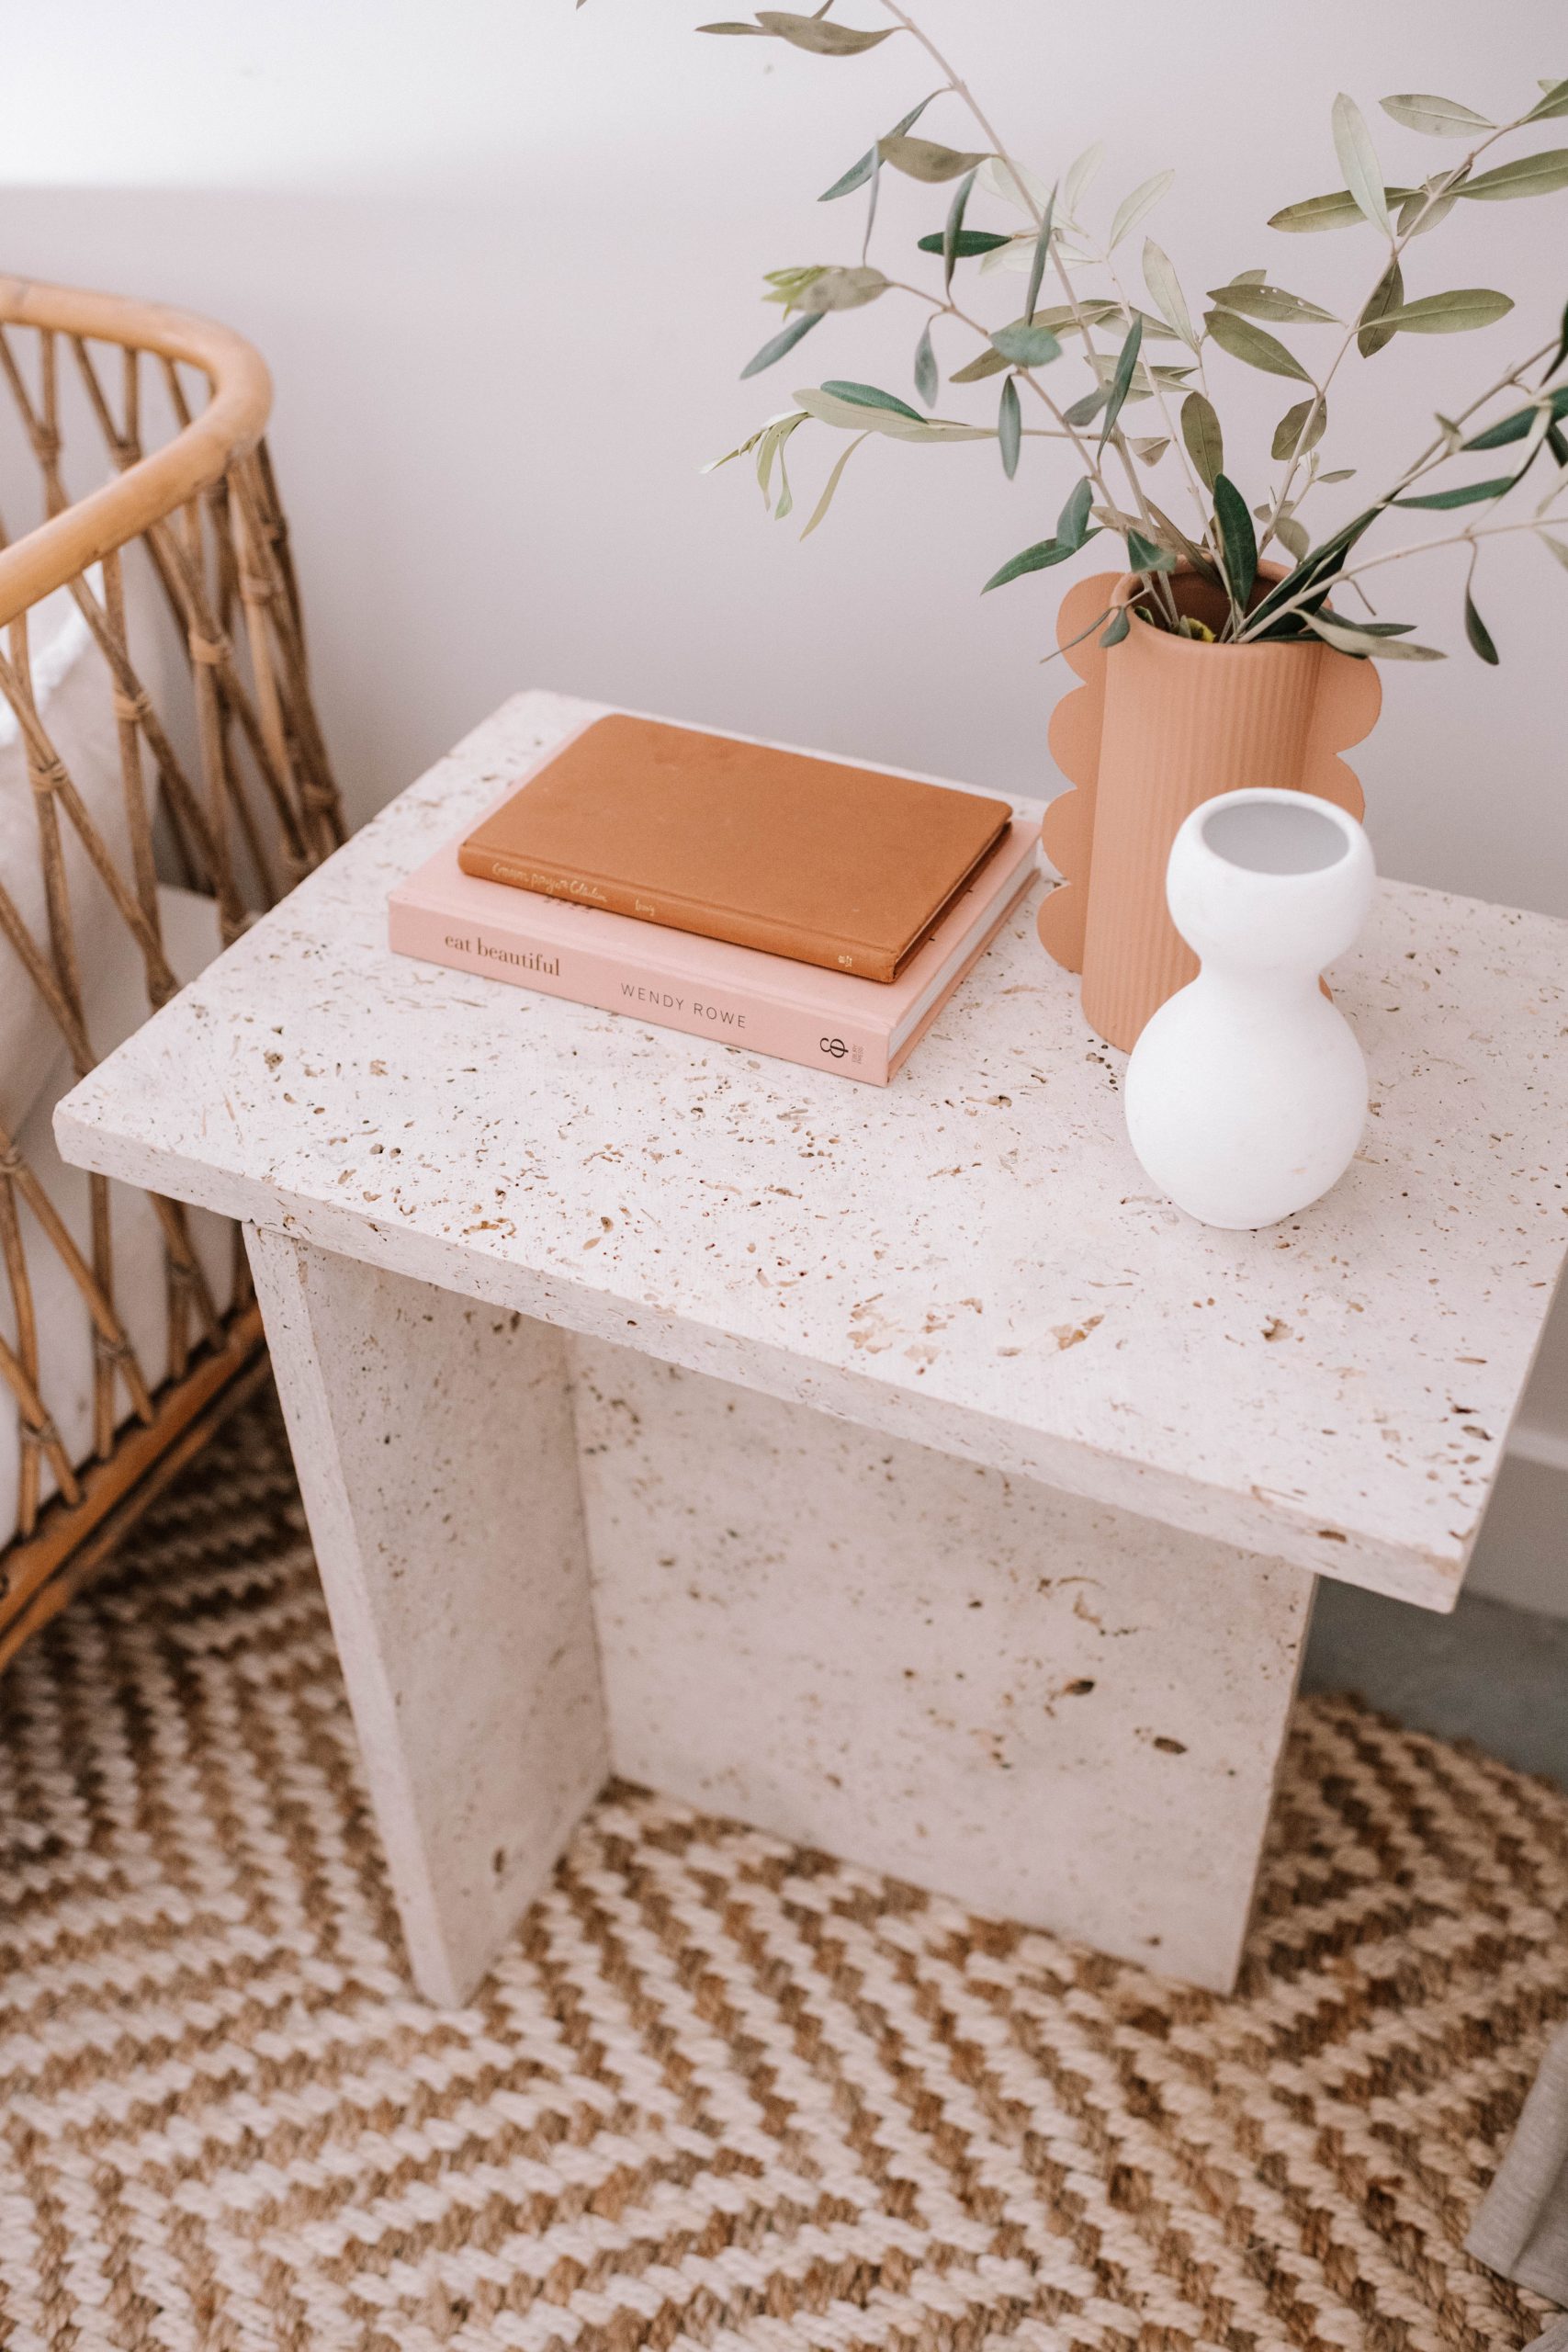
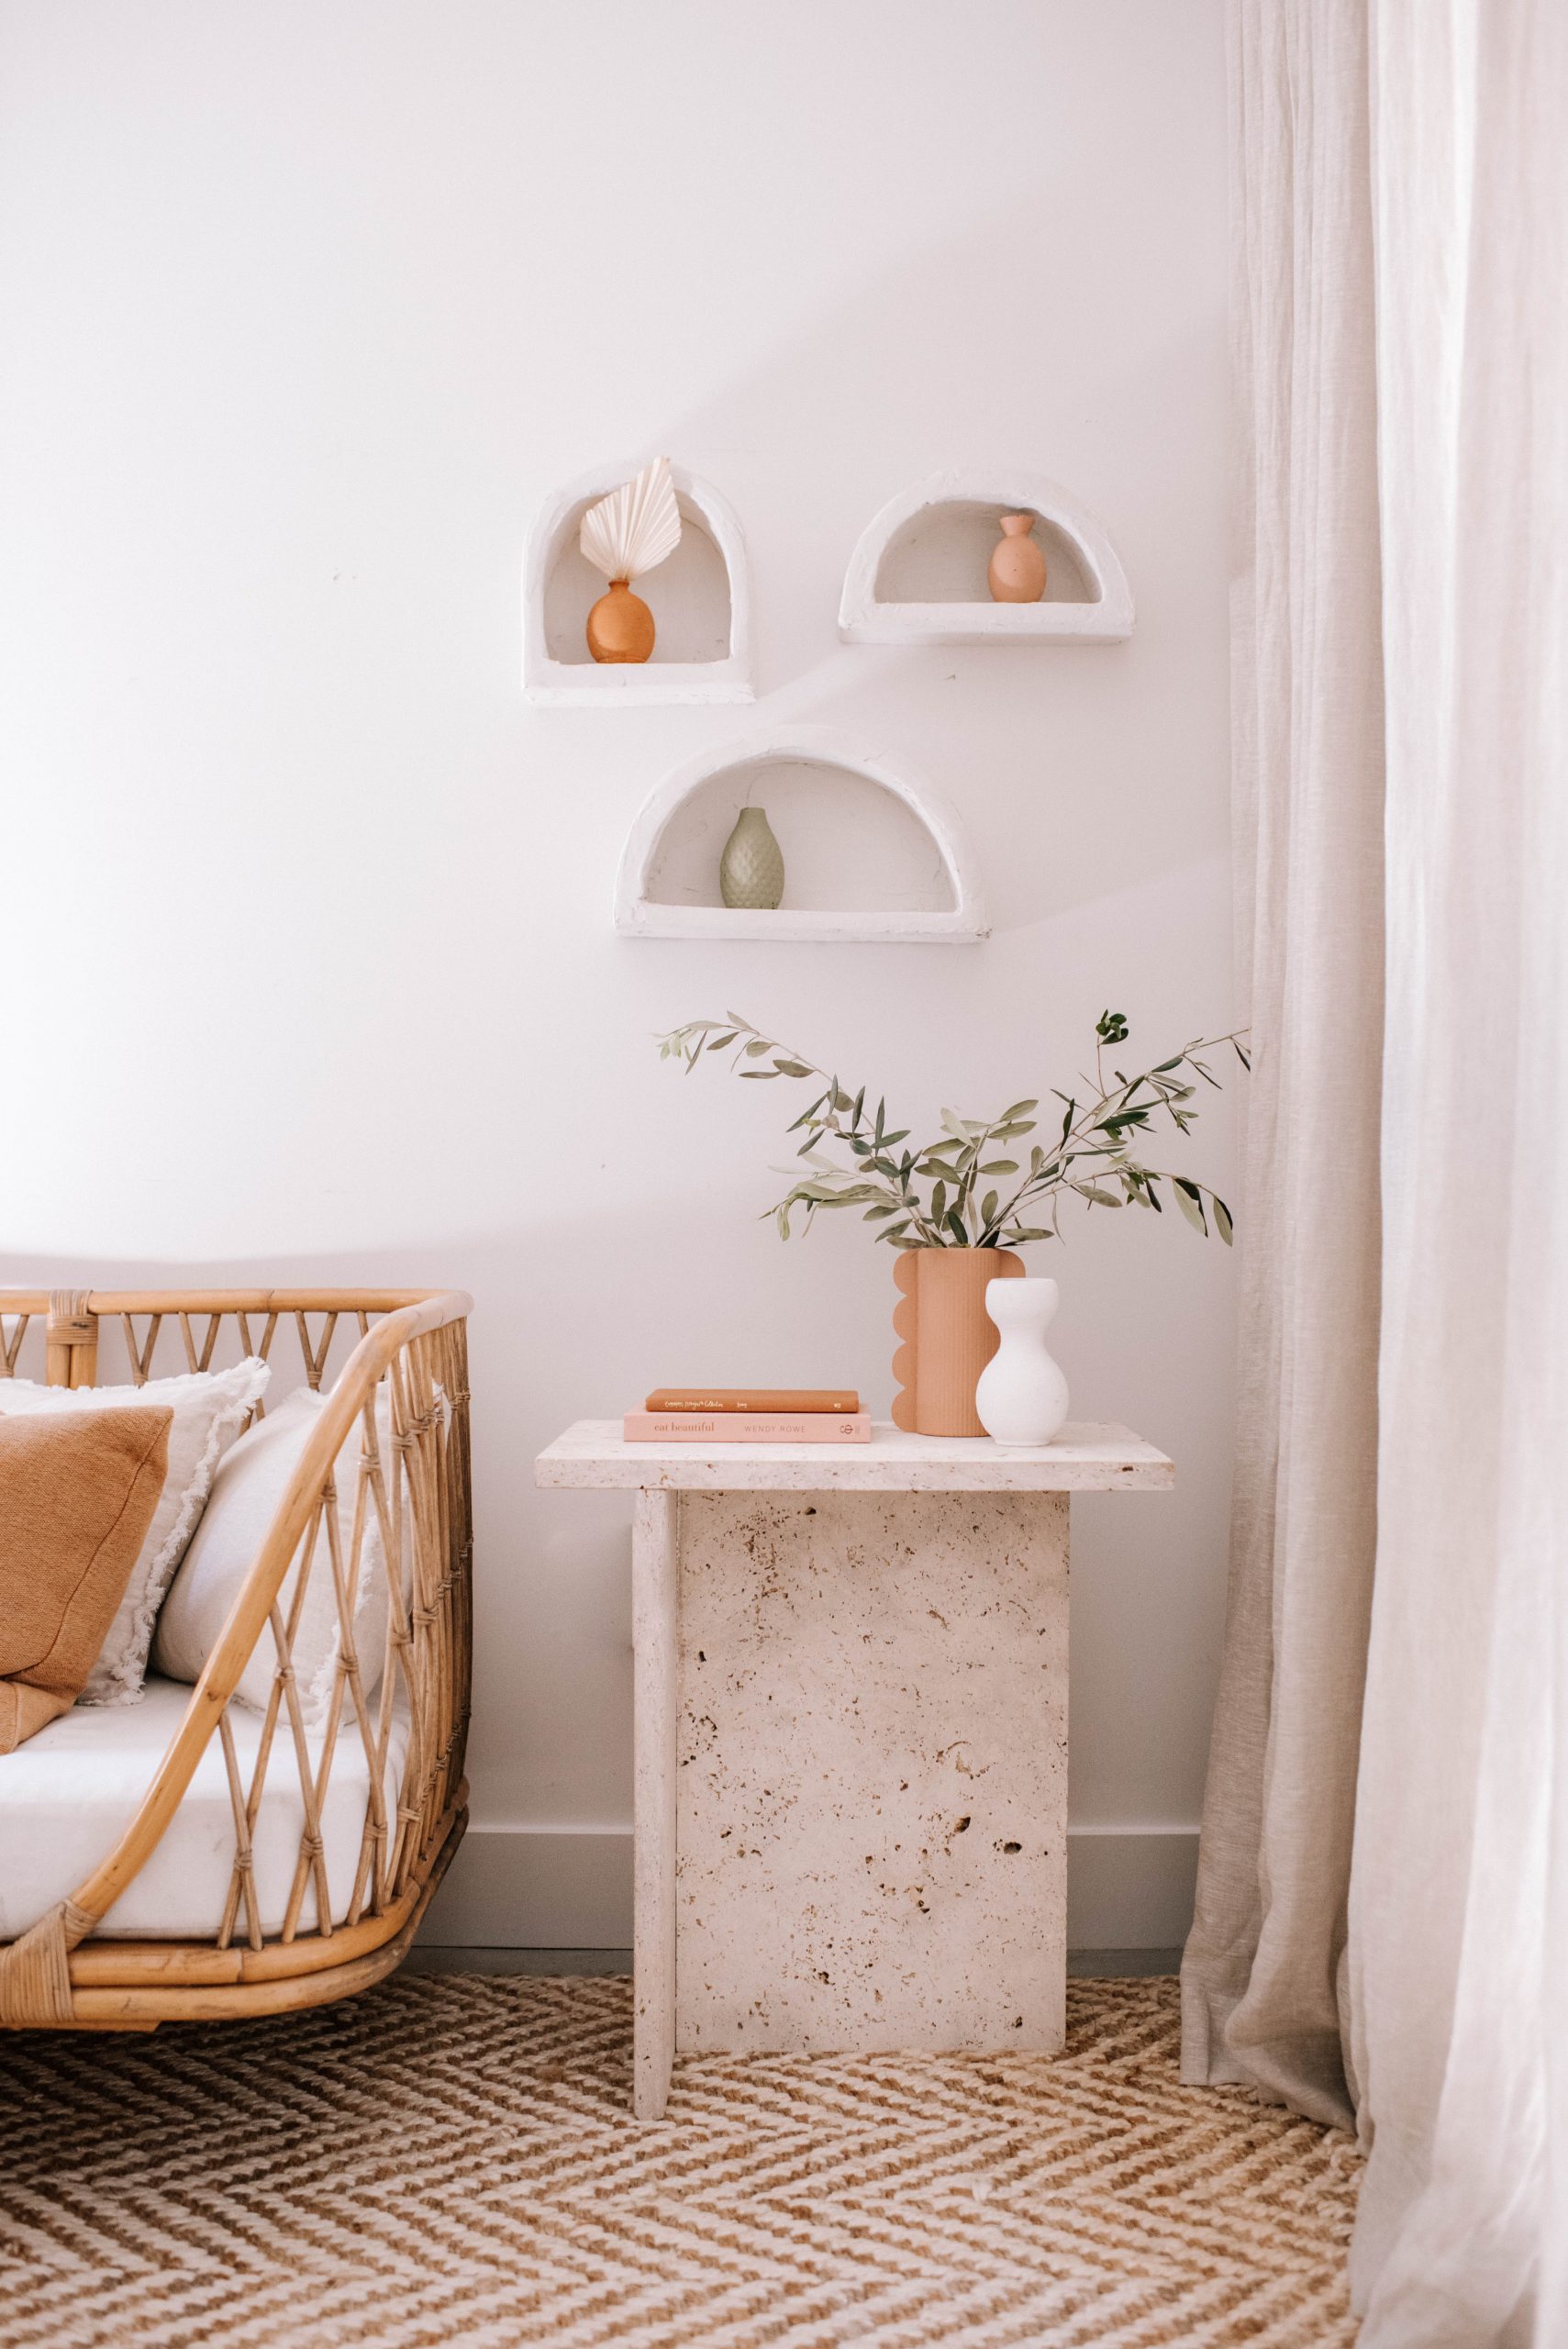
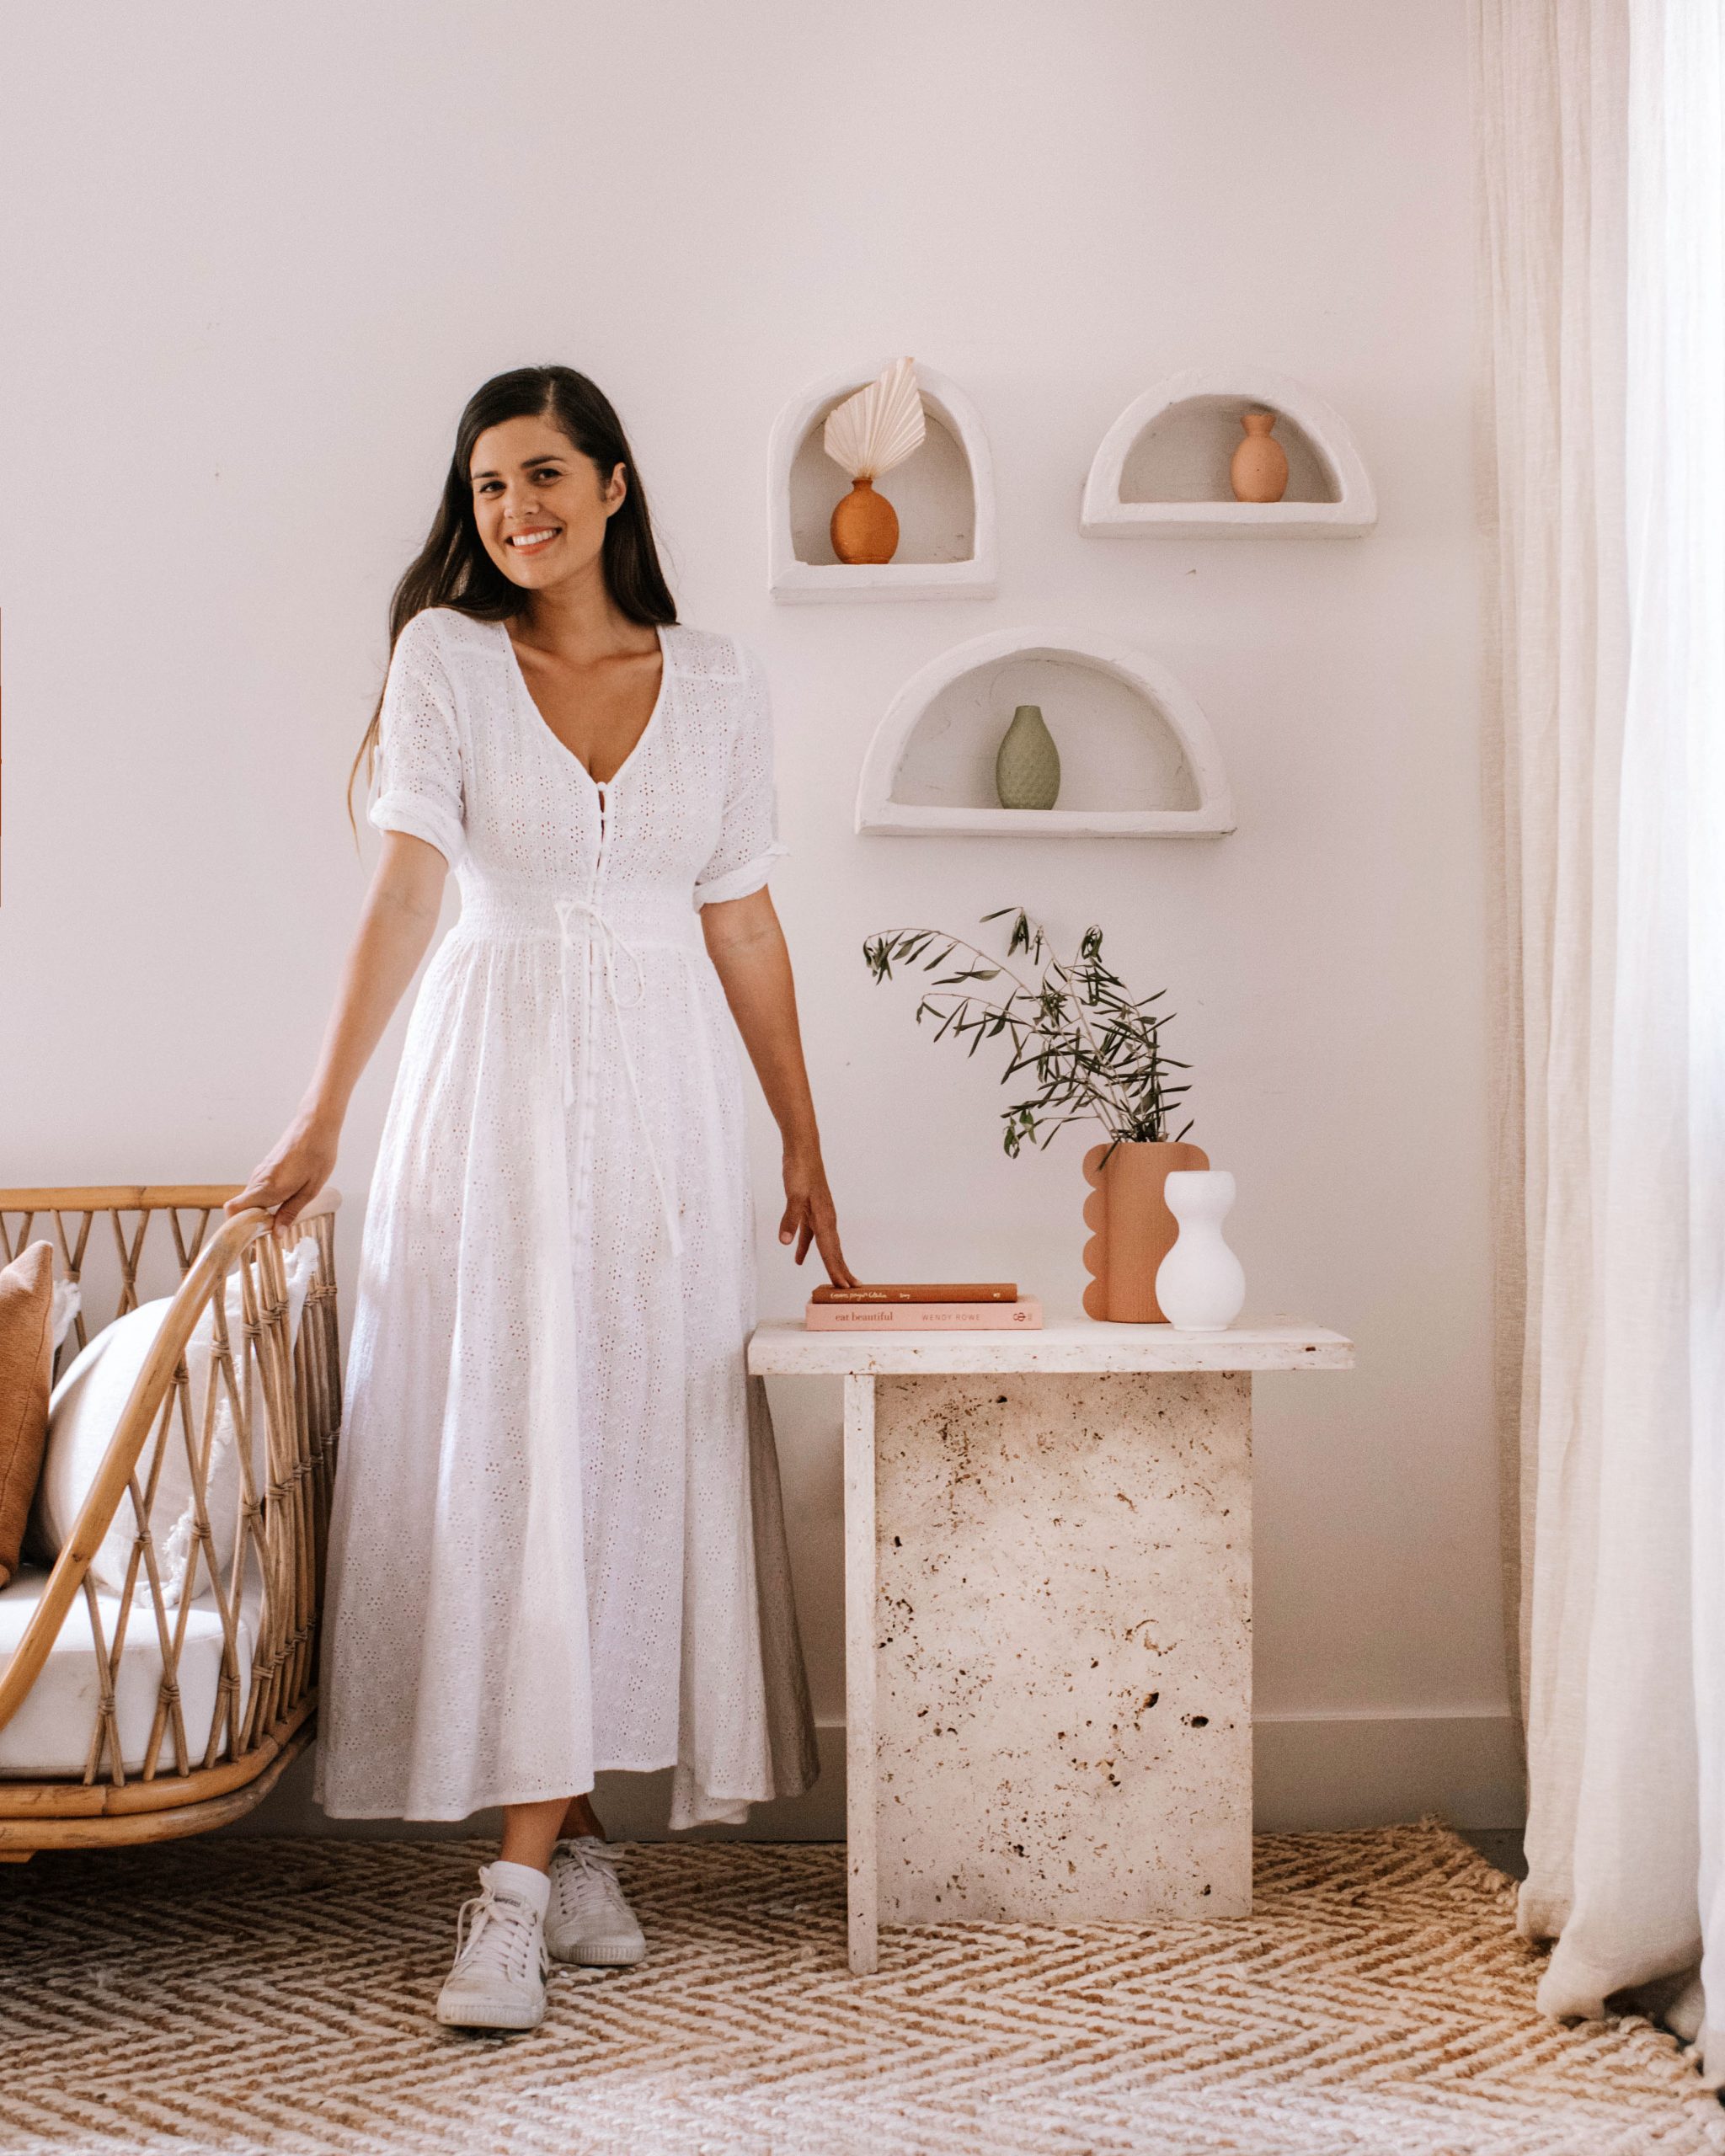
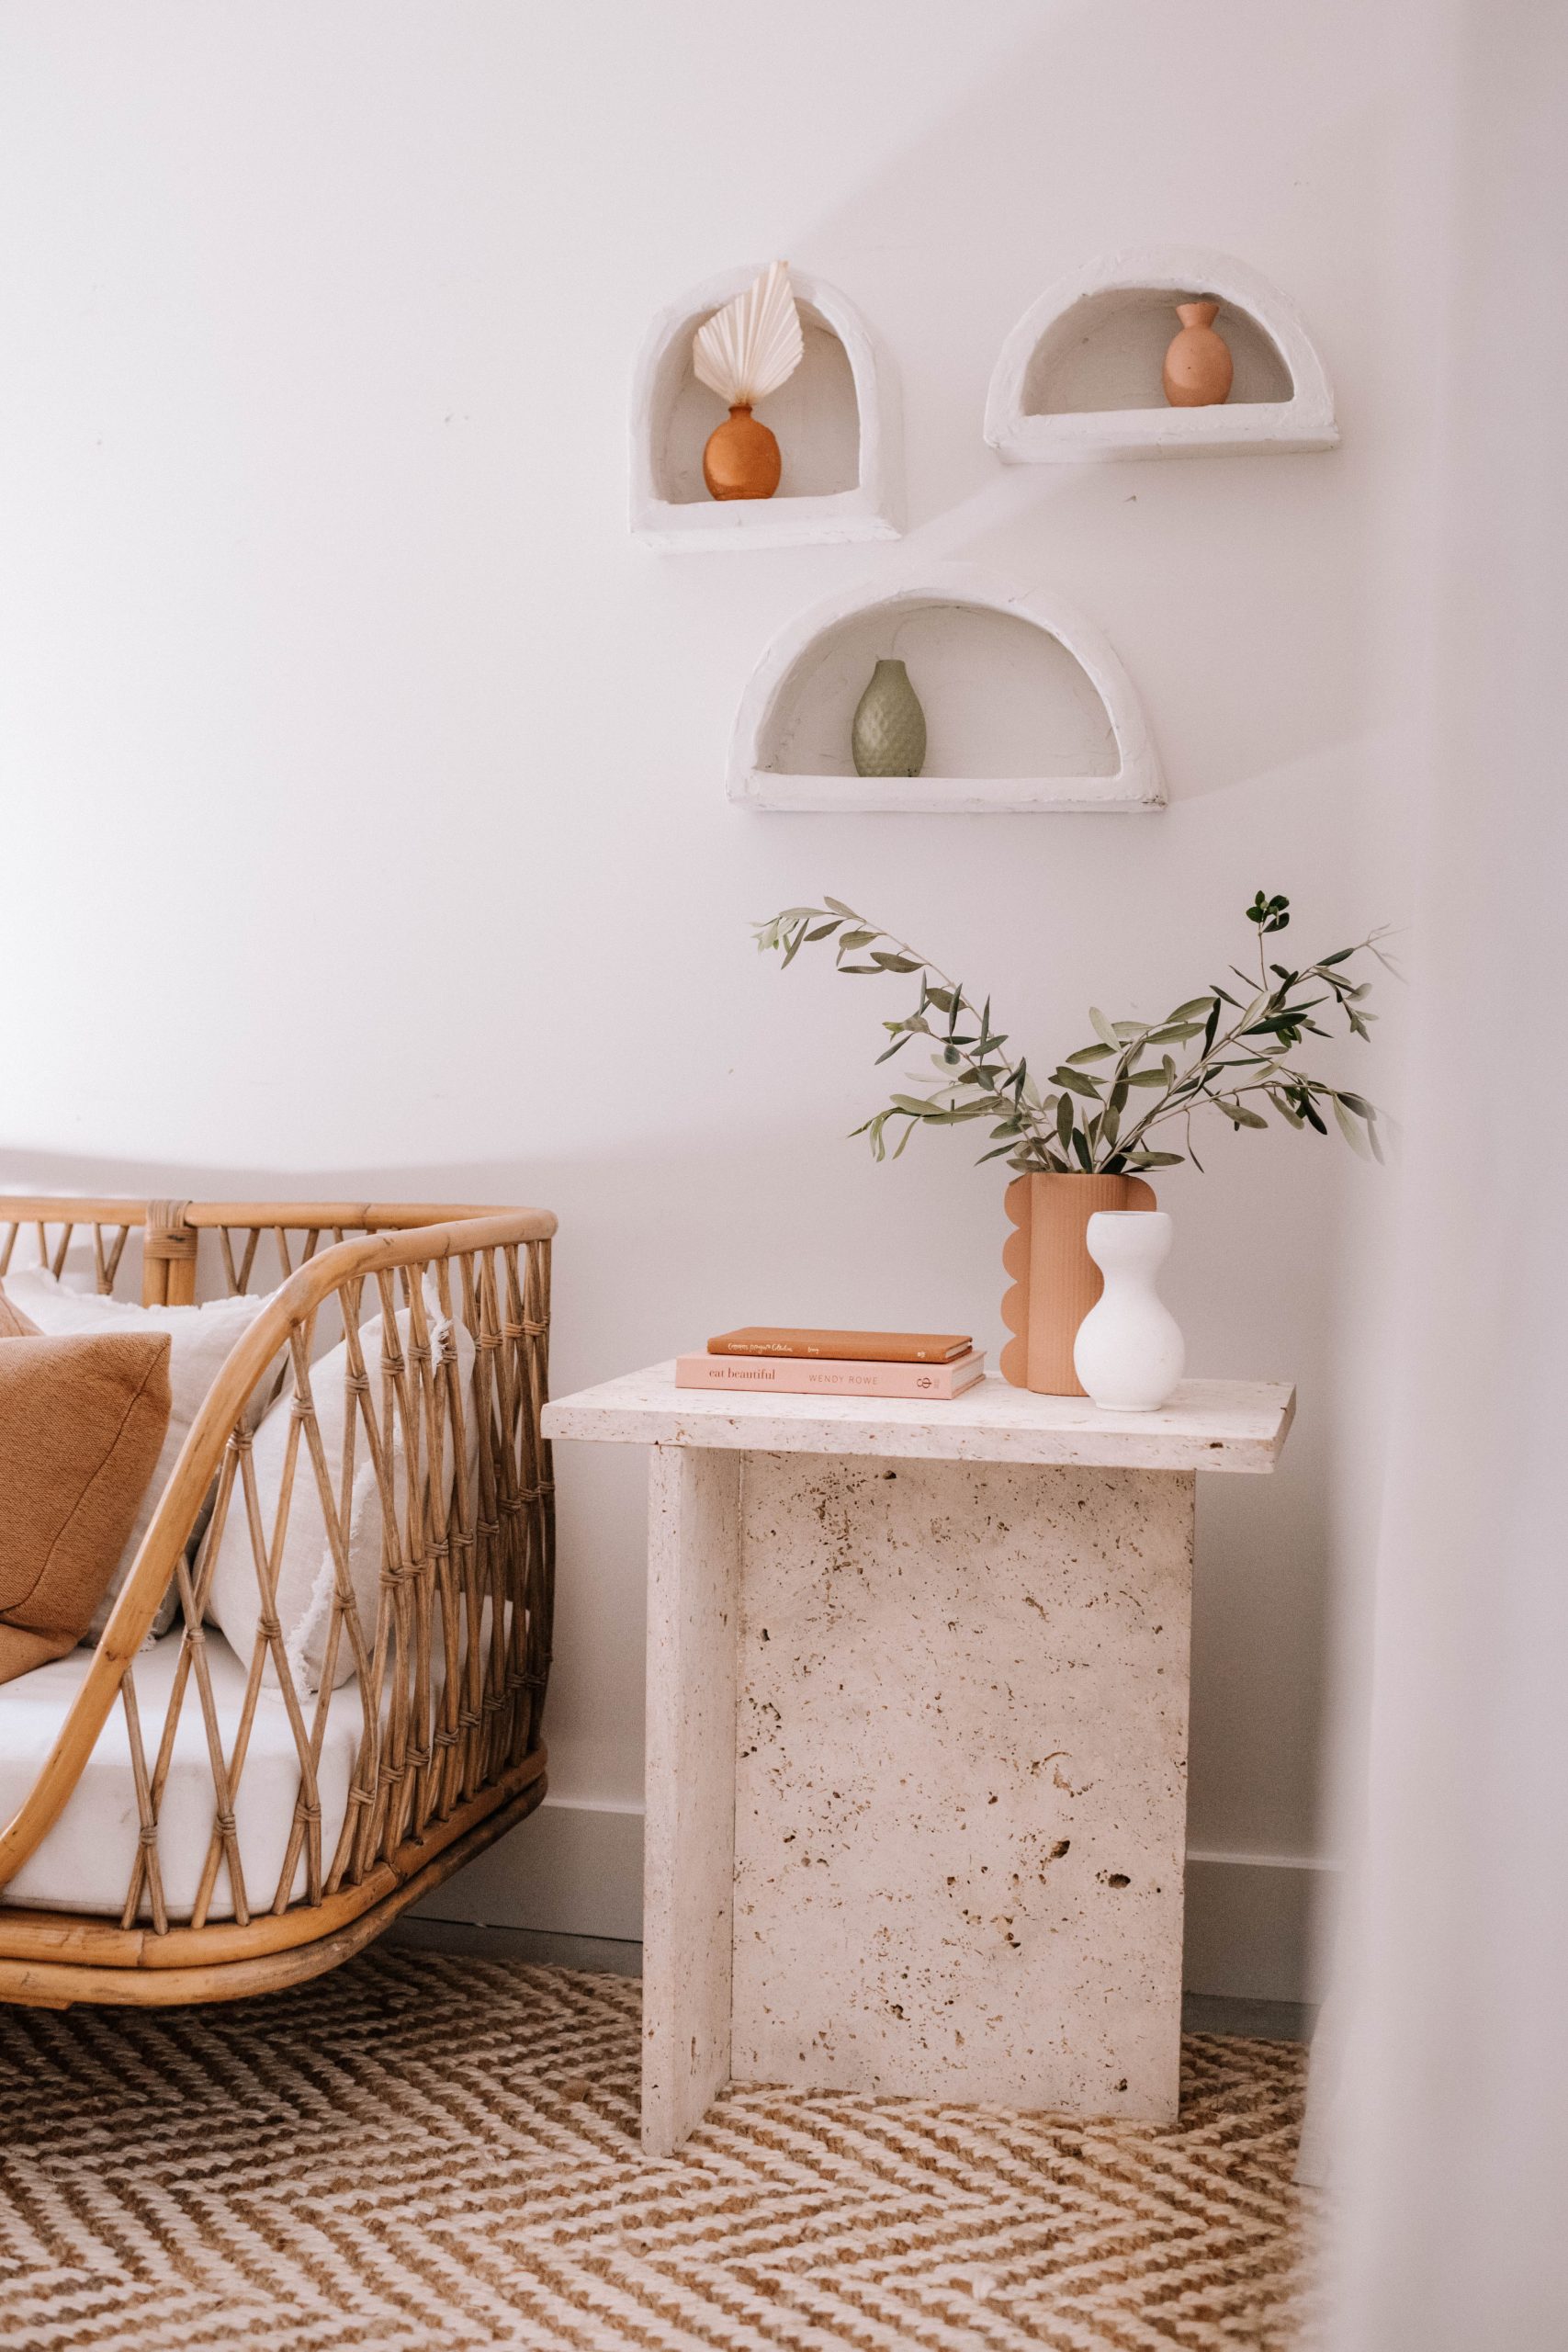
I have to say, this one surprised even me. A side table using pavers!
I love a simple project, and sometimes they just come to you out of the blue. Much like my #trashtoterracotta idea last year, this is one project that came to me when I was in a bit of DIY flow, just tuning into the materials I had and trying to think outside the box. I’d bought these pavers at Bunnings a little while ago, and after staring at them for a while I had an idea! And so, the travertine side table was born! This has to be one of the more basic ideas I ave come up with, but I just love the simplicity of the design and that it’s so easy to make. I had actually seen one I liked a while ago but it retailed at $1500, which was a little outside my price range… I ended up making this one for $58, which I have to say, I’m pretty happy with! It’s quite a work out making this table, as the pavers are very (very!) heavy, but it’s worth it (just be careful of dropping them onto your foot). And I’m so happy to see that so many people like this. After sharing this a few days ago on Instagram and Tiktok, the pavers are starting to get sold out of Bunnings, and I’ve already seen hundreds of remakes (and lots being sold on FB marketplace haha). I’m busy deciding on a hashtag for this project, but in the meantime I hope you’ll join the travertine project crew!
You need
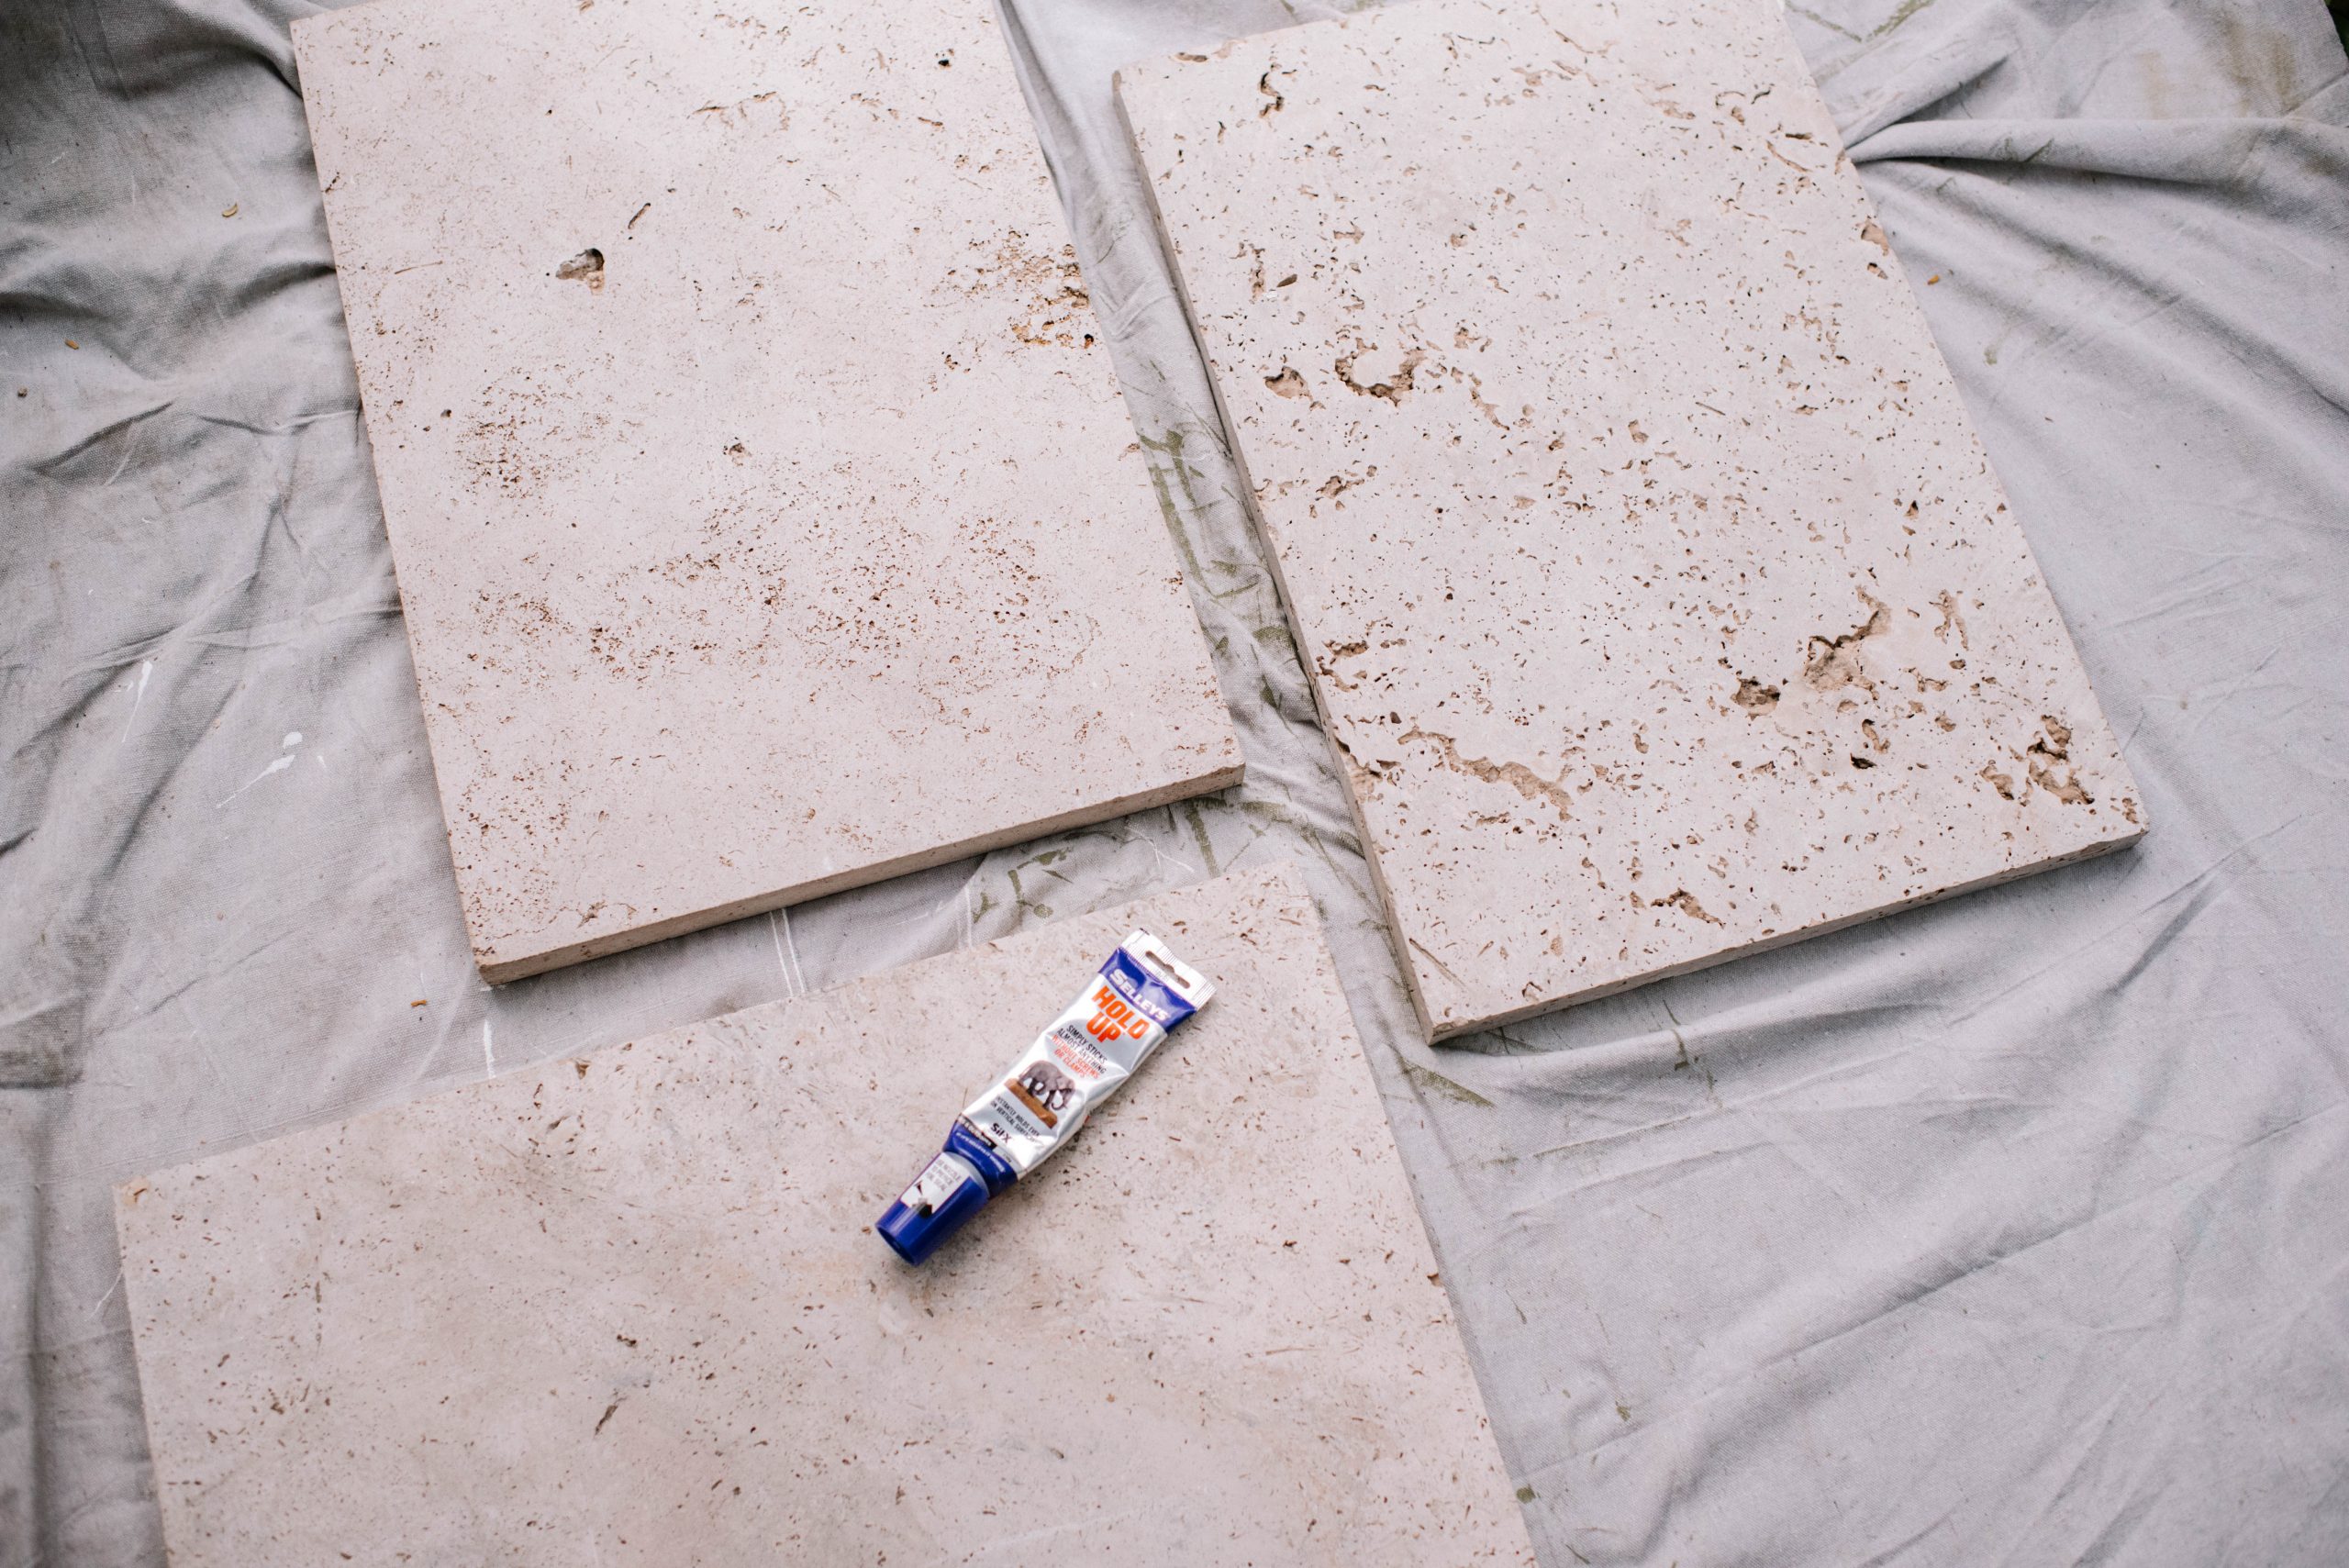
- 3 Travertine pavers (I used these and they were 600mm x 400mm x 30mm – or 24 inches x 16inches x 1 inch)
- Selleys Hold Up Glue
Watch the video
Recently I created a video for making the original travertine side table. I’d had a lot of questions about it so I thought why not hash it out a little more in video. You can watch it below!
How to
Before you get started, it’s important to wear sturdy shoes when handling these heavy pavers. Even with shoes on you need to be very careful not to drop a paver onto your feet as you are handling them. You may also want a friend to help you lift and hold the pavers into the place when gluing. And don’t try to lift the finished side table on your own.
1
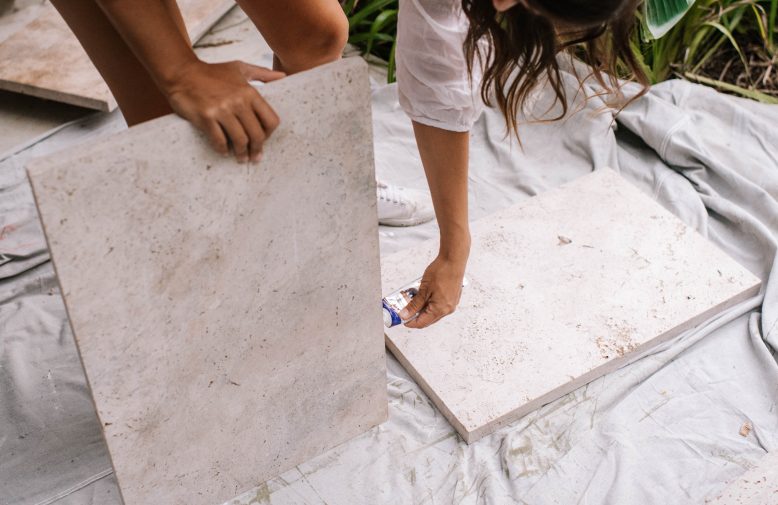
Lift up the first paver onto the short edge, and apply glue along the long edge, perpendicular to the floor.
2
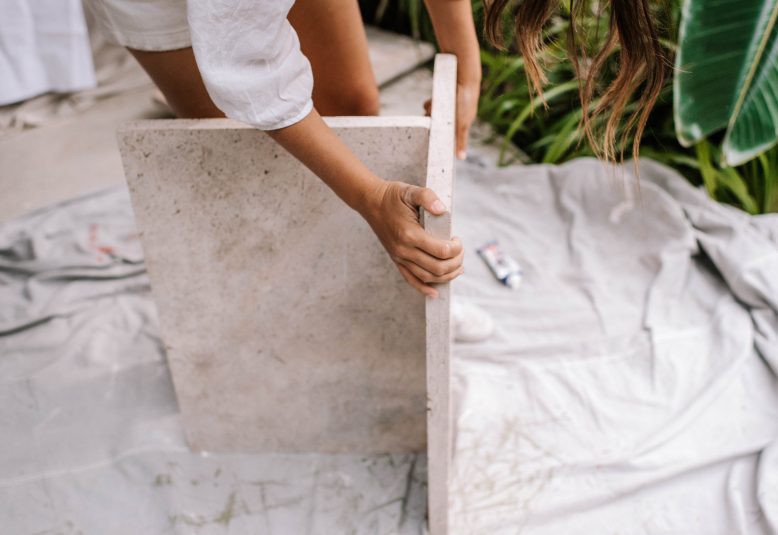
Lift the second paver and press it onto the glue, making sure that it is well centred onto the first paver. This will ensure good balance. Also, check to make sure that both pavers are completely flush with the floor and have good contact. If they don't or seem to be cut slightly out of line, consider flipping them so that the straightest edge is flush with the floor with good contact.
3
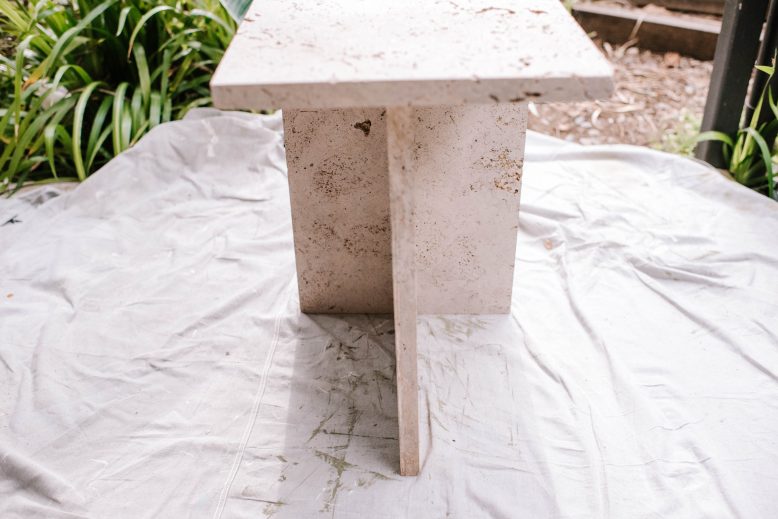
Here is how the pavers should look once the first two have been glued together. Note how they create a balanced T shape.
4
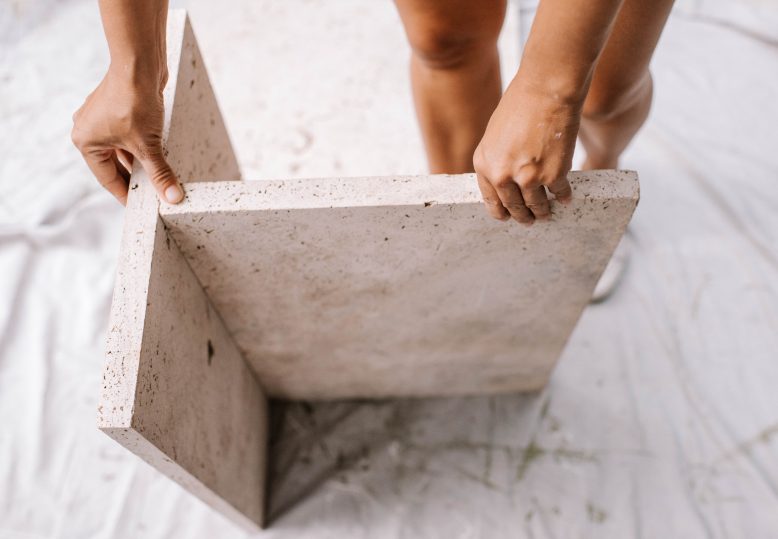
Apply glue to top edge of the T that is formed by the first two pavers. Add a decent amount of glue to ensure a good hold.
5
Lift up the third paver and place it on top of the first two. Make sure that the top is sitting in the middle of the base, I made sure that there was the same amount of distance from from both sides of the base.
6
The glue remains flexible for around 15 minutes after you put it together, so you may want to use some tape to hold it together if you find it is sliding around (I didn't need to do this but some people have said they did). Then, let the glue dry for at least 48 hours before moving it or disturbing it. (Note here the balance of the structure in the picture and the shape of the T).
A few Things to note
Safety
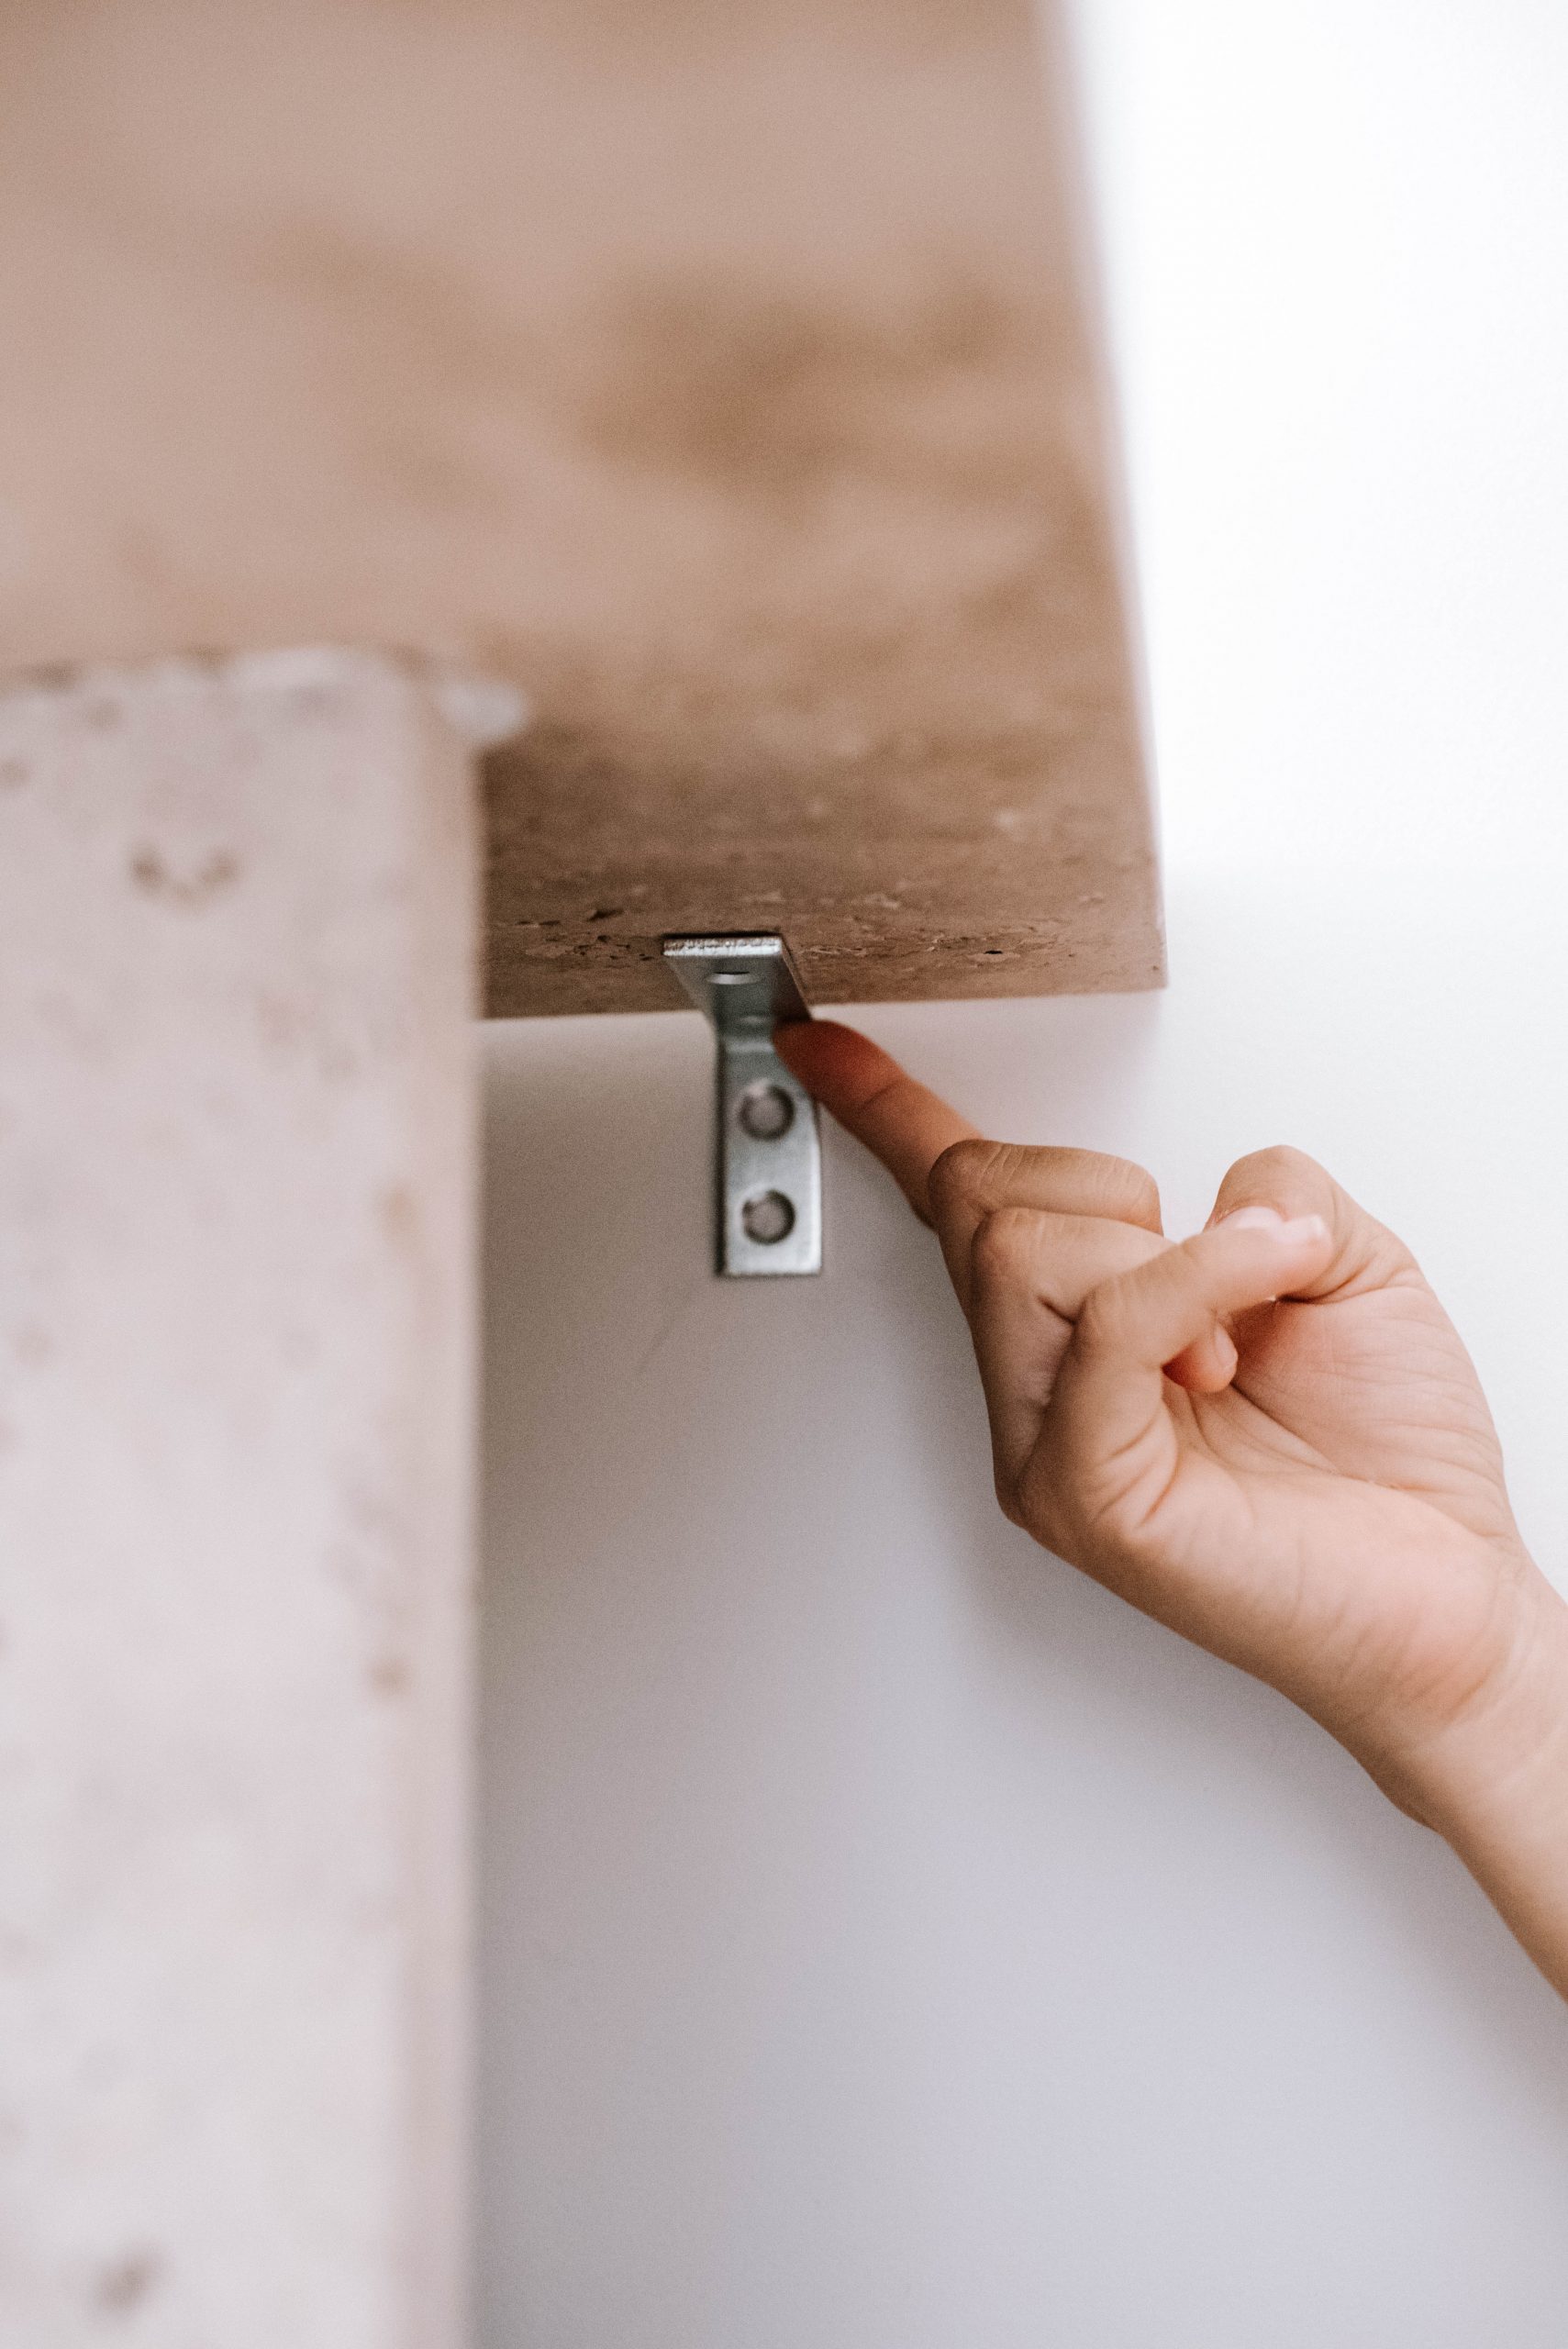
Generally, heavy furniture should be secured to the wall if you have small children around. To secure this table to the wall, you can add some L brackets (like these) by screwing or gluing them onto the underside of the table, and then screwing those into the wall. If you want to screw into travertine, use a drill, a diamond bit and then push anchors into the stone to which you can then screw into (find a stud in the wall if your wall is plasterboard). A heavy duty superglue should also work to attach the L brackets. This table is in our studio right now (away from the girls) but if I move it into the house I’ll add these L brackets. It’s quite easy to do.
- Add extra safety by securing L brackets to the underside and screwing to the wall.
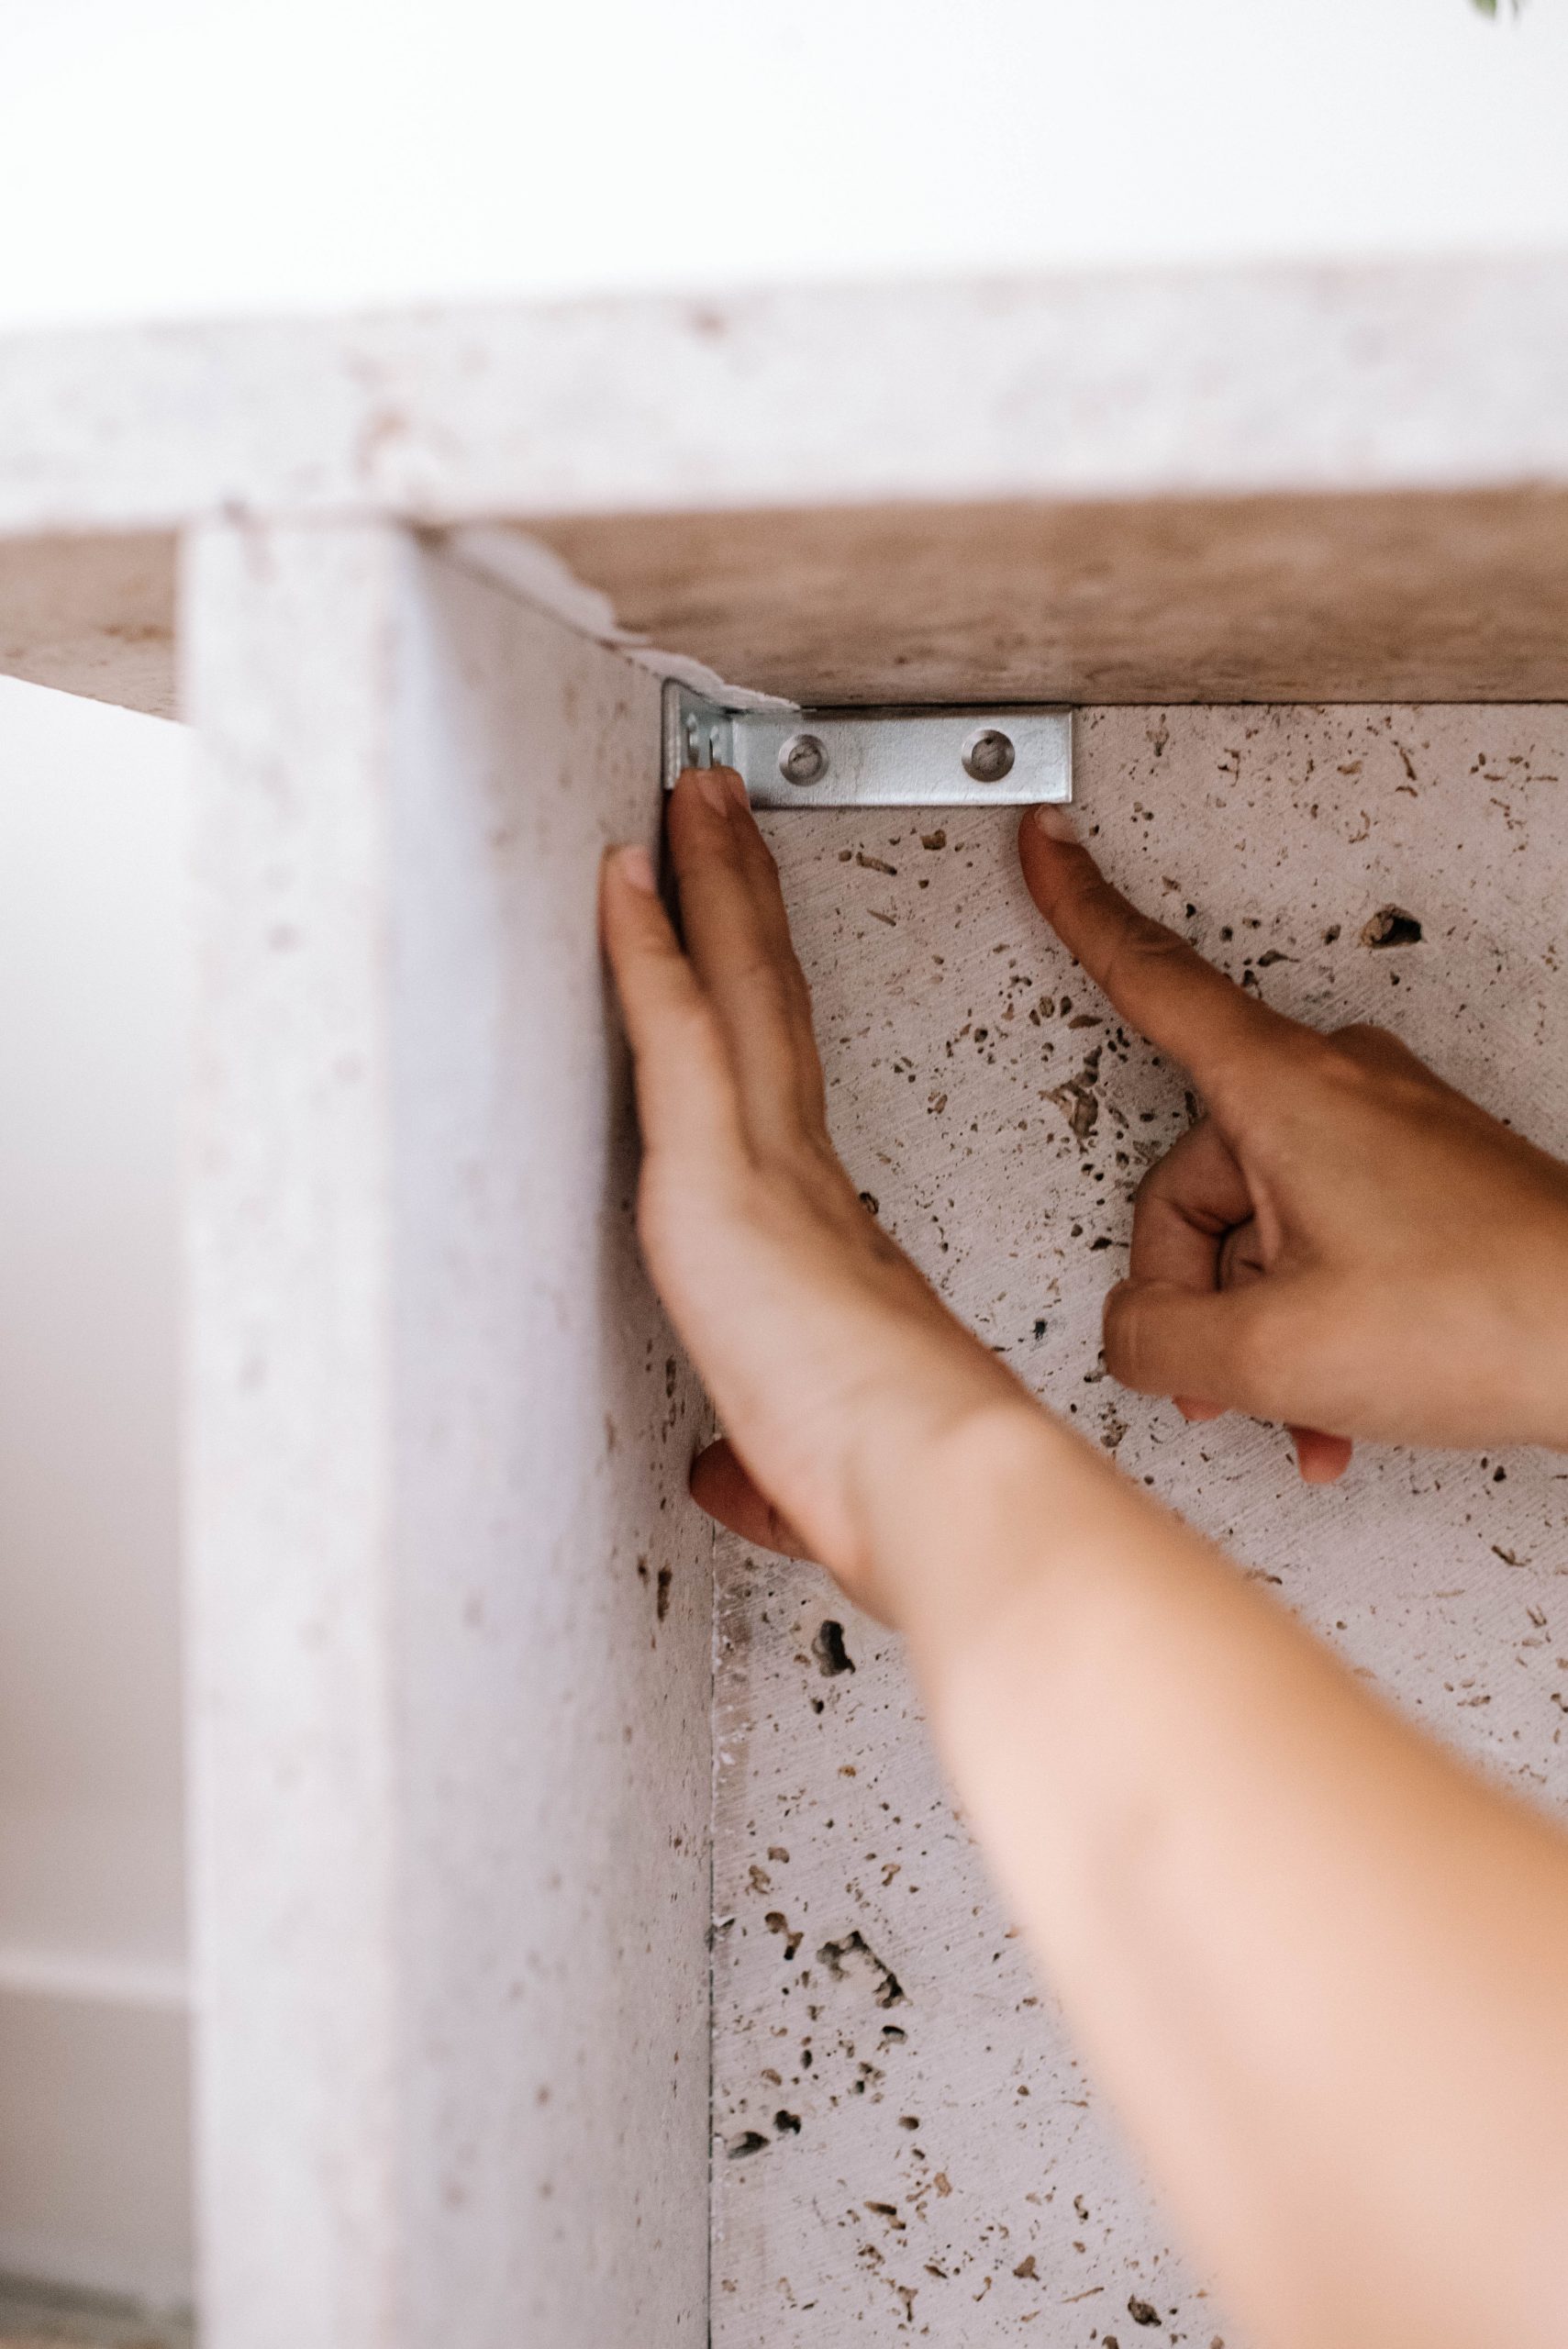
- L brackets used on the pavers to add further bracing (details below).
Bracing the Design
I’m happy with using glue because after testing my project it seems quite sturdy, but you can always add some further bracing if you would like to. Particularly if you don’t think your glue will hold properly or if you think your stone surface is perhaps too grainy or porous to hold (all stone is different). You can add further bracing by screwing our glueing some additional L brackets into the back of your side table, where the pavers intersect at right angles.
Moving the table
Make sure you wait until the glue is fully dry before moving it. This means at least 48 hours (or as per the instructions on the glue you have used). My suggestion is also to make this design close to where you want to use it, as it’s quite heavy to move. When you do move it, get someone to help you, make sure to wear shoes and lift from the base rather than the top. If you have to move it on your own, I suggest sliding it along the floor after placing it on a towel or something similar.
Types of Glue You Can Use
I used Hold Up glue because I have had good results with it in the past but I am sure there are other options to use, for example I know this glue is similar to liquid nails so you could try something along those lines. I think no matter what you try, it’s important to carefully test the strength and the structure once it is dry. For this one I tested it very carefully by lifting, rocking, pushing and putting pressure on it once it was dry to see how it was holding up. Additionally, be very careful of your side table while it is drying, and avoid touching or moving it before the glue has cured (as the pavers can slip and break).
Sealing the Stone
I am yet to seal this table, but the feedback has been that this type of stone can stain quite easily, so if you’re worried I would use a sealant on it, or position the polished side of the stone on the top. I have been told this sealant is quite good.
