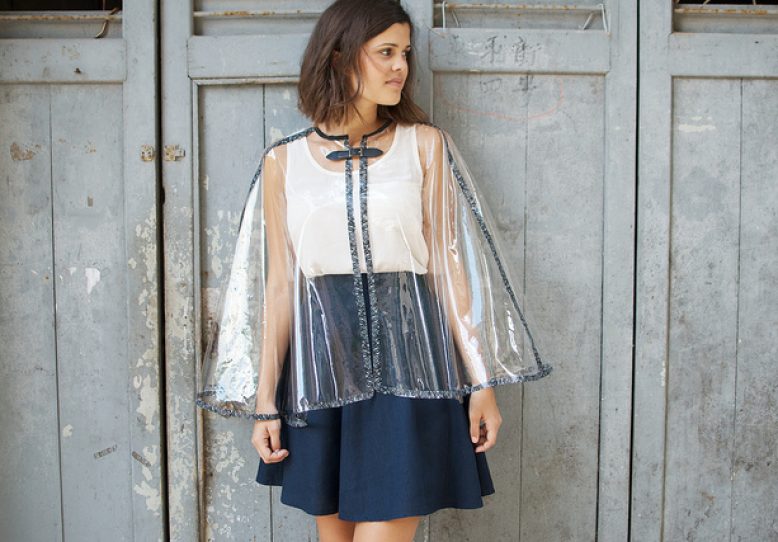
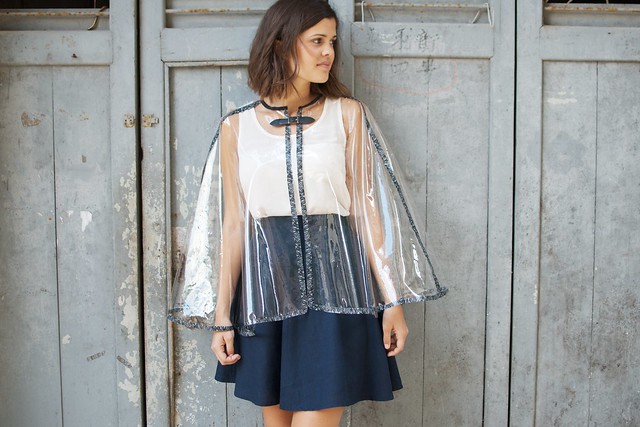
This was the inspiration (in the event that you’ve forgotten – twas a few seasons ago!).
You Need:
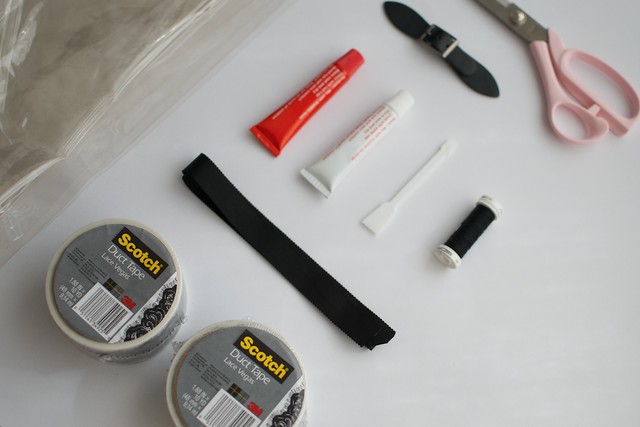
- Transparent plastic/pvc sheeting (a table cloth or shower curtain will work or else check out your local caft store to buy by the meter or yard) measuring approximately 60in/1.5m on the long edge and 50in/1.25m on the short edge.
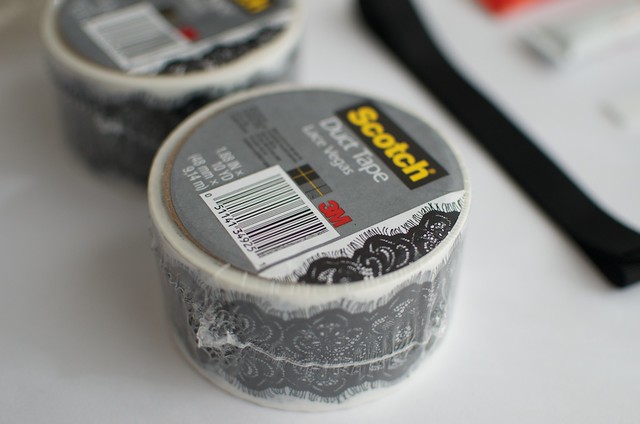
- A roll of Scotch ‘Lace Vegas’ duct tape. FYI – duct tape is perfect for this project as it’s waterproof and therefore won’t slip off in the rain.
- 10in/25cm of black grosgrain ribbon
- Super glue (I used epoxy resin but you can also use E6000)
- A black leather buckle
- A needle and black thread
- Scissors
How to:
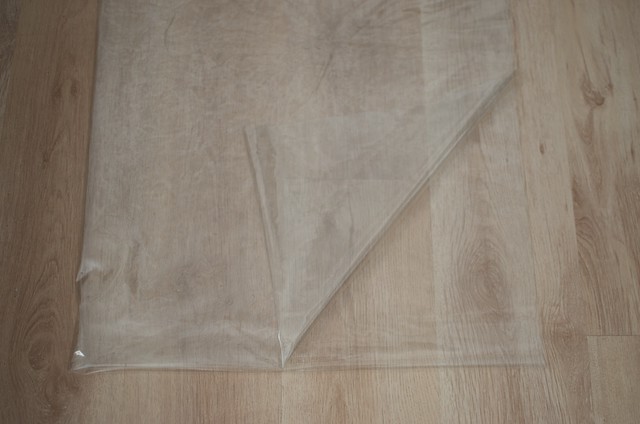
1. Fold your plastic sheeting in half and then fold it in half again as shown.
2. To create the rounded cape shape, cut along the dotted line on the edge away from the folds as shown below.
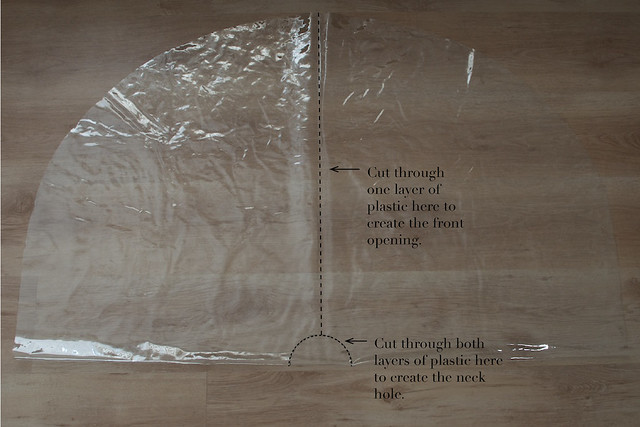
3. Unfold the plastic so it is only folded once and resembles a semi-circle, and then cut the neck hole and front opening as shown below.
4. This is what your cape should now look like.
5. Now, take your tape and trim the edges, and then cut it in half so you have slim strips of lace printed duct tape.
6. Line all the edges of the cape with the duct tape including the front openings, but not the neck opening.
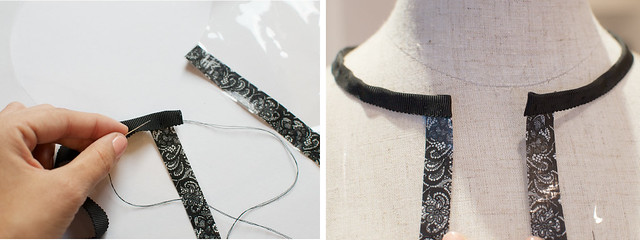
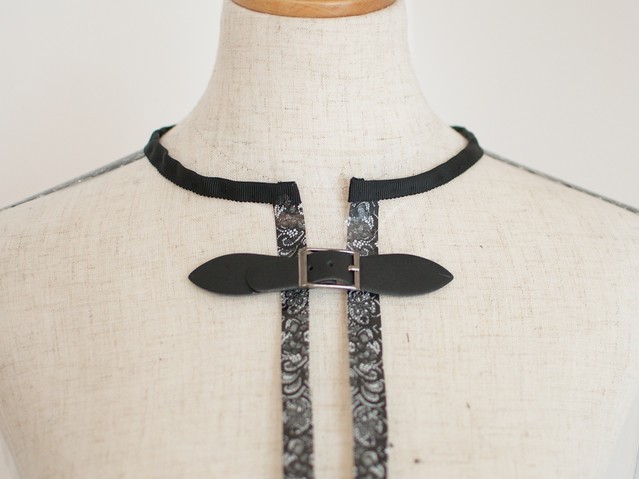
7. Take your ribbon and double it over the edges of the neckline, then sew it down with your needle and thread.
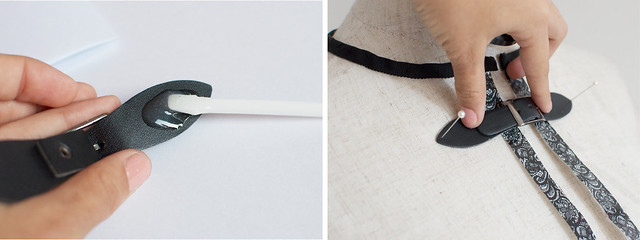
8. Spread some glue on the underside of the leather buckle and then press it onto the front of the cape. Leave to dry for a few hours.
9. Finally, add some more tape to the sides of the cape to create the appearance of the panels in the Burberry version.


