In today’s episode of take this, make that – aka the before & afters, we finally got around to creating one of the iconic shapes of the season. The flared sleeve. Initially I was undecided on this silhouette, I felt that maybe it was a little dramatic for the every day, but over time it seems to have seeped into my thoughts. A case of the more you see it the more you like it. And hence, time to try a hand at it ourselves. Yet another project created from a plain black shift dress, clearly a nun or perhaps Greek widow has donated her wardrobe to our local thrift store… Thank you whoever you are!
DIY Flared Sleeve Top
Take this, make that:
How to:
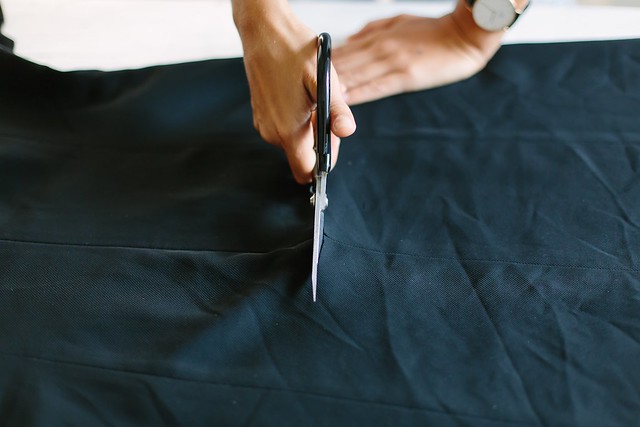
- First, cut the dress off at hip height. Also, cut the sleeves of the dress to just below elbow length.
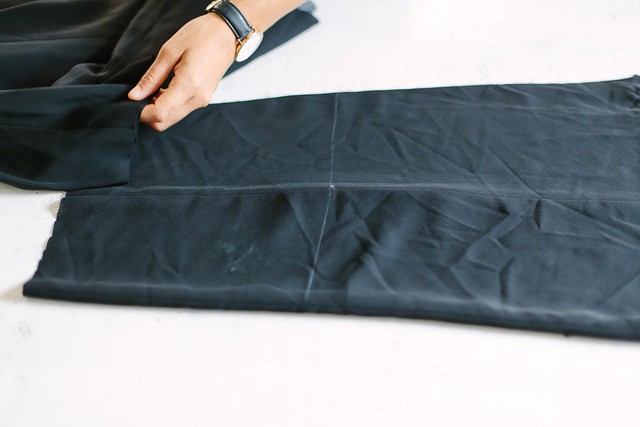
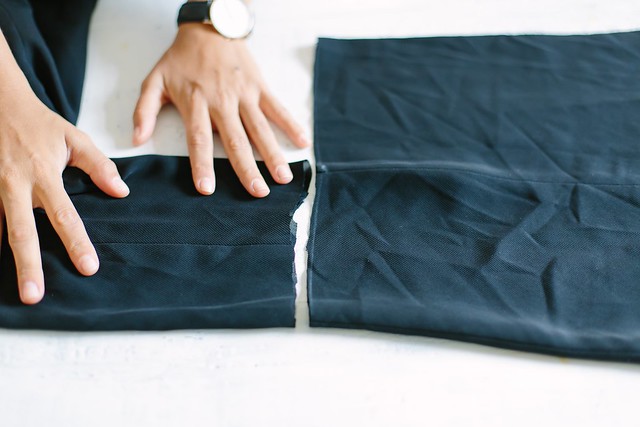
2. You’ll be left with a tube of fabric that you want to cut in half longways to create two pieces of fabric. These will become your sleeves.
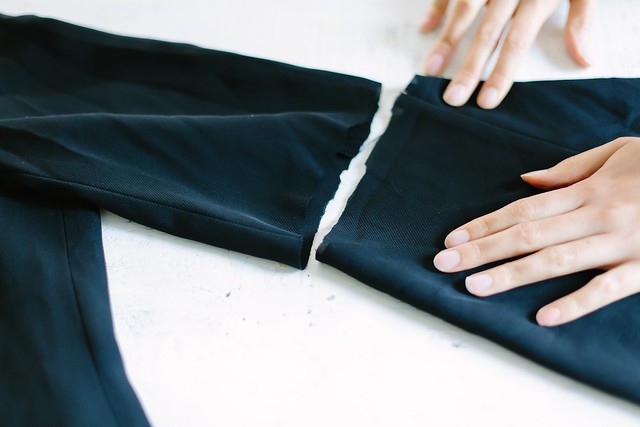
3. Line up the sleeve with one of the panels of fabric, doubled over. Make sure to orientate the hem towards the outside.
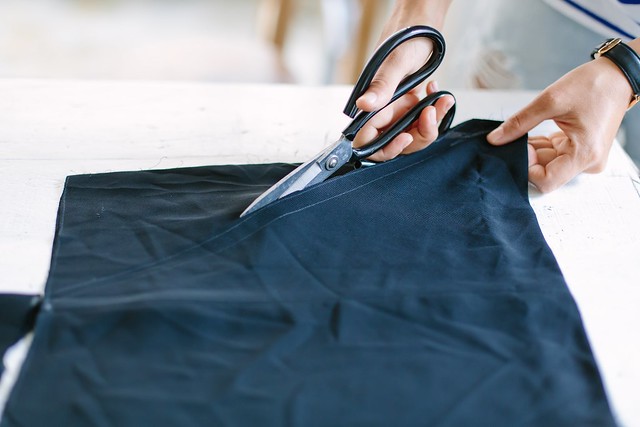
4. Draw a line from the outer edge of the panel of fabric to the sleeve. Cut away excess.
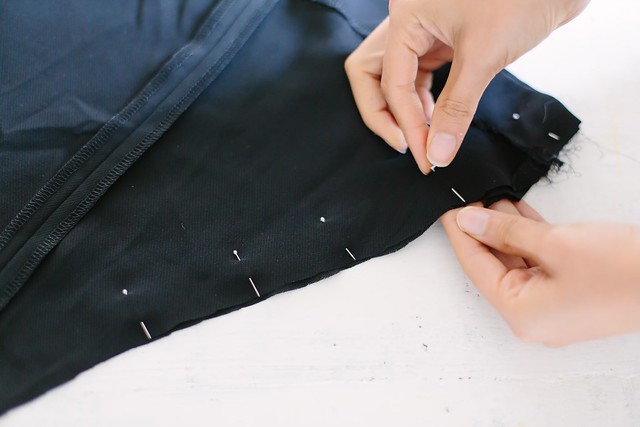
5. Pin the new edge of the flared sleeve together and sew along it.
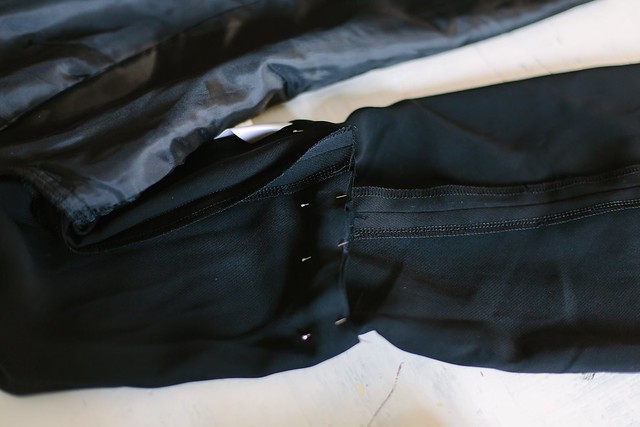
6. It should match up with the sleeve of the dress.
7. Pin together inside out, and then sew down.
Voila!
Photos by Nicola Lemmon


