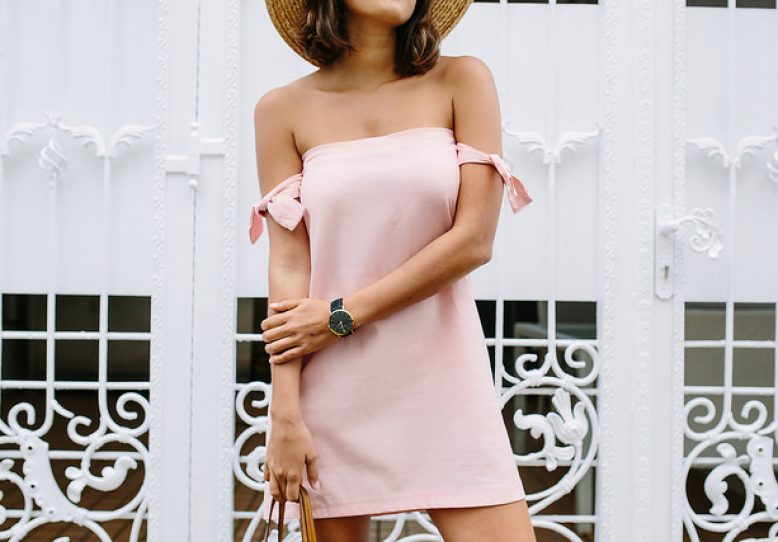
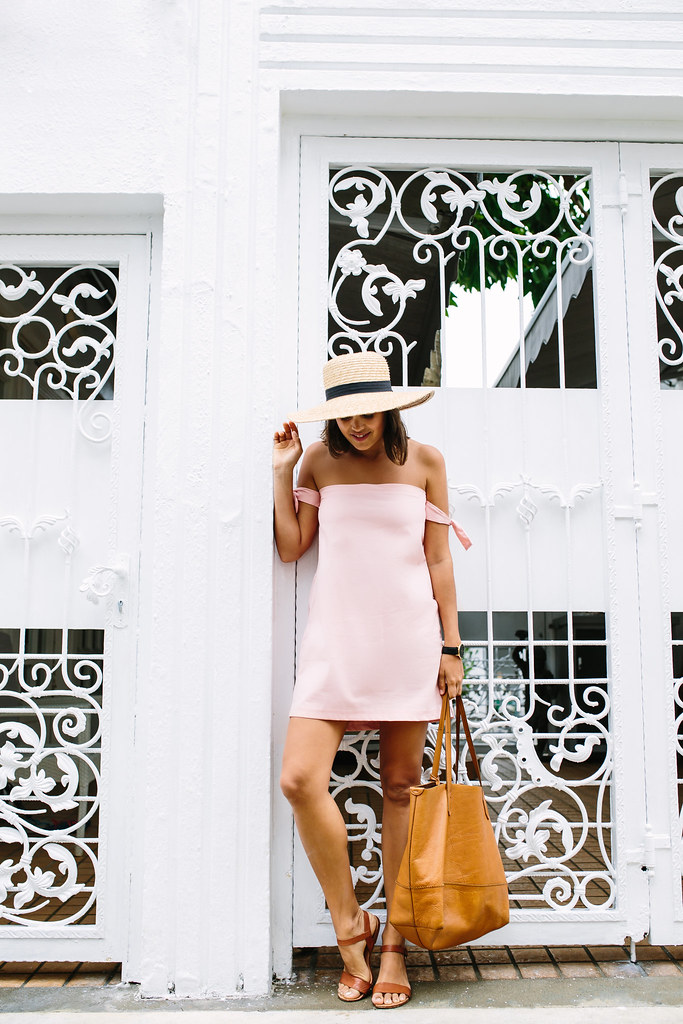
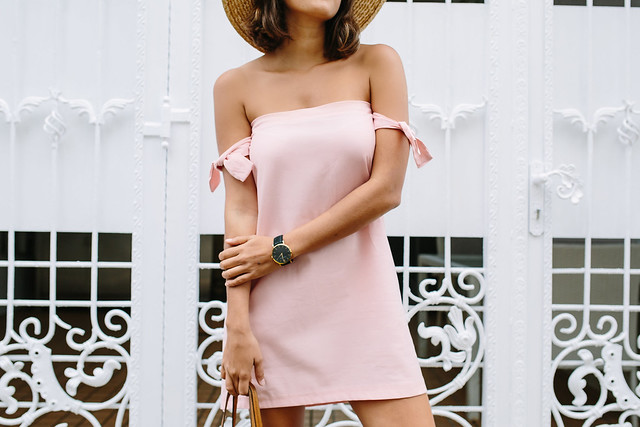
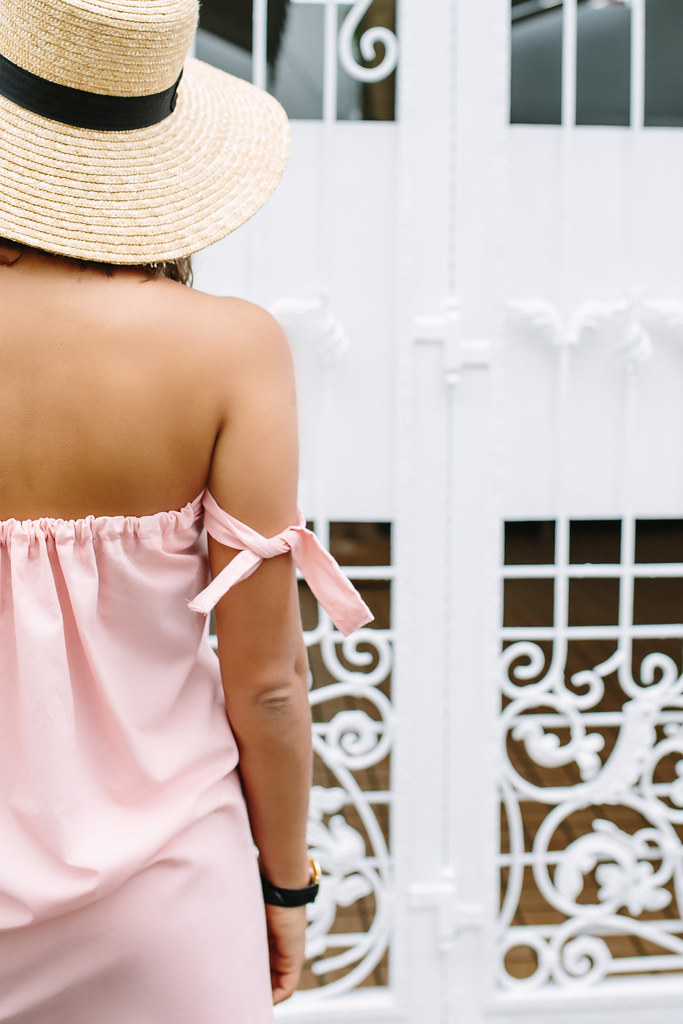
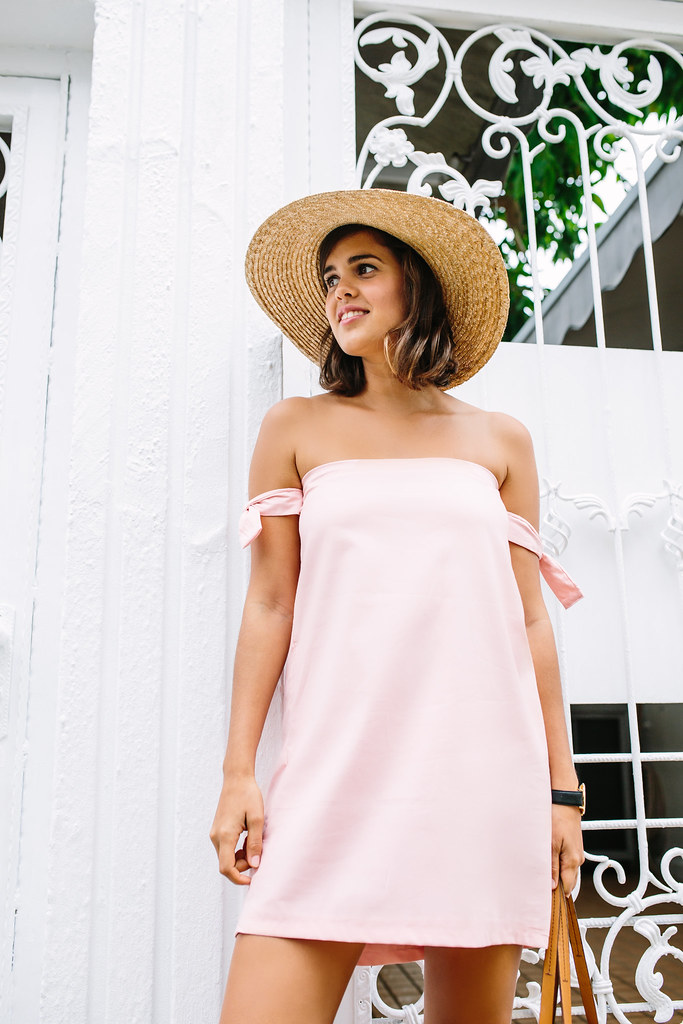
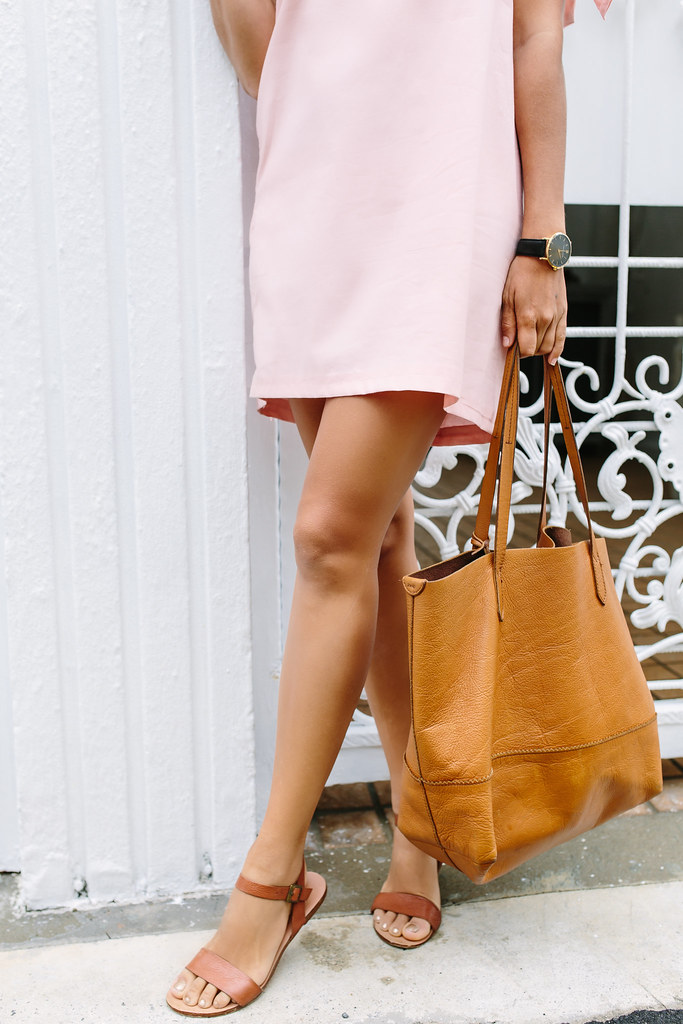
Happy Spring guys! Whether you’re feeling warmer weather where you are or not, now is a great time to plan the projects you’ll be wearing once the warmer weather arrives. There’s nothing better than something made by hand, but I’ll admit it does take a little prep work. That said, this one’s ok to start the weekend before you want to wear it, because it takes about half an hour to make. How good is that? Put the pedal to the metal (your sewing machine foot pedal that is) and away you go!
I’ve been feeling this light pink colour for a while (clearly the pantone colours of the year have got to me), and a found a roll of this fabric in a thrift shop when I was in Australia, for only a few bucks I was pretty happy with it! I had pinned this INCREDIBLE Givenchy evening dress (circa 1966) to my board a while ago, and set about making something inspired by it. Admittedly this doesn’t have the same ‘take me to the ball’ kinda vibe, more of a take me to the beach situation. But that suits my lifestyle better anyway. Enjoy this easy project guys.
DIY Strapless Dress with Off the Shoulder Arm Ties
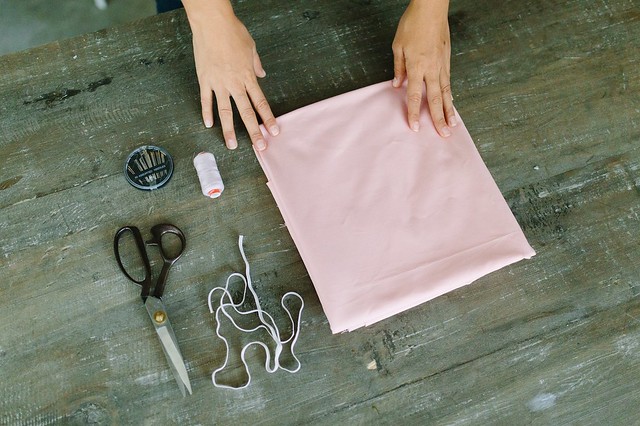
You need:
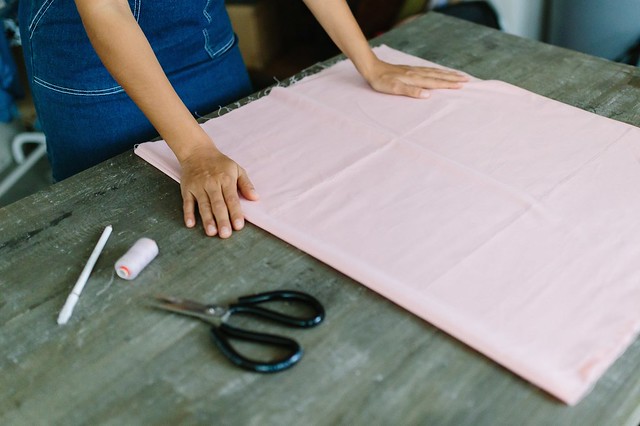
- 2 metres of fabric (2.2 yards)
- a piece of elastic
- scissors
- matching thread
- a sewing machine
The dress has relatively simple construction – all you need to do is create a gathered tube for the dress, and then two arm ties. To make it a little more, um, classy, I created a flat side of the dress at the front with the gathering at the back. Sometimes gathering can feel a little undone, you know what I mean?
How to
1. Cut a tube of fabric two times the measurement around the top of your bust (where the top of the dress sits in the photos).
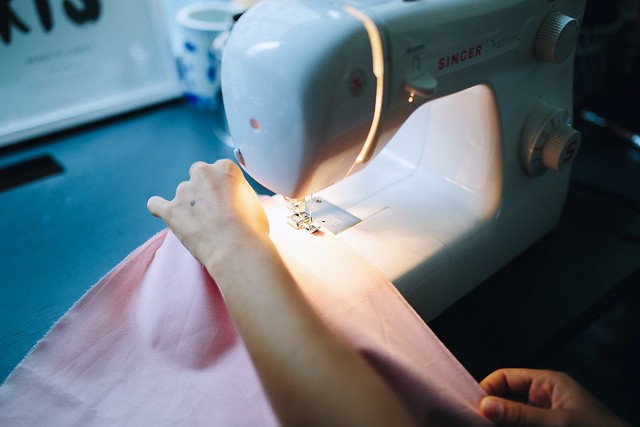
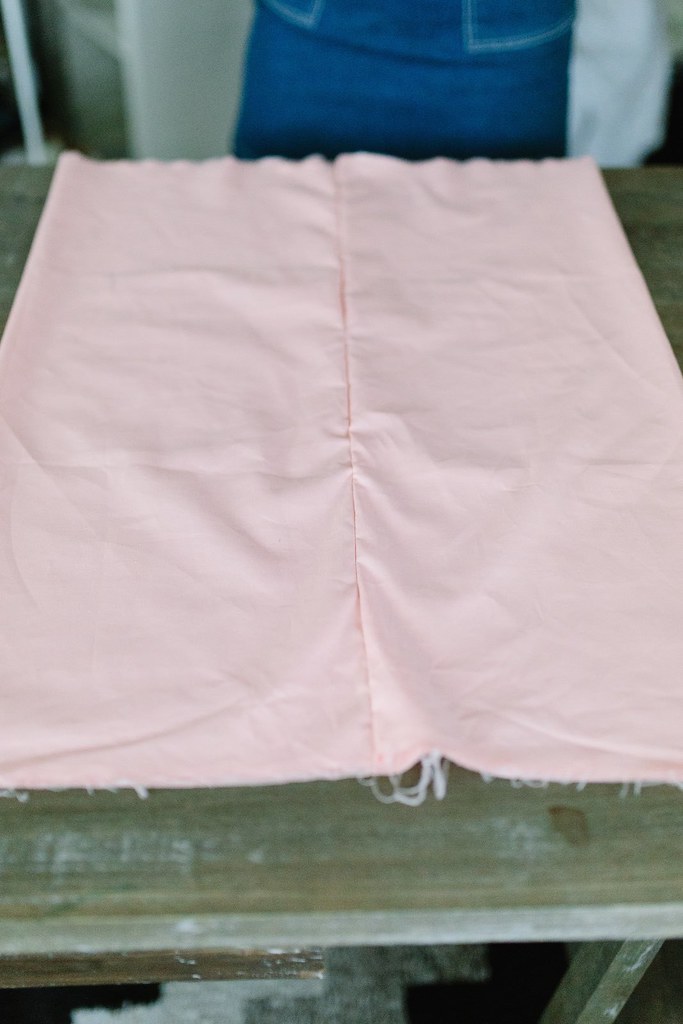
2. Sew the long edge together so you have tube.
It will look like this.
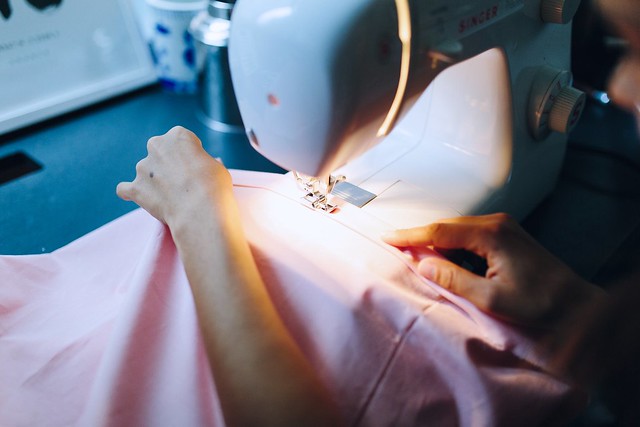
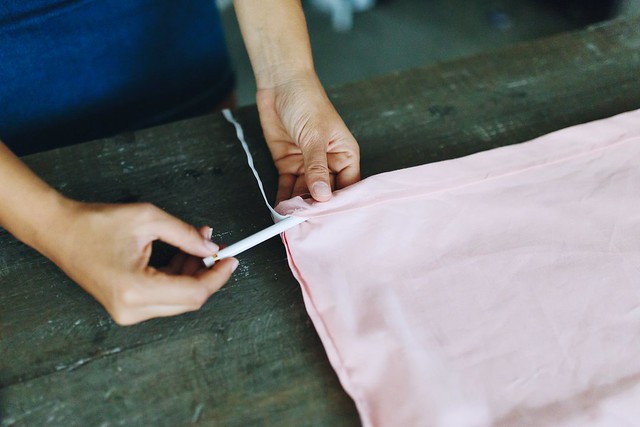
3. Then, finish the top and button hems, ensuring the top has enough room for the elastic to pass through the back half.
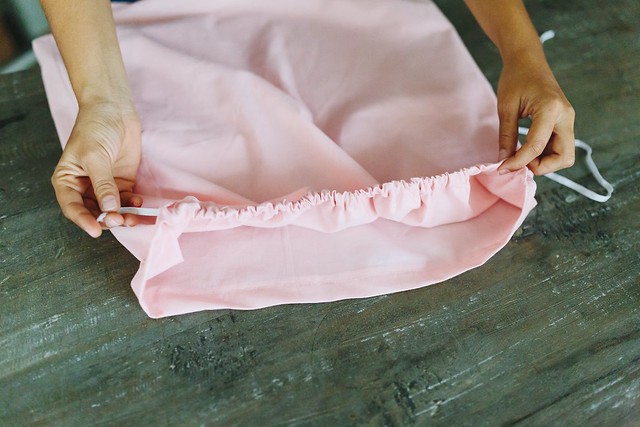
4. Thread your elastic through the back half.
5. Bring it out the sides. It should look like this. The flat section is the front the the gathered section is the back.
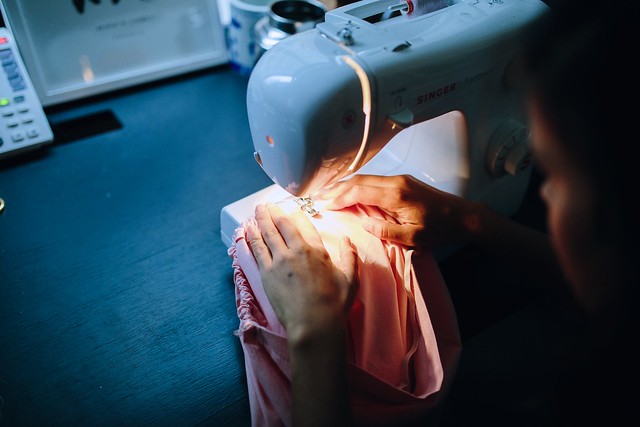
6. Sew the elastic in place on the ends by securing it to the fabric.
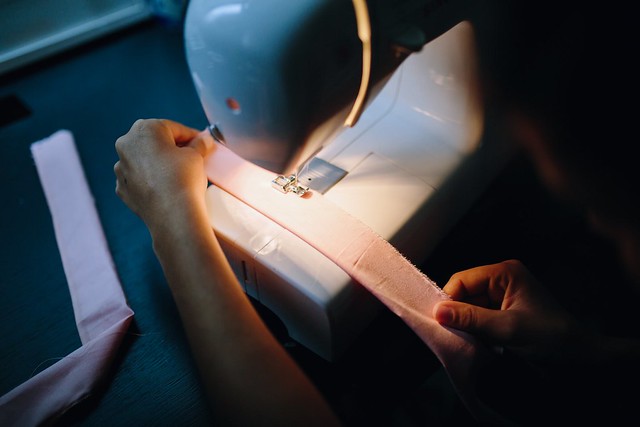
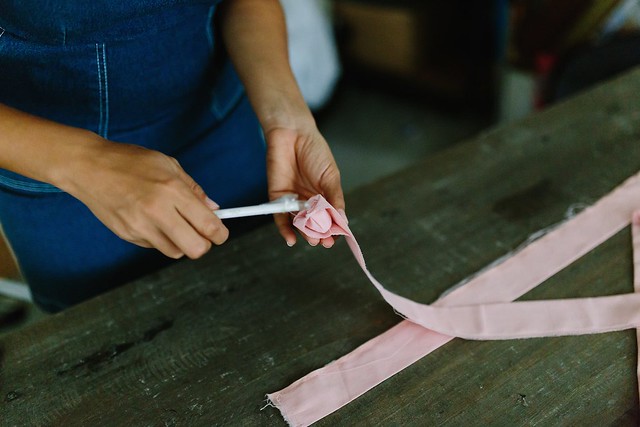
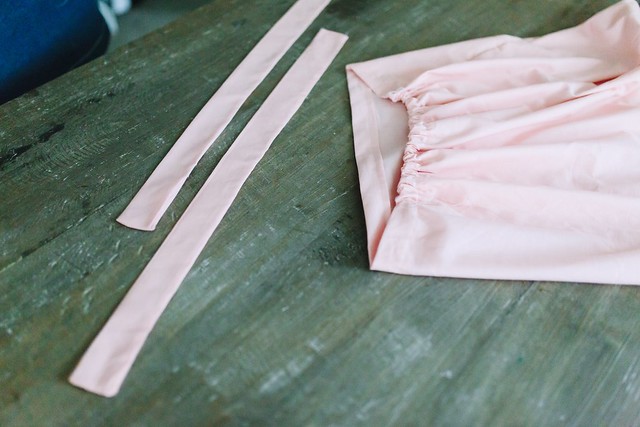
7. Now, you’re going to make the arm ties. These are 50cm long (20 in) and about 7.5 cm wide (3 in) in total before sewn. Now simply sew two tubes for the arm ties, leaving one end open for you to turn the inside out.
8. Turn them inside out and then iron flat. Sew the open end shut.
They should look like this: Super easy.
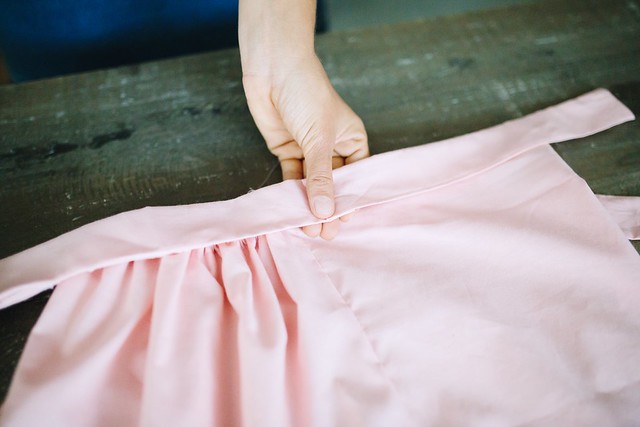
And then attach them under the arms to the main dress, I chose to do it a few cm closer to the front than the seam.
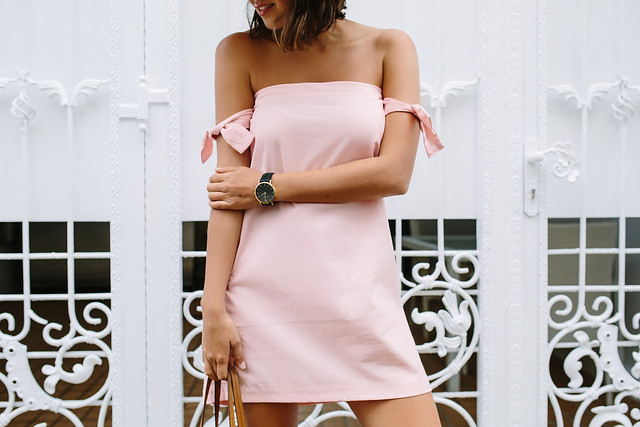
Voila!
Argh! Can I say how much I love this colour?
Looking for more DIY dresses? Check out this off the shoulder one!
Photos by Nicola Lemmon


