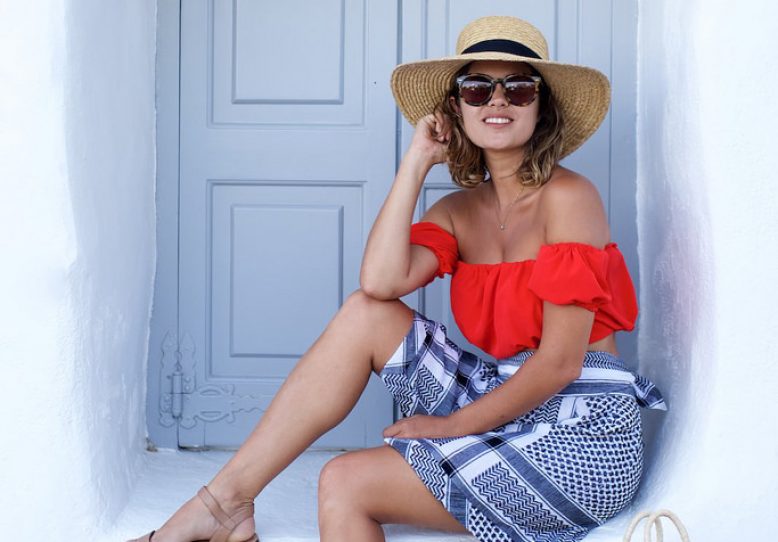
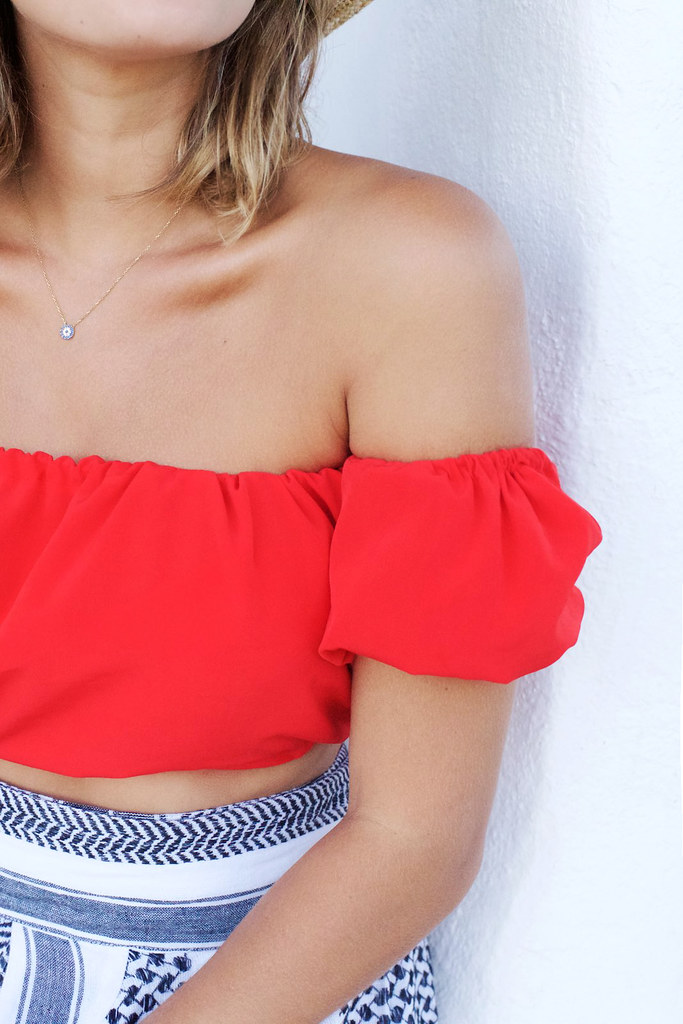
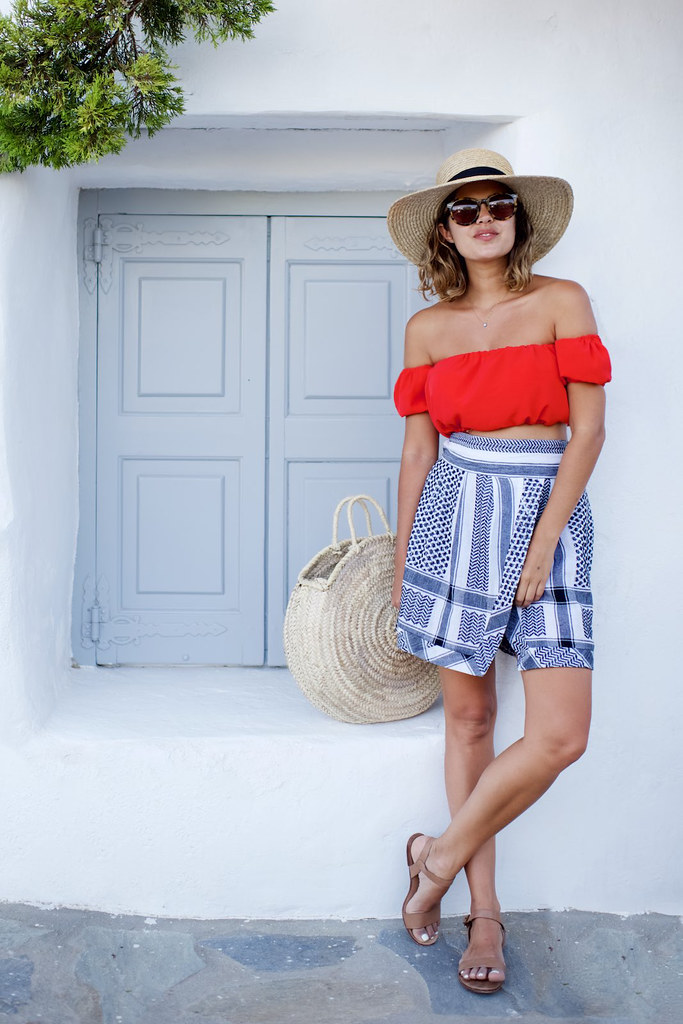
A trend that just won’t die, and I couldn’t be happier, you’ll know I’ve attacked the concept of the off the shoulder top so many different ways. I have to say I love them all – it helps they are easy to throw together yourself. And with off the shoulder and the colour red playing such a big part in my travel wardrobe in Europe, I thought it would be nice to put the two together and show you a very easy top to make before the summer is out. Same same but different?
DIY Off The Shoulder Crop Top
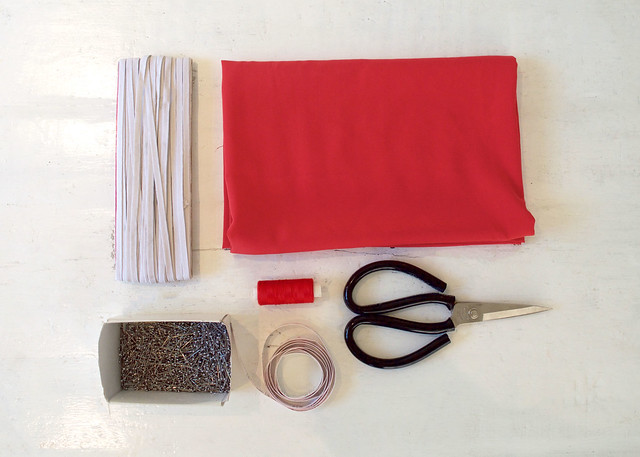
You need
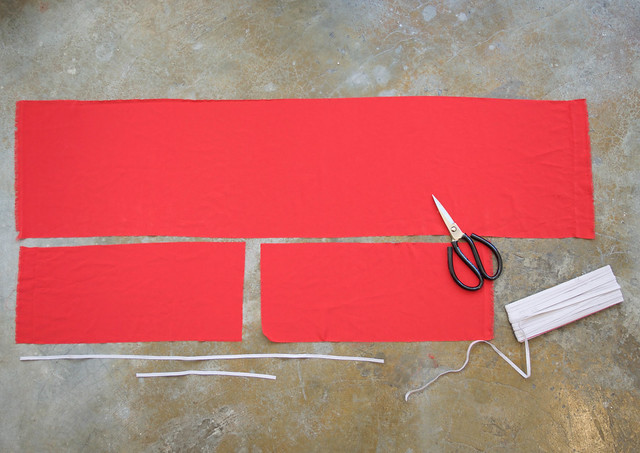
- Soft, drape-y fabric (1m or 1yd)
- Elastic (approximately 4m or 4yds)
- Scissors
- Measuring tape
- Pins
- Thread and sewing machine
How to
1. For the bodice, measure your upper chest (around and under your armpits) and cut a length of fabric 1.5 times this length and 25cm (10″) wide. Similarly, for the sleeves, measure around your upper arm and cutting a rectangle of fabric 1.5 times that measurement and 15cm (6″) wide. Finally, for the elastic, cut two longer lengths for the bodice and 4 shorter lengths for the sleeves to a length that fits snuggly around your upper chest and your arms (not too tight and not too loose).
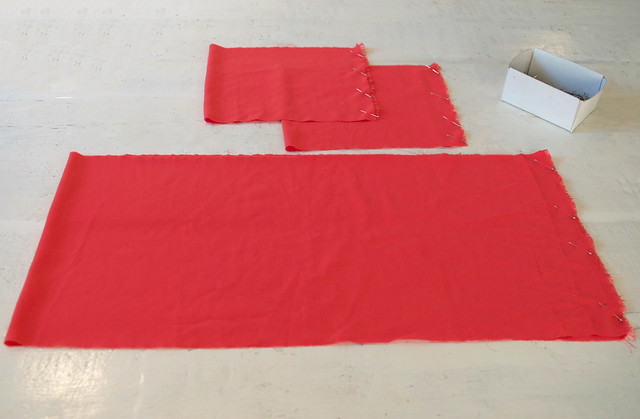
2. Fold the fabric in half and sew the raw edges together to create three circles.
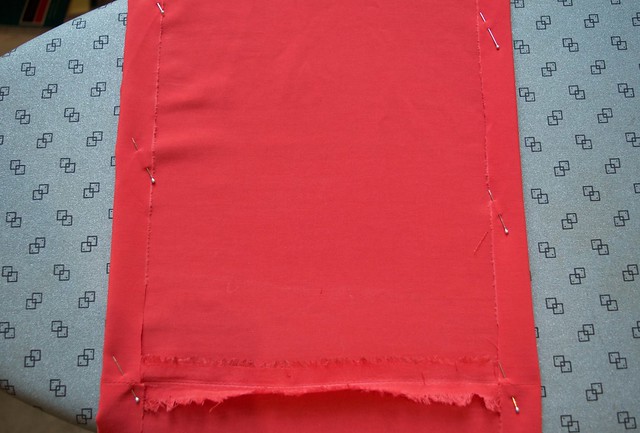
3. Turn the edges up 2cm and pin in place.. This will create the tunnel for the elastic to go through.
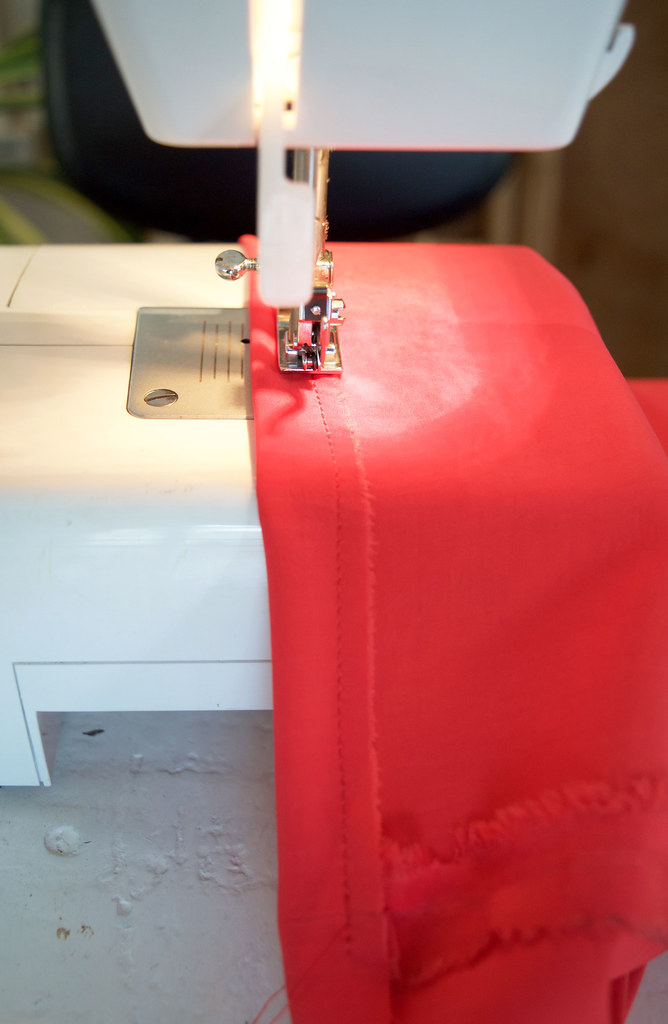
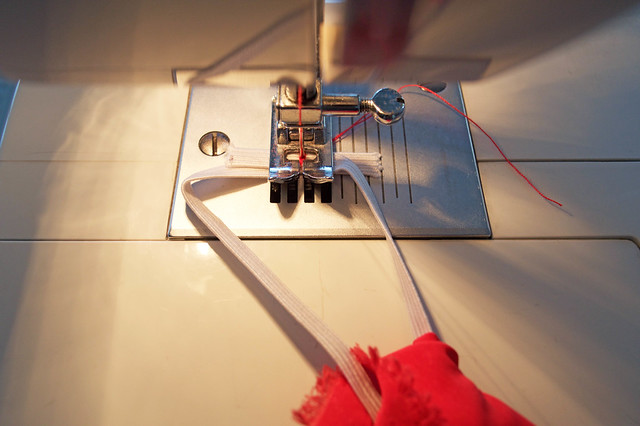
4. Sew the tunnel 1.5cm (1/2″) away from the folded edge leaving a gap for inserting the elastic into.
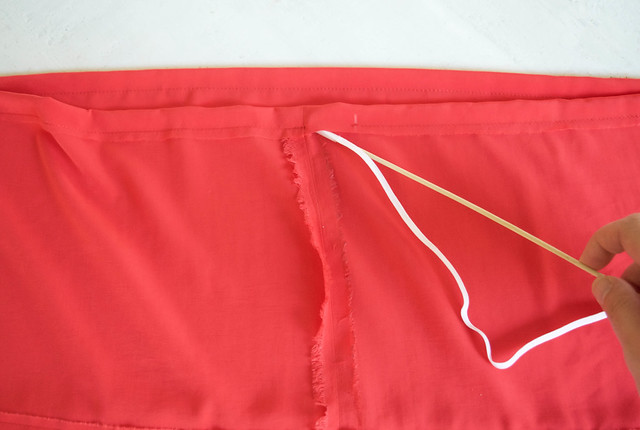
5. Thread the elastic through the tunnel with the help of a skewer or stick.
6. Sew the ends of the elastic together and sew the gap in the tunnel closed.
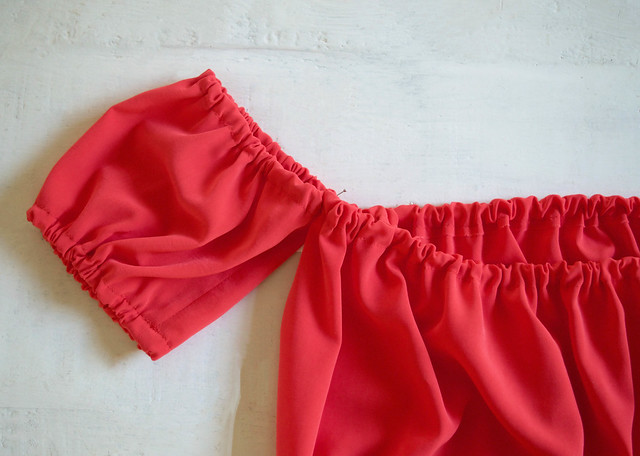
7. Repeat Steps 3-6 for both edges of the bodice and sleeves. Once the elastic had been inserted, adjust the gathering so there is an even amount of fabric all around. Then pin and sew the sleeves to the bodice.
Voila!
Wearing: DIY Top, Cecilie Coperhagen Skirt, Market tote, Shoes designed by me, Karen Walker Sunglasses, Sportsgirl Hat


