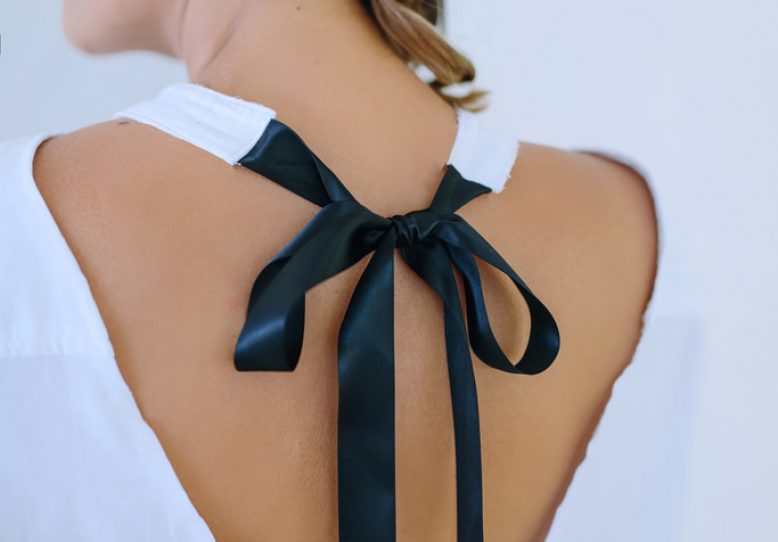
A cut, snip and a stitch is all it takes to turn a simple shirt into something totally different. Over on Who What Wear Australia I’m showing you how to bring a little sexy back with this DIY bow cut shirt. Head to the post here or read on to check it out.
DIY Tie Neck Top
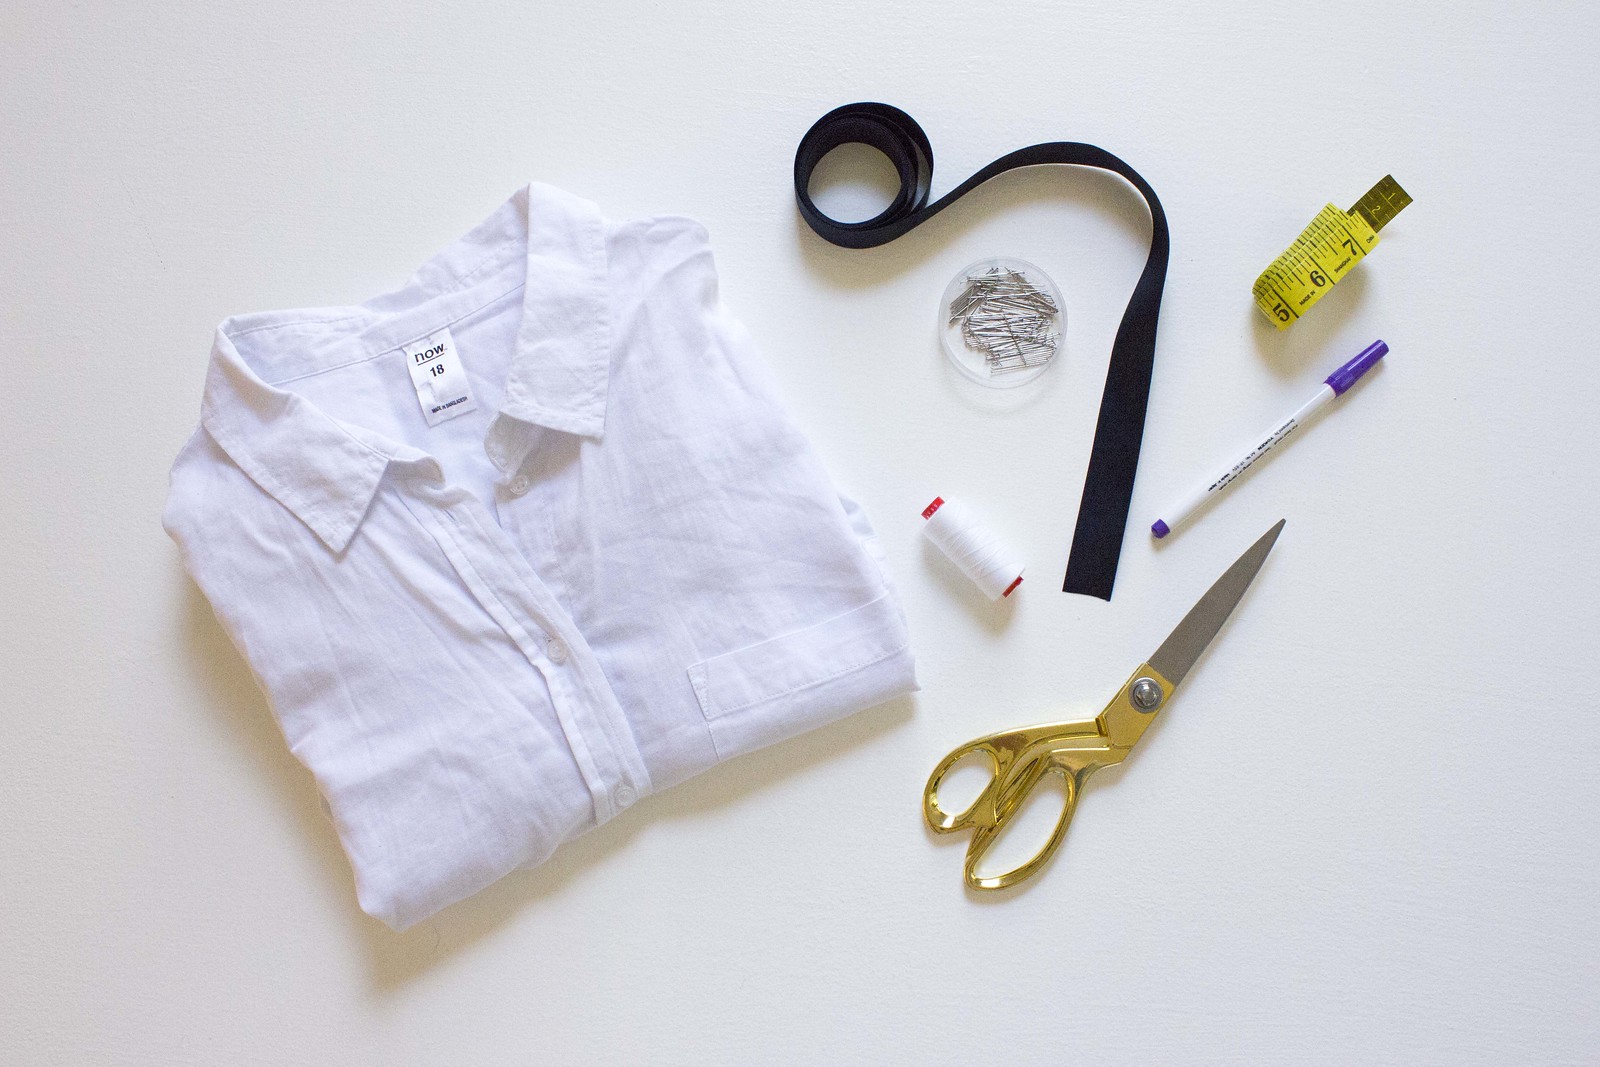
You need
- Oversized shirt
- 2m x ribbon (in matching or contrasting colour)
- Measuring tape
- Fabric pen
- Pins
- Fabric scissors
- Sewing machine and thread
How to
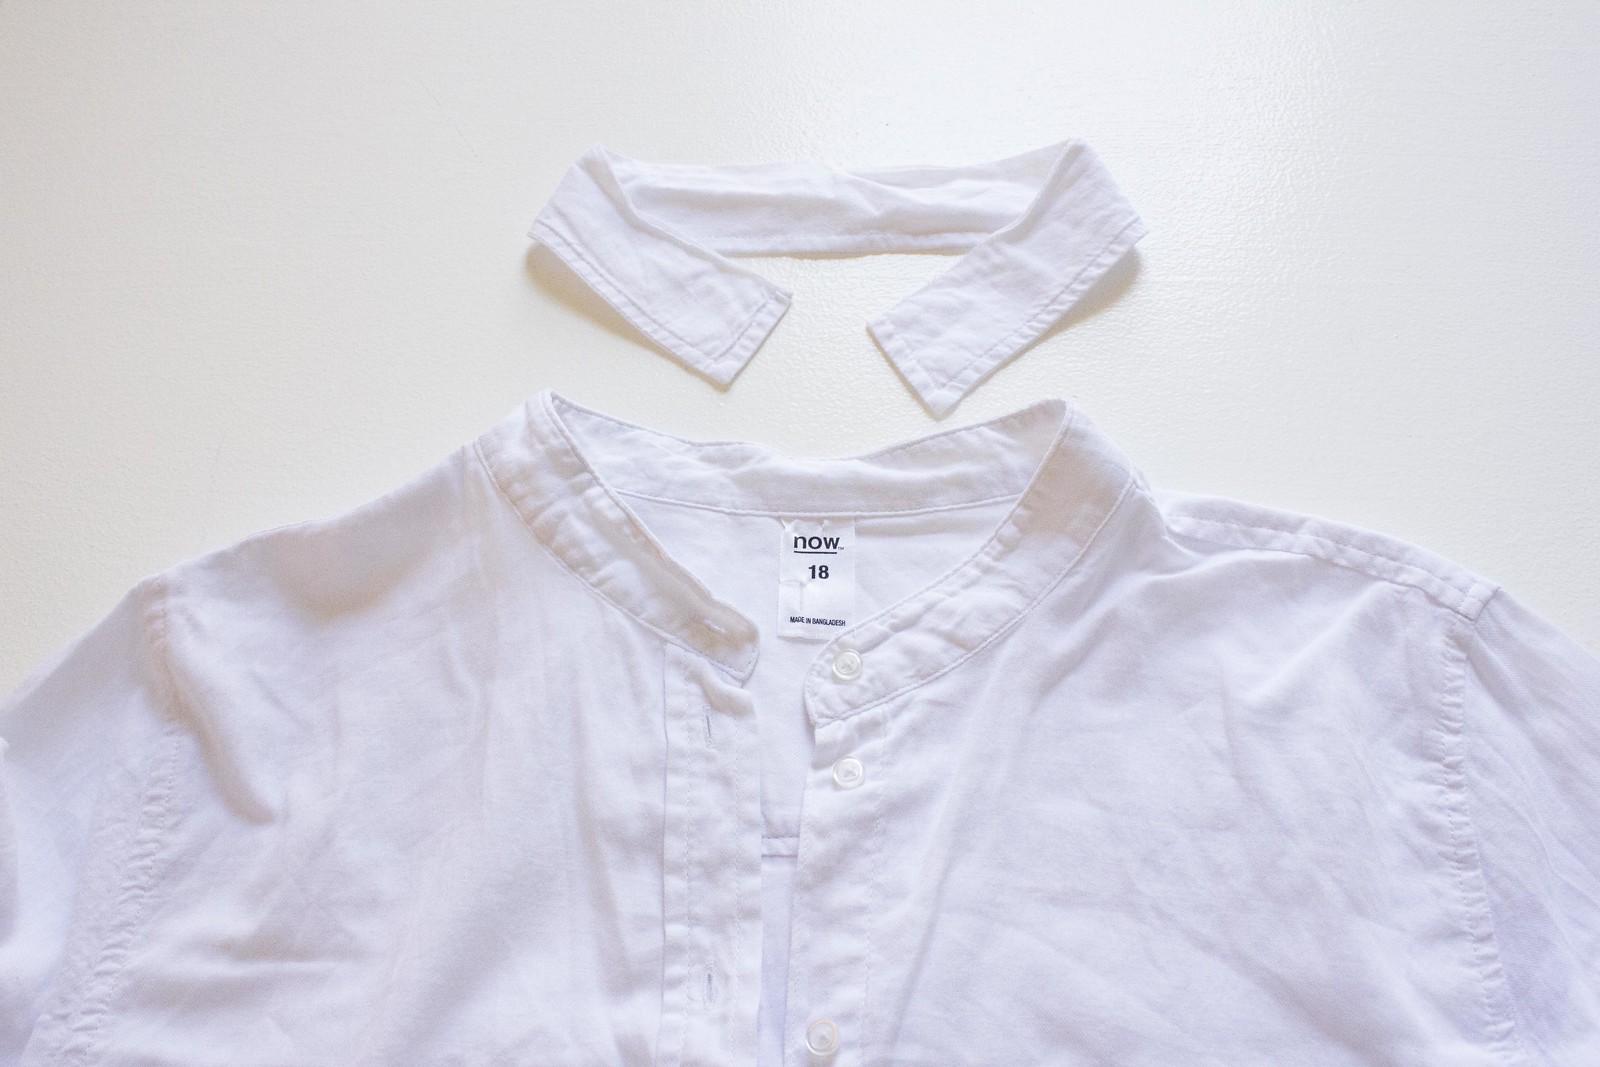
- Cut off the collar fall (the top section of the collar that folds over the neck), leaving the collar stand.
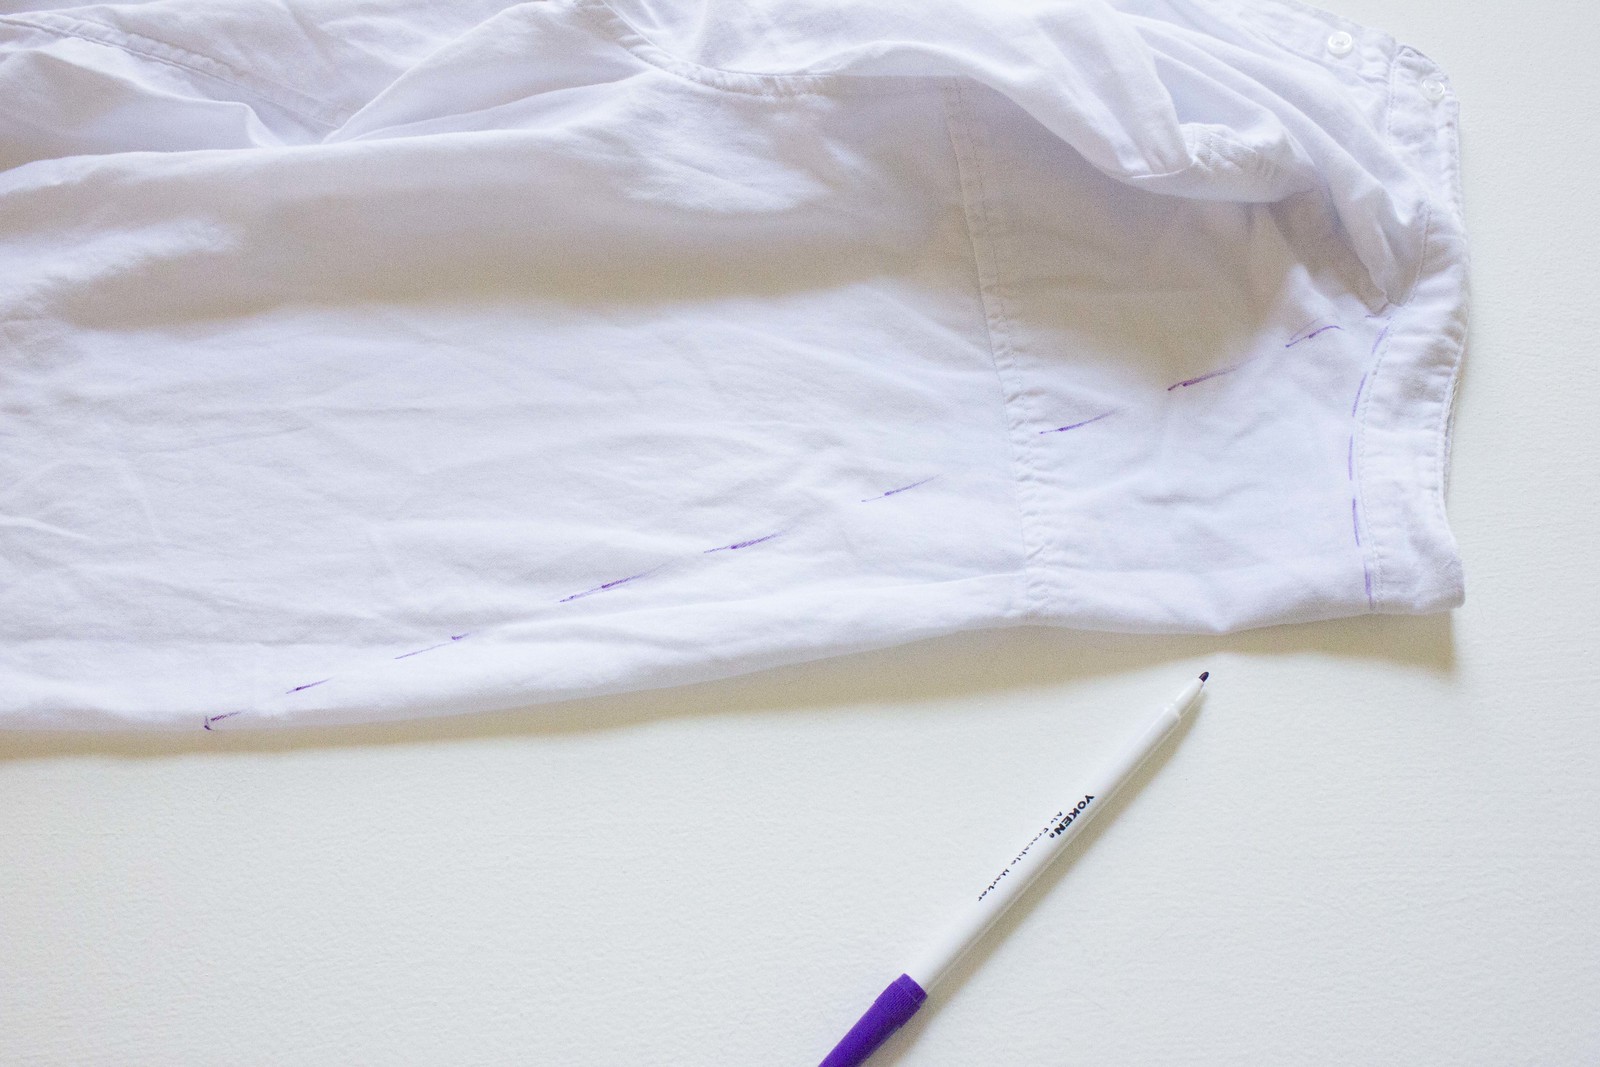
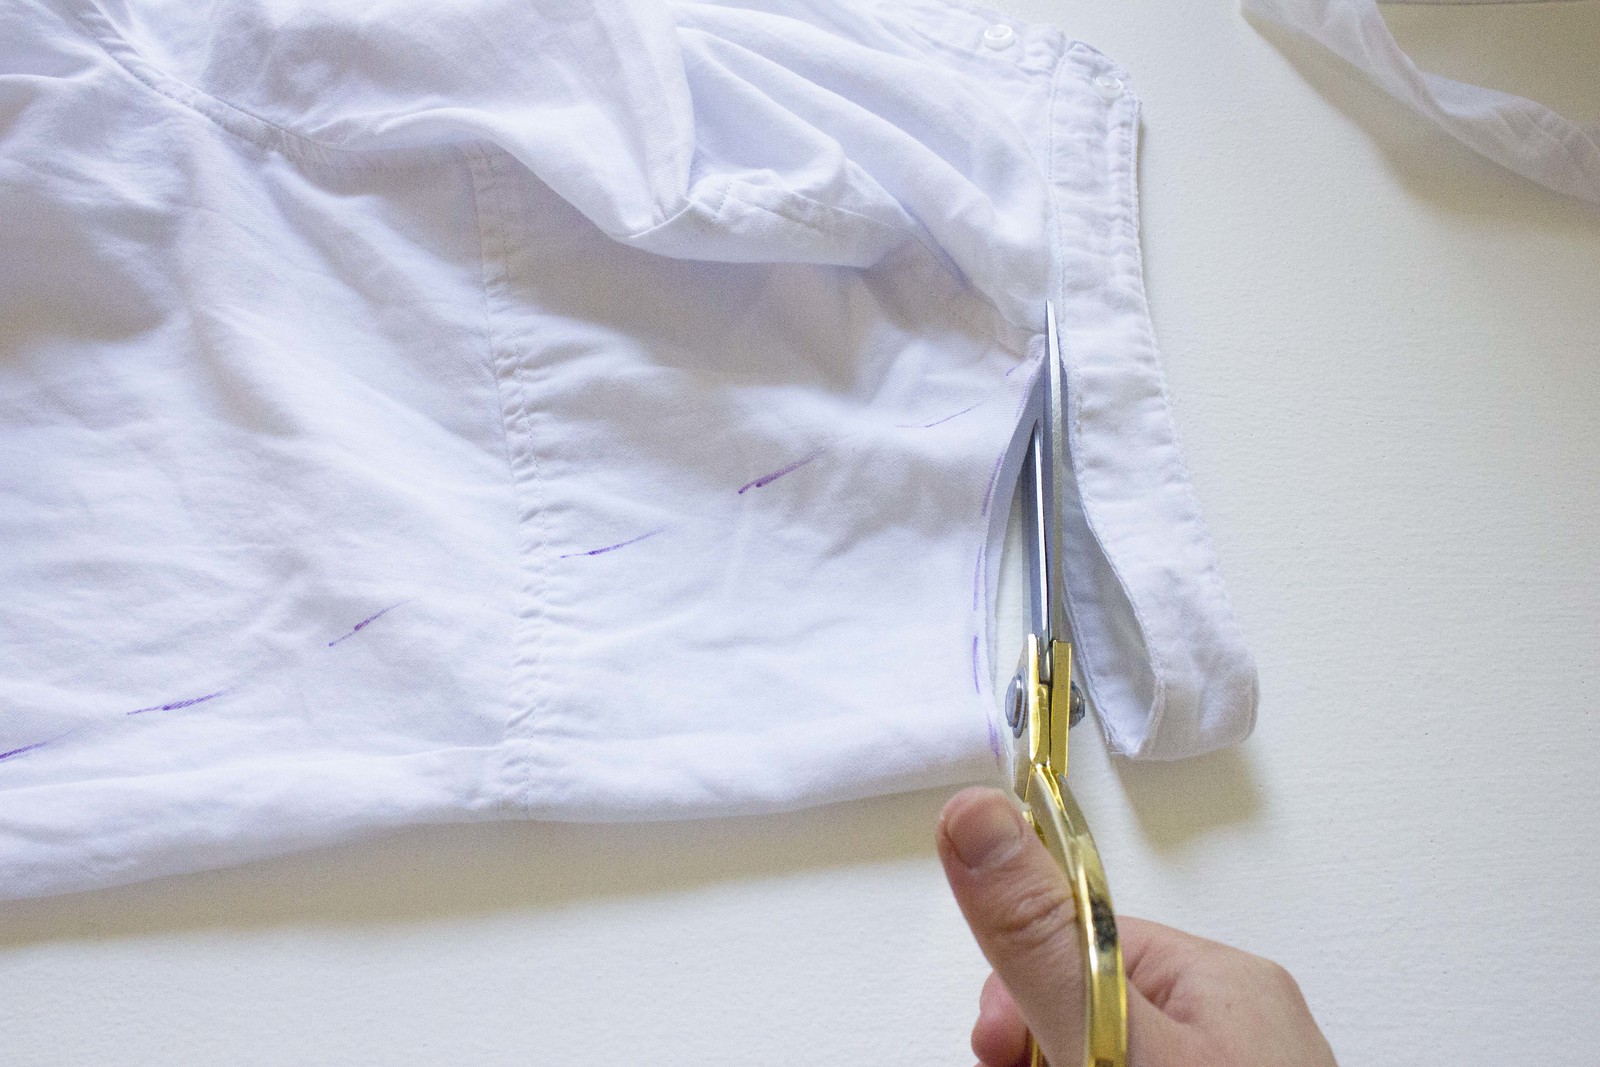
2. Folding the shirt in half at the centre back, use the fabric pen to mark out the cutting line, drawing a “V” from the bottom of the collar stand at the shoulder seam to a point about 35cm down at the centre back.
3. Cut along the marked lines starting from the the bottom of the collar stand.
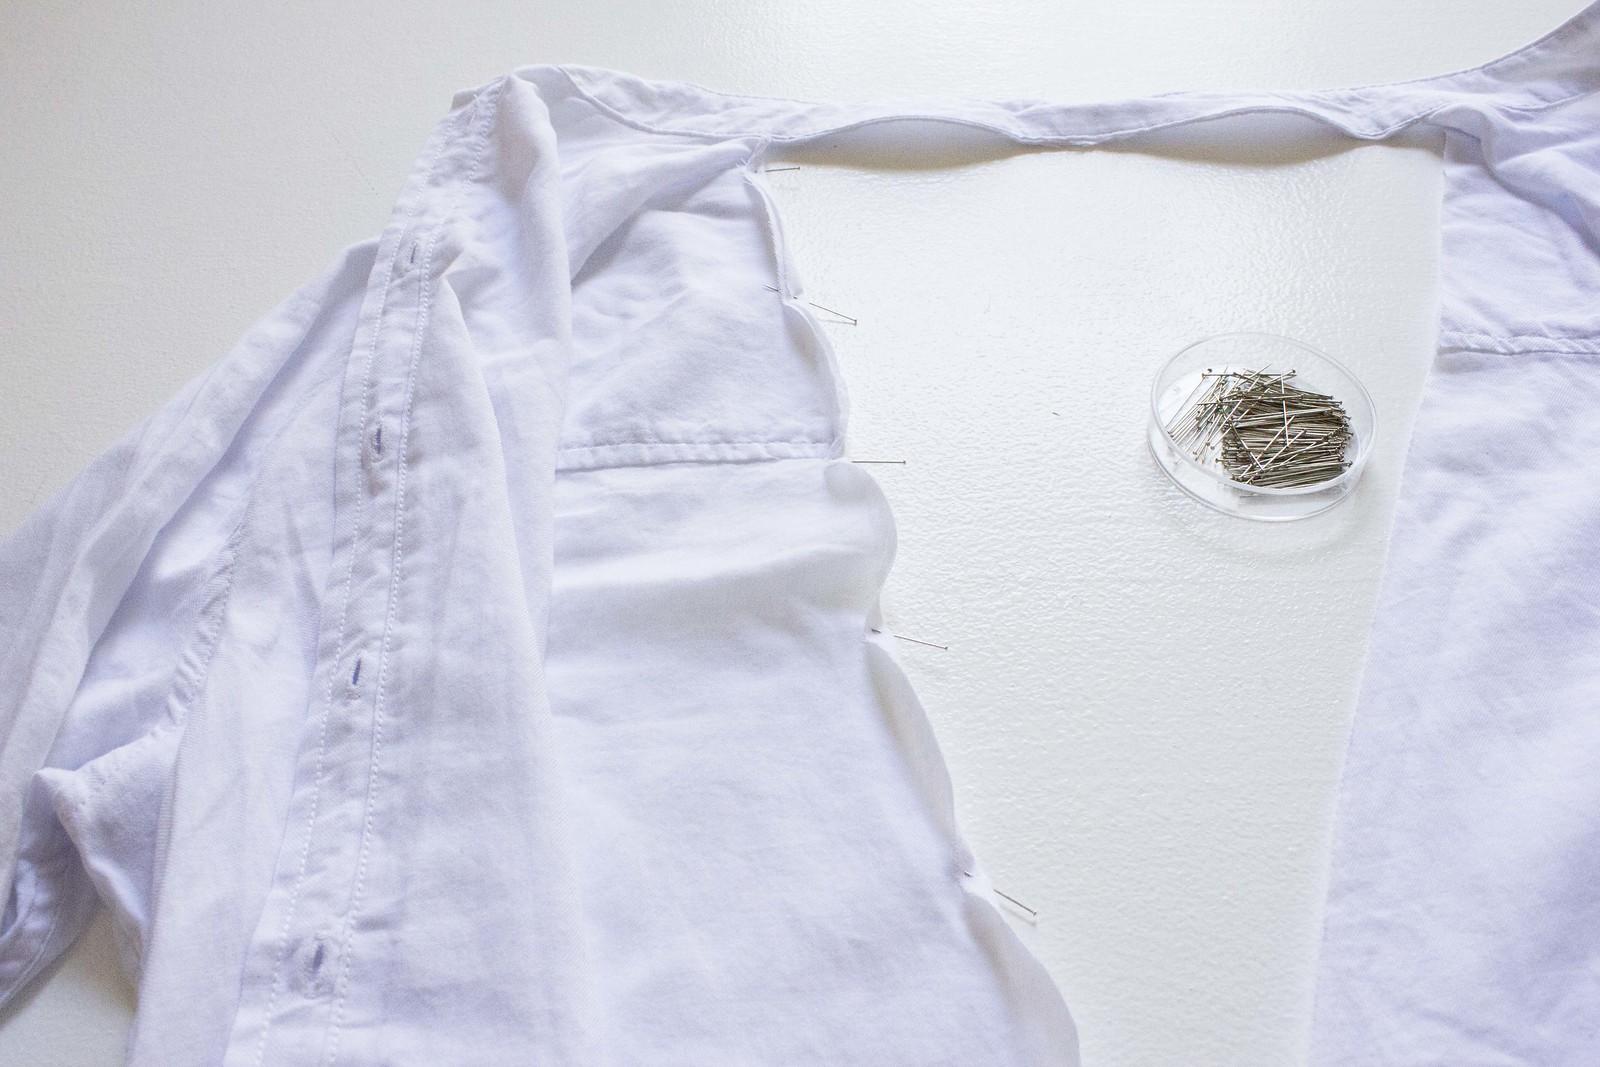
4. Pin and sew the raw edge along the length of the “V” with a 0.5cm seam to create a clean edge.
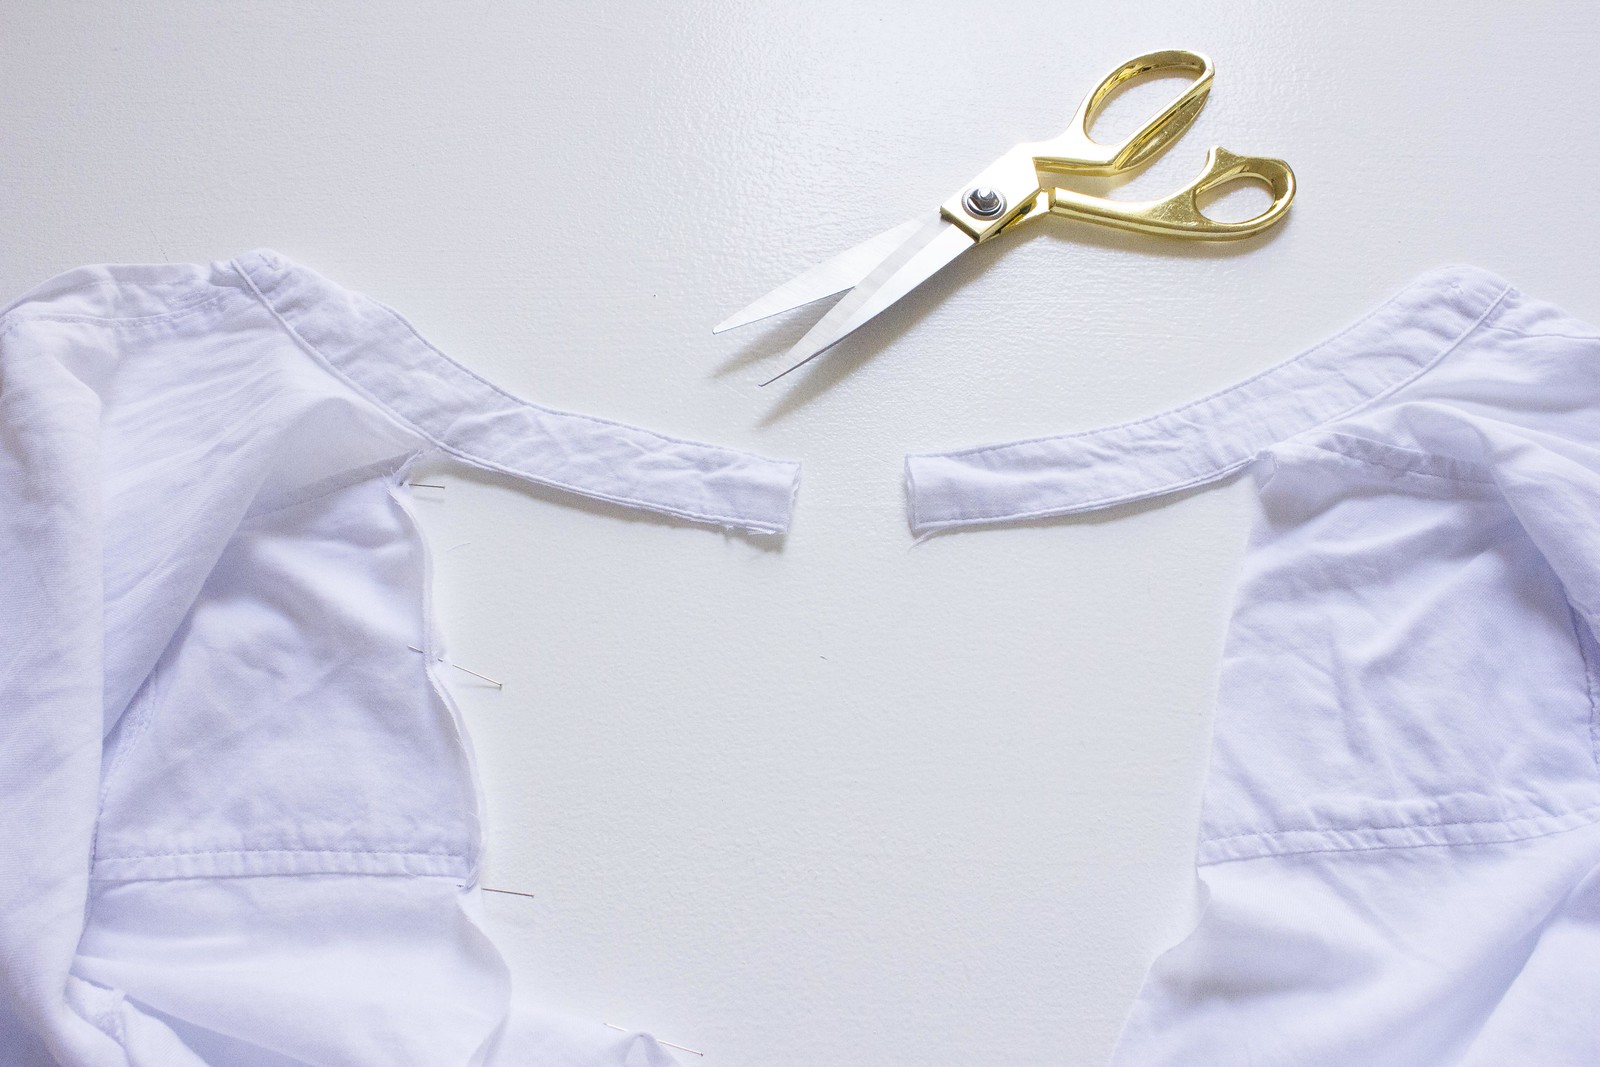
5. Cut the collar stand in half at the centre back.
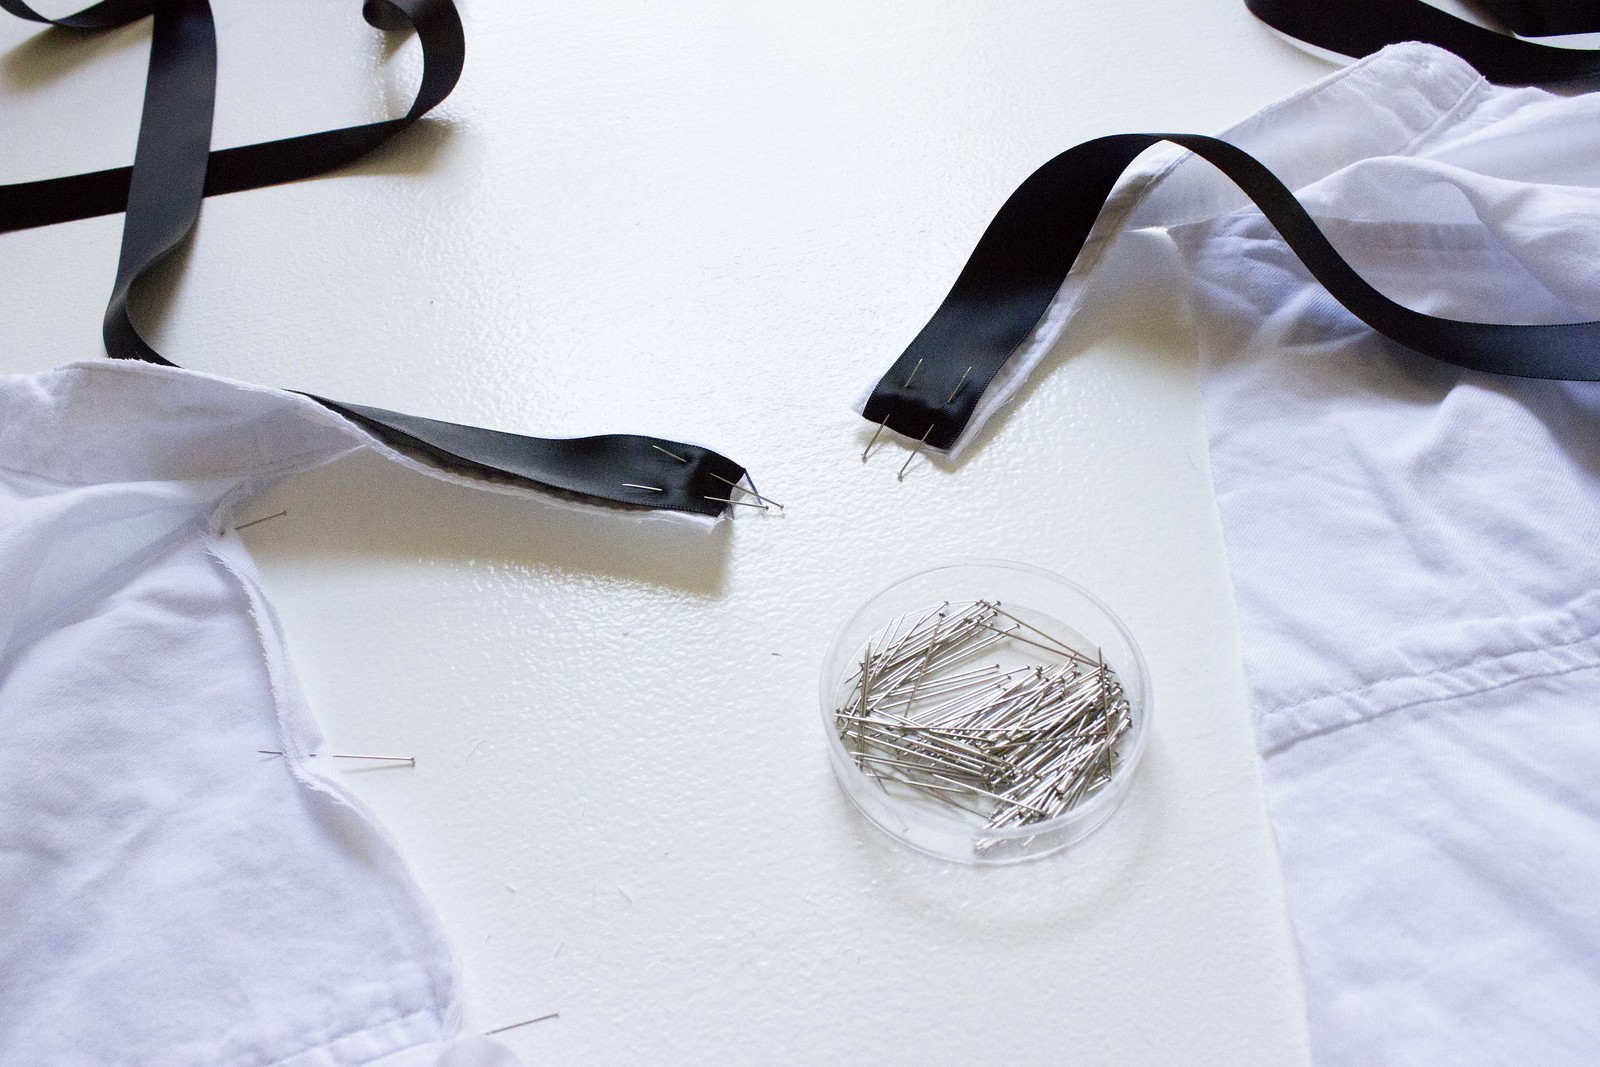
6. Cut the ribbon in half to create two 1m length pieces and pin and sew one length to each half of the collar stand. It’s also a good idea to apply a small layer of clear nail polish to the end of the ribbon to prevent it from fraying.
All done!
Photos by Nicola Lemmon, taken at the gorgeous Paddo To Palmy House.


