Hey guys! I hope you had a really lovely Christmas…
And enjoyed yourself wherever you are all over the world and however you did (or didn’t) celebrate. I’m in Australia with my family, first Melbourne (guide coming soon!) and next Byron Bay for a few weeks. Bliss! It was lovely to have a few days of zero work, it’s pretty much the only time all year this happens so I made sure to take advantage. Yes to downtime. I’m feeling so great, hoping you guys are too.
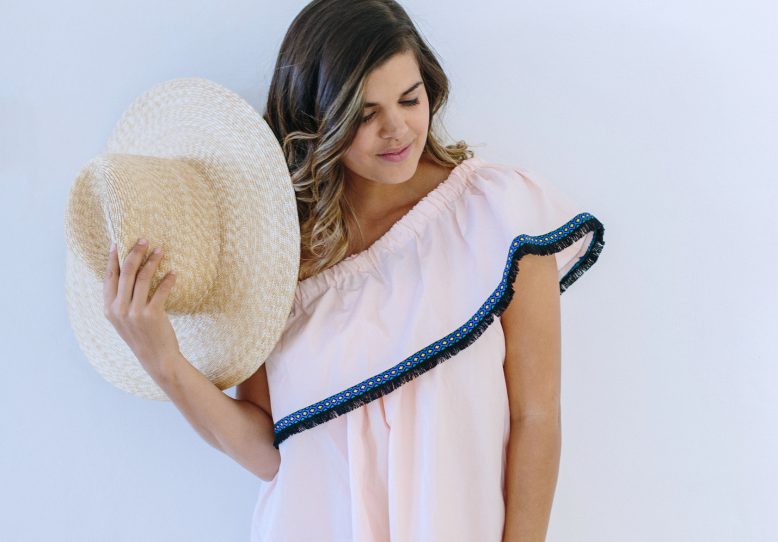
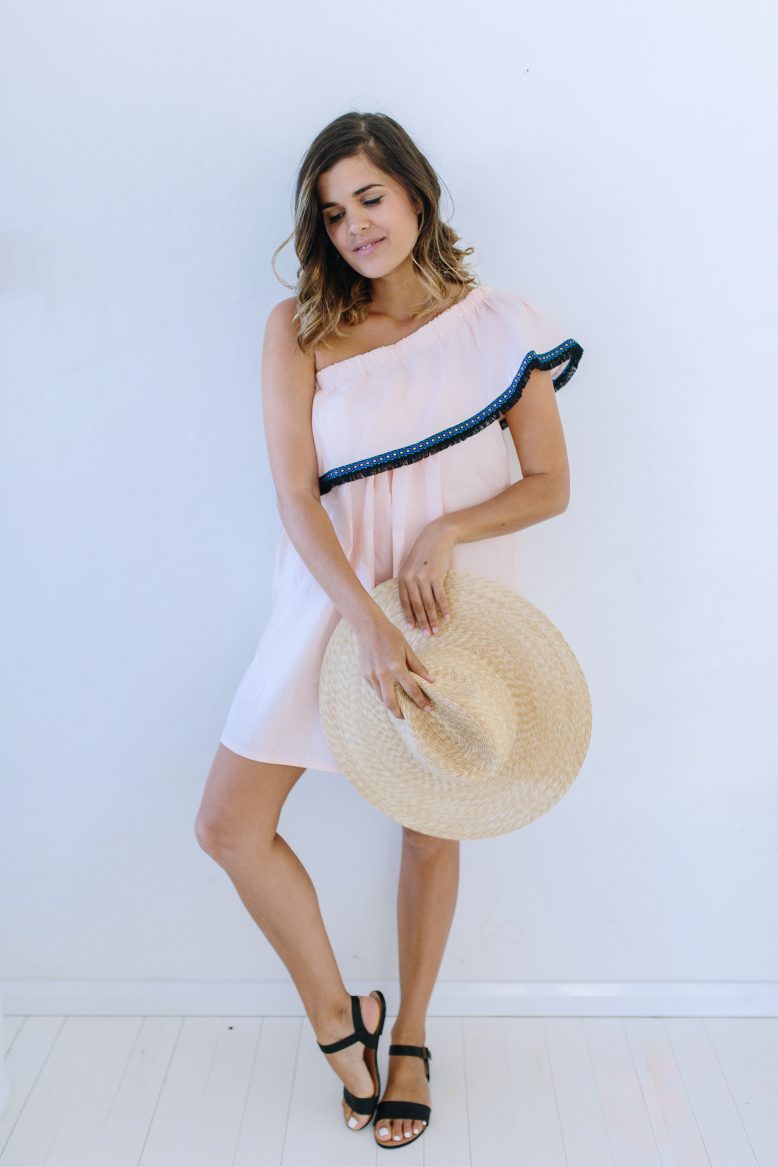
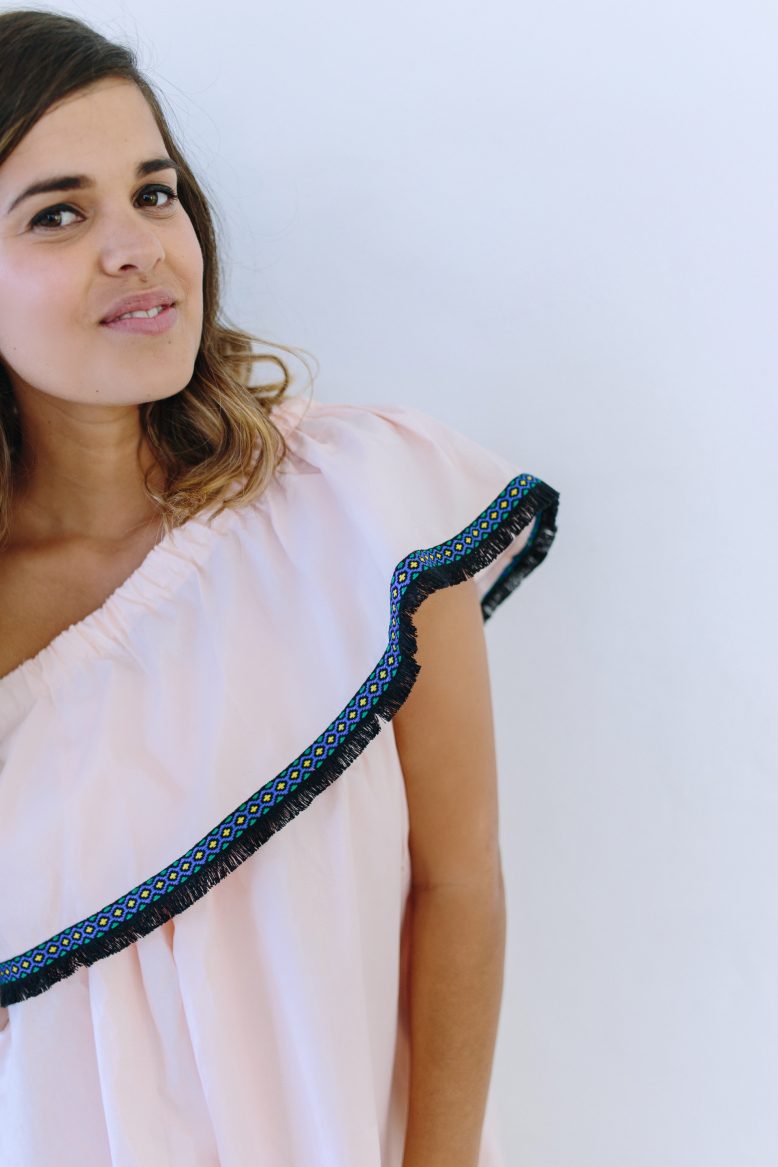
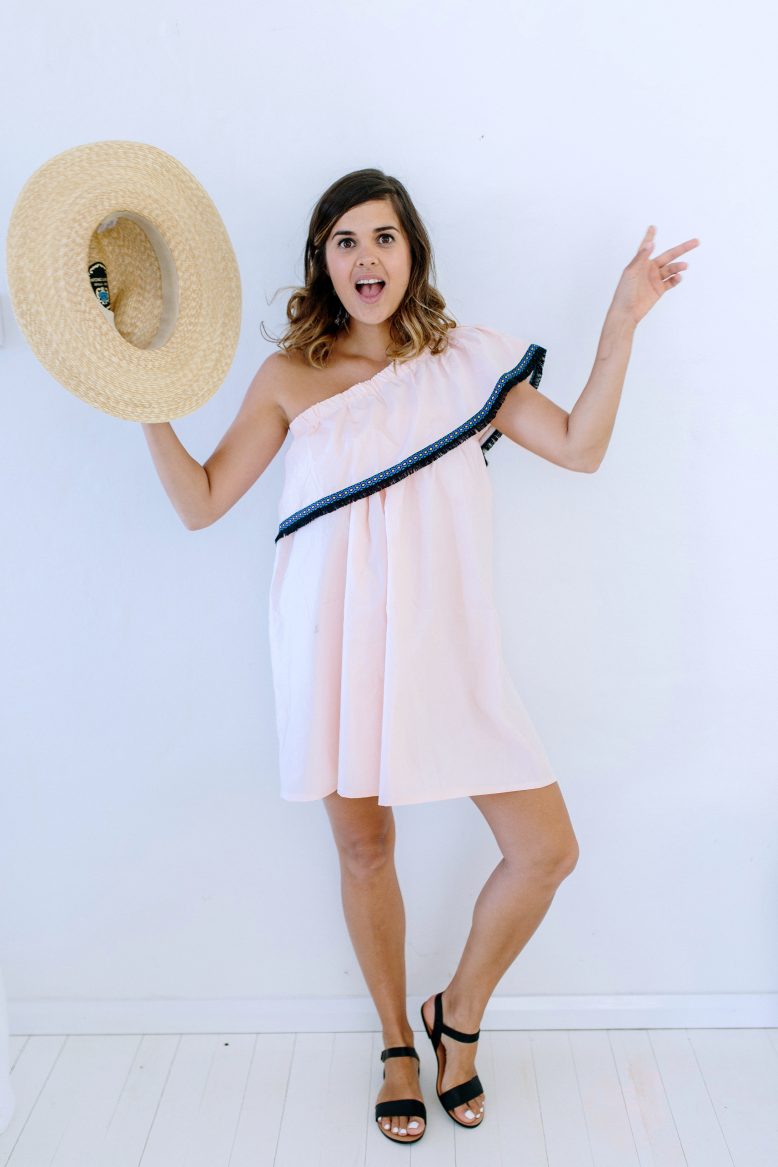
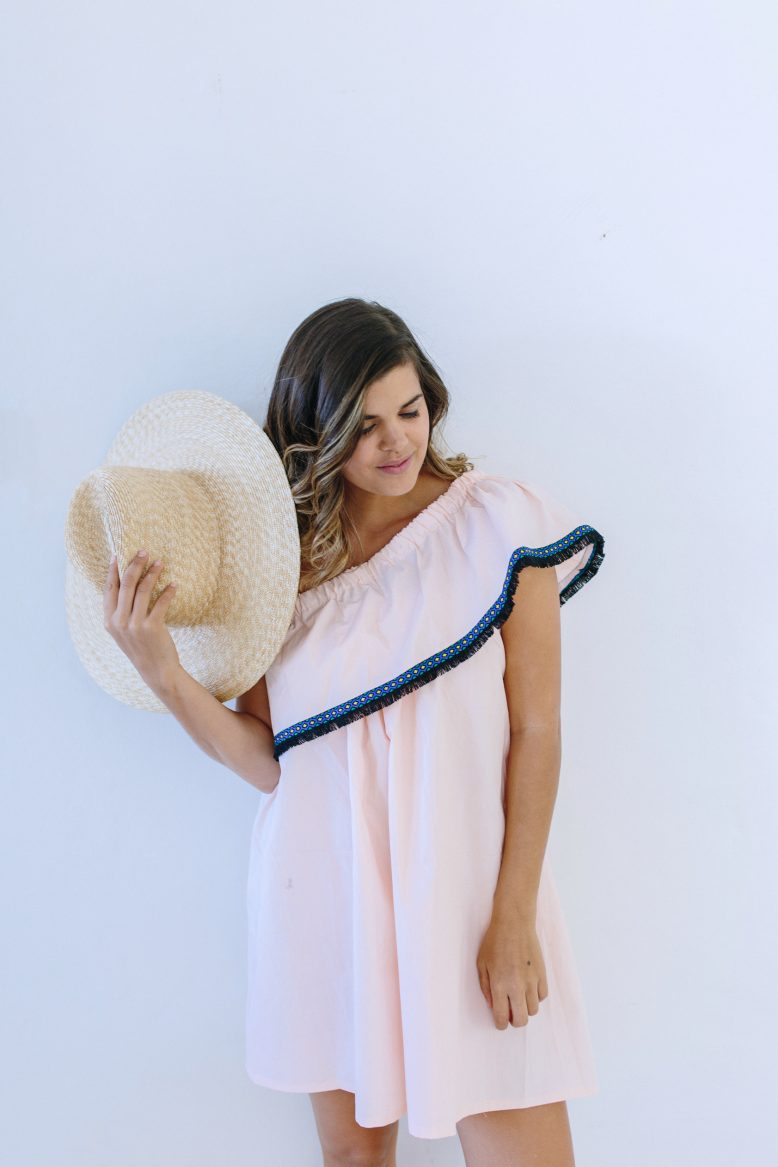
I wanted to share with you a dress I created for NYE – this simple one shoulder number. Worn with flats it’s sure to get me from lunch through to midnight with ease. Read on to see how.
DIY One Shoulder Party Dress
For this one I used simple cotton, but if you’re in a colder climate this would be really lovely in a brocade fabric, worn with tights! Simply use a belt to a closer fitting silhouette. xxx
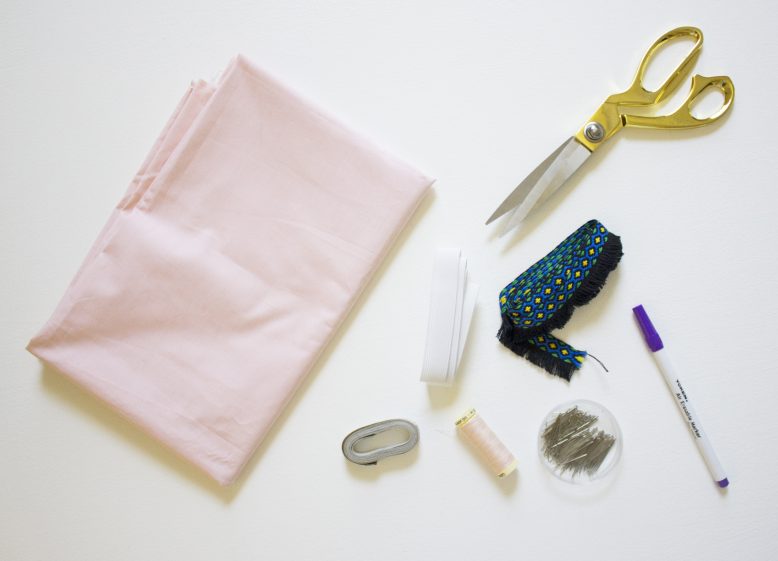
You Need
1
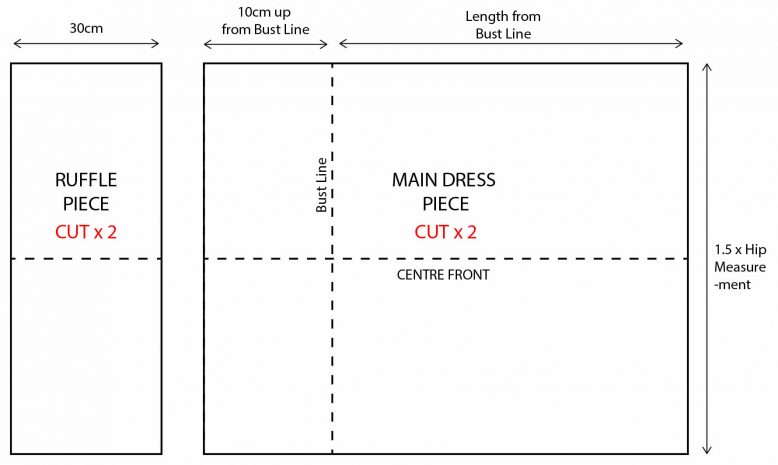
Using the formulas and measurements in the diagram, cut out two pieces of fabric each for the ruffle piece and main dress piece.
2
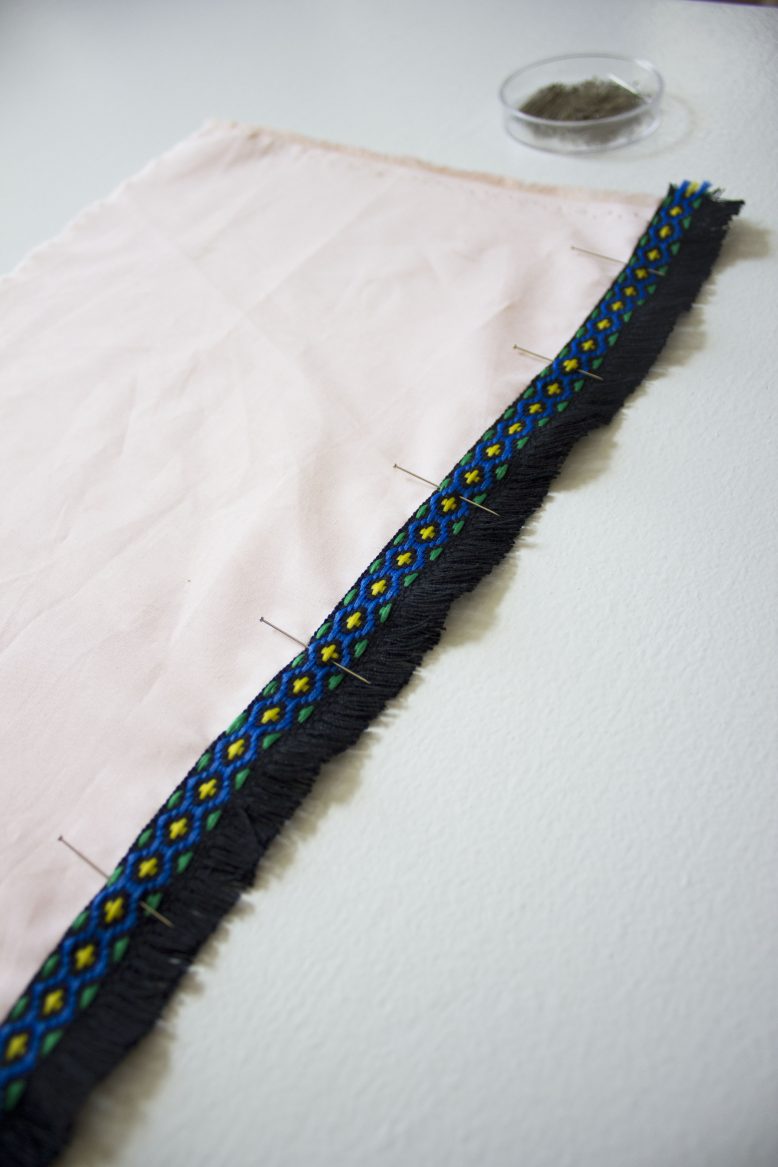
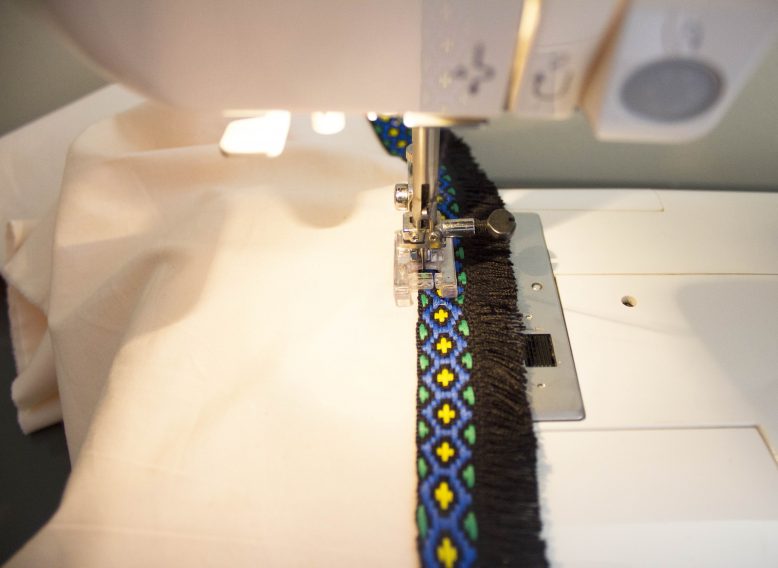
For the ruffle: cut the trimming to the same length as the ruffle and pin along one edge.
4
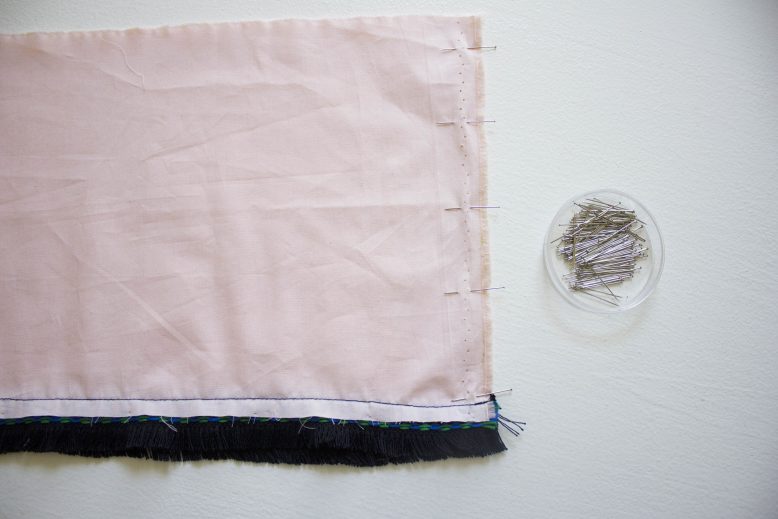
Pin the side seams together of the ruffle piece and sew with a 1cm seam allowance, creating a circle/cylinder with the fabric.
6
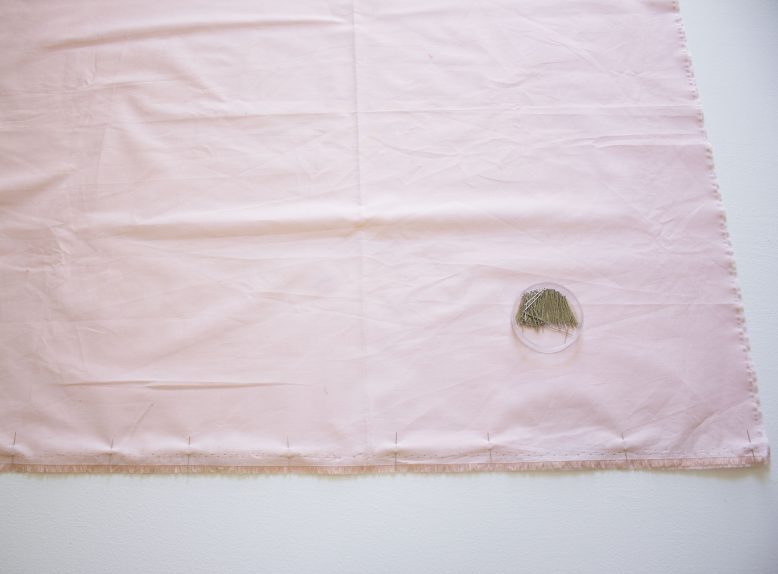
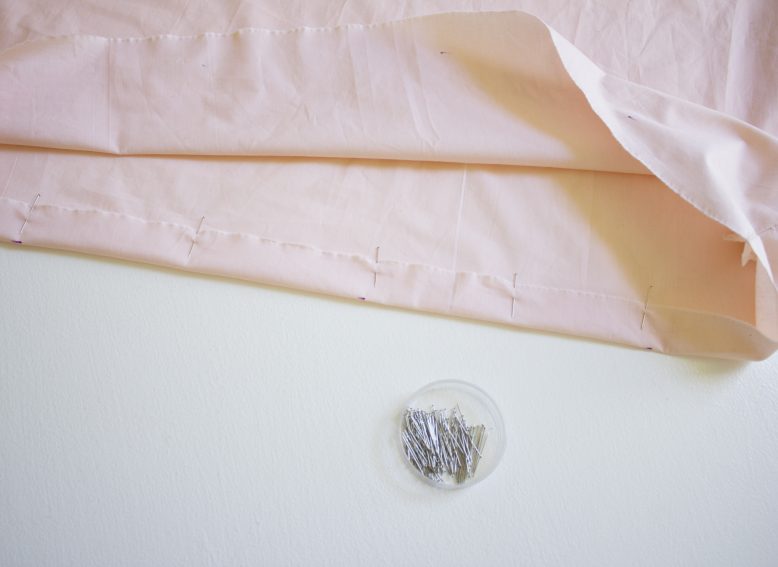
Create an tunnel for the elastic along the top edge of the main dress by pinning and sewing the edge up 2.5cm. Adjust the width of this tunnel depending on the width of your elastic and adding 0.5cm for seam allowance.
7
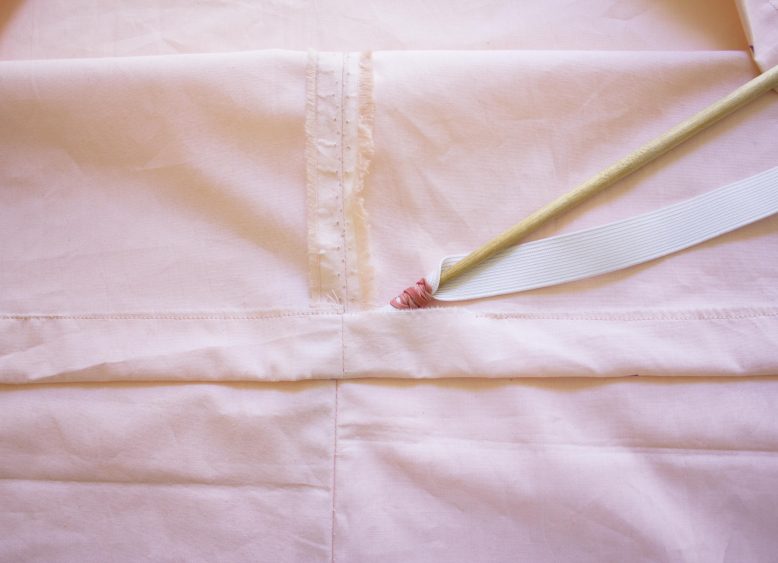
Cut the elastic to length (snug enough for it to fit around your chest and under your arms) and thread it through the tunnel created in Step 6. You may find it helpful to use something long and thin like a chopstick to help push the elastic through.
8
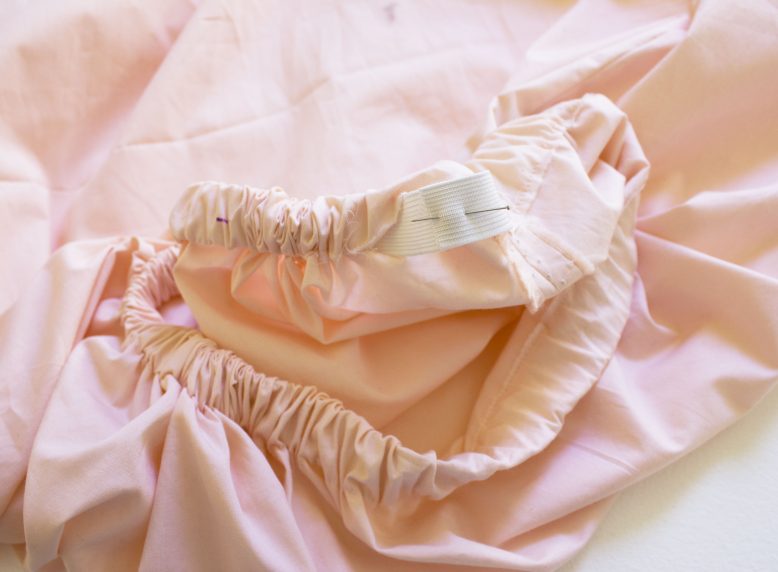
Once you've threaded the elastic all the way through the tunnel, pin the ends together and sew to secure. Repeat Steps 6-8 for the top edge of the ruffle piece but making sure you cut the elastic longer to go over one shoulder and under the other.
Enjoy your NYE guys!


