Something that I have always noticed is the ability for a unique scent to take you somewhere else entirely…
Whether that be spices and how they remind me of my trip to the markets in Turkey, or jasmine which takes me straight away to the cliff top gardens of Ravello on the Amalfi Coast (can I please go back there right now?). Using scent to trigger these type of memories is a simple way to make every day more enjoyable, whether you’re jetting around the world and encountering amazing scents orrrrrr just staying at home.
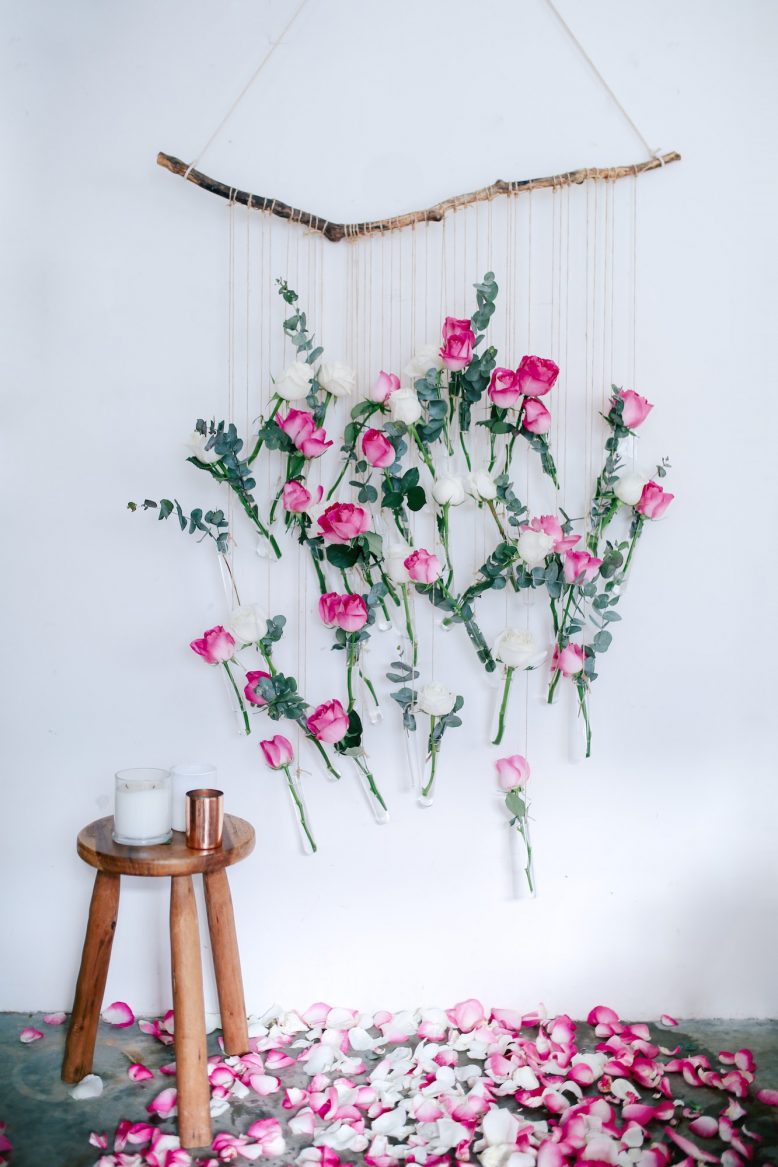
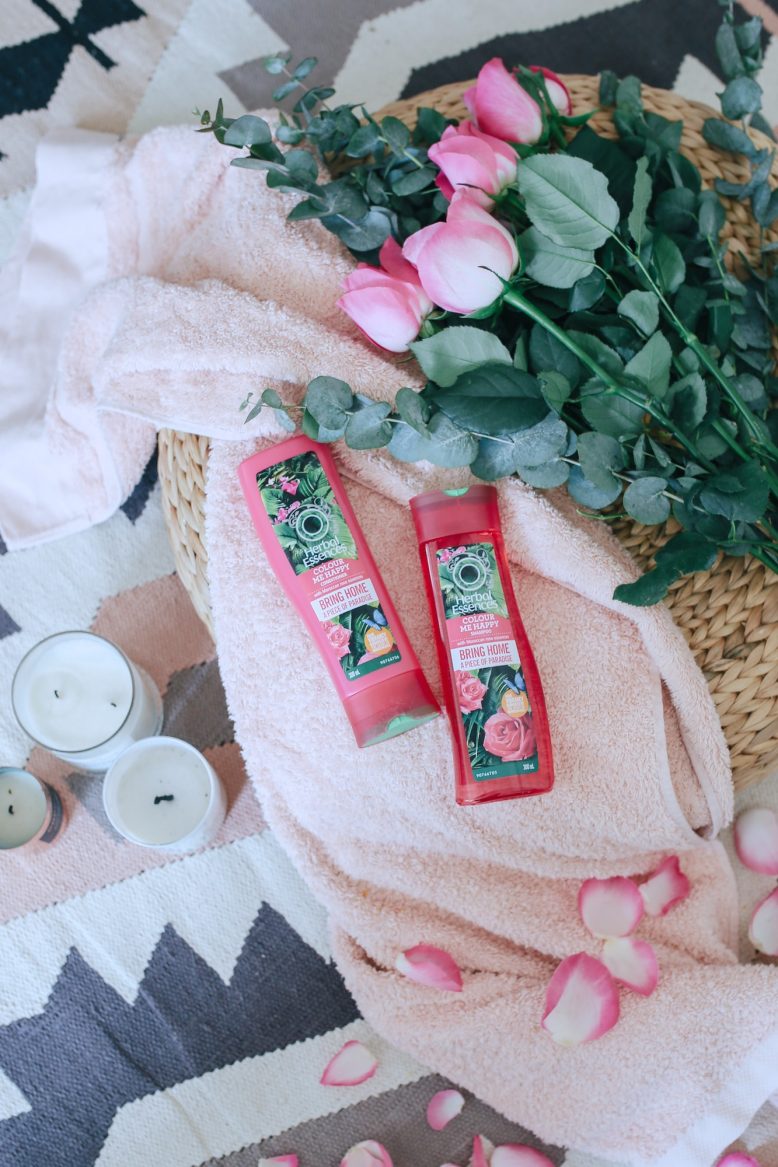
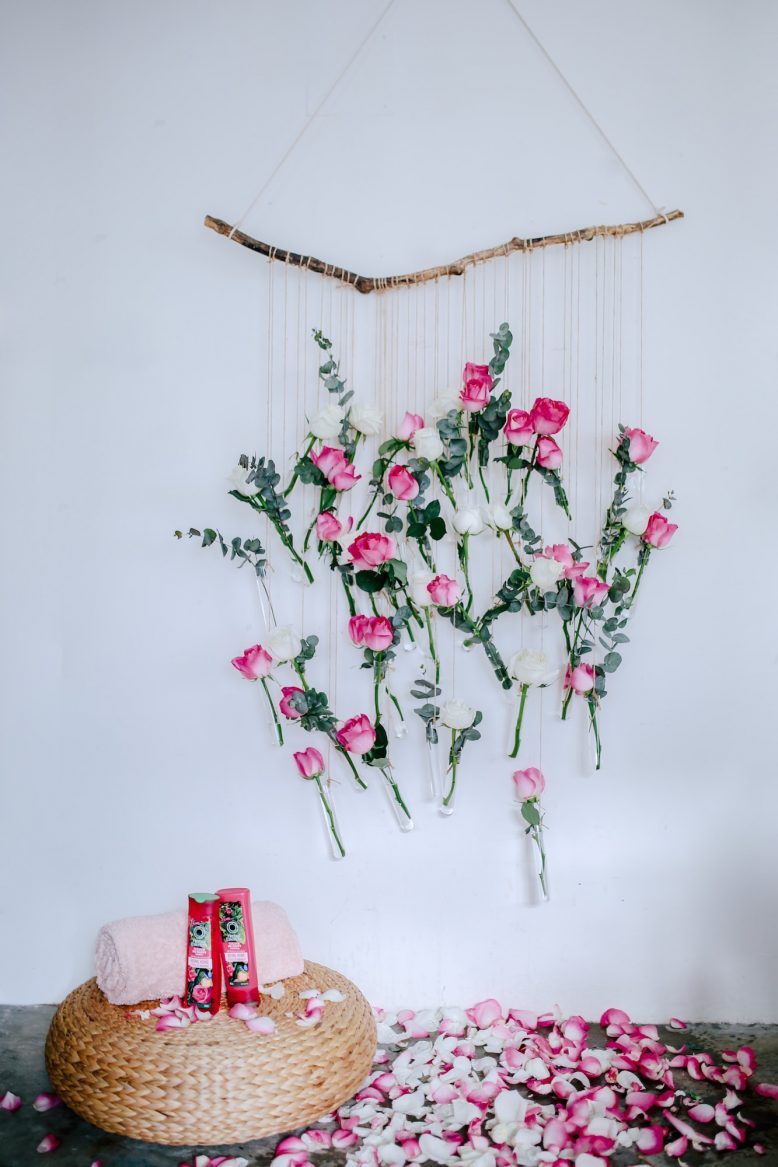
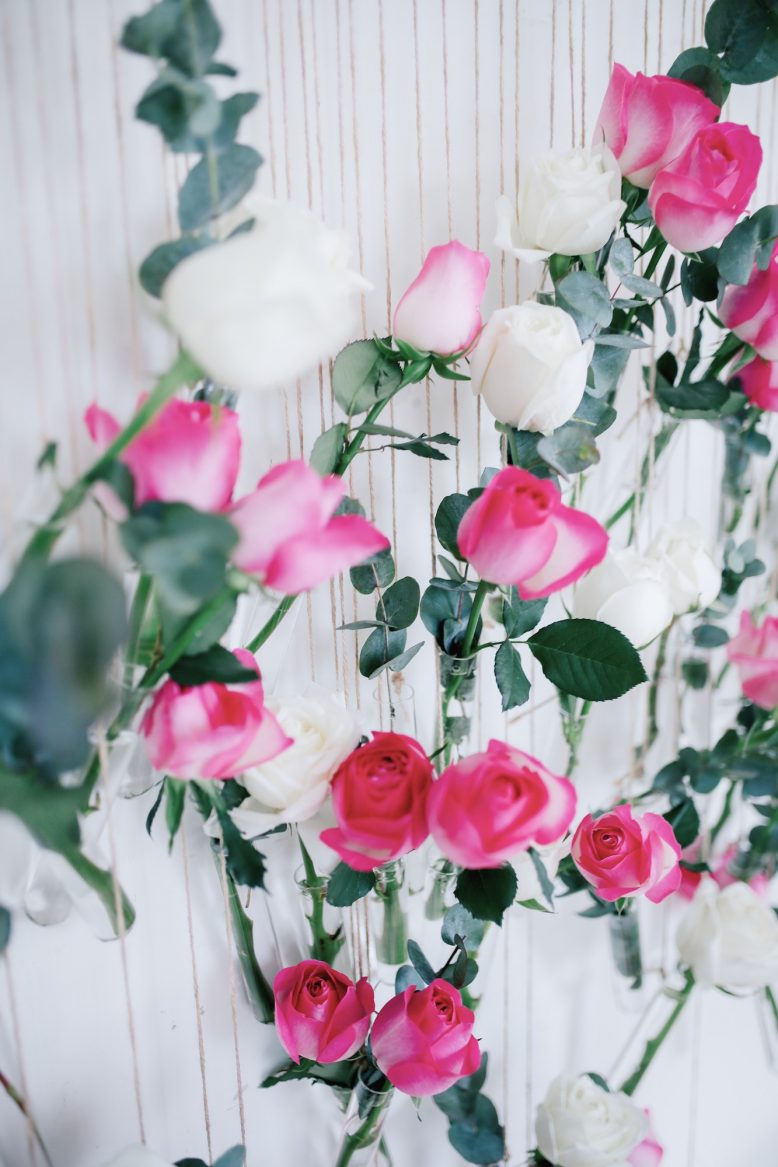
Which is why I was excited when Herbal Essences invited me to join them in their ‘Crack the Cap’ project – one that encourages women to crack the cap on their products to experience their scent before buying them. Inspired by their Colour Me Happy Shampoo and Conditioner, I went about translating the natural scent of Moroccan Rose into something you can create yourself and hang in your space. I thought it would be nice way to bring to life your shower or bathroom by creating a beautiful, delicious smelling wall hanging. Perfect for revitalising your senses when you’re having a little bit of me time. And you guys know how much I love Morocco! With colour and scents galore, it’s the perfect exotic destination to base such a colourful (and happy) project on.
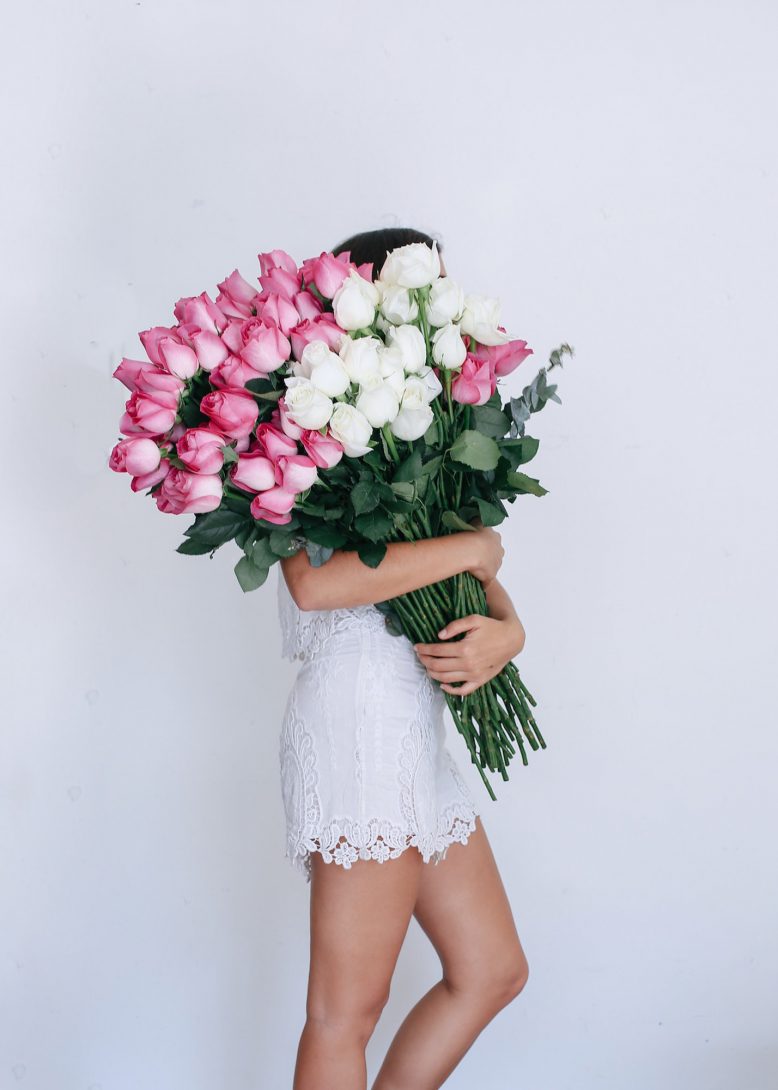
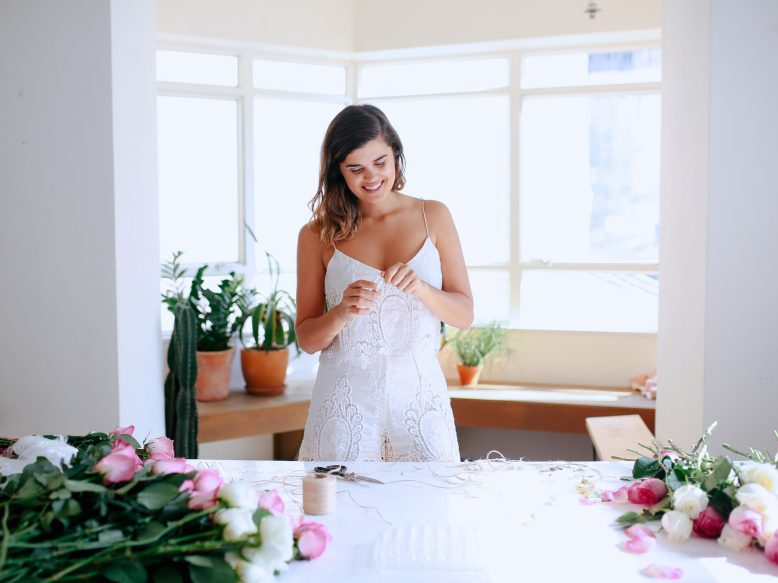
When you bring home so many flowers you can’t see… it’s sure to be a good day!
DIY Floral Vase Wall Hanging
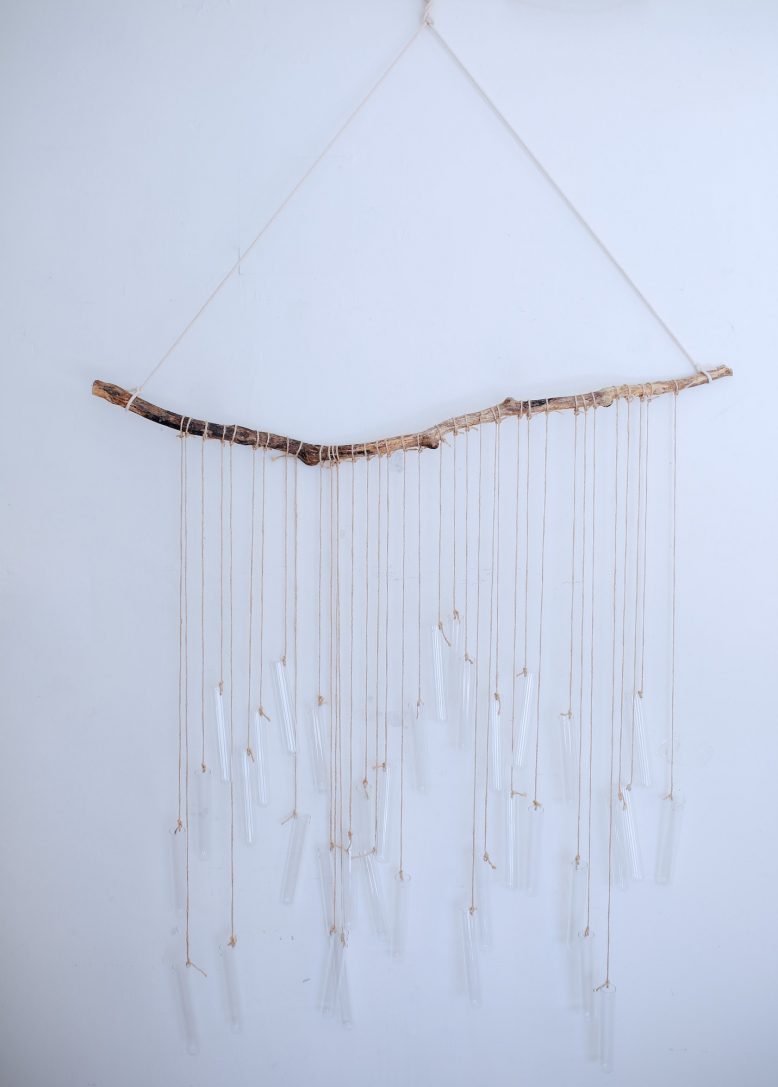
We made this wallhanging quite large with over 30 vases in it, but you can make it as big or small as you like depending on how many flowers and vases you have on hand. 🙂
How to
1
First, create the base of your wall hanging. To do this, we used tied a piece of rope to each end of the branch and then hung that on the wall so that it created a triangle shape. You will need to adjust it on the wall until it is nicely secured.
2
Next, you'll need to cut the twine which will hang up your vases. We weren't too process about this because we wanted a staggered look on the wall, so just just around 1 metre (1.1 yard) pieces. Don't worry too much at this stage because you can trim them down later, just make sure they aren't too short.
3
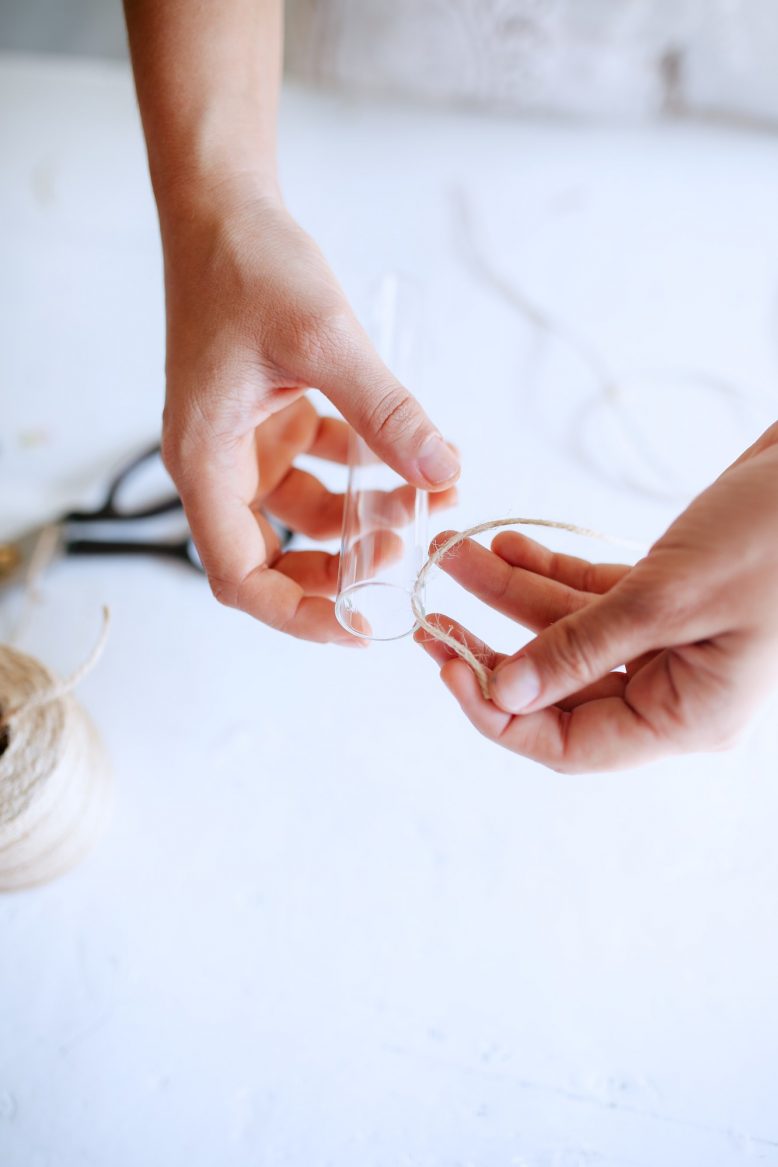
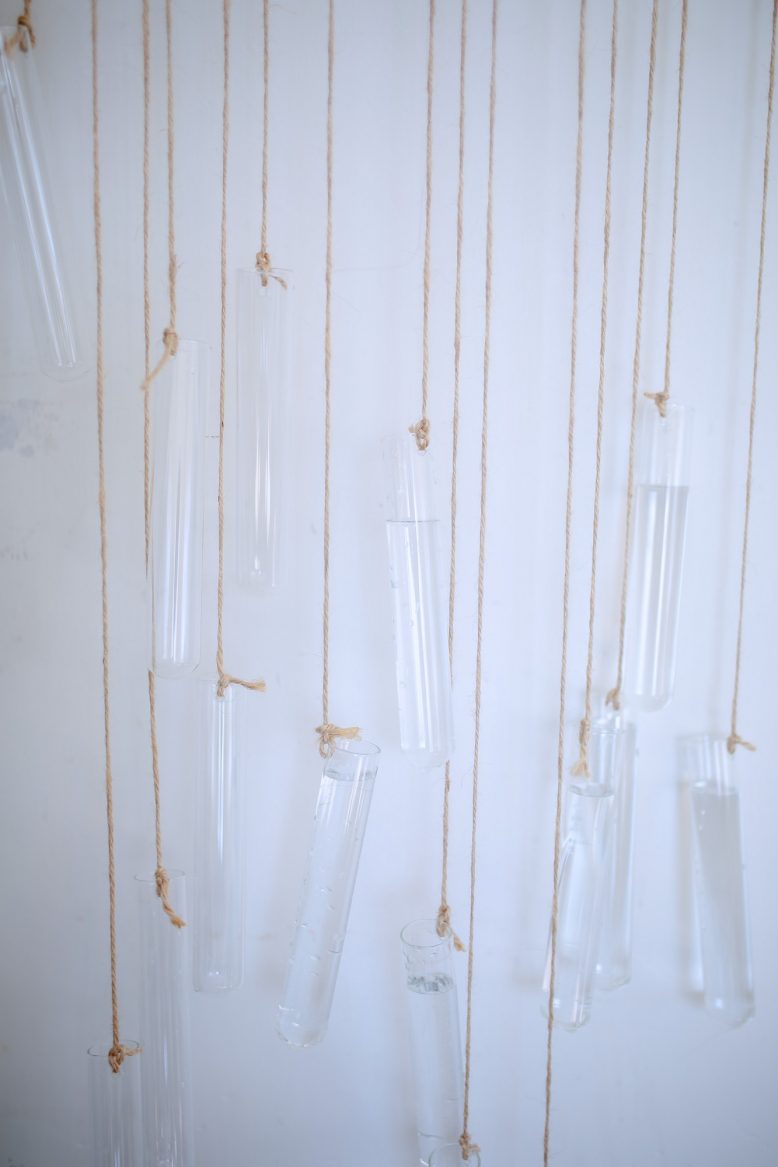
Next, tie string to your vases, at different lengths. We used test tube vases for this one, around 30, but you can use any small glass bottle or jar - just be mindful that the base will need to take the weight of all of them combined (and the water) so it's best if they're not too heavy.
Just, you know, having fun with flowers in the studio!
4
Once you've added string to all the vases, you're going to hang them on the wall. To do this you should space them out along the branch, but also make sure they cover the wall with too many big gaps. Note that there will be much more coverage once the flowers and leaves have been added.
We just tied them on and left the twine hanging down to start with so they could be adjusted if we needed to.
5
Once you're happy with the layout of the vases, you will want to trim any loose twine along the branch so it's nice and tidy. Loop any stray ends towards the back.
This is what the base should look like.
6
Using a small jug, fill the vases up with some water. We found this helped to stabilise them so the more water the better - baring in mind what your branch can take!
7
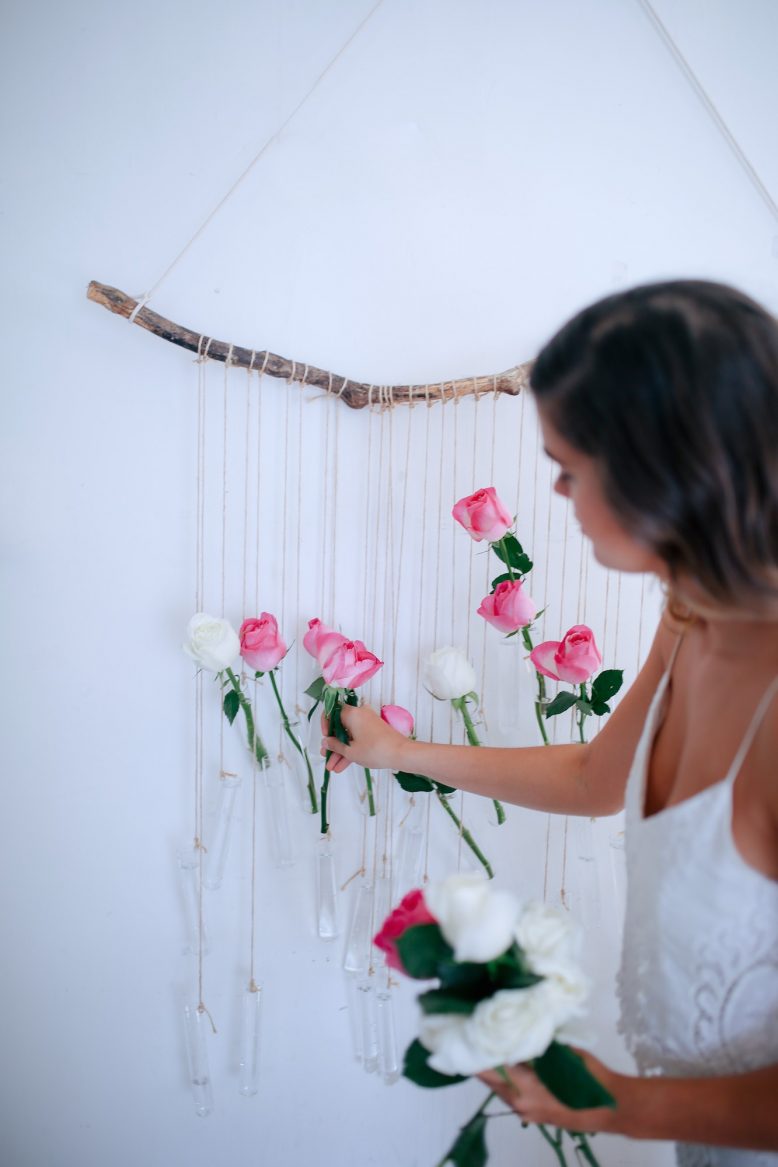
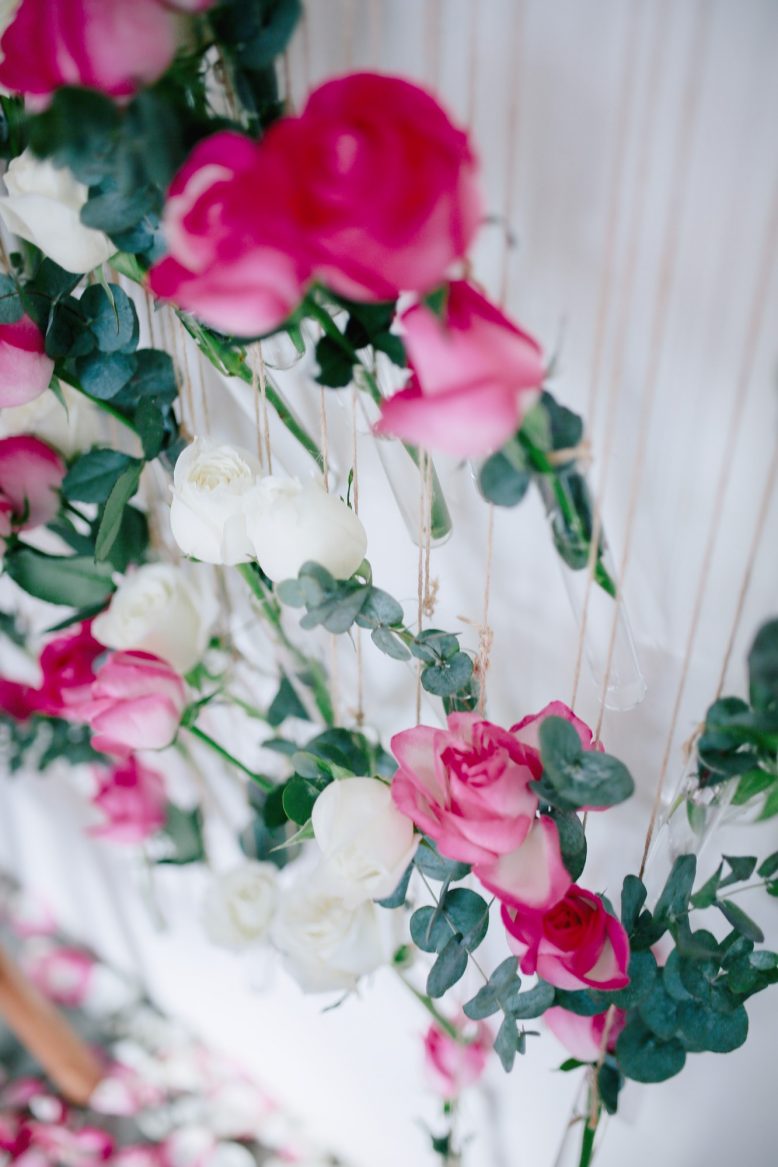
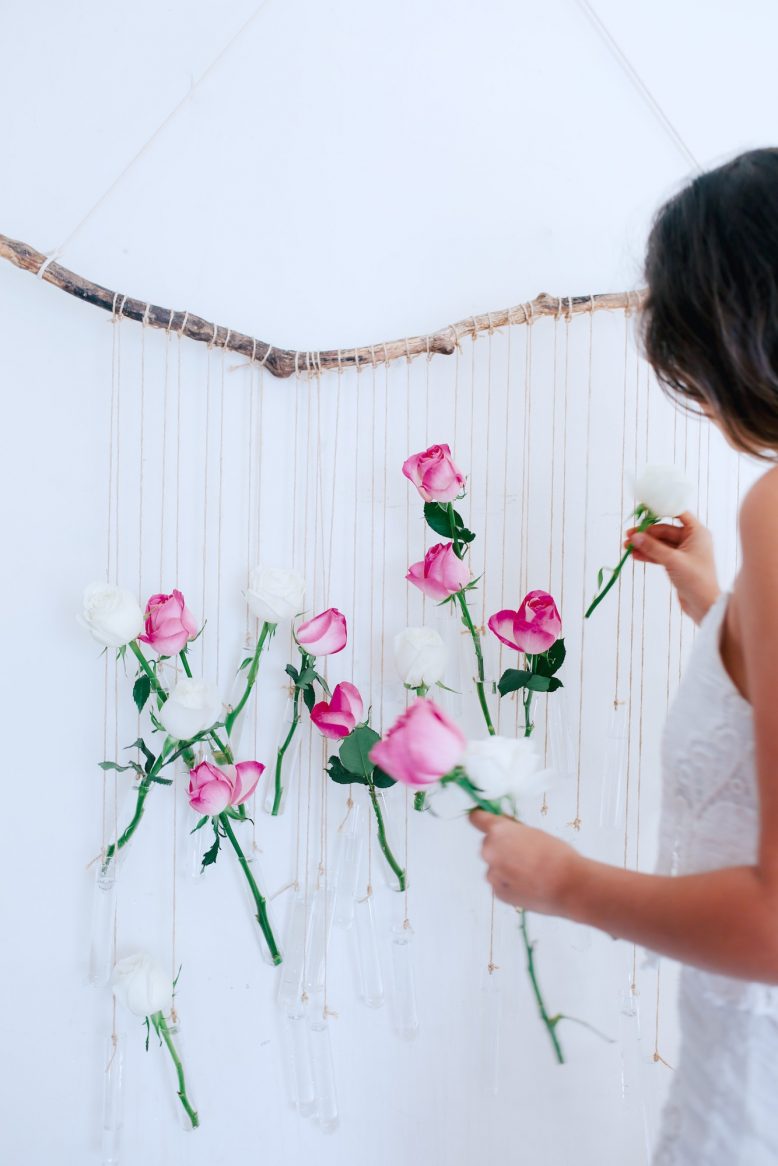
Finally, cut your flowers up, making sure to remove any leaves that will be in the water, and then place them into your vases. We then added eucalyptus sprigs to fill out the arrangement.
This would also make a great party backdrop or wall centrepiece, and it will also longer because it uses water and vases. If you are using roses, you can also remove the water and let them dry in place. They should dry really pretty and smell great for a while.


