Considering slipping into something more ‘comfortable’?
Then let it be a silk slip dress – a simple piece that has come to pretty much define my weekends. A little bit 90’s, like most of the grand styles we’ve seen in the last 12 months, but unlike others as soon as you put this on you wonder why it ever went out of fashion. I picked one up at a vintage store recently, but on second review saw that it would be pretty straight forward to create my own. Which is what I did!
DIY Silk Slip Dress
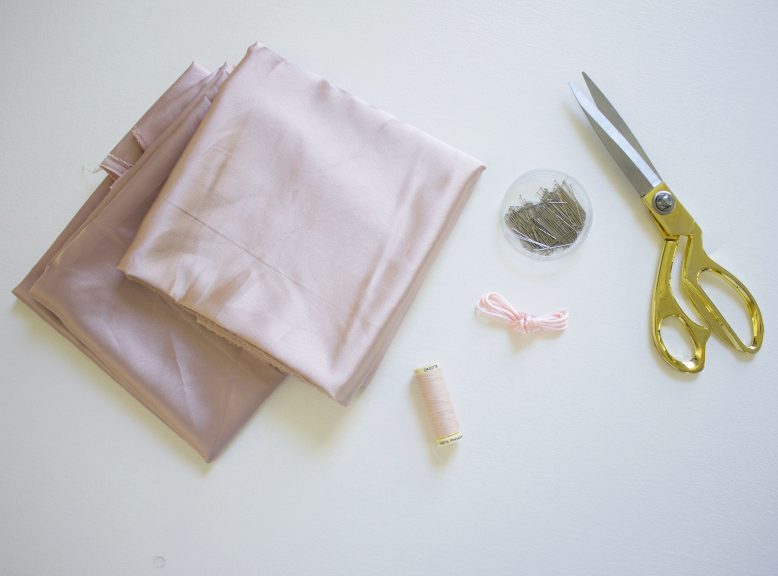
We used blush pink silk for this one, but a more subtle version would be black, and you could layer it with tights and turtle neck if it’s cold or you’re keen to leave the house.
How To
1
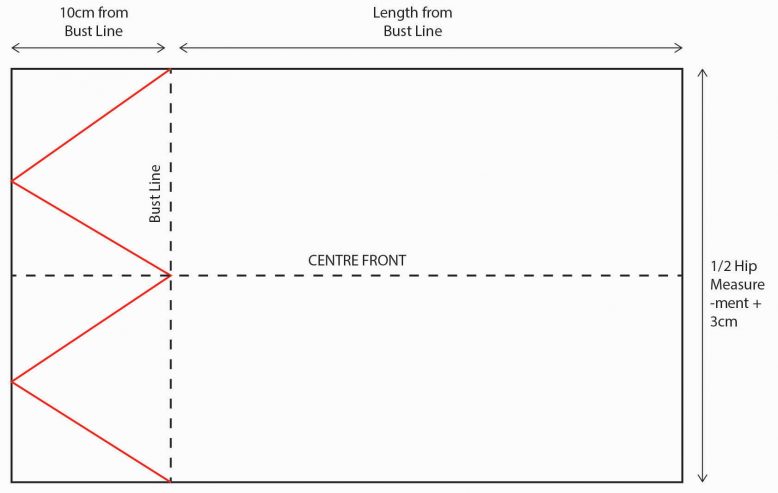
Create a paper pattern for the front of the cami using the measurements and formulas in the diagram and cut it out.
2
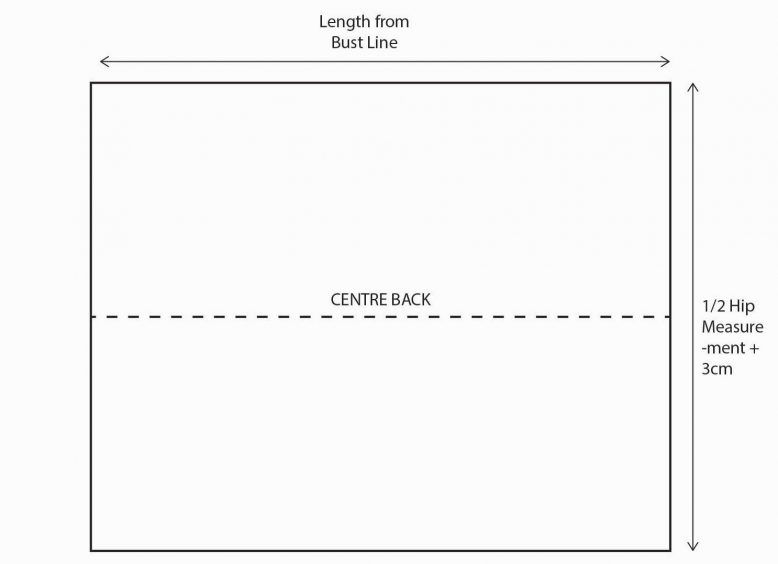
Like the front, create a paper pattern for the back of the cami using the measurements and formulas in the diagram and cut it out.
3
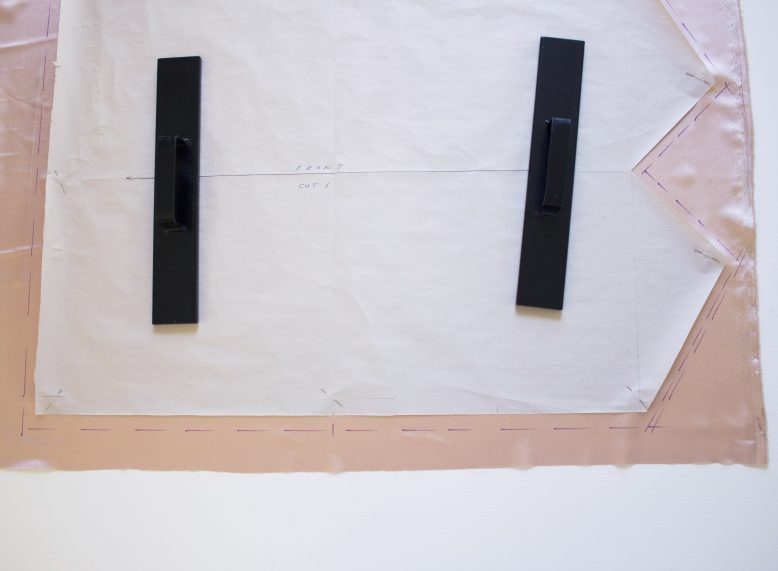
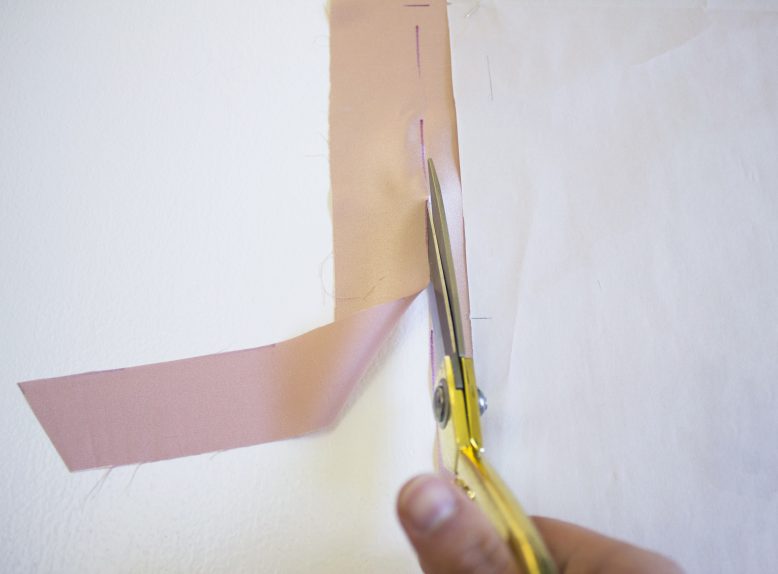
Lay your fabric on a flat surface and place the paper pattern on top, pin or hold it in place with some weights or anything heavy. Then using a tailor's chalk or pen, mark a 1cm seam allowance on the fabric around the entire pattern.
5
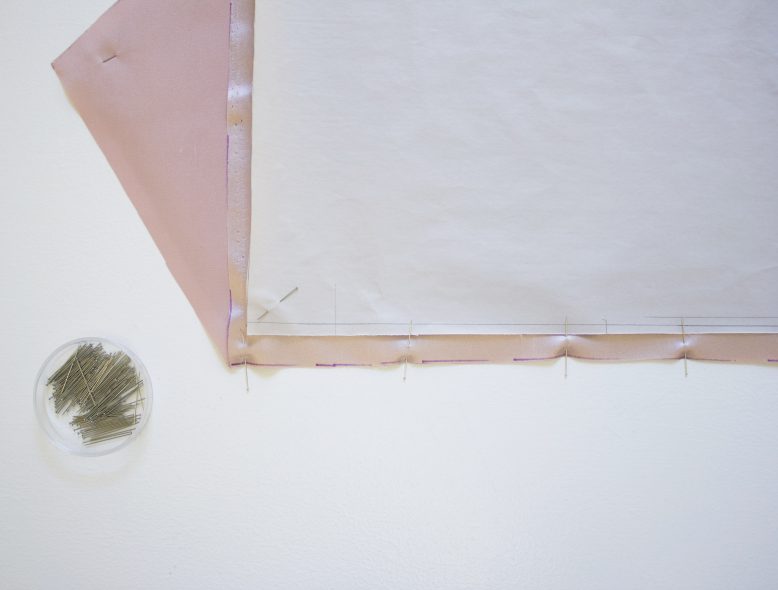
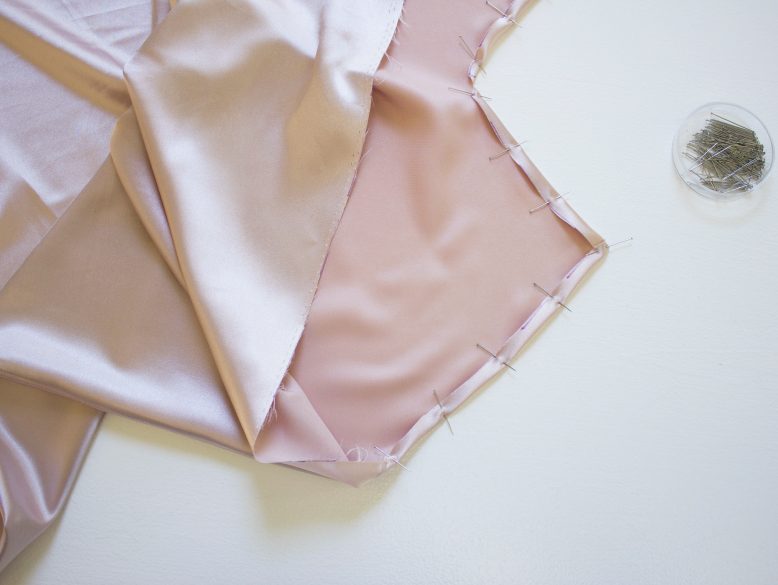
Repeat the same procedure for the back of the cami and then pin the front and back pieces together at the side seam. I found it easier to handle the fabric (which can be quite slippery) with the paper still pinned to it. Then sew together.
7
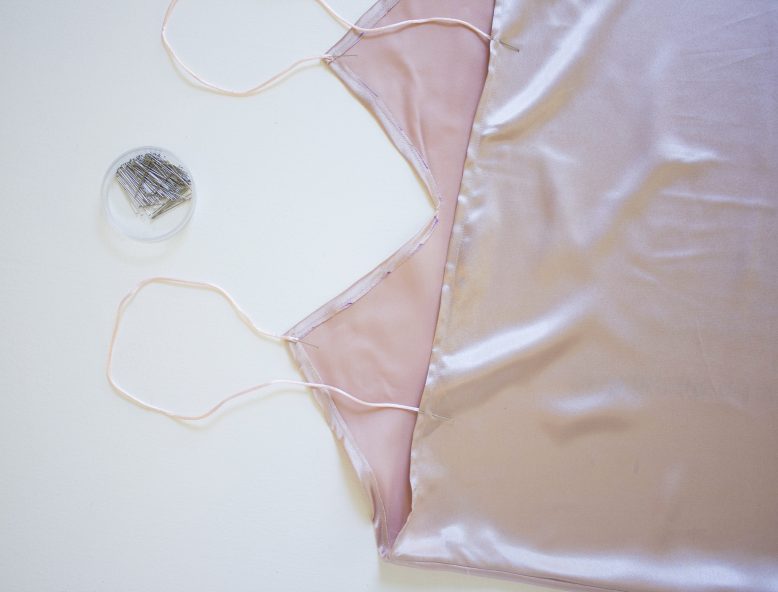
Measure and cut two lengths of cord for the shoulder straps and pin to the front and back of the cami. Sew to secure.
8
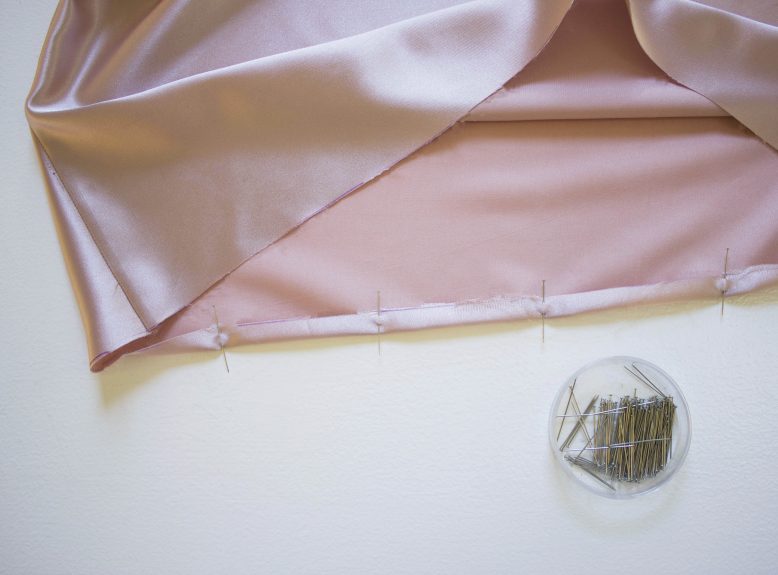
Pin and sew the hem up 1cm along the bottom edge of the cami. Hint: a quick sewing hack when it comes to the hems of sheer and silk fabrics is to apply a thin layer of clear nail polish to the edge (like you do with runs in stockings). Apply just enough to stop the threads from unraveling. Easy as!
Photos by Nicola Lemmon.
Like this DIY? Pin it!
\


