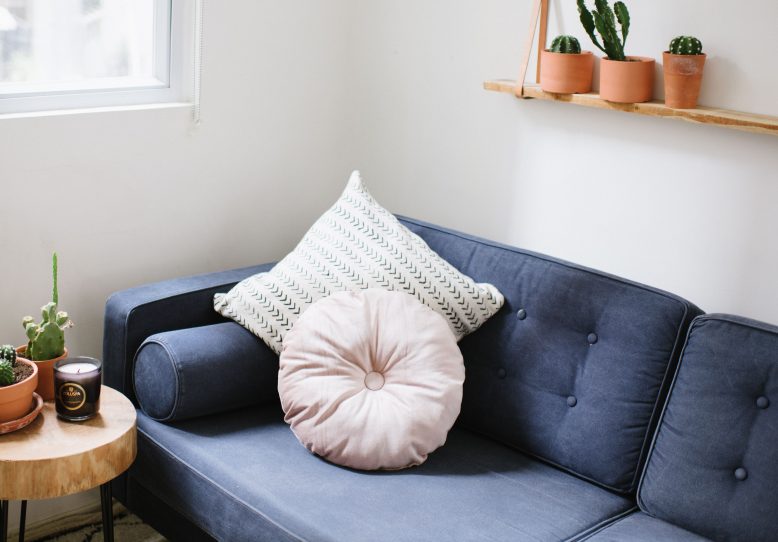
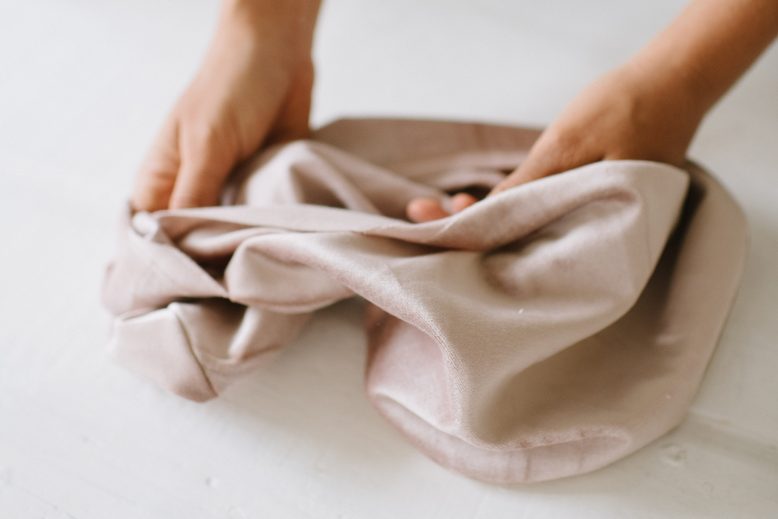
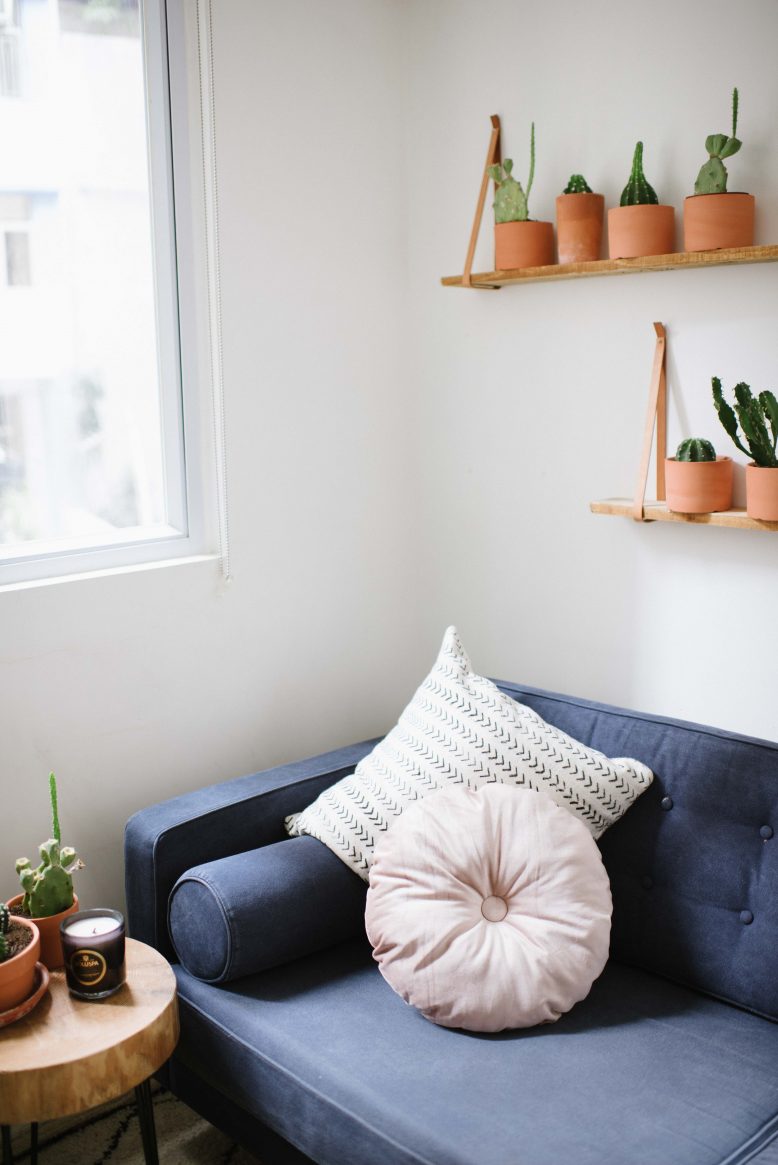
You’ll be no stranger to my love of a gorgeous cushion, they have the ability to easily take your space to the next level. But a lovely cushion will often set you back a pretty penny, which is why I’ve spent so much time showing you how to make your own. Recently a few round velvet cushion styles caught my eye on pinterest, and I knew I would have to make my own.
Do you guys love a cushion as much as I do? If so you should check out this tutorial oh and also this one. Making your own is a great way to change the look and feel of your space without having to spend too much money, throw a few cushions around and you’re set! Read on (and watch the video) to see how to make this one.
DIY Round Velvet Cushion
For this round cushion I decided it was easier to go with a stuffed, sewn up style rather than one with an opening. I found that was best because it kept its round shape well, rather than the ones with the openings which tend to go a little oblong. Watch the video below to see more.
Video
1
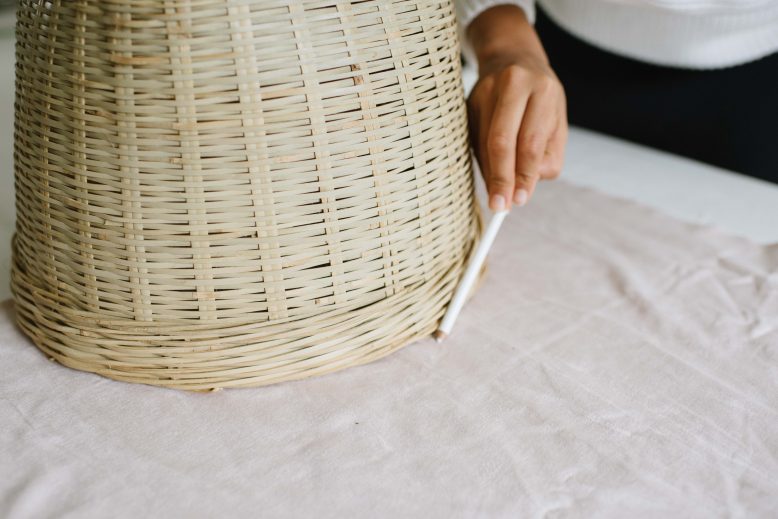
Using something round as a template (we used a basket) cut out two pieces of your velvet fabric. Our was 50cm (20 inches) wide, as a tip you should make it bigger than you think because they shrink once you put the stuffing inside.
2
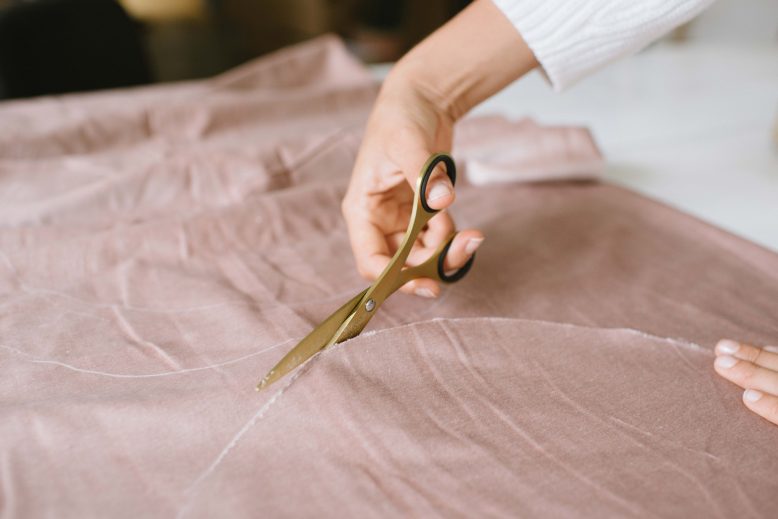
Using your scissors, cut out the two pieces. A good way to ensure they match is to double up the fabric and cut them together.
3
Put your pieces of fabric together with the right sides facing in, and then pin them together, leaving a gap on one side for inserting the stuffing.
4
Using your sewing machine, sew all the way around the edge, around 1cm (half inch) in.
5
Once you are done, turn your cushion inside out through the hole in the edge. Iron it down flat.
6
Fill your cushion with stuffing, pushing it to the edges so that it is a nice round shape. Then, sew the opening shut by hand.
7
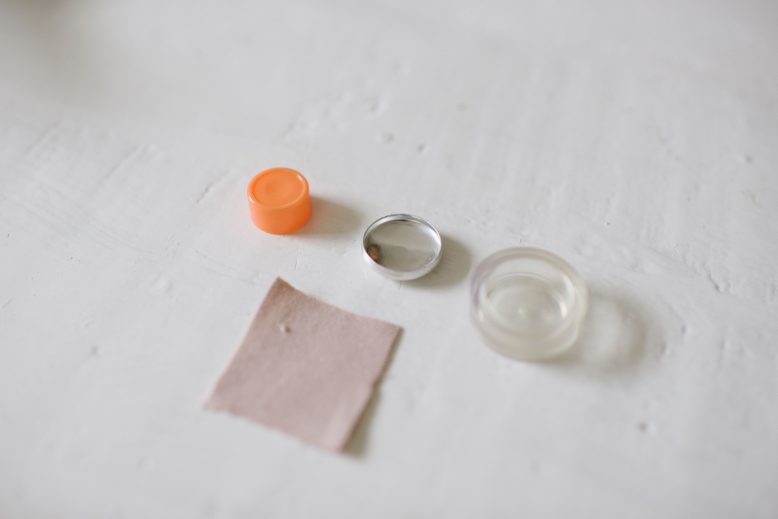
It's time to add two covered buttons to each side. By sewing them together through the middle you will create the donut gathered shape which makes it look way more expensive. Watch the video for details about how to make your covered button, but you will need a kit which includes button fronts, backs as well as a pusher and shell which essentially wedges the fabric into the back of the button keeping it tight across the front. It's so easy to do and looks really polished.
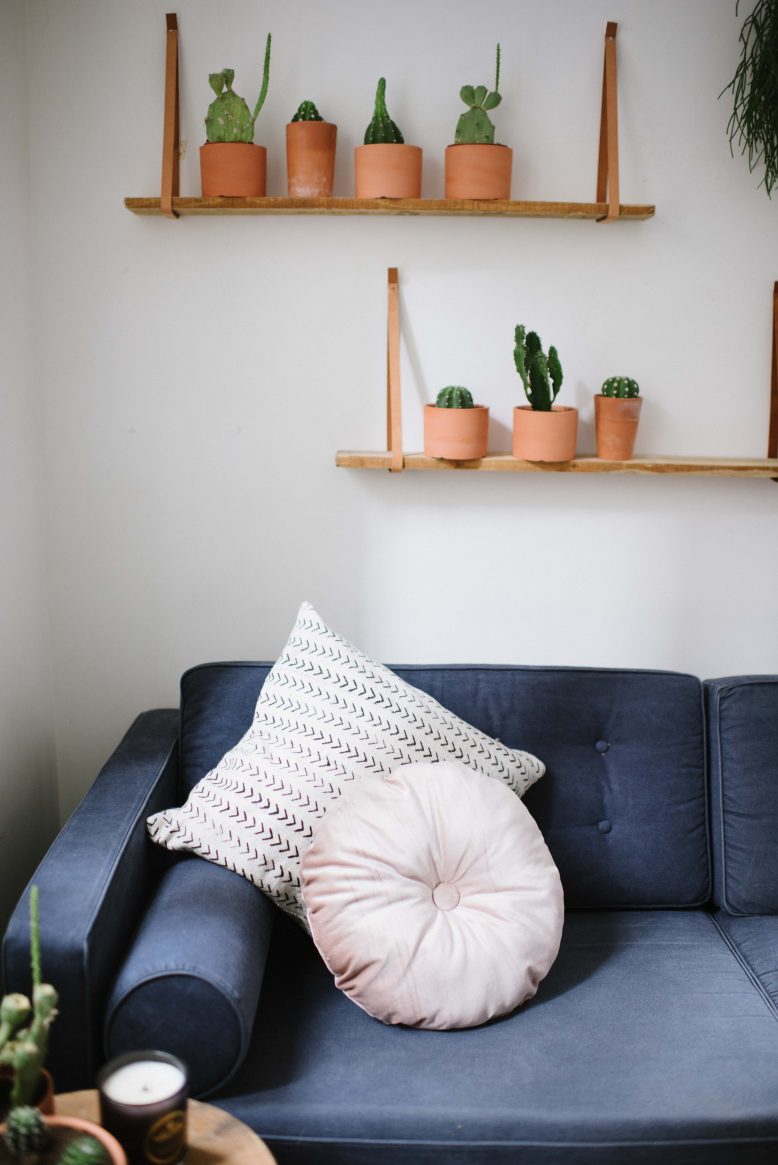
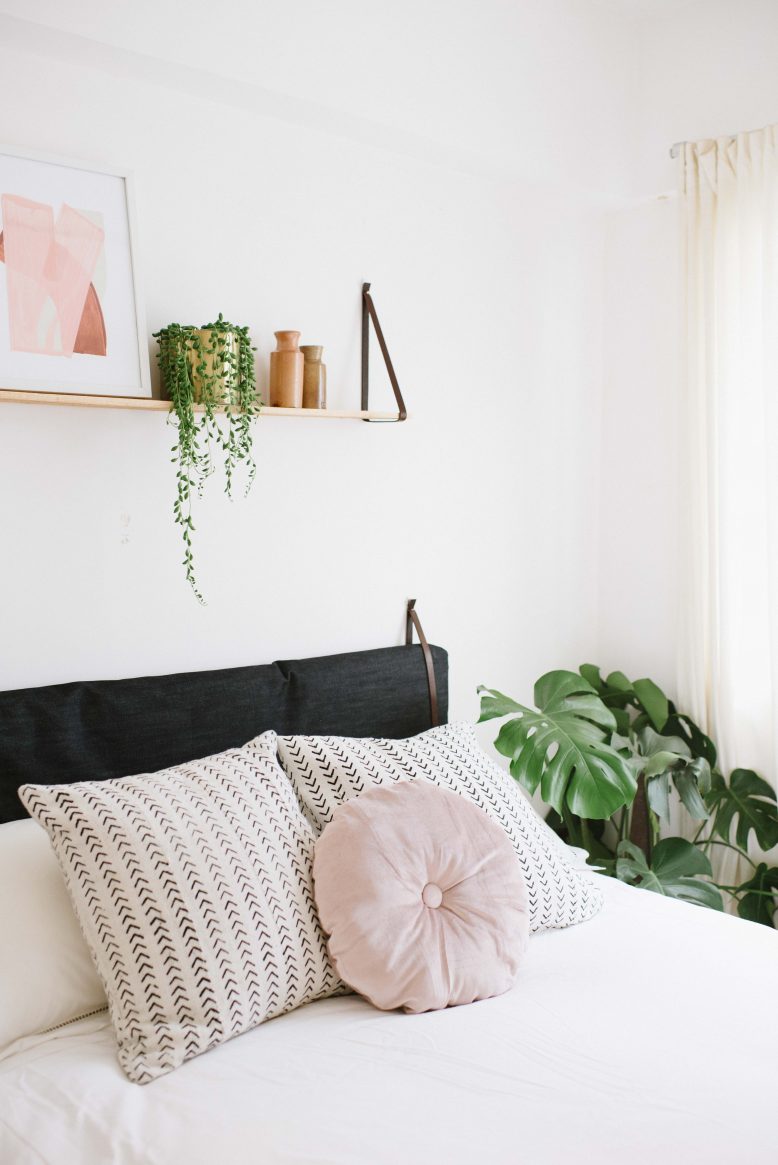
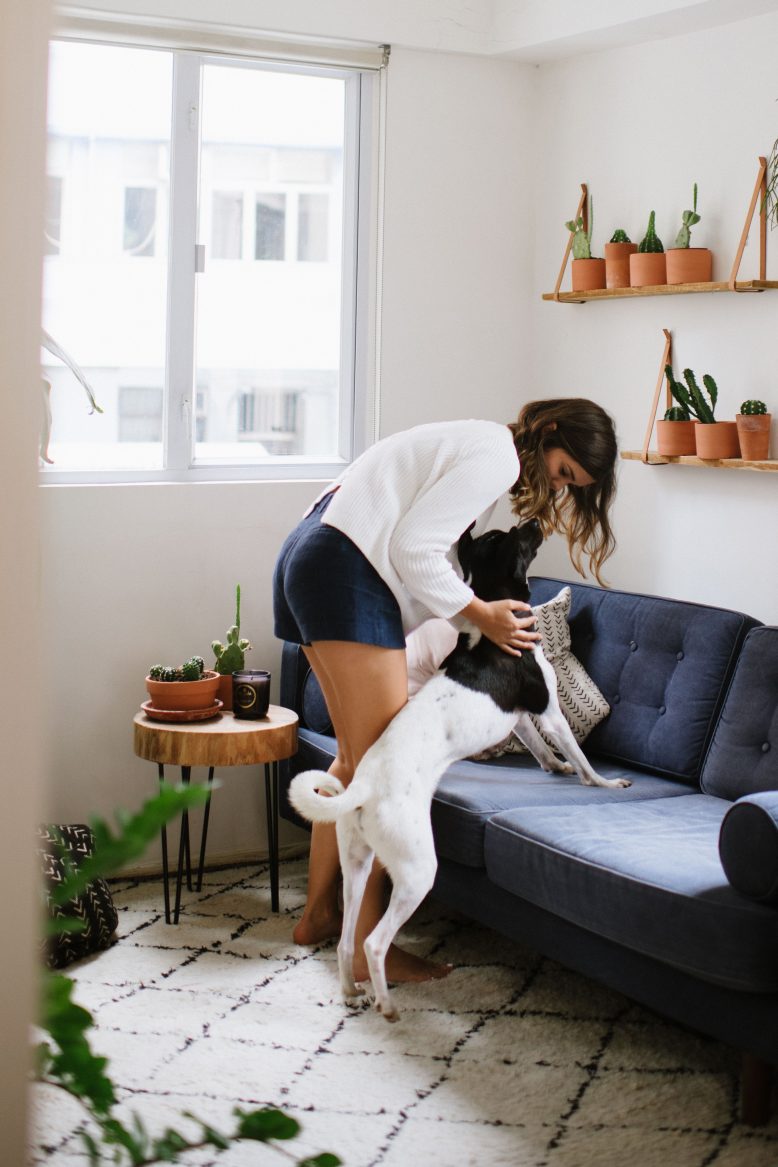
I want to make this cushion in a rust and a mustard velvet too. Thoughts? In case you’re interested, there are some other DIYs shown in this post including the DIY Leather Hanging Shelves, DIY Cushion Headboard, DIY Wood Slice Table and DIY Throw Cushions.
Ollie’s favourite thing to do is eat cushions… you gotta keep an eye on him!
The house decor update is getting pretty close to being finished, I’ll be sharing all the final details soon… So much DIY!
Photos by Kit Lee.


