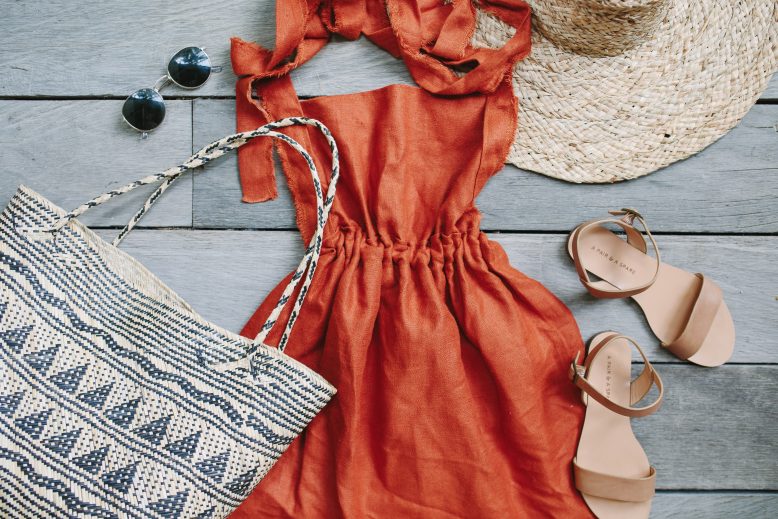
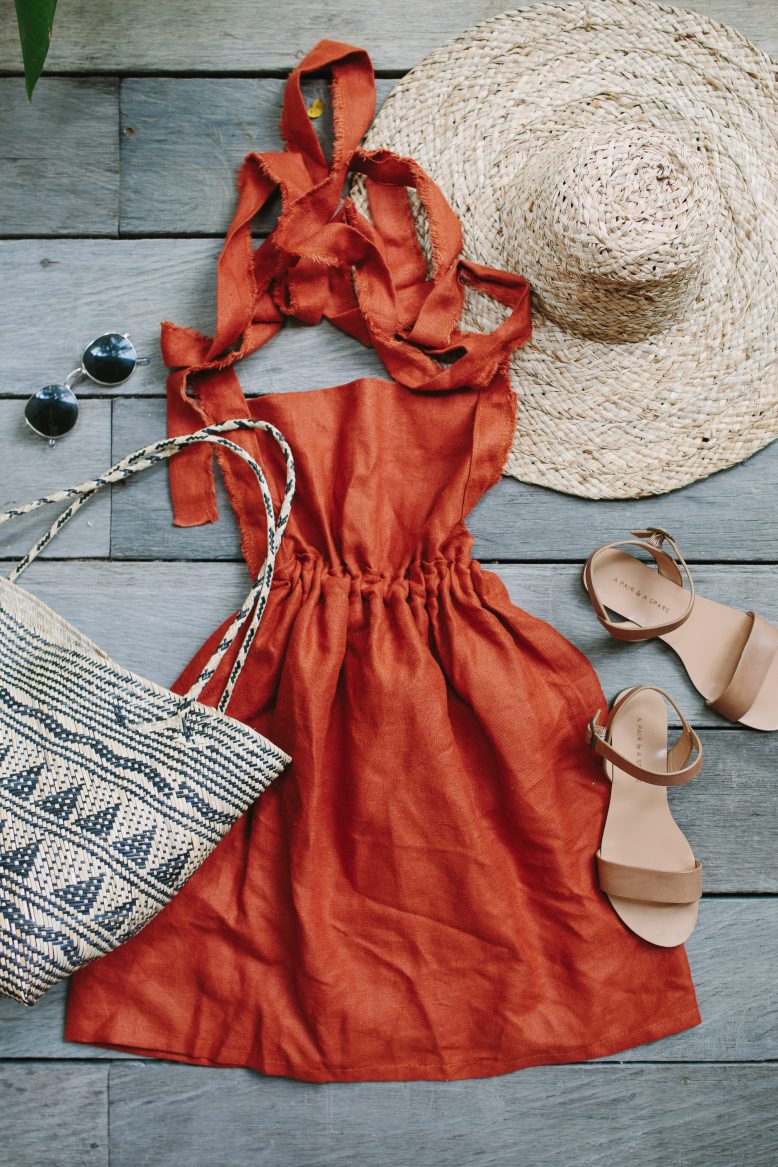
I’m excited to finally share with you a project I put together before I went to Bali. The DIY Cross Back Dress. It was a design I had in my head for a while but couldn’t quite get right. I pulled my hair out a bit loved making it! Finally, here it is
After posting this inspiration, and seeing that you guys were totally on board with the cross back dress too, I pondered numerous ways to make this dress. I considered a button style, or straps that weren’t adjustable. But after thinking about it I realised a wrapped style would be easiest to make and wear, due to adjustable nature and the somewhat forgiving element of being about to tie it yourself.
So yes, I admit it’s not strictly a cross back dress (so sue me!), because I’ve essentially done two very long straps that allow you to cross over, wrap around the waist and then tie at your back. Meaning there are probably a few different ways to wear this… I’ll get back to you on that one! Read on for the steps.
DIY Cross Back Dress
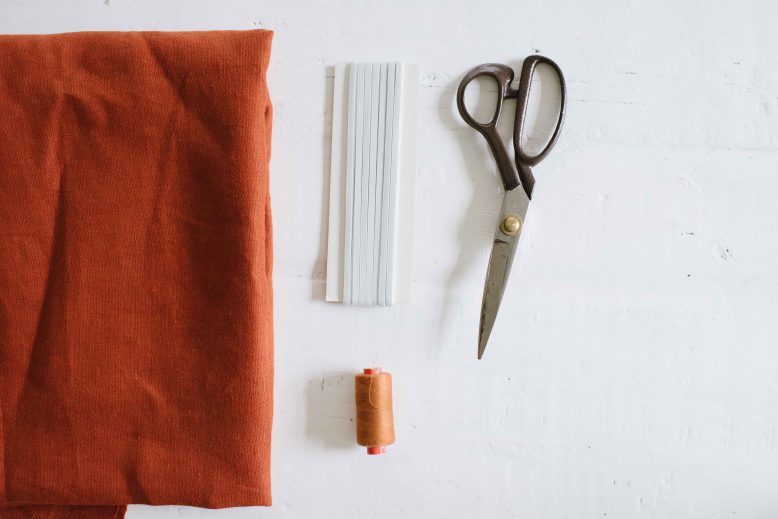
Materials
How to
1
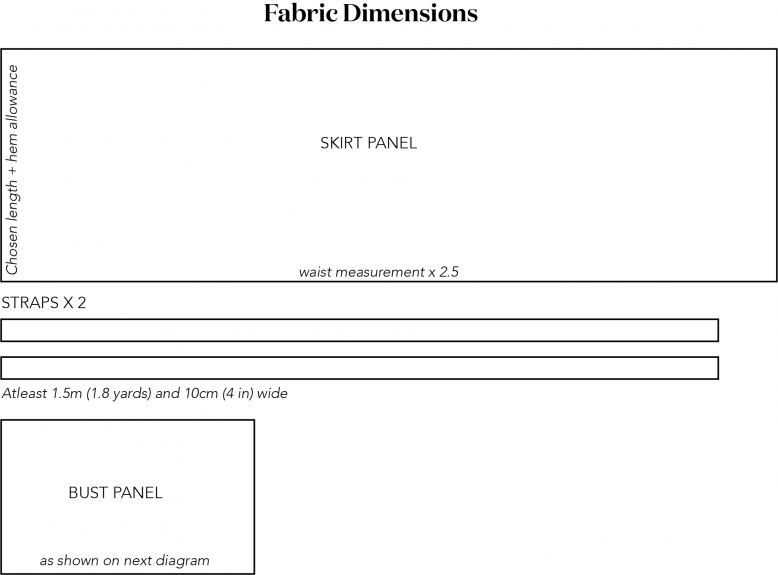
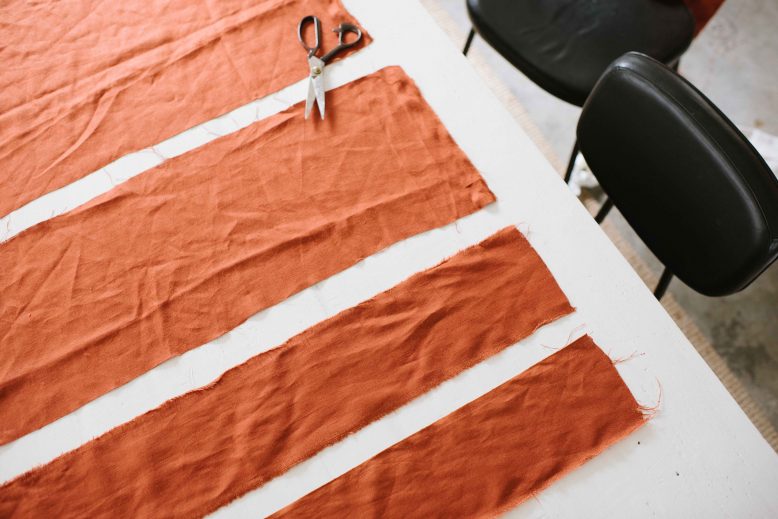
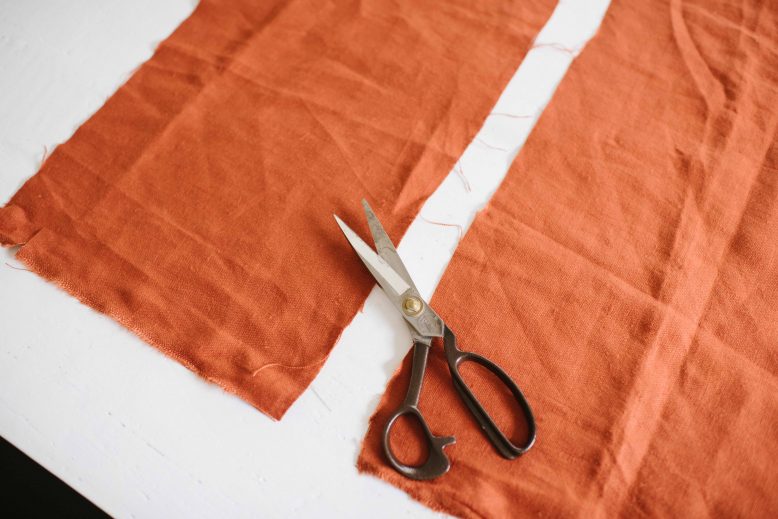
Using the measurements above, cut out the pieces of fabric for your skirt, straps and bust.
2
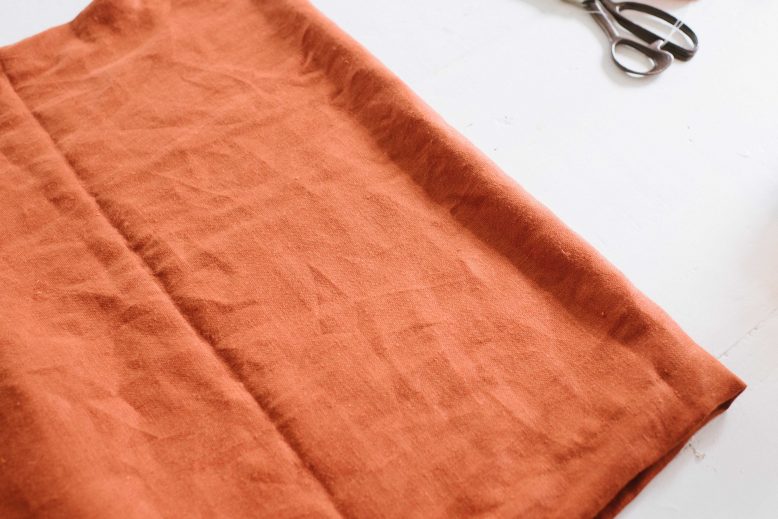
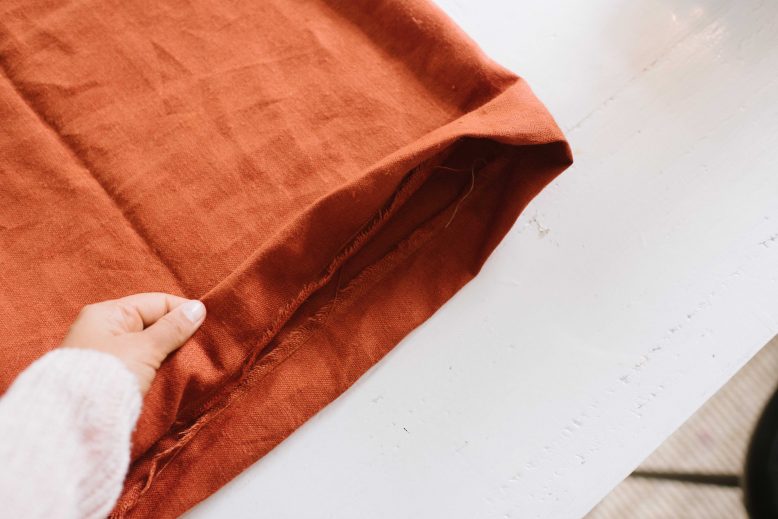
Sew a basic tube that will make up the skirt section, by first hemming the top and bottom edges and then sewing the short edge together.
3
Make sure you sew the top edge hem wide enough so that you can pass your elastic through.
4
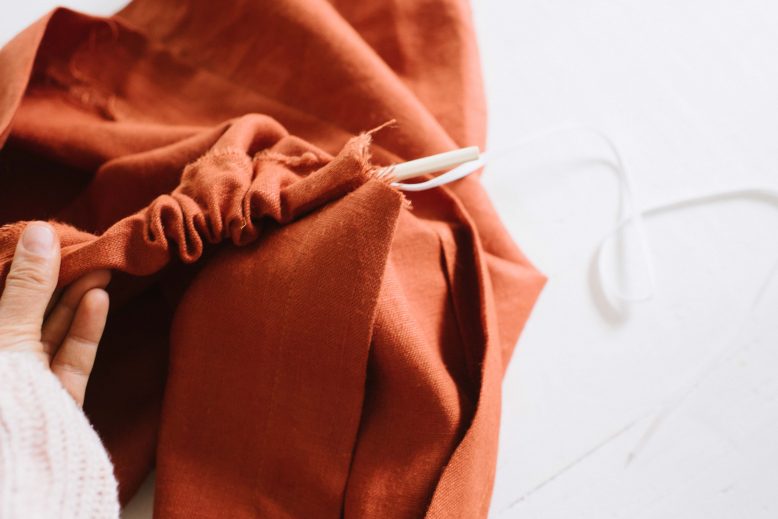
Using a chopstick, attach the elastic to one end using tape, and push it through the top waistband to gather it.
5
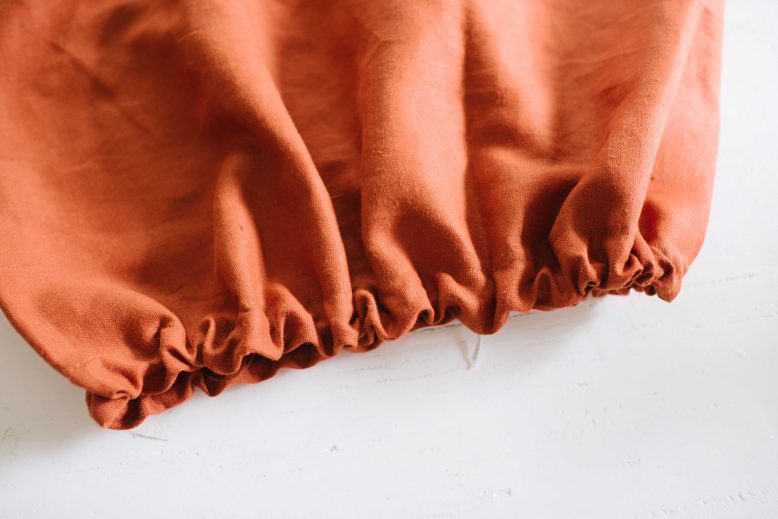
Sew the ends of the elastic together and then sew the hole in the waistband shut. Your skirt section is done!
6
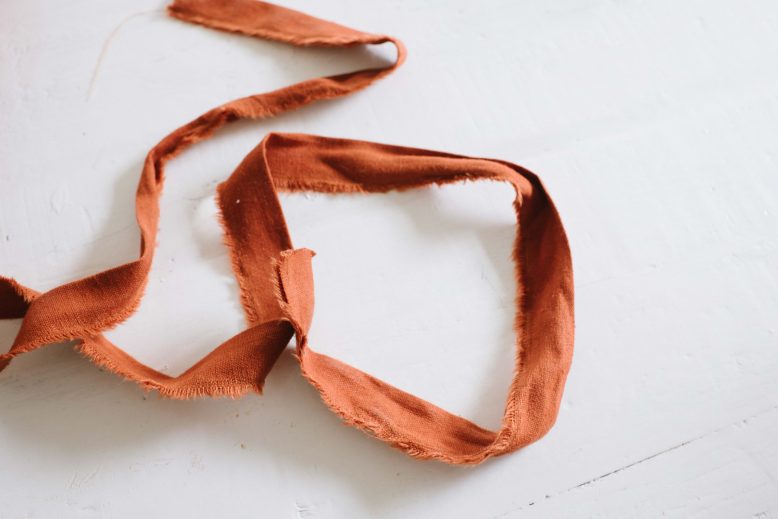
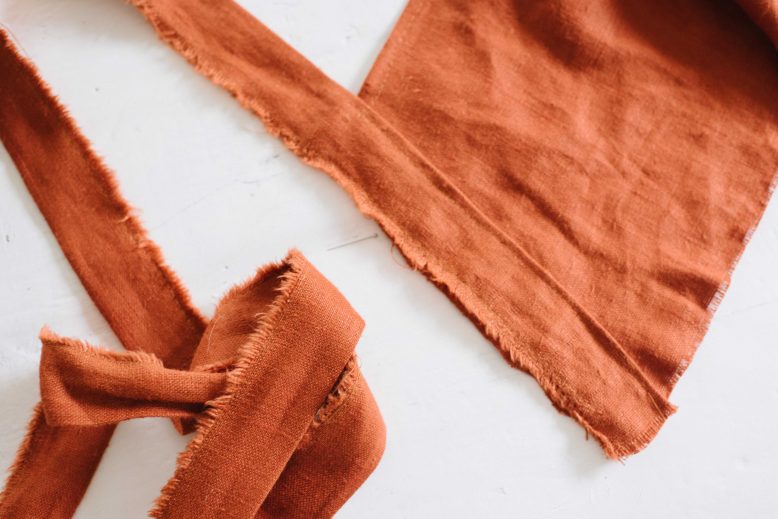
Next, make your two long straps. To do this, simply iron in half lengthways and sew the sides. To create the raw edge, pull out a few layers of thread along the edge. You can of course make the straps without the raw edge by sewing the edges together and then turning the tube inside out.
7
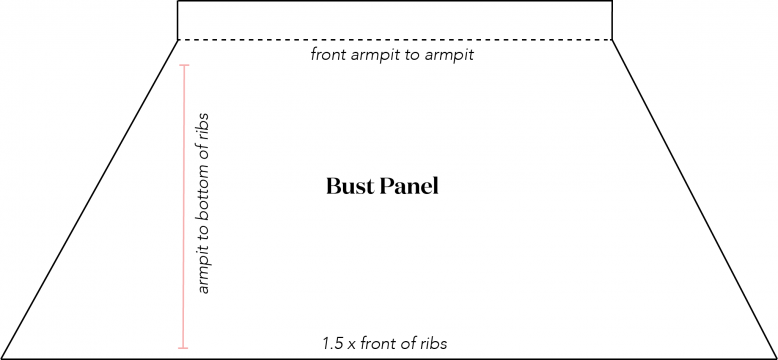
The next step is to make the bust section of the dress, in an apron style. To do this cut out a piece of fabric using the measurements shown below.
8
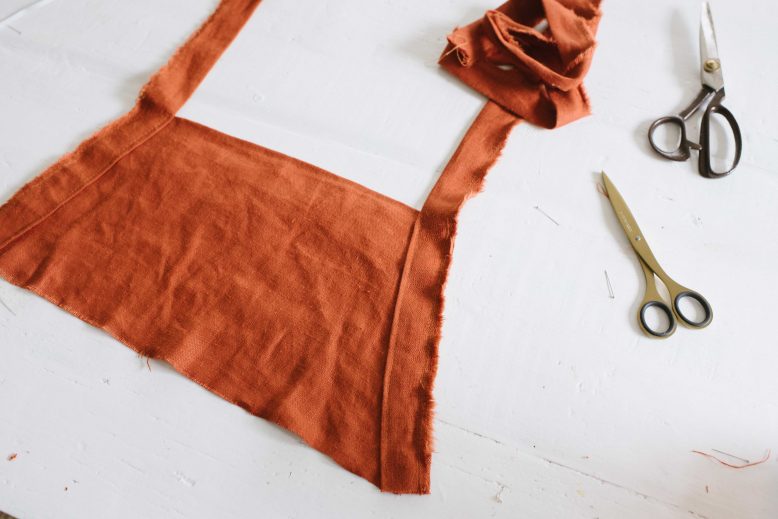
Once you have cut that piece of fabric out, fold and sew the top edge over (shown by a dotted line on the diagram) and then sew the two long straps to the sides.
10
The final step is to sew the bodice section to the skirt section. Simply stretch out the skirt and pin the bodice in place - you may want to try it on so that it's in the right place. Then sew them together, with the bodice section underneath the skirt.
Like what you see? Or just want to save it for later?
Pin ItVoila!
To wear the dress, just cross the straps over at the back, bring them around to the front and then tie them in a bow either at the front or the back. So easy!
On another note, I just love this rust fabric so so much. It’s funny because it’s not a colour I would have jumped on in the past but it’s really grown on me. I want everything rust now. Anyone else into it as much as I am?
Wearing: DIY Dress, Nude Simple Sandals, Market basket and hat.
Photos by Nicola Lemmon
Like this DIY? Pin it on Pinterest!


