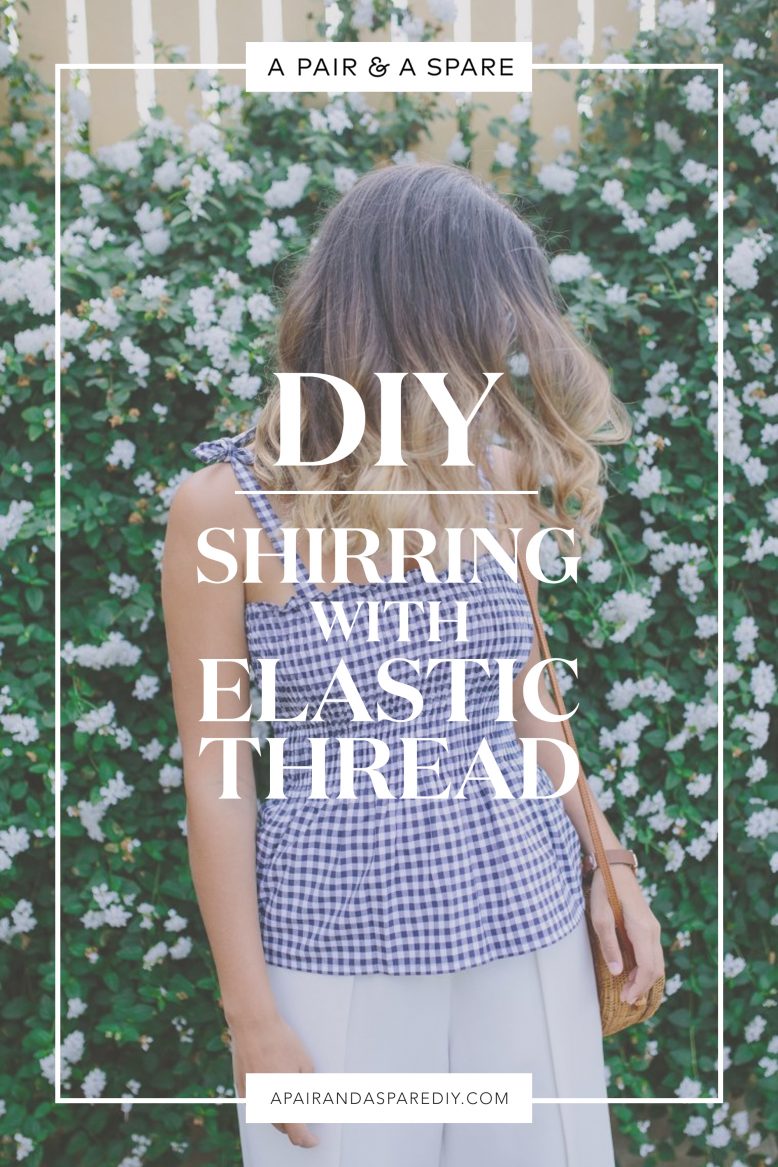
Shirring is a technique that’s been around for a very long time, and every once in a while makes its way back into current trends, albeit with a slight tweak here and there. Now is definitely one of those times – you might have noticed shirring everywhere this season, which is why I’m excited to share with you this DIY Shirring with elastic thread tutorial.
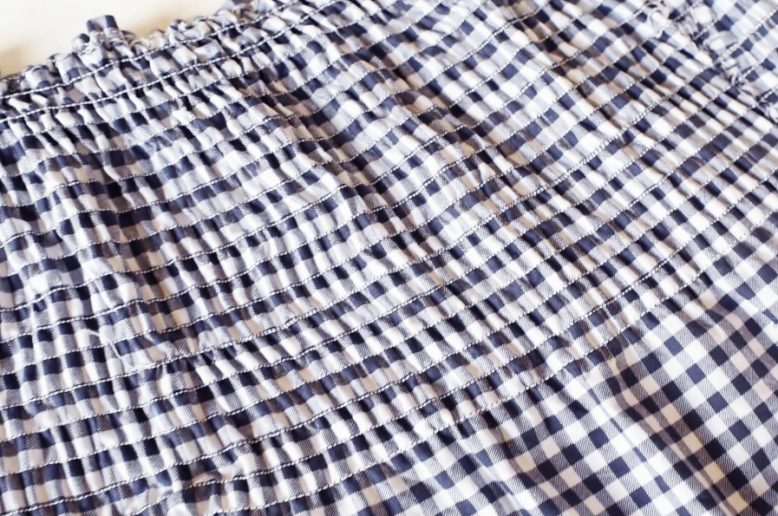
In case you’re wondering, shirring is a technique where you use elasticated thread as the back thread to gather the fabric, which gives it shape and structure and allows it to expand but then pulls the fabric back together. It’s also referred to as smocking, but this is traditionally done by hand. Naturally I had to use gingham for this top, it really is the fabric of the season and even better, the lines on it make it really easy to complete this project. Scroll down for the video and tutorial. Let’s do it!
DIY Shirring Shoulder Tie Top
Video
What You'll Need
Pattern
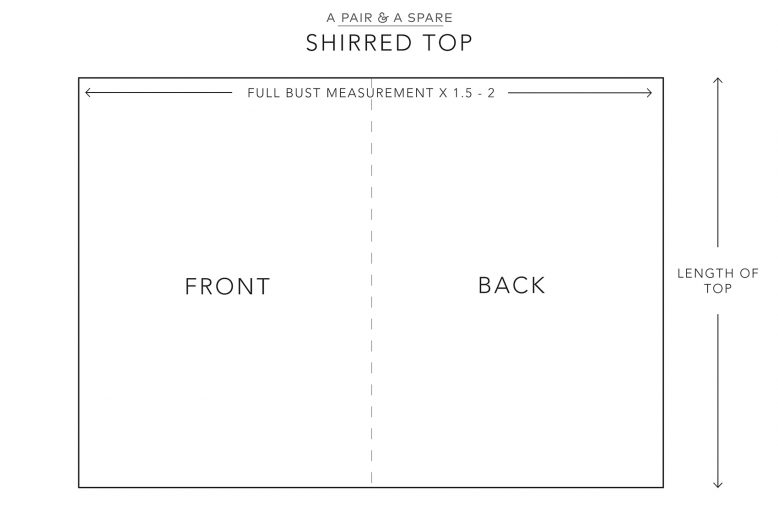
We’ve done a quick pattern below to show you how to cue out your fabric – we suggest doing 1.5 times your bust for the width, but if you fabric is very light it may shirr more in which case we would suggest doing 2 times your bust as the width. For the length, you can choose whatever you like, just remember you need to hem it so to add a seam allowance.
Tutorial
1
The first step is to wind your bobbin with the elastic thread. I used my sewing machine to thread the bobbin and it worked well for me. However, if this doesn't work for you, you can wind it up by hand, making sure not to create tension on the thread in the process. It's a matter of testing your machine to see what works for you. Once you have done that, load the bobbin into the machine, and the top thread with normal thread.
2
Now, time to start sewing! Using normal tension and the longest stitch length possible, sew straight lines. Our fabric had lines already but if yours doesn't we suggest marking them with chalk. We left about 2.5 cm (1 inch) between each line. Make sure that you sew the lines flat and not gathered, otherwise this technique won't work.
3
The gathering effect will gradually appear as you add on more rows of shirring. Make sure that you backstitch the beginning and end of each line, so that the elastic threads don't slip out or come loose.
4
Stop sewing lines when you think that you have enough elasticated area, for this one we did 25 lines. Just so you know, you will probably have to refill the bobbin a couple of times. Once you've finished your shirring, sew the piece of fabric into a tube by folding it in half and sewing down the side.
5
To complete the gathers, iron them well on a hot setting, but don't use any steam. You'll notice at this point your top will be really gathered.
6
Finally, sew on your shoulder straps (you can copy the tutorial I did here for making them) and you're done!
Like what you see? Or just want to save it for later?
Pin ItVoila!
I hope you enjoyed this DIY Shirring with elastic thread tutorial, it’s one of my favourite projects in a while, and such a great skill to master because you can use it in a variety of designs – like skirts, off the shoulder tops, waistbands and lots of other things. How good!
Photos by Nicola Lemmon.
Like this DIY? Share it on Pinterest!


