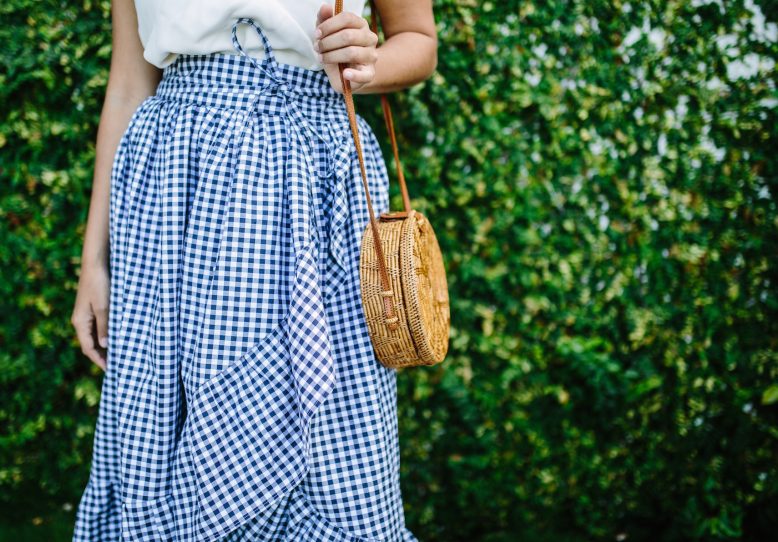
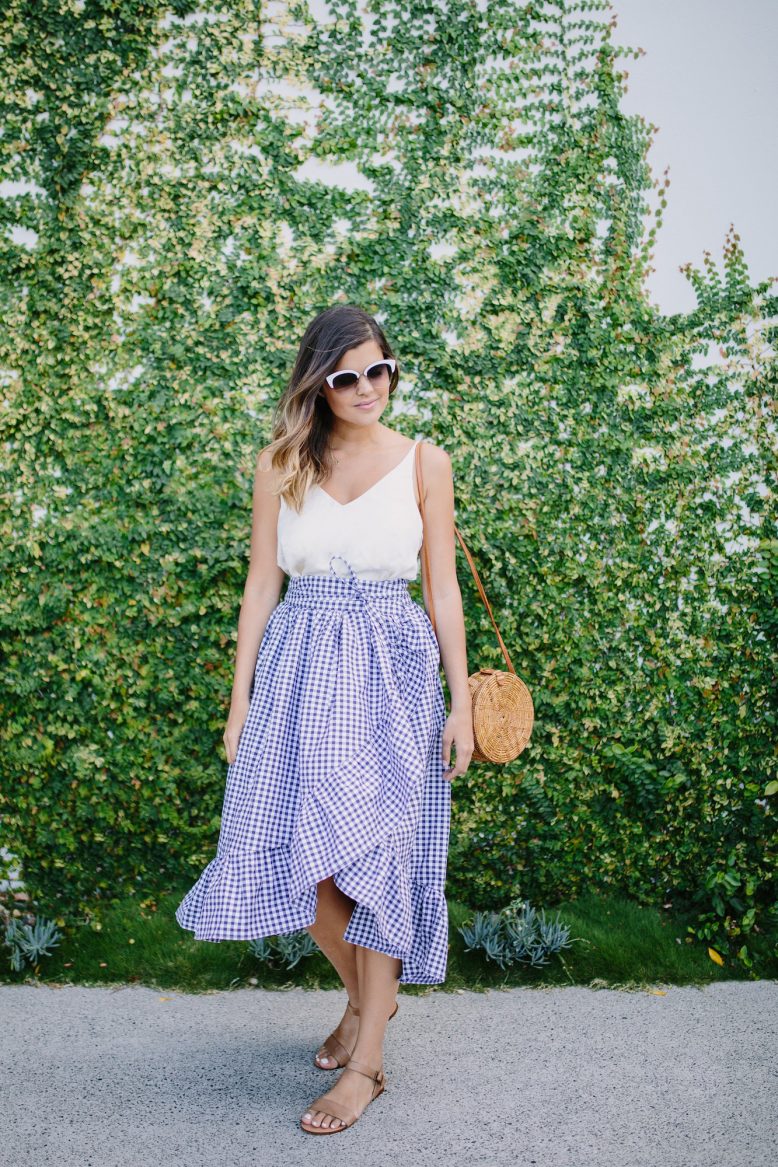
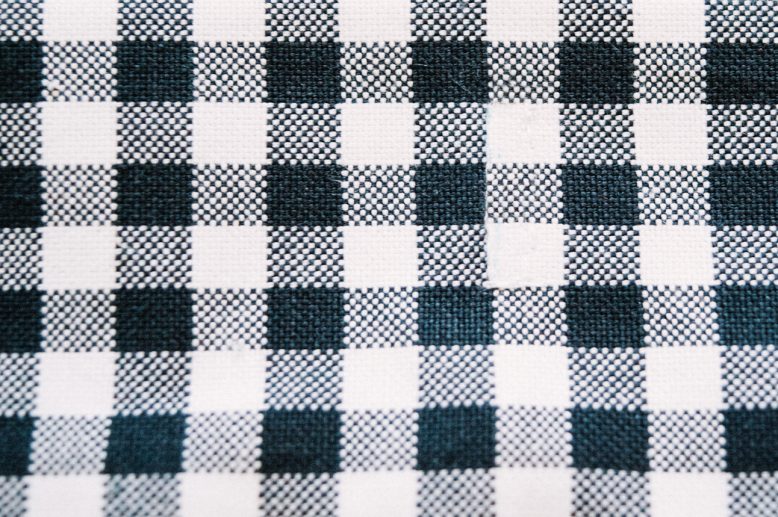
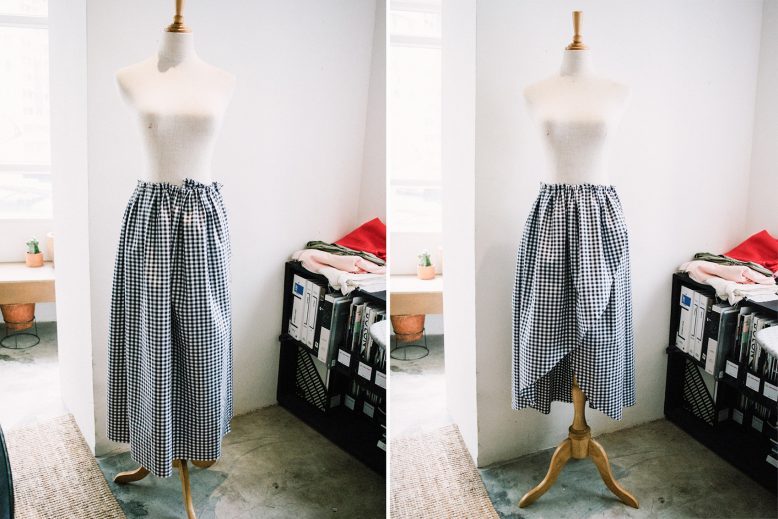
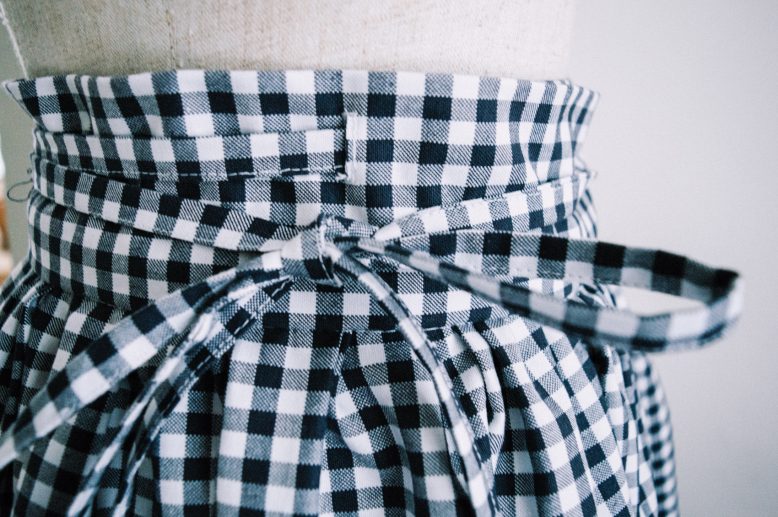
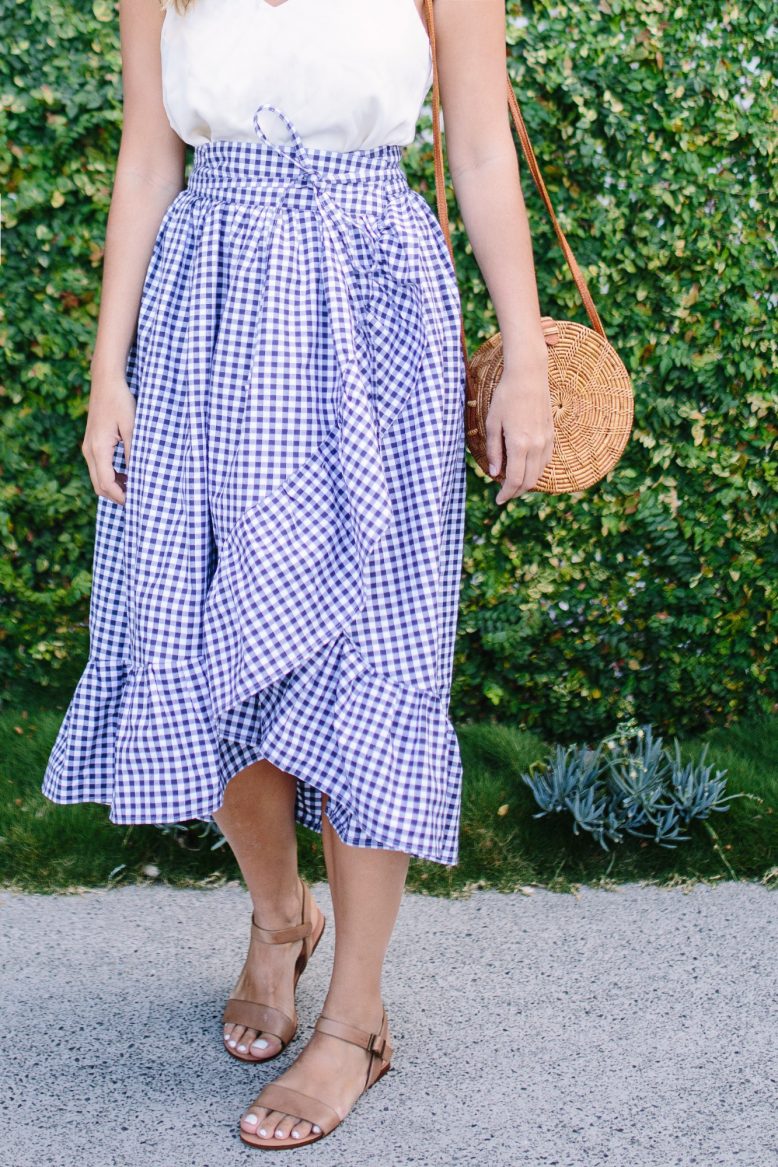
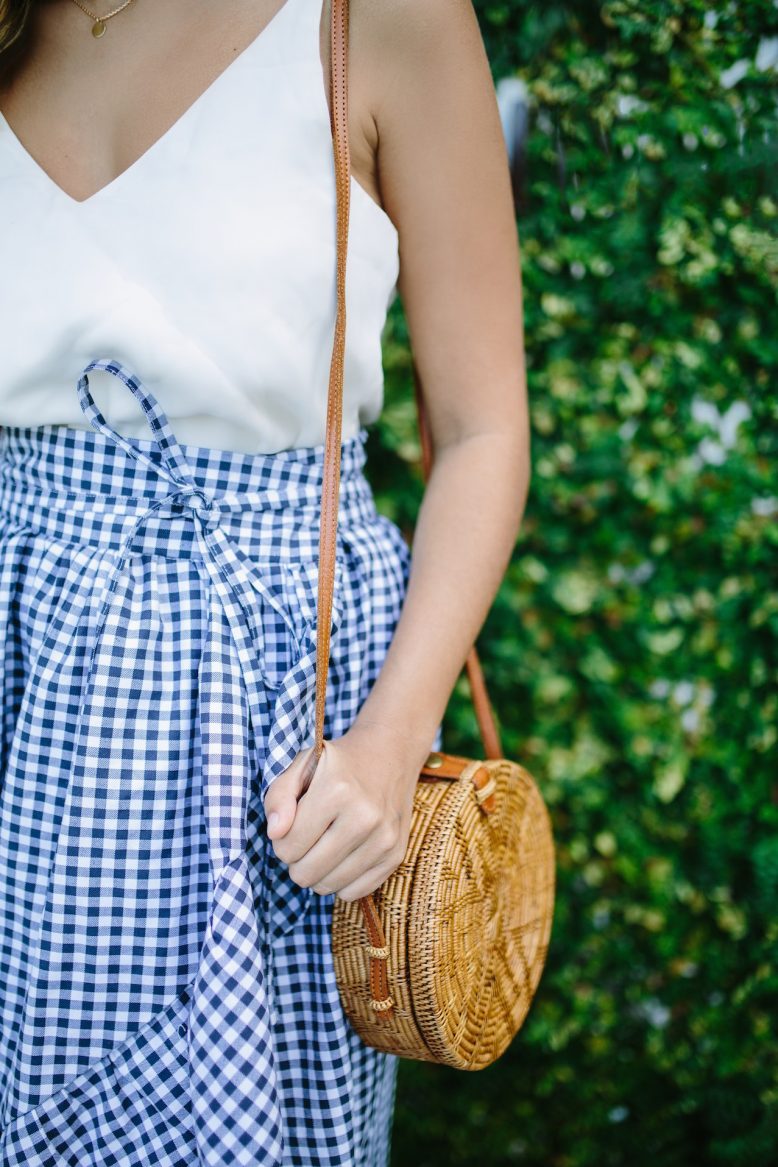
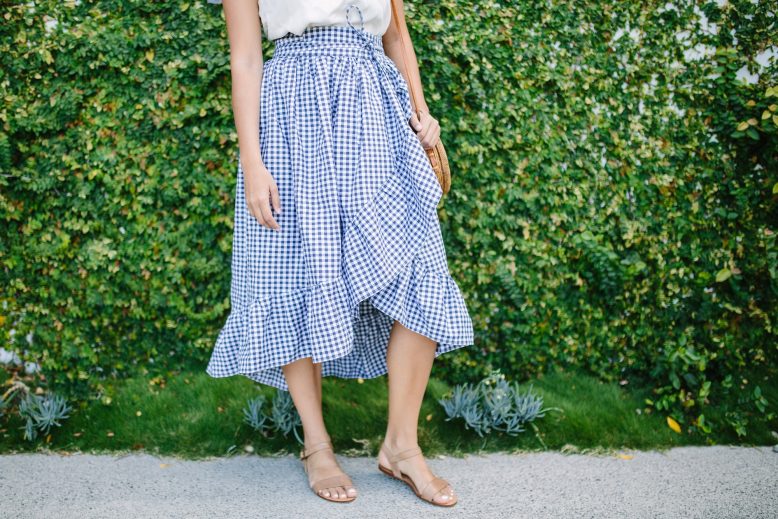
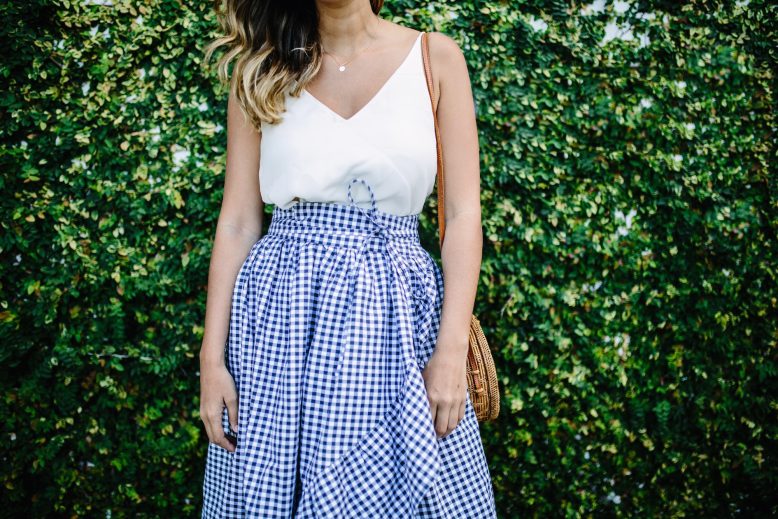
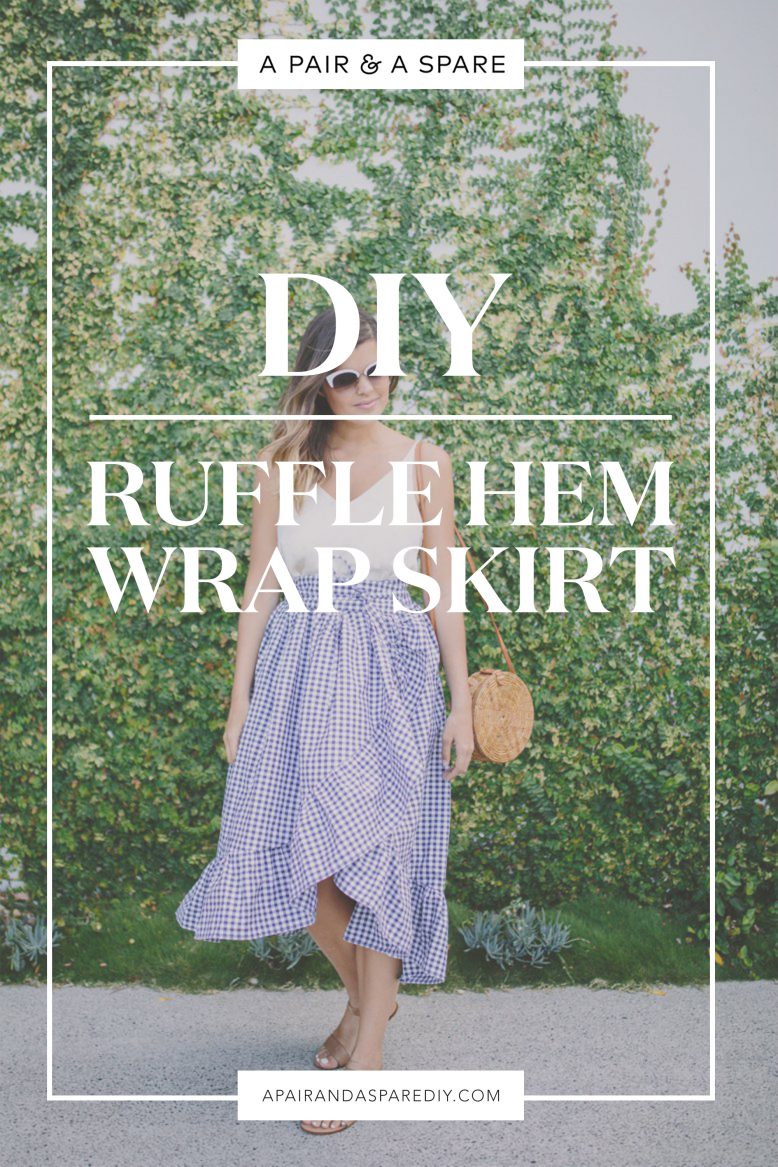
You guys know I’m all about gingham at the moment, so it felt only right to use this fabric to create a silhouette I’ve been seeing everywhere this season – the ruffle wrap skirt.
Usually I don’t automatically reach for a more voluminous shapes in my skirts, but after seeing this style time and time again it felt only right to give it a go. I actually wore it to Sydney fashion week a few months ago and the billowing skirts made me feel a bit like a princess…. Just the type of confident boost you need in that situation! Read on to see how to make it yourself. It’s a little more tricky than some the other projects we’ve done but worth giving a go.
DIY Ruffle Hem Wrap Skirt
What You Need
Fabric Pieces
Cutting Your Fabric
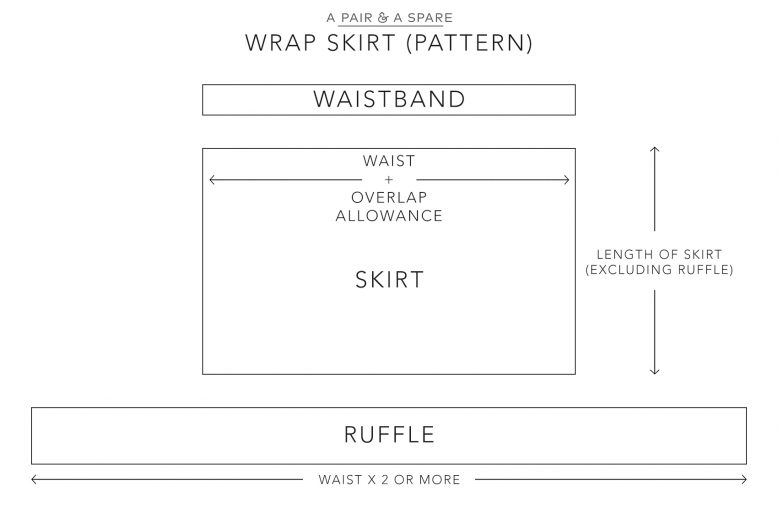
First you need to cut the fabric pieces for your skirt. The waistband & skirt pieces should be the entire length of your waist plus extra fabric to that you can overlap the wrapped skirts. That means you will need to add 1/3 of your waist to the length so that it overlaps at the front.
For example, my waist measurement is 70cm (28 inches), so we cut 90cm (36 inches) on the fabric, where there is a 20cm (8 in) overlap. The waistband can be as wide as you like, just remember to leave some fabric for the seam around the edges. For the ruffle, you will want to so at least 2 times the width of your waist measurement (plus overlap) to give it volume, more if you’d like more gathers.
1
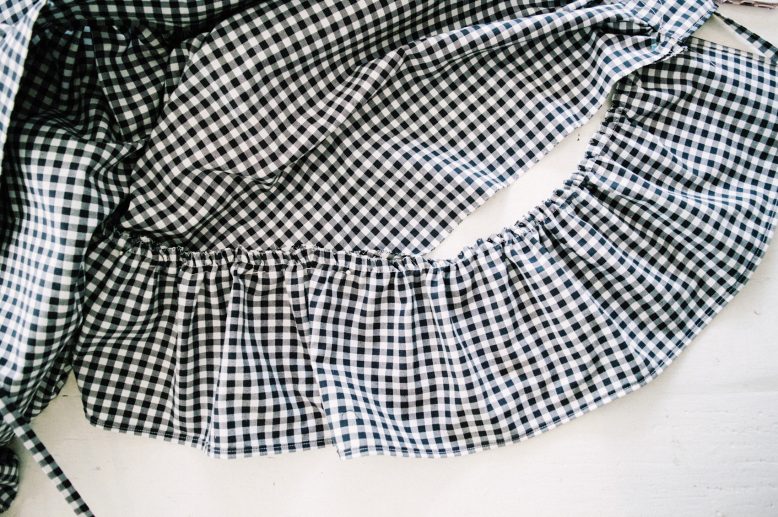
The first step is to pin your skirt onto a dress form around the waist after gathering, or ask someone to model it for you. The width of the gathered skirt should be the same as the your waist measurement. Cut and shape the bottom of the skirt into a rounded shape once the draping is done.
2
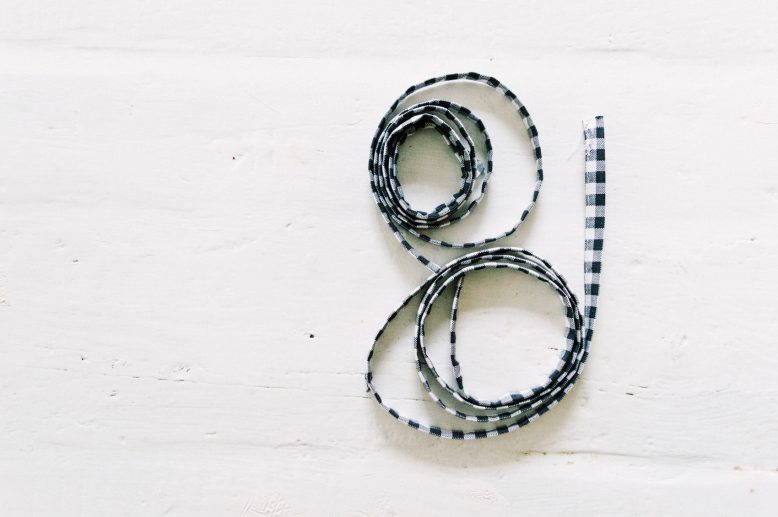
The easiest way to close the skirt is to use ties. You can either use some ribbon or sew your own ties like we did by folding and sewing together a long strip, then flipping the strap right side out. You can also use buttons, snap buttons, or even sew an elastic waistband.
3
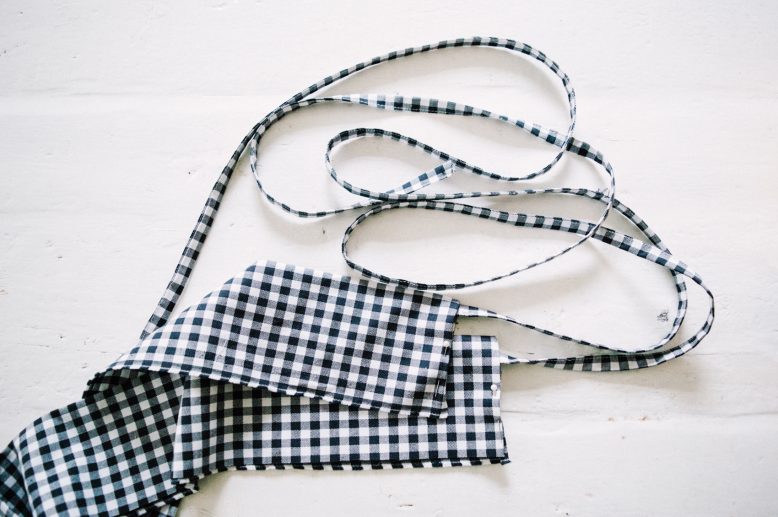
For the flat waistband, fold it in half lengthways and sew the edges. If you are using ties, sew them into each end. Then turn it inside out, leaving the bottom edge open.
4
Attach the waistband to the skirt by sewing it along the bottom go the waistband with the right sides facing.
5
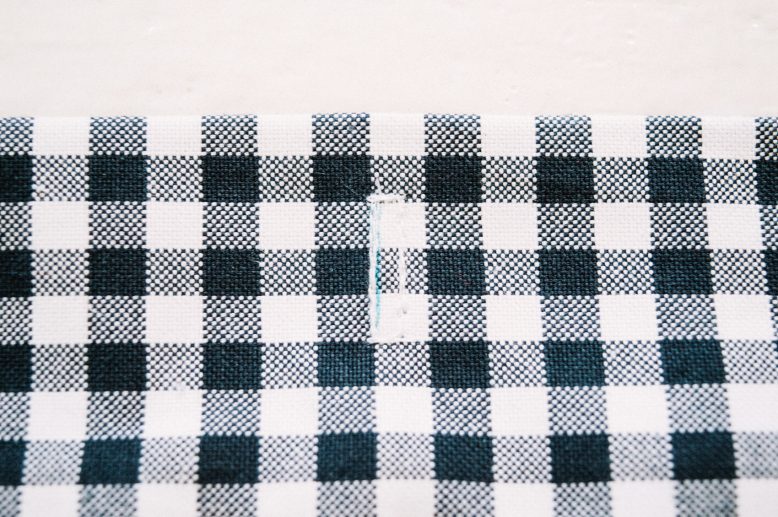
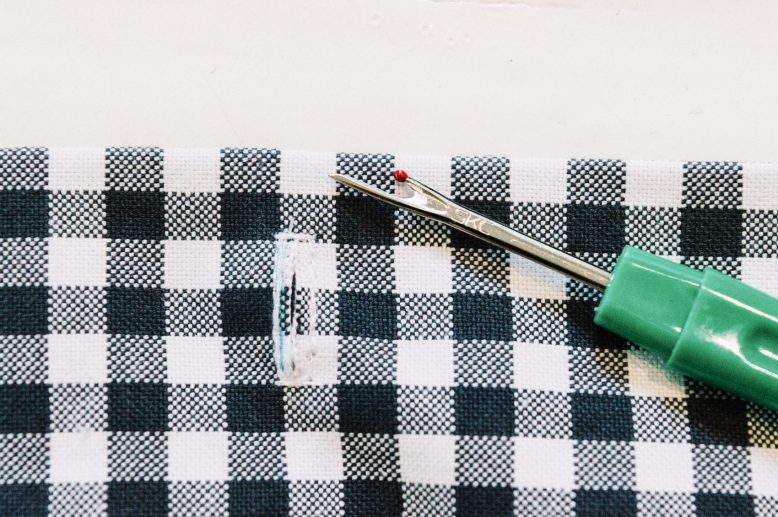
To create the wrapped shape, you'll need to create an opening in the waistband for the strap to go through. You can use the buttonhole function on the sewing machine for this step, or just mark and sew a small rectangle using a straight stitch on the shortest length setting.
6
After the buttonhole is done, open it with a seam ripper.
(Or cut it open with a small pair of scissors.)
7
The straps are done in a wrap around style, with the straps being long enough to go around the waist once. It can then be tied in the front, at the back or at the sides, depending on what you're into!
8
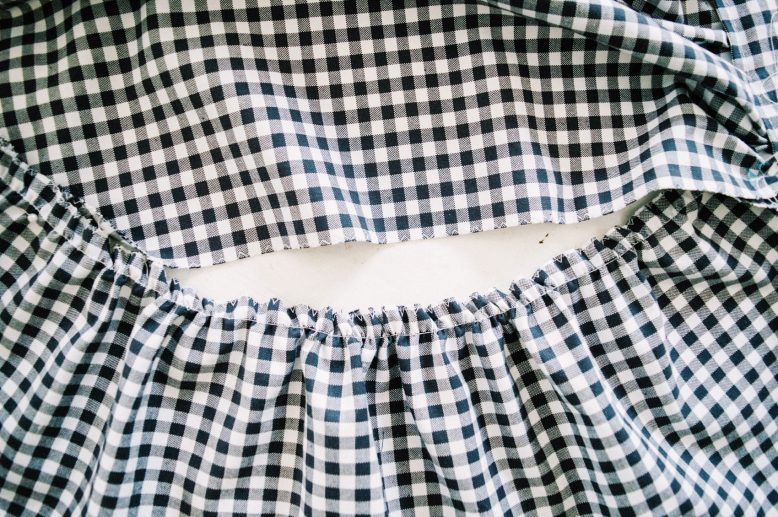
The gathering is done by sewing a straight stitch on the longest stitch setting and at a low tension, leaving the ends open without doing any backstitches, and then pulling the gathers by hand. Sounds tricky but it's one of the more simple ways to make it!
More information on how to gather the fabric into ruffles here.
9
The final step is to attach the ruffle edge to the bottom of the skirt. Do this by having the right side edge of the fabric and ruffle facing each other and sew the seam along the edge. Flip over the right way and the seam will be hidden. Done!
Enjoyed this post? Here are a few more that you may like too! Wrap Skirt | Split Wrap Skirt


