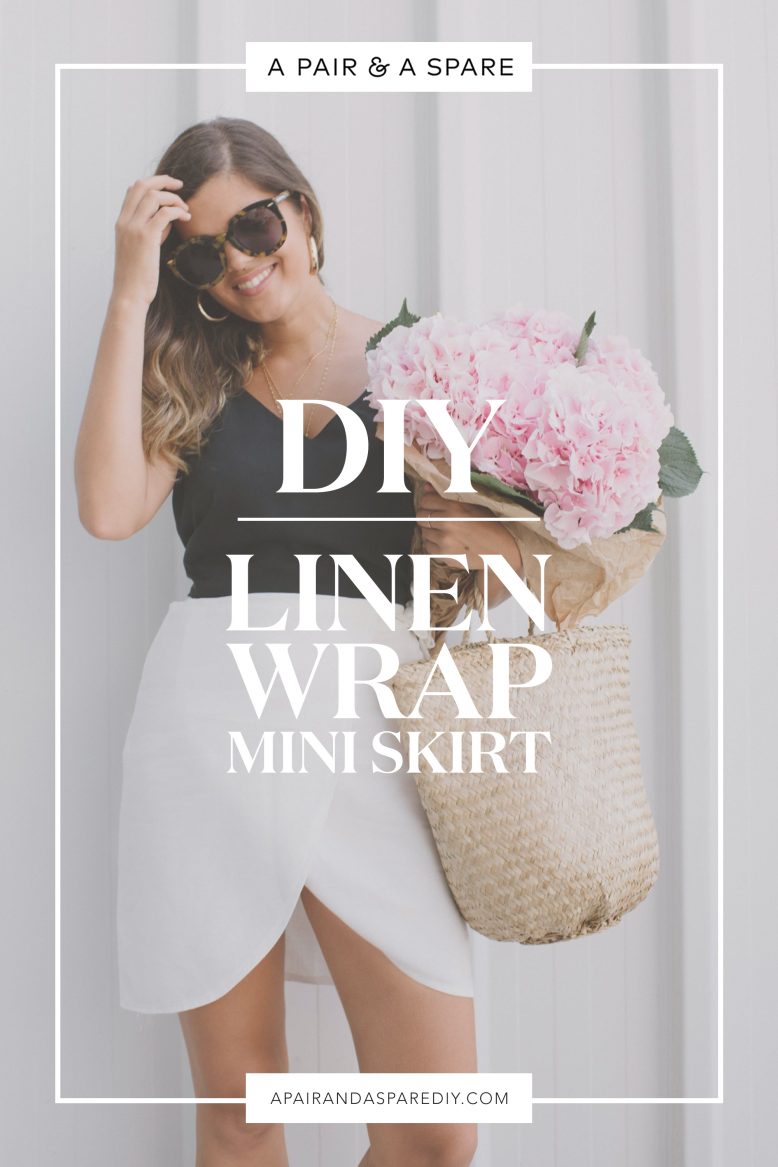
Who doesn’t love a fresh linen mini skirt for the warmer months? I sure do! But in case you don’t want to sew any buttons or zips, today we’re sharing an easy alternative – a wrap skirt with waist ties that is surprisingly easy to put together.
If you’ve been following along for a while you’ll know that I also love anything with the wrap factor, there’s something just so simple about wrapping yourself up in a skirt, adding a simple silk cami – topping up on accessories and away you go! This time we’ve got for a mini style – something that screams holidays or hot sweaty trips to the flower markets. Enjoy guys!
What You'll Need
DIY Wrap Mini Skirt Pattern
Below you can see the pattern for the wrap skirt.
Once you cut out your fabric, you will trim the bottom into a curve as shown below. I chose to do a curved hem on my skirt, so I cut a curve on the bottom of the rectangle. You can do this freehand, or drape it yourself or a mannequin and mark the curve before cutting.
How to
1
Draw your pattern onto your fabric directly, or draft it on a piece of paper so you can re-use the pattern in the future.
2
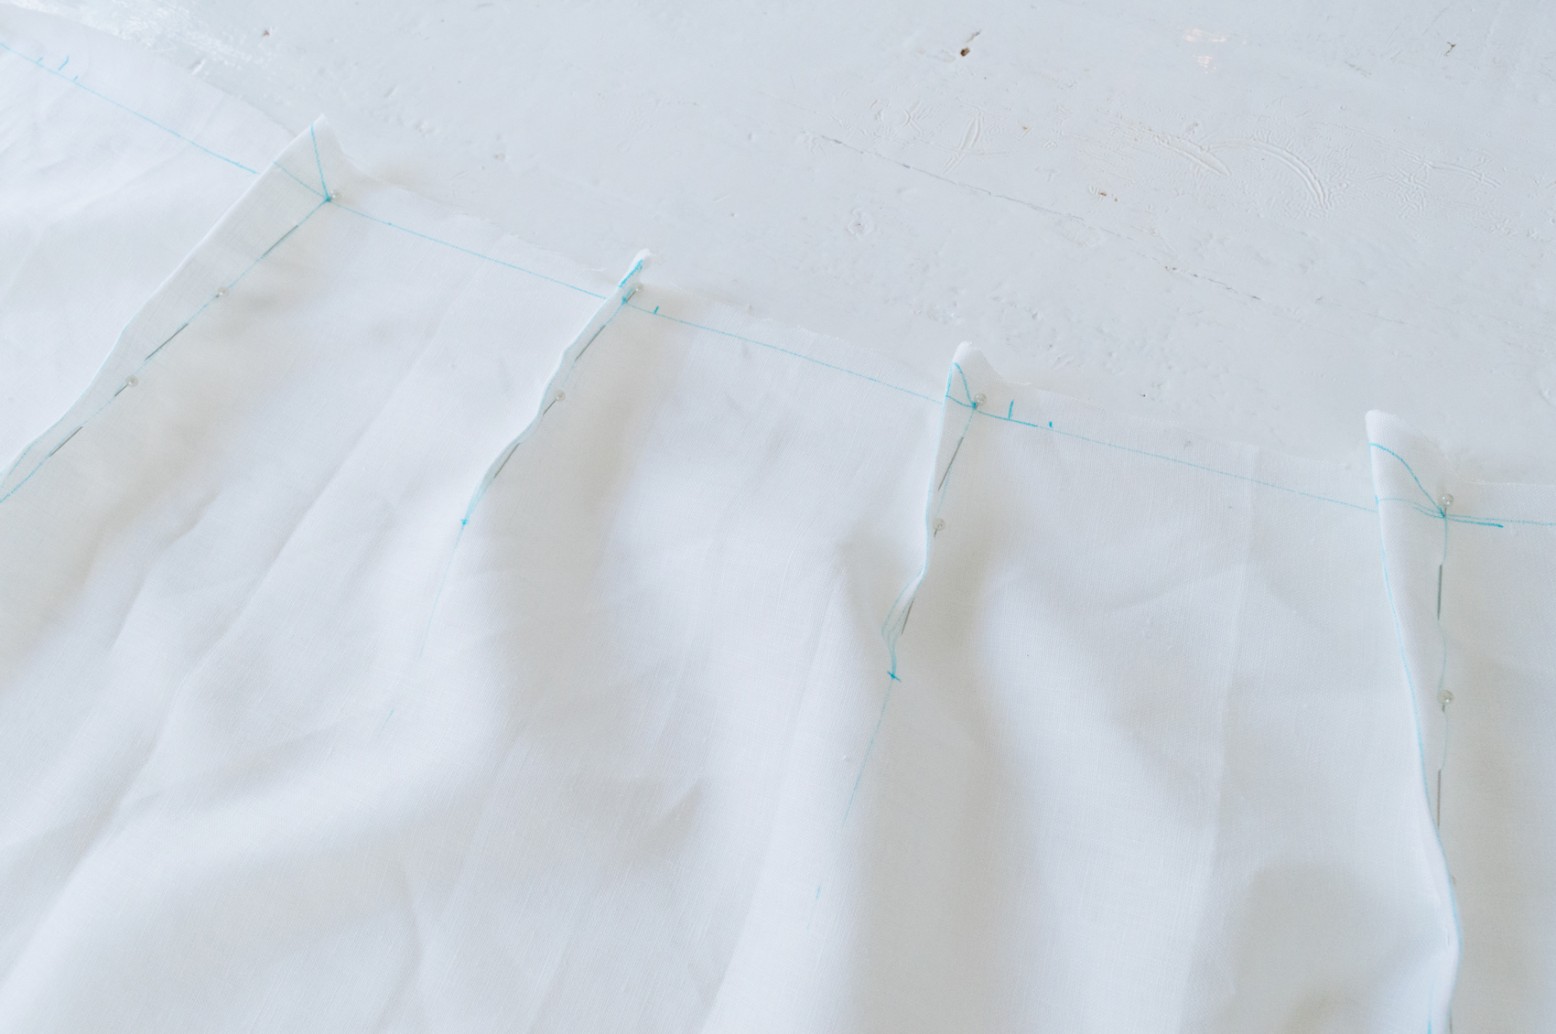
Sew your darts first. A little tip on sewing darts: Never sew the dart all the way to the point. Stop around a cm (3/8 inch) before the point, this ensures a smoother finish on the right side of the fabric after sewing.
4
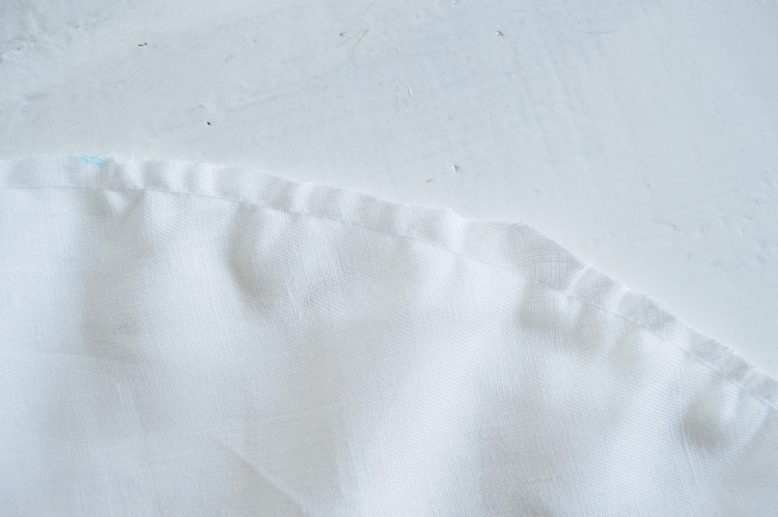
Curved hems can be tricky to sew. To ensure a nice finish, we've found a little hack for you. Sew a straight stitch along the curve first. You will notice that the fabric puckers a little after sewing, which is what we're aiming for.
5
Fold along the curving straight stitch, and iron. The puckered effect helps to reduce the extra bulk on the edges, making this folding-in process easier, and will result in a neat curved hem finish. Then sew the folded seam allowance shut after folding and ironing. Use an overlocker to finish the edge if you have one.
6
To create the tie straps, cut out two strips of fabric. One of these will need to go around your waist so it'll be twice as long.Width of the strap is 2.5cm (1 inch) , so I'll have to cut it as 5cm (2 inch) plus seam allowance, as the strips will be folded, sewn, and then turned out.
7
Pin the straps to the top of the skirt. The longer strap will be attached to the edge that is the underlayer when worn, and the shorter strap will be attached to the overlapping layer's edge. Fold in the seam allowances on the top as well, then pin and sew.
8
Sew down the side in order to secure the straps. Do so following the stitches done during the hemming process, or you'll end up having two lines of visible stitches.
Also Using Sewing Machine
Love wrap skirts? Check out this DIY Ruffle Hem Skirt and this DIY Pom Pom Hem Skirt.
Like this DIY? Pin it on Pinterest!


