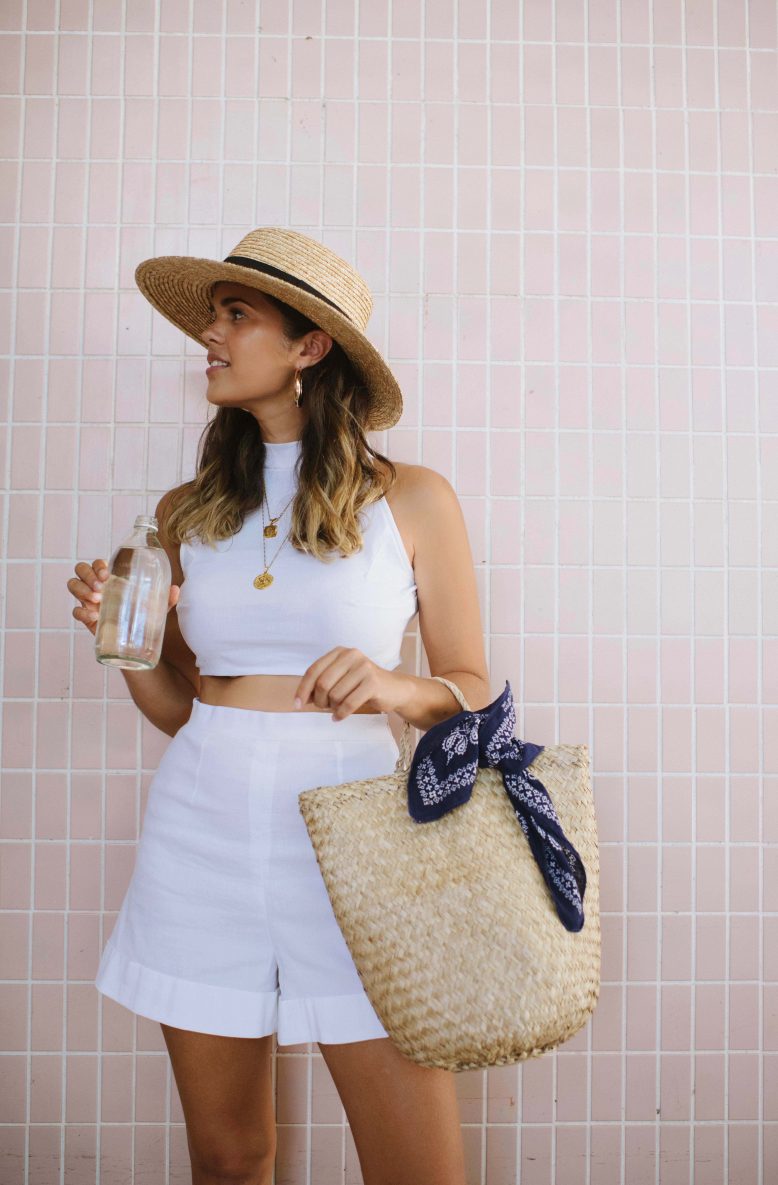
Game, set, match. Because who doesn’t want to match their top and bottom?
I do, at any rate. Which is why I’ve been wanting to show you guys how to make a little set of your own for a while now! After discovering some nice breezy white linen at the local fabric markets, it was definitely time to give it a go. Today we’re going to show you how to make the shorts, and tomorrow you’ll learn how to make the crop top. Enjoy!
DIY Linen Shorts
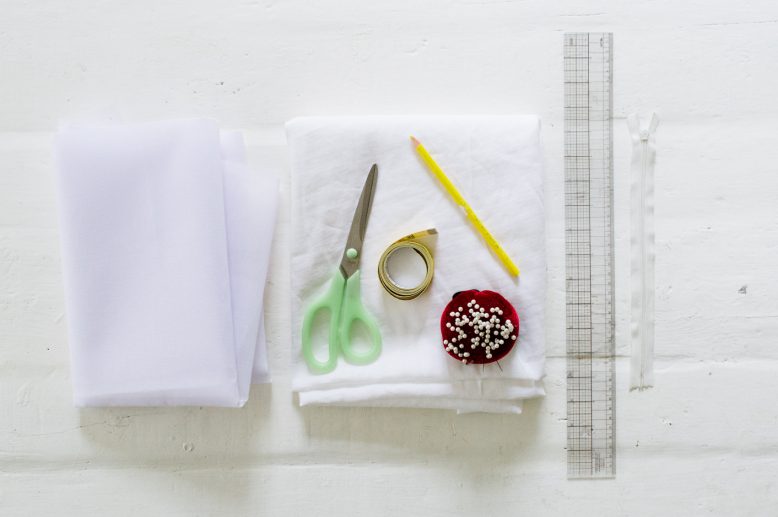
What You'll Need
1
To create a pattern for the shorts we used a pair of pants. To do this, fold the pants, or shorts, in half and trace around the edges. If you're using pants you won't trace the whole eg obviously, just stop when you're at the right length, leaving room for the hem and the fold.
2
Because we copied the pattern from a pair of slim-fitting jeans, and we wanted our shorts to have a looser fit, we flared out the bottom of the pattern and extended the crotch seam for a more comfortable fit. If you're copying the pattern from a loose fit pair of shorts, you won't have to make these modifications.
3
Remember to copy both the front and back of the shorts. We also added darts to the waistline for a better fit, but this is optional.
4
After transferring the pattern to fabric, you should have two sets of the front and back panels. Cut a rectangular strip the same length as your waistline (and double the desired width) for the waistband.
5
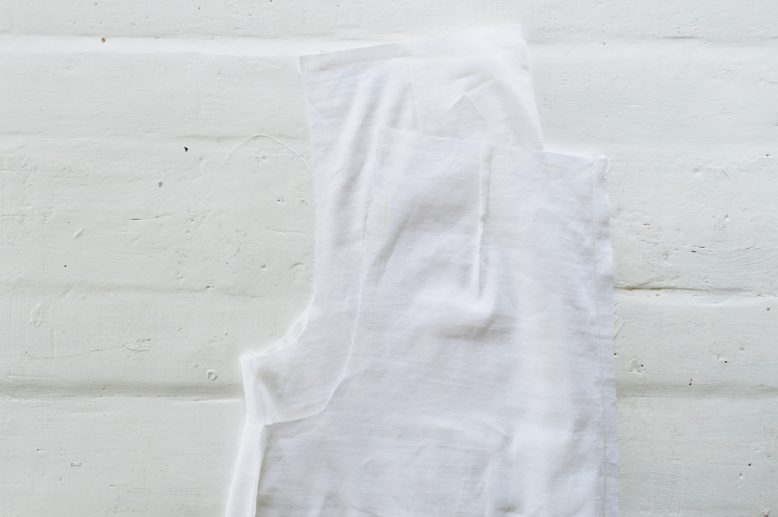
Sew any darts that you may have in your shorts first, then sew the front and back pieces together down the side seams.
8
Sew the waistband to the shorts. We decided to put the zipper in a side seam, so the edges of the waistband begin and end at the side.
9
Sew your zipper to the side seam. A more in depth tutorial on sewing an invisible zipper here.
10
We also opted for a fold-up hem for the shorts, but you can either do one like this or a normal hem. It's up to you!
The bottom edge of the shorts was folded up 5cm (2 in), then out 2.5cm (1in).
We then secured the folded hem by hand-basting the inside of the shorts, but you could always just use fusing tape in between the folded layers to help secure the folds.
Voila!
Looking forward to sharing with you the crop top tomorrow!
Wearing: DIY shorts and top, Market bag, Vintage scarf, H&M earrings, Hunterxhunter necklaces.
Like this DIY? Pin it on Pinterest!


