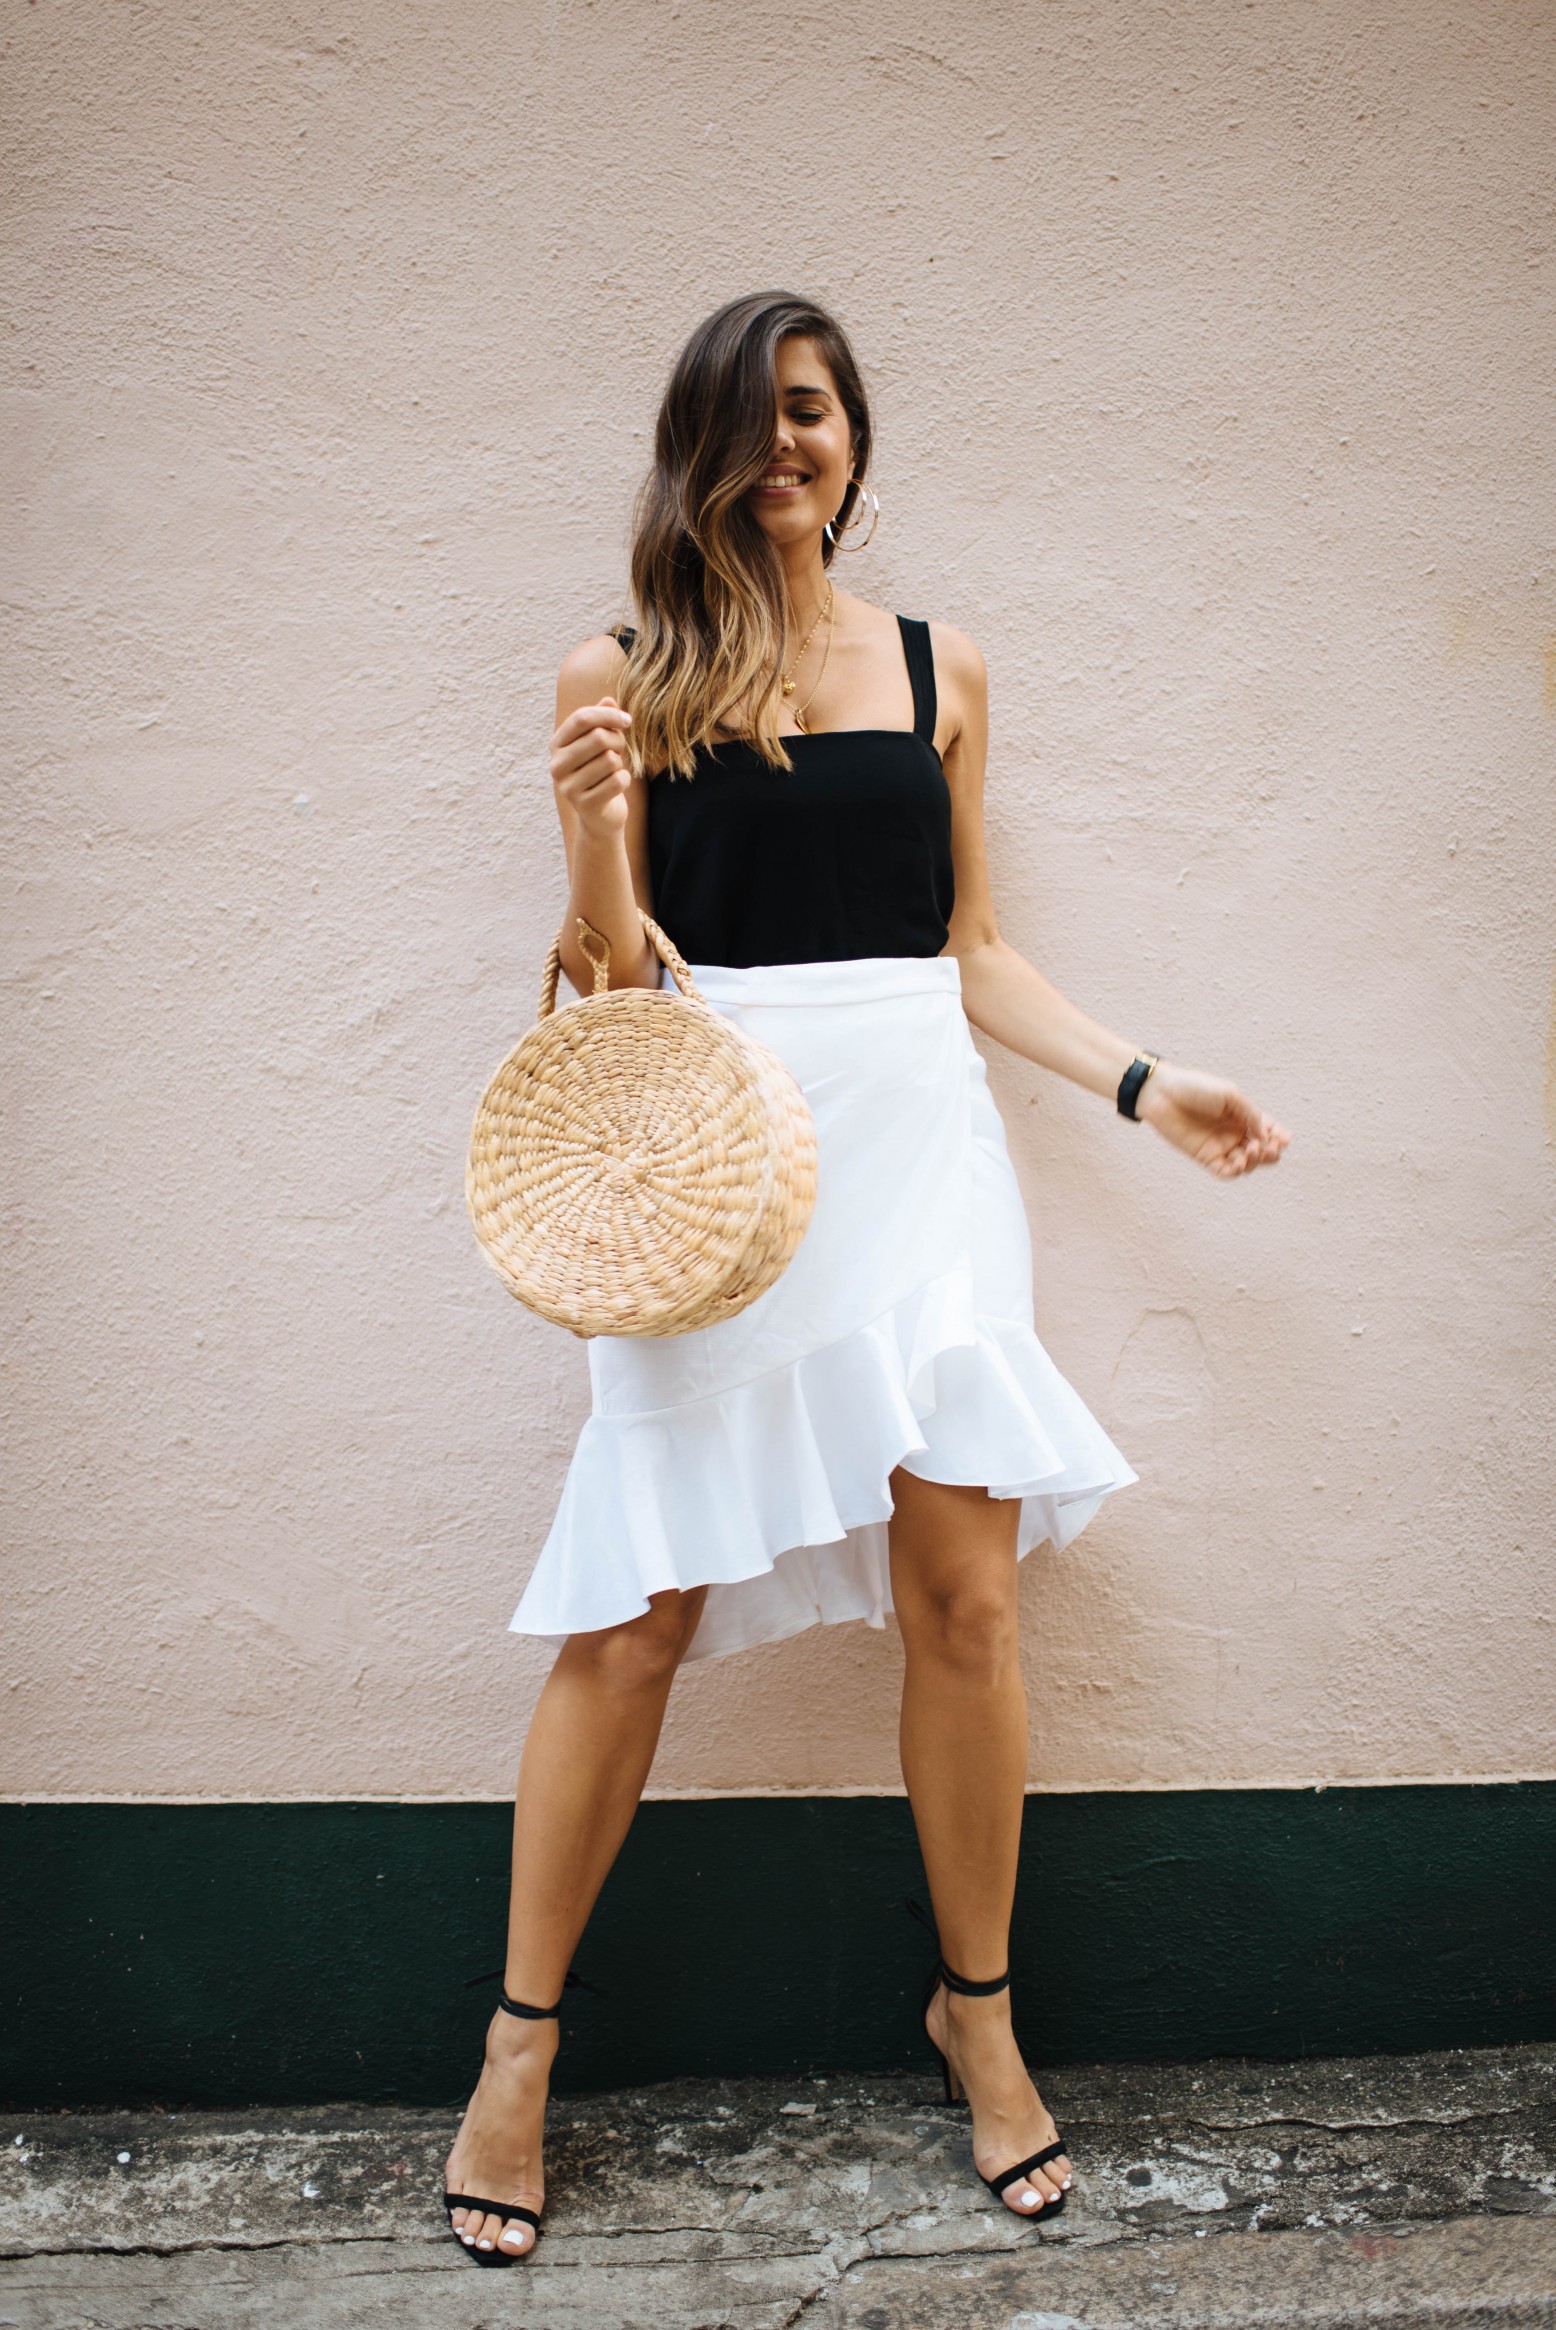
I have to say, I may have switched over into holiday mode just a few days too early, as witnessed by an urge to dress like I’m going to a tropical island… And I guess I am if you count Australia as the biggest island on earth!
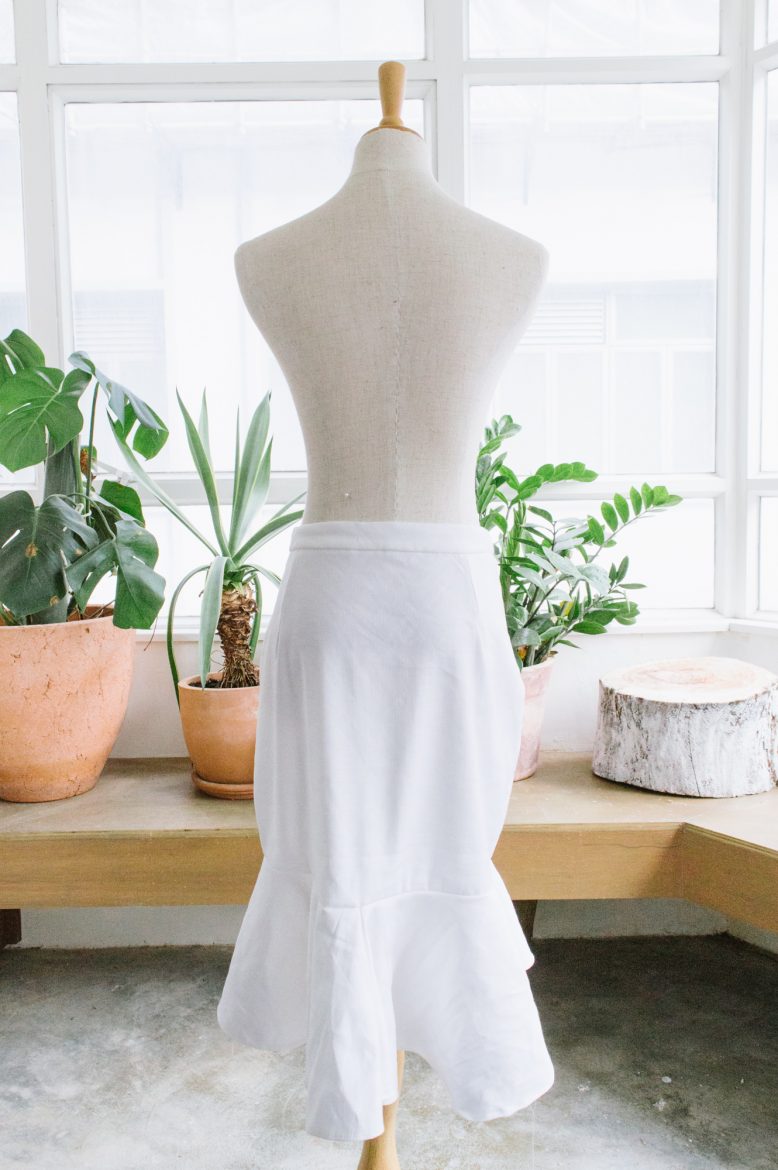
If you’ve been following along for a while, you may have noticed that 2017 has been the year of the ruffle – from the before and after dress, to the maxi, to the mini, to the gingham skirt, we’ve experimented a lot this year with voluminous fabric. To round out the year, and in the last fashion project for 2017, I thought we should stick to what I love so much. A skirt. With an added ruffle. In linen. All the things that 2017 meant to me (in a DIY fashion sense anyway). Enjoy twirling in this pretty number!
DIY Ruffle Wrap Skirt
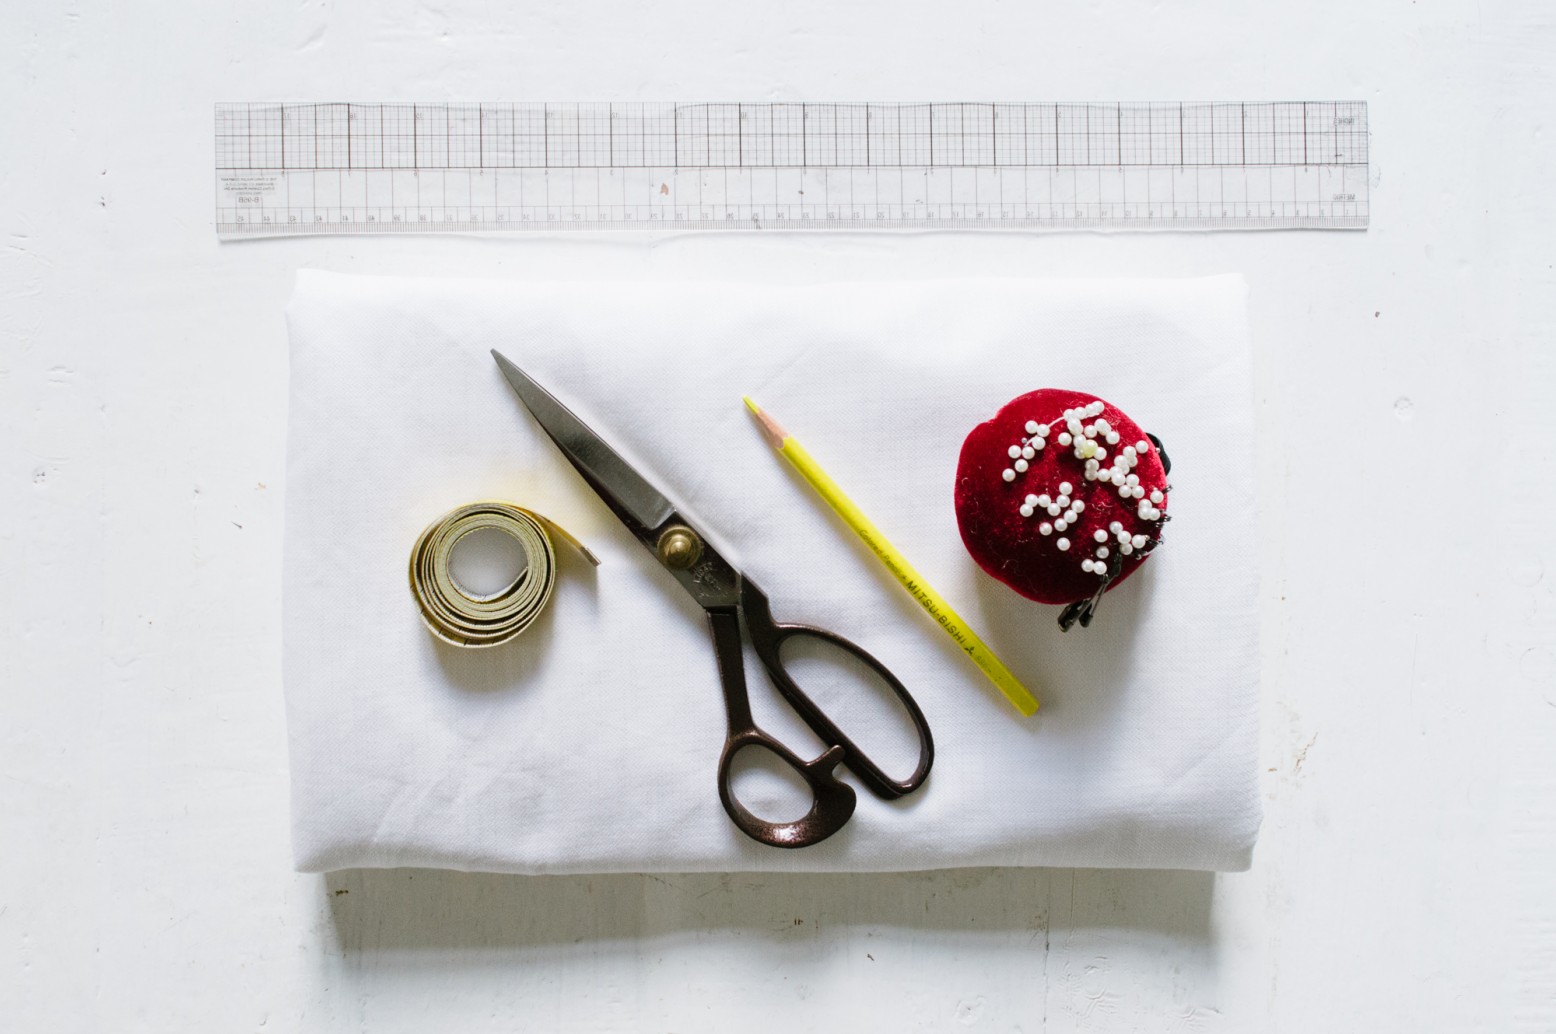
What You'll Need
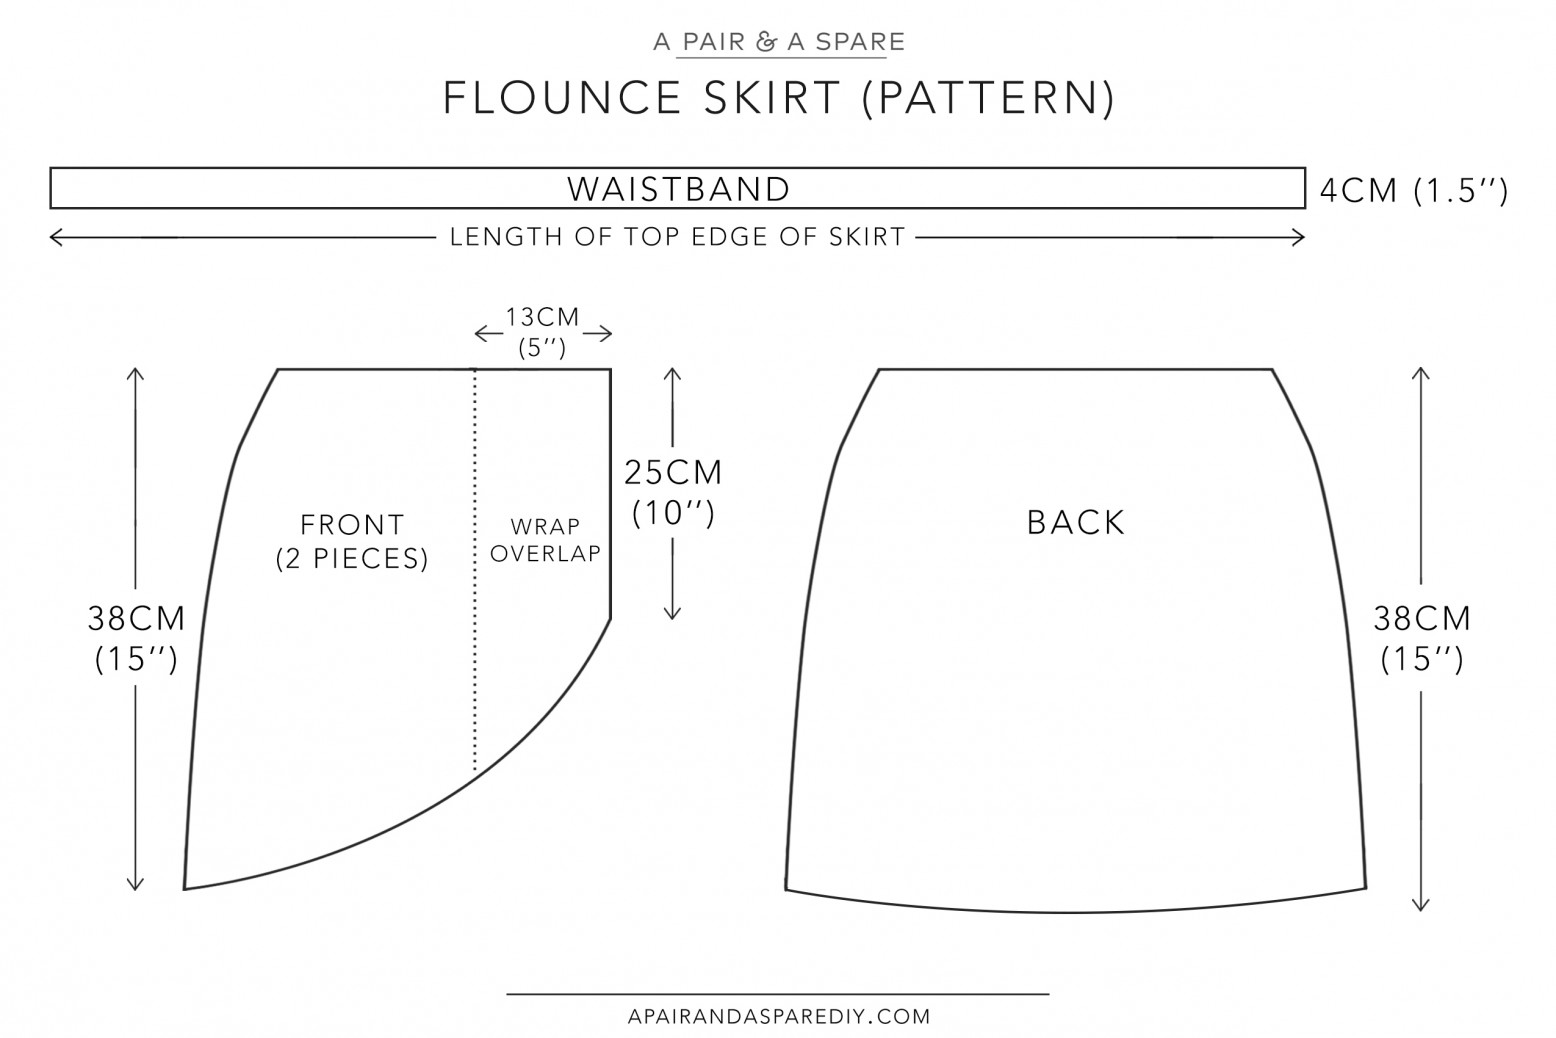
You can trace the pattern off an existing skirt for this DIY. But because it’s a wrap style, you’ll need to separate the front panel into two mirrored front panels and add an extra wrap overlap panel extending from the centre front line. The bottom hem of the front panels will also need to be cut in a curve.
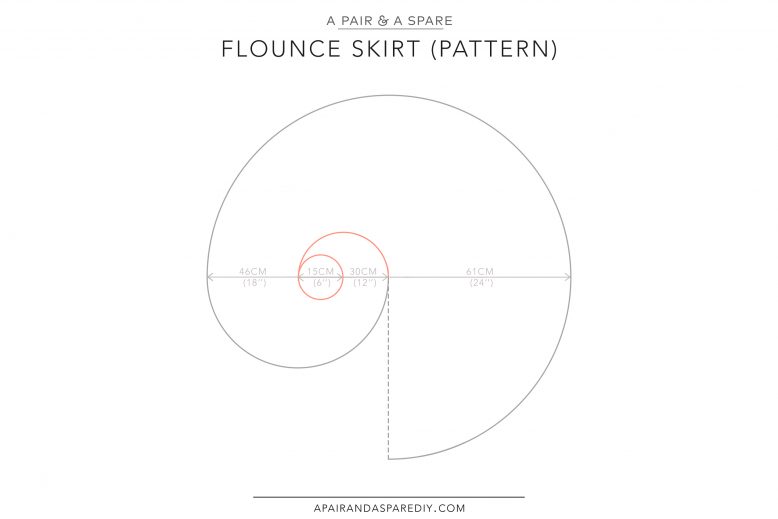
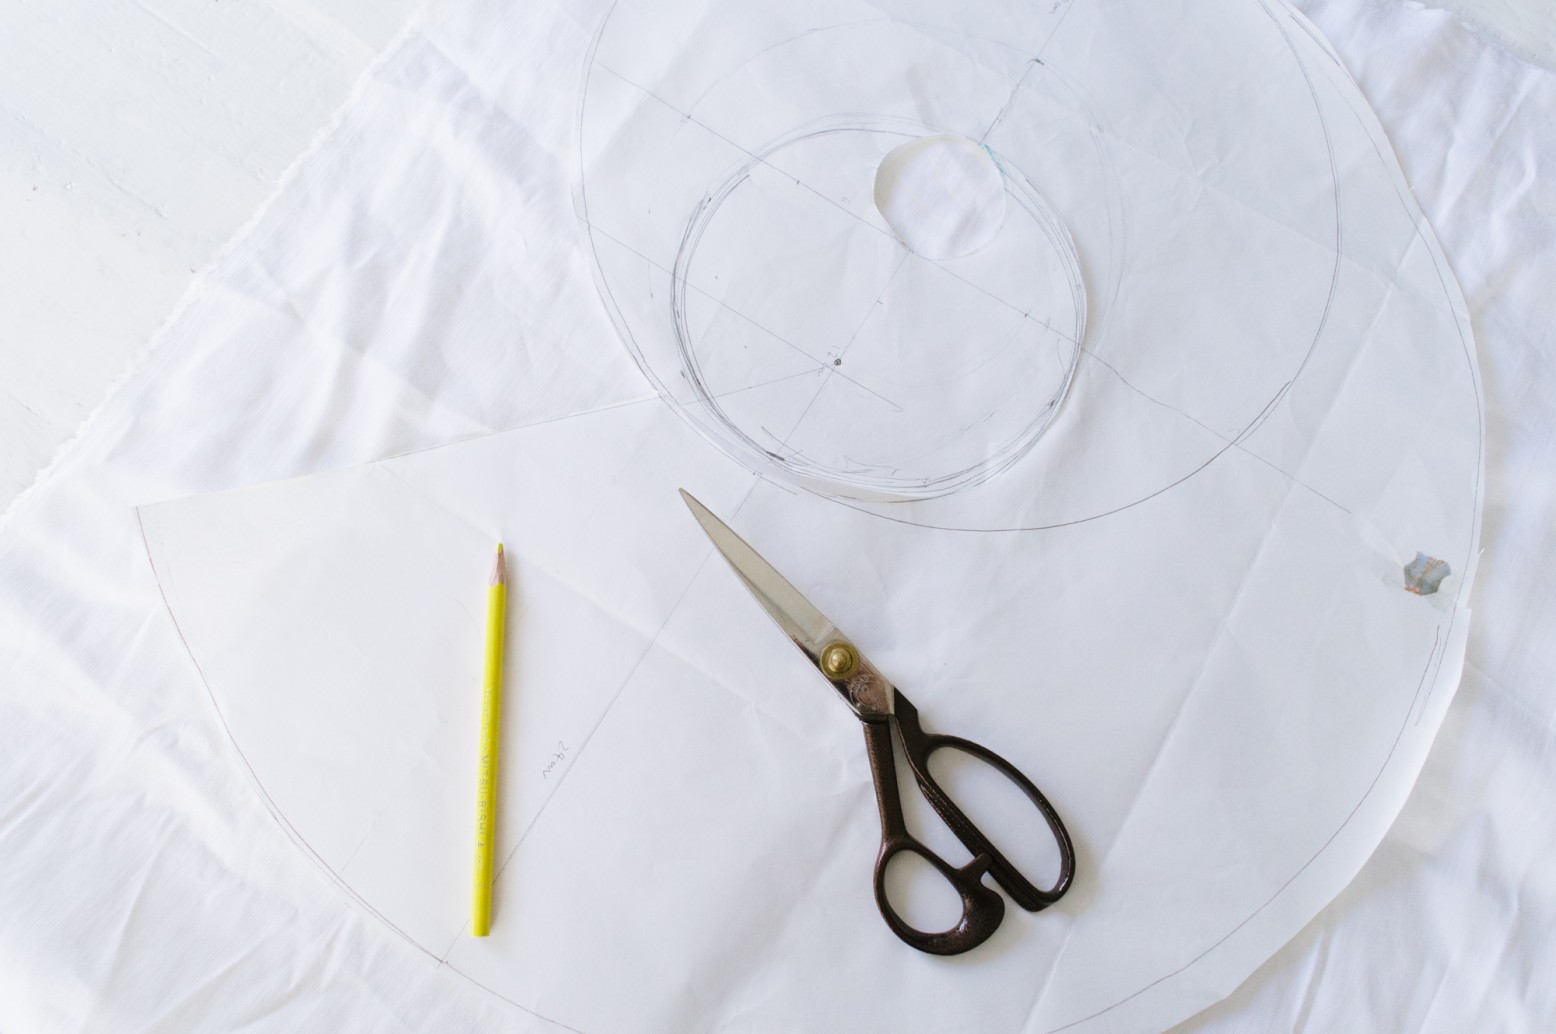
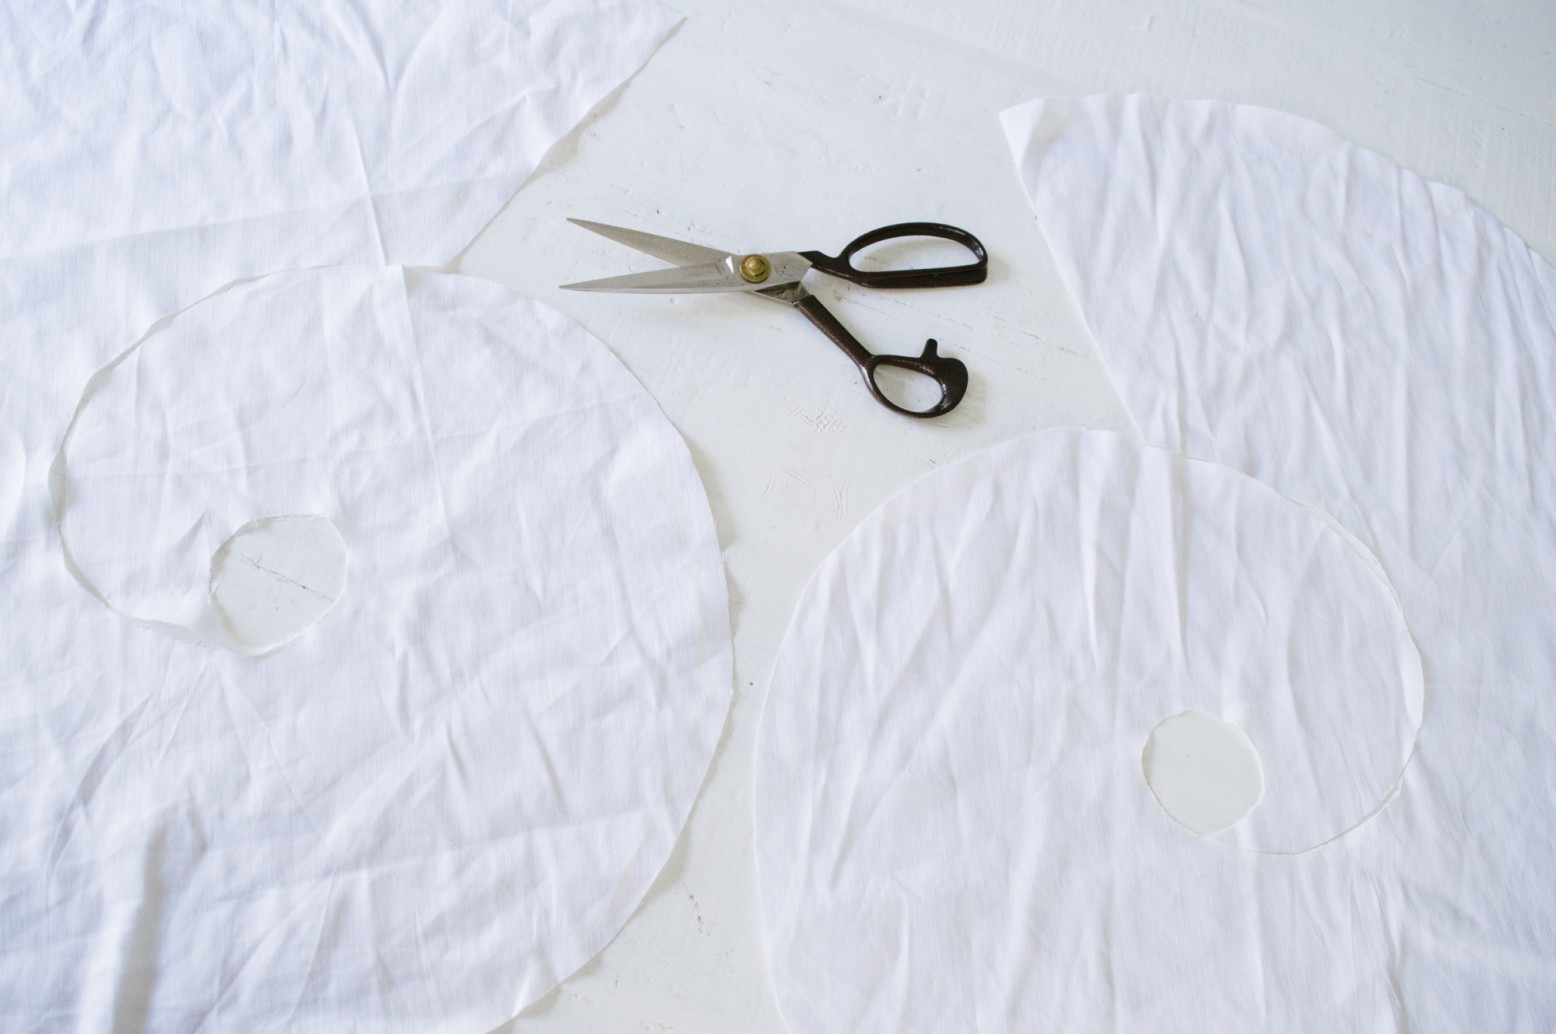
The spiral flounce (shown below) is done by cutting a large circle and then spiraling into it, using smaller circles as a guide. The measurements indicated are the diameters of each circle. You will be attaching the inner edge of the skirt to the hem.
1
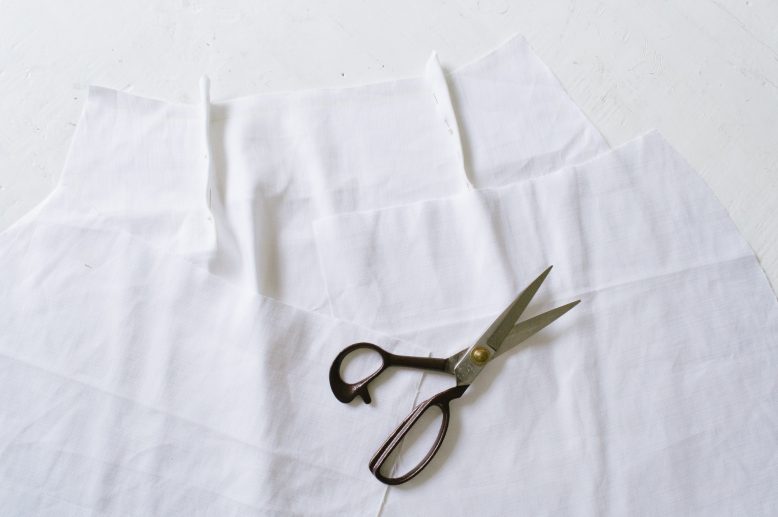
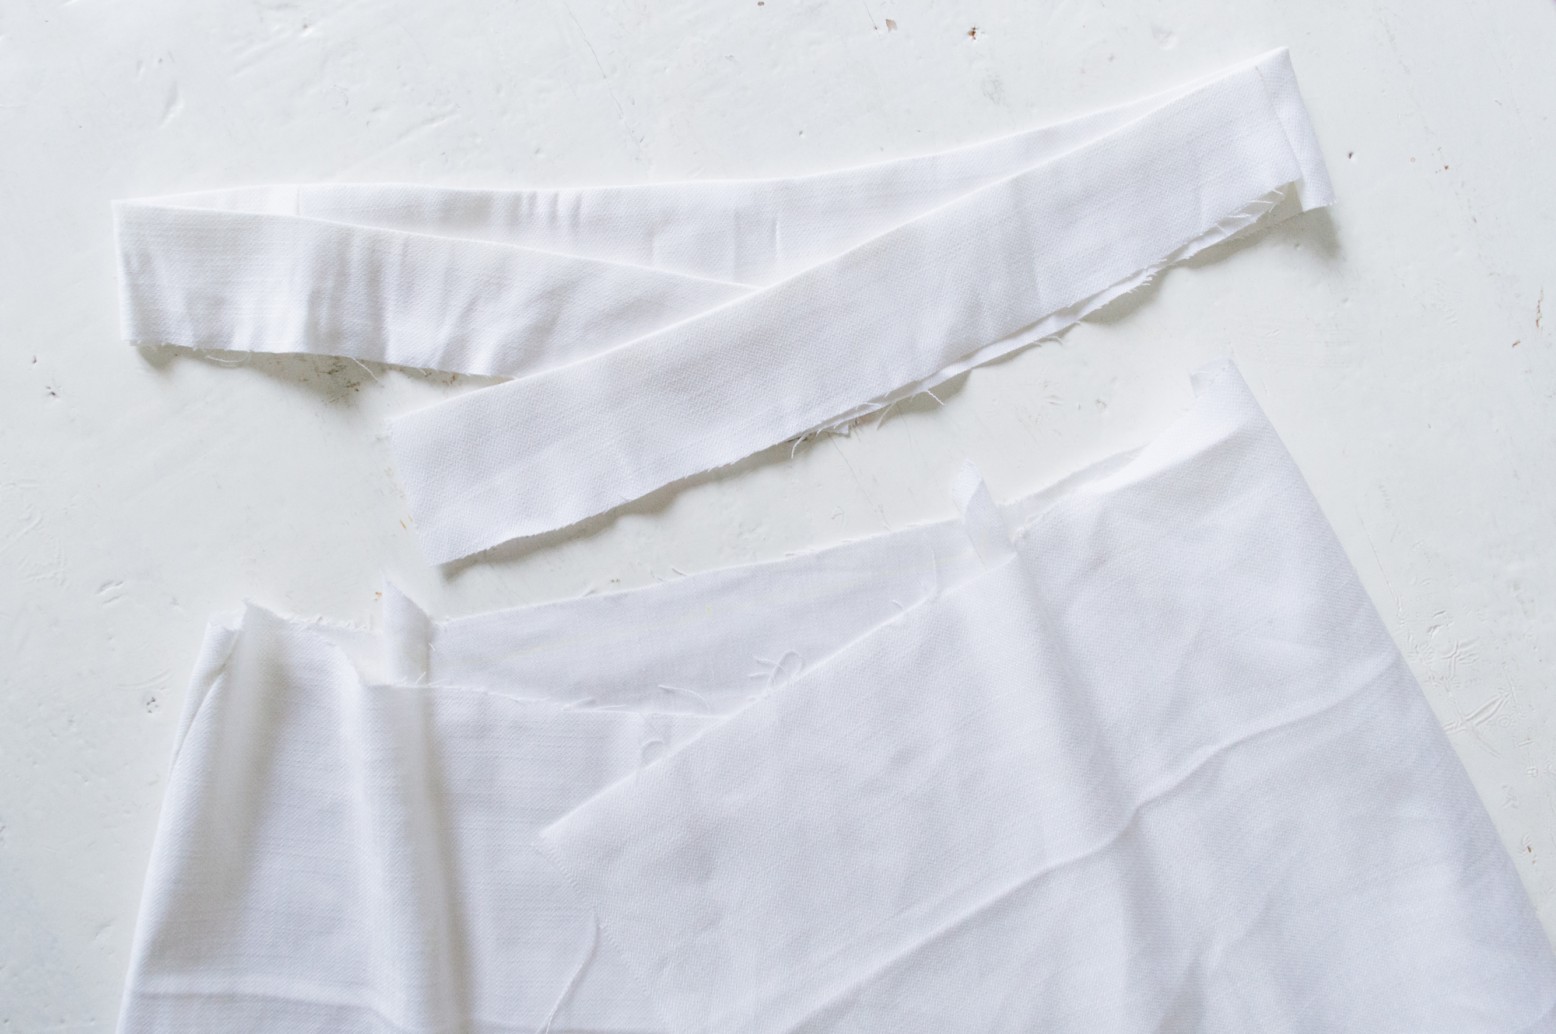
Begin by tracing off of an existing skirt or paper pattern, and cut the pieces out from the fabric.
2
Create a waistband by cutting out two rectangular strips the length of the top hem of the wrap skirt. We made ours 4cm thick (1.5').
3
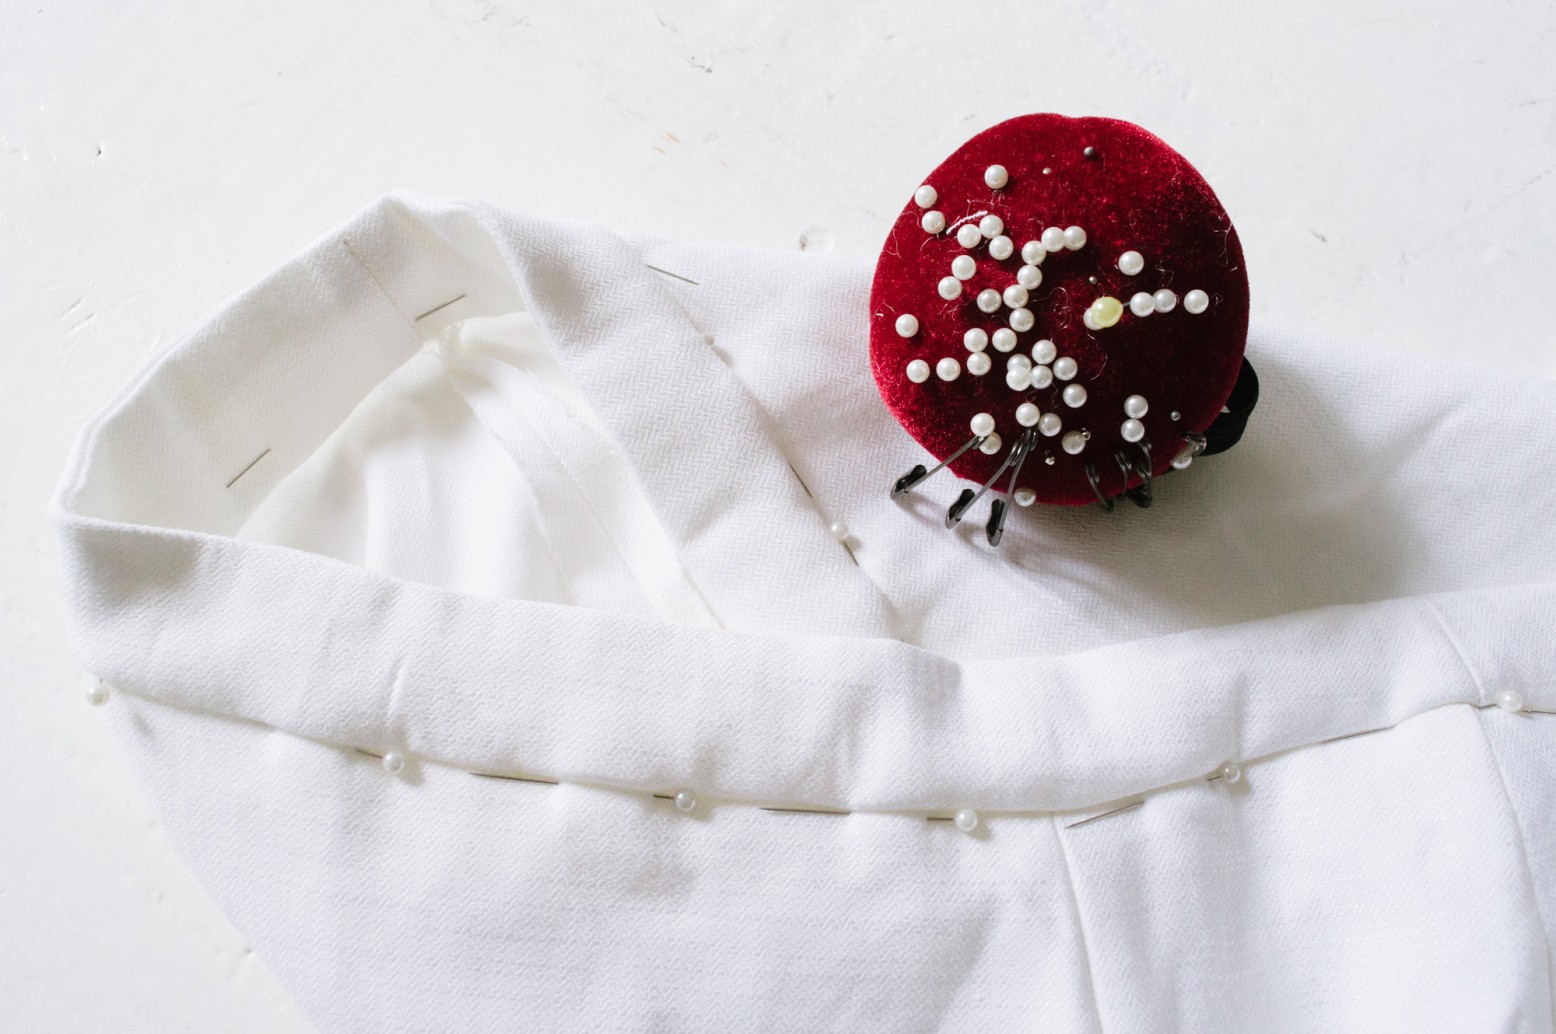
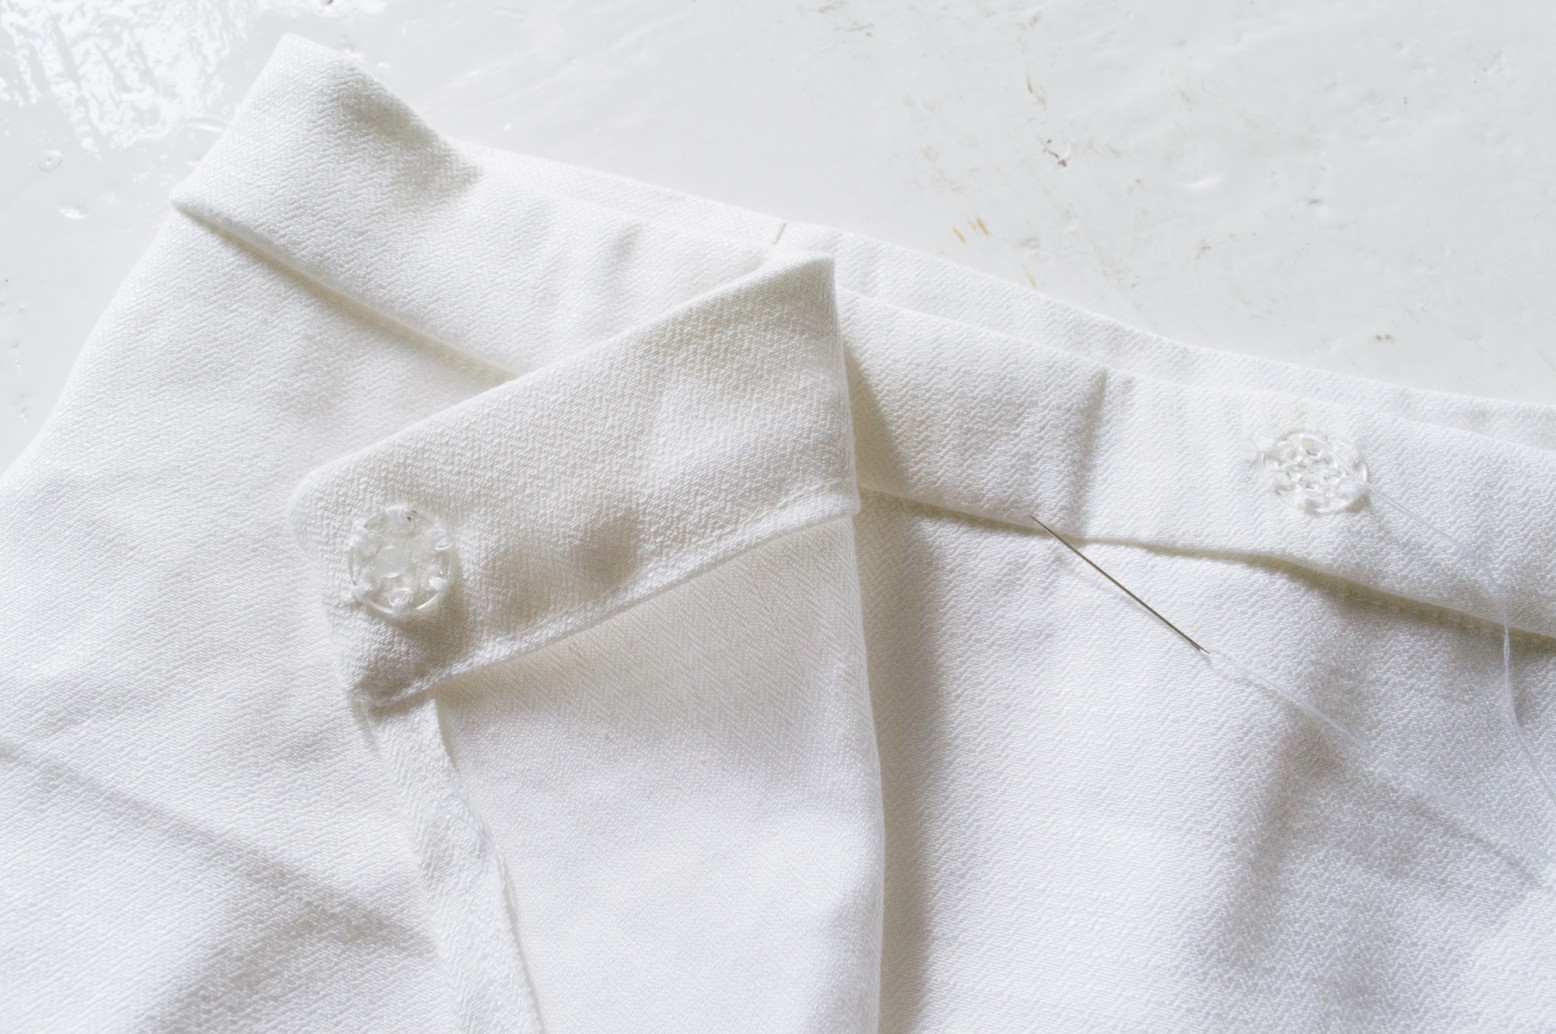
Sew down the top seam of the waistband strips, then fold and attach it to the top edge of the skirt.
5
Then we move on to create the flounce. Using the measurements we've provided, trace the spiral flounce pattern onto your fabric and cut, do this twice to create two identical pieces.
6
Sew down the two straight edges (shown with a dotted line) to connect the flounce pieces.This will create an effect where the flounce is longest at the back of the skirt,and shorter in the front.
7
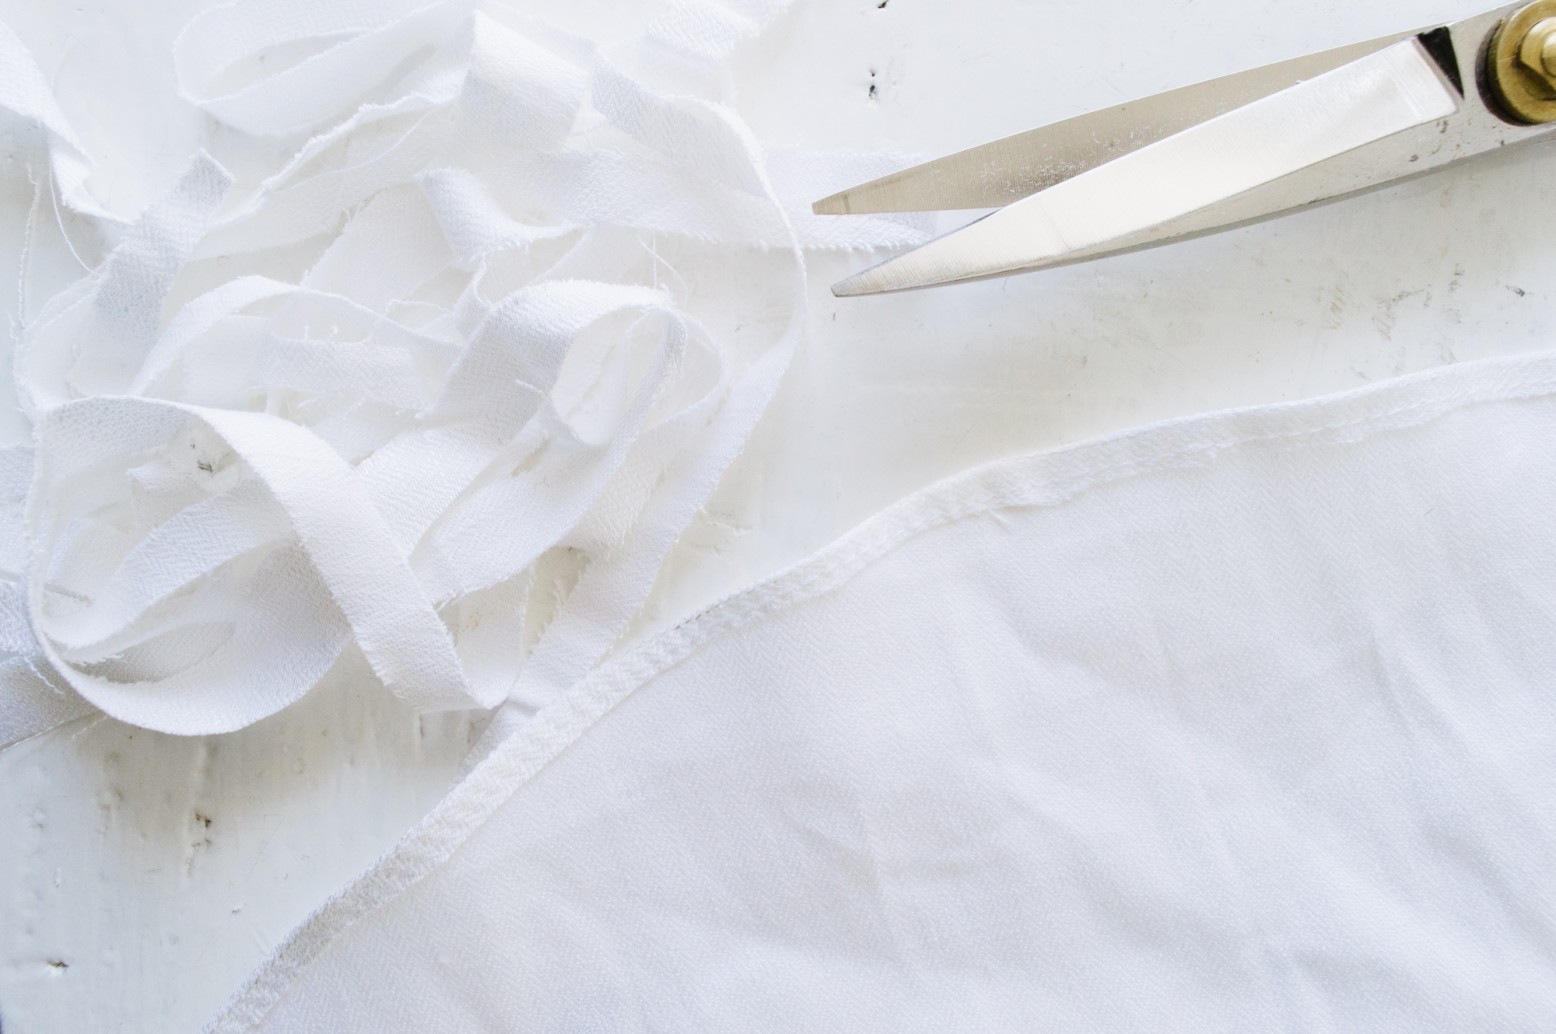
Fold in the raw edges on the bottom hem of the flounce and sew, then trim off the excess seam allowance for a cleaner finish.
8
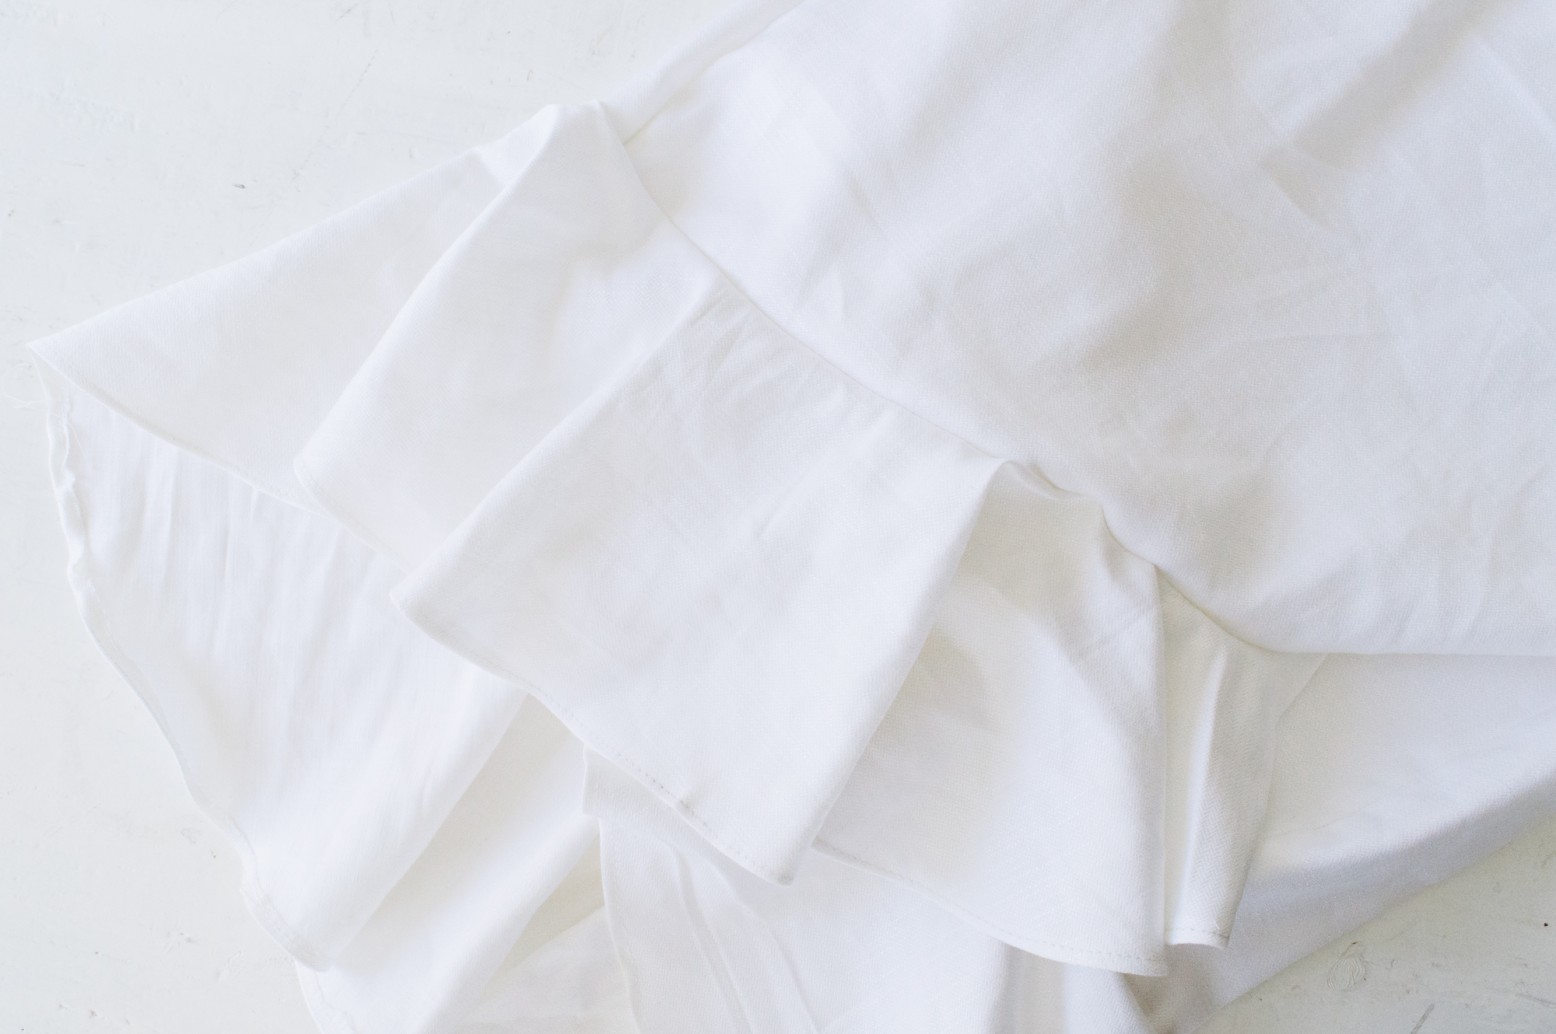
Attach the ruffle to the bottom hem of the skirt. The spiral pattern creates natural ruffles, so you wouldn't need to do any gathering like you normally would for ruffles.


