She wears the pants! The rust, wide leg pants that is.
For years I’ve reached for a wide leg trouser when I’ve wanted to feel confident and elegant, and have always found them particularly useful for adding a sense of a style to a more streamlined/revealing top. Not being able to wear them during pregnancy has given me even more of a hankering for them. This time around? We’re all about a rust linen style of an oh so comfy shirred waistband. Read on for how to make them yourself.
DIY Shirred Wide Leg Pants
What You'll Need
The pattern for these pants is the same as the Wide Leg Pants we did before, and a more in-depth step-by-step of the shirring process can be found here.
1
Lay your pants or paper pattern onto your fabric, trace around, then leave seam allowance and cut.
2
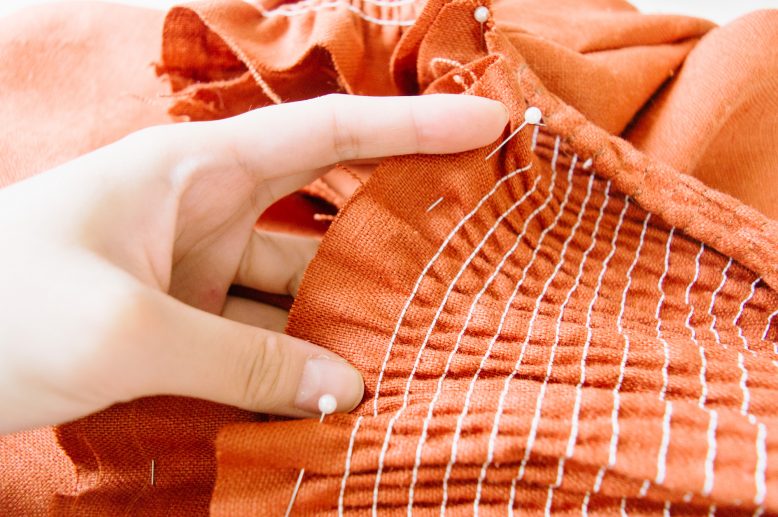
You should end up with two front and back panels for the pants. As for the waistband, the length can be done as long as you'd like, ours was 4''. Since this piece will be shirred, it's width needs to be at least 1.3 times your waist measurement.
3
Sew the pant legs first by pinning the front and back panels of each side together, then sew down the side seams.
4
Turn one of the pant legs right-side-out and insert it into the other unturned pant leg.
Line up the crotch seam, then pin and sew.
6
Pin the right sides of the shirred waistband to the pant legs, then sew. The waistband will be facing down during this process, but we will flip it back right way up after sewing.
7
Flip the waistband back up and iron the fold flat. Finish the top of the waistband by folding the seam allowance in and sewing it shut.
8
Something to be aware of, you will have to pull and stretch the shirred waistband whenever you sew it, if not, the waistband will not stretch if you just sew over the shirring.


