Today we’re going to talk about drafting and sewing pockets.
These can be added to a clothing piece you’re making and can prove to be super handy when you want to bring a few small items without you needing to bring a bag! On the subject, is it only me or are pockets on women’s clothing always made too small? I mean, what are we supposed to put in them when they can’t even fit half of our hands? And don’t get me started on fake pockets with zipper openings that are really only decorative zippers. But, I’ll stop ranting and share with you how you can pick perfect, roomy pockets into your sewing projects!
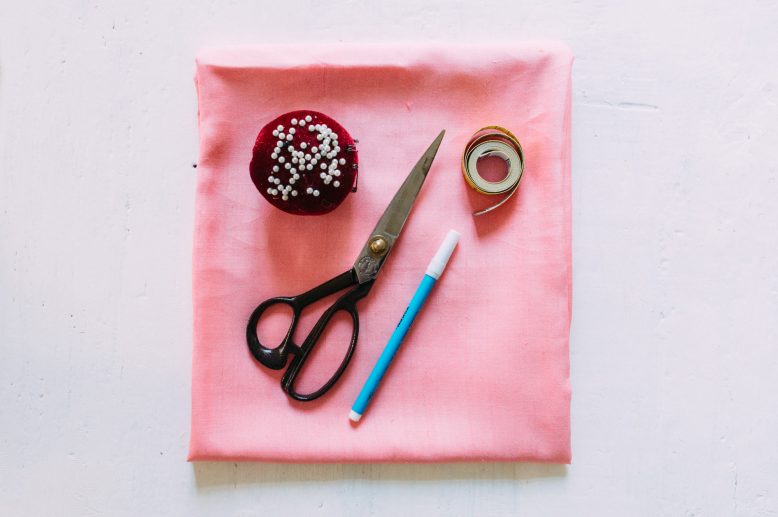
What You'll Need
1
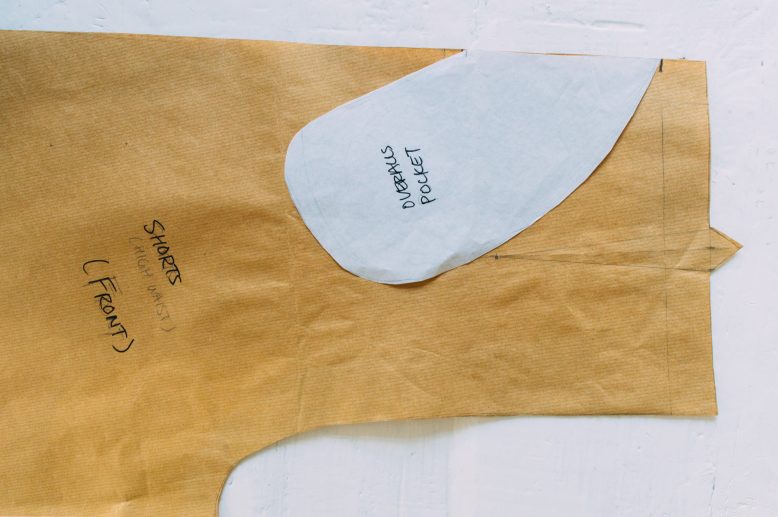
The shape of your pocket can be done freehand, just as long as you bear in mind the size of your pockets, and especially the width of the opening. It should be at least 12.5cm (5 inches) wide in order to accommodate your hand.
2
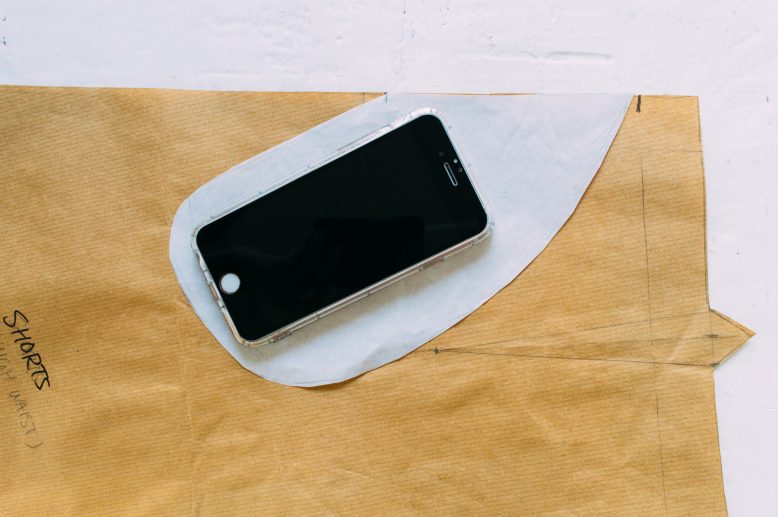
As an example, I made my pocket large enough to fit an iPhone. What I did was merely trace around the phone. Remember that side seam pockets need to be set at an angle.
3
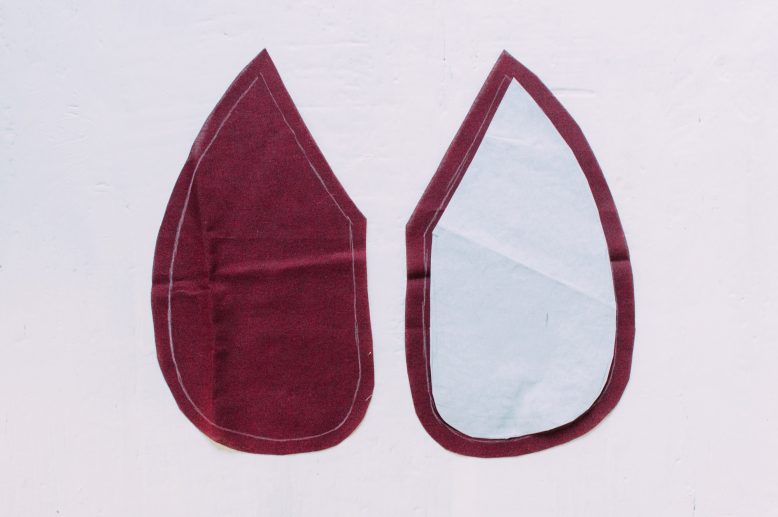
Transfer your pocket pattern to fabric, and mirror them so you have both sides of the pockets.
4
Remember to mark the opening of the pocket on your pants side seams. Leave the marked section open when you sew down the side seams of your pants.
5
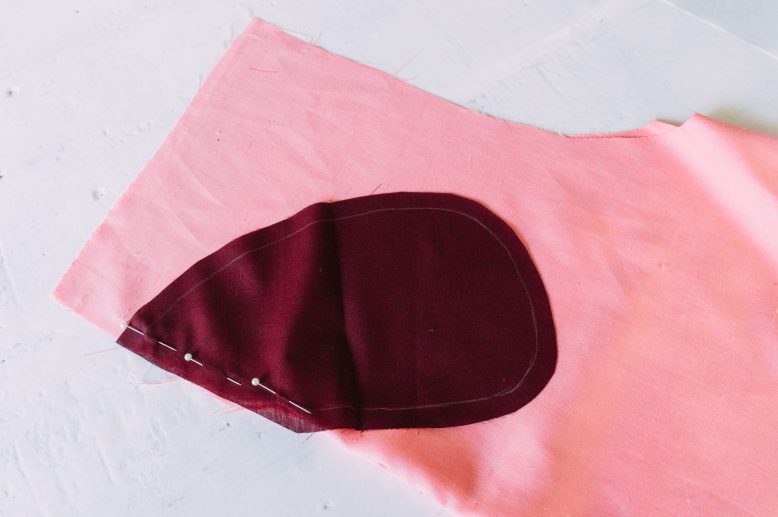
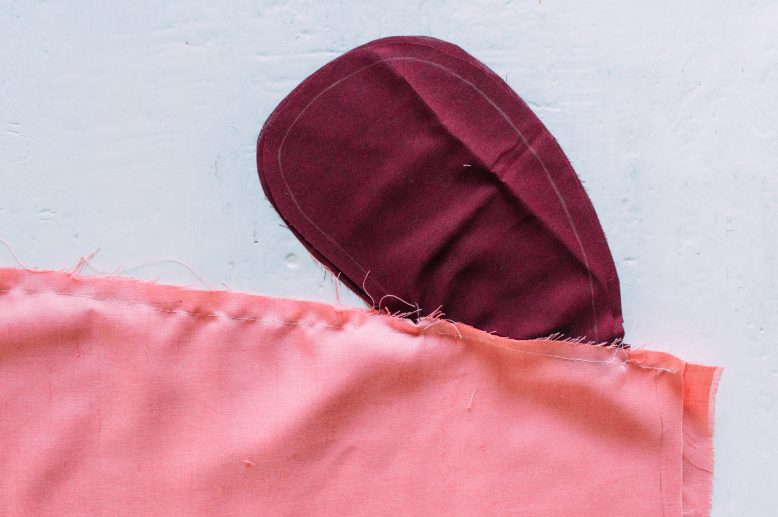
For illustrative purposes, I'm using two different fabrics for the pocket and the pants. Usually the fabric would be matching. Flip the pants right-way-out, then pin the two pocket pieces to the two side seams on the pants, right-sides-together.
6
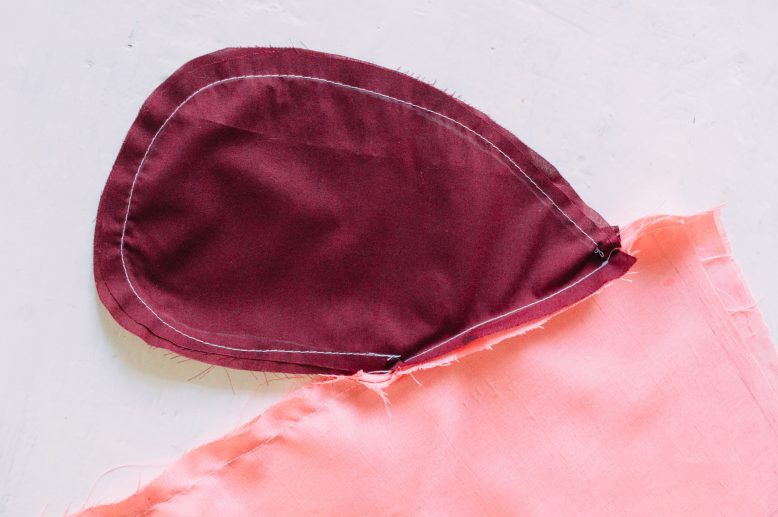
Then flip the pants wrong-way-out again, and you should have your pocket pieces attached to the seams. Be sure to double check that you're looking at the right side of the fabric when you look through the pocket opening when the pants are turned right-way-out.
7
Pin the two pockets together and sew around. Finish the edges of the pockets using pinking shears, a zig zag stitch or an interlocker if you have one.
8
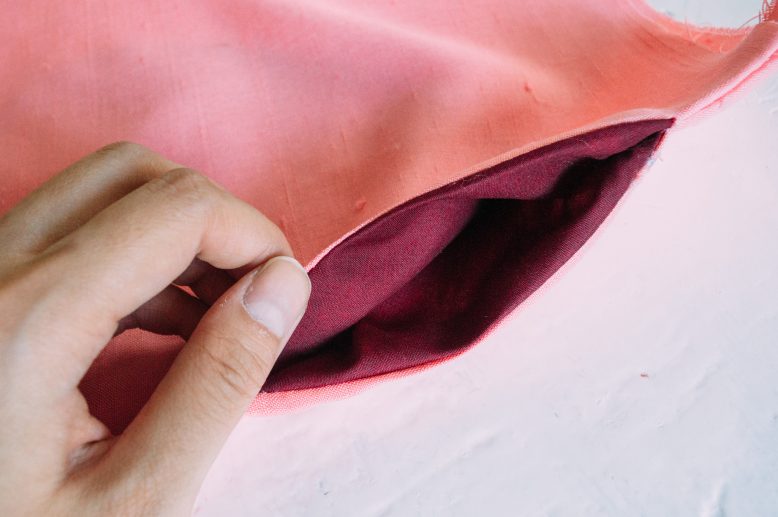
And voila, your pockets are done! This is what the pockets will look like when the pants are turned back out. Give the seams a little press with the iron for a neater finish.


