Say hello to one of my favourite projects, well, ever!
Gathered styles were what I cut my teeth on when I was first learning to sew, that is, ones where you pretty much just add elastic to rectangles of fabric to create skirts, dresses and tops. Although crazy easy, there are soooo many different variations of this style. I’m actually working on another design as we speak, in between Frankie’s naps that is! But for now, I wanted to share with you a style that saw me through my pregnancy – the gathered off the shoulder dress… Made fancy thanks to a tiered skirt. So floaty, so roomy and so so fun to wear. It made pregnancy dressing so much more bearable, and the best thing is I still want to throw it on every day!
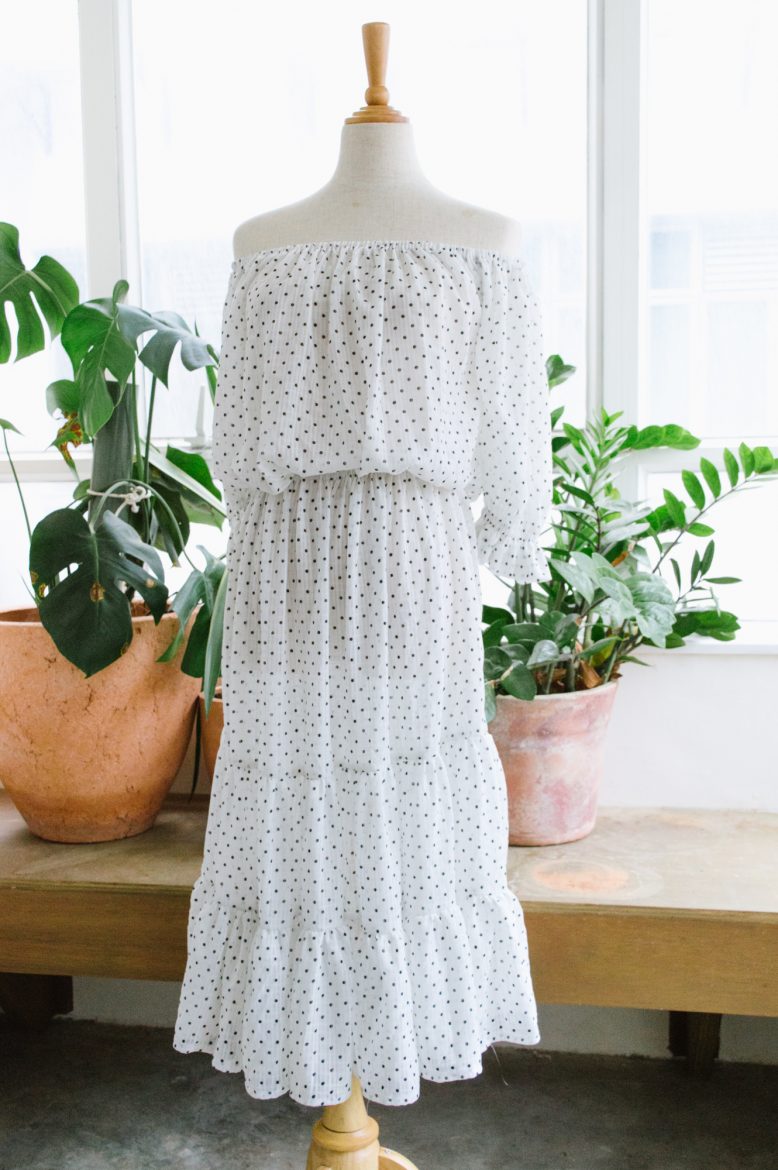
For this style I chose a light polka dot chiffon which has a really nice drape and swishes around you when you walk. I love it!
DIY Tiered Off The Shoulder Dress
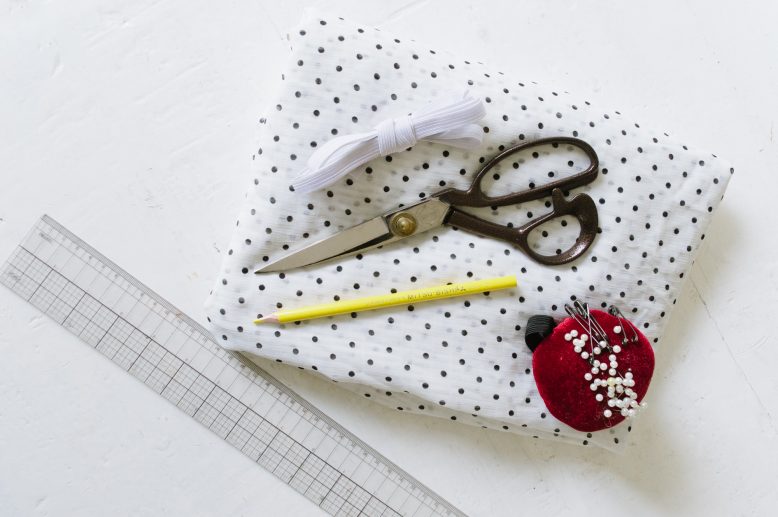
What You'll Need
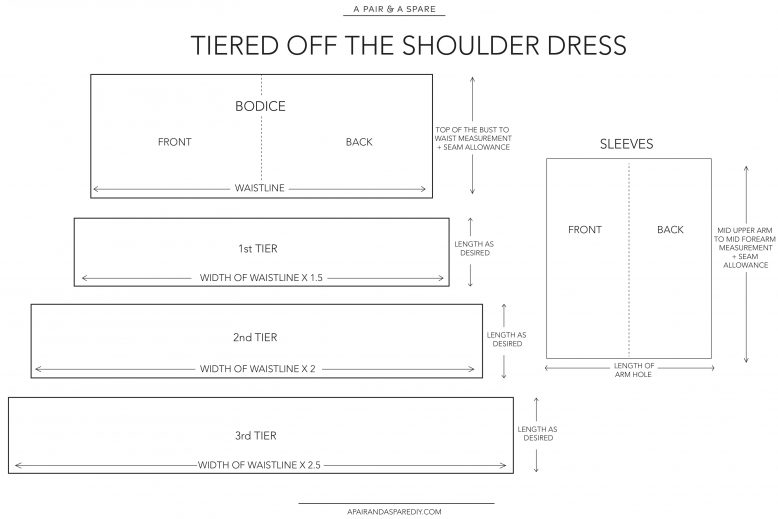
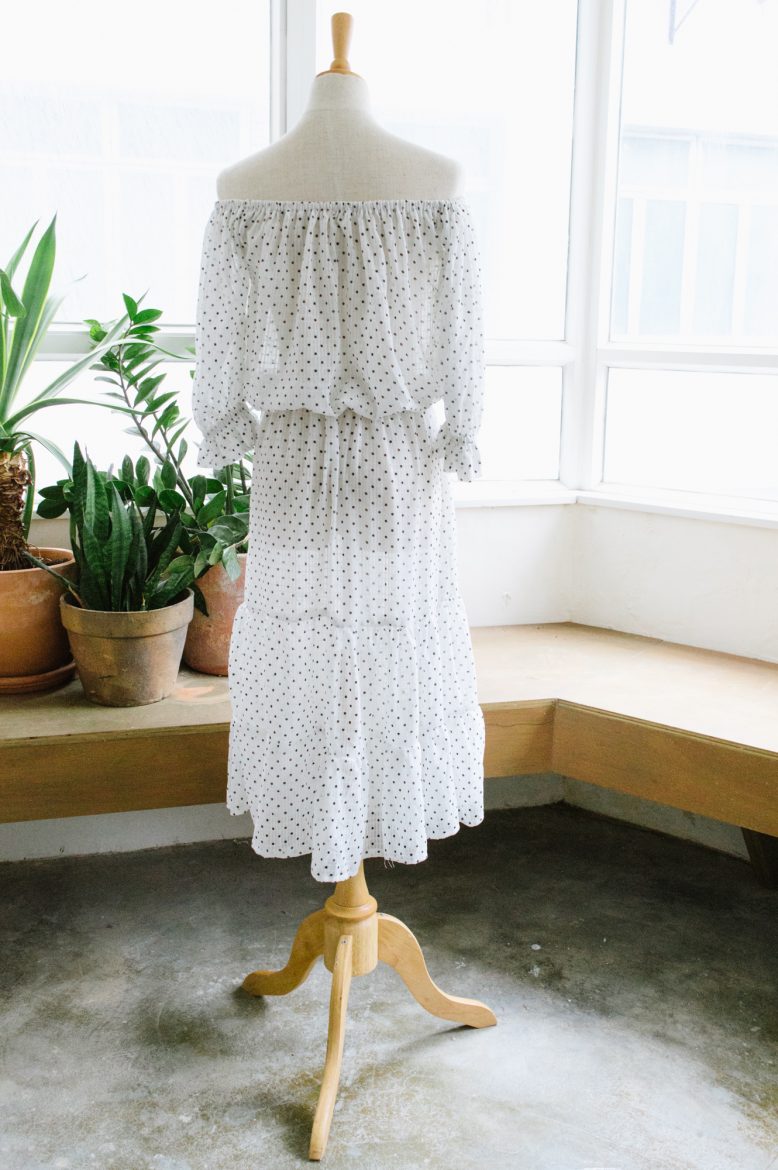
This dress might look complicated, but it’s only made up of rectangular panels… Perfect if you’re new to sewing. Draft your pattern pieces by referencing the measurements we used. We did a two-tier design, but if you’d like to play around with the layers, feel free to add and adjust the lengths of the tiers!
1
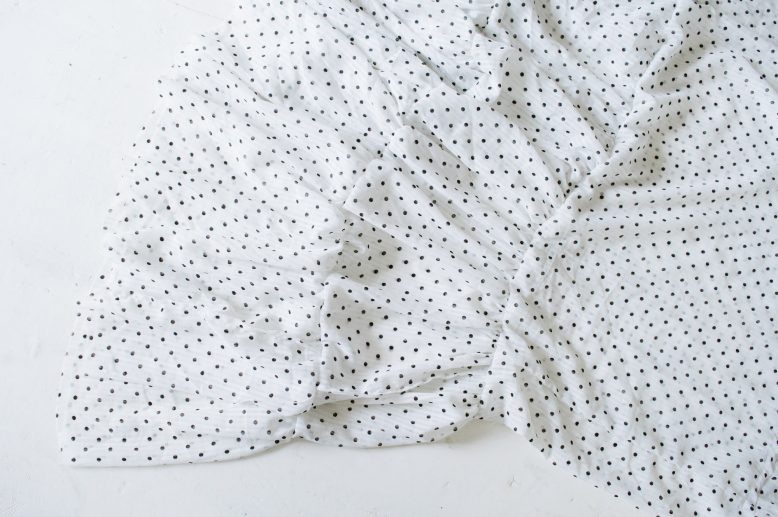
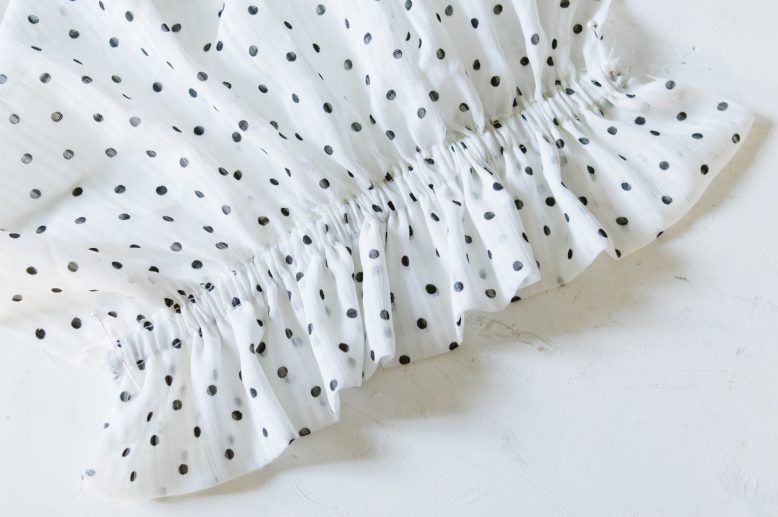
Begin by gathering the 2nd tier ruffle until it matches the bottom hem of the 1st ruffle, then sew these two tiered layers together. See this tutorial for more details on gathering!
2
Sew down one side seam of the bodice piece, leaving 13cm (5'') unsewn near the top edge for adding the sleeves later.
3
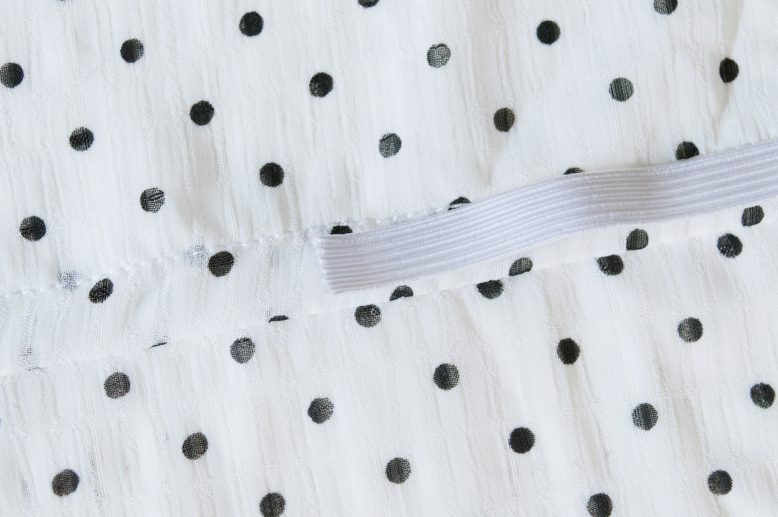
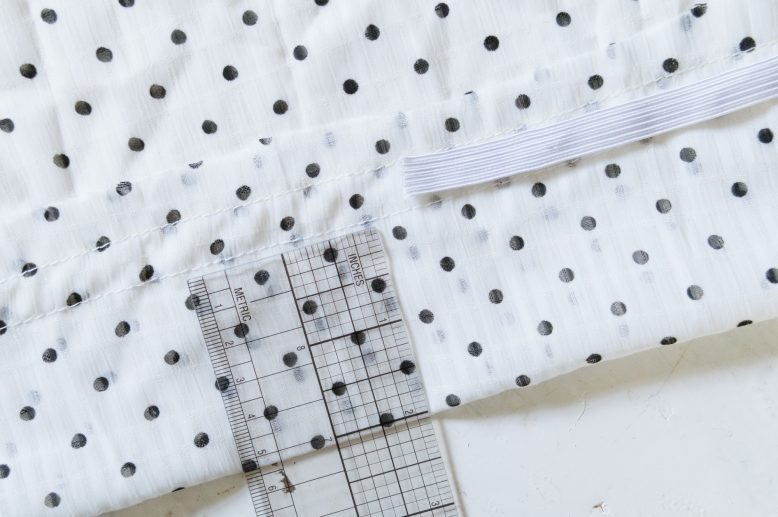
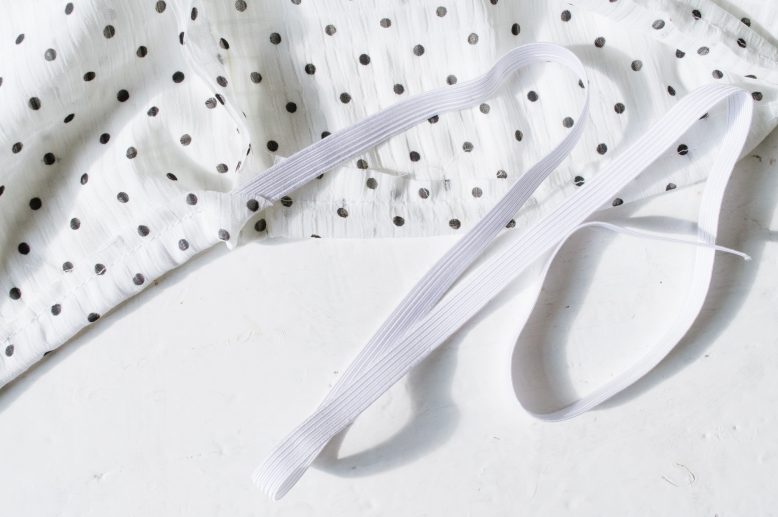
Next, you will need to sew the elastic waistband which will be done where the bodice and skirt meet. Fold over the top edge of the skirt to create a tunnel, and sew down. Sew the bodice piece to the top edge of the tunnel, and then add the elastic to gather the skirt at the waist.
4
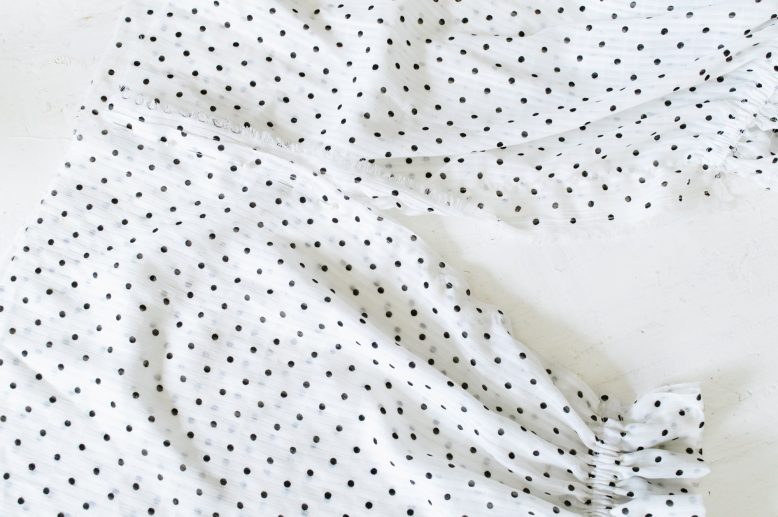
Next up, the gathered sleeves. Fold the edge of your sleeve 5cm (2'') in to the wrong side, then sew a another tunnel to fit a piece of elastic through. The elastic only needs to be slightly shorter than your mid-forearm measurement.
5
You'll end up with a more voluminous ruffle due to the doubled layers, but you won't have to hem the raw edges if you use this folded method. The elastic will also gather the ruffles naturally so you don't have to do any hand-gathering.
6
To attach the sleeves to the bodice, flip the pieces inside out, then match up the seams on the top of the sleeves and the bodice and sew down for 13cm (5''). Sew and close the remaining side seams on the bodice and skirt ,as well as the underarm seam on the sleeves.
7
The last thing to do is to sew a tunnel along the top of the entire bodice piece and sleeves, and thread in a piece of elastic that's slightly shorter than the length around your shoulders.
Liking the tiered style? Here are a few more DIY’s…all about tiers! DIY Ruffle Wrap Skirt | DIY Tiered Maxi Dress | DIY Maxi Dress


