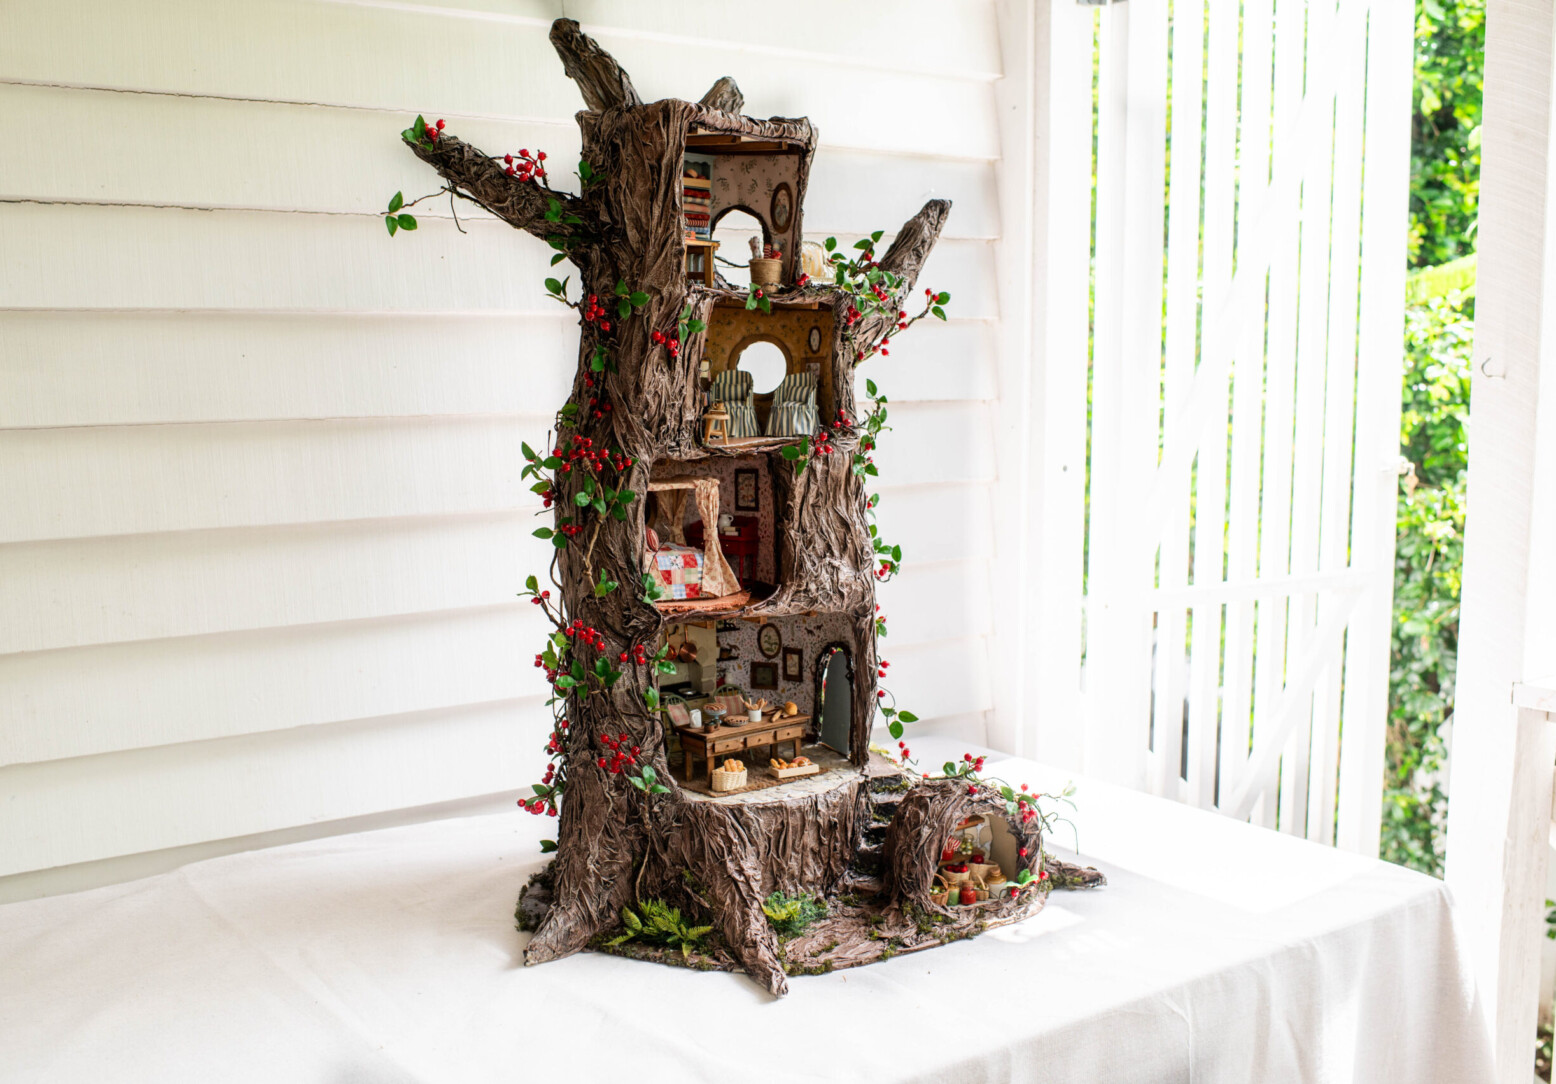
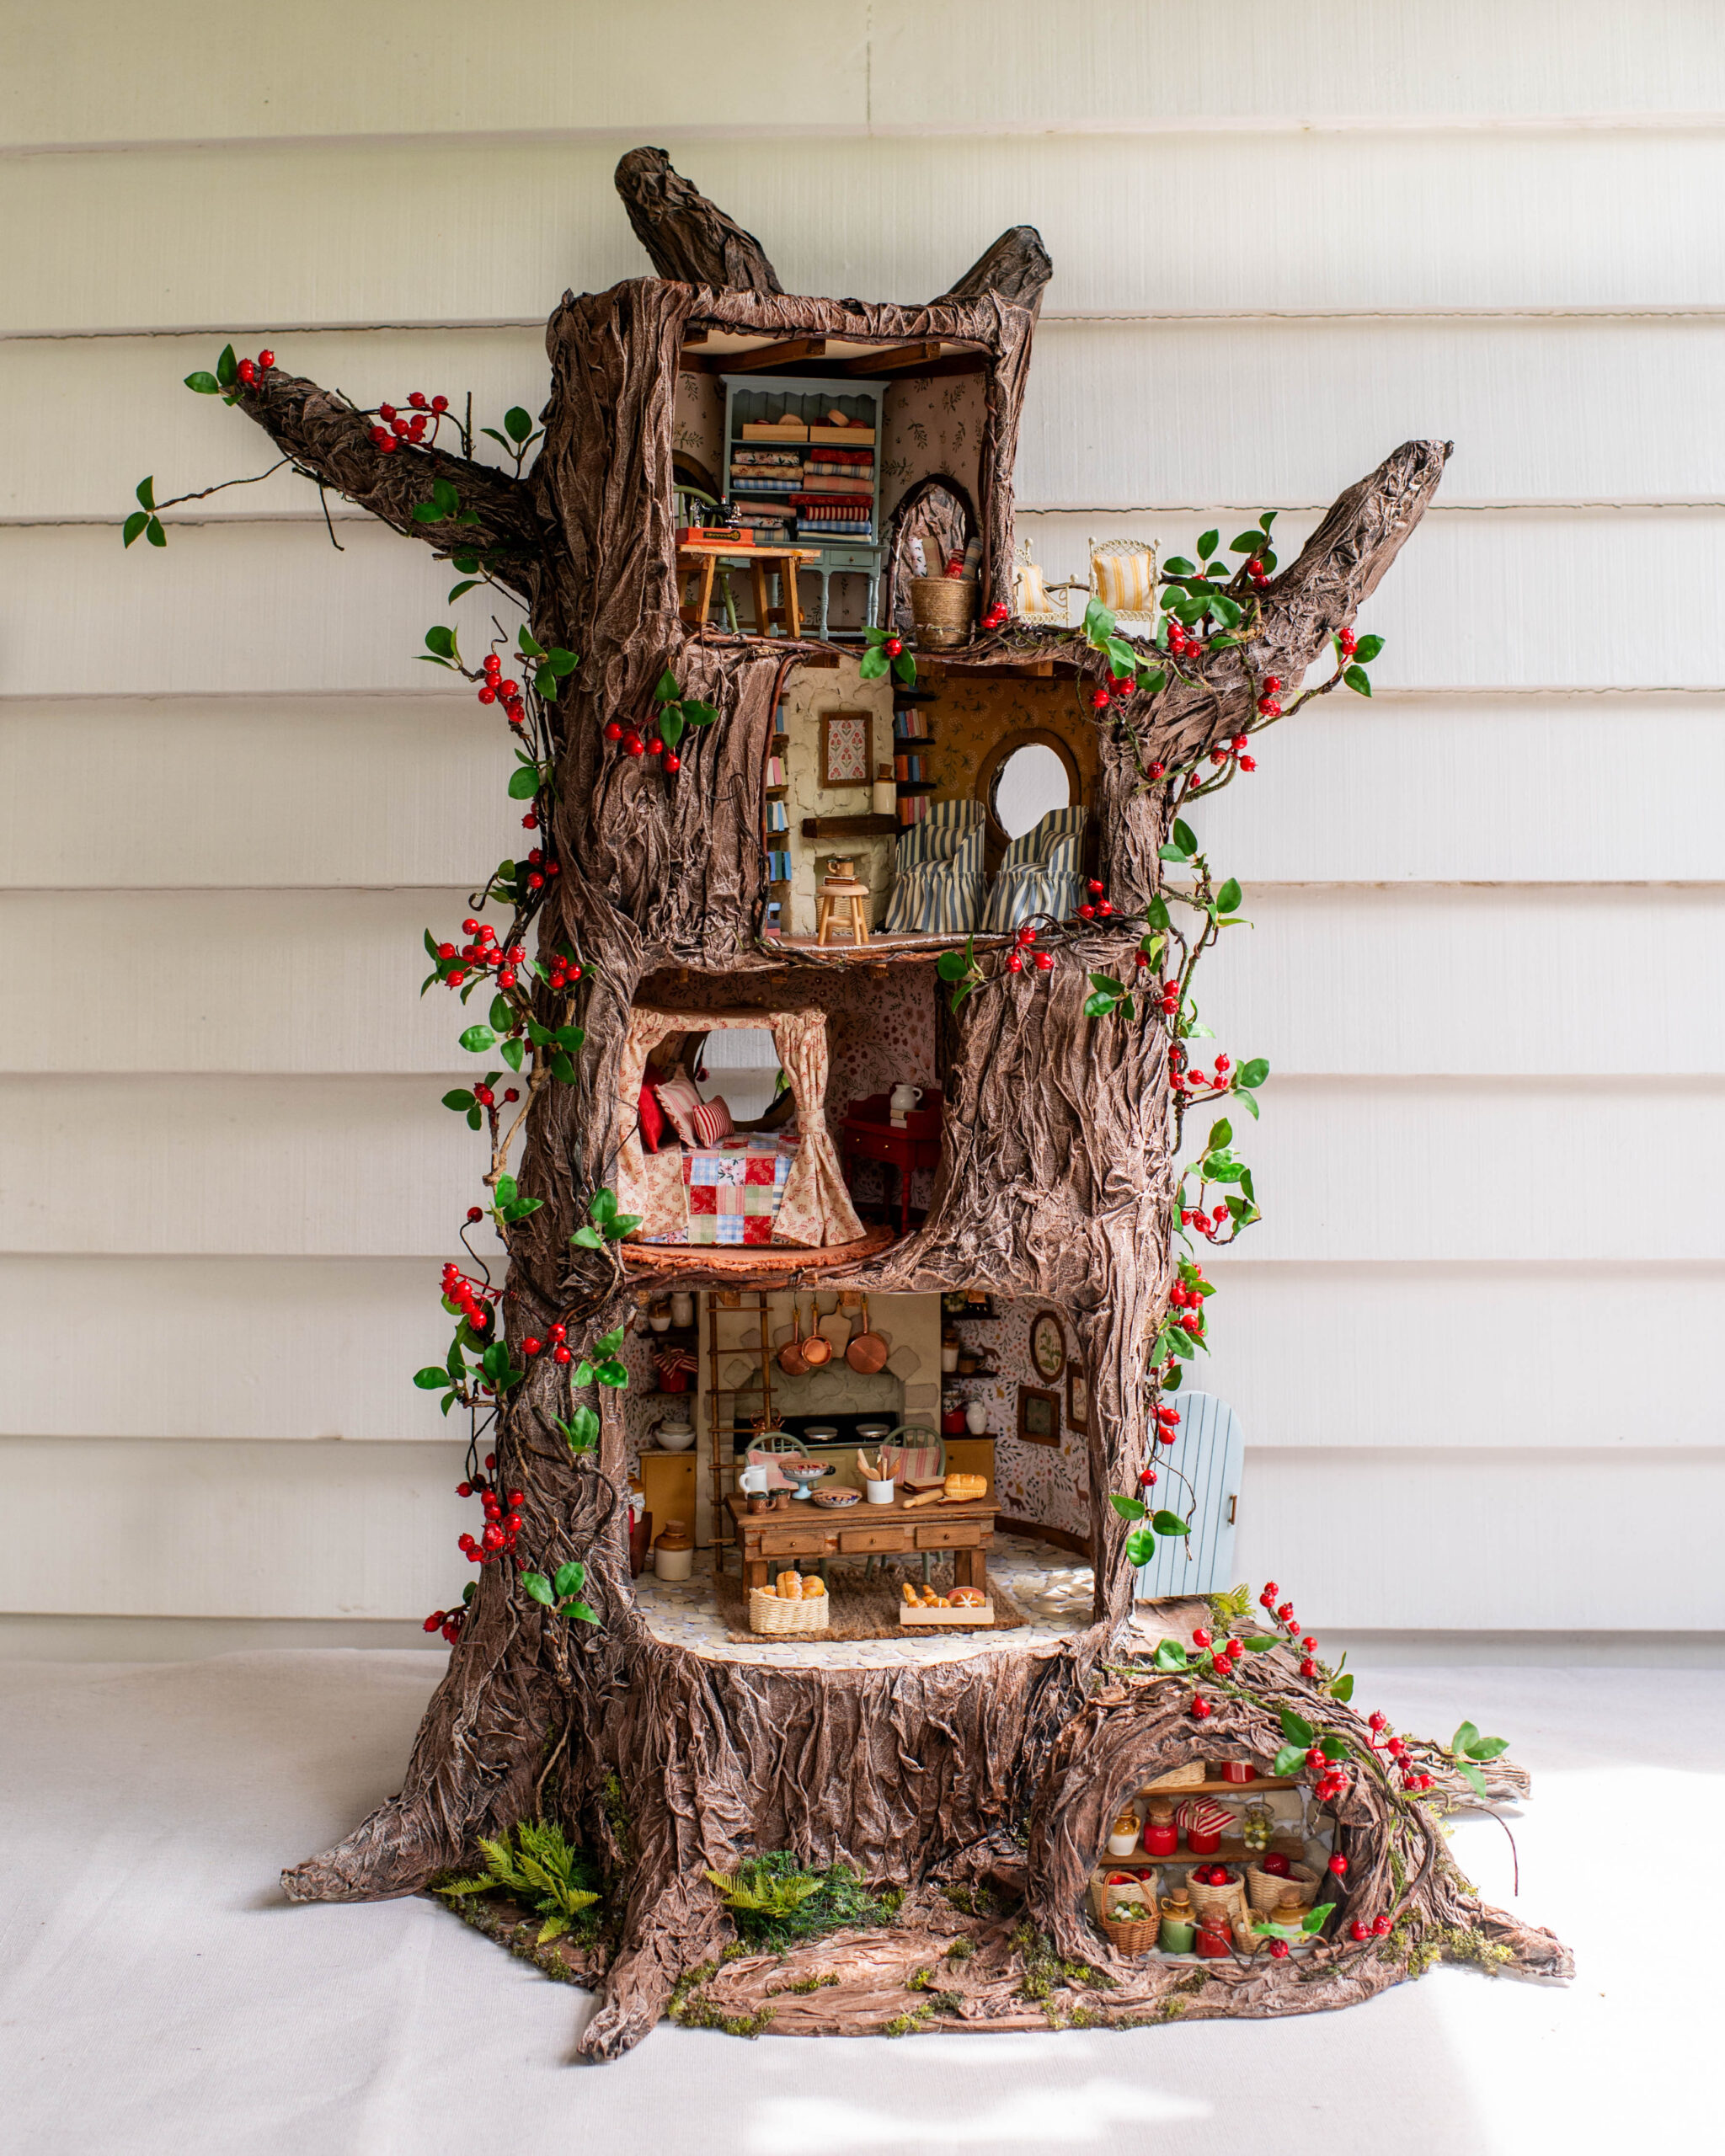
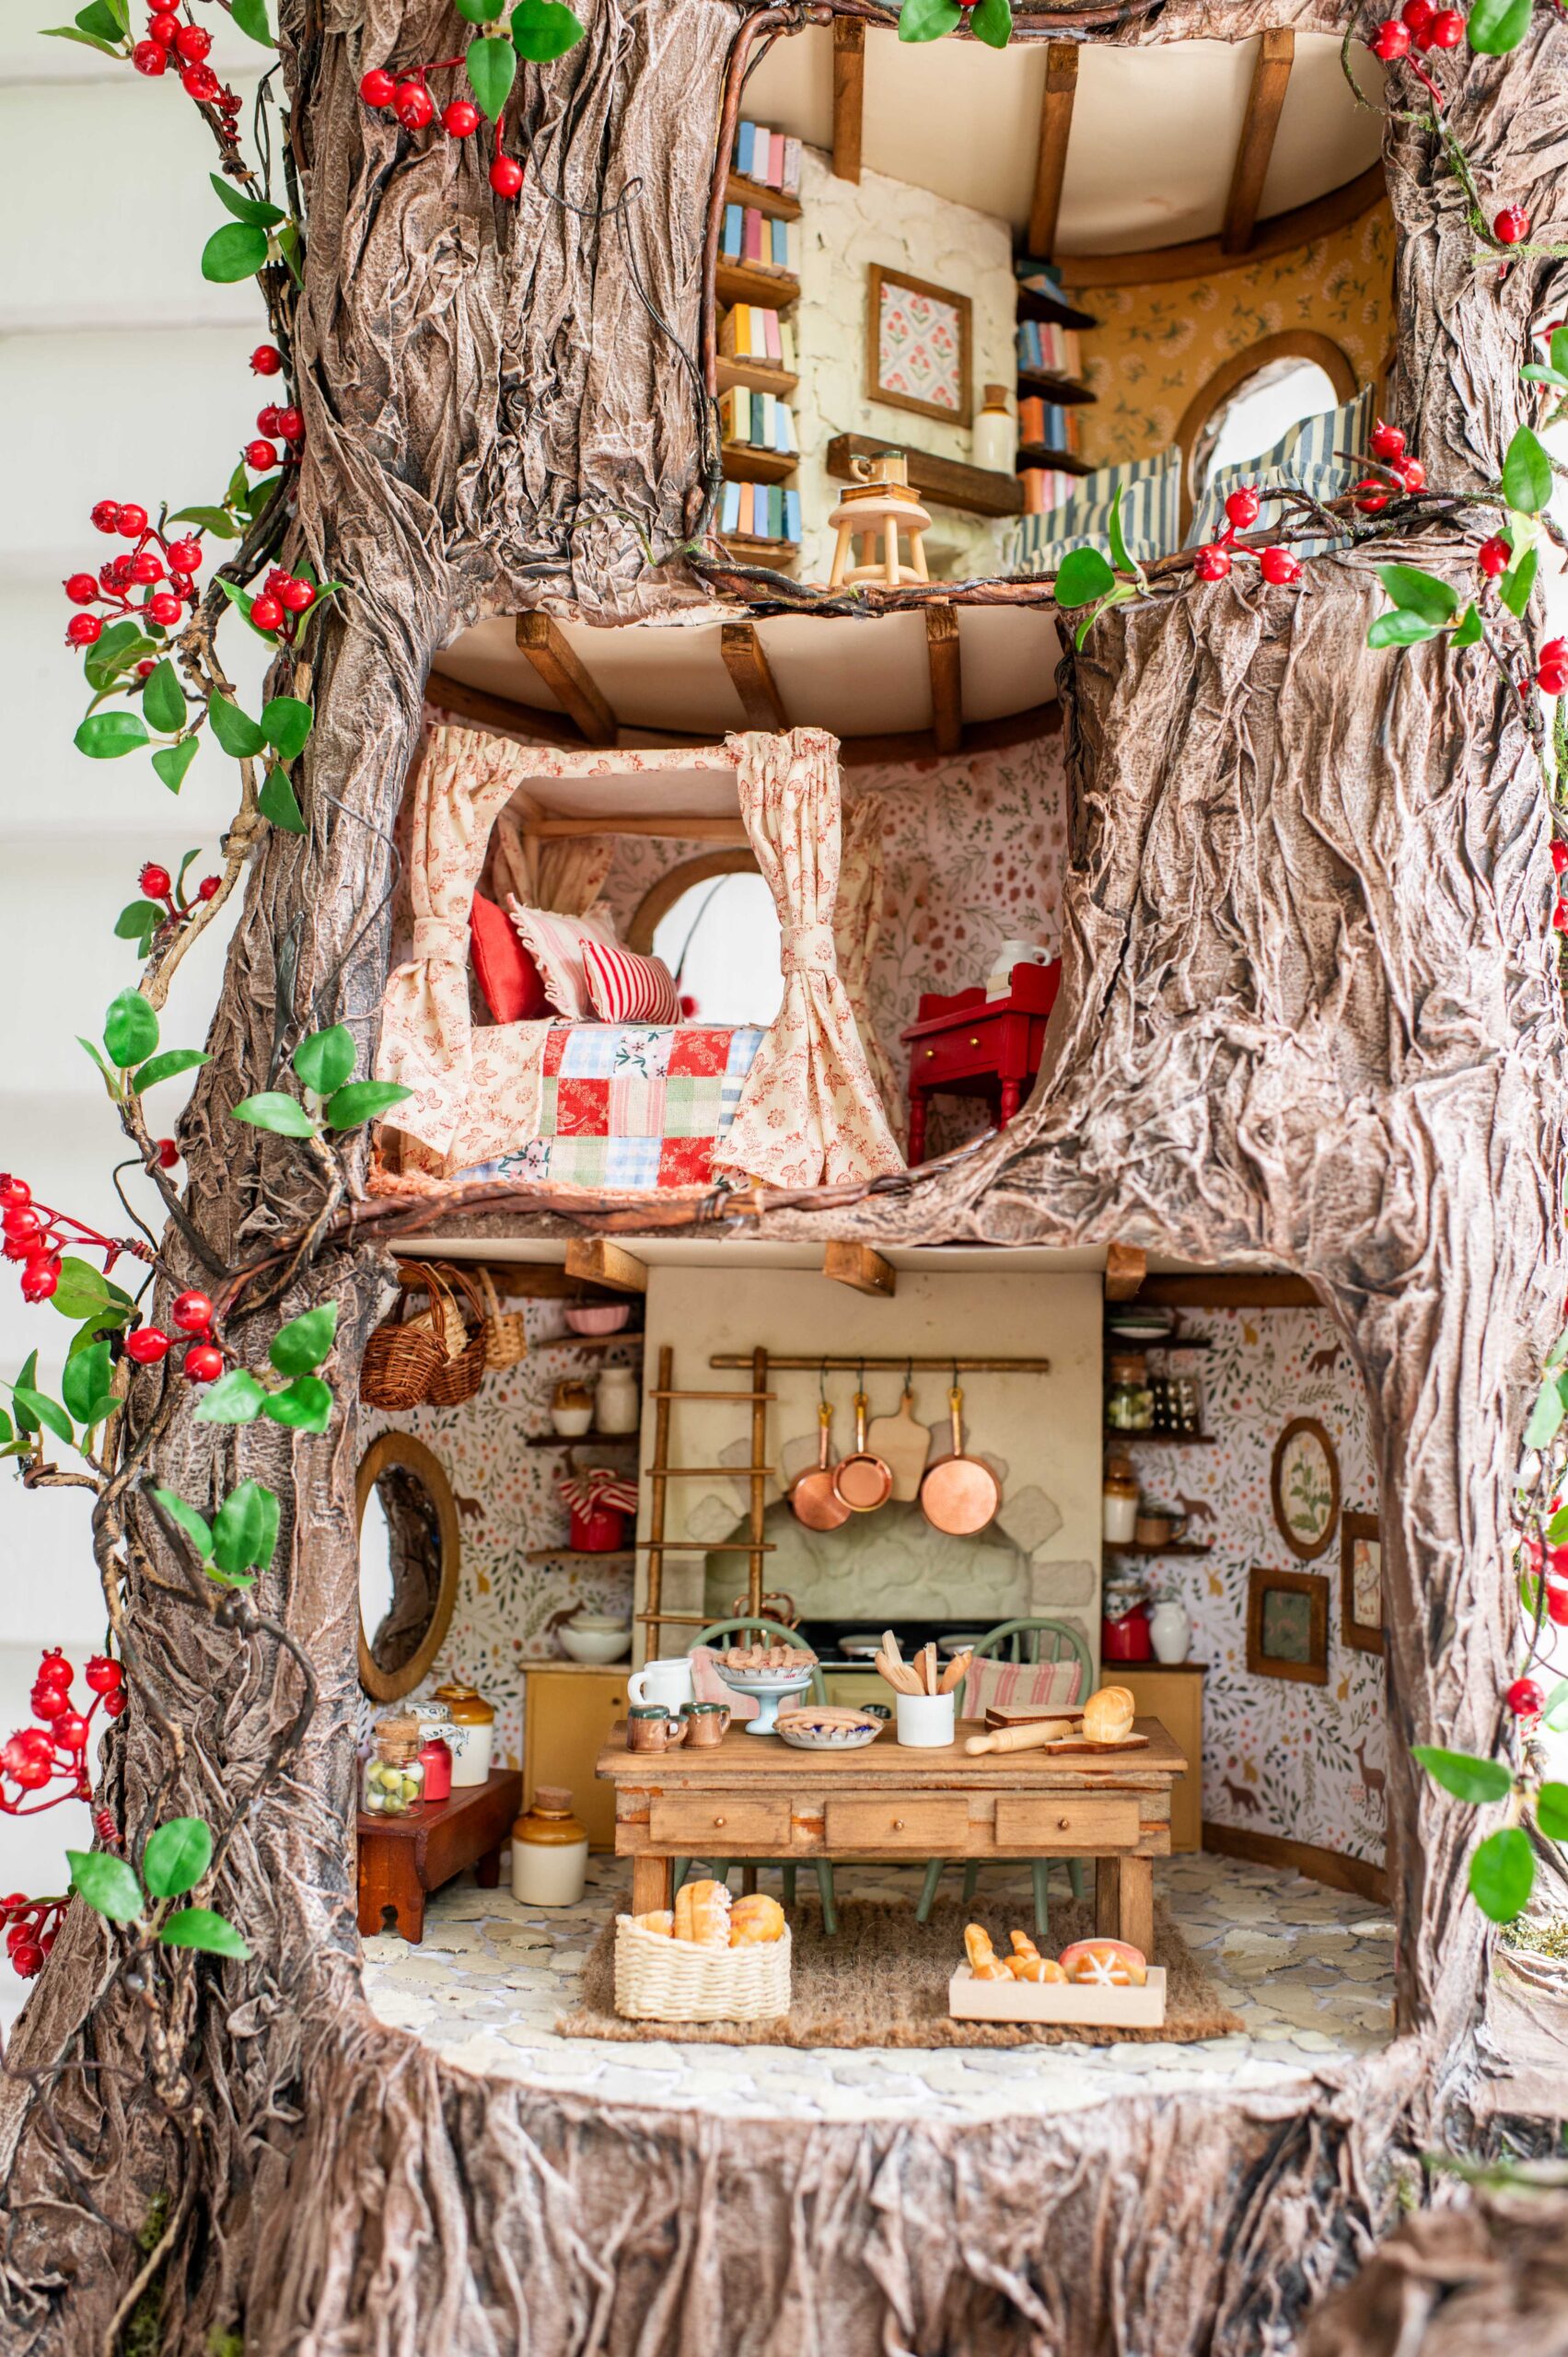
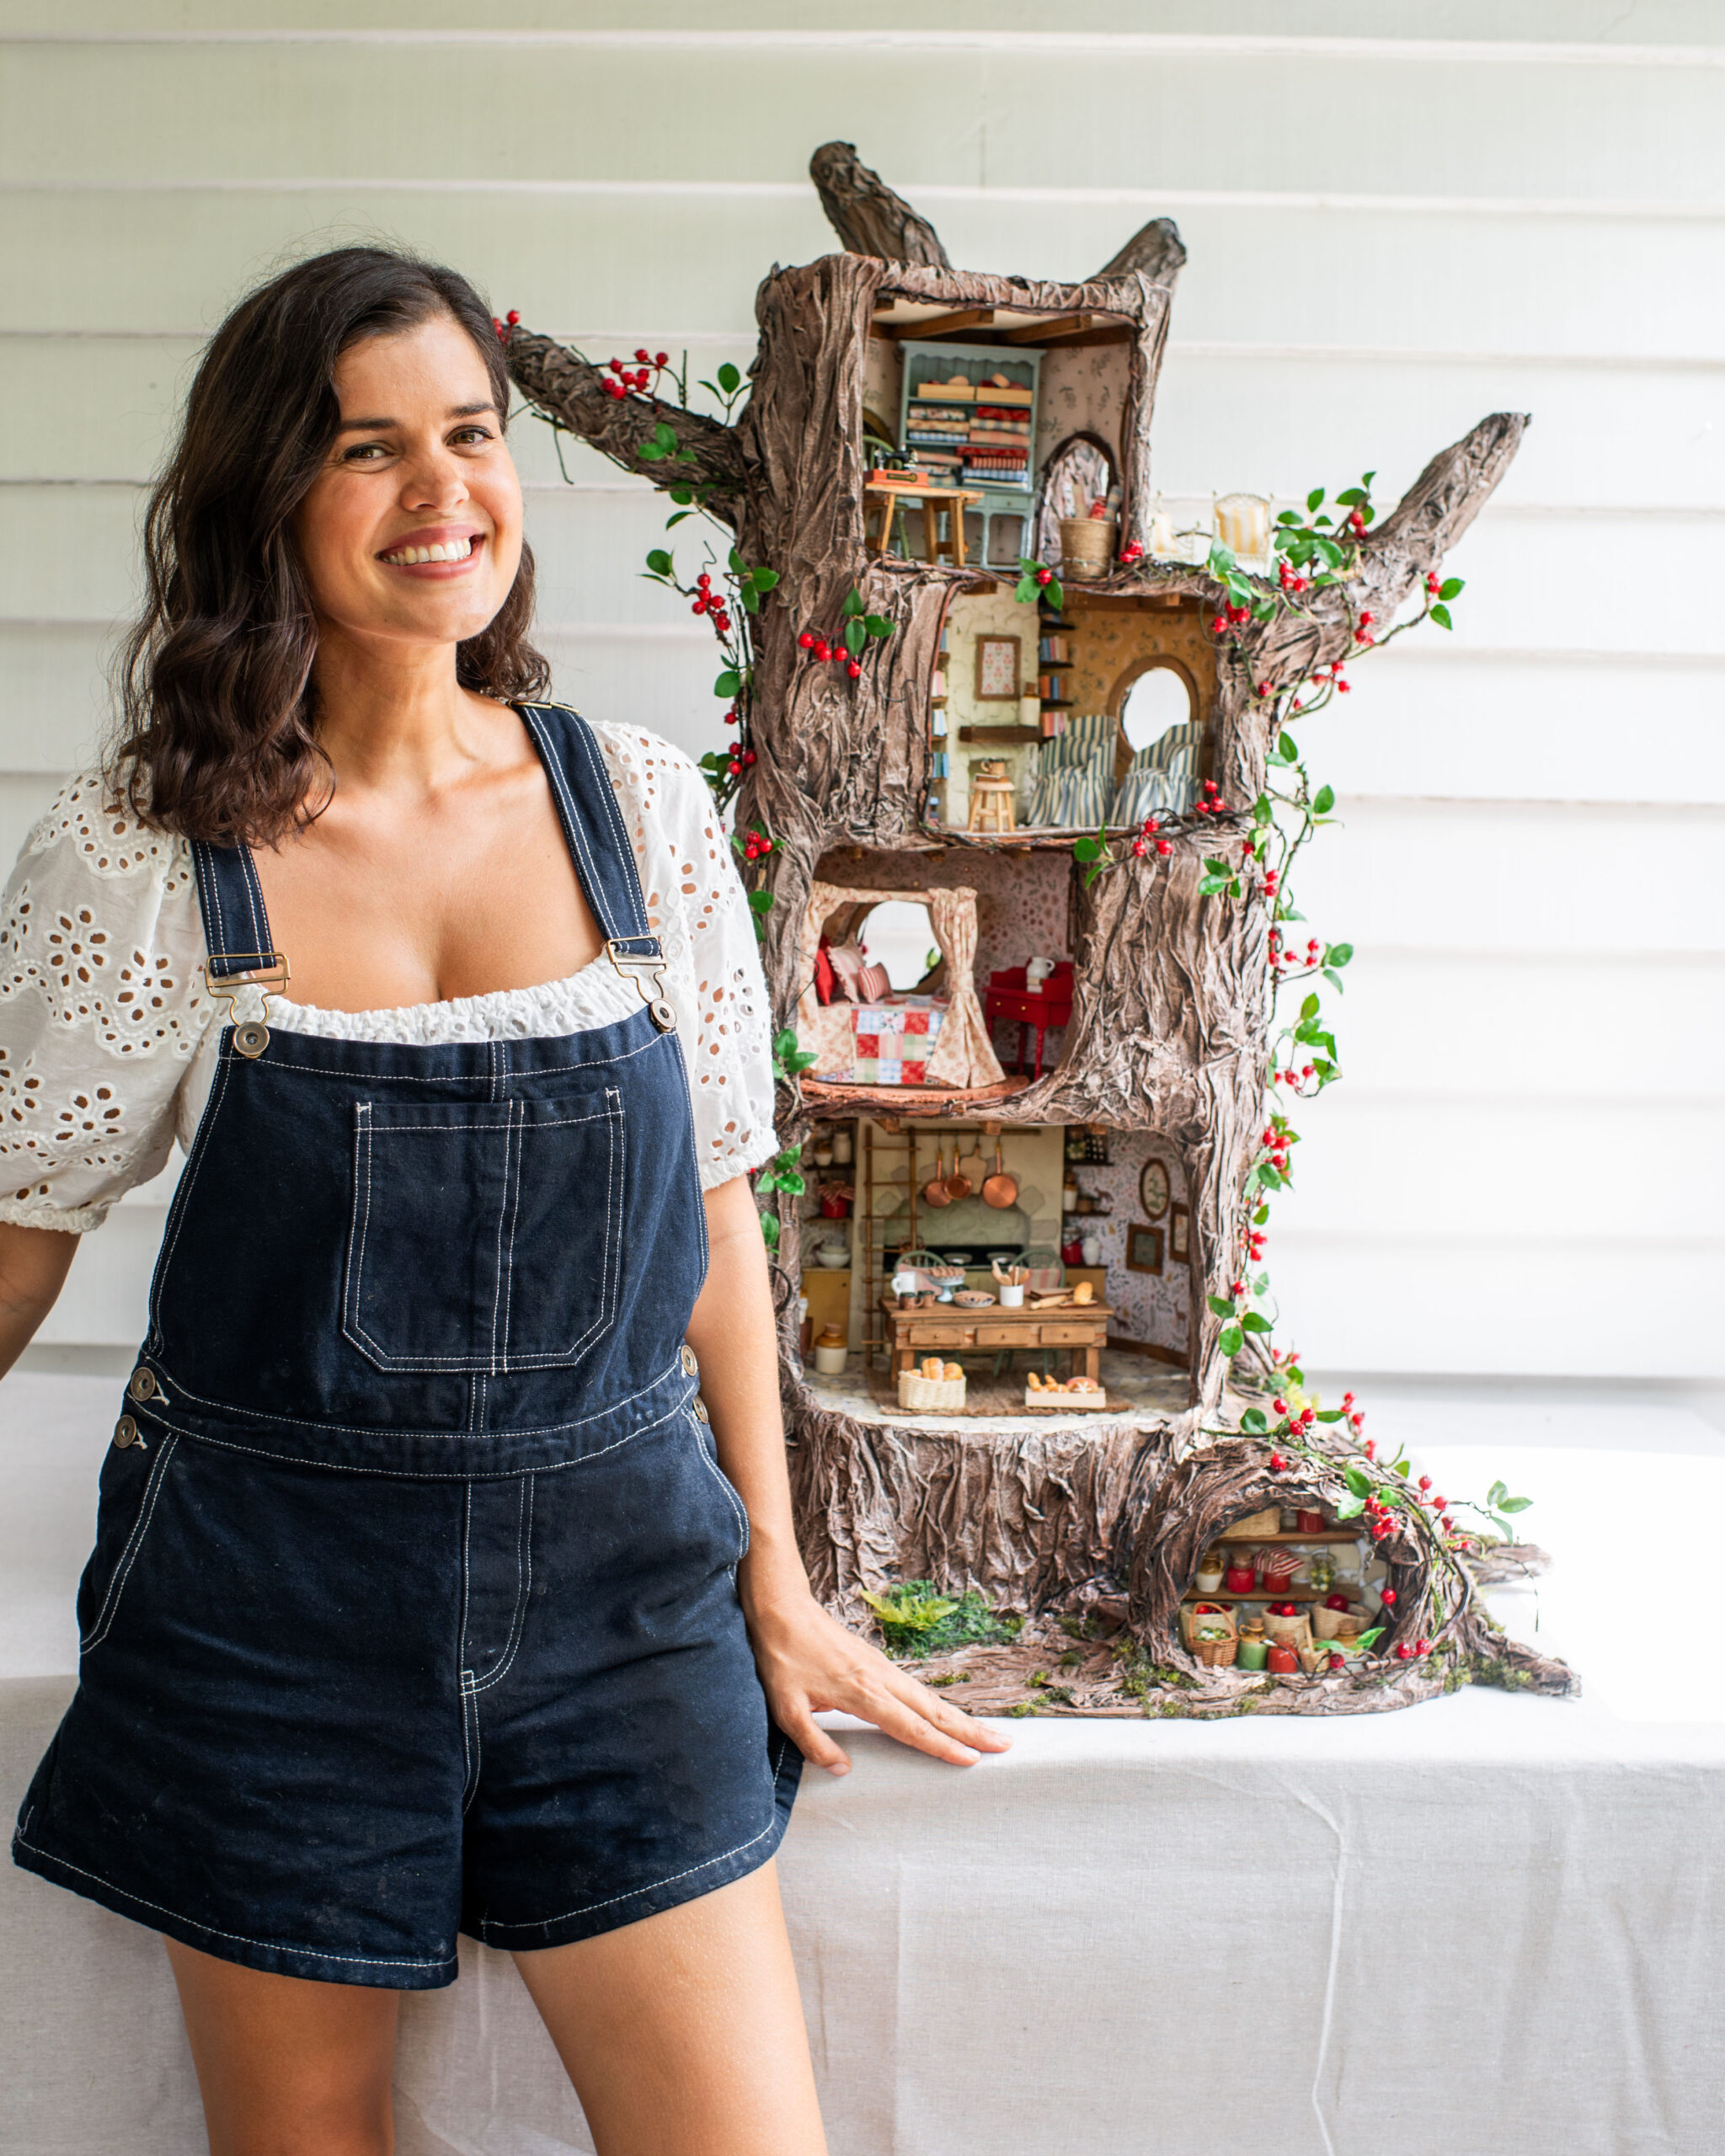
Recreating the magical mouse world of Brambly Hedge for my daughters!
Looking back, I think I might have been little bit insane embarking on another last-minute dollhouse project. But after so many of you told me that rather than simply giving my daughters the Brambly Hedge books I needed to make their tree mouse house, I couldn’t stop thinking about it! So I’m so excited to share with you how it went.
Before I get into the details, if you want to get started with miniatures you need to check out my dollhouse course! There’s literally everything you need to know, including over 60 video tutorials, shopping lists, tools and so much more! Thousands of people have taken this course and have loved it so much, and I just know you will too.
Sign up to my dollhouse course here.
Inspiration for the Tree Dollhouse
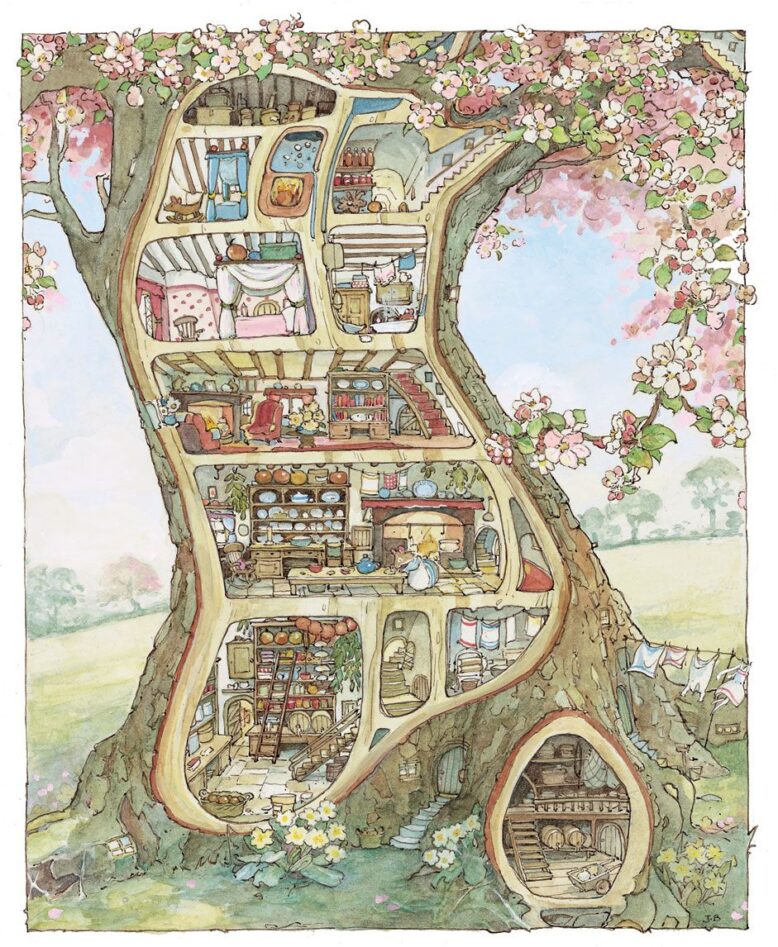
Ever since I was little the tiny mouse homes of Brambly Hedge have been a core memory for me, the details are etched into my brain, so forgive me if this project was just as special for me as I knew it would be for my daughters! Special meaning I put WAY too much effort into it. There was so much inspiration out there for doing this project, lots of people have made amazing Brambly Hedge dollhouses. To work out how to make it, Where The Gnomes Live on Youtube is an amazing resource, Sharon created the fake bark method (tin foil, masking tape and paper towel) many years ago that I used in this project. I also got guides about little stairs, moss and vines from her too. Another great inspiration for stacking the round boxes and other structural tips and tricks was thanks to this Heartwood Hotel project from With His Grace. This Brambly Hedge dollhouse and this one were also great sources of inspiration! Honourable mention goes to this seriously cute tutorial for making a smaller version of a tree dollhouse. So many of you have said you want to make one and I’m sure the size of mine might be daunting to some, so a simple two level one using two round boxes could be a good idea as a place to start?
How long did it take?
The most common question I got about this project is how long it took, and it actually didn’t take as long as it might look. Making the tree itself took about 10 hours split over 4 days, which includes the structure and painting it. Then, doing the rest of it took about another week in which time I just worked on it for about 3 hours per day. Total hours? Around 30. That said, with 4 other dollhouses under my belt I have to say I have become very quick at doing tiny details, so it’s a good idea to expect it to take longer if you’re just starting out!
What did it cost?
The structure of the tree itself cost about $80 including the boxes and paint, and most of the rest of the items I made using balsa wood, fabric scraps and other recycled materials. I spent another $150 or so on addiotnla items for the interior, but if you focus on making the items inside you don’t need to do that.
What did I buy vs make?
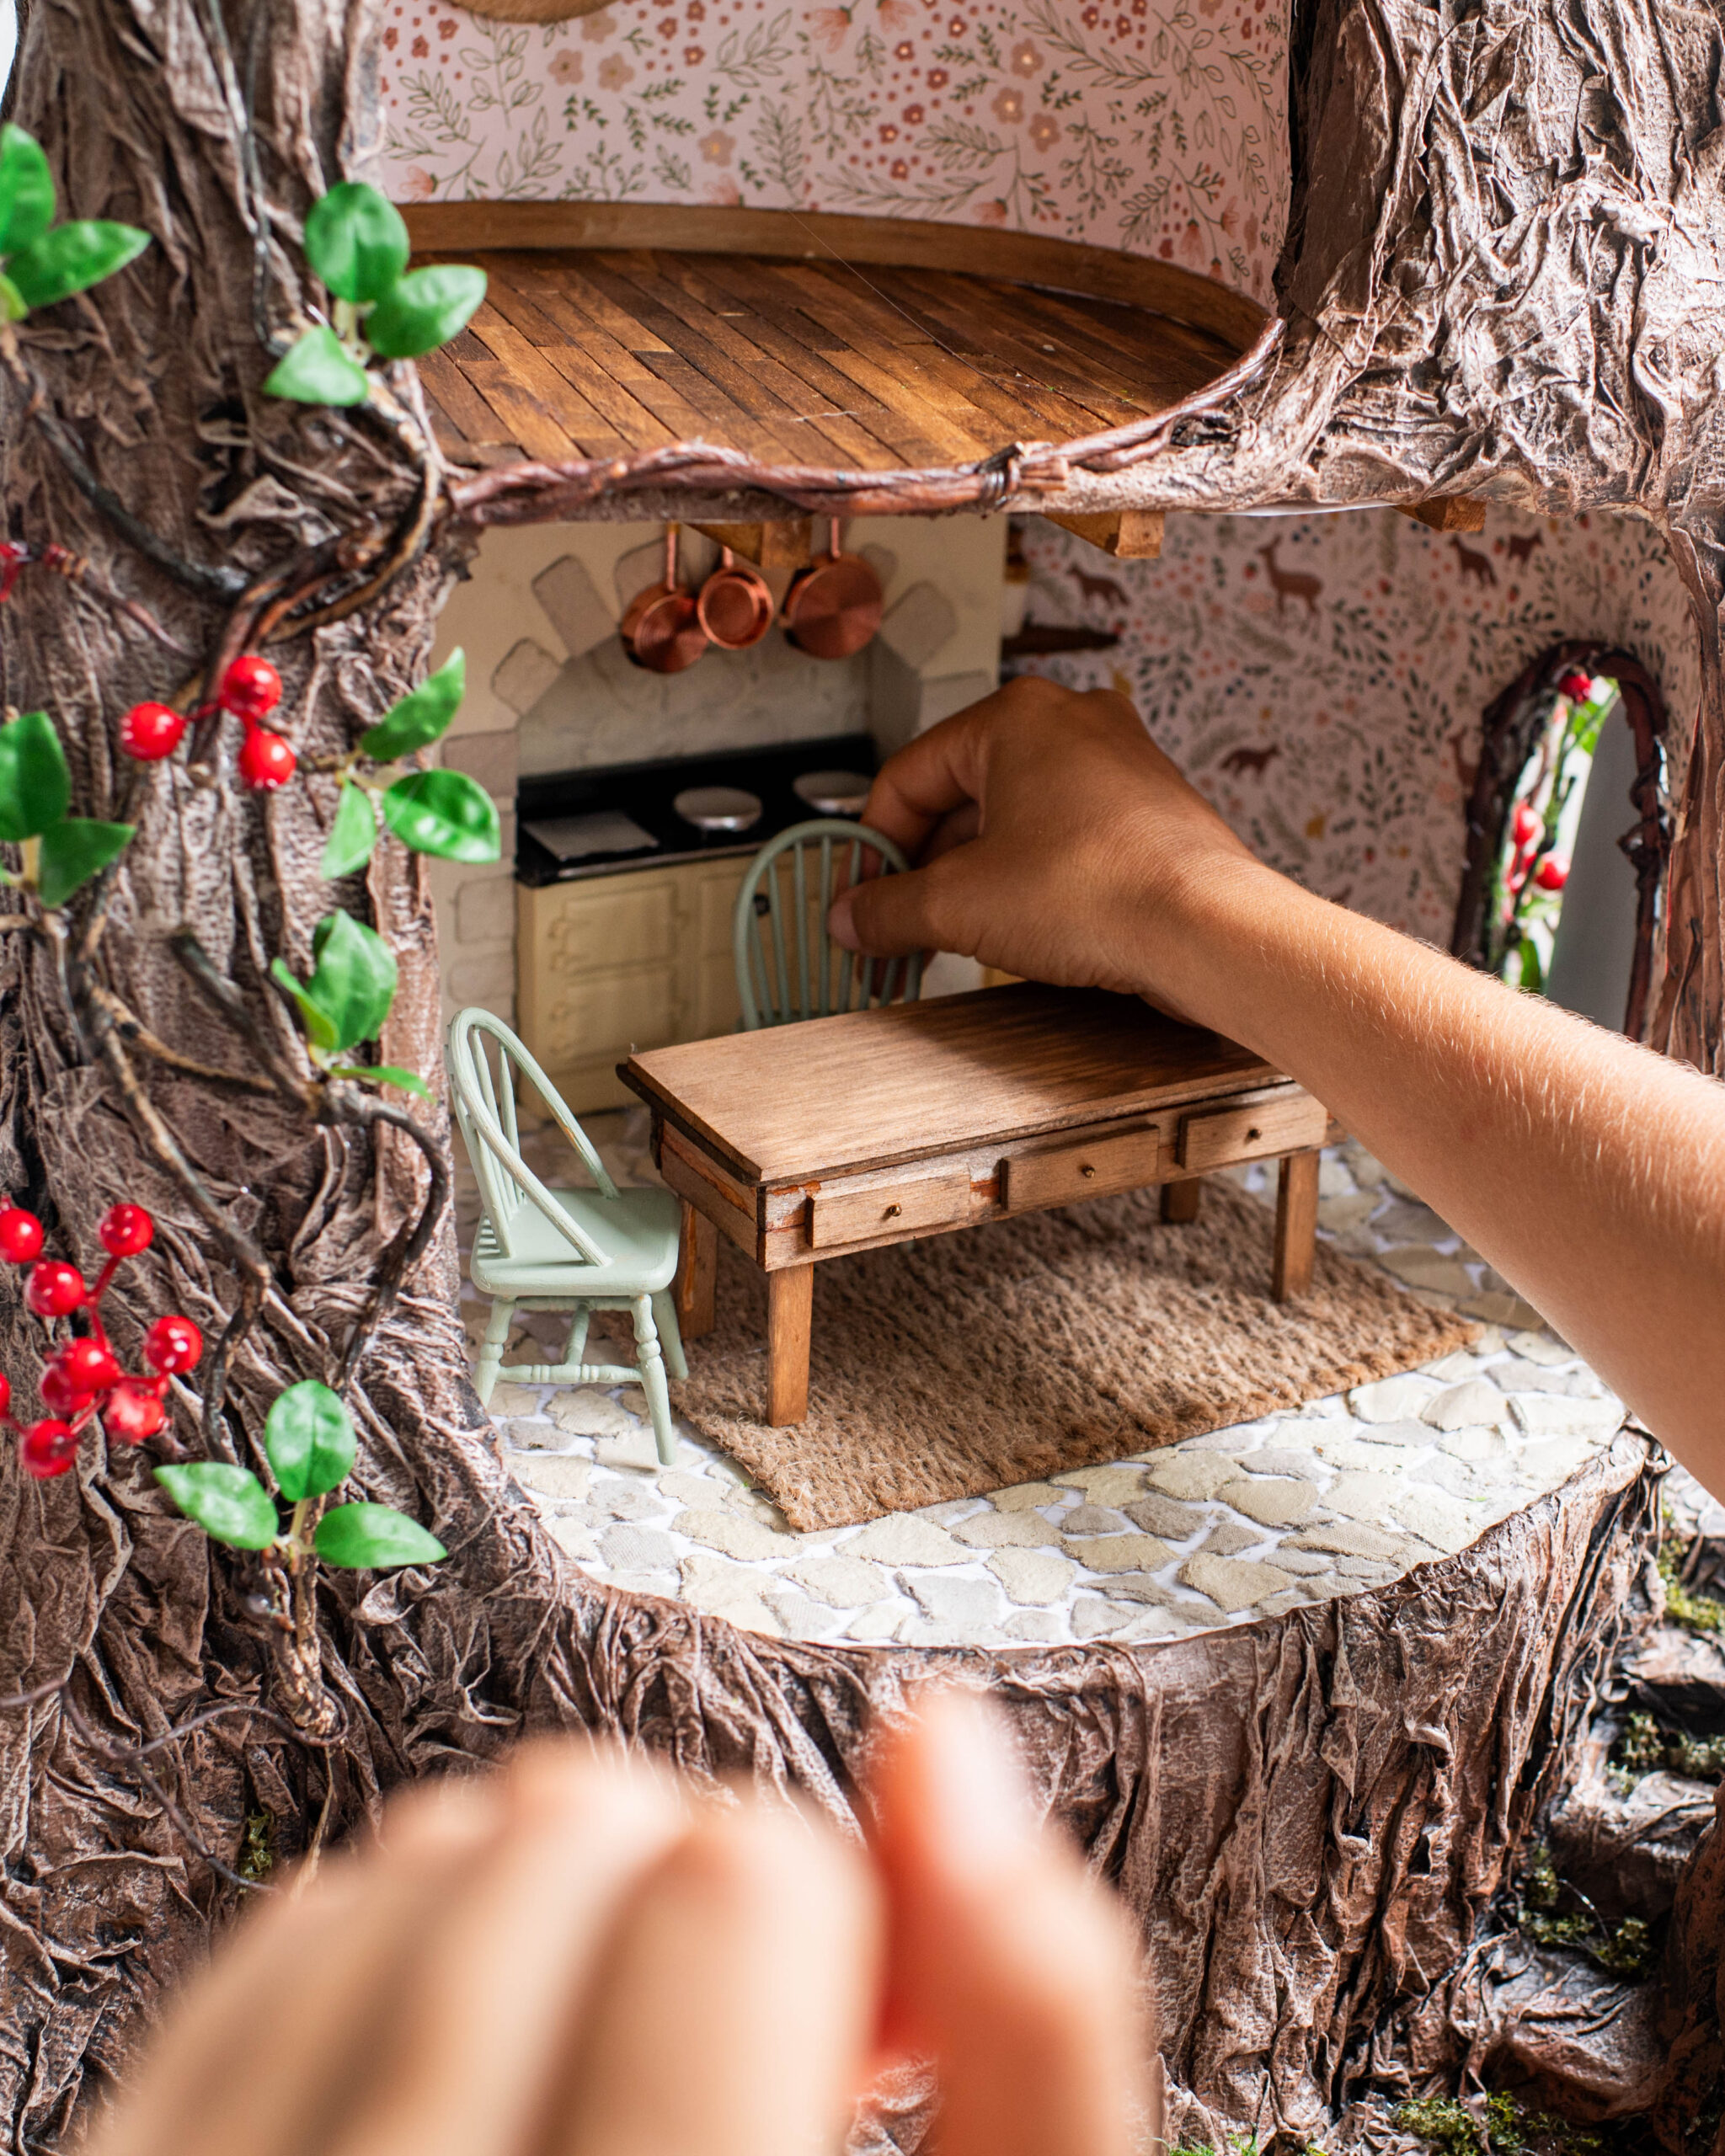
I’m all about making as much as you can for a dollhouse, then adding a few bought pieces here and there to give it a really perfect vibe – some minuature items are really had to make look perfect and that’s when I tend to buy. The most expensive elements were the additional items I splurged on for the interiors – the stove, the tiny sewing machine, the blue cabinet, the pots and pans etc. I have all the links to these items in my dollhouse course along with tutorials for many of the things I made by hand in the space. To break it down for you:
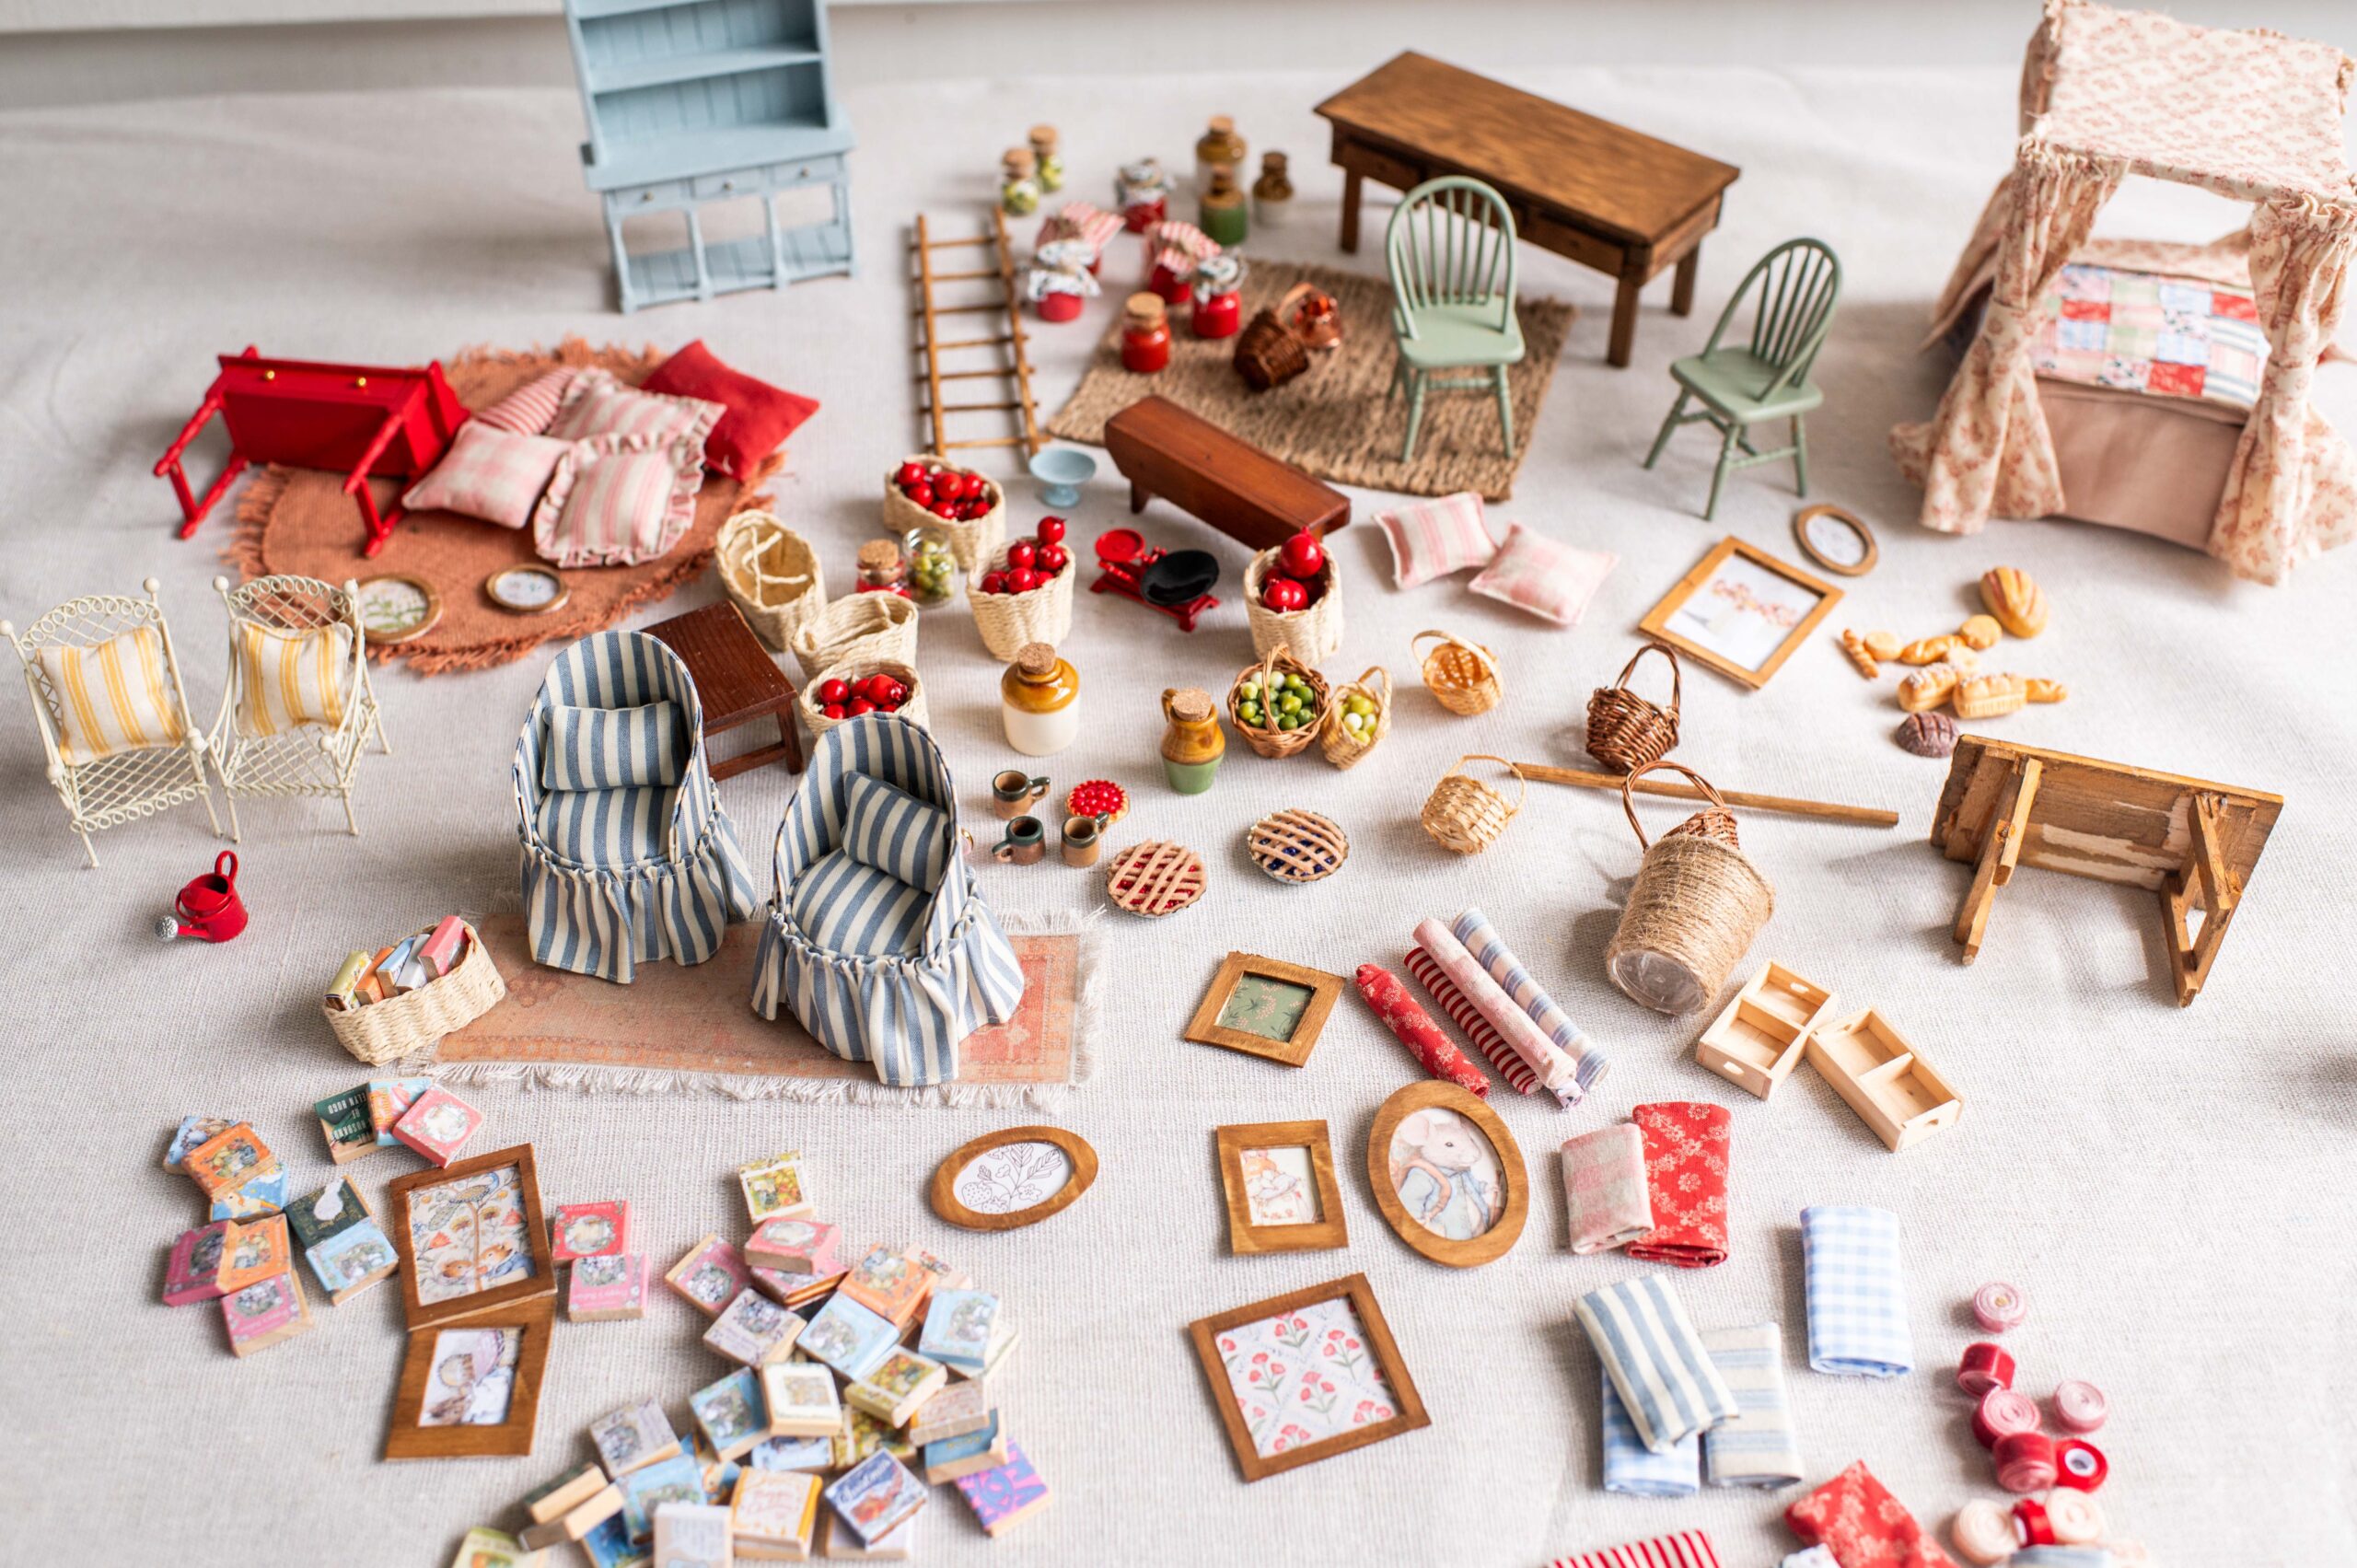
Items I made
Here is a list of the things I made, all of them made using tutorials (or variations of tutorials) from my course.
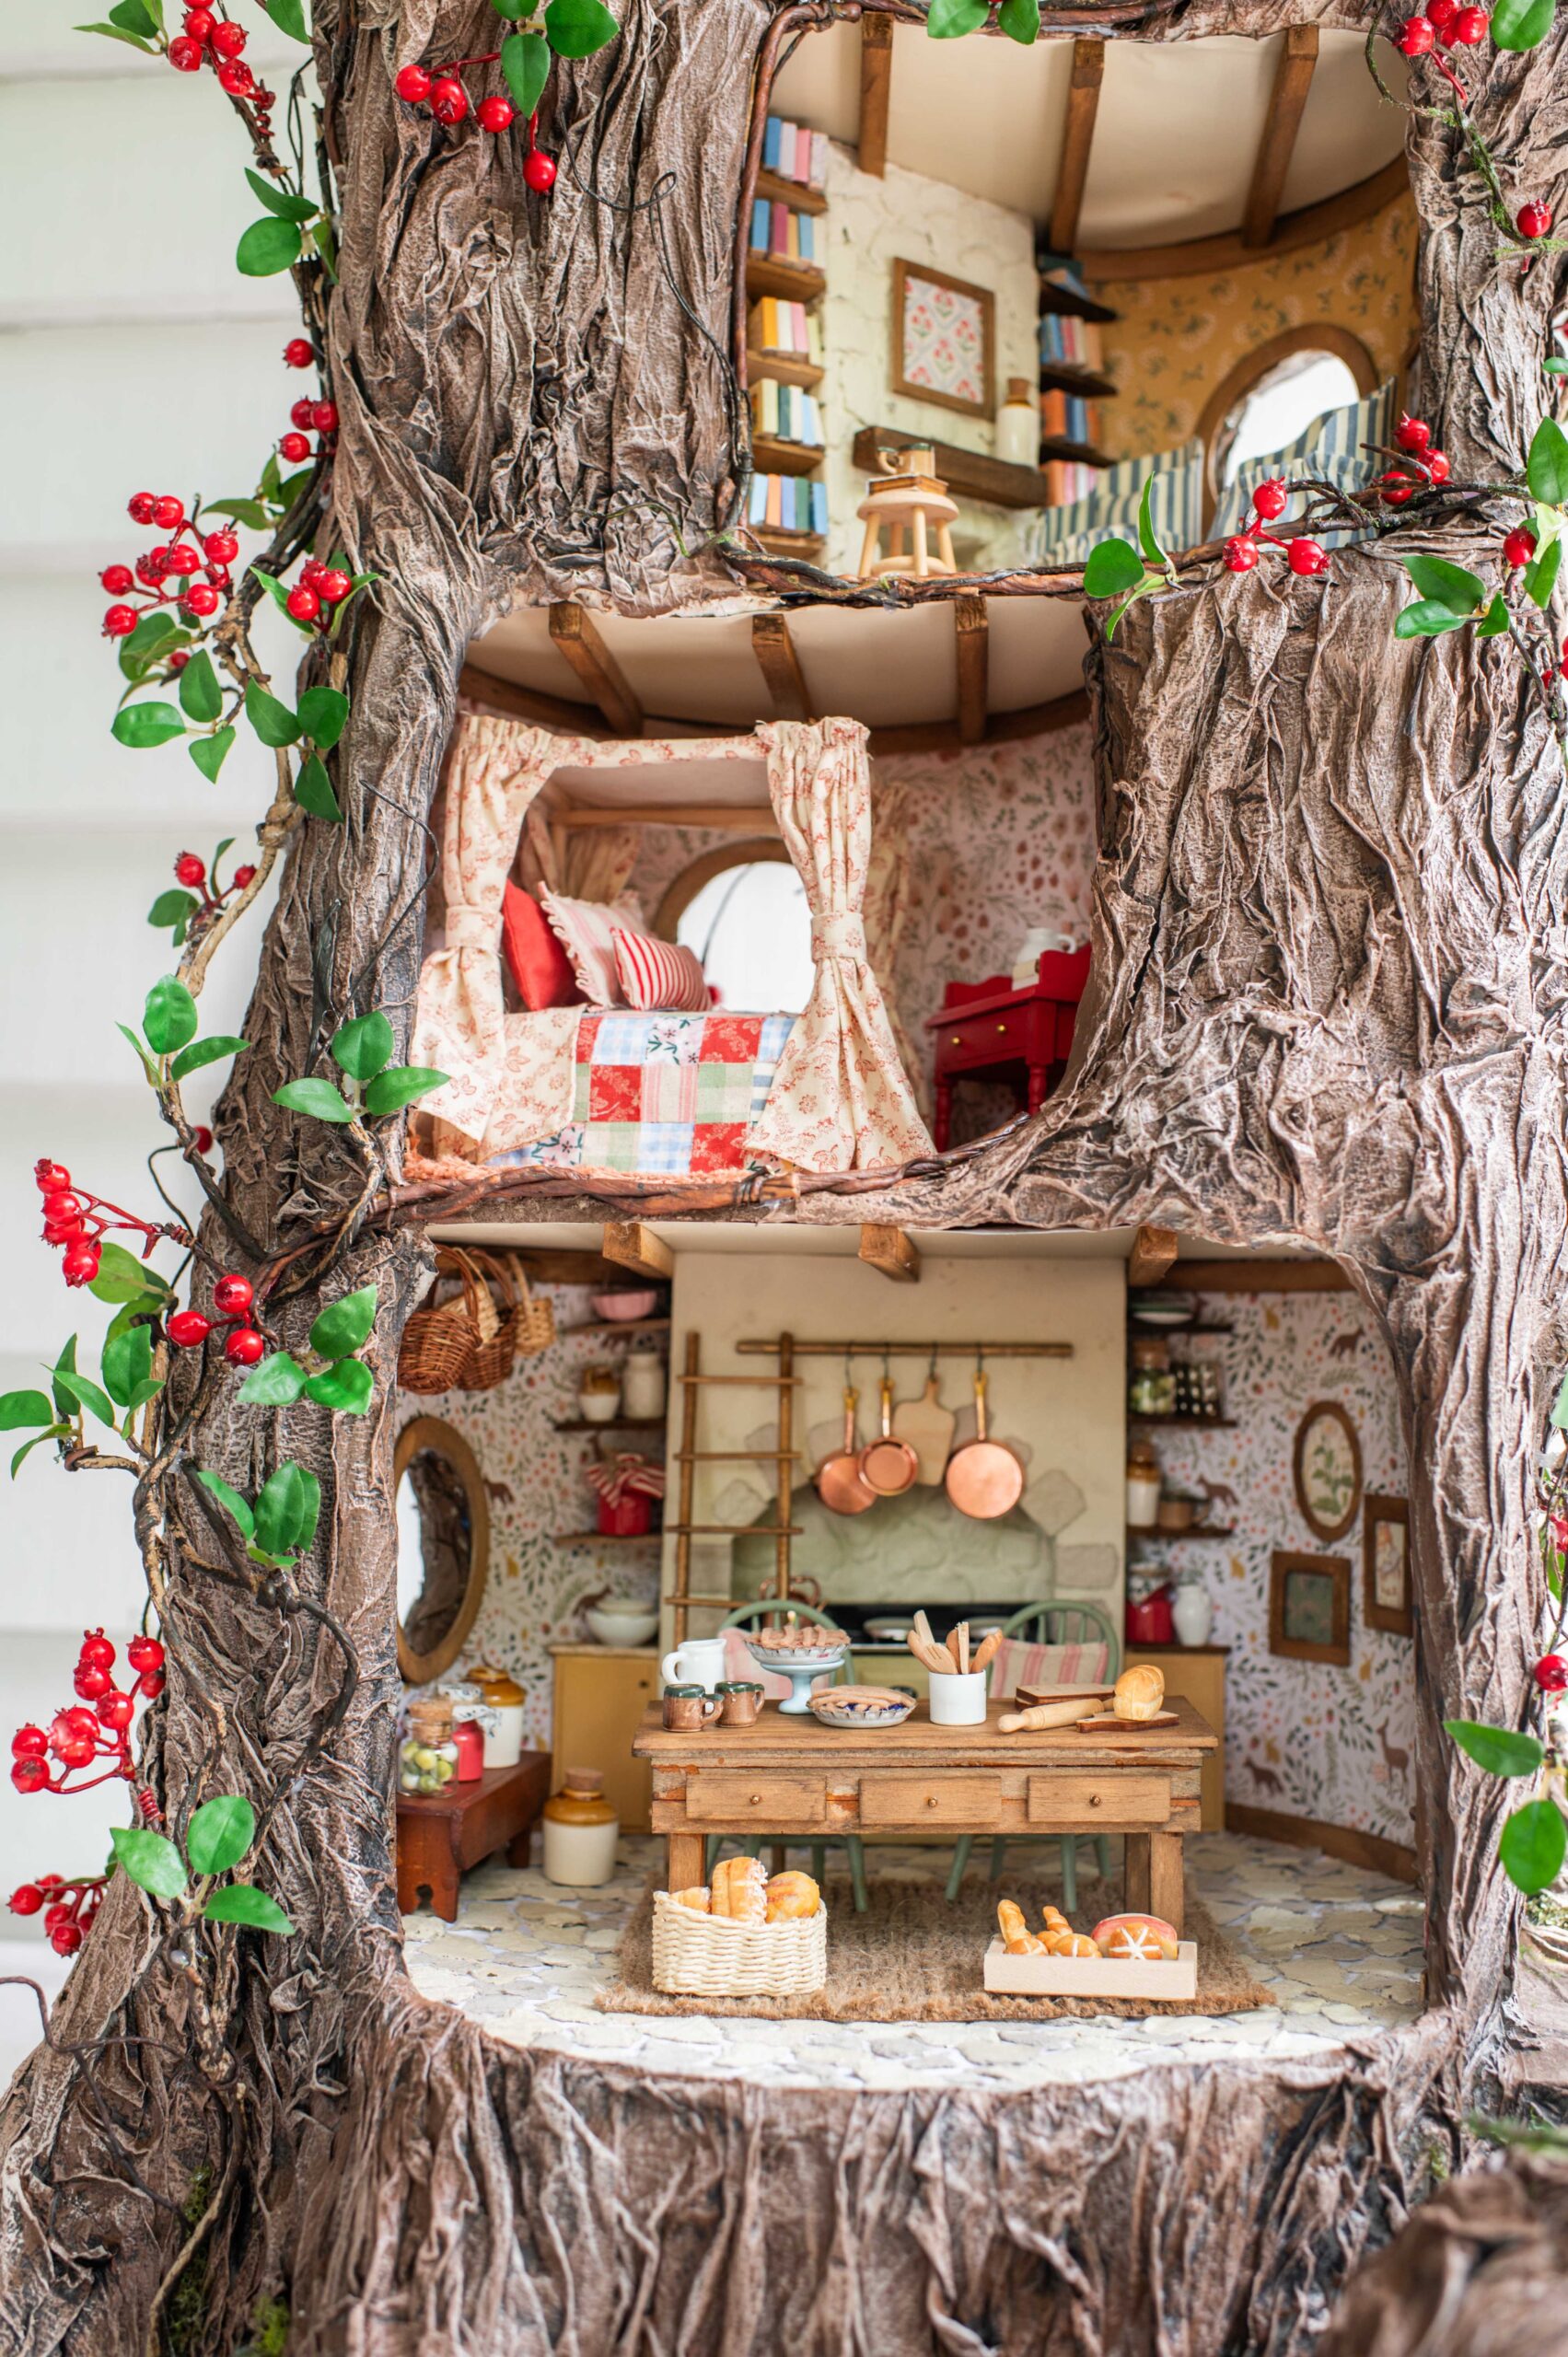
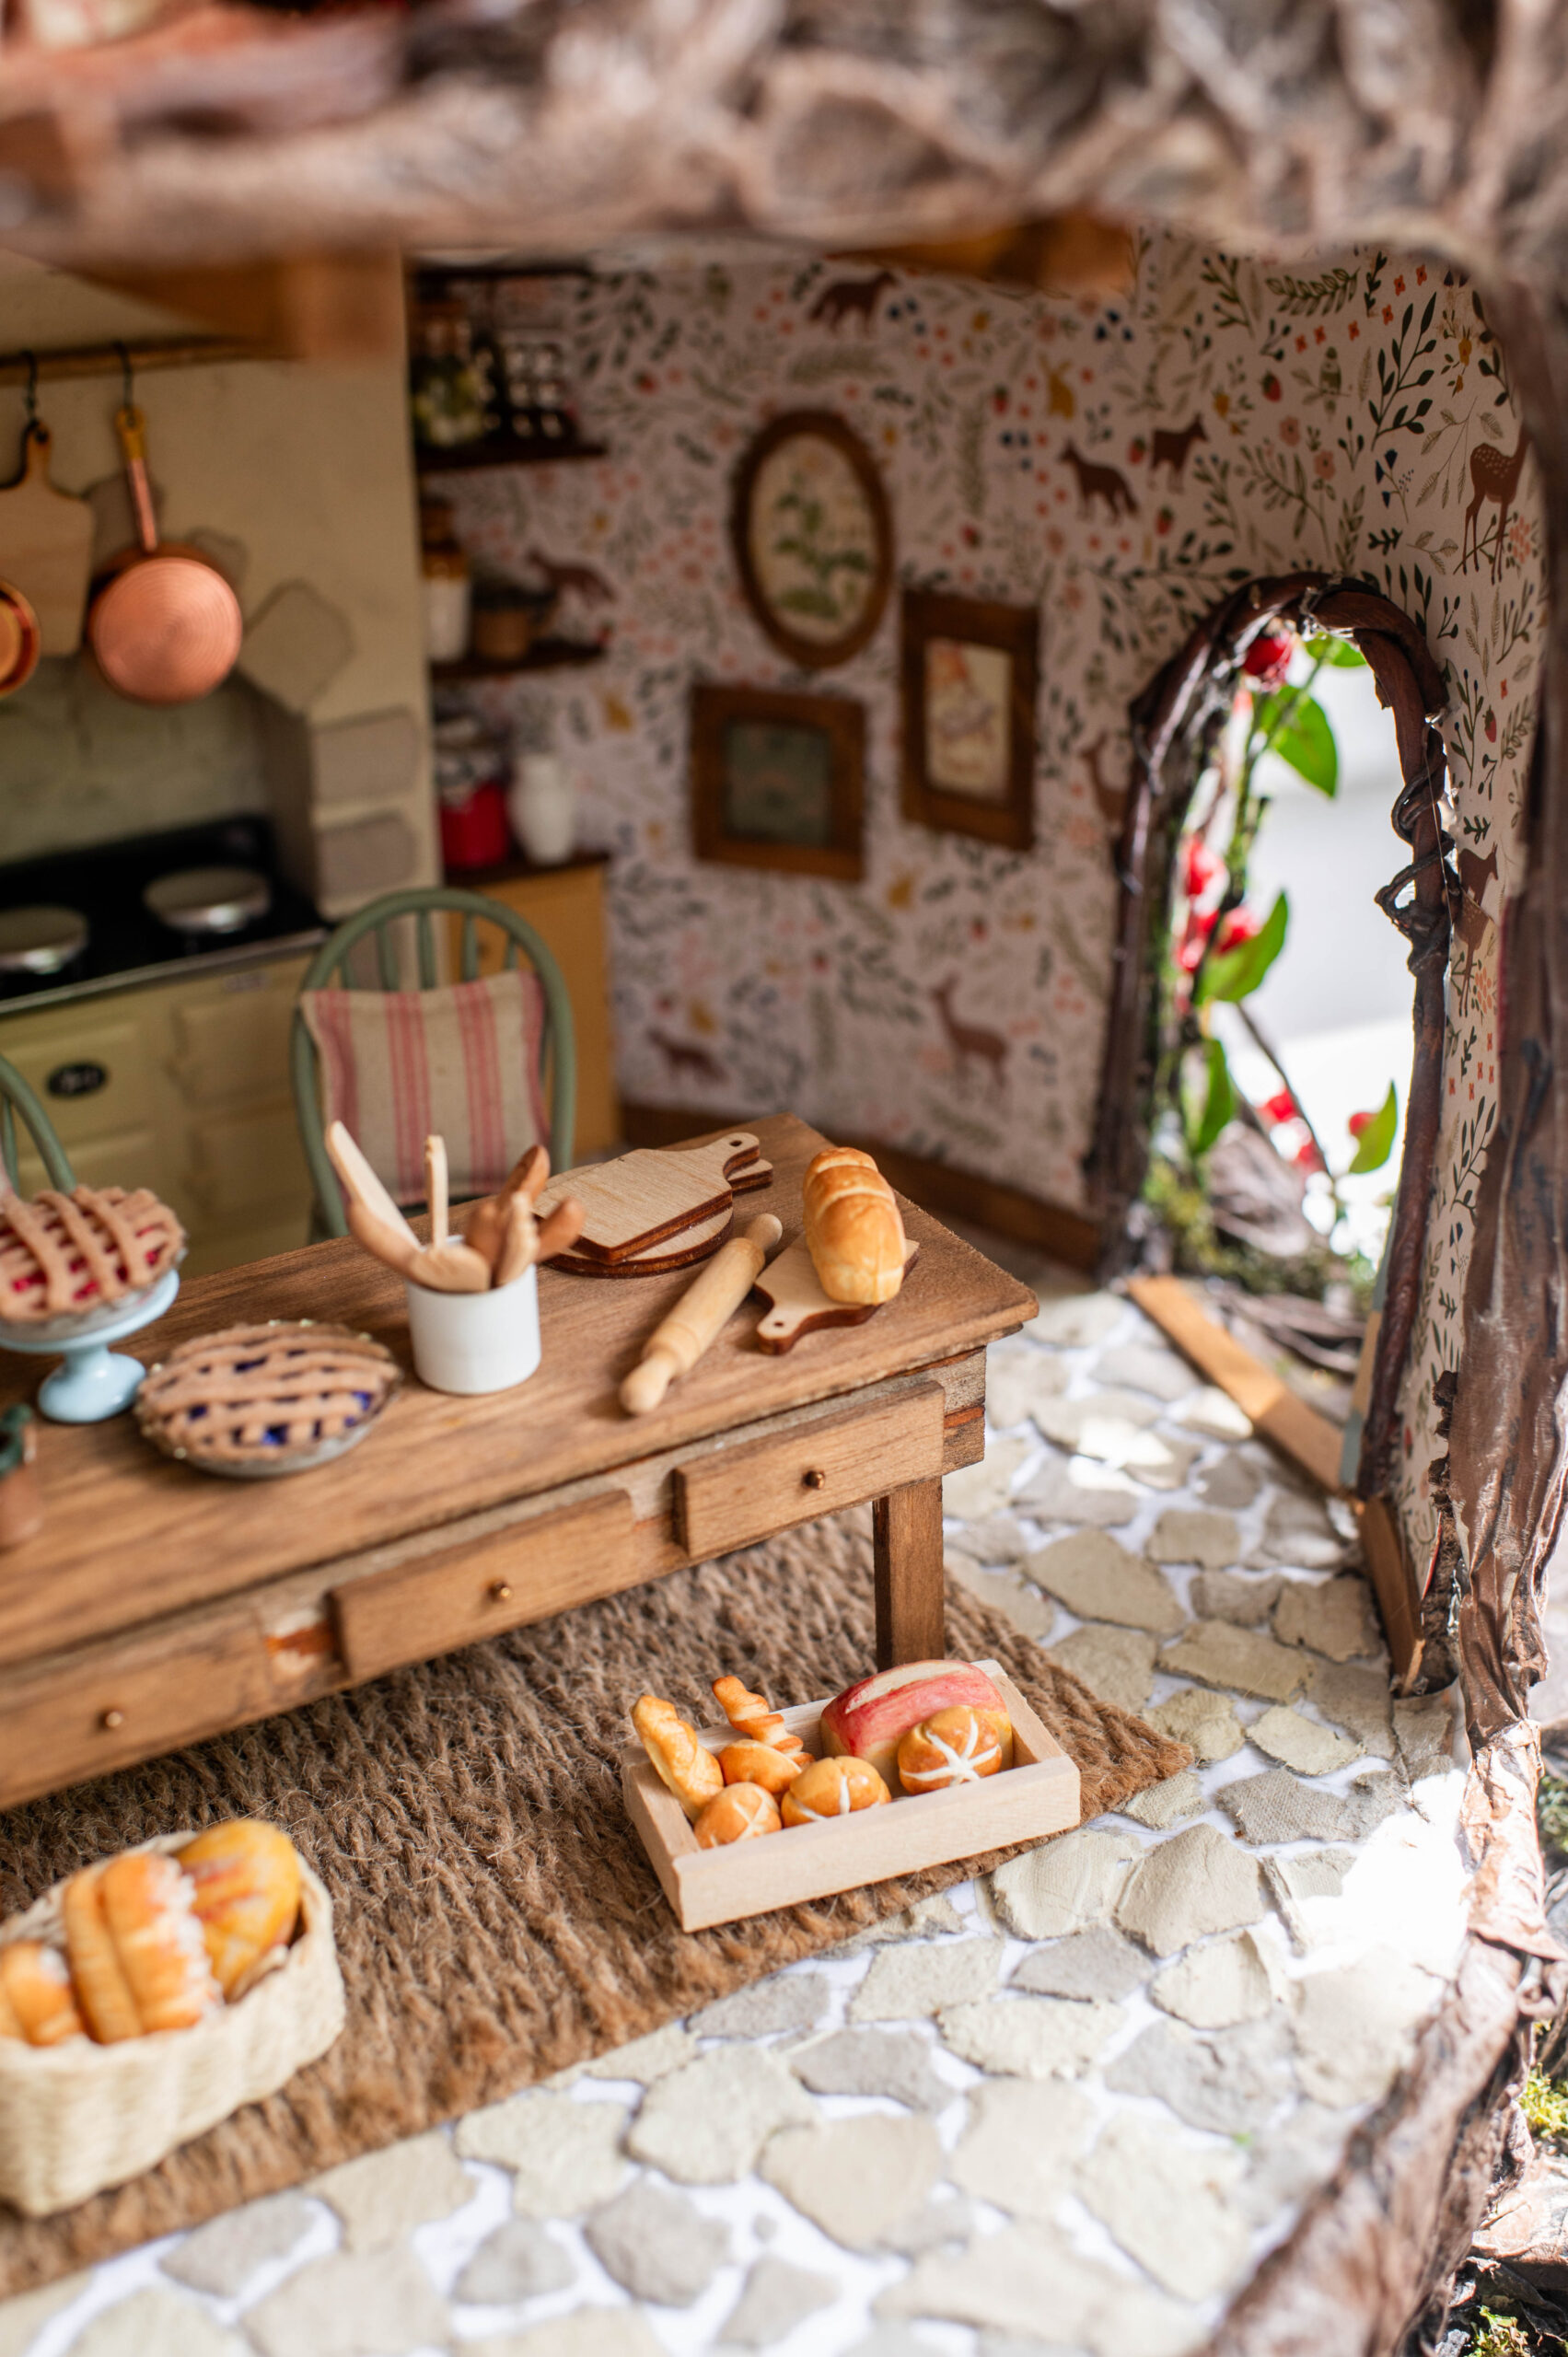
- Rustic dining table
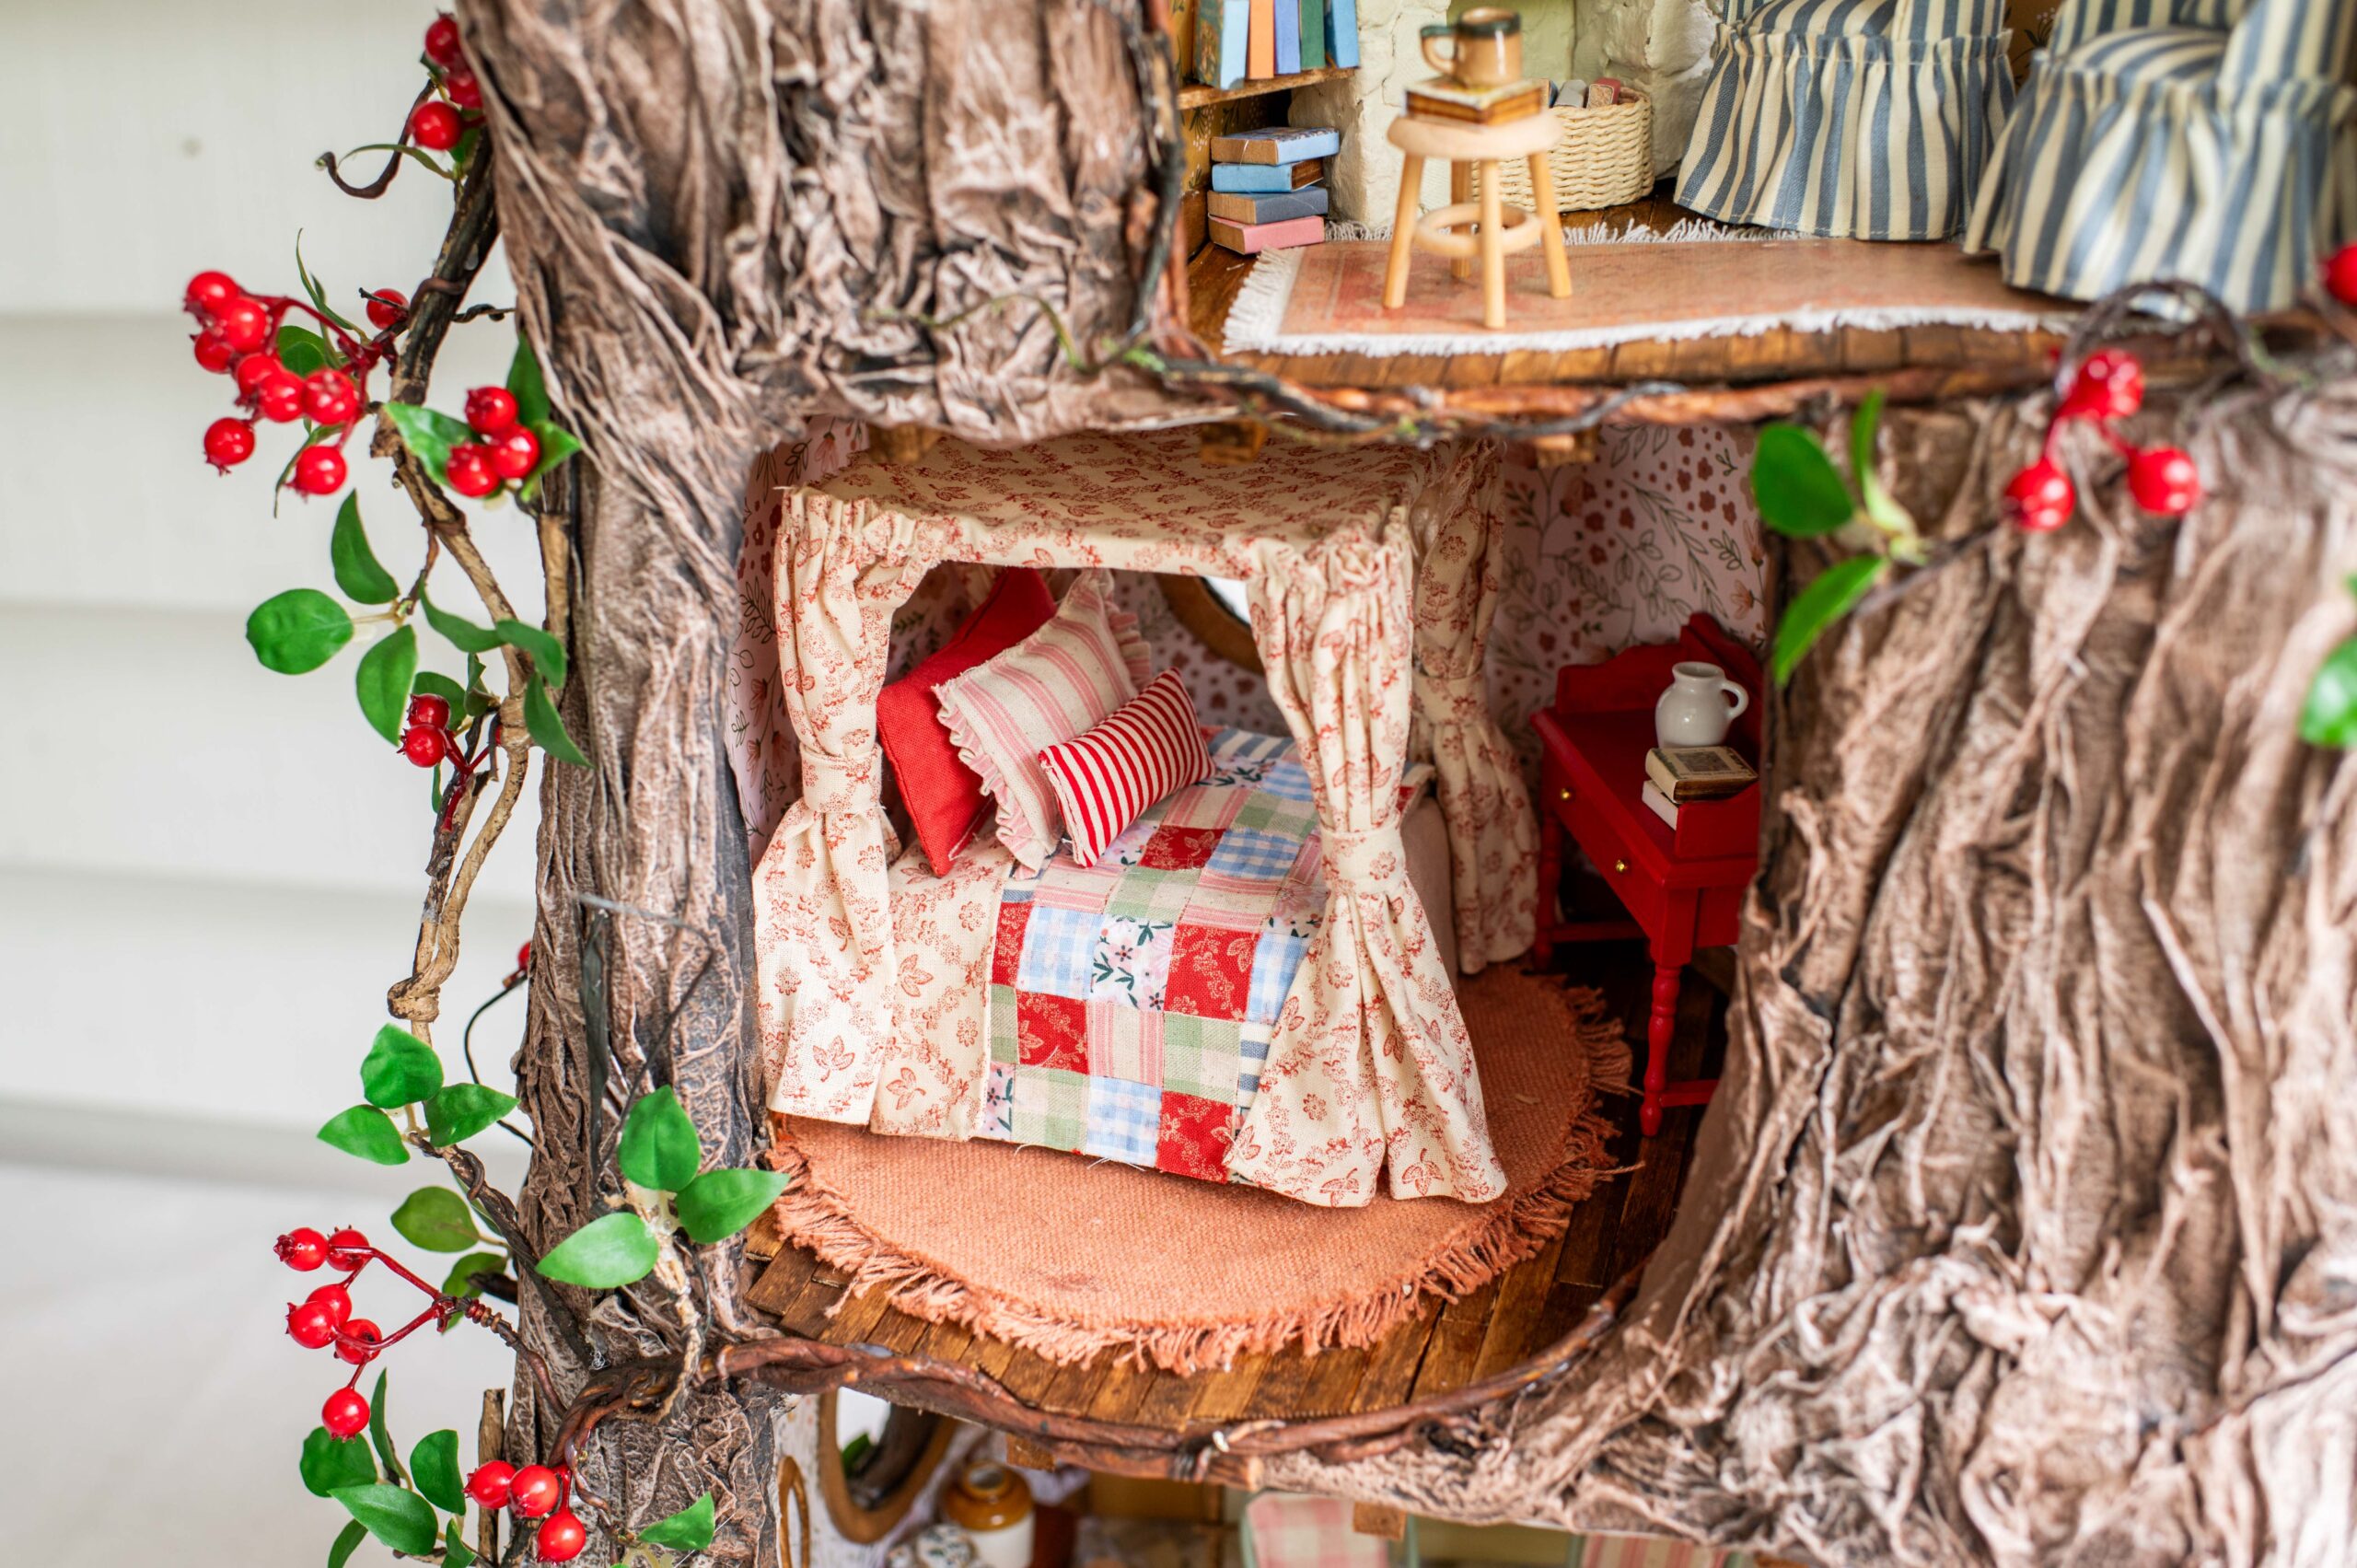
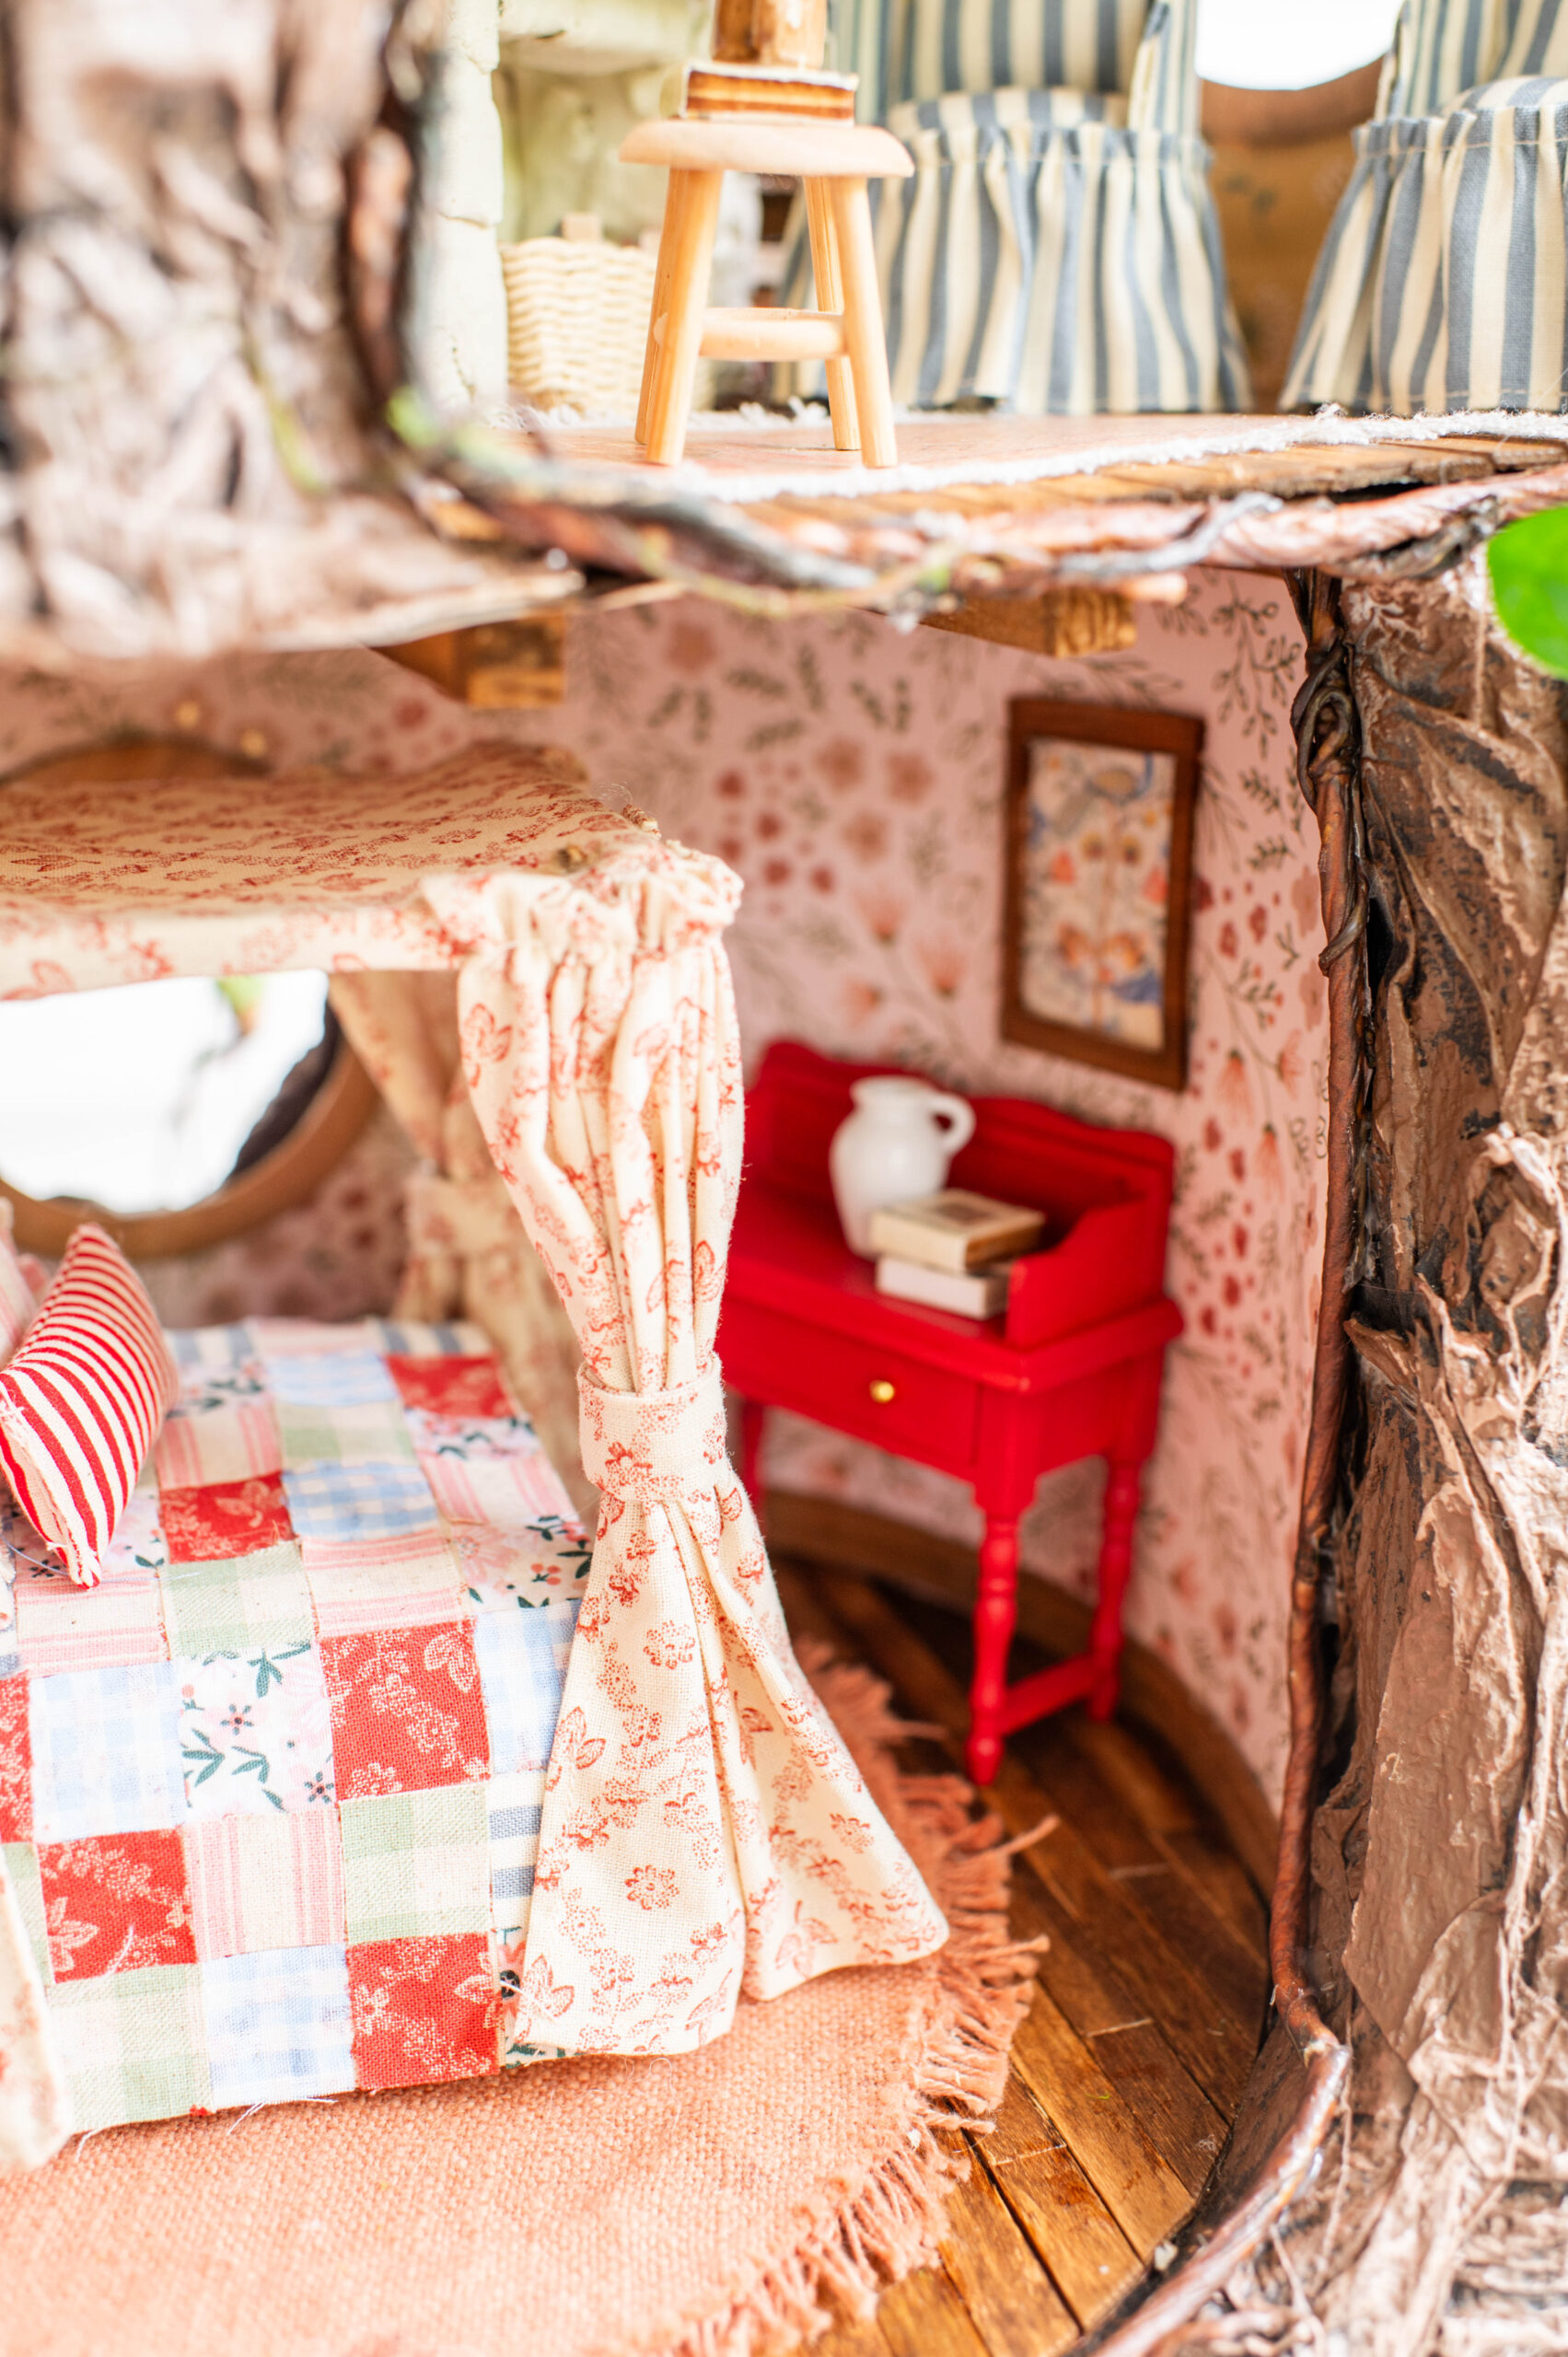
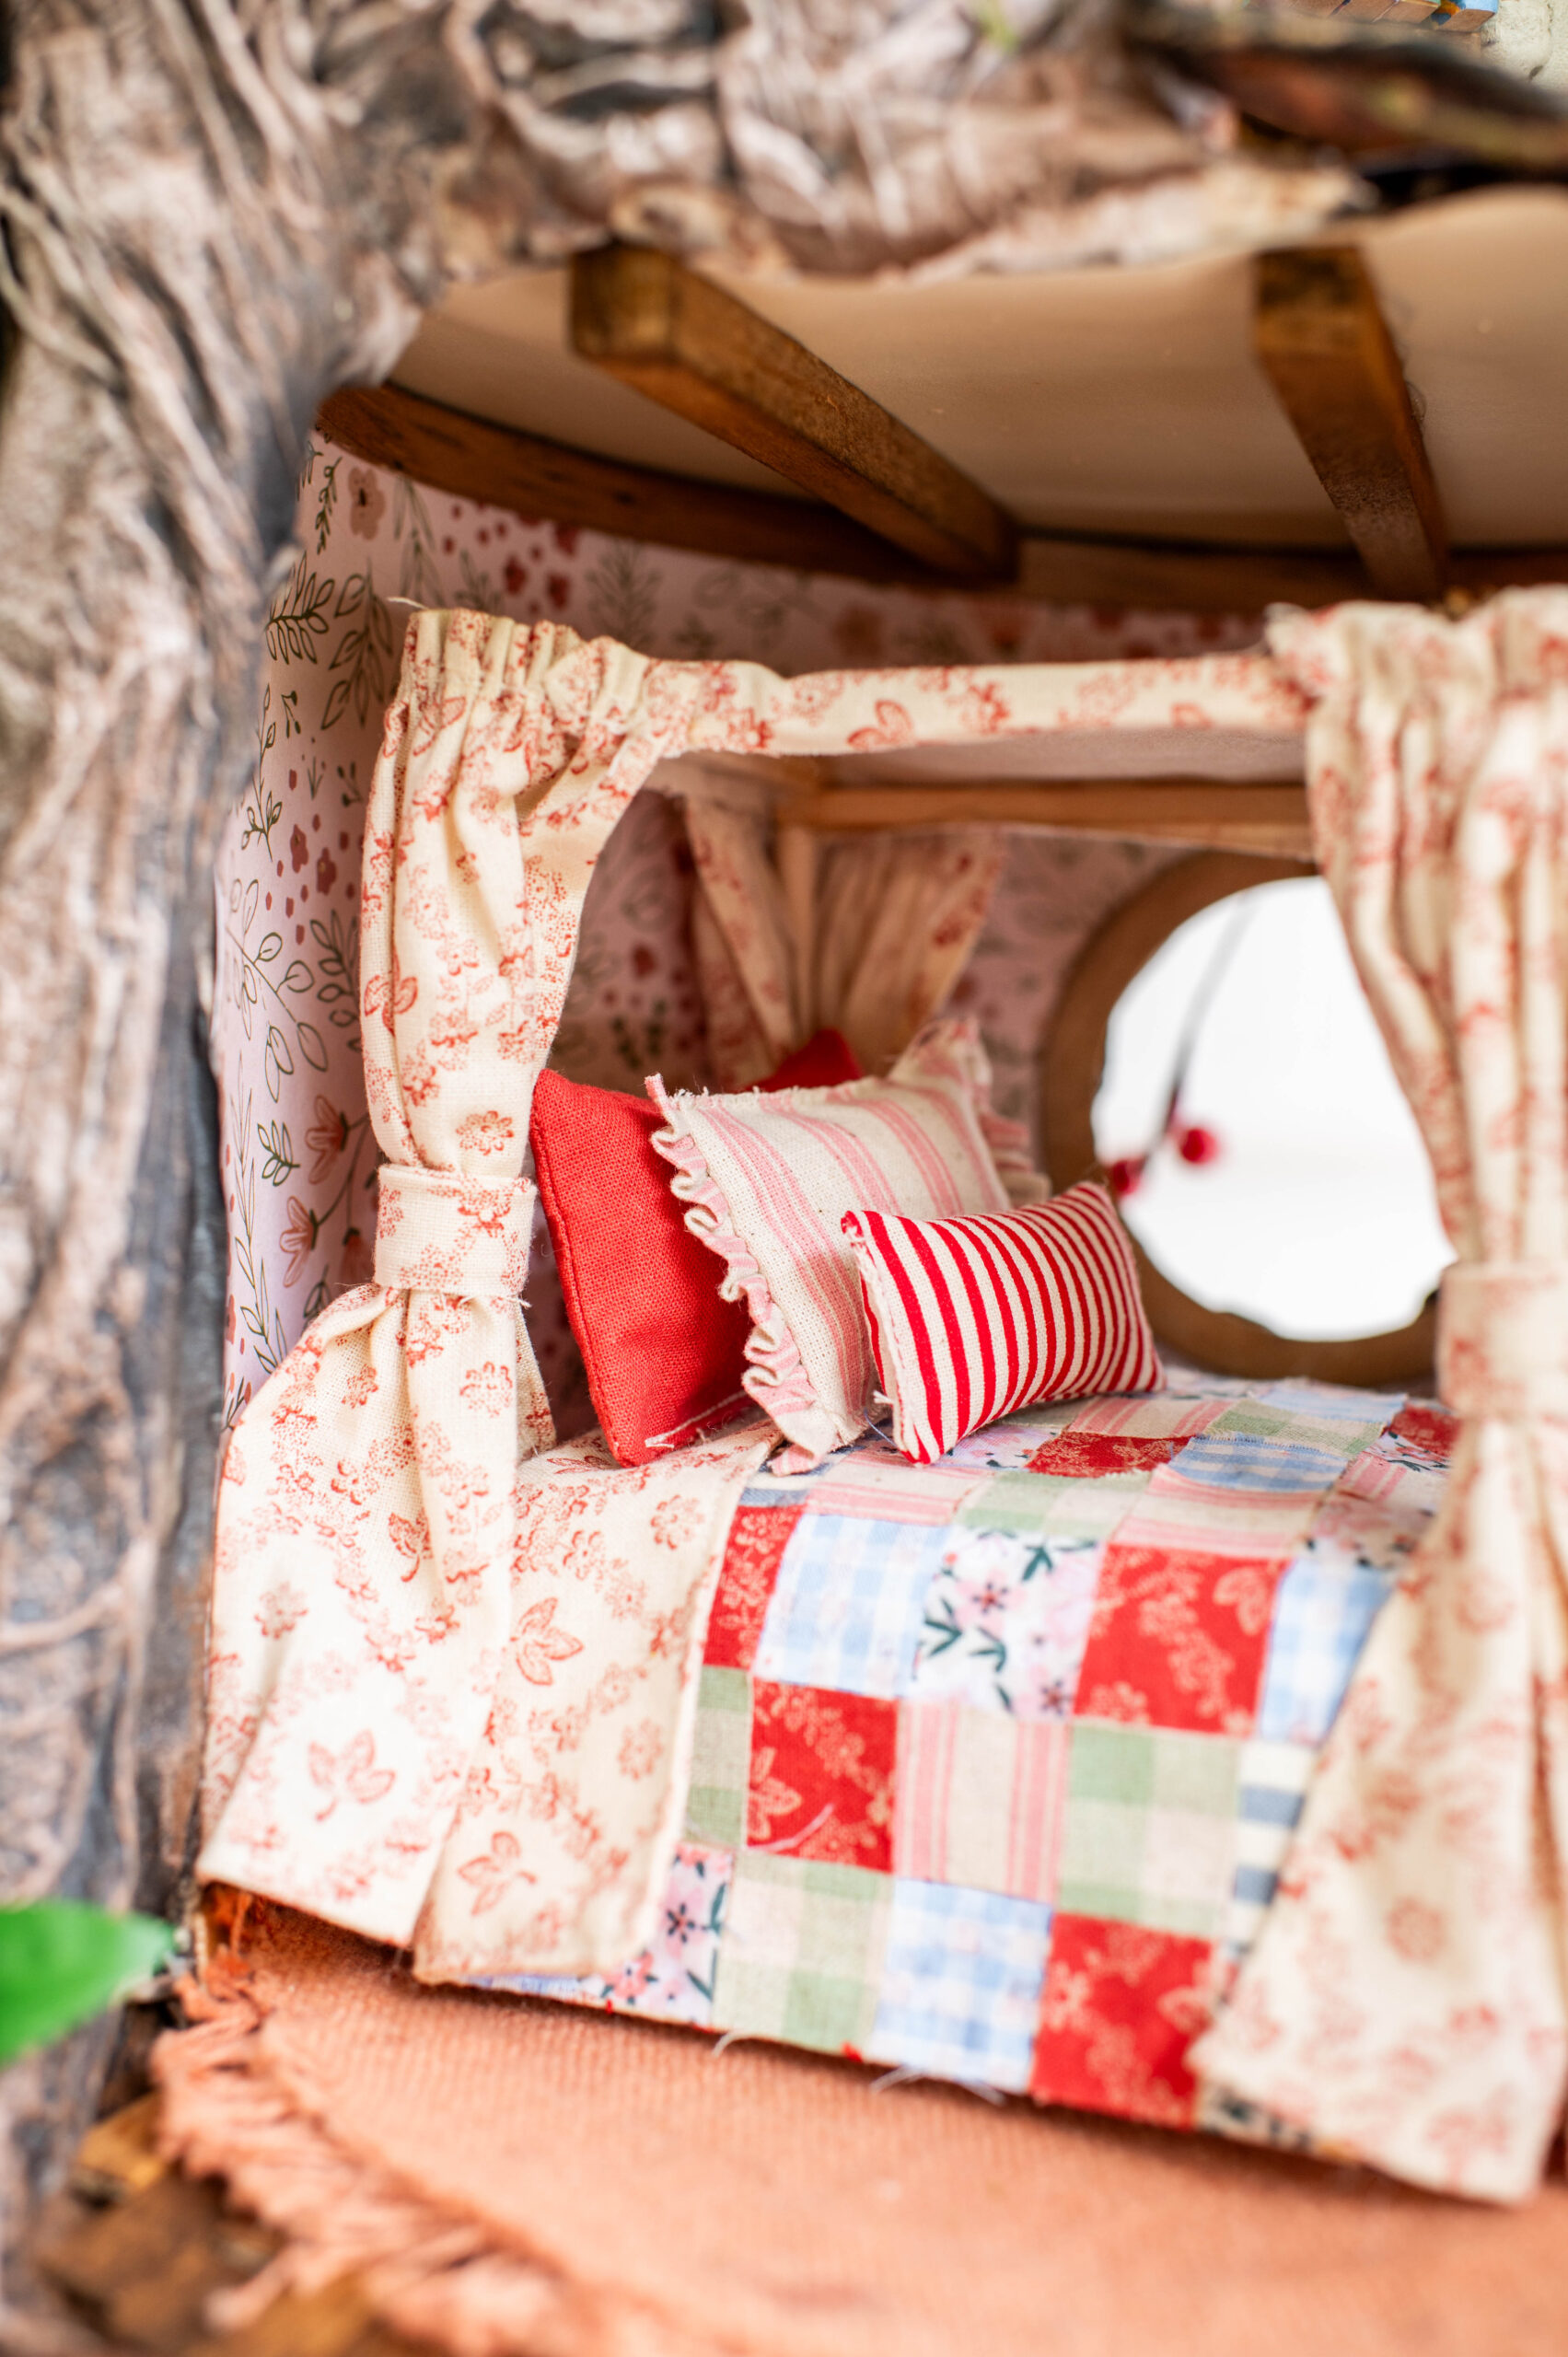
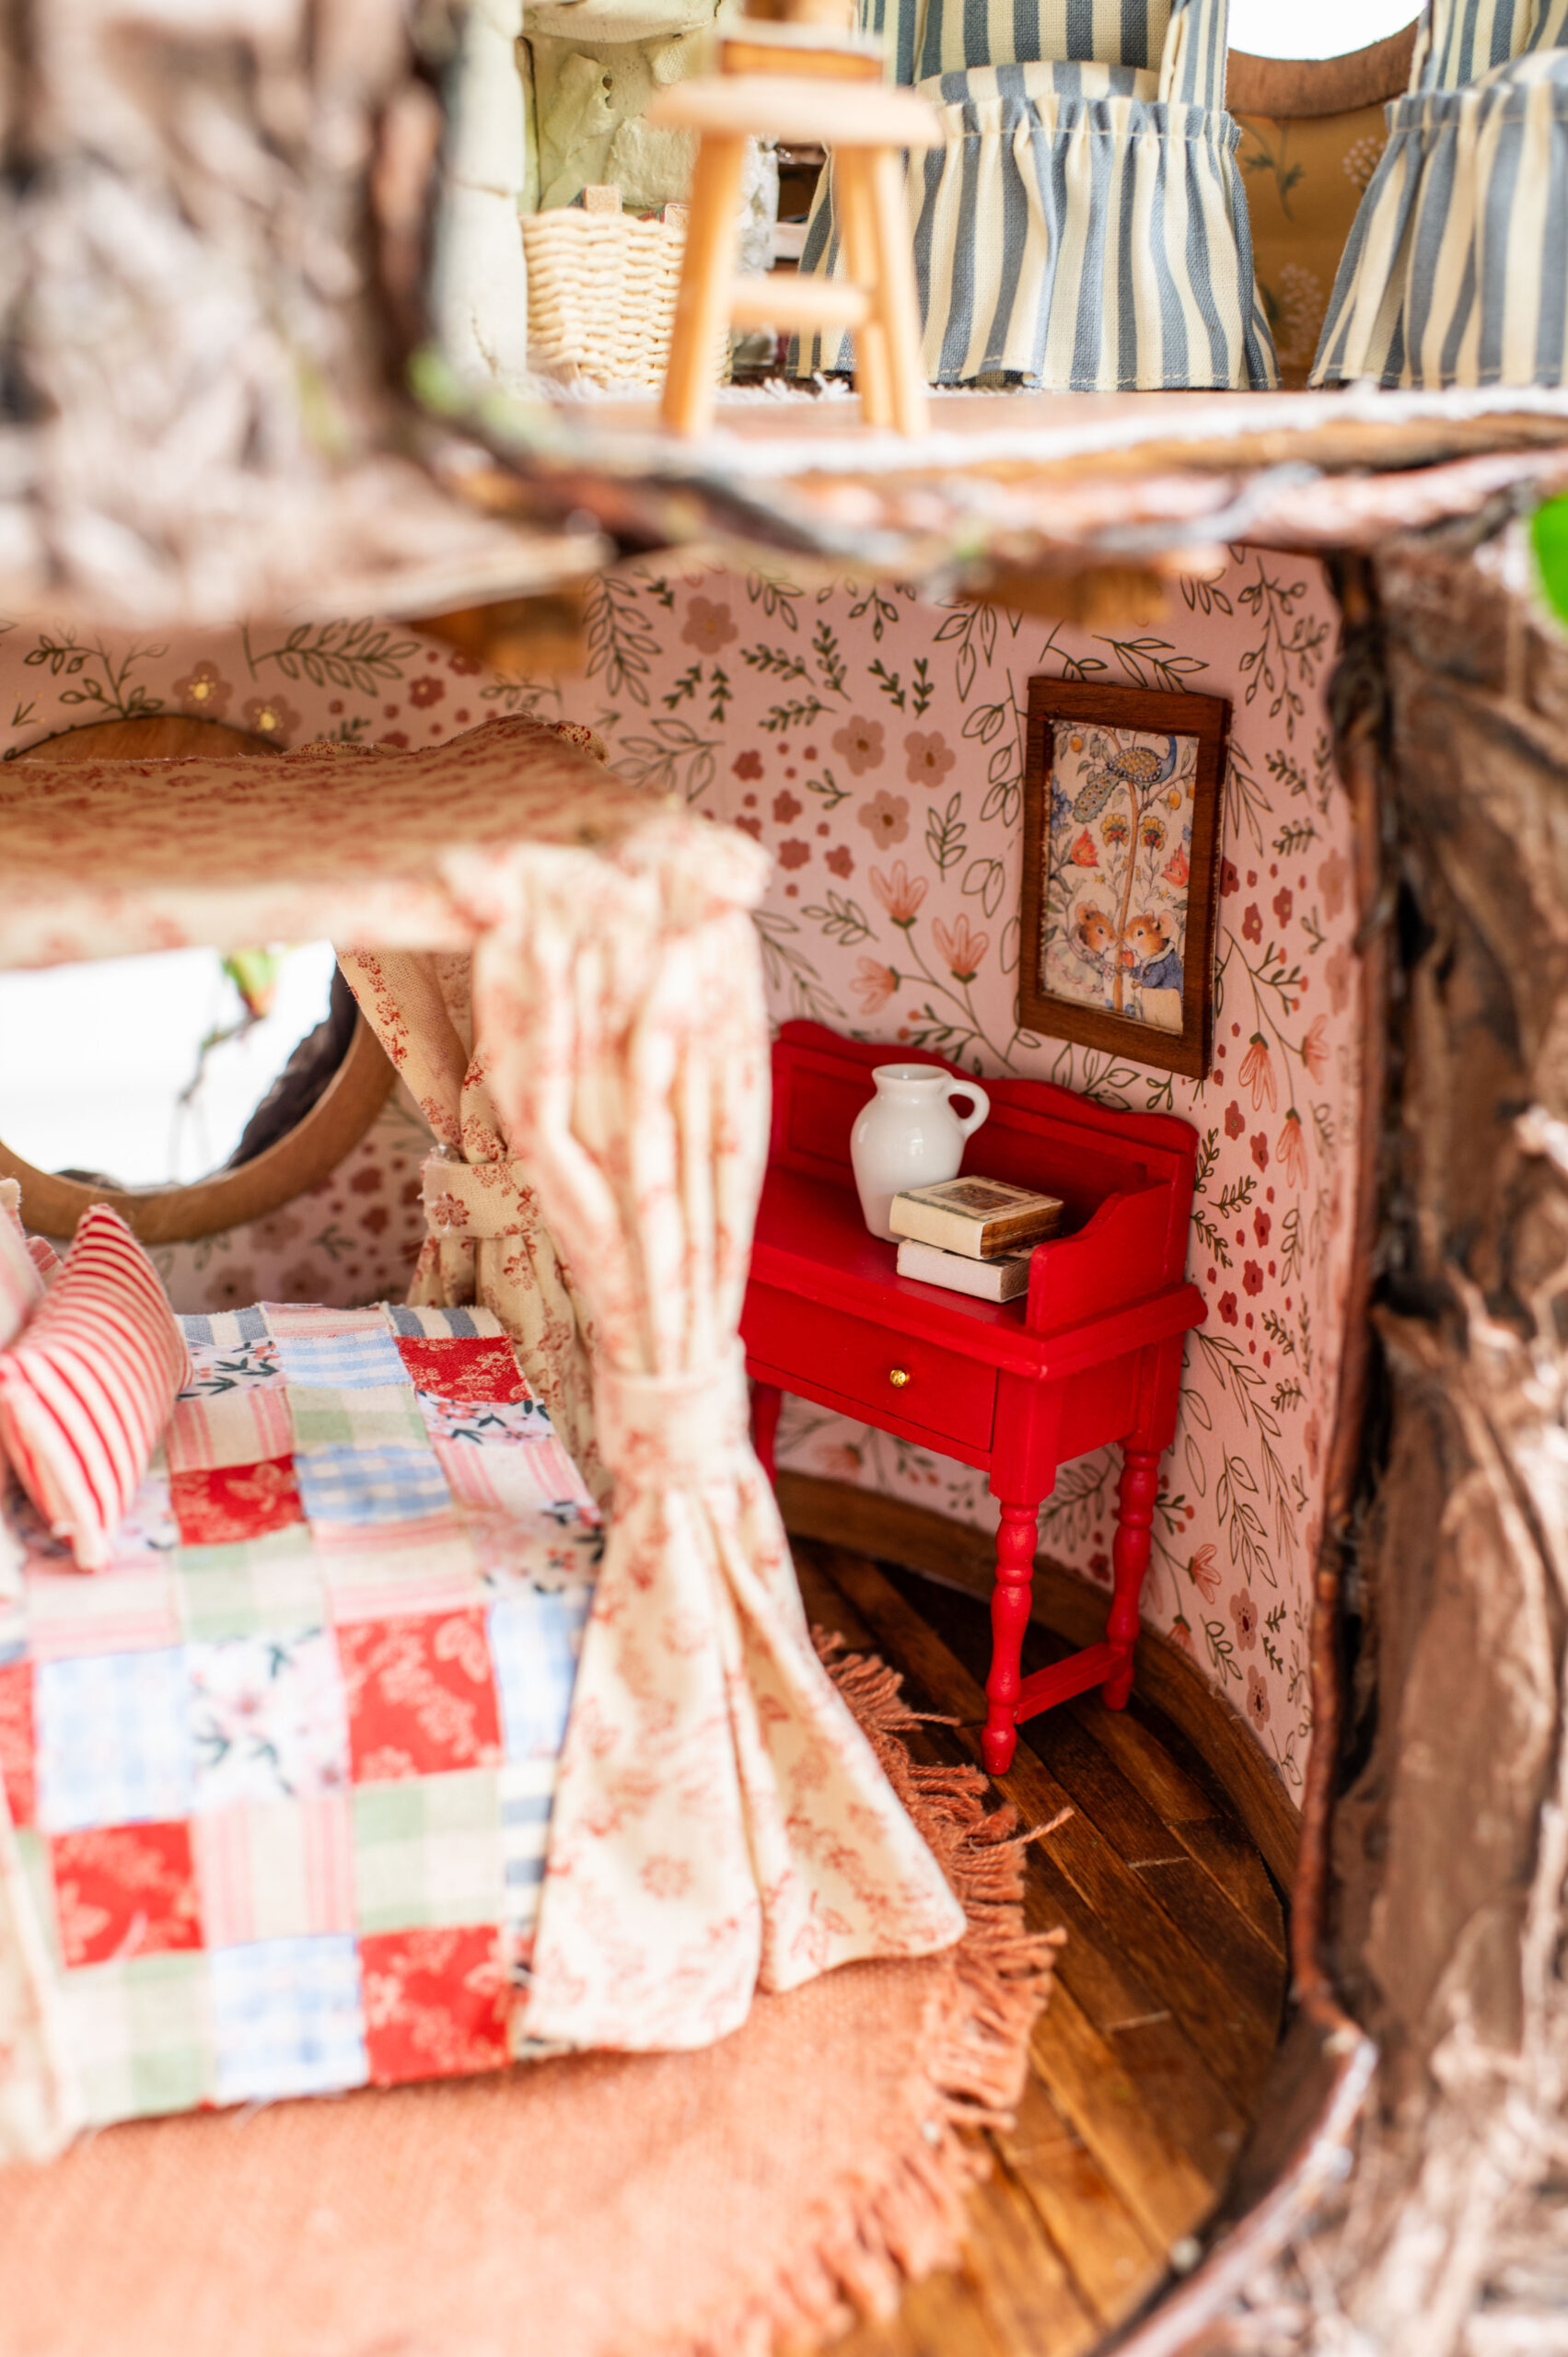
- Four poster bed
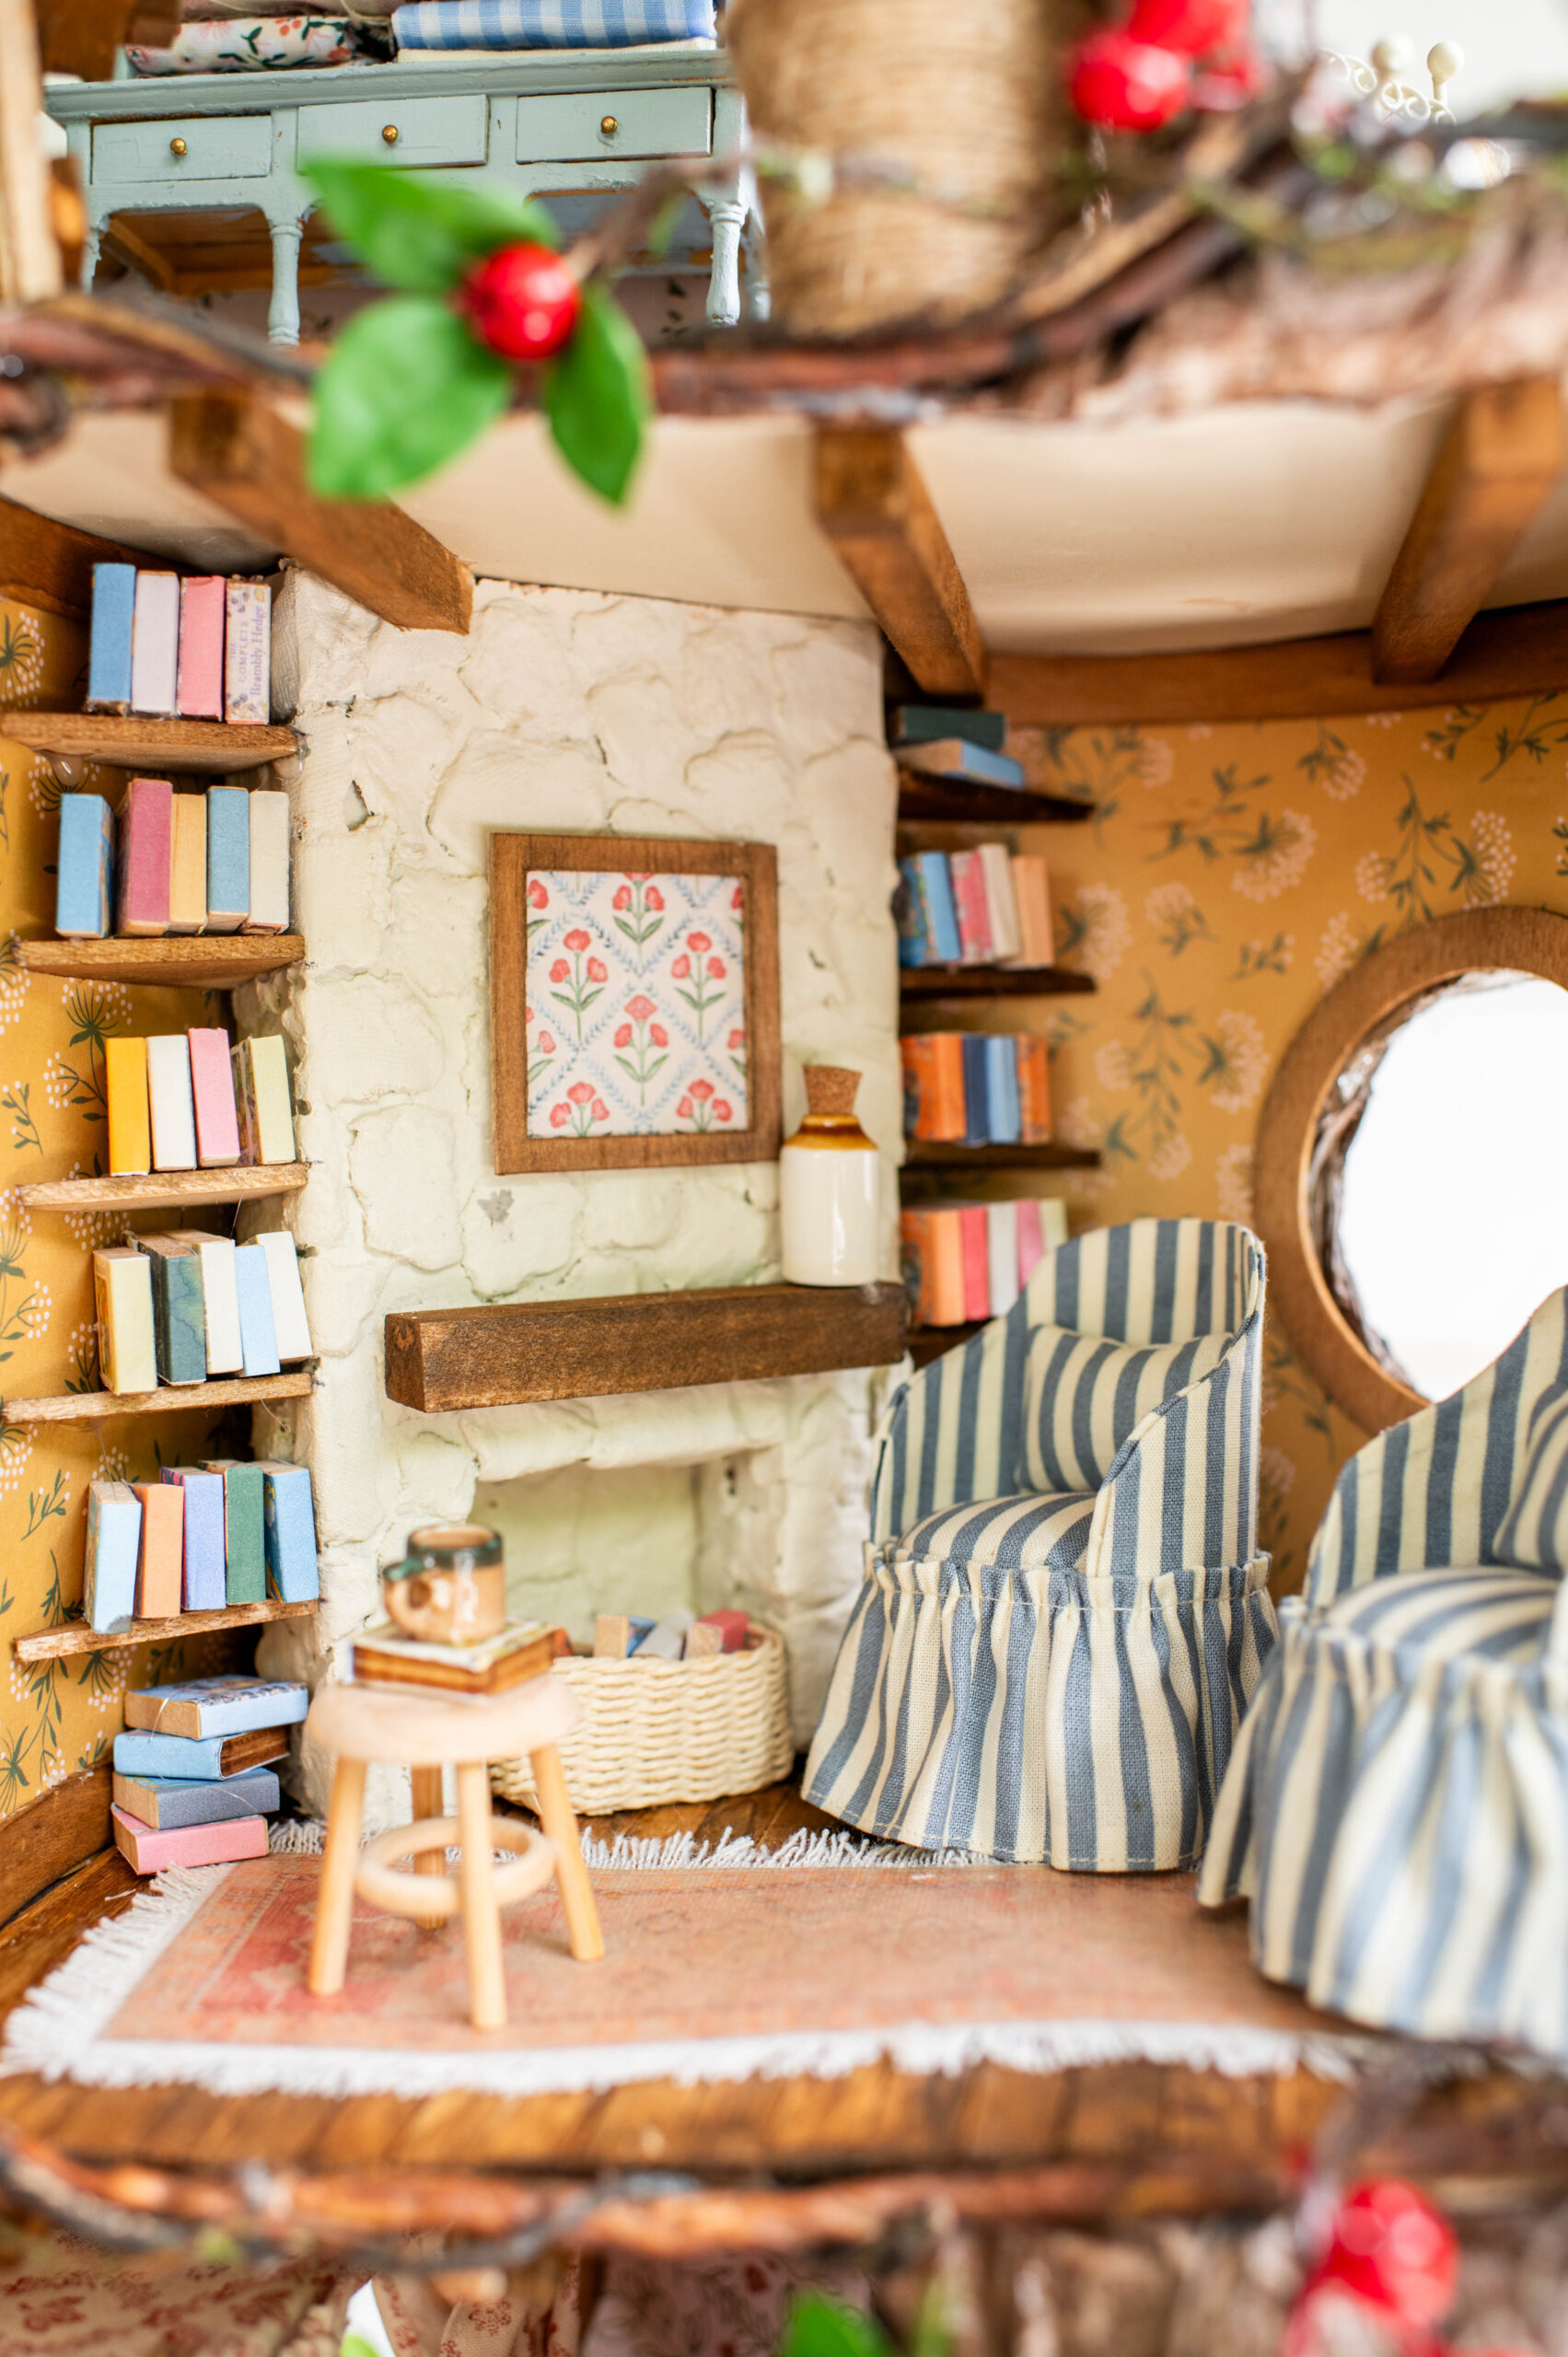
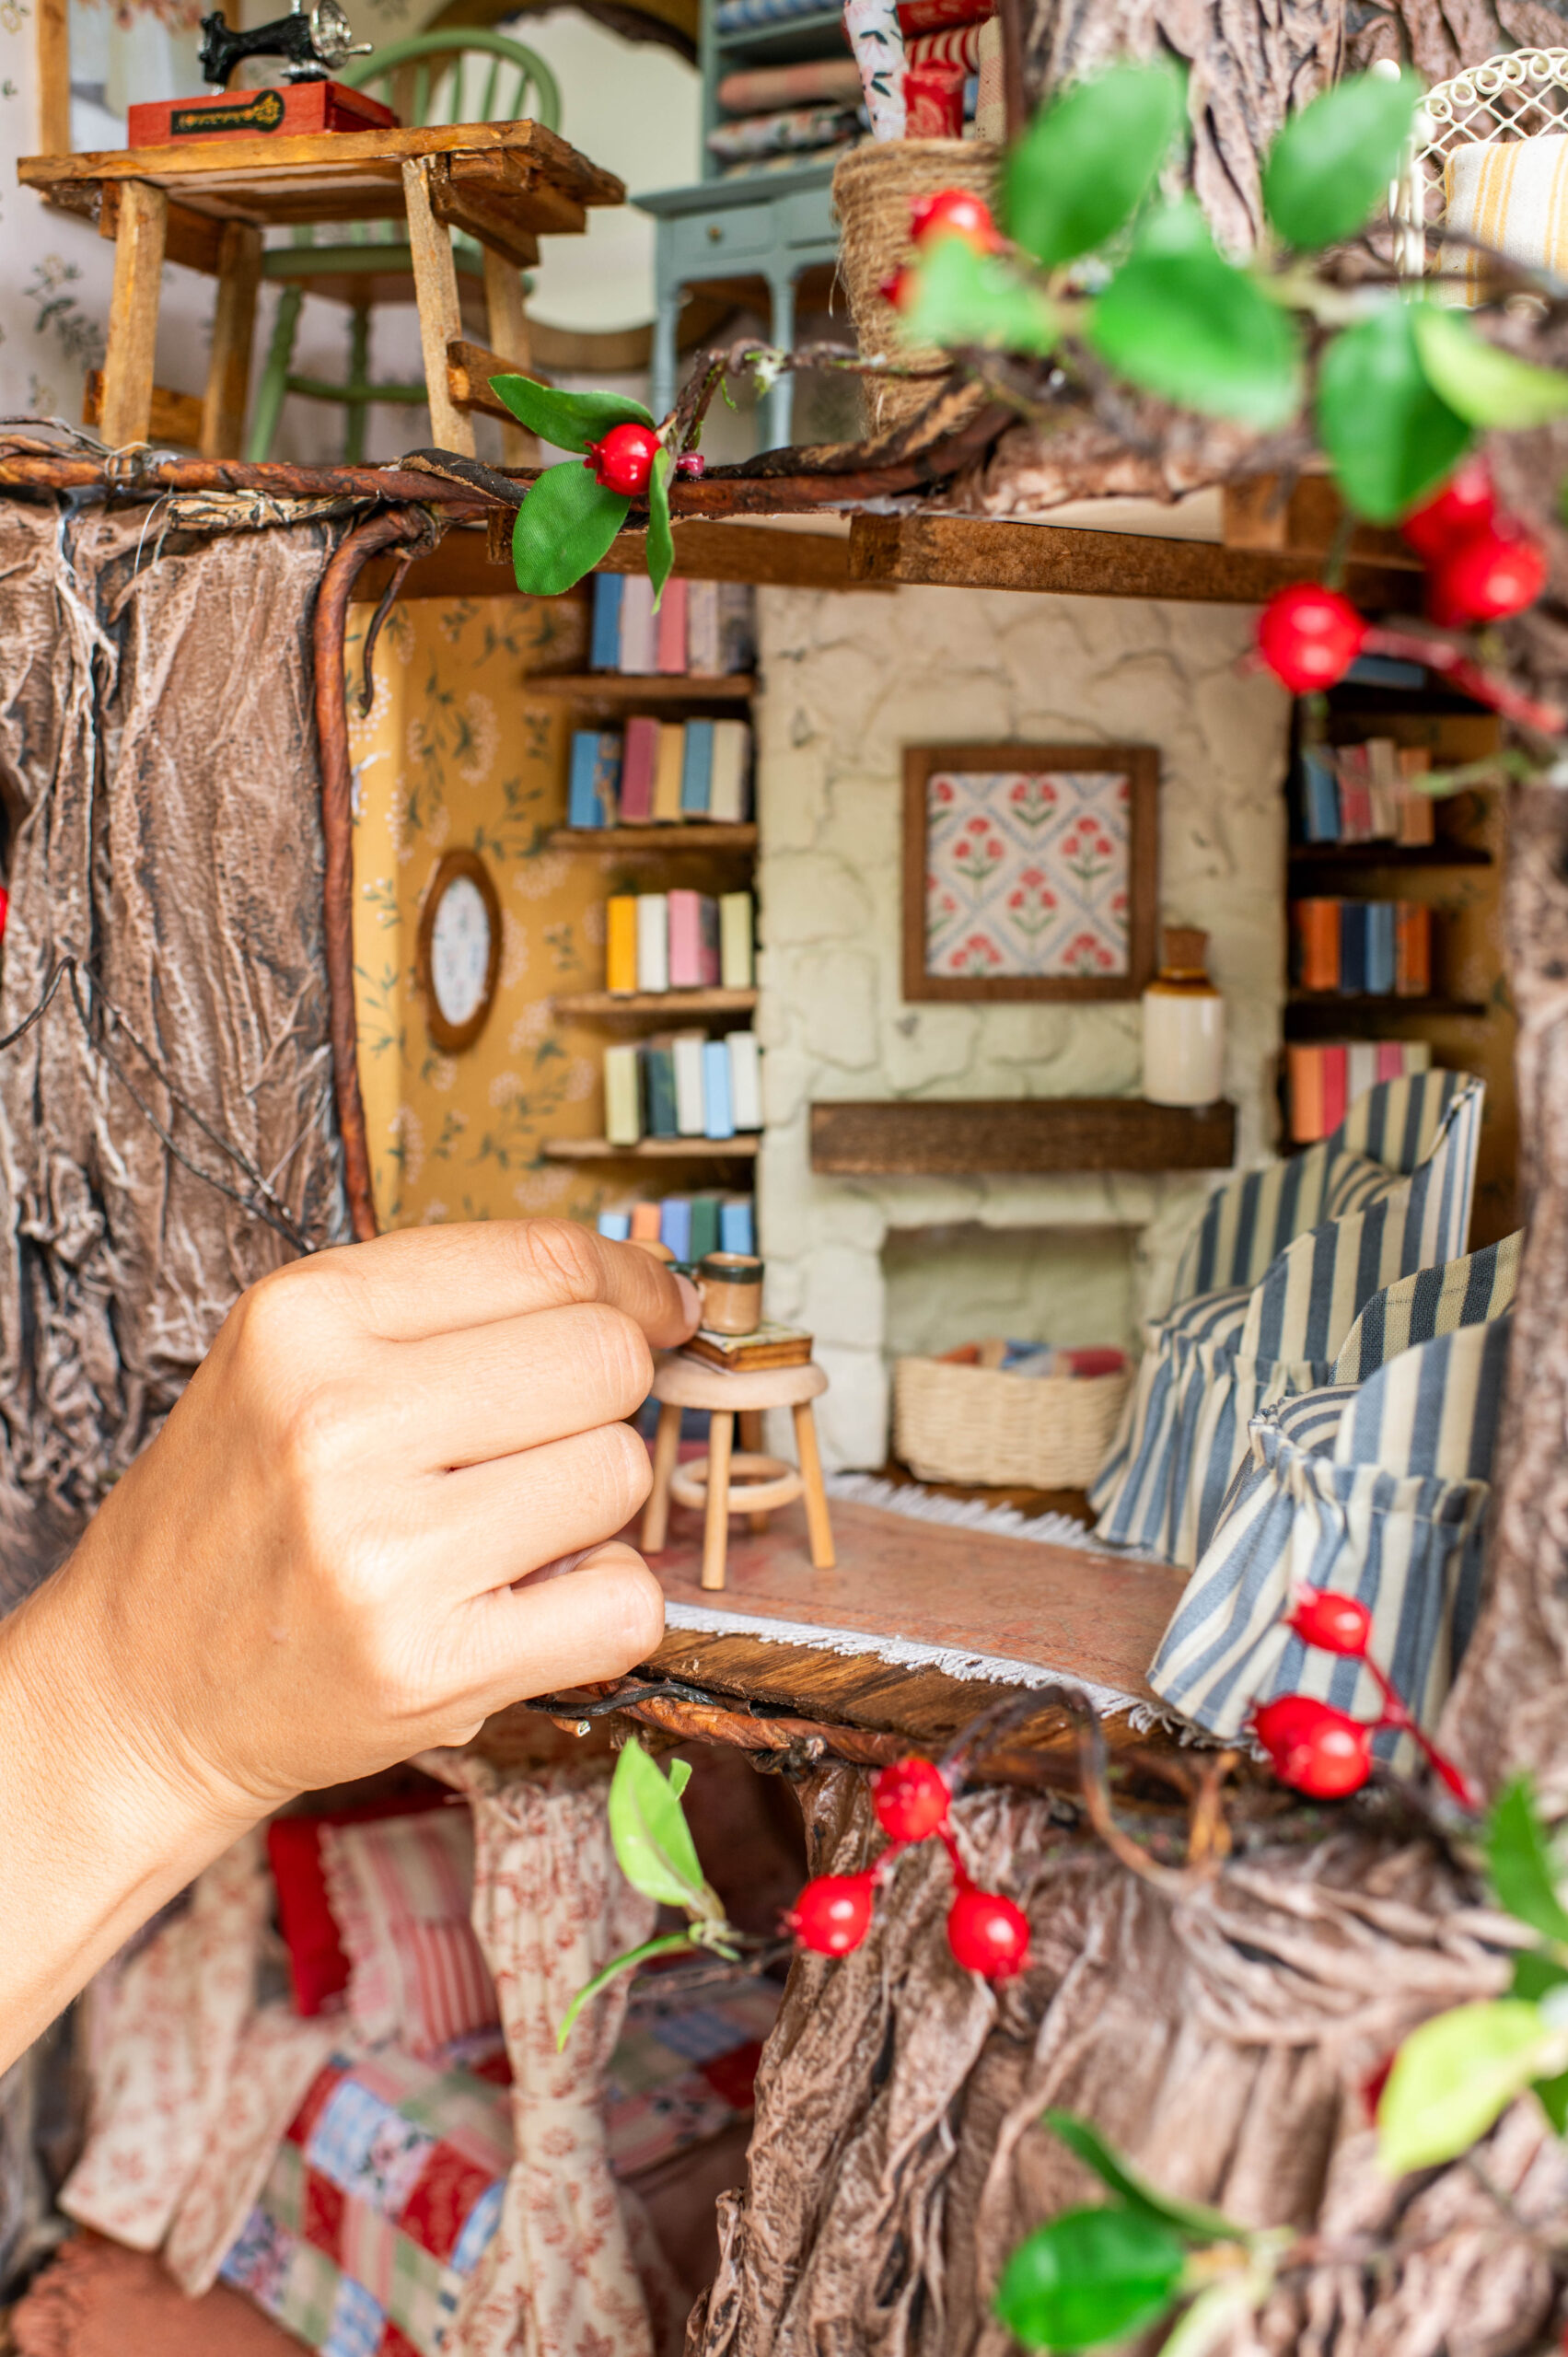
- Ruffled reading chairs
- Rugs
- Frames
- Books
- Ladder
- Pies
- Fabric rolls
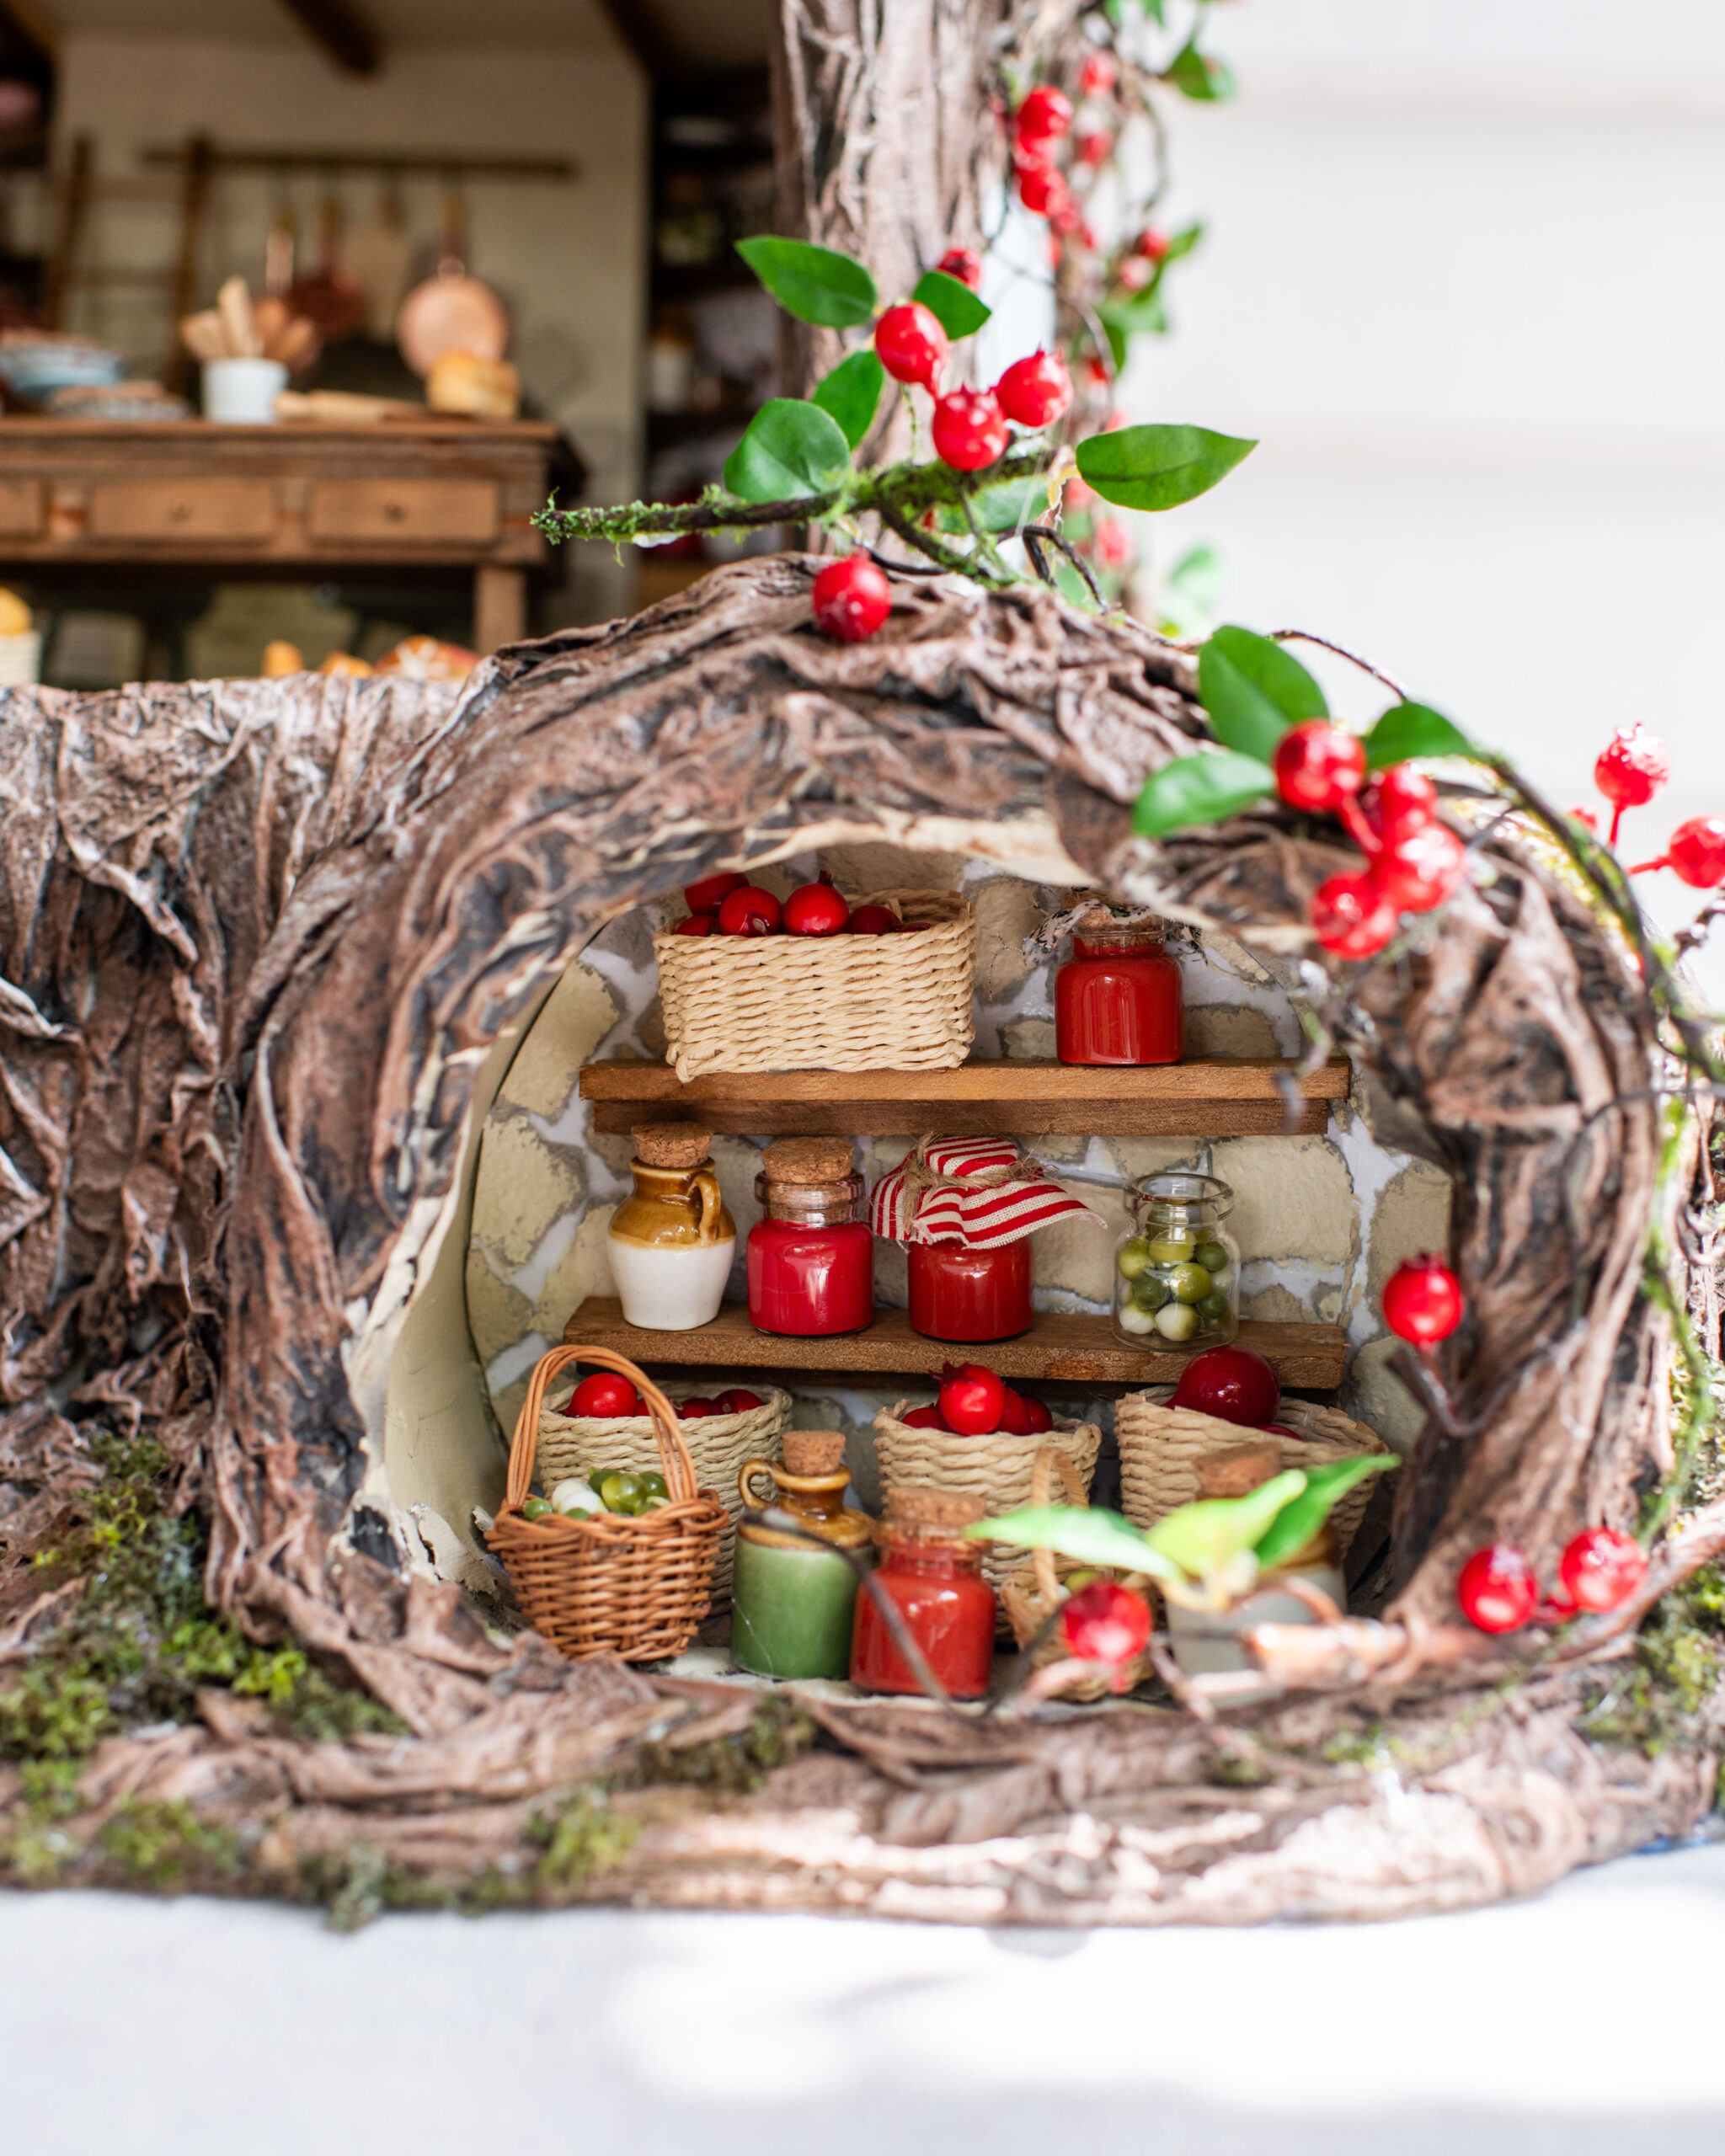
- Jams and jam jars
Items I bought
Here’s a list of the items I bought, the links ot everything and a complete shopping guide for miniatures are in the course:
- Green dining chairs
- Blue cabinet
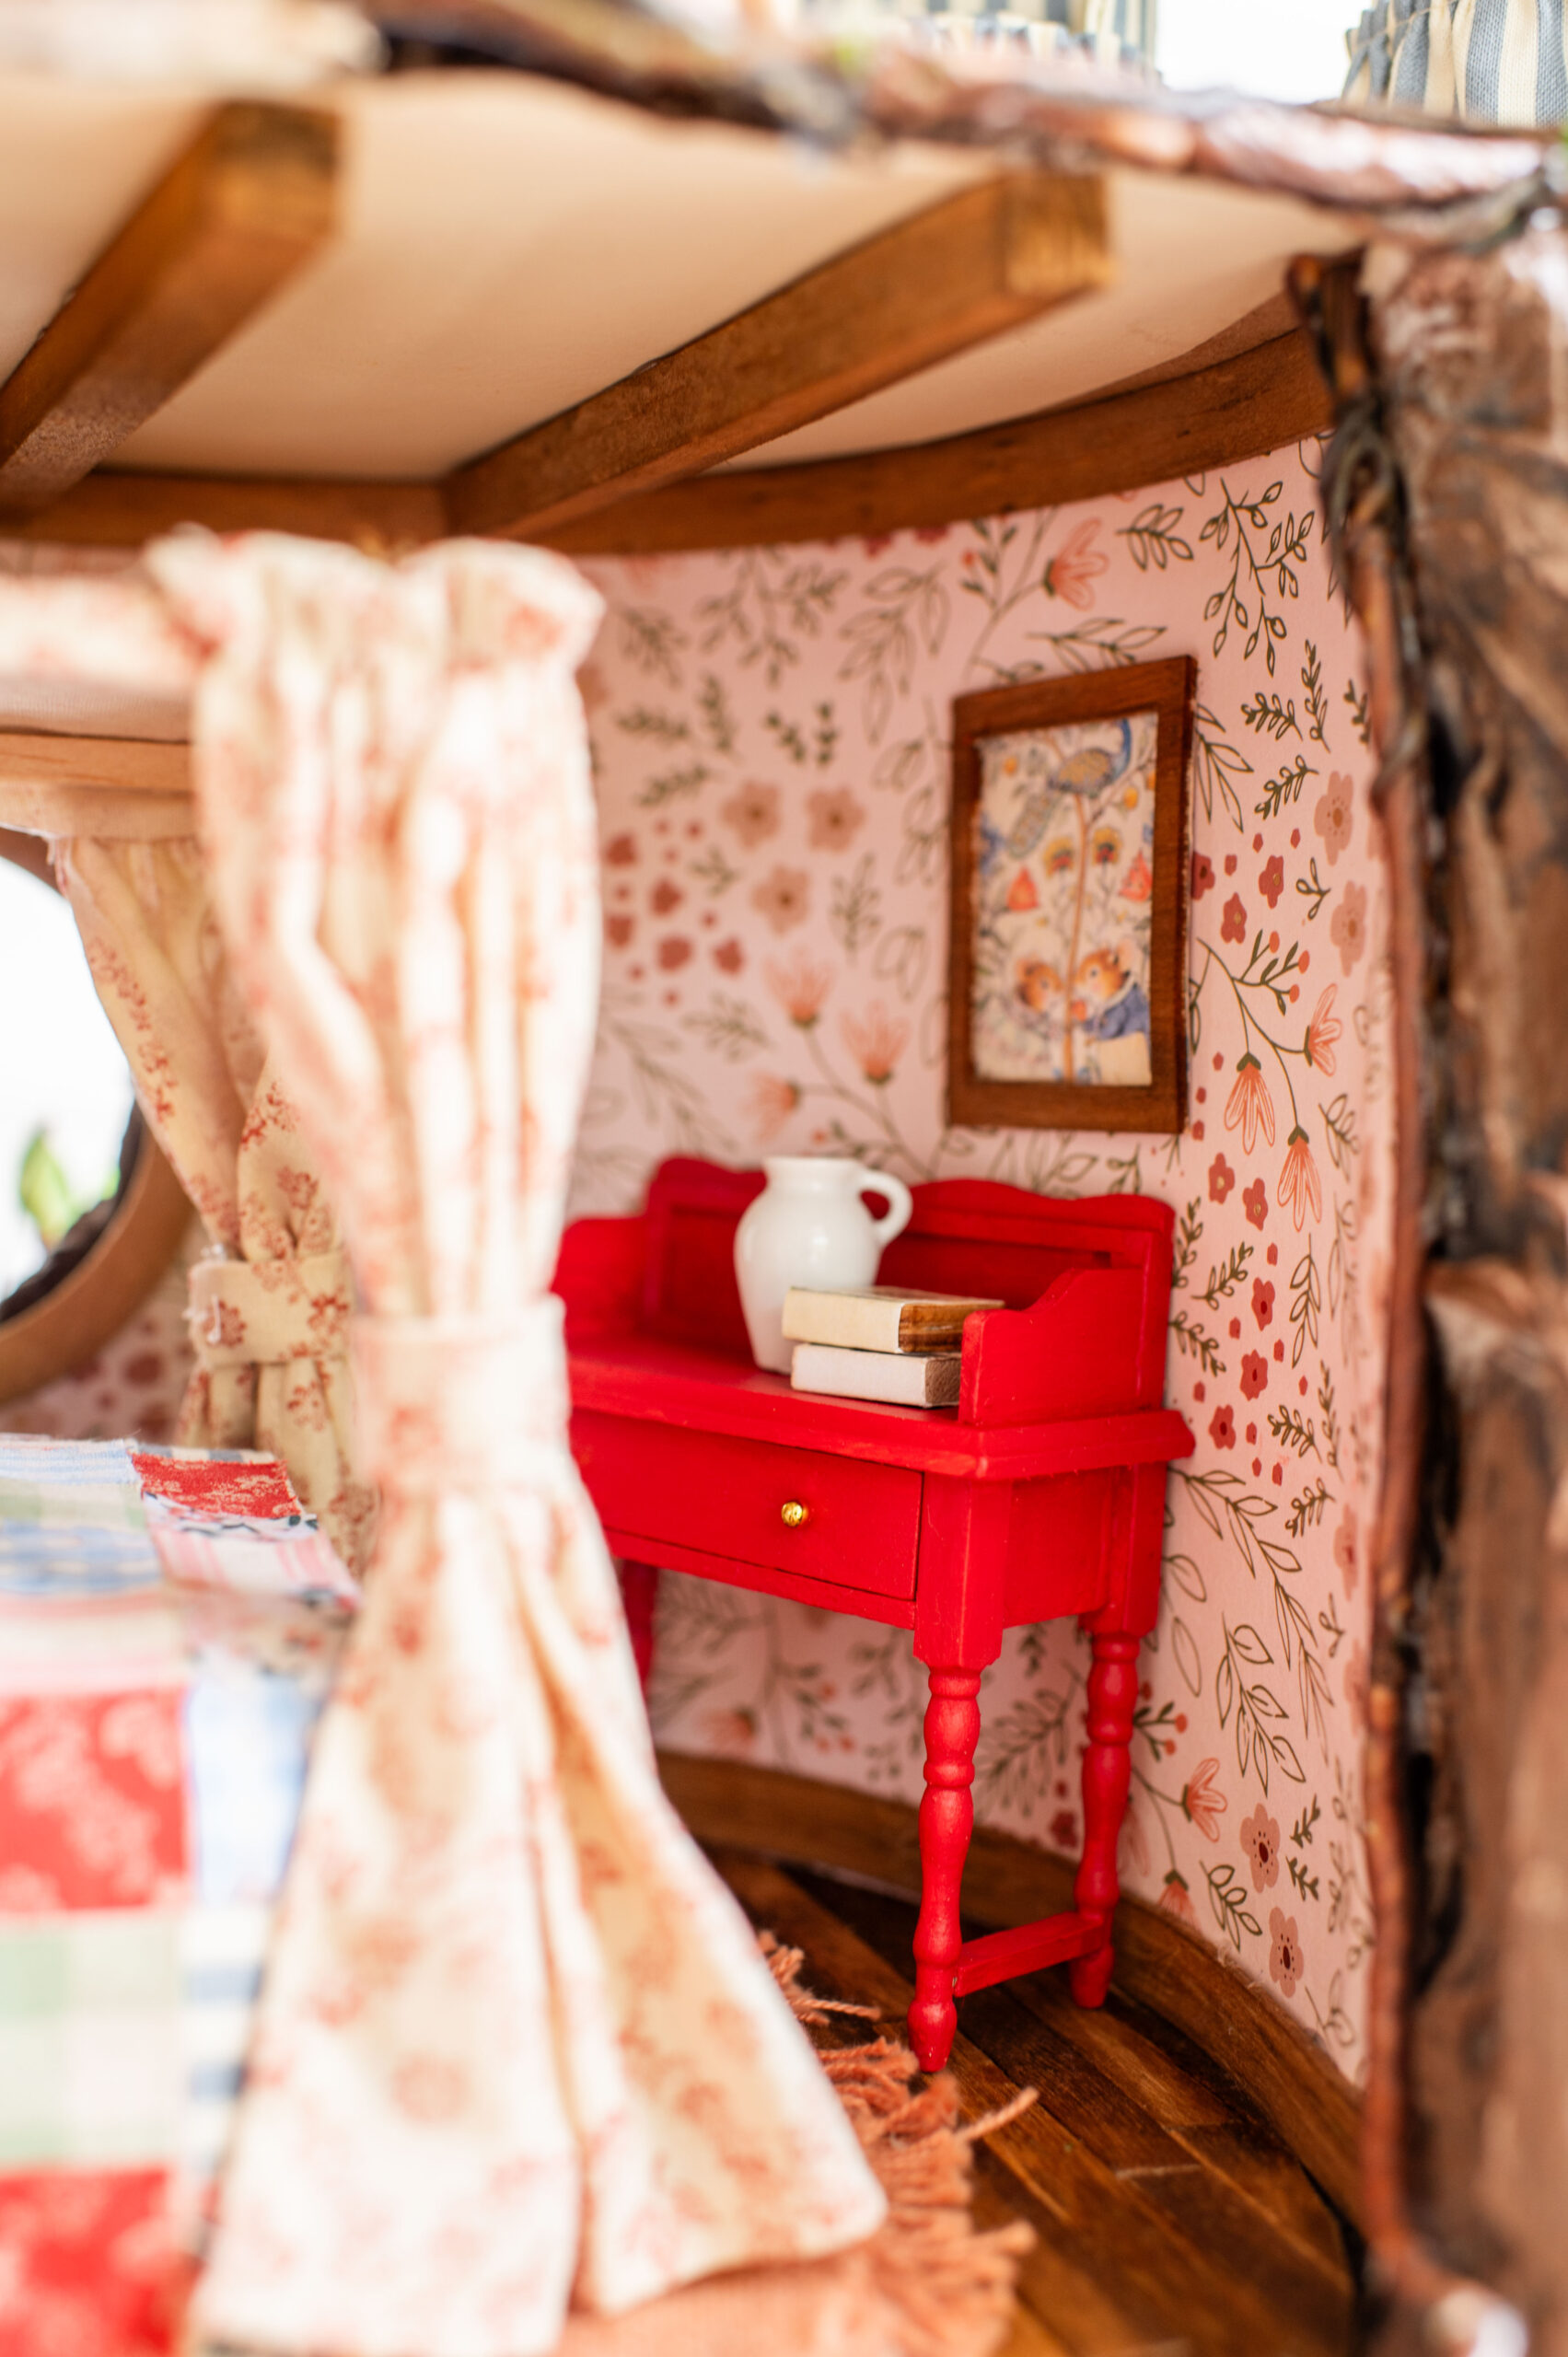
- Red vanity
- Sewing machine
- Baskets and pots
- Wire chairs
- Aga stove
Materials You Need
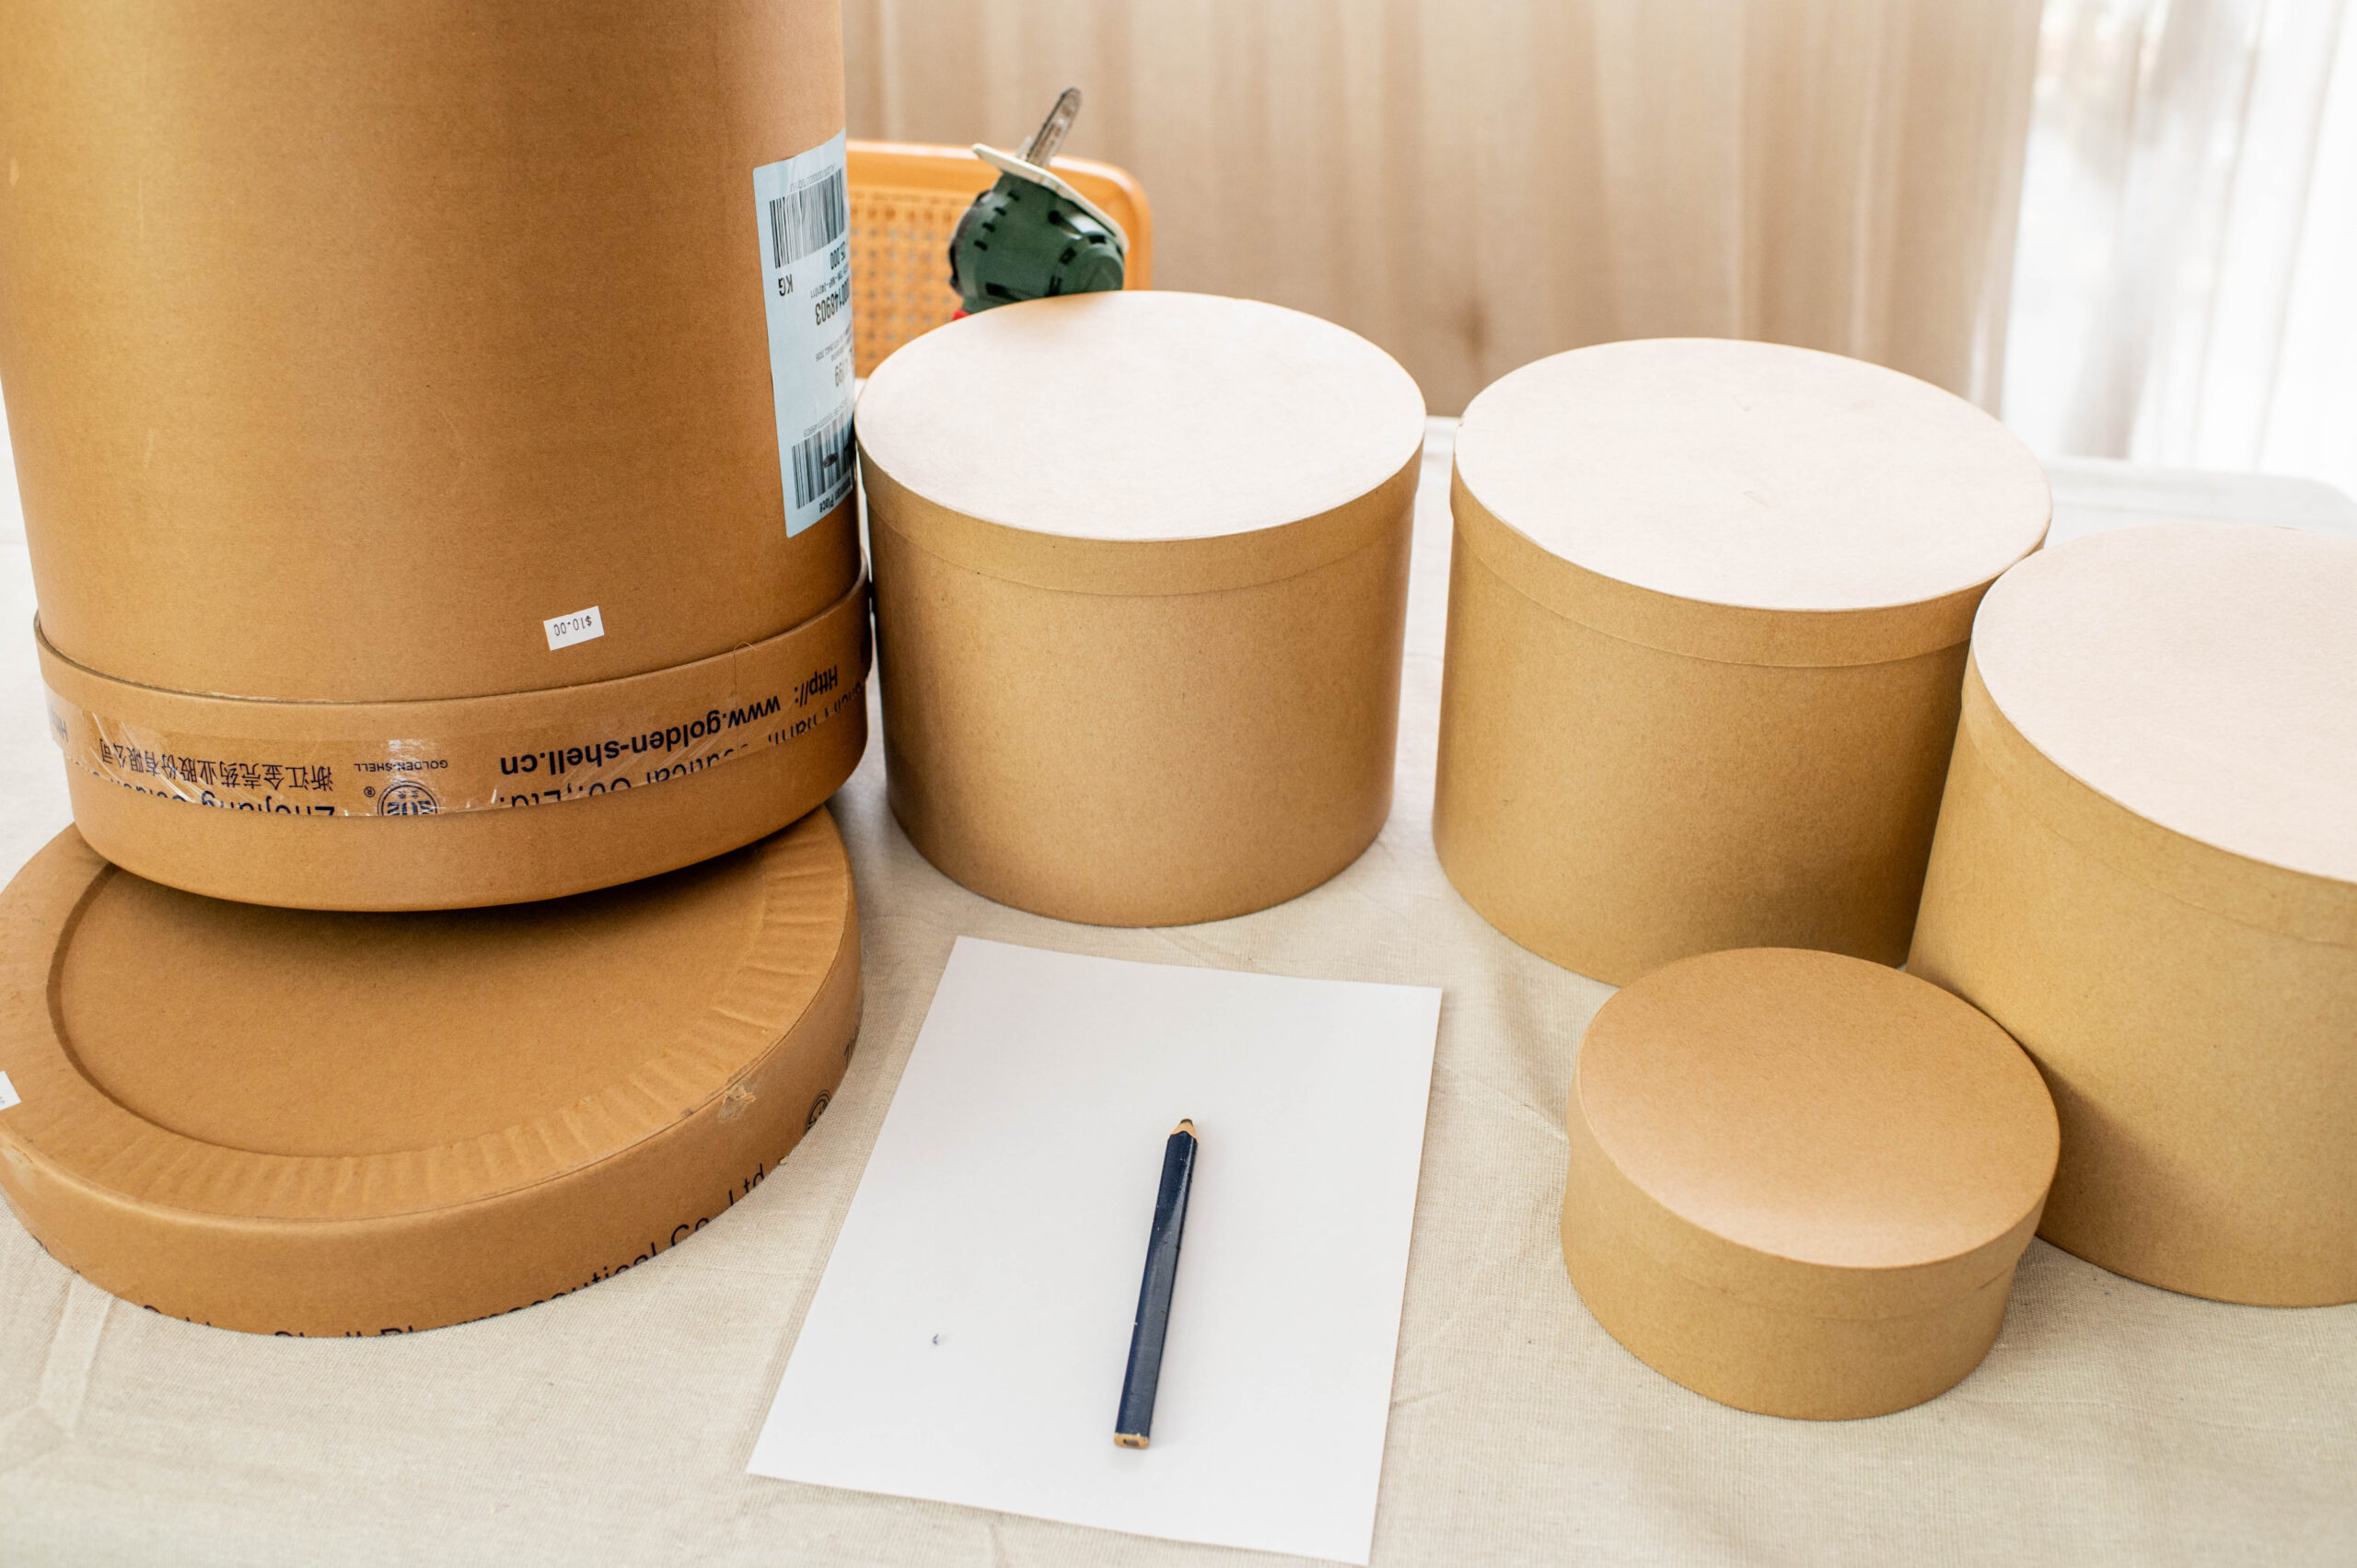
- A large cardboard cylinder (approx 30cm/12 inch diameter). This one is from Reverse Garbage, alternatively you could use a large cardboard box for this and have a rectangular room on the bottom. I think adding a larger level at the bottom is good for the balance and it also means you can add more details into the space, as the smaller boxes are quite small and do limit how much you can do in the space.
- 3 x cylinder hat boxes (approx 20cm/8 inch diameter)
- 1 x small cylinder box to make the store room at the bottom front
- A large piece of cardboard for the base
- Tin foil
- Masking tape
- Paper towel/ kitchen towel. Make sure to get one without a funky pattern on it because you will be able to see the pattern.
- Black spray paint
- Acrylic paint – 4 brown tones and one beige tone
- PVA glue and water
- Glue gun (this one is the best)
- Jigsaw, mini saw or utility knife (this is what I used)
- Vine and berries
How To Make A Tree Dollhouse
1
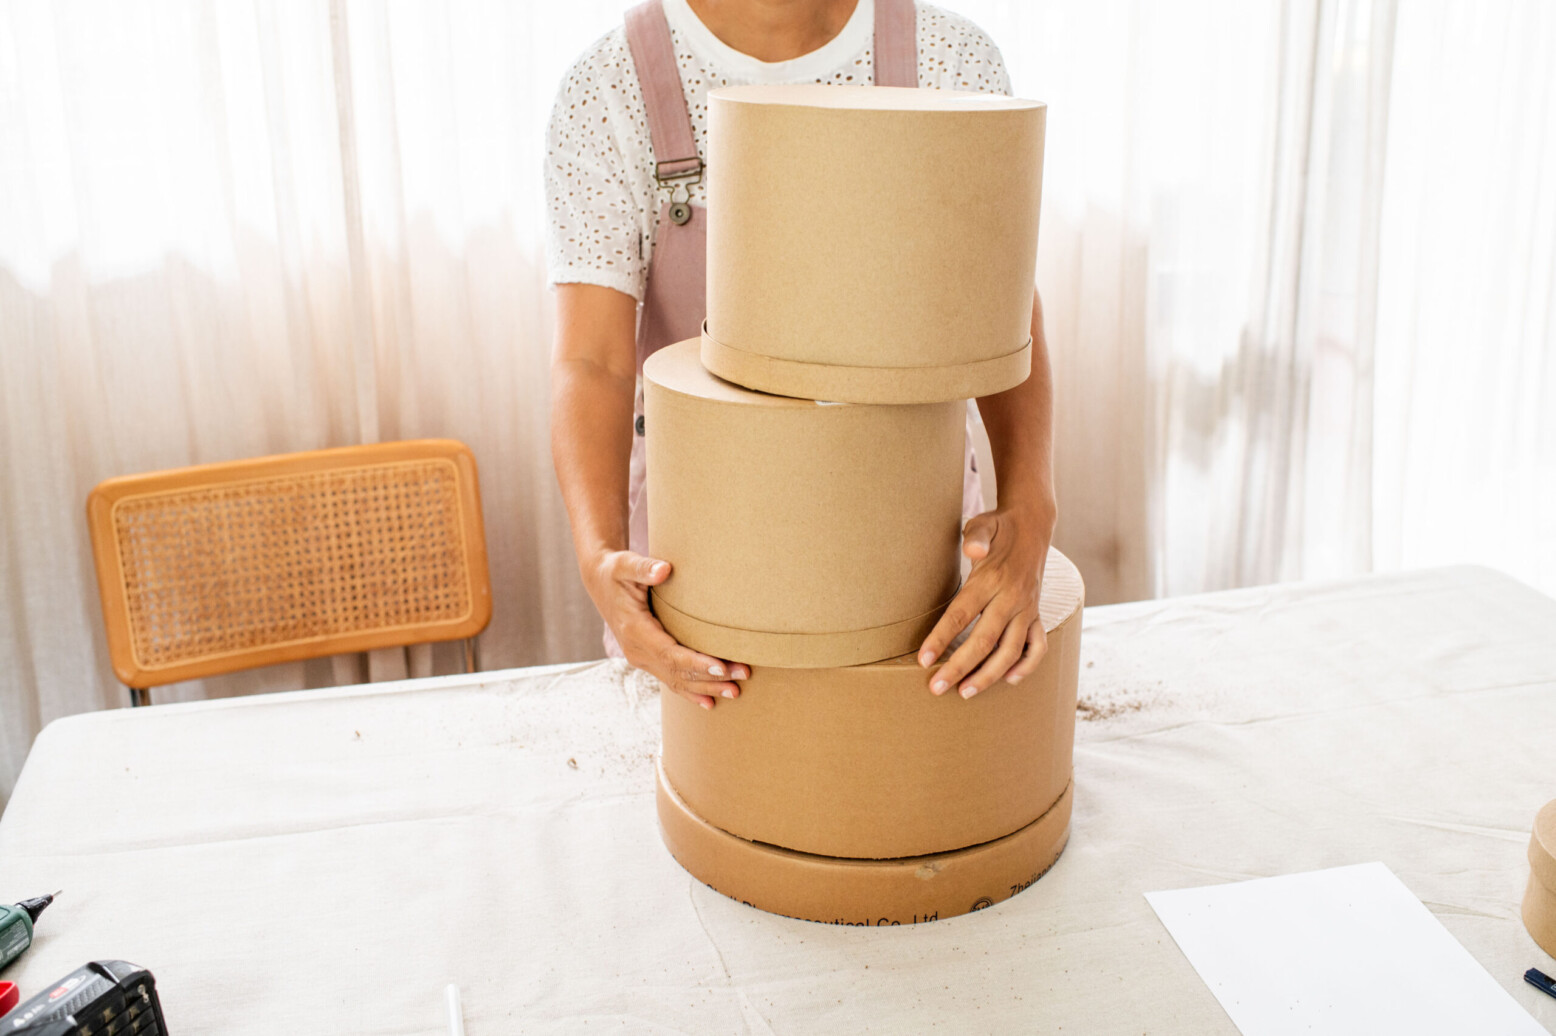
Start by working out your structure using the boxes. Note that you can also use regular square or rectangular boxes for this.
2
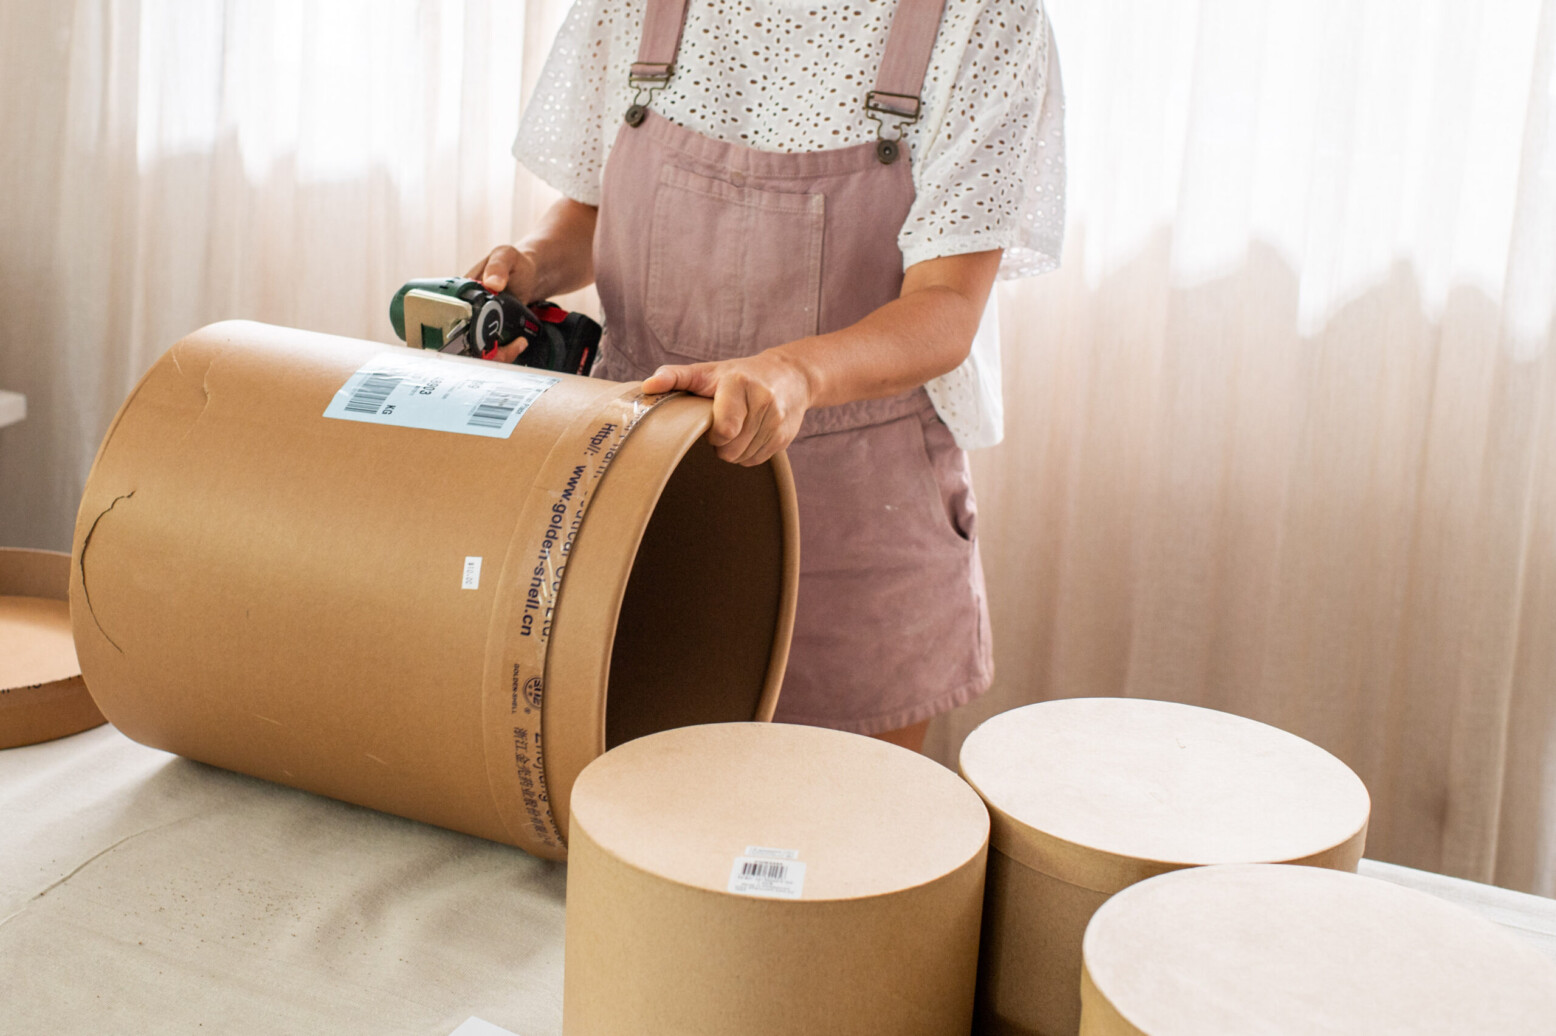
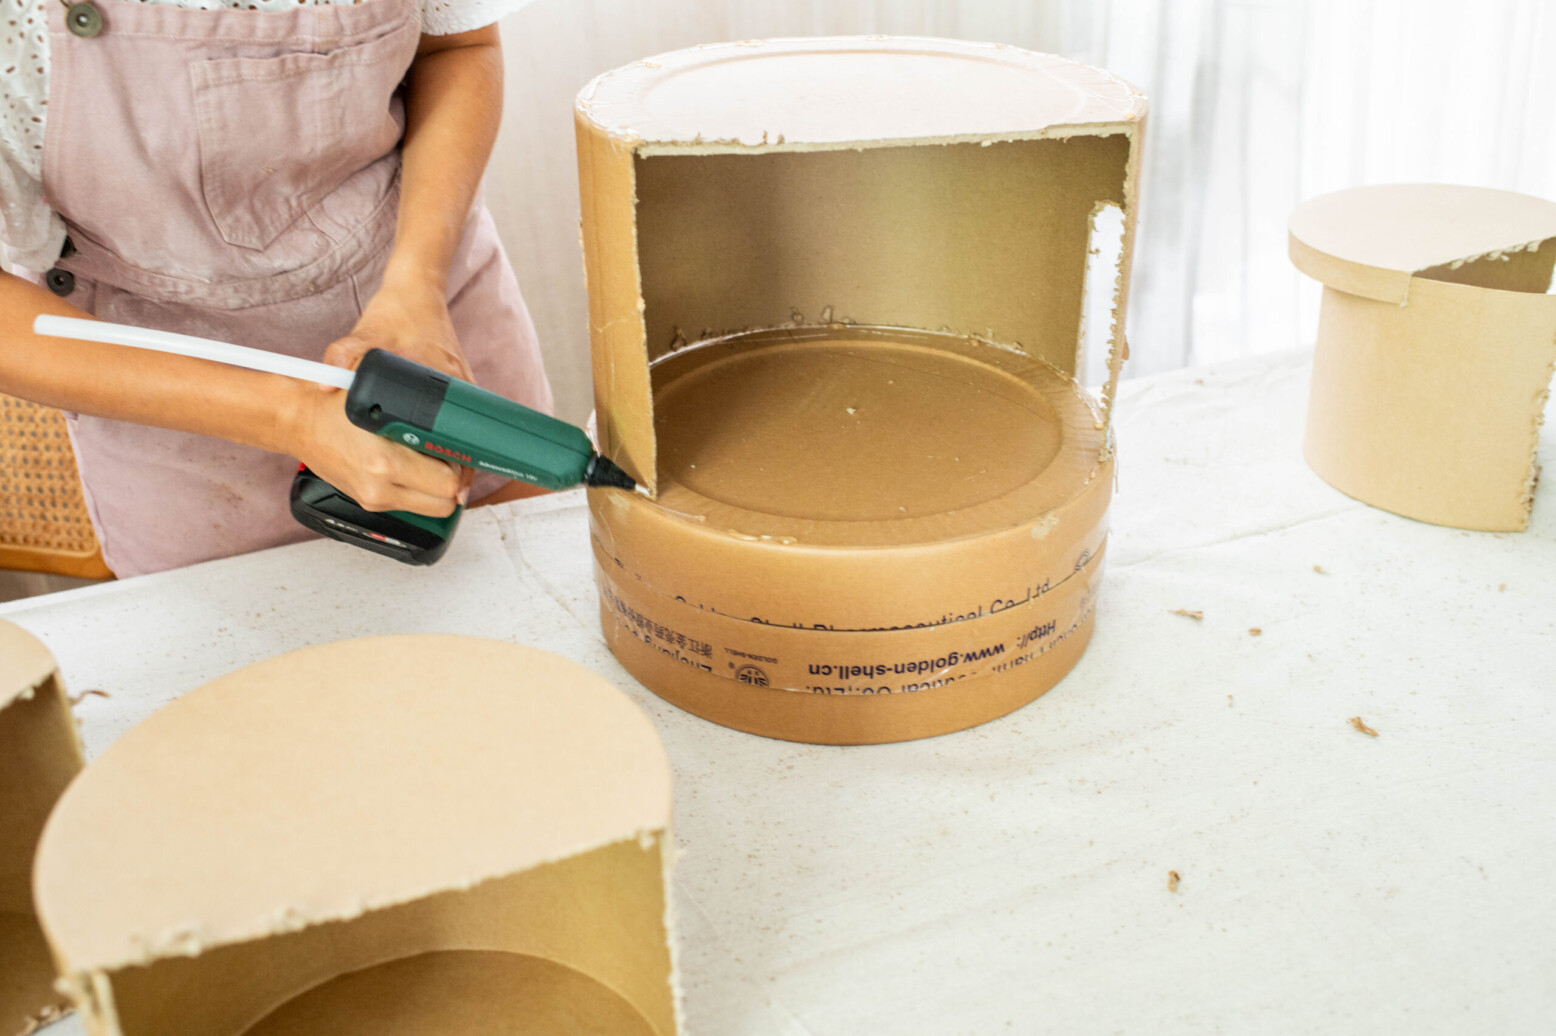
I worked out how high I wanted the first room which I made using the large cylinder box, and also the cut outs I needed in the boxes as openings, and then I cut them out using my mini saw. You can also use a utility knife for this.
3
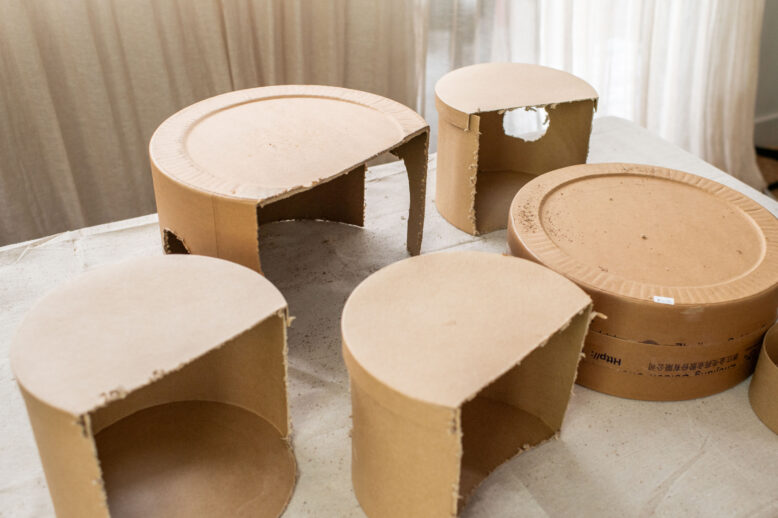
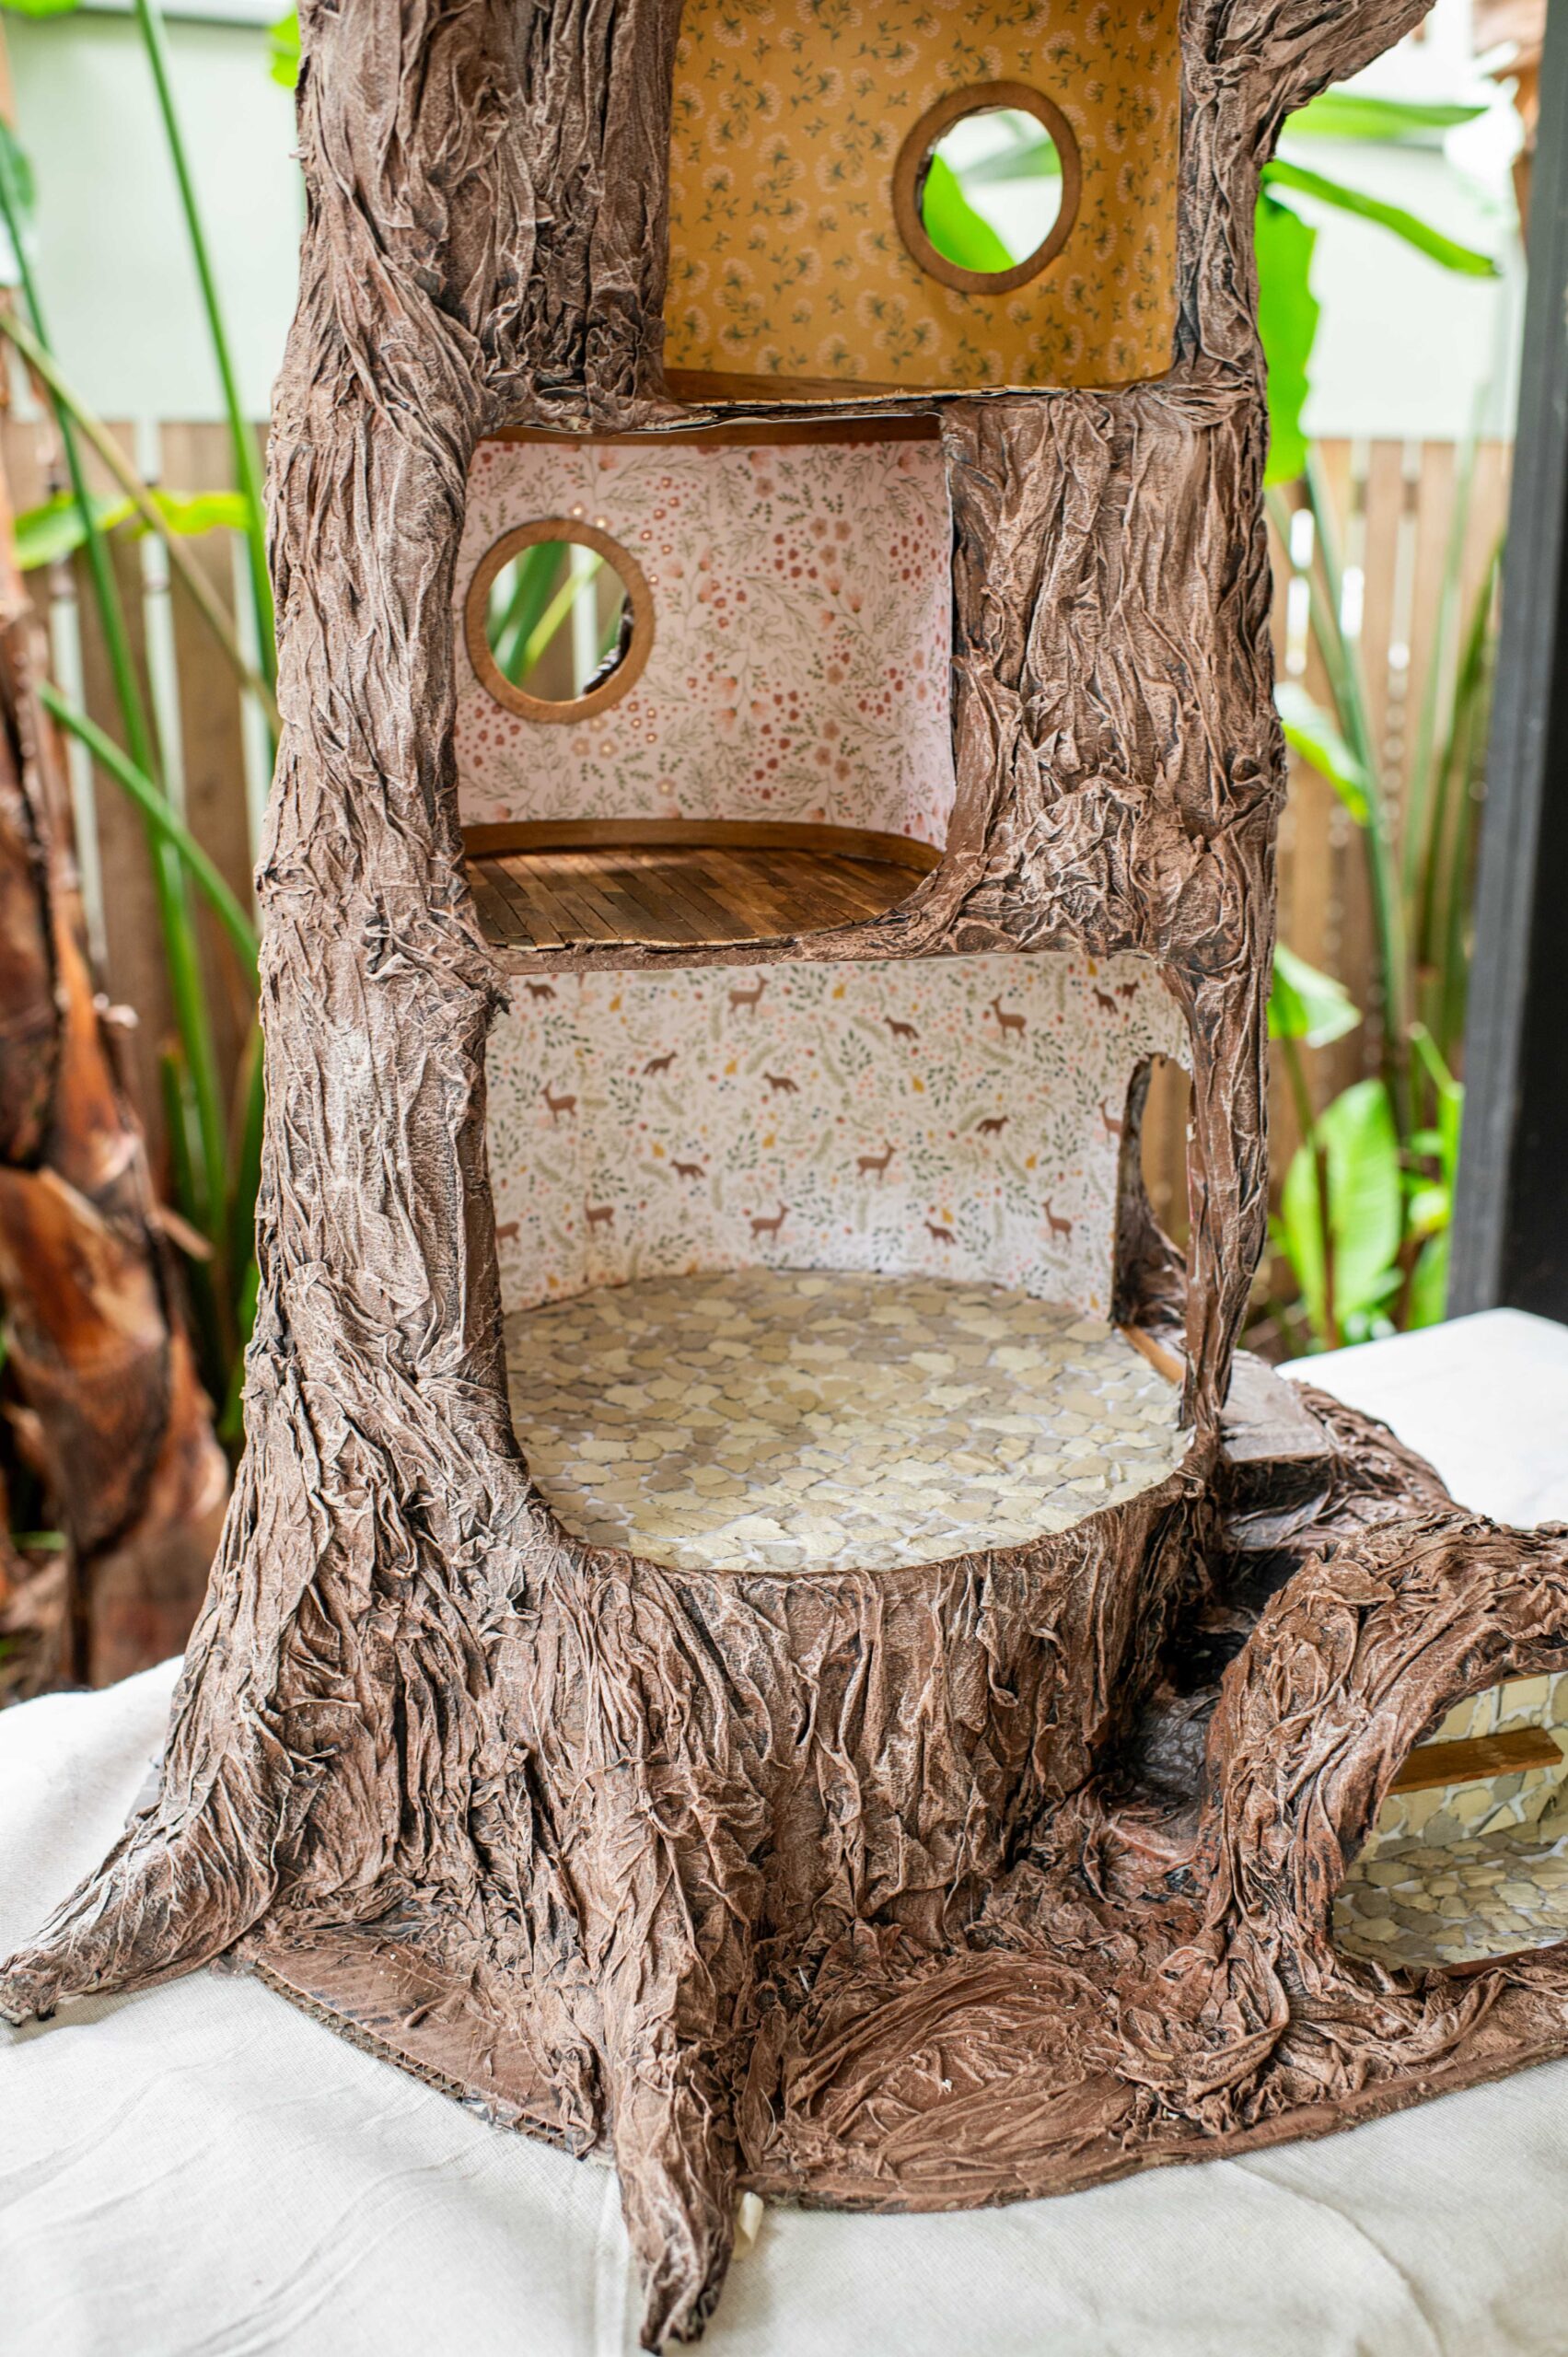
This is what the pieces looked like. I also added round holes for windows. I used the top of the large cylinder to prop up the bottom room so that it would be elevated in the tree and allow space for adding the little store room at the front. In addition, I cut a piece of cardboard to sit the whole structure on so the 'roots' had a base.
5
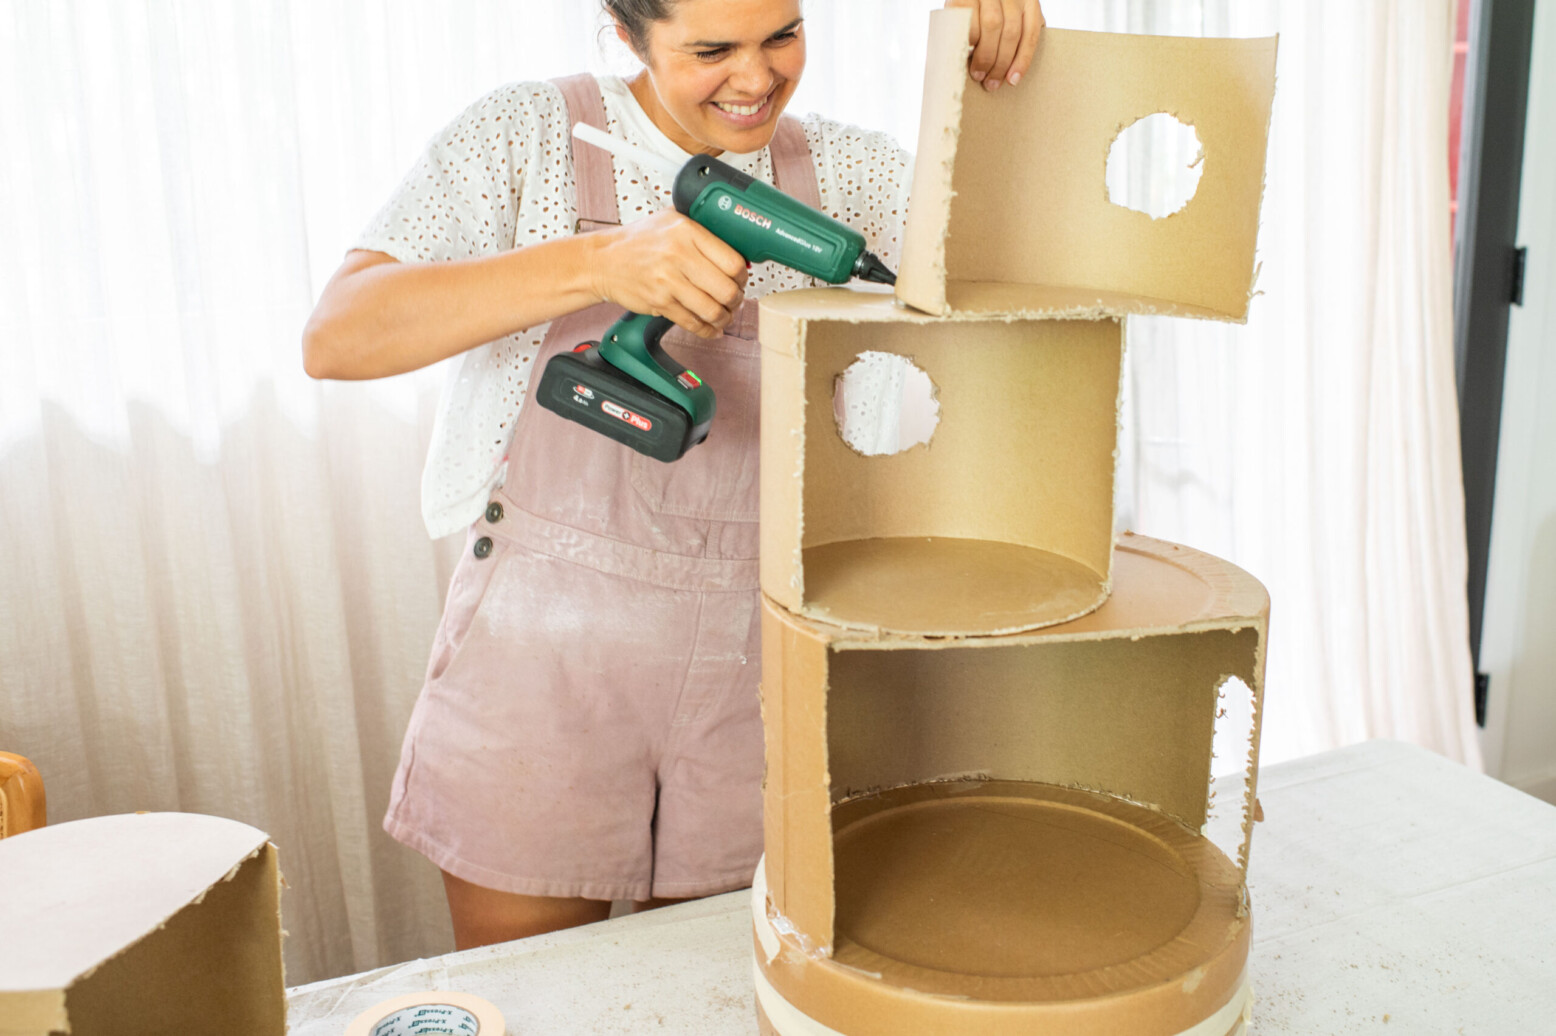
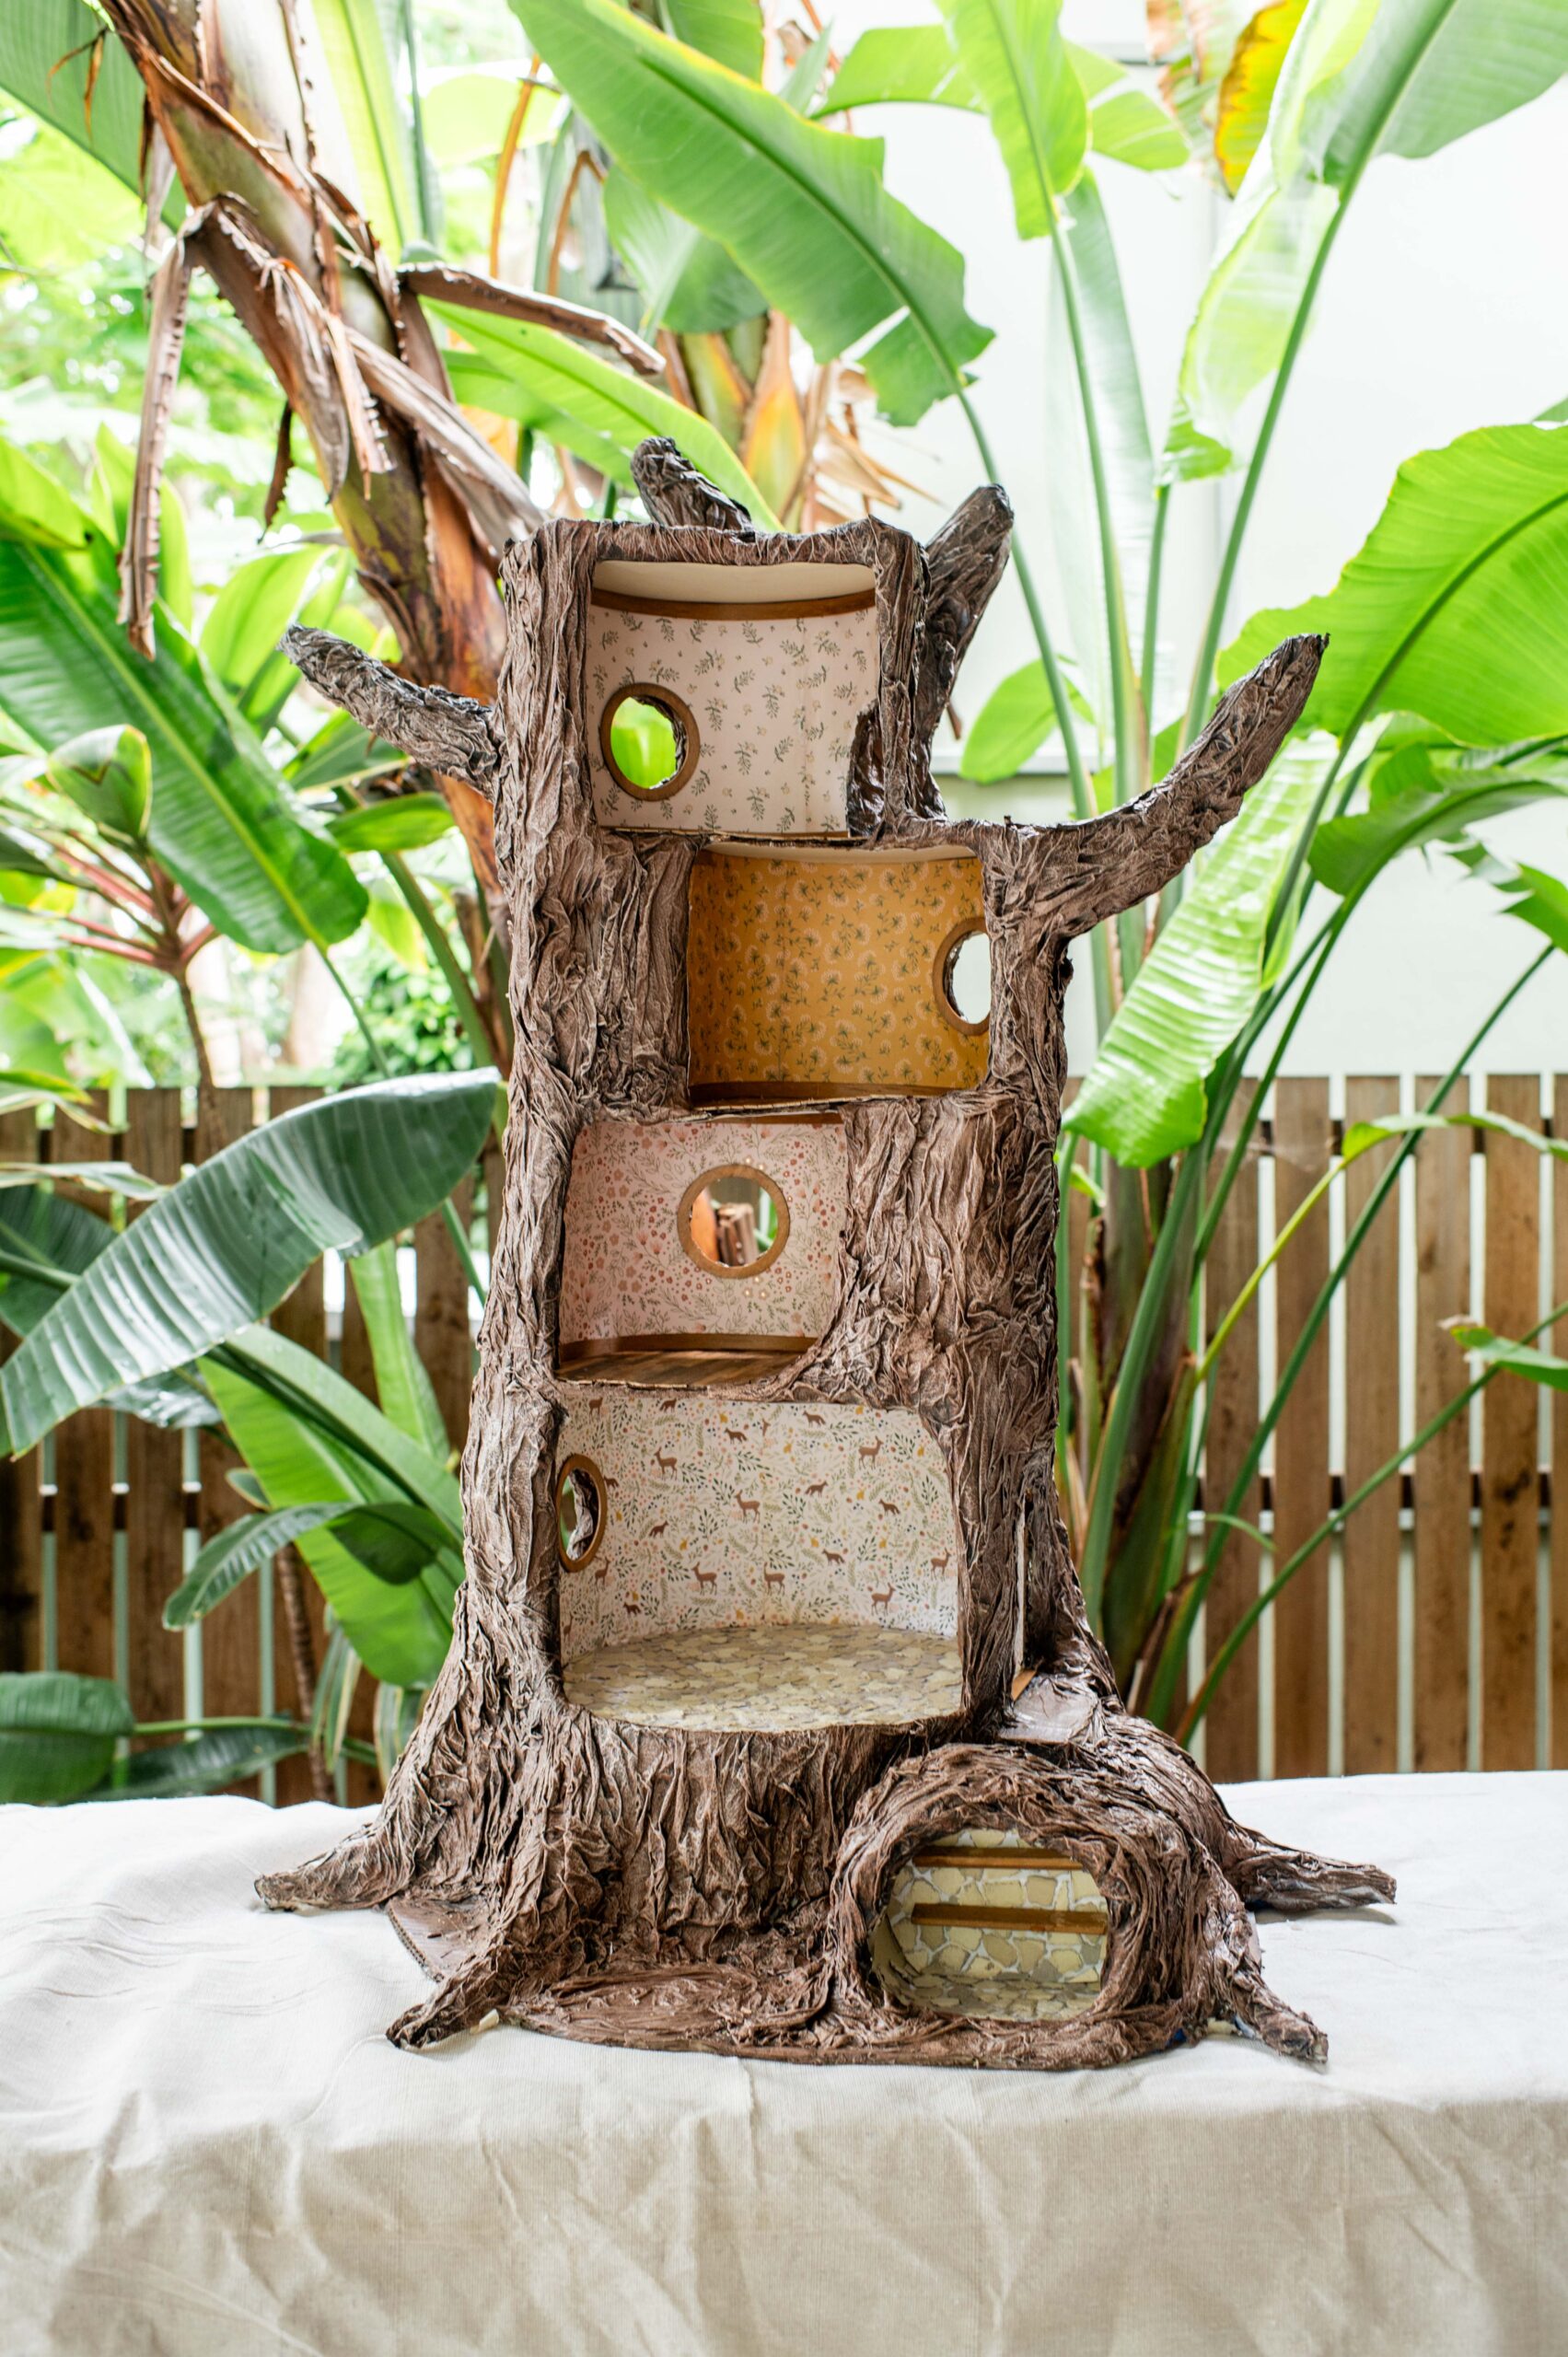
I staggered the boxes rather than directly stacking them for a more organic look. This did make the floors a bit wonky, but what do you expect when you live in a tree?!
6
I also used the box lids to create a flat roof for the rooms. The thing I like about using round boxes is they are flat and smooth inside which makes decorating somch easier!
7
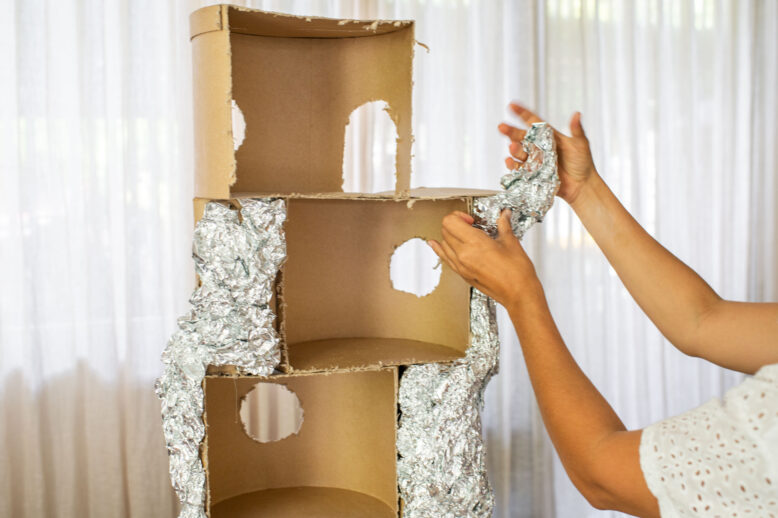
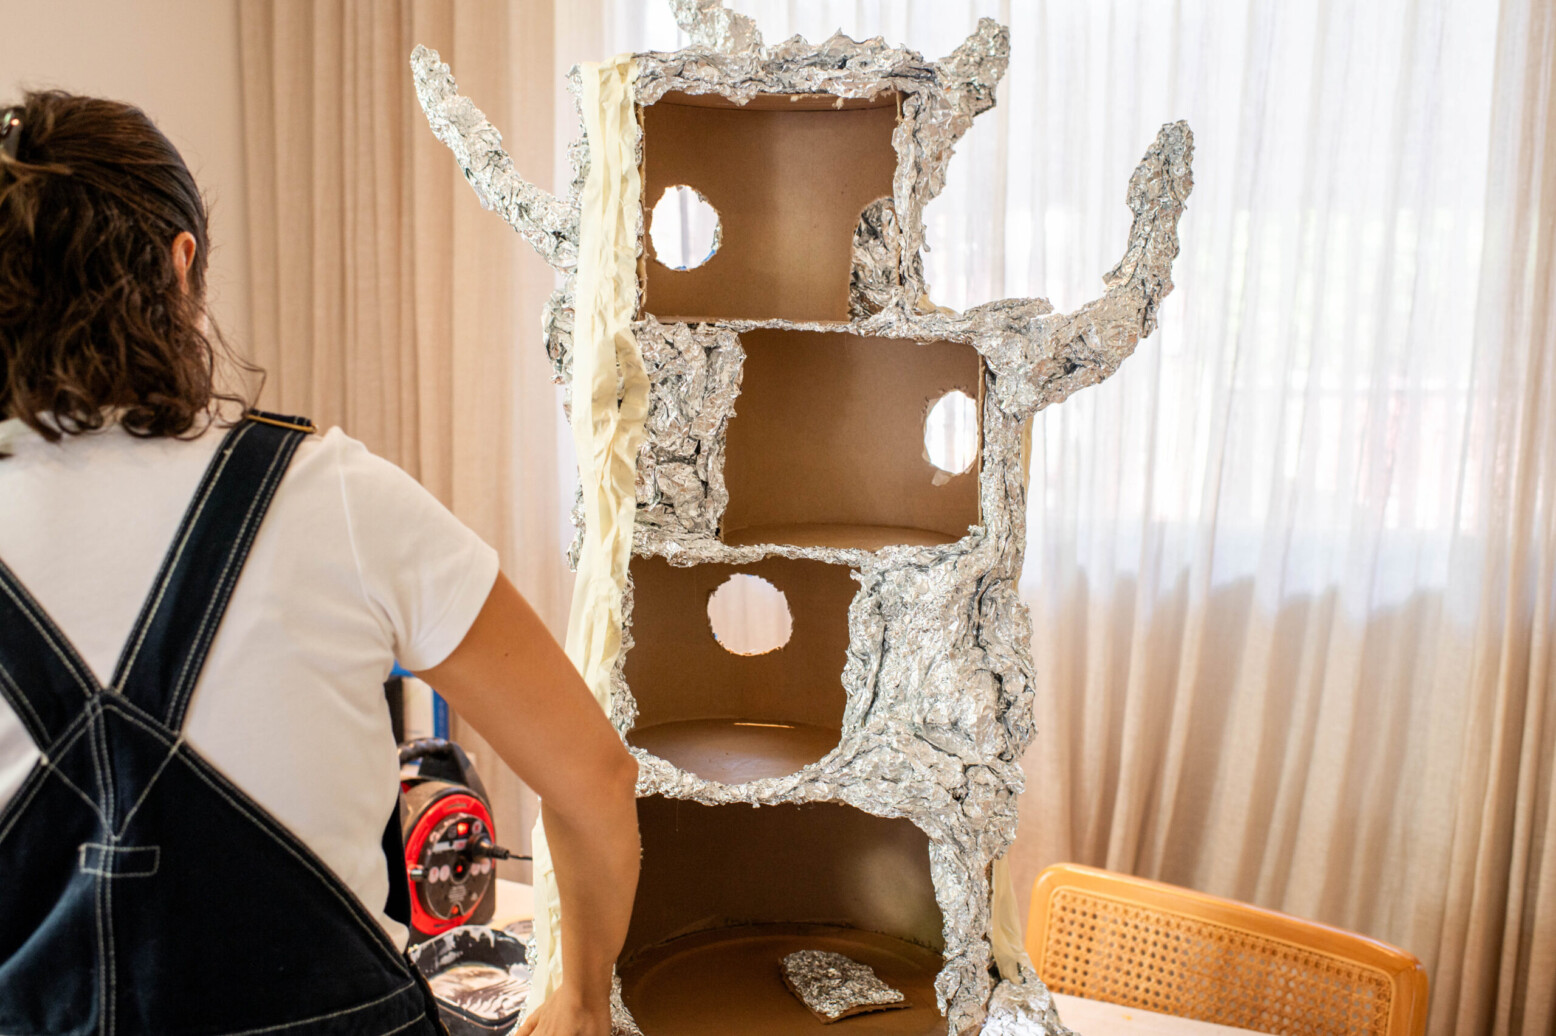
The next step is to create the tree shape around the boxes. I used tin foil to do this. I also tried newspaper and cardboard but in the end the tin foil was by far the best material to use (this technique is widely used and was first show by Where The Gnomes Live on youtube, but I wanted to see if I could do something a little more eco friendly). I scrunched it up and glued it on, and created branch shapes jutting out at the top. You just have to keep building it out until you are happy with the shape.
8
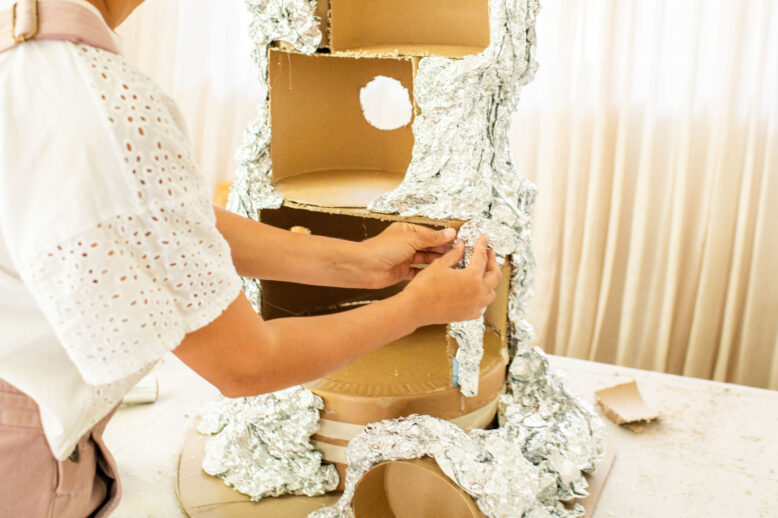
I used the tin foil to fill out all the sections of the tree and give it a good shape. For the base I built out roots whilst also just generally creating a tree base shape. I also used a strip of foil to make stairs going up to the door, which I propped up with more tin foil.
9
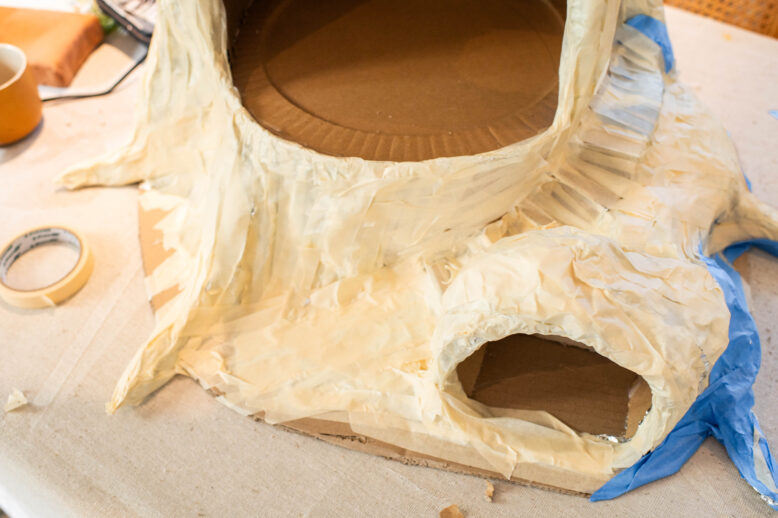
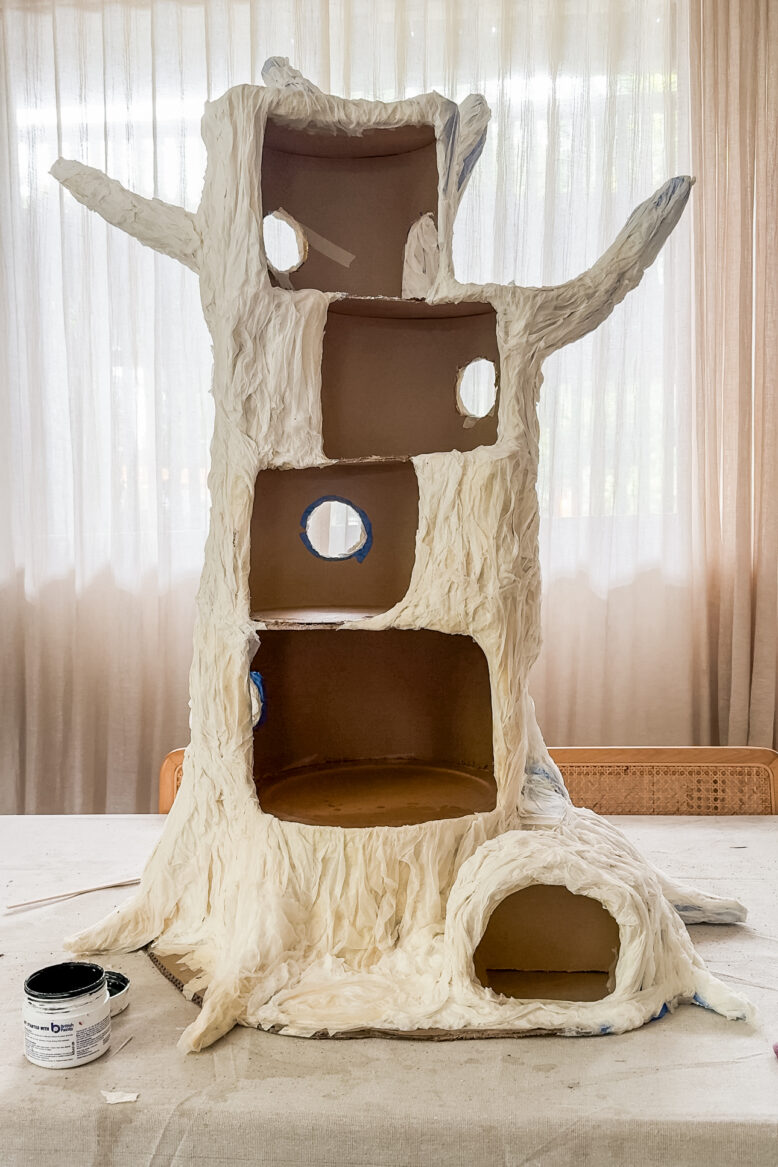
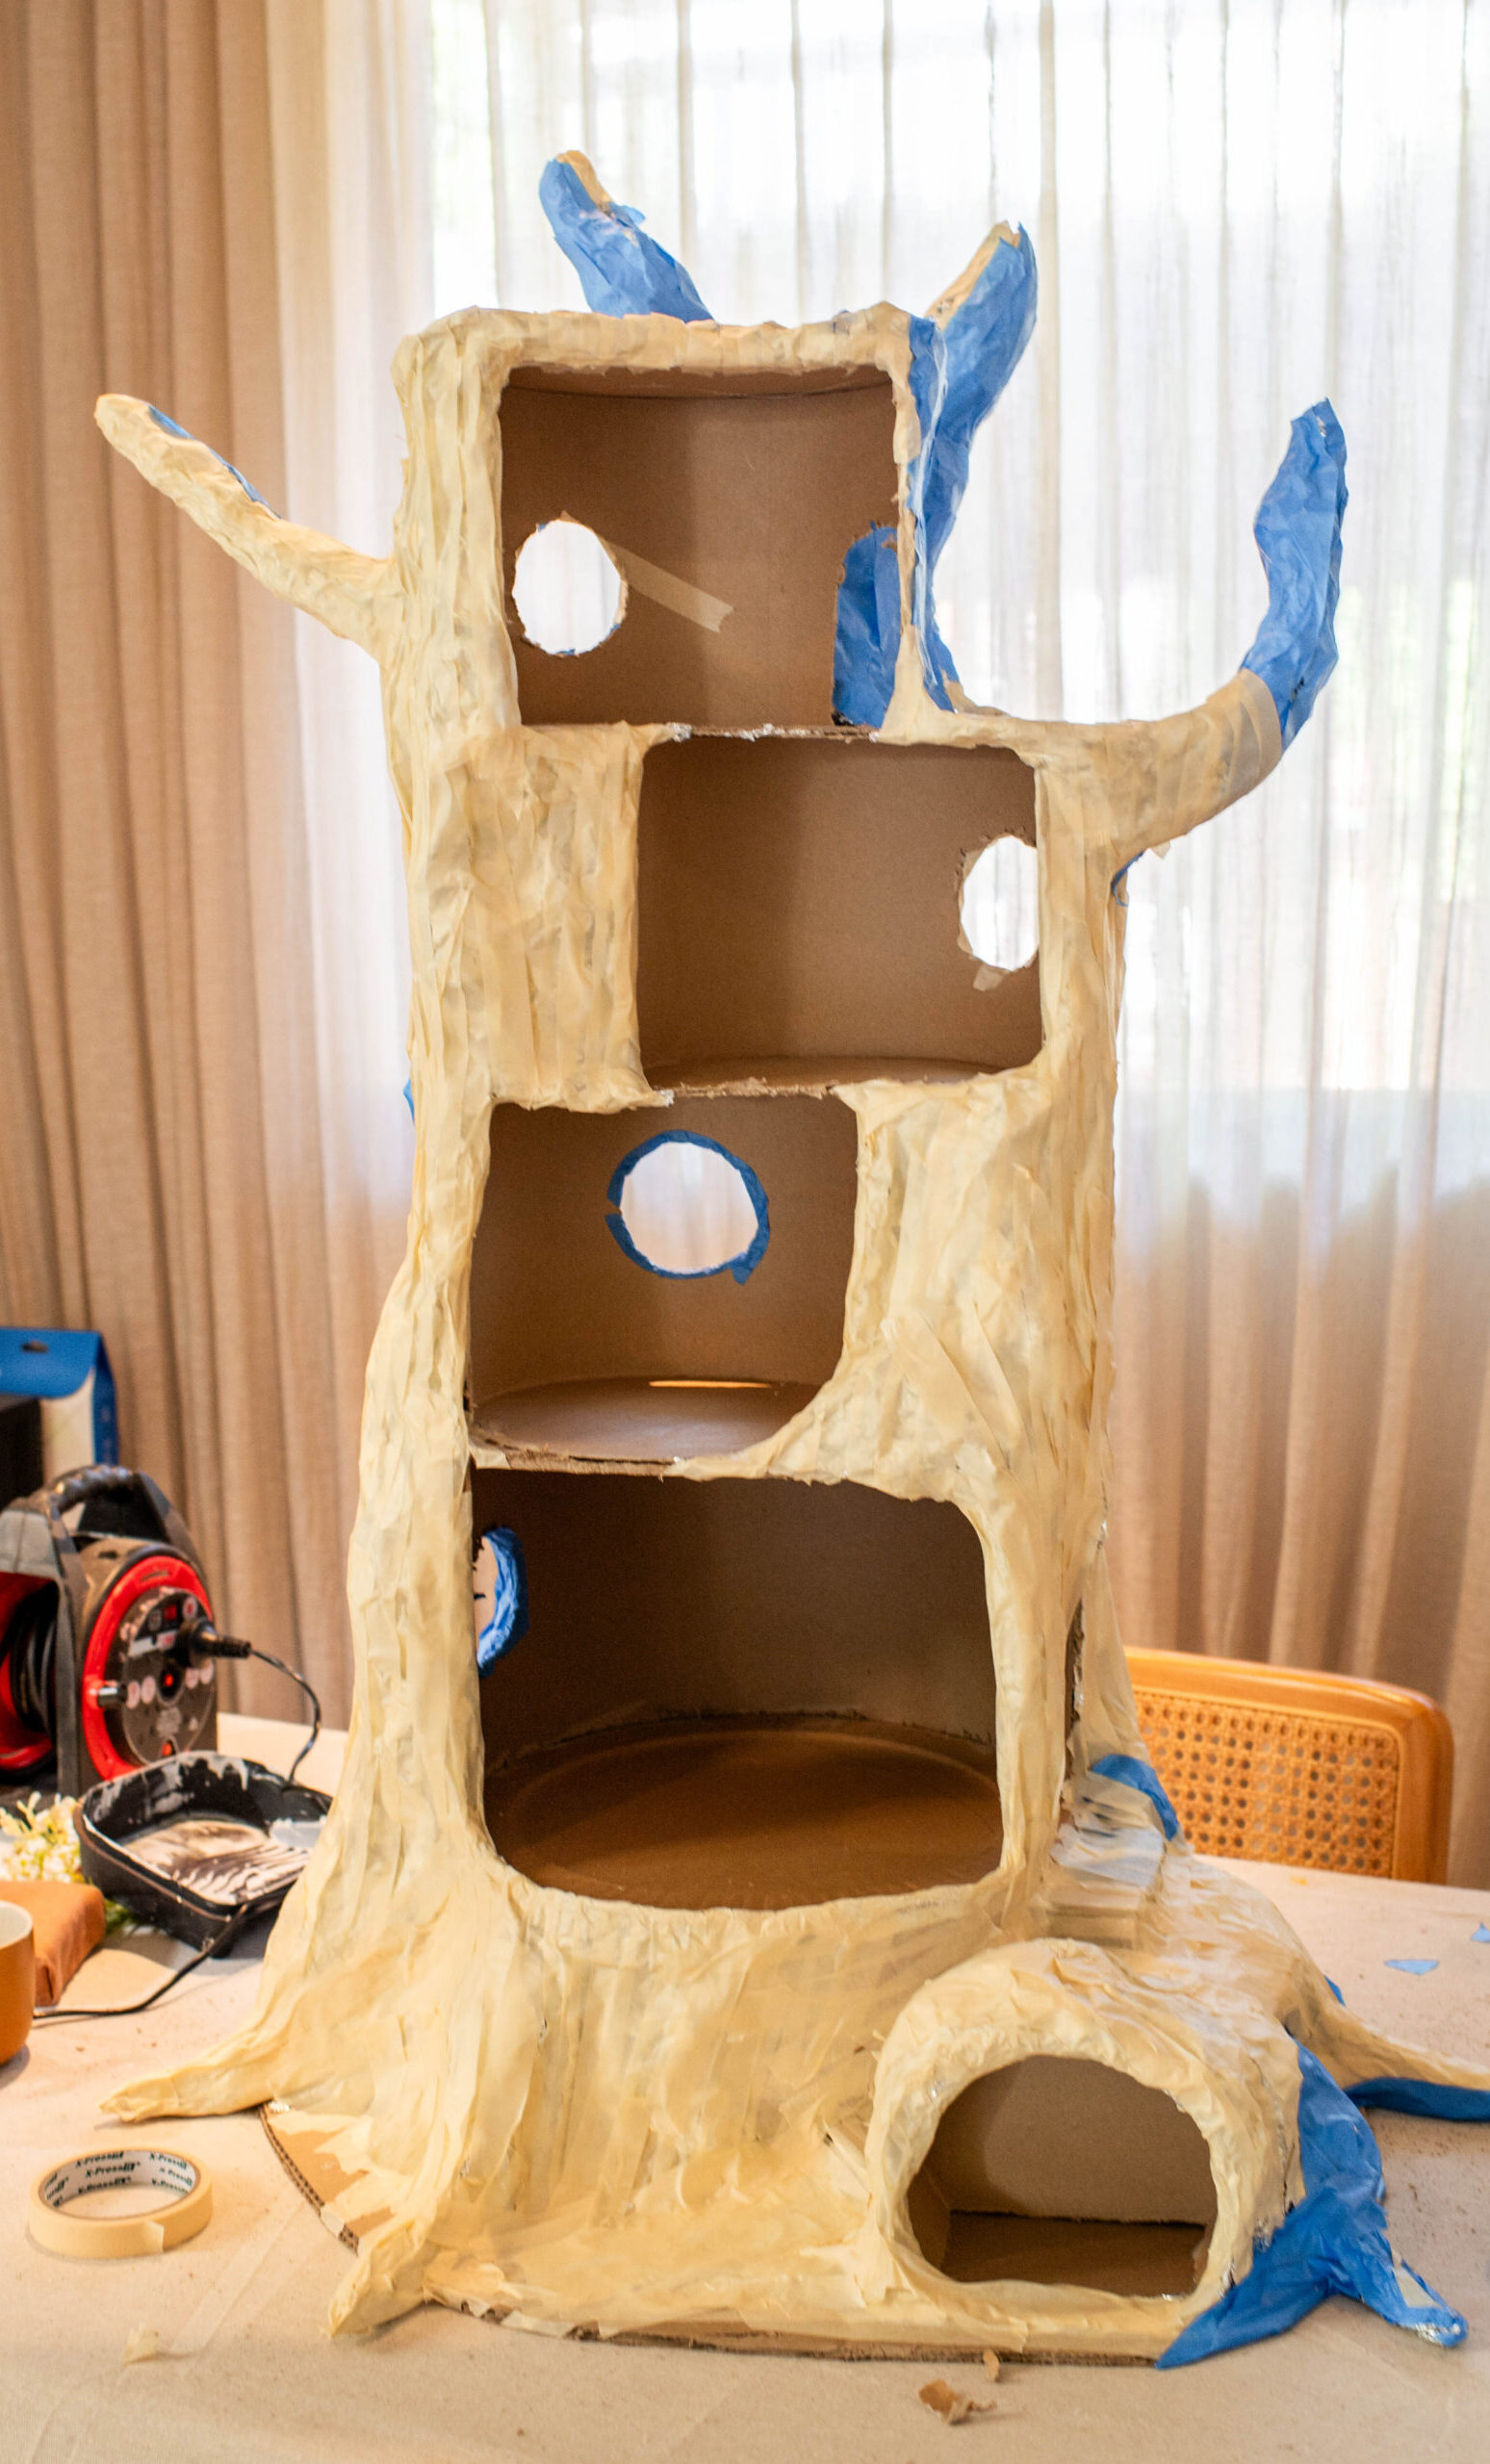
Once the shape was complete, I covered the whole tree shape in masking tape. I did strips of maskin tape from top to bottom covering all the tin foil.
10
This step took a long time but it was worth it because it fully completed the structure. had to switch to painters tape at the end because I ran out of normal masking tape! It worked fine too.
11
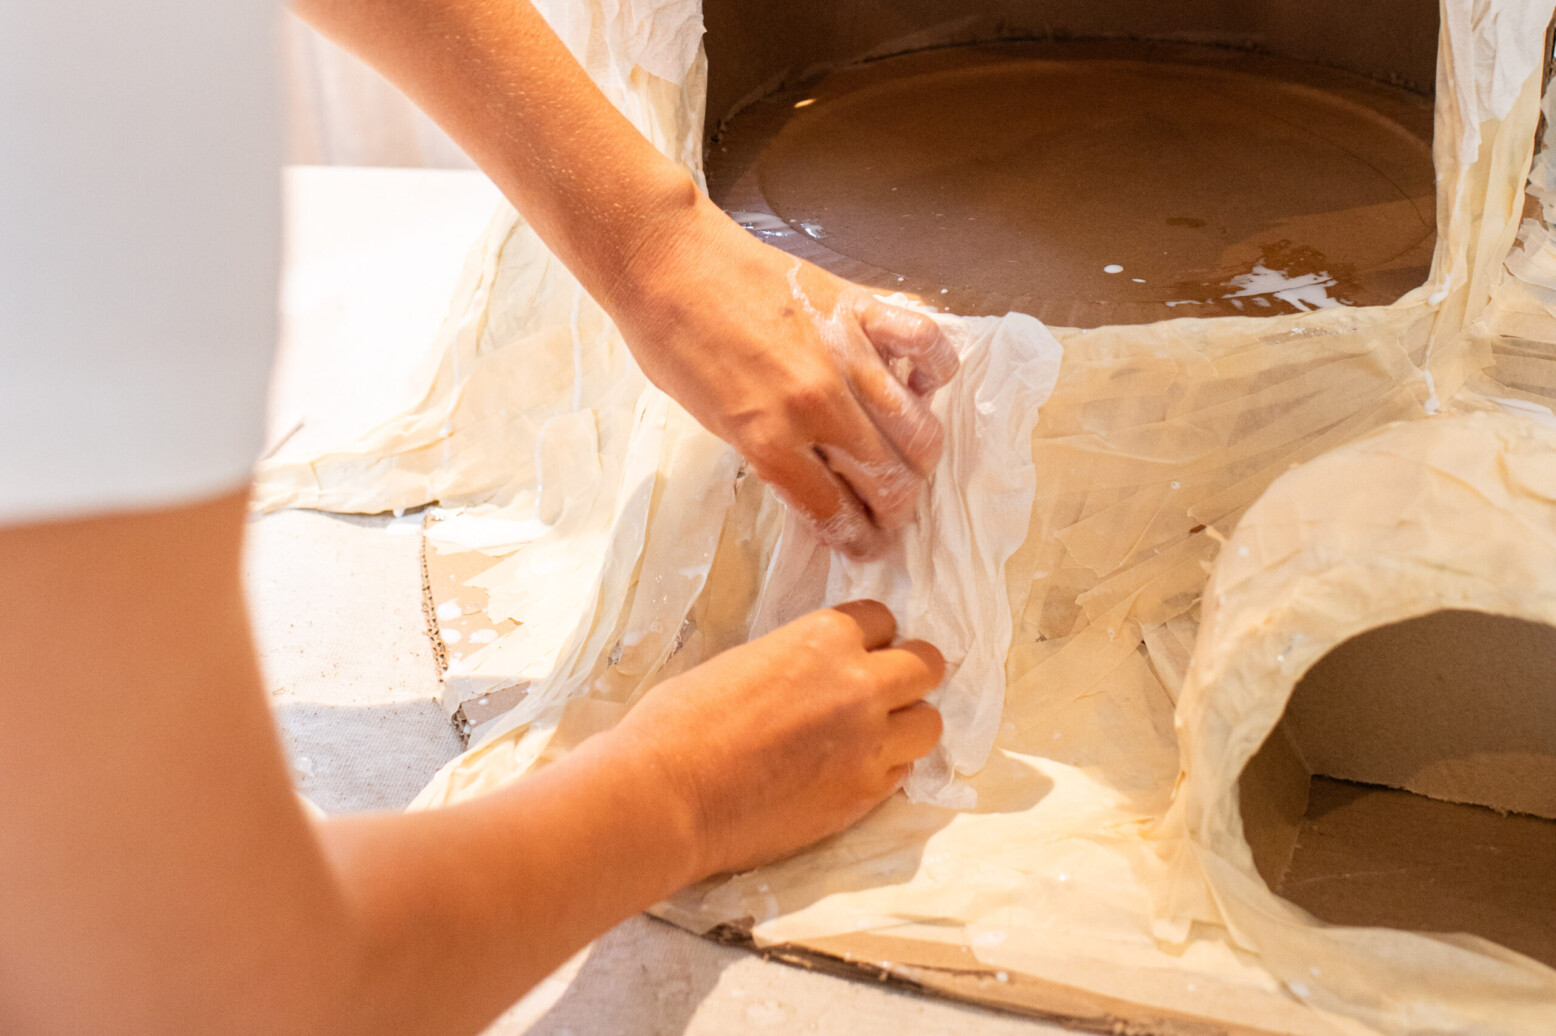
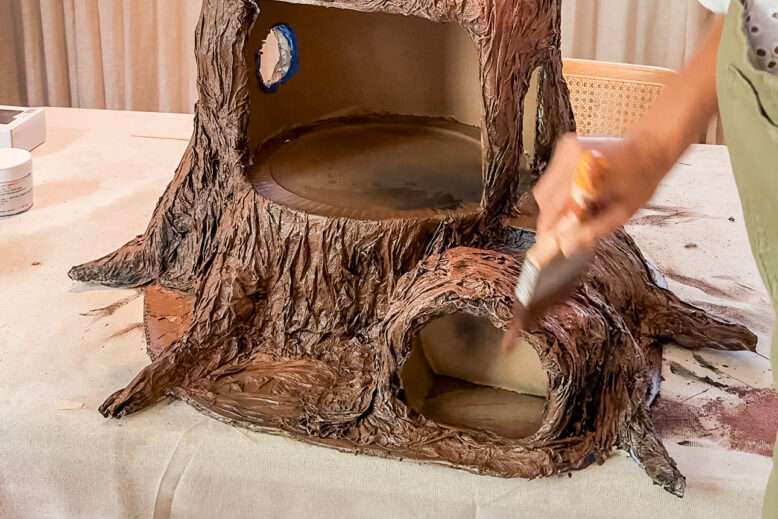
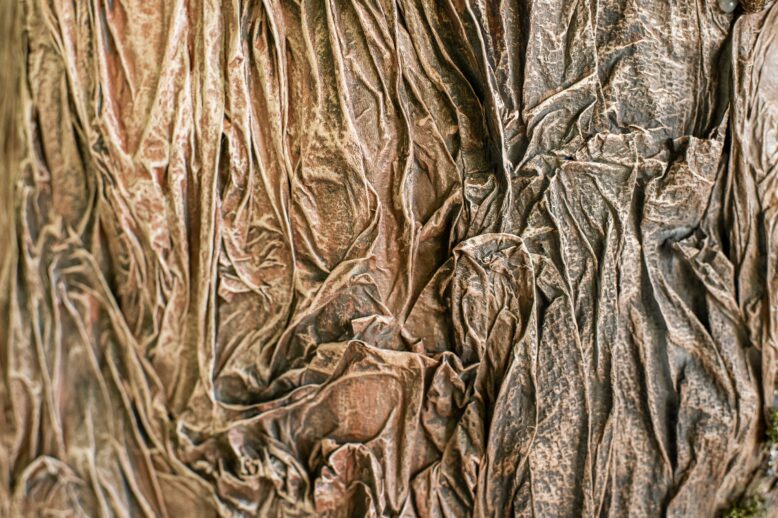
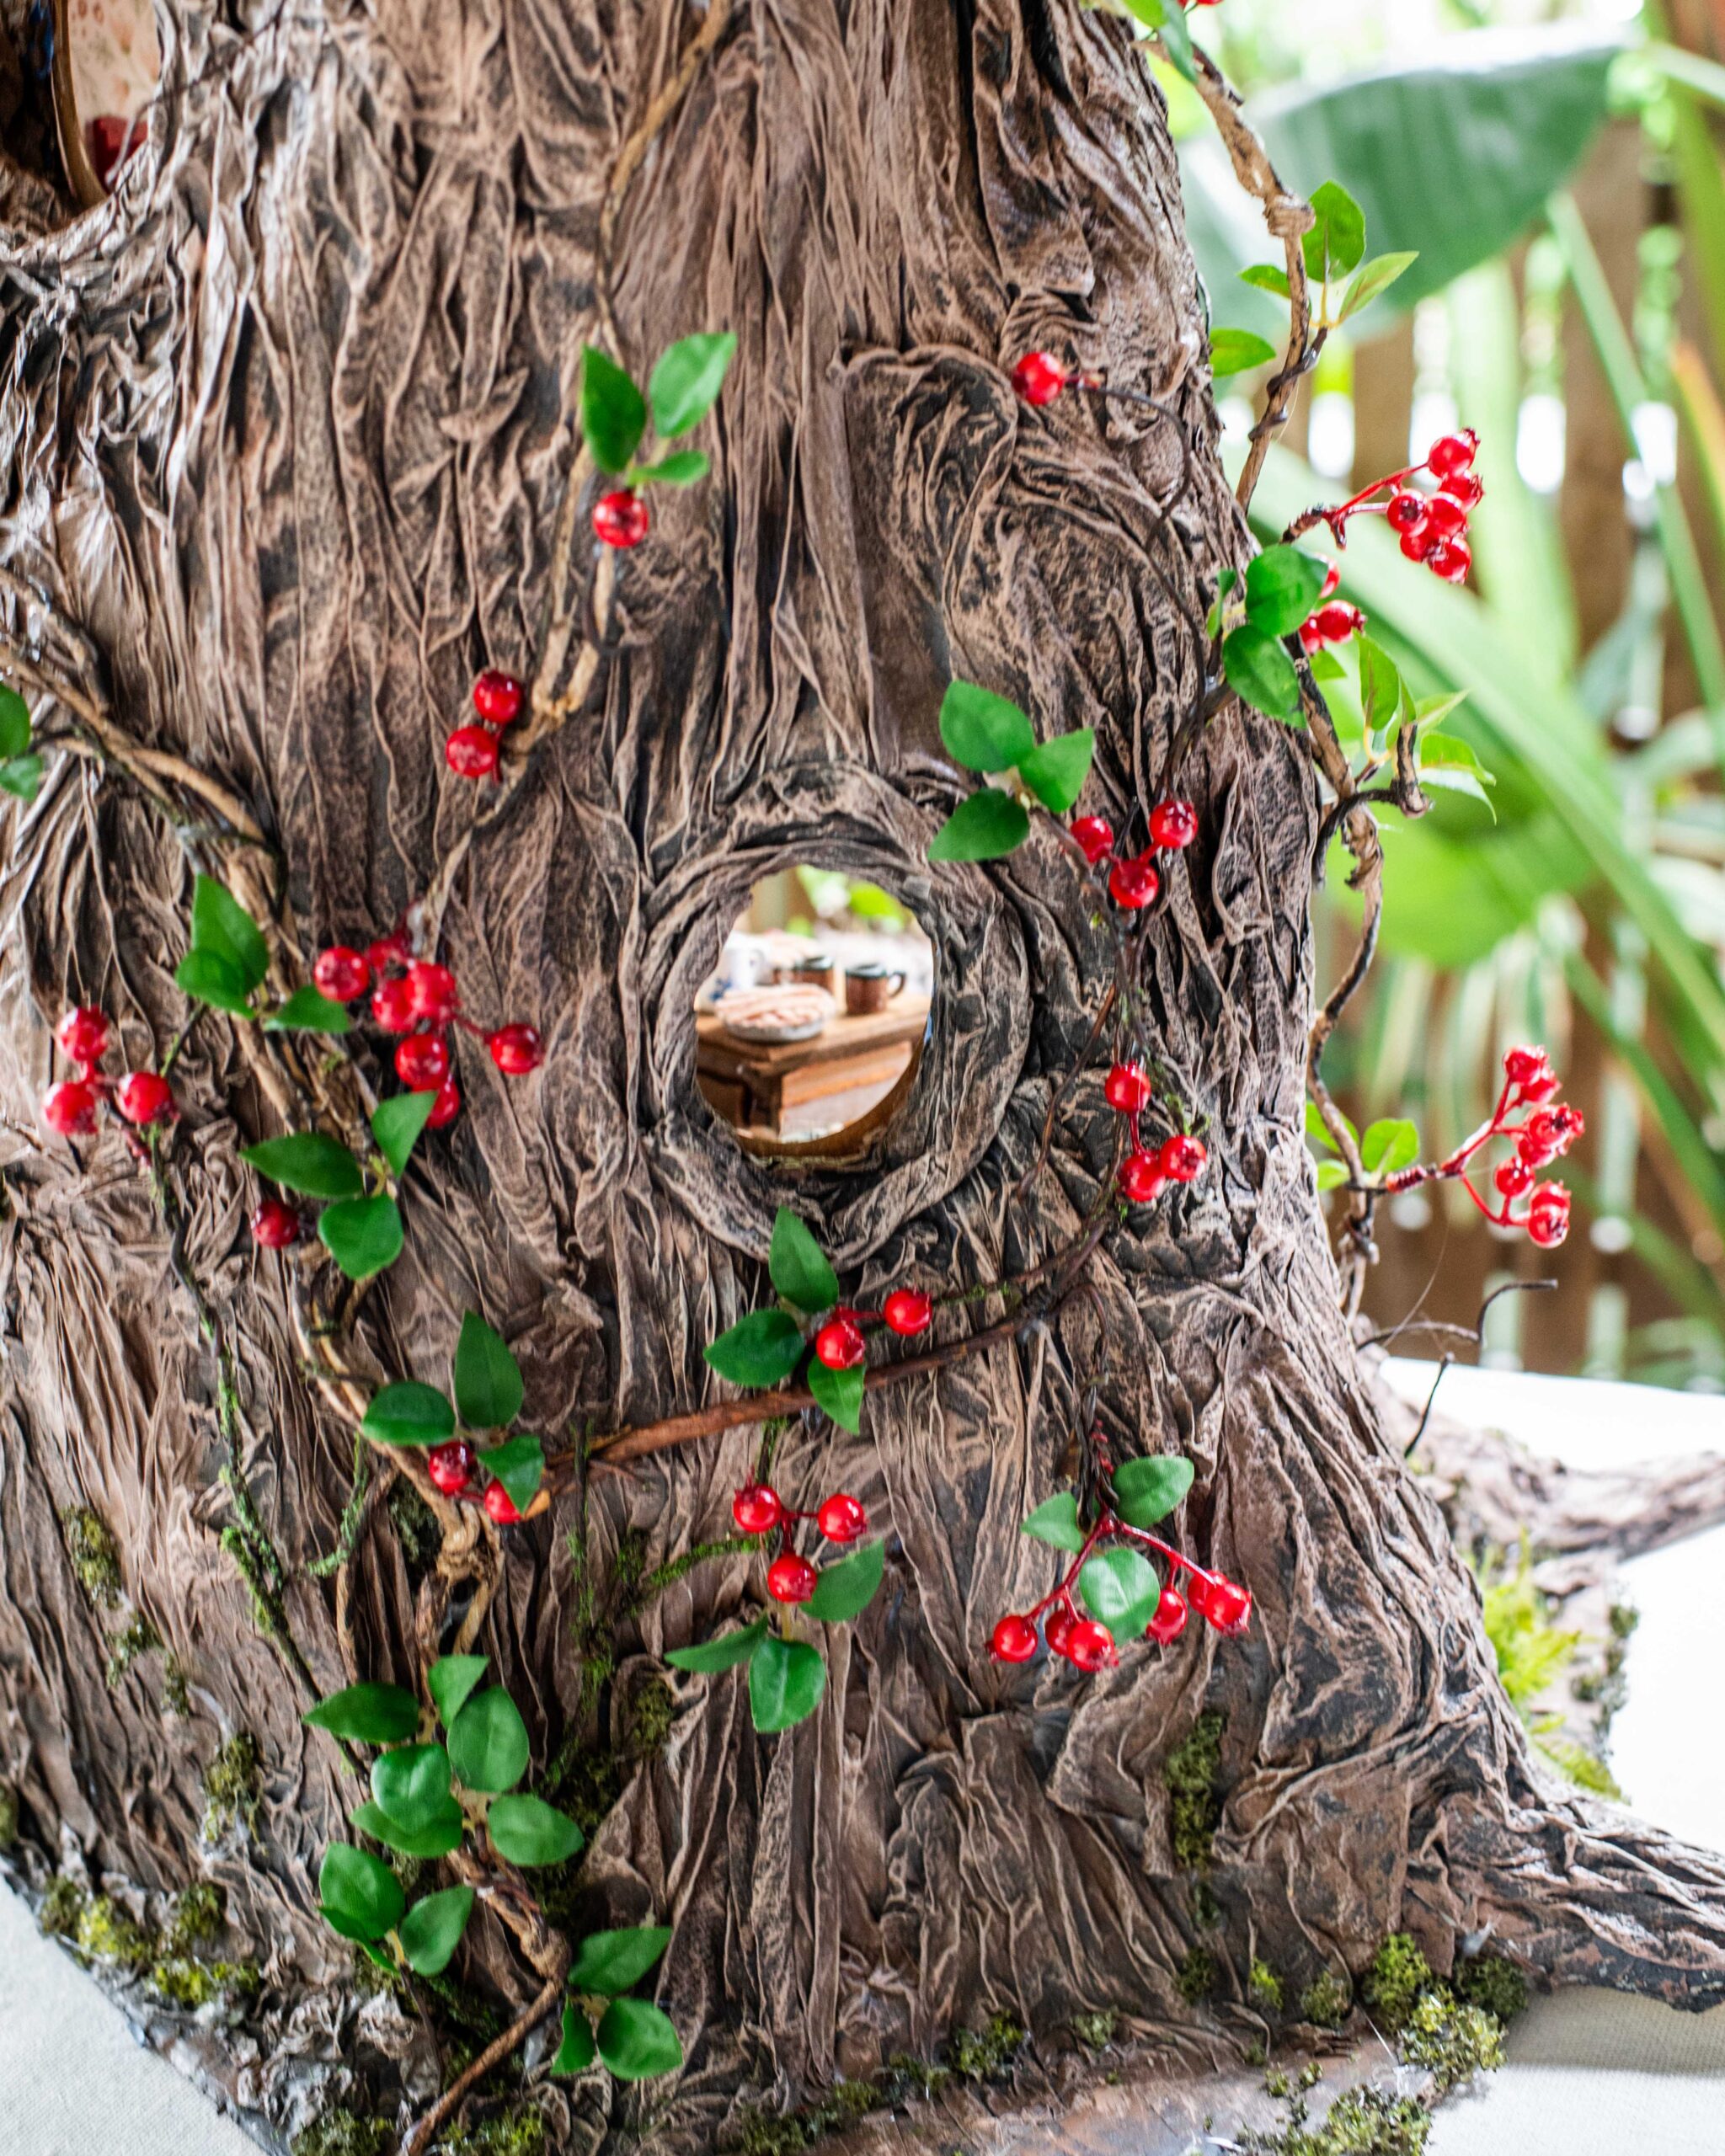
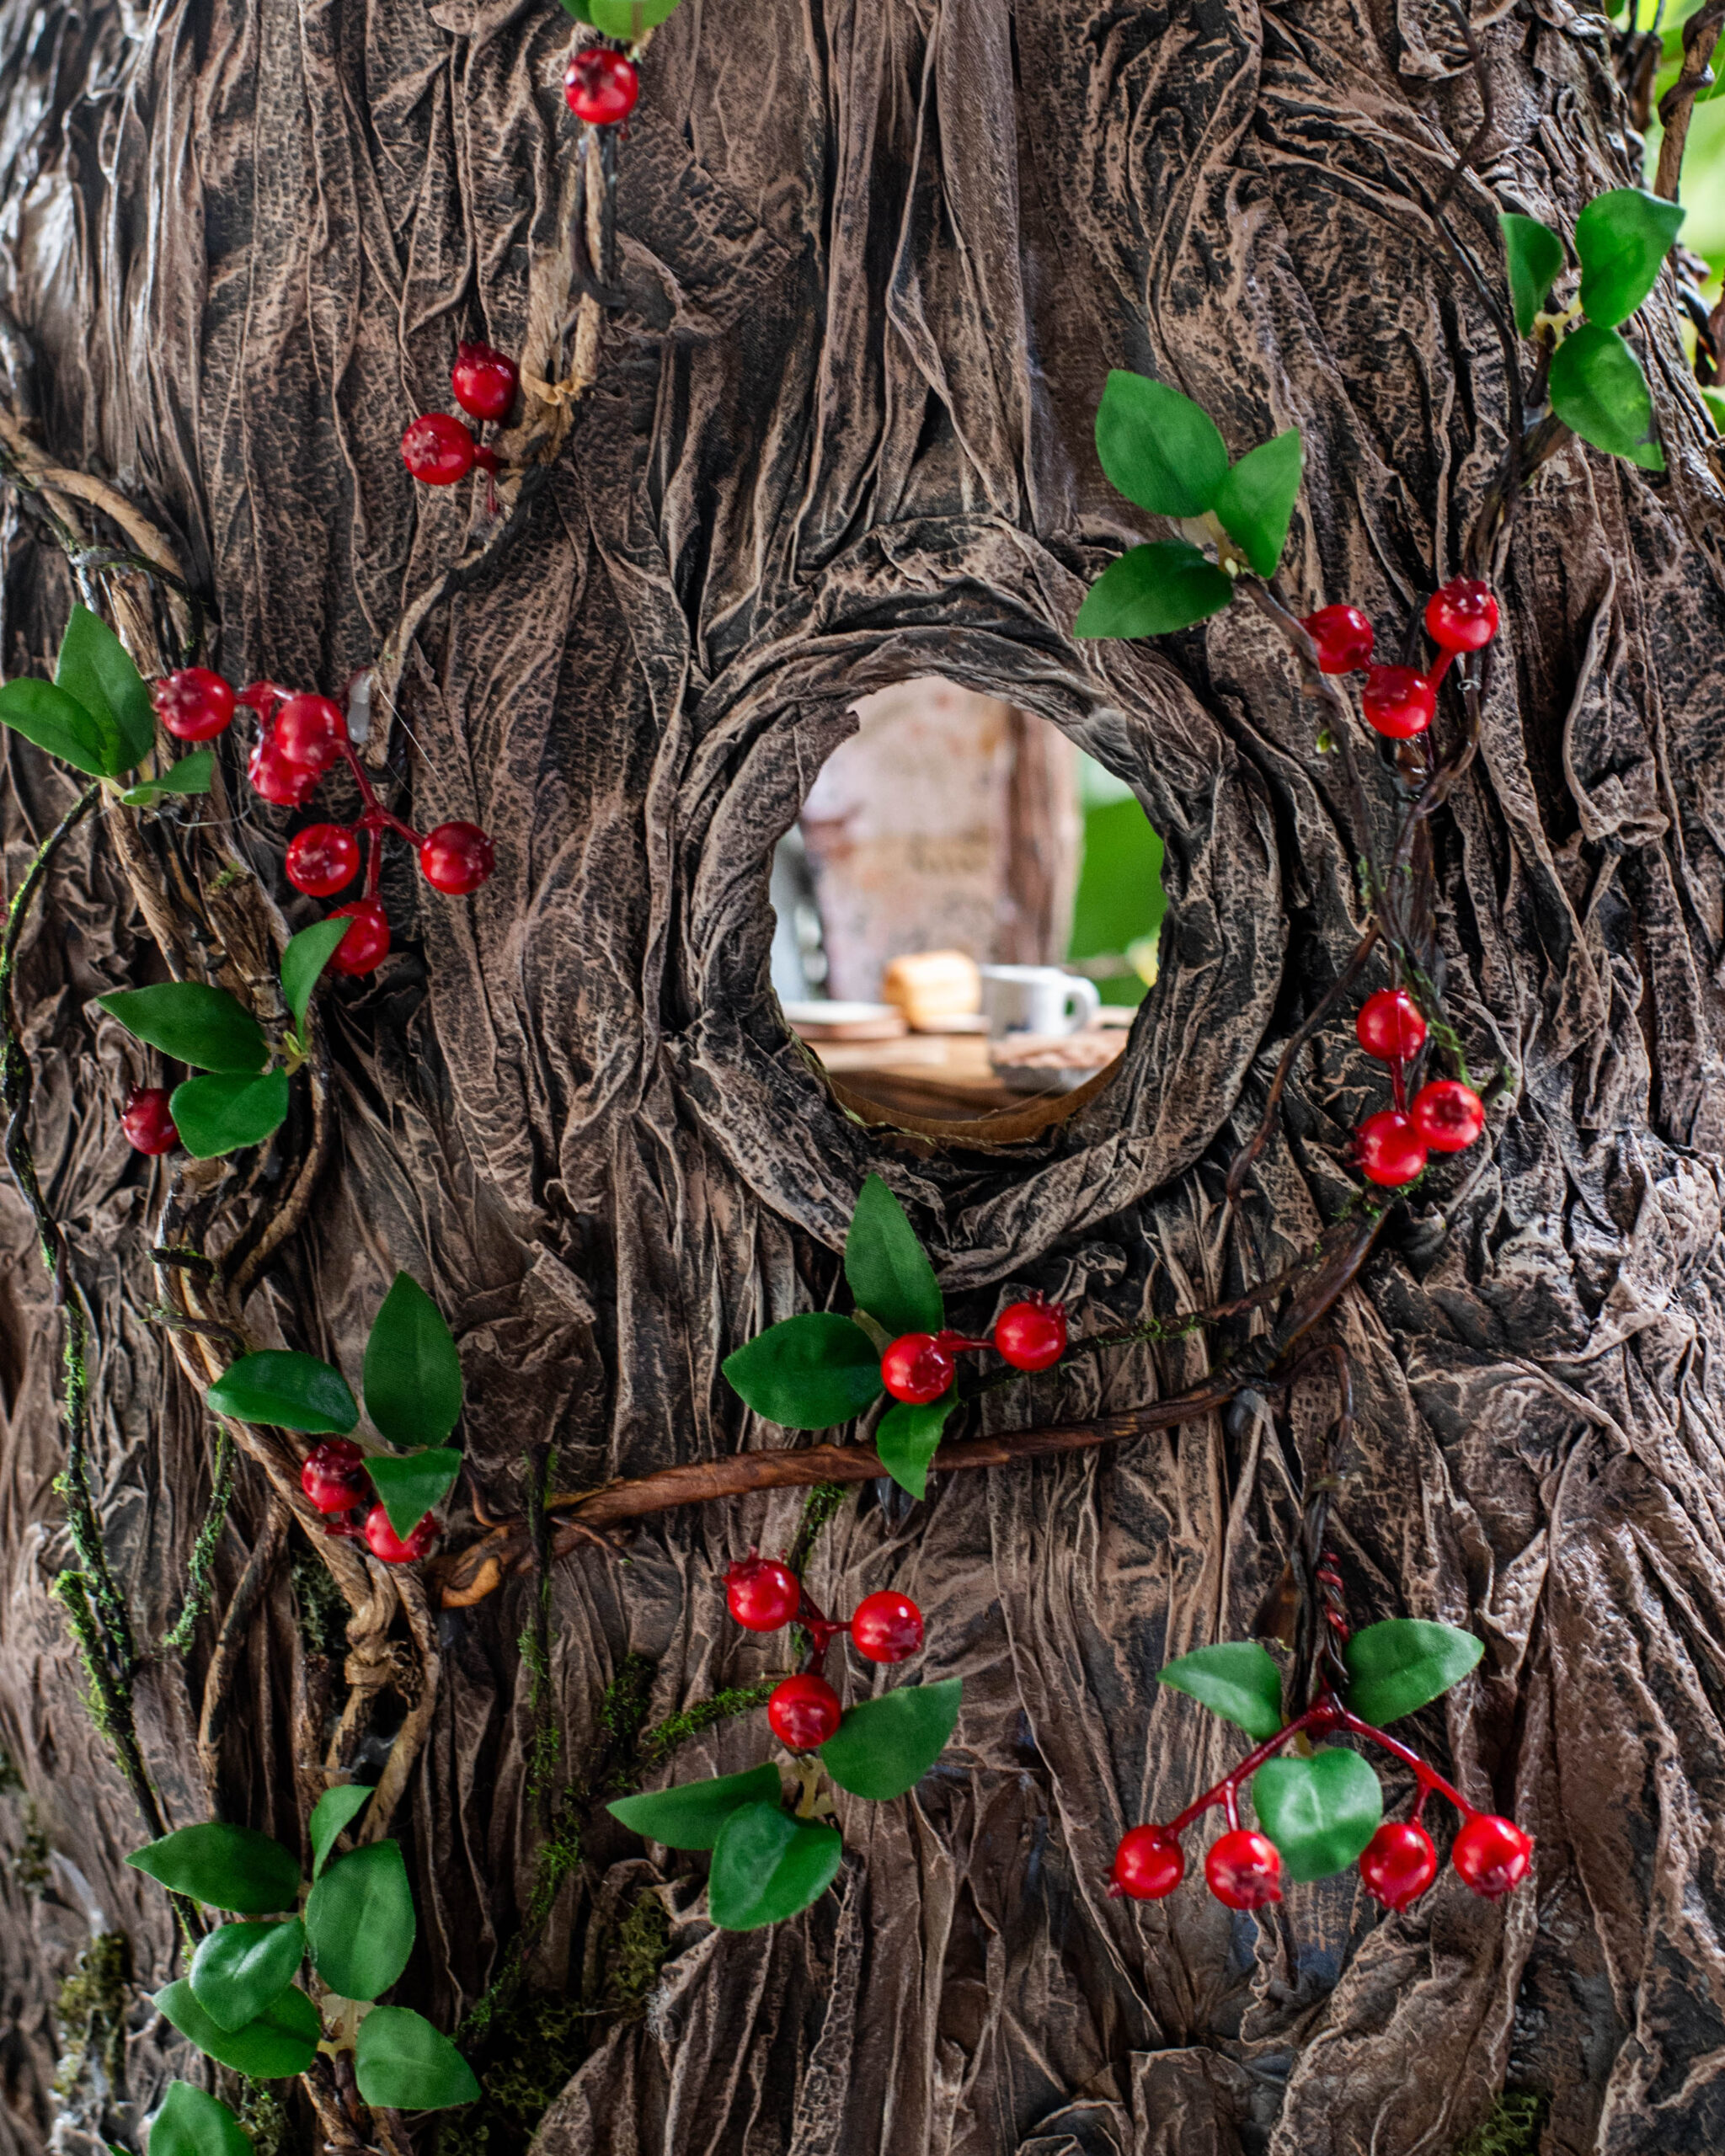
The next step is to create the bark texture, which I did by dipping paper towel into a water and PVA glue mix. I mixed the water and glue up at around 1 part glue to 2 parts water. I then took a single sheet of paper towel and dipped it into the mix, squeezing it out until it was wet but not dripping. You need to scrunch the paper towel into lines so that when it dries it resembles tree bark. I found it was easiest to kind of pre-scrunch lengthways before applying it. Apply this to the whole tree, adding it around the circular holes to create windows. You may notice join lines between the paper towel sheets so just add another layer over the top or rip smaller strips to create some camoflage.
12
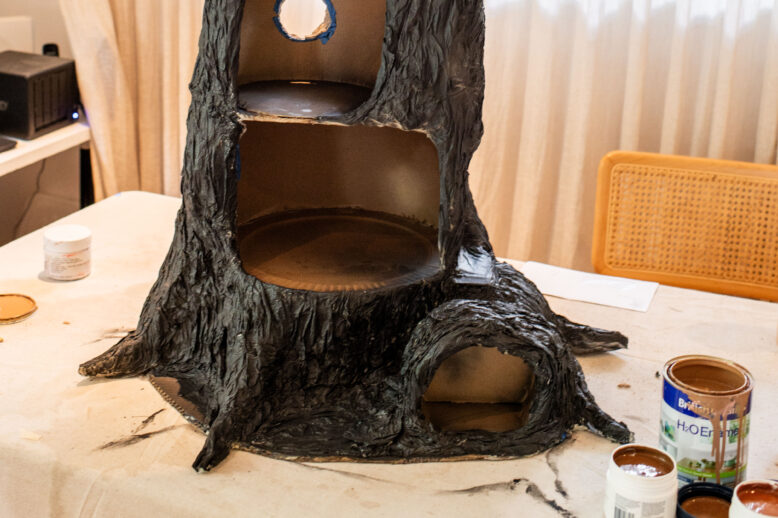
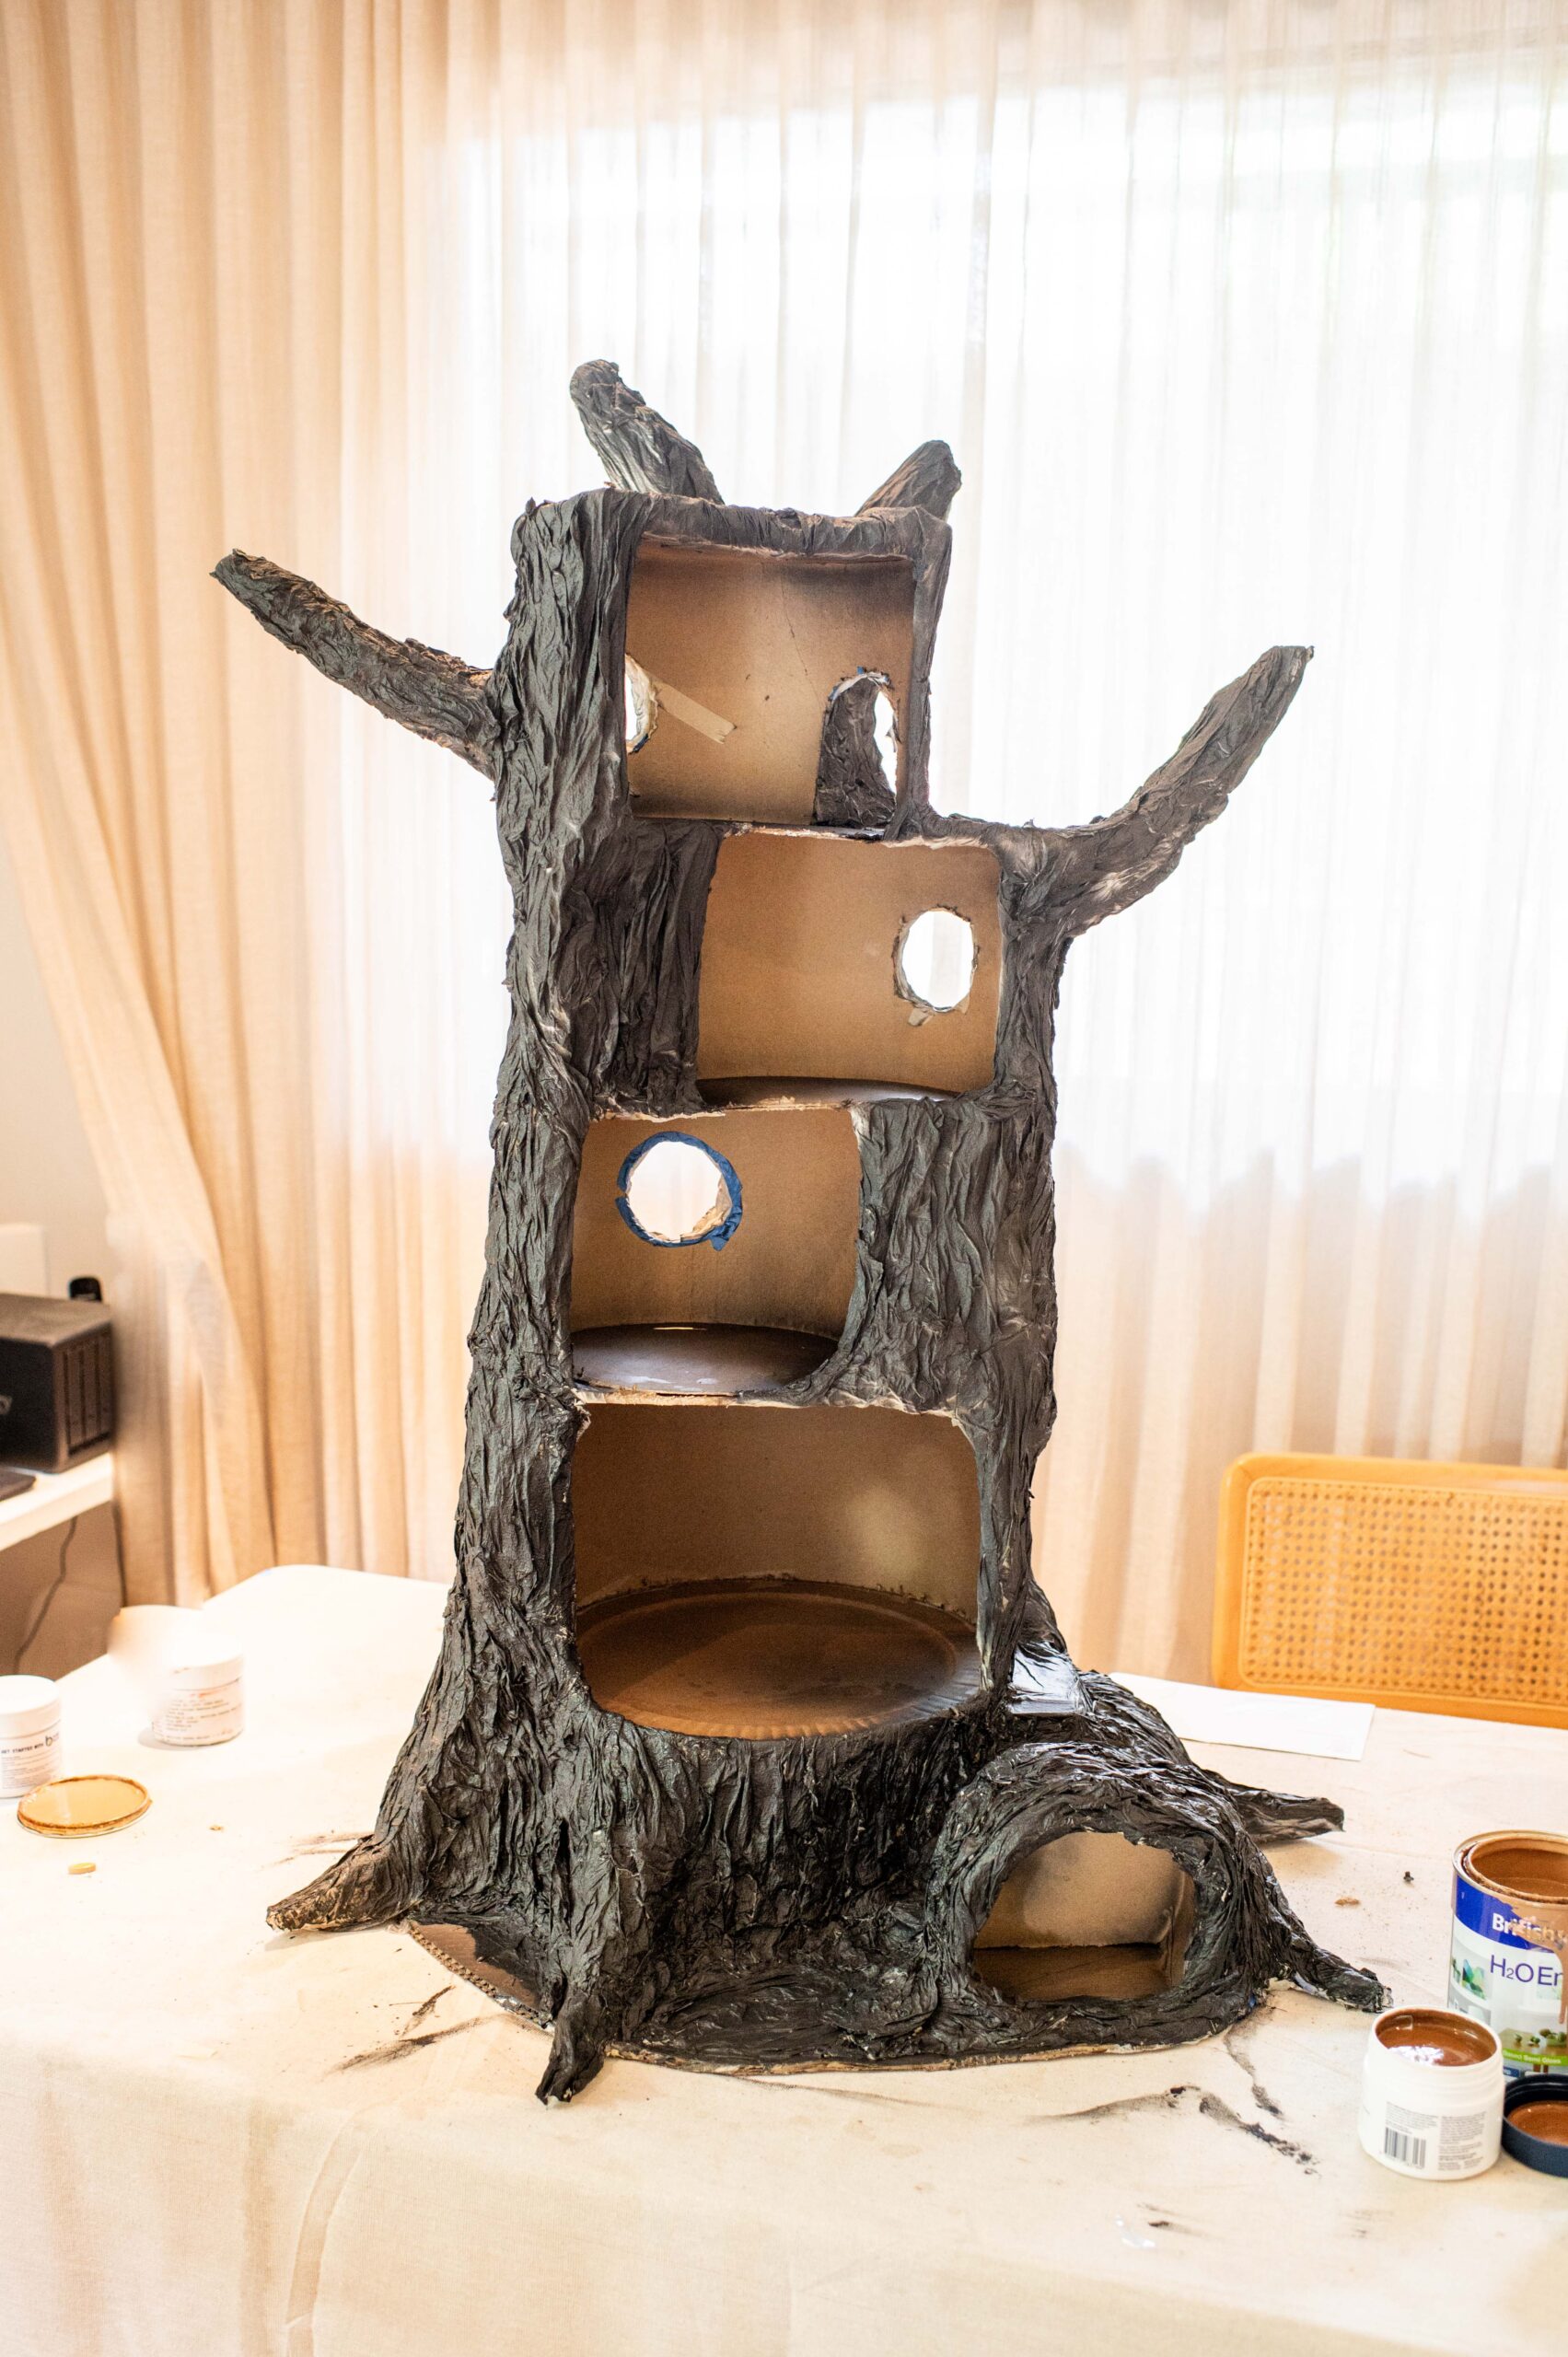
Let the tree dry overnight, you may need to place it on some plastic or prop it up so it doesn't stick to the table. Next it's time to start the painting process. Start by painting or spray-painting the whole tree black. I found spray paint to be fastest and it got into all the crevices.
- Paper towel layer.
- Masking Tape Layer.
- Painted black.
13
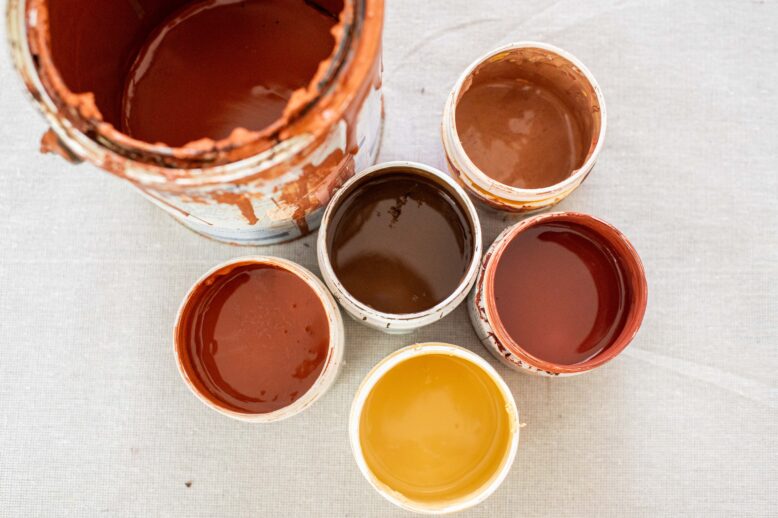
Grab yourself a few different tones of brown paint and some lighter beige paint. I ended up mixing some extra ashy tones to make the tree a little less warm in colour.
14
Working from darkest to lightest brown, start painting the tree. With the darkest shade you can apply a bit more into all the crevices, but once you get to the lighter colours use a dry brush, meaning dip it into the paint then brush it off onto some paper or scrap fabric and then gently brush it all over so only the top edges of the tree get painted. I have actually seen people do this the opposite - starting with the lighting colour all over then using darker colours to highlight and accentuare the texture, I would like to try that too!
15
This should be the look once you are done. Simply keep going until you like how it looks.
16
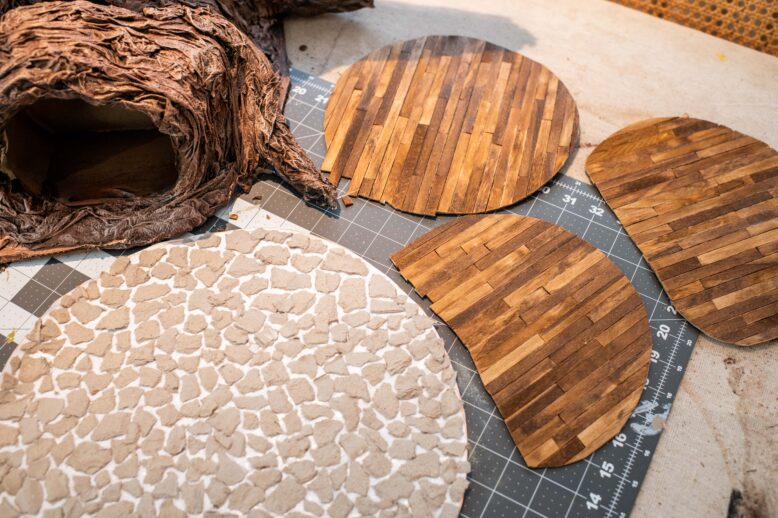
Once the tree was done I worked on the floors and walls! I made egg carton stone and timber floors (tutorials for both of these are in my Dollhouse Course).
17
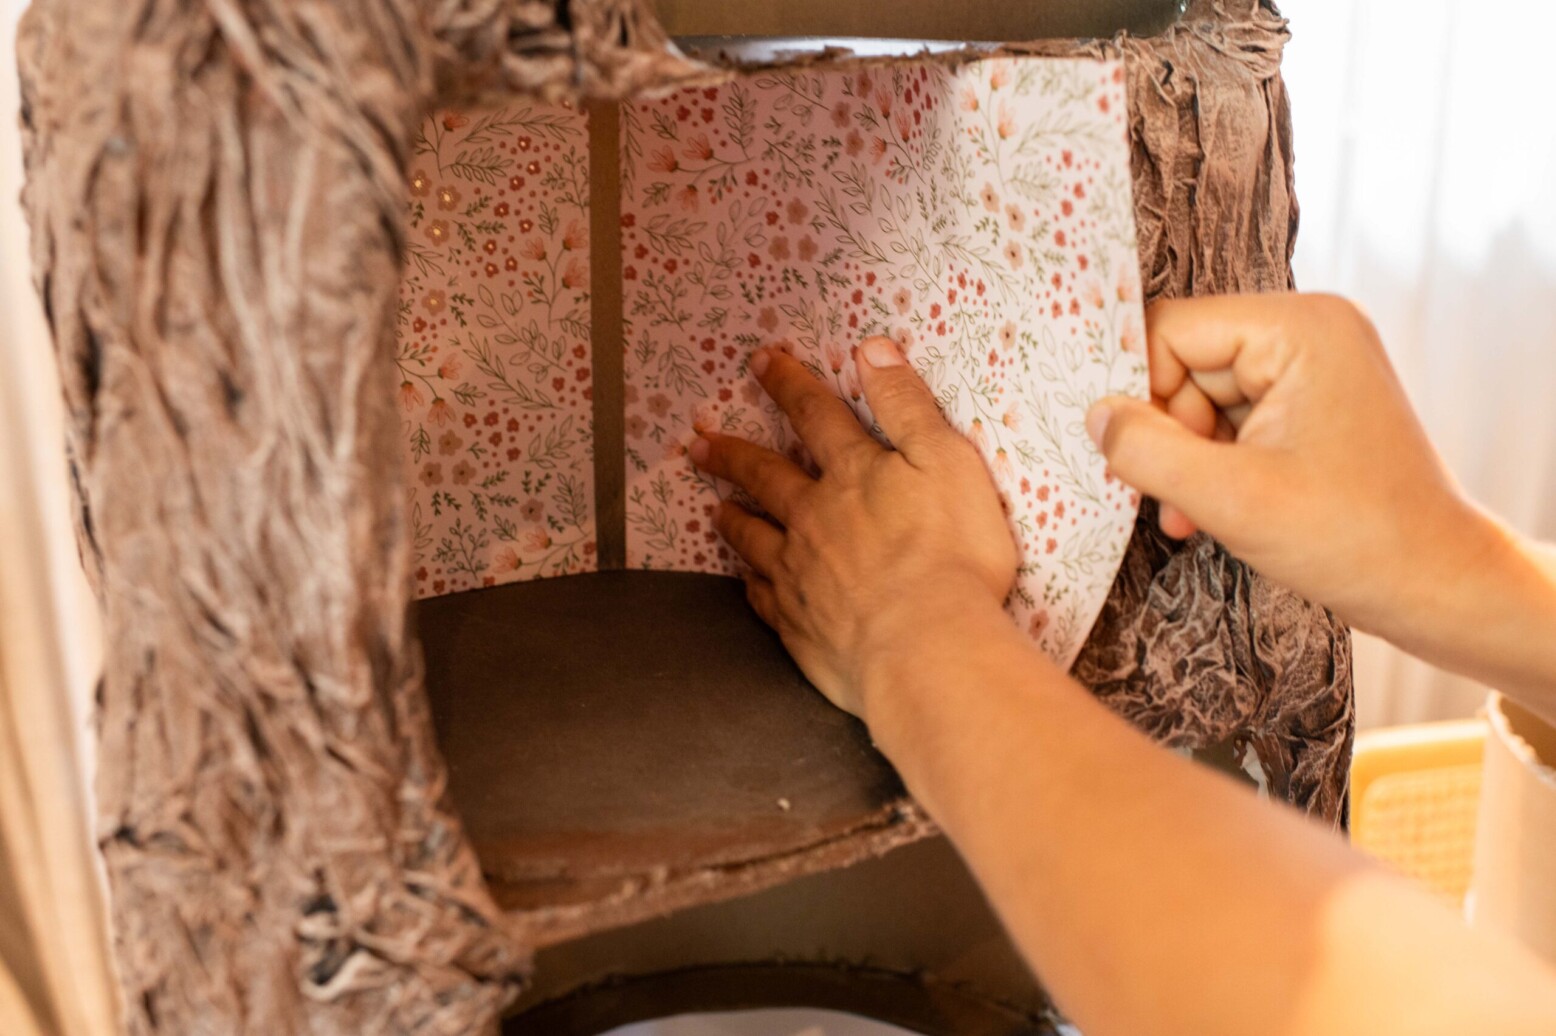
I then added all the elements in including wallpaper, window trim and skirting boards. These tiny details make a huge difference to the overall finish and look of the space so if you have time it's a good idea to do these.
This is how it looked once the structure and base were complete.
18
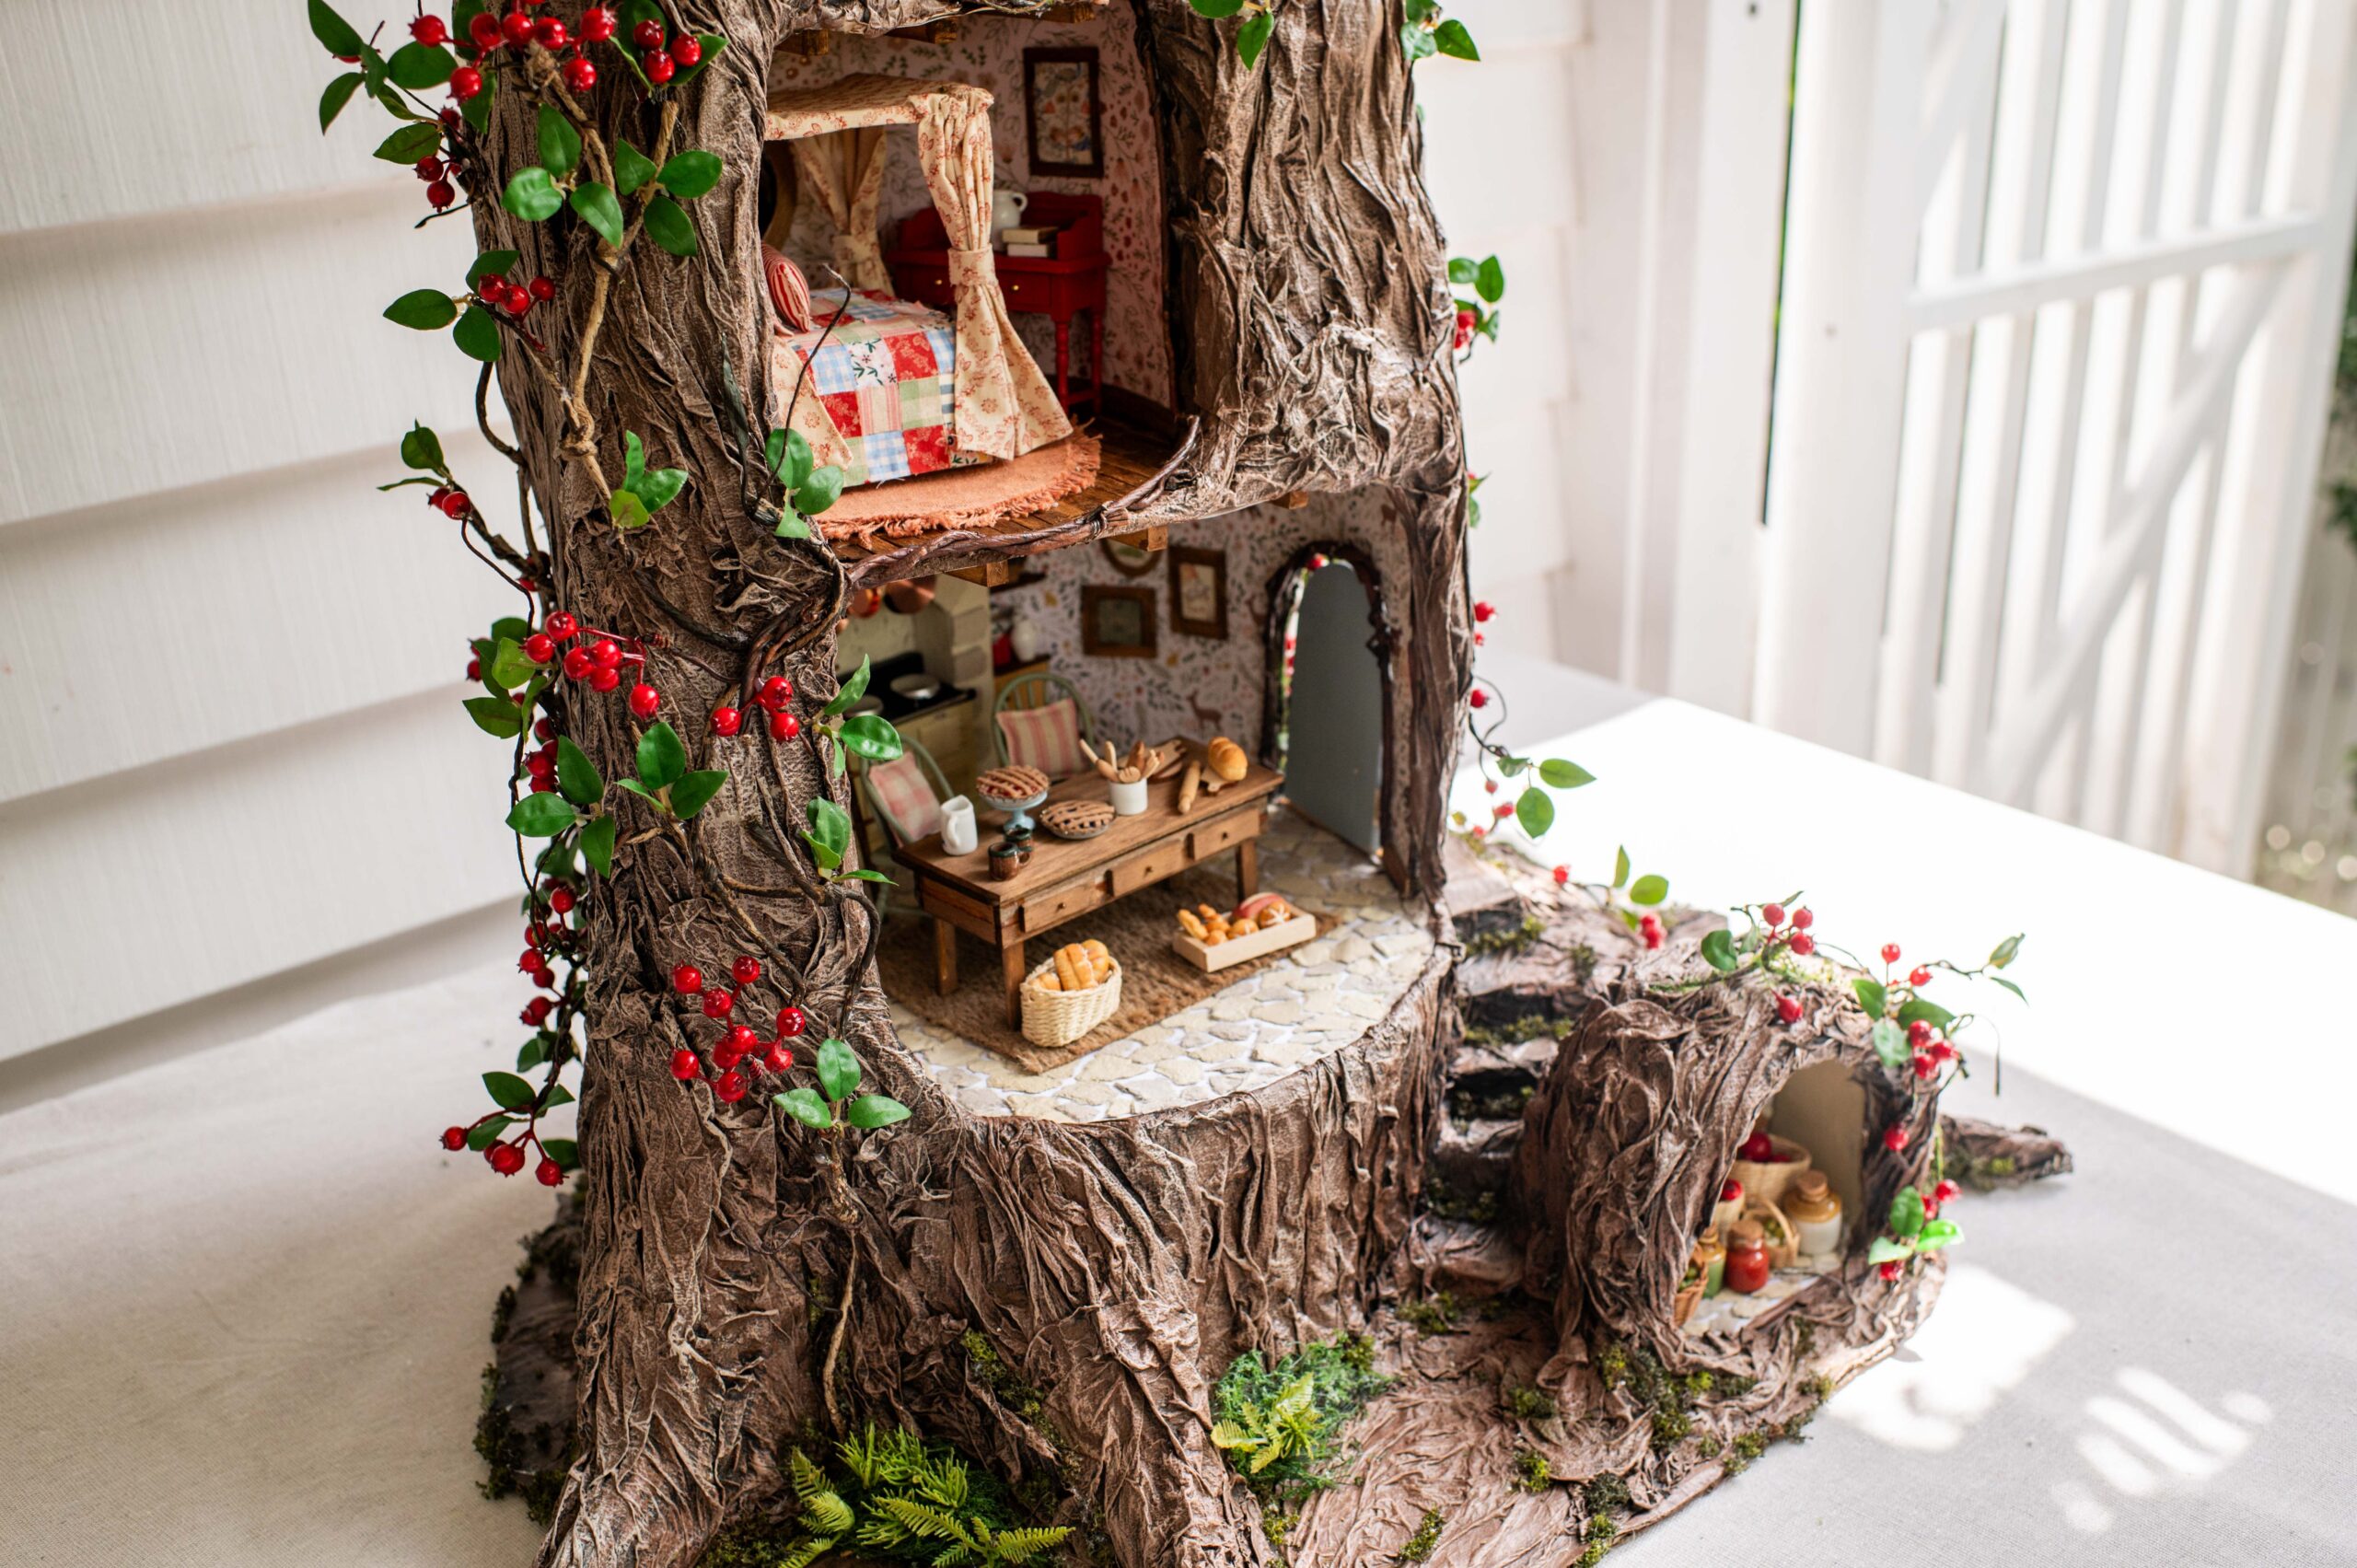
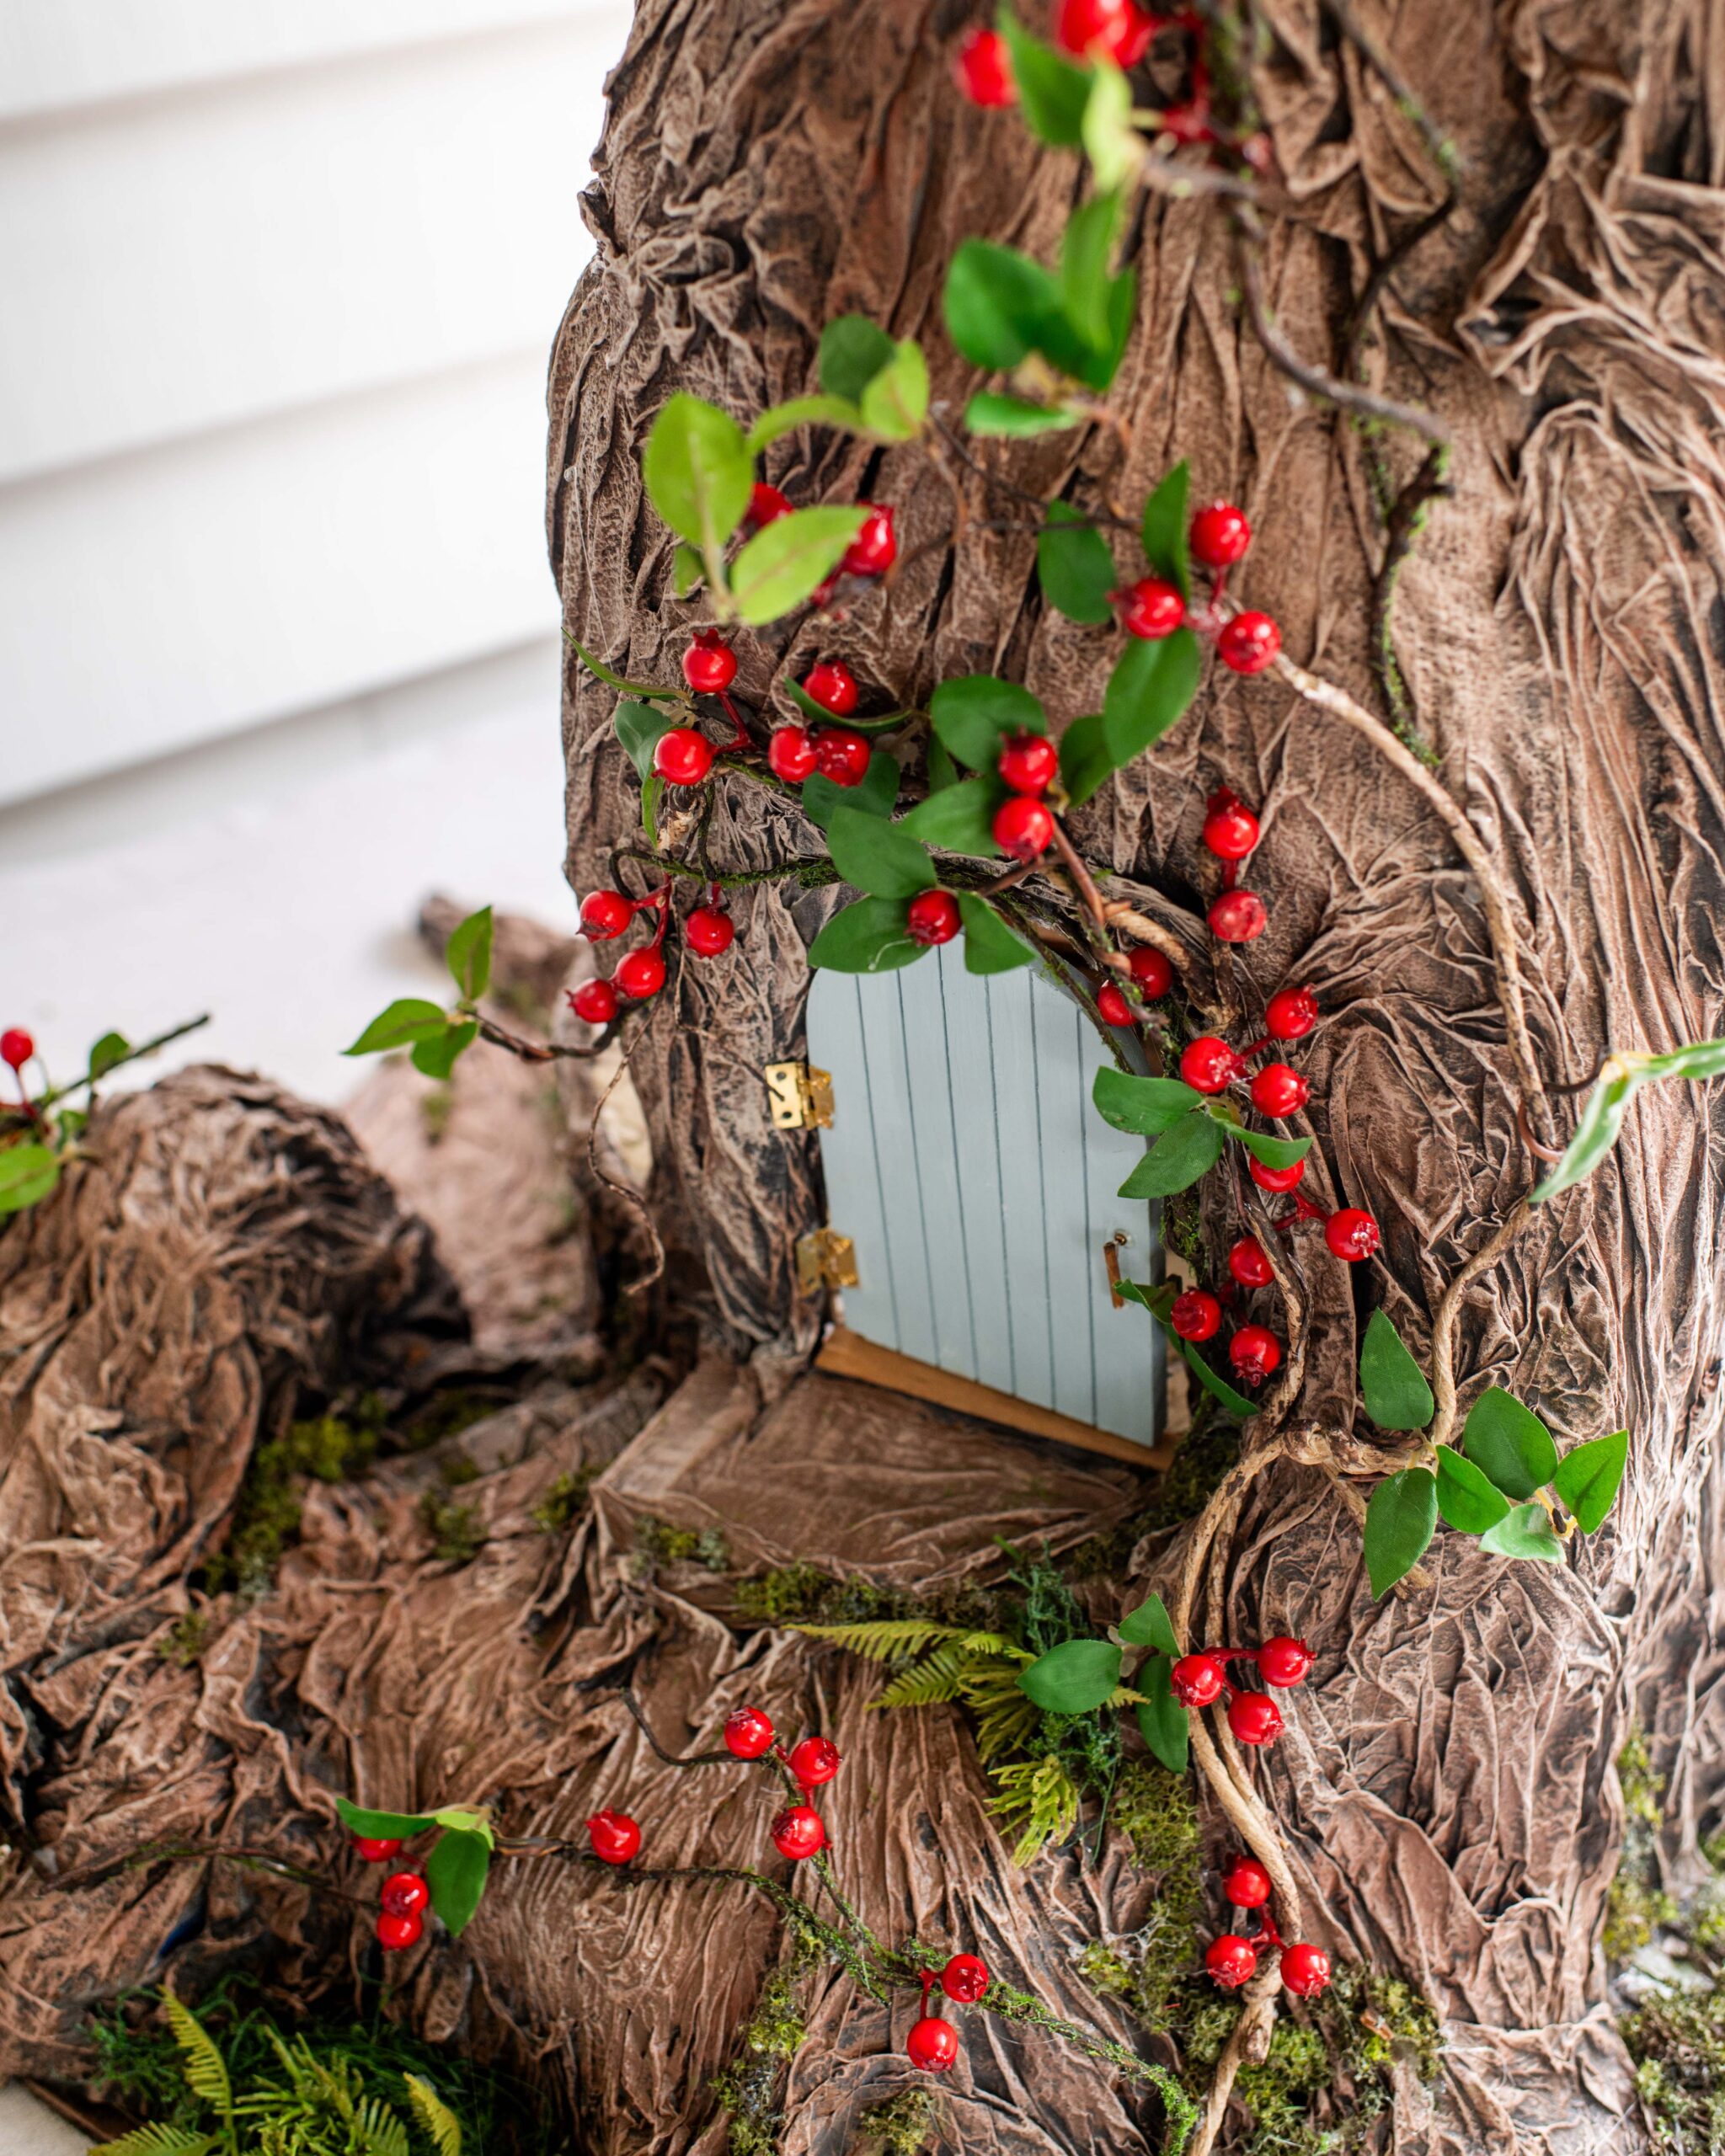
Once the whole tree was finished, I added the red berries and vine all over the outside. I took the berries and leaves off the stems and then reattached the stems coming out of the ground using hot glue, snaking their way up the tree, then I glued the berries back onto the vine in the ideal places around doorways, windows and working their way up the tree. I had leftover vine from the stems which I also added along the front edges of the rooms and around doorways.
The final step was to make all the teeny tiny details. You can find everything you need to know about the additional items I made and links to what I bought in my dollhouse course!


