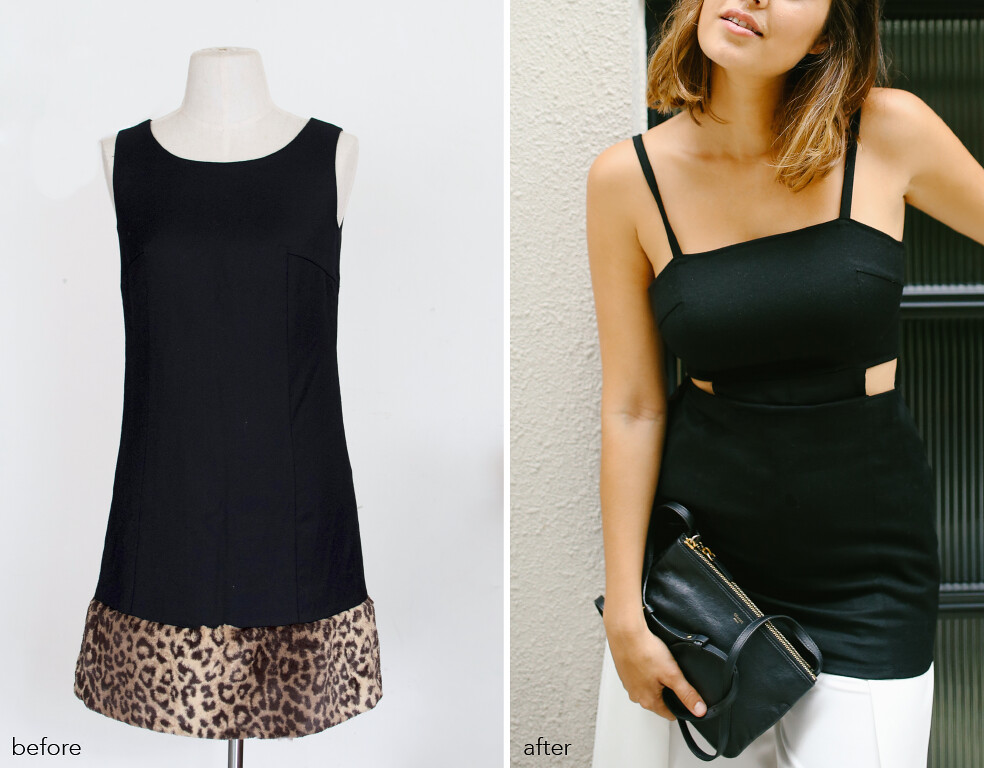
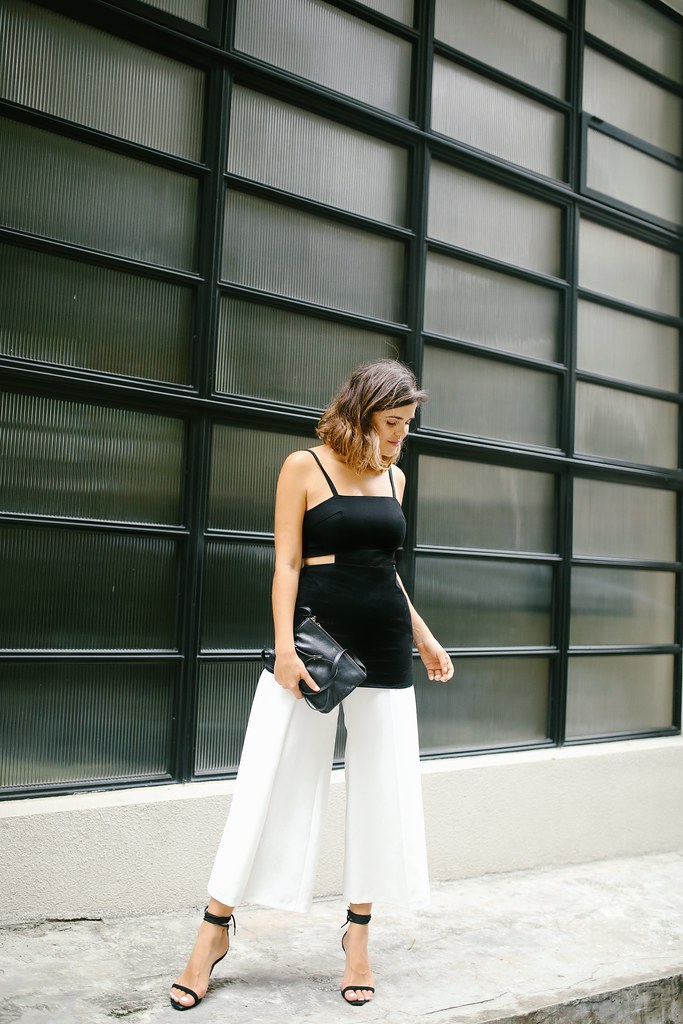
Happy Summer guys! And as they say, ‘sun’s out, bun’s out’…. Or in my case, suns out, ribs out… Doesn’t quite have the same ring to it but either way it’s on! To celebrate the first of many fun summer days to come, we decided to whip together another before & after project for you. Taking a frankly horrific dress and turning it into something… better? I hope you think so.
We found this piece in a thrift store and although we were repelled by the fluffy leopard print bottom, we loved the soft and structured fabric of the rest of it. One of the main problems with the dress was that it was way too short to remove the leopard print piece and still create a dress, so we decided to make it into a to. As an ode to weird tan lines everywhere, we threw in a few cut outs along the way.
The Cut Out Top
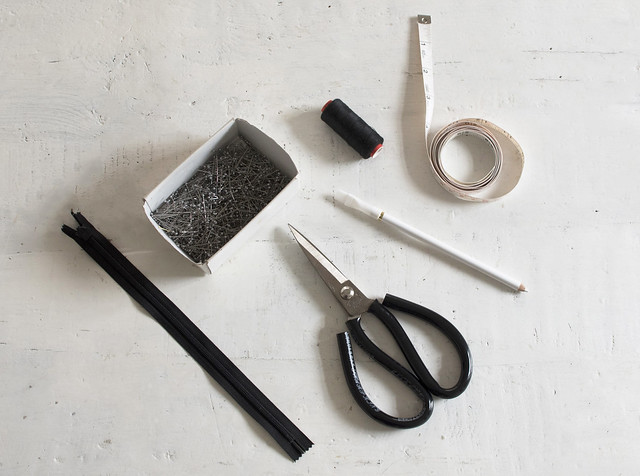
You need:
- Black shift dress
- Open end zipper
- Scissors
- Tailor’s pencil
- Measuring tape
- Sewing machine and thread
How to
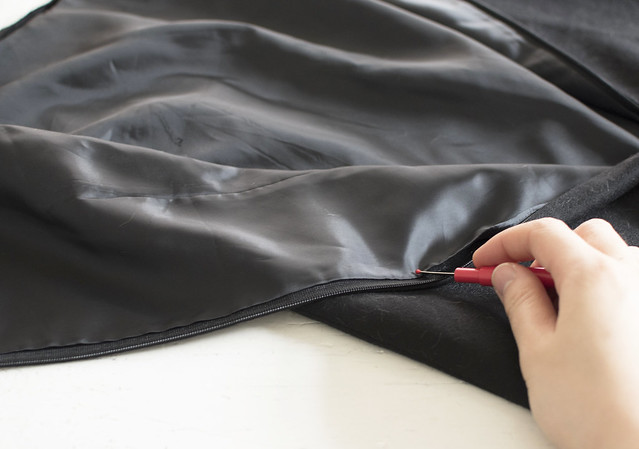
- Unpick the lining and remove any trims (like in our case, the fake fur).
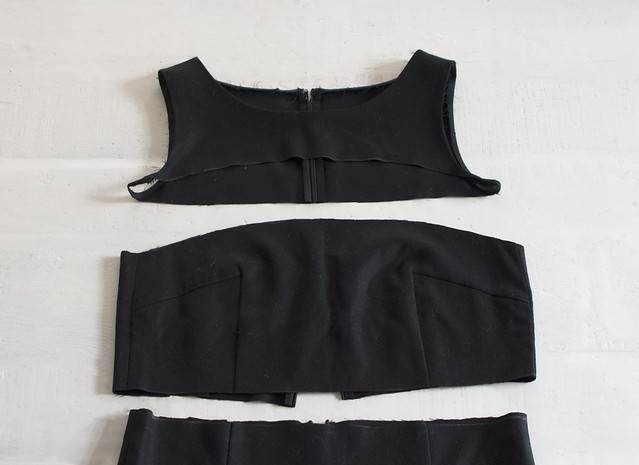
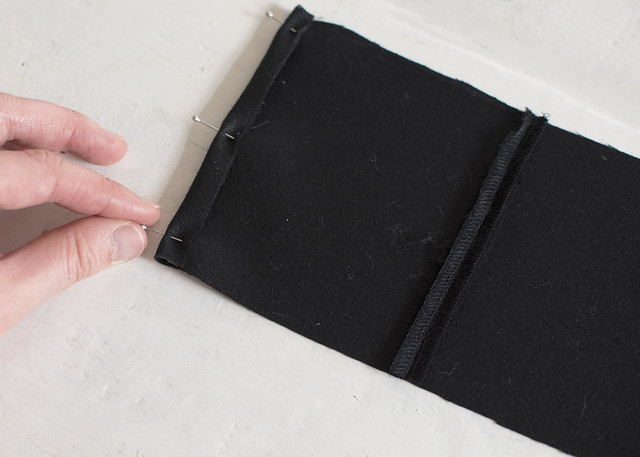
2. Mark where you are going to cut the dress with the tailor’s pencil. We cut the dress just above the bust to make it strapless and at the waist to insert the cut out.
2. For the skirt, pin and sew the bottom hem.
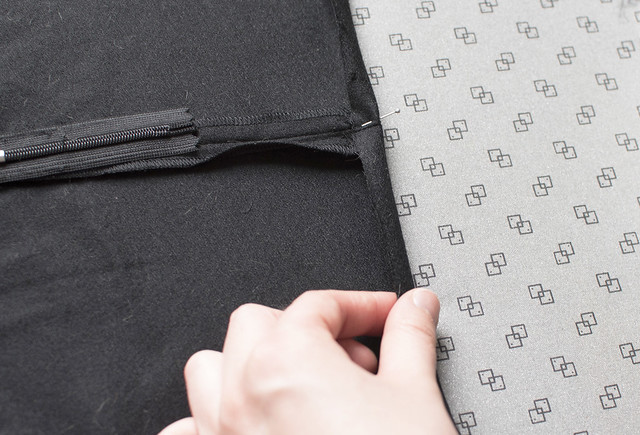
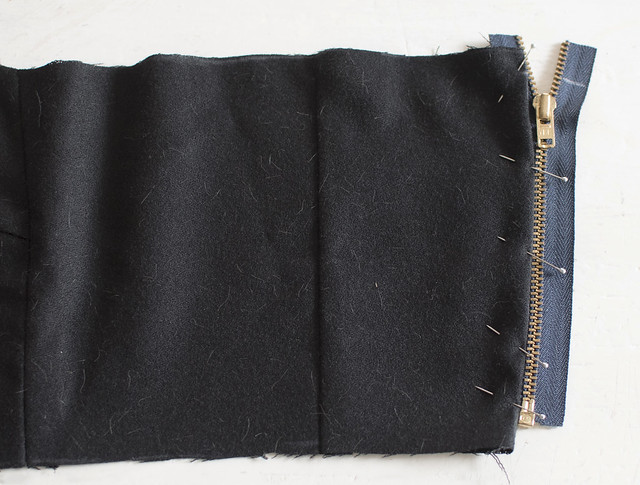
3. Remove the old zipper from the middle section and insert an open end zipper.
4. Using the scrap fabric from the top section, sew enough fabric together to create a rectangle. Pin and sew the sides.
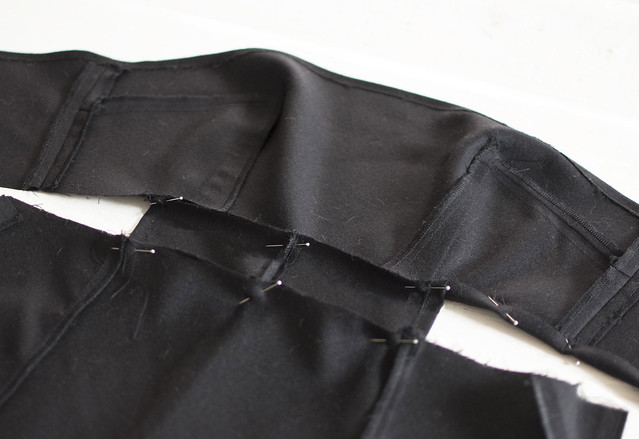
5. Pin the rectangle to the middle and skirt section of the dress and sew together. You will also need to fold over any raw edges to make it look neat.
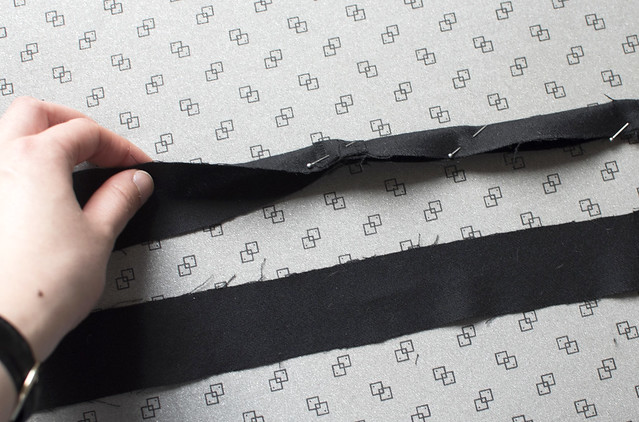
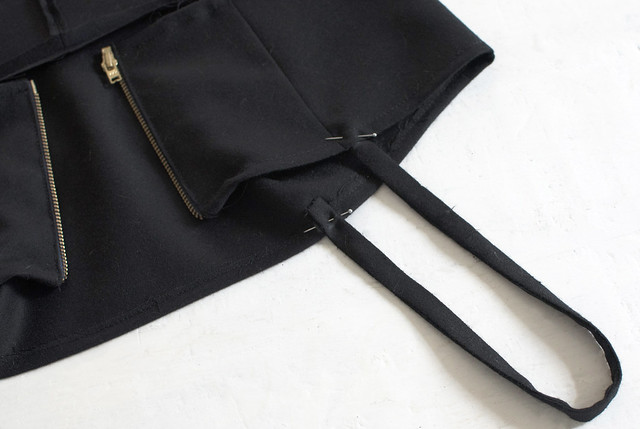
6. Create two strips of fabric using left over pieces. Fold them in half and sew lengthwise.
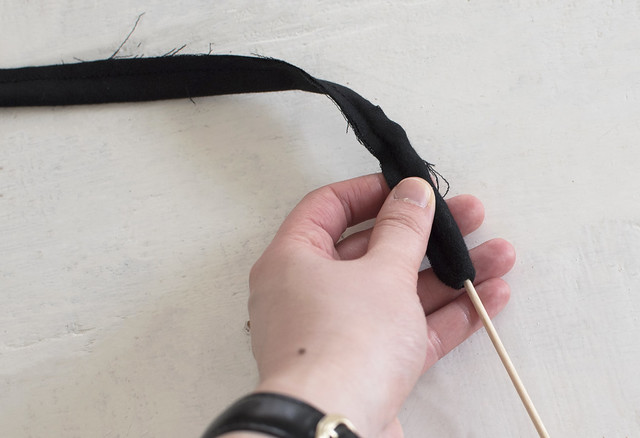
7. Turn the tubes inside out using a skewer or stick and iron flat to create the straps.
8. Cut the straps to length and sew onto the top edge of the dress.
Enjoy!
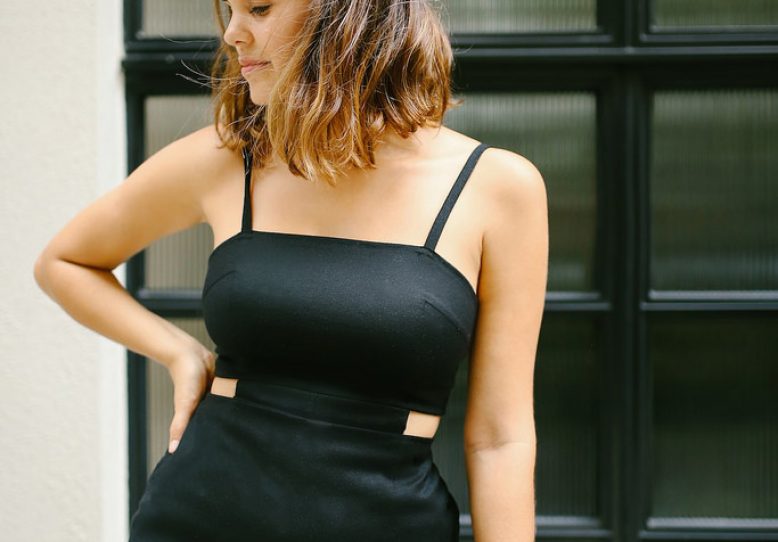
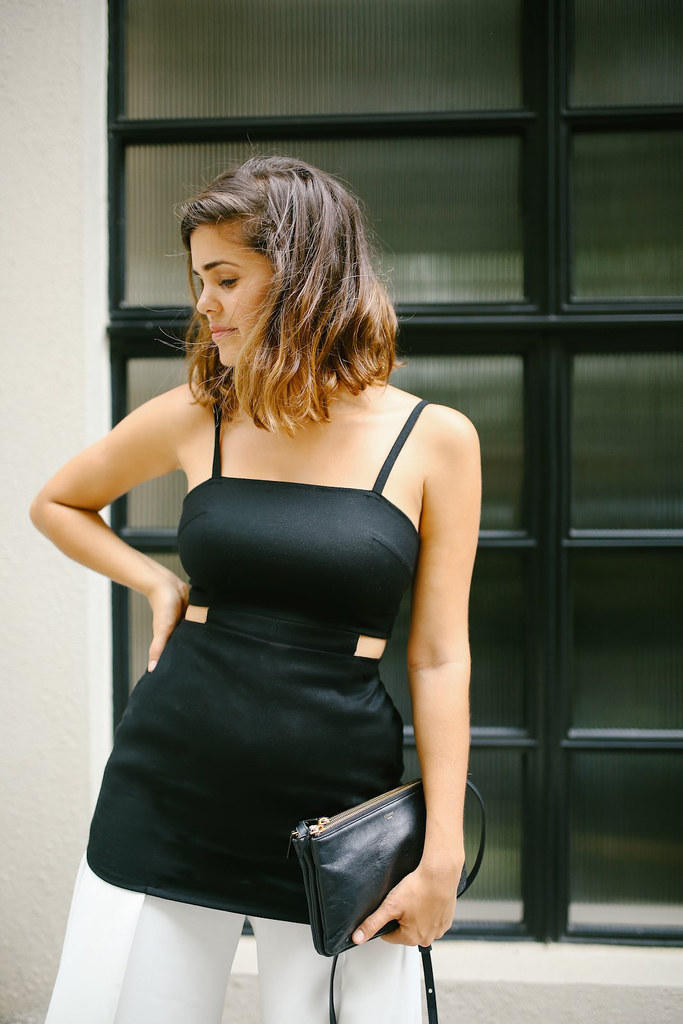
Wearing: DIY top, Iris & Ink Culottes, DIY Rope Heels, Celine bag.
Photos by Bryant Lee.


