So, have I managed to convince you of the virtues of the colour rust yet?
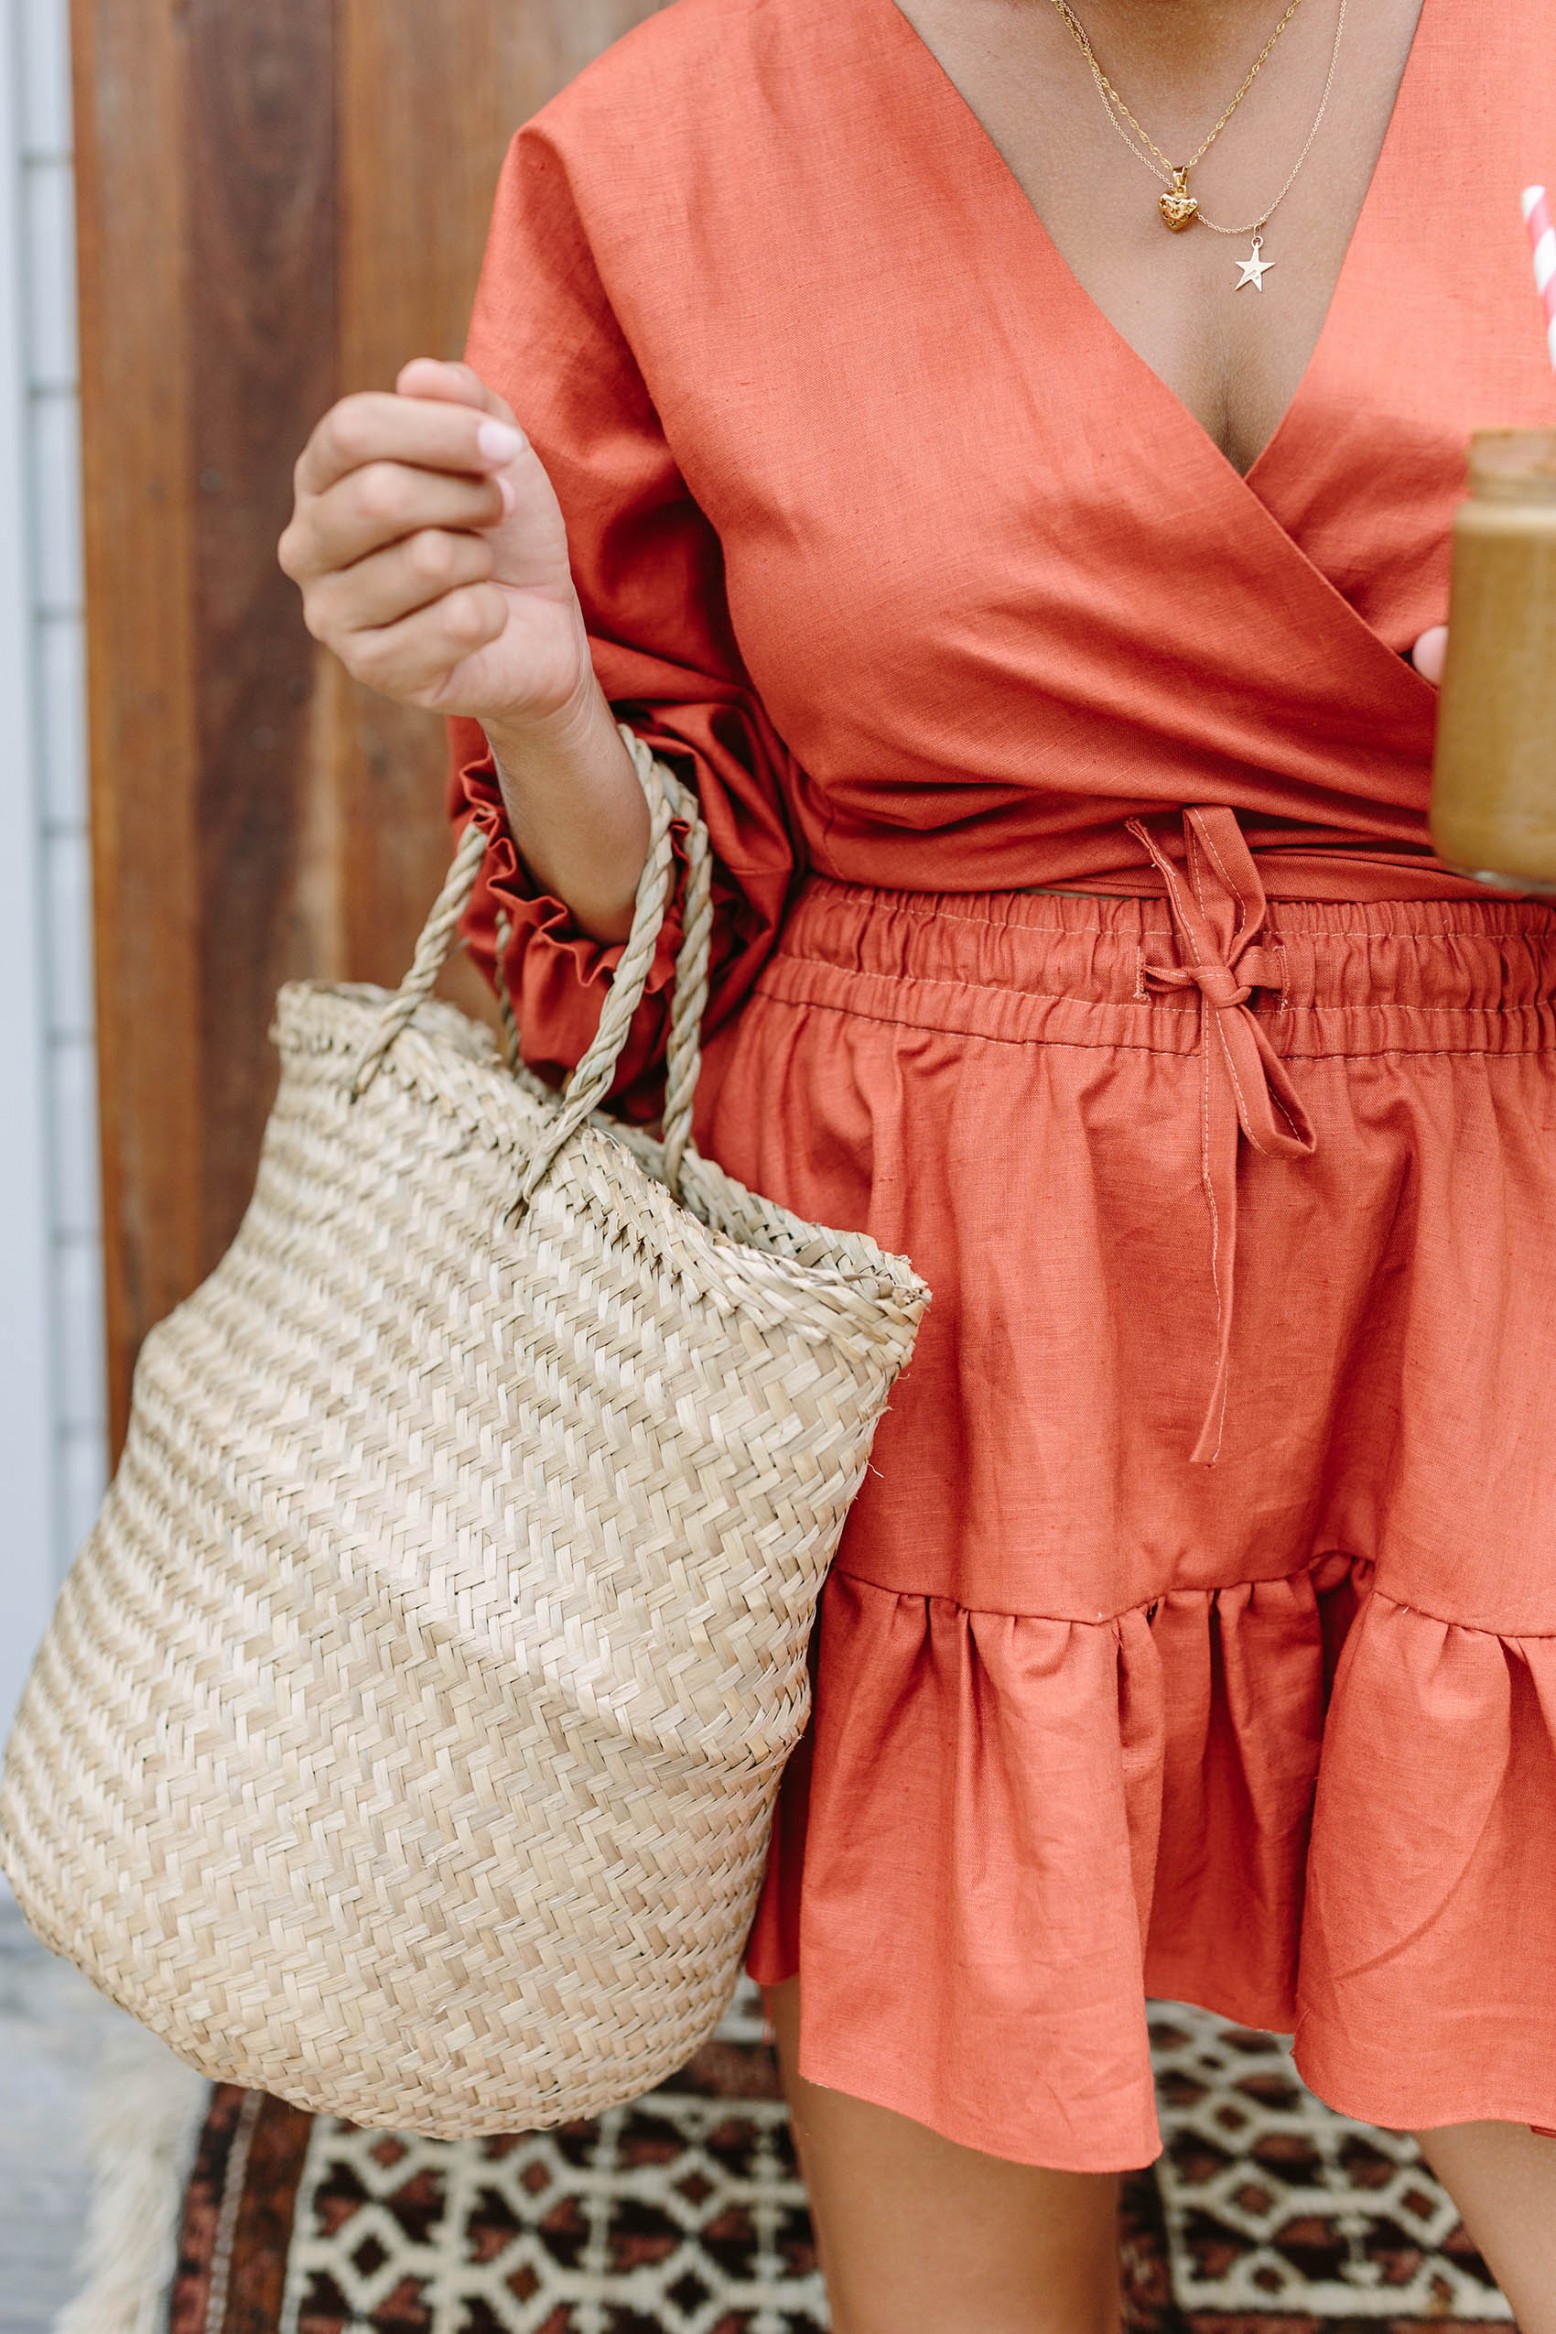
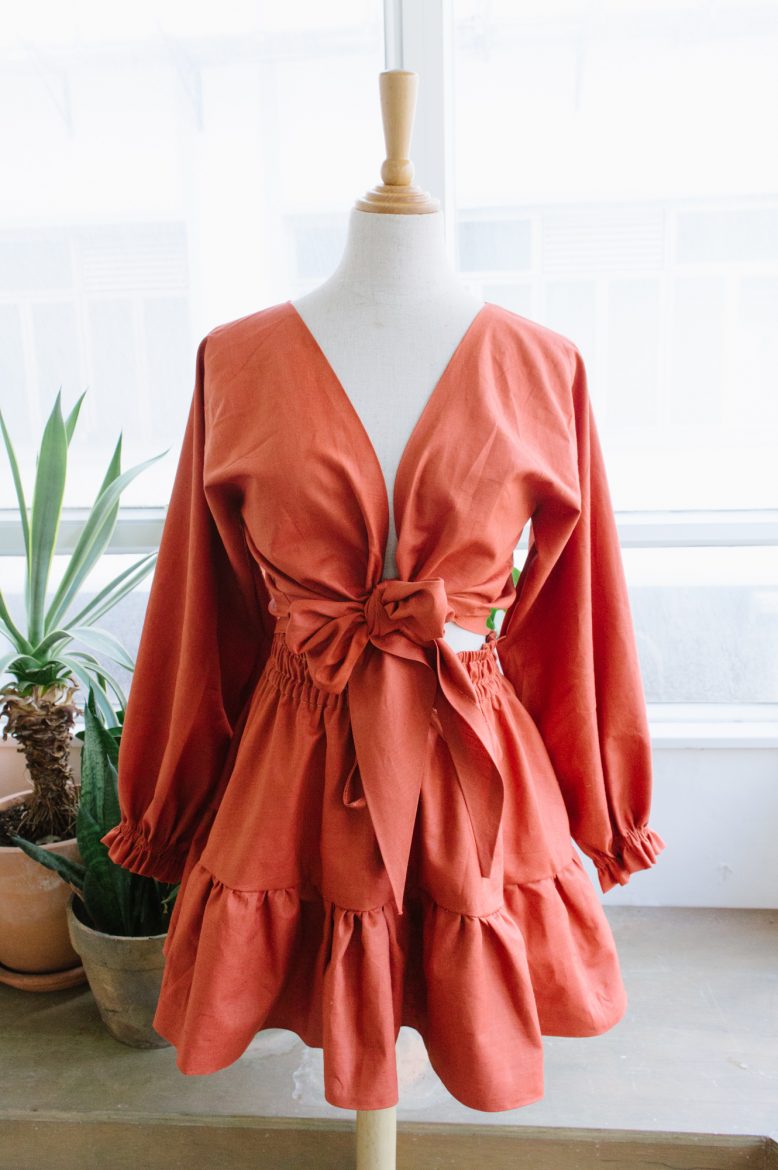
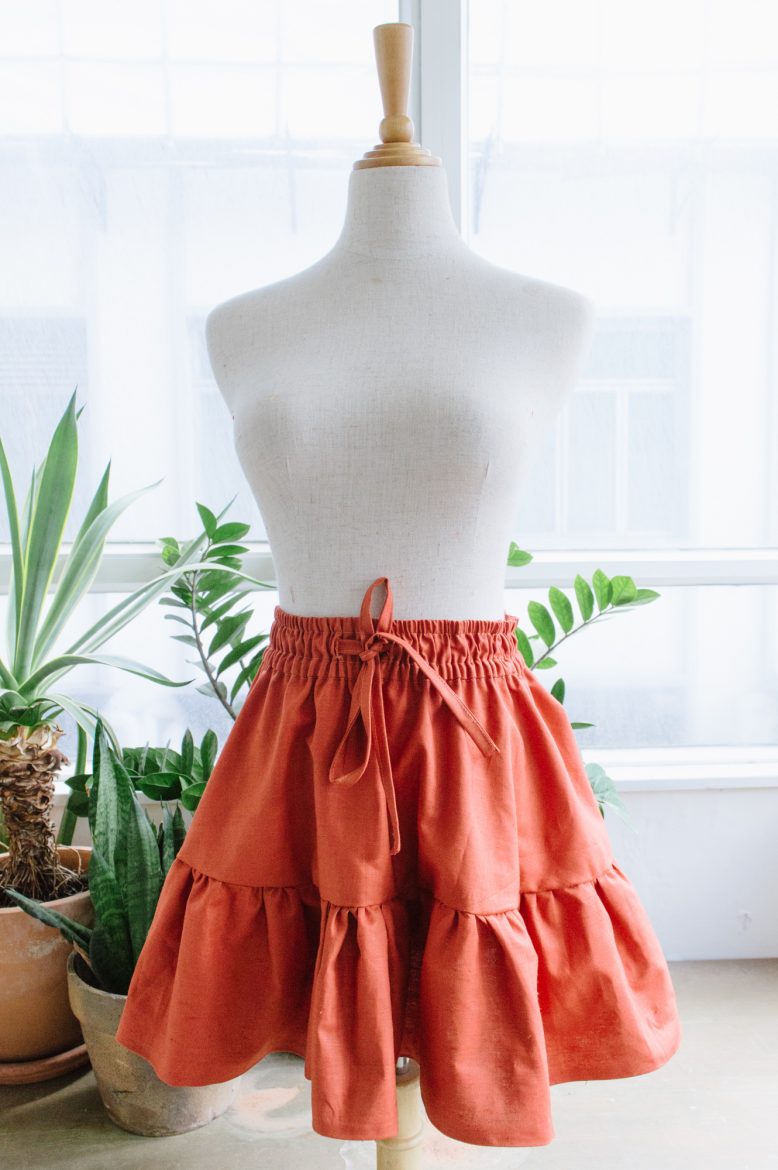
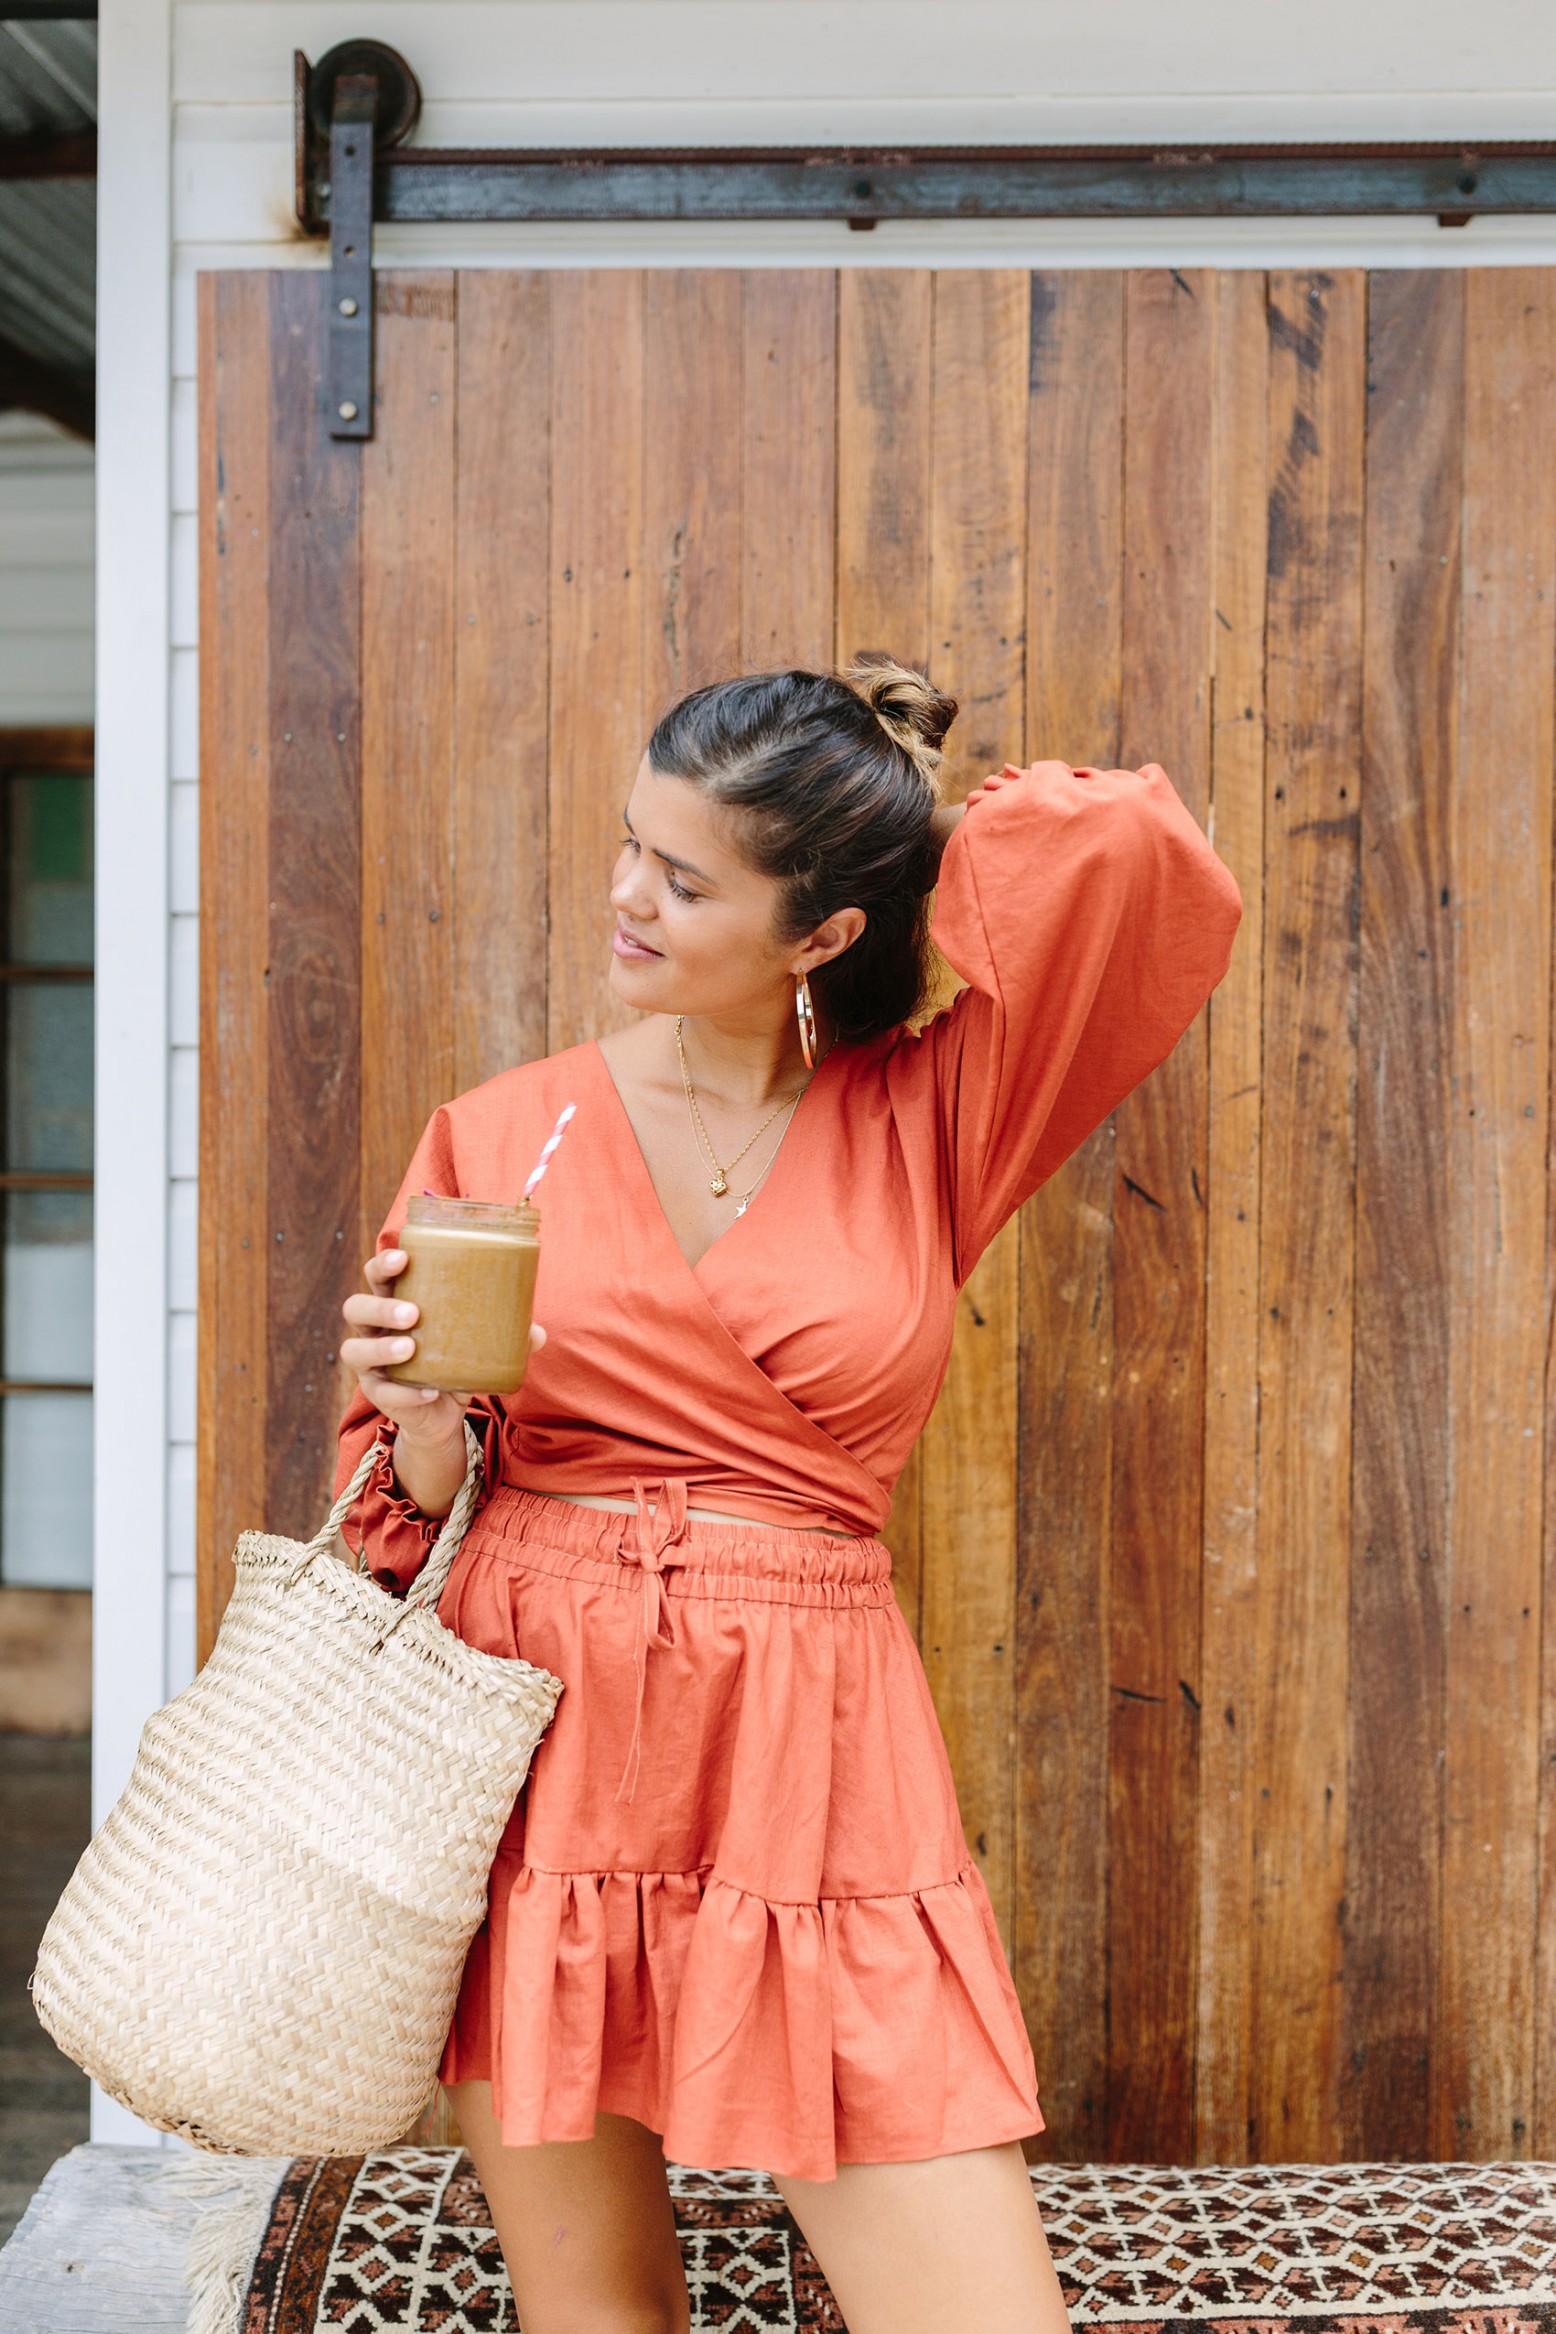
They say it takes three occasions of people seeing something for them to start to get used to it, and in the last year, I have to say that I’ve bombarded you with rust so much that I hope it’s starting to rub off…. See here, here and here for a refresher. Fingers crossed. But never fear, even if you still think yeech when you see the colour rust, you can always make this skirt in another colour, so no dramas there. But, rust! Anyway, as you can no doubt see I am still down under and embracing summer outfits while I can, namely this DIY gathered mini skirt. You’re going to wanna make one of these for yourself whether it’s for now or for the coming Spring!
DIY Gathered Mini Skirt
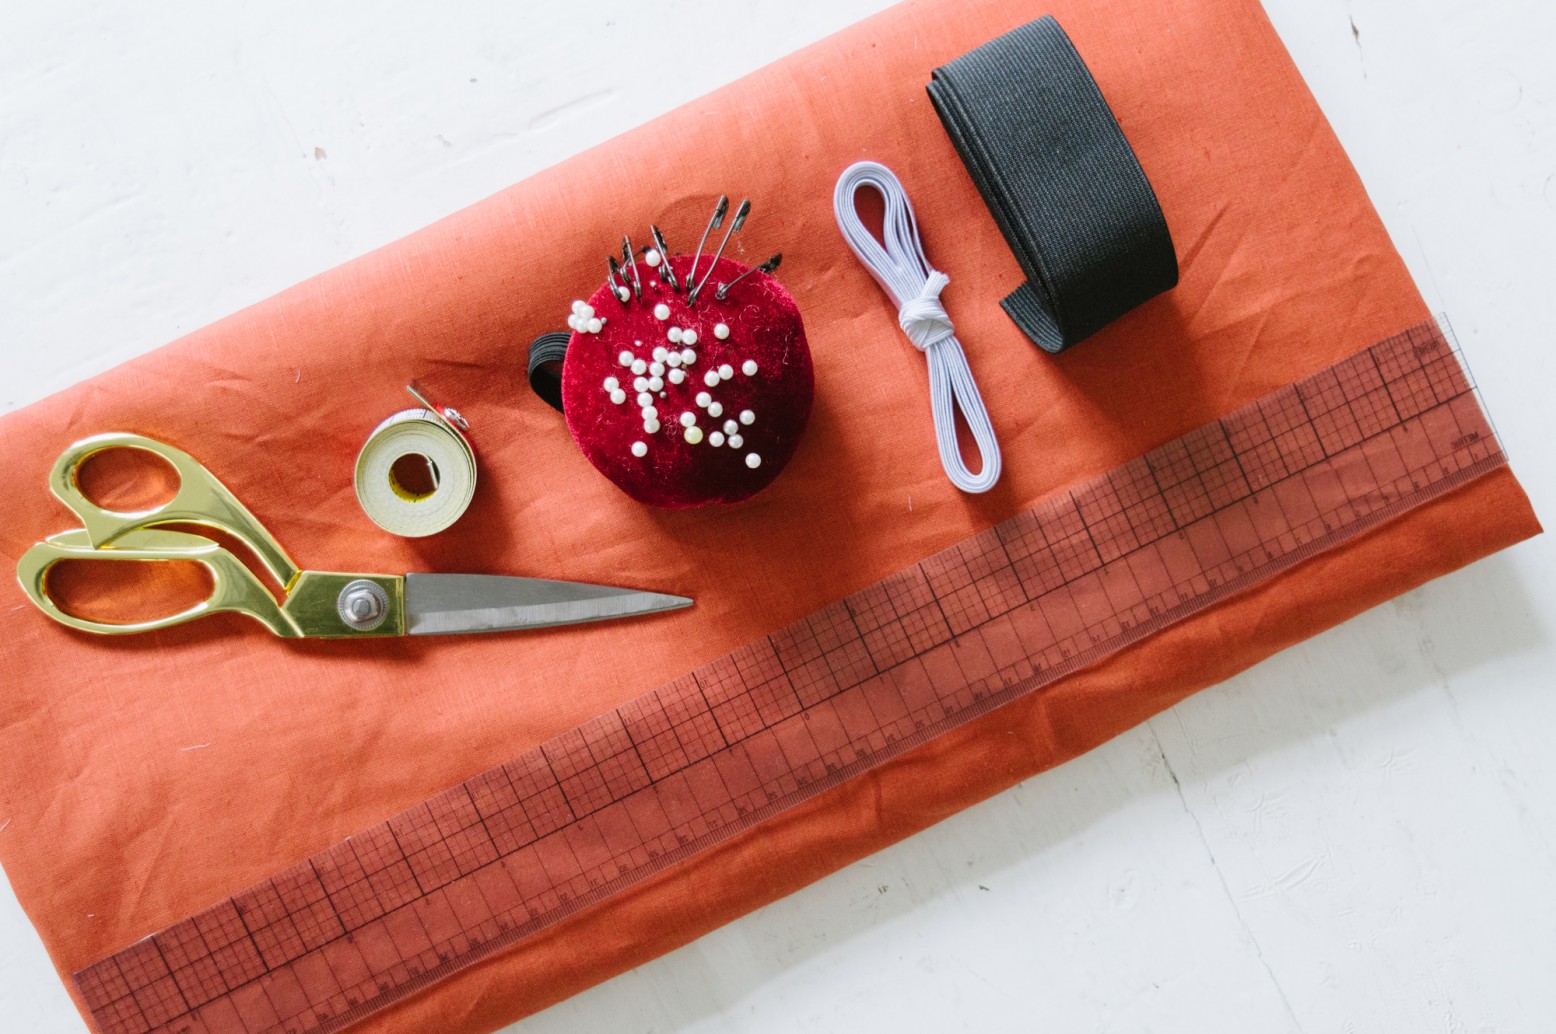
What You'll Need
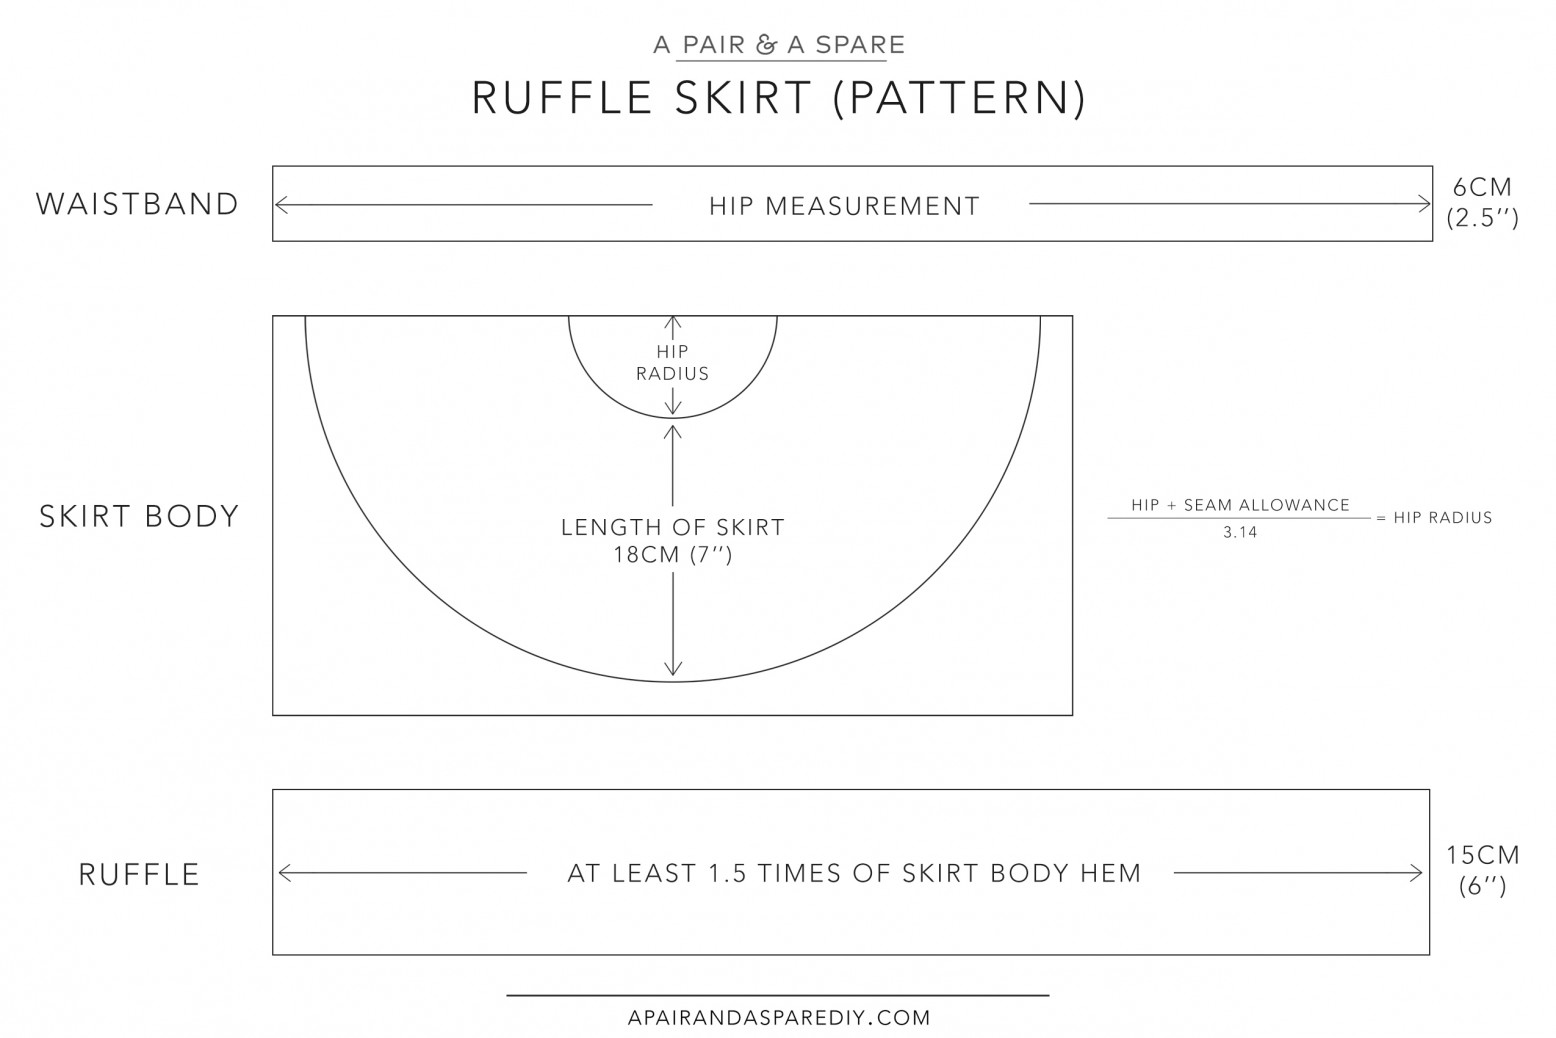
First, cut all your fabric using the guide above. We’re going to be doing a half-circle for this skirt. Using the formula listed above, find the hip radius for your half circle. We use the hip measurement for this because the skirt will have an elastic waistband, and it’ll need to be wide enough to fit over your hips. Your ruffle piece will need to be quite long, so if your fabric isn’t long enough, it’s fine to draft separated pieces for the ruffle hem and sew them together afterwards.The seams won’t be too visible after the ruffle is gathered.
How to
1
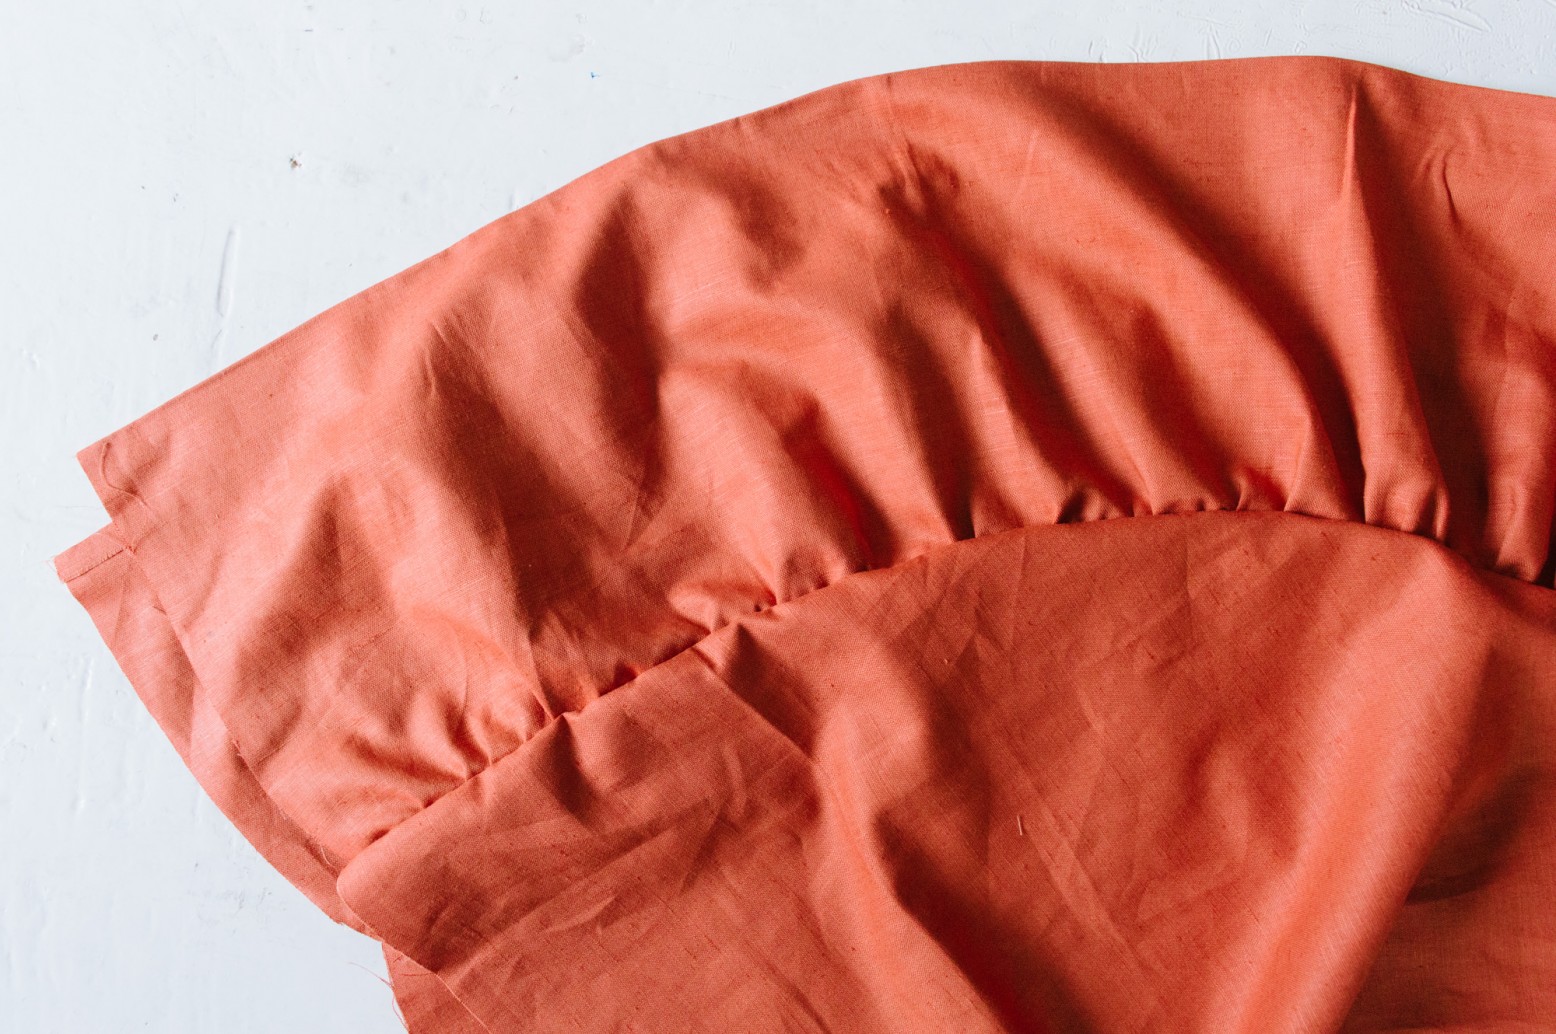
Once your fabric is cut, begin by gathering the ruffle piece and sewing it to the circular skirt hem. Use this method to gather your skirt. It's easier if you hem the bottom edge of the ruffle piece first before gathering it.
2
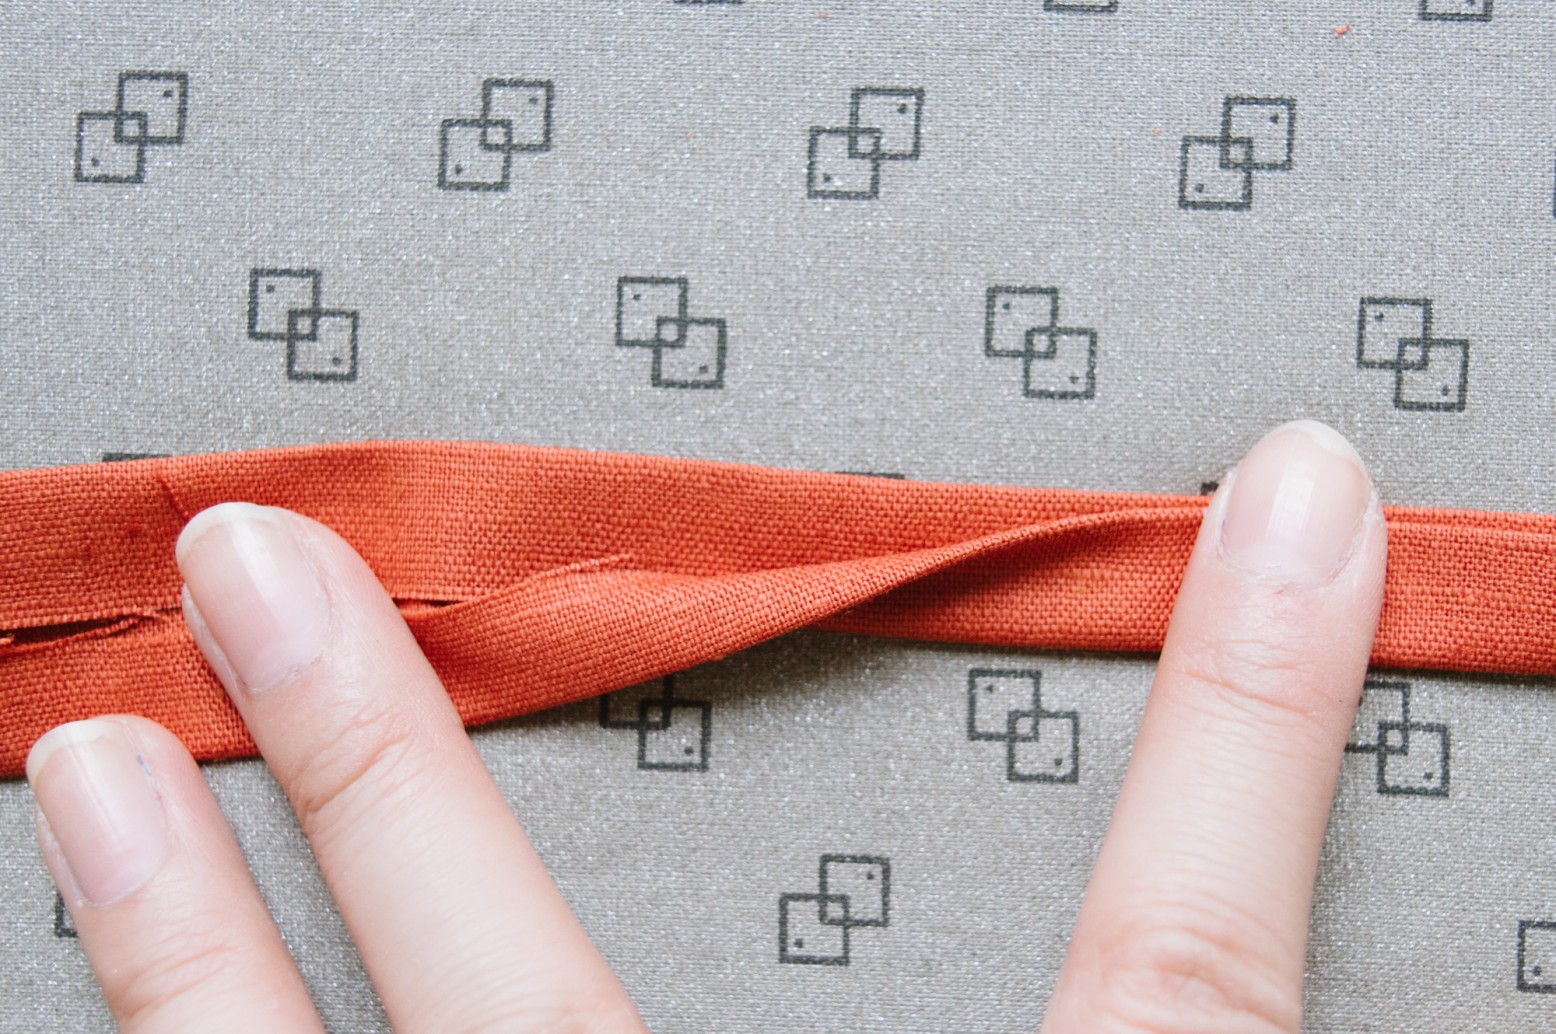
To create your tie strap, fold the outer edges into the middle, then fold the whole strip in half again. Close the strap using fusing tape, or feed the strap through the sewing machine and sew the open edge shut.
3
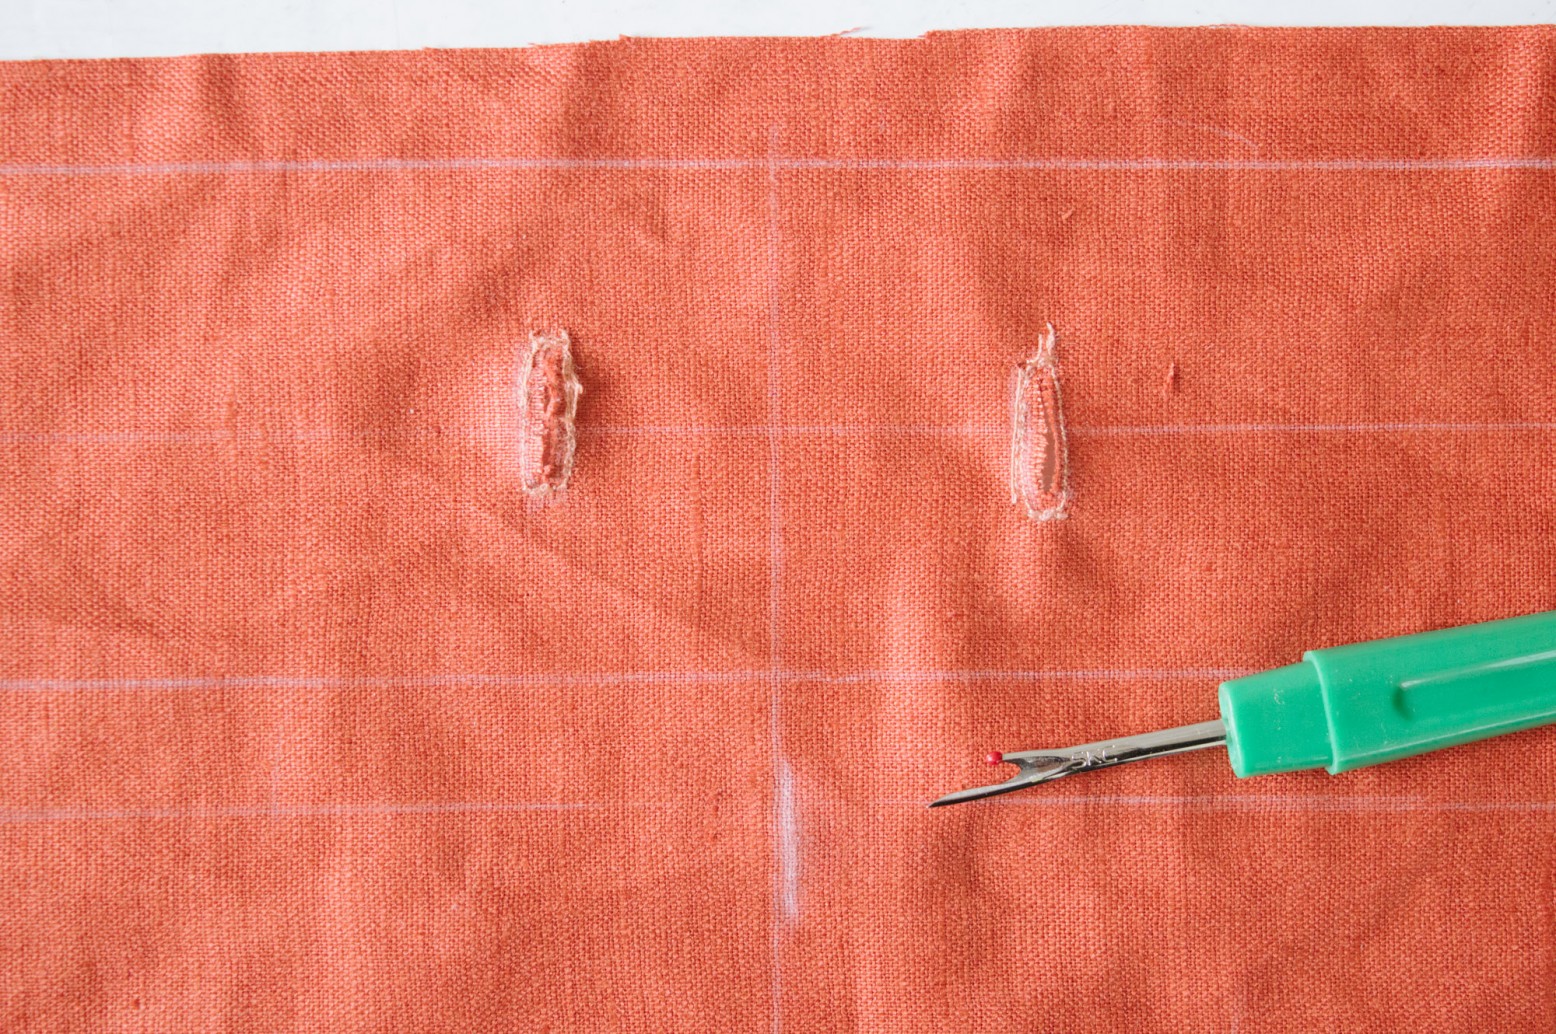
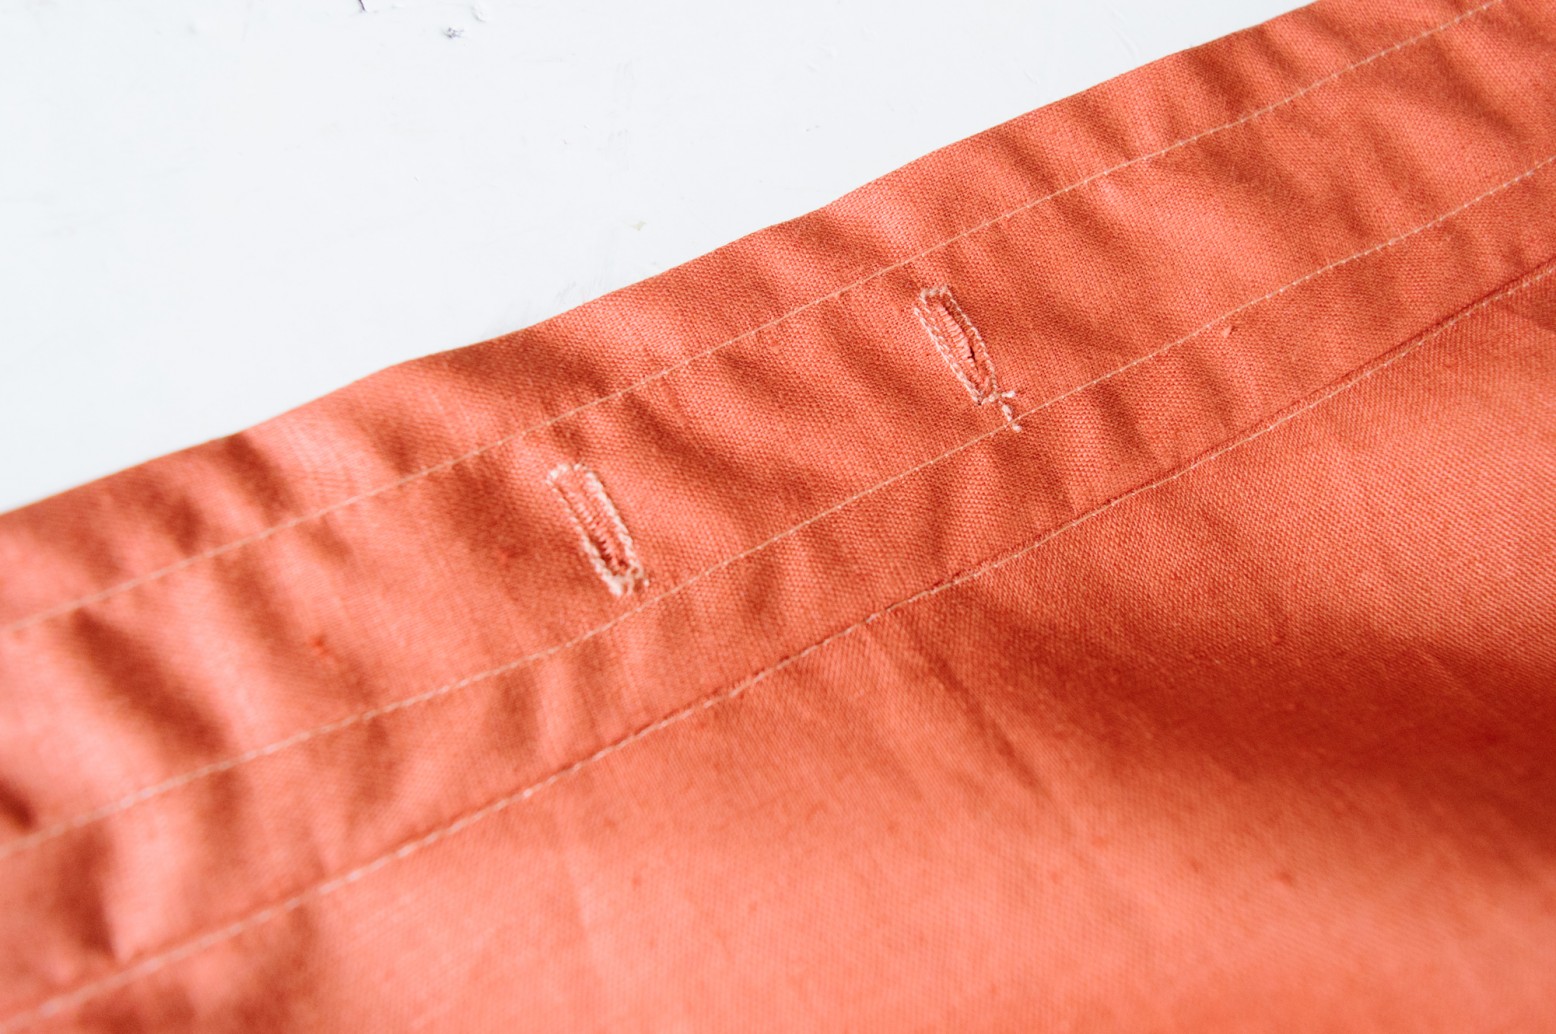
Mark two openings on the front side of the waistband, and sew a rectangular border or just use a buttonhole stitch if your sewing machine has this function. Make sure the length of the opening is wider than your tie strap.
4
Fold and sew the waistband to the top edge of the circular skirt. Then sew two tunnels near the top and bottom edge of the waistband to accomodate two pieces of elastic. The elastic needs to be the length of your waist, but it's maximum length when stretched needs to be the same as your hip measurement or more, or else you won't be able to pull your skirt up past your hips.
5
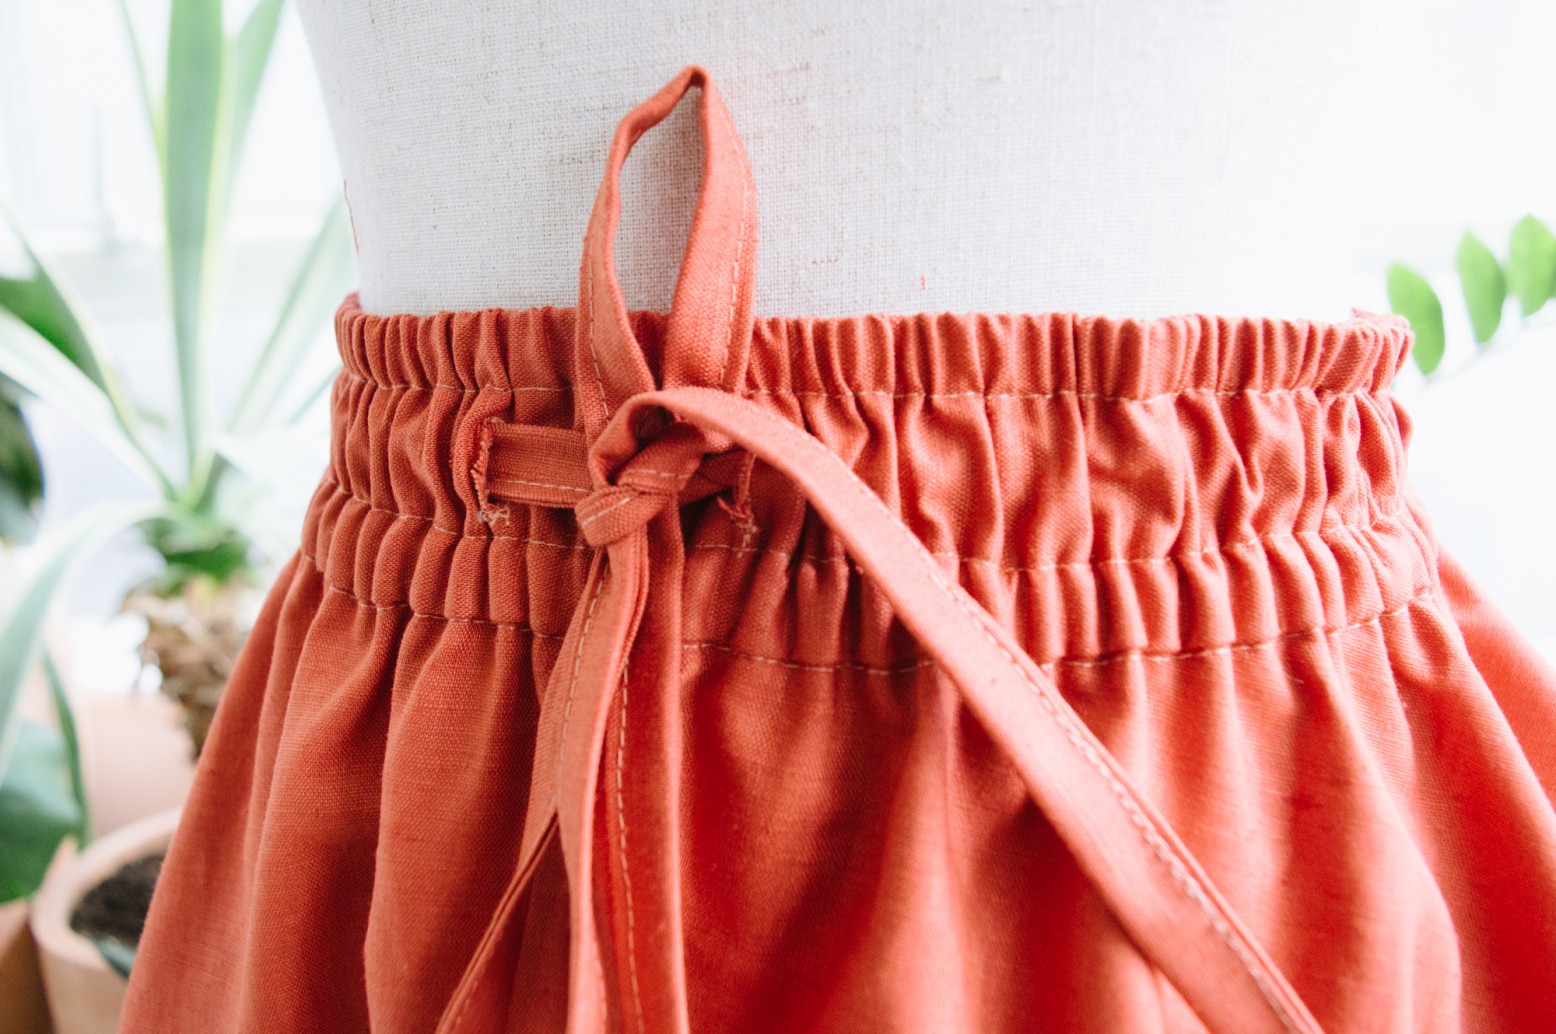
Thread the elastic through the tunnels, then sew down the seam of the entire skirt. The seam should end up at the back of your skirt, with the strap openings being in the front. Then thread the tie strap into the middle tunnel on the waistband, and your skirt is finished!
Voila!
The perfect outfit for smoothie drinking and avoiding a long list of things that need doing!
Pin this easy skirt DIY on Pinterest!


