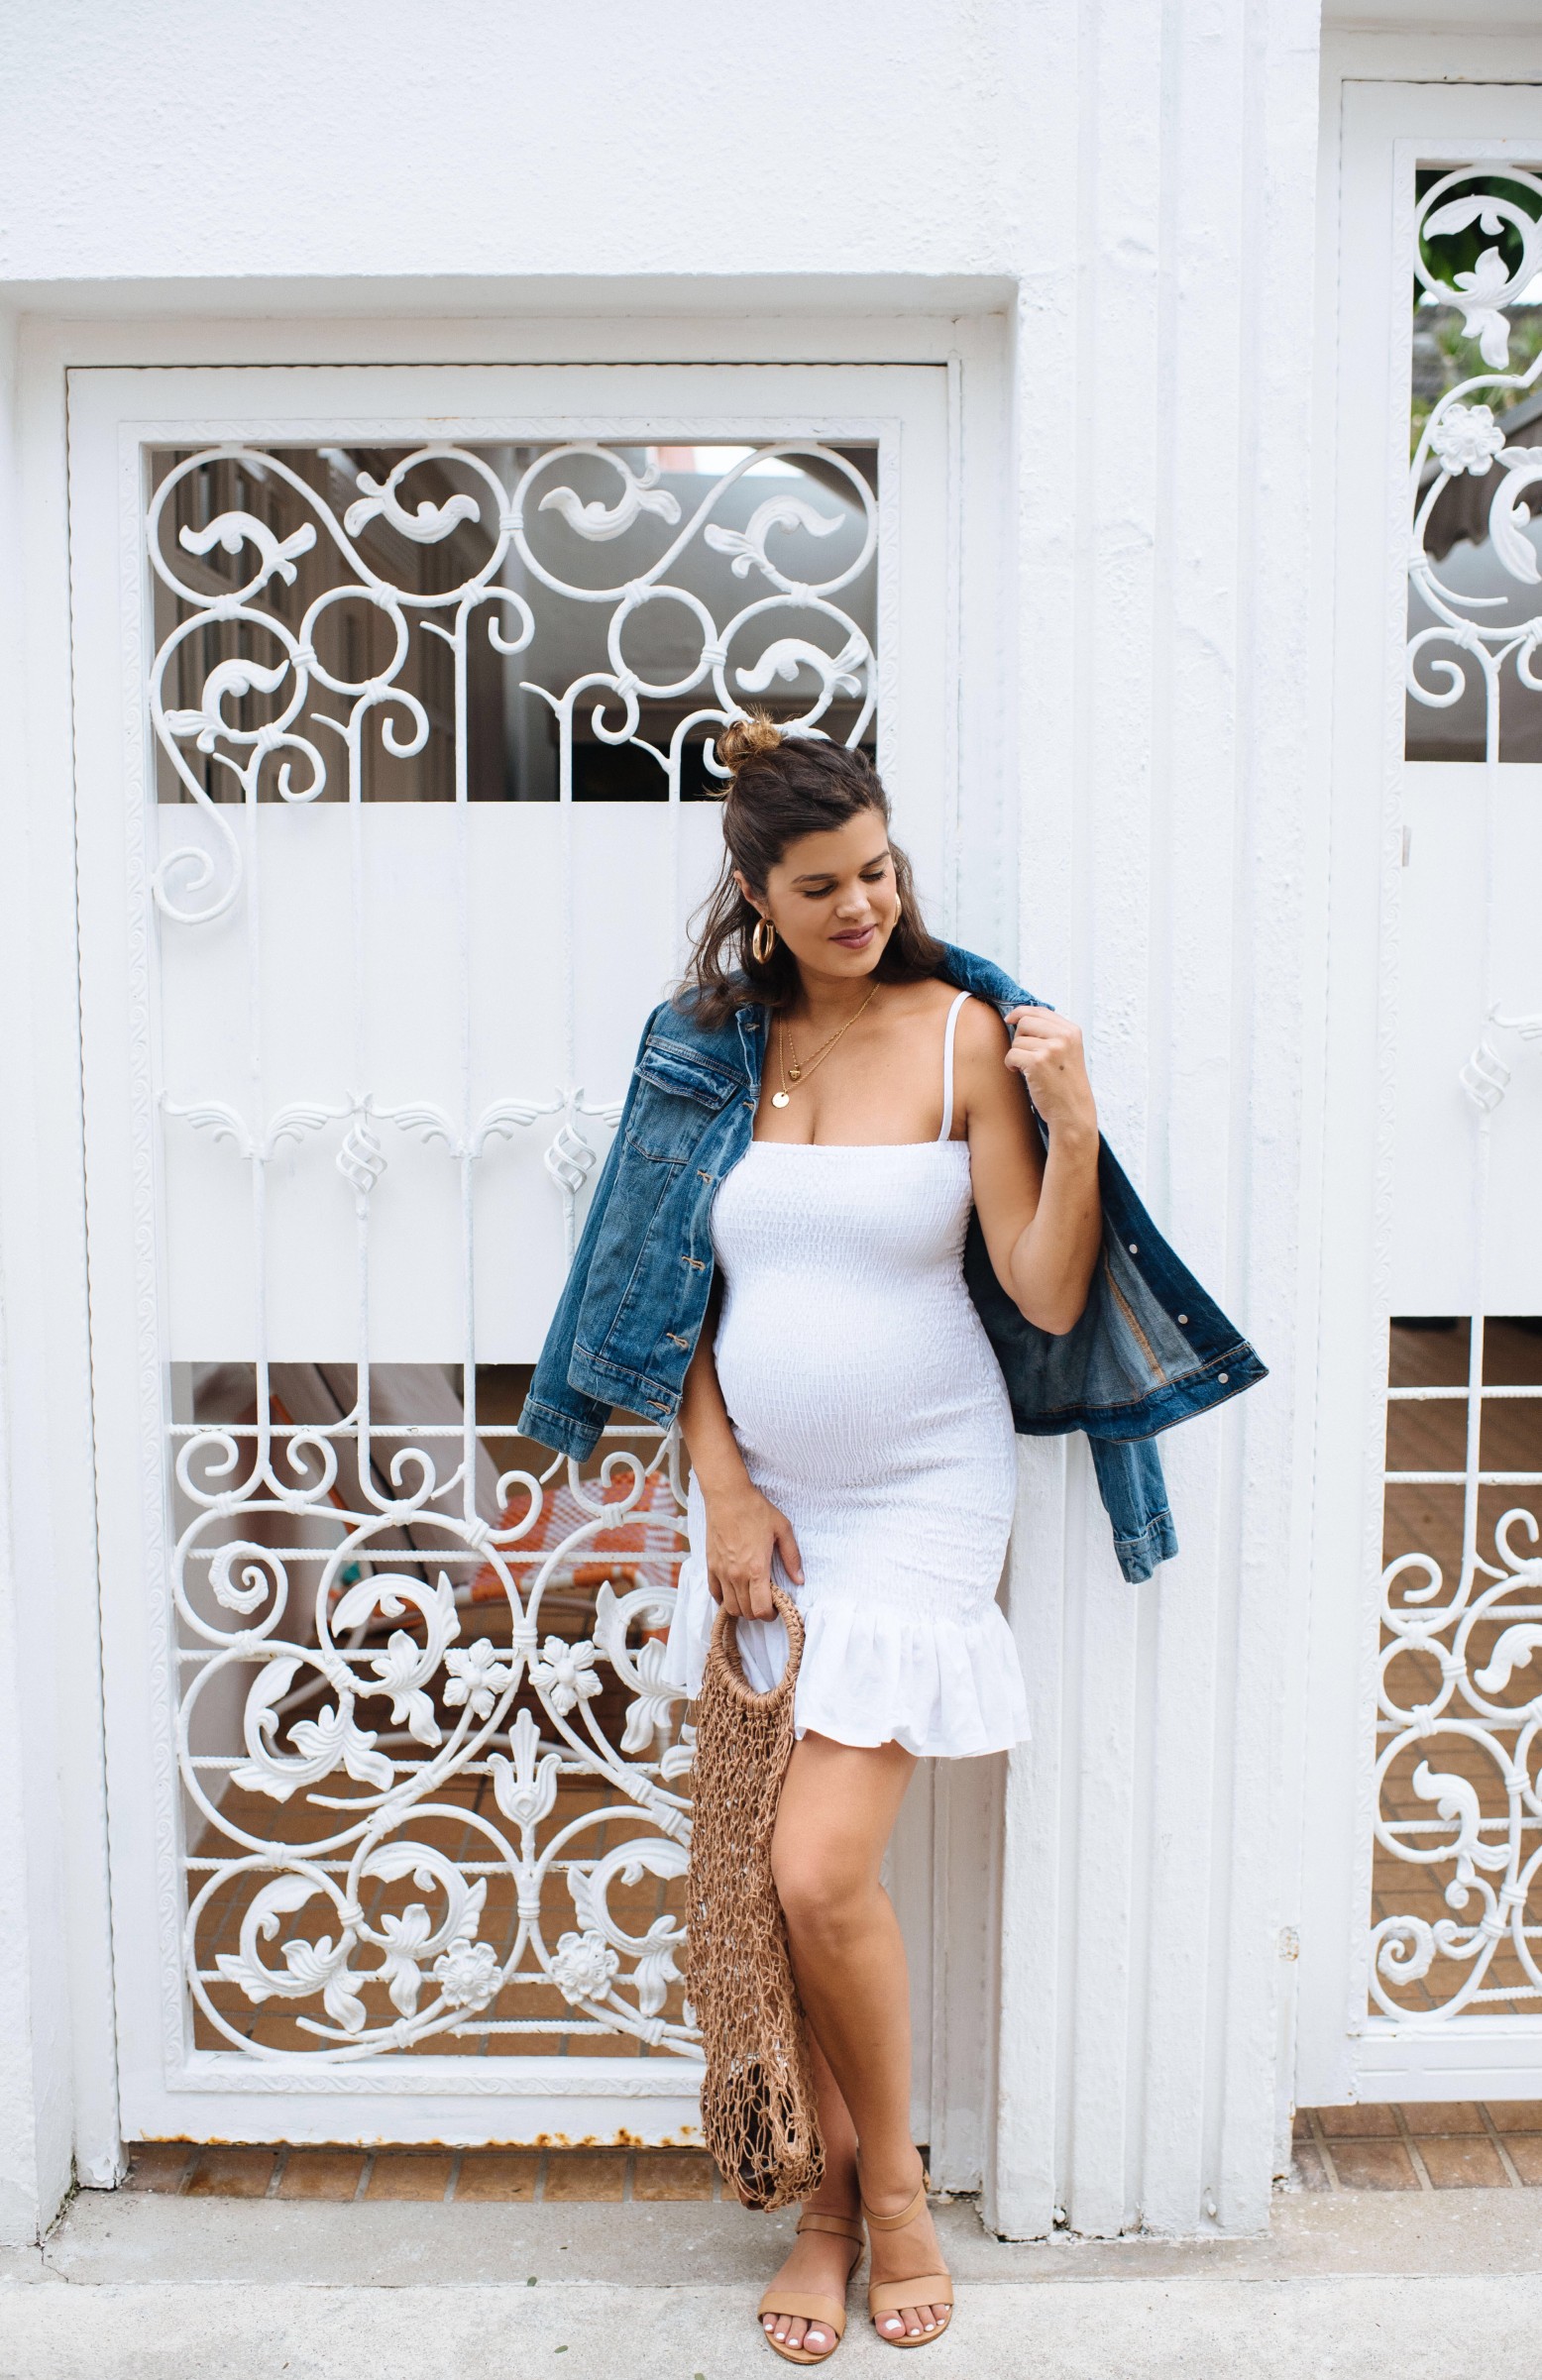
Hey guys! Time for another maternity wear update.
When asked, so many of you guys recommended that I get into the body-con silhouette when it came to dressing the bump. And whilst I know that it’s one of the best styles for creating a more streamlined silhouette, for some reason I’ve struggled to get into it. I guess I found it hard to get my hands on any styles I truly loved, and there was also the element of not really wanting to draw too much attention to the bump (particularly when you’re not feeling your best!). That said, I’m a true believer in the whole look good feel good mantra, so thought it was about time to give it a go. I noticed that shirred tube dresses are everywhere at the moment, on the high street, at Zimmermann and just about everywhere else. So I thought it a good place to start in the bodycon department… With a denim jacket thrown over! Scroll down to see just how to make this DIY shirred bodycon dress!
In case you’re interested, the nude simple sandals are now back in stock! This is our third re-stock and they tend to sell out quickly so snap up a pair here.
DIY Shirred Bodycon Dress
What You'll Need
1
Once you have your pattern drafted, trace it onto your fabric. We only drafted one half of the pattern so we placed it on the fold during this step, this way you'll end up with a compete mirrored piece. Do this twice and you'll end up with a set of front and back bodice pieces.
3
Finish the top raw edge by doing a rolled hem, but leave an 2.5 cm (1 inch) opening for threading in the elastic later on.
4
Attach the ruffle border first after you finish hemming the raw edge of the ruffle strip using a rolled hem.
5
Sew a straight stitch on the top edge of the ruffle using the longest stitch setting and the lowest tension setting. We recommend using thicker thread so it won't snap so easily when you're gathering the ruffles.
6
Gather the ruffle until the width matches the edge of the dress. Then even out the gathers and attach the ruffle to the hem of the dress.
7
Now it's time for shirring. We used this method here. Settle in because it's going to take you a while! We set our shirred lines 1 cm (3/8 of an inch) apart. Once the shirring is done,you can thread in the piece of elastic along the top edge and sew the ends together.
8
Cut two strips of fabric for the spaghetti straps (or use some ribbon). Fold the seam allowances towards the centre, then fold the entire strip in half before sewing or fusing it closed. Attach the straps to your dress and voila!
Something I love about this dress is that you can (and hopefully will) wear it after you’re pregnant, meaning it’s worth investing time in making one! I also think it would be nice in a black or a rust colour!
Enjoyed making this DIY? Here are a few for more that may just be up your alley! Shirred Waist Skirt | DIY Strappy Romper | DIY Wrap Dress | DIY Tiered Maxi Dress


