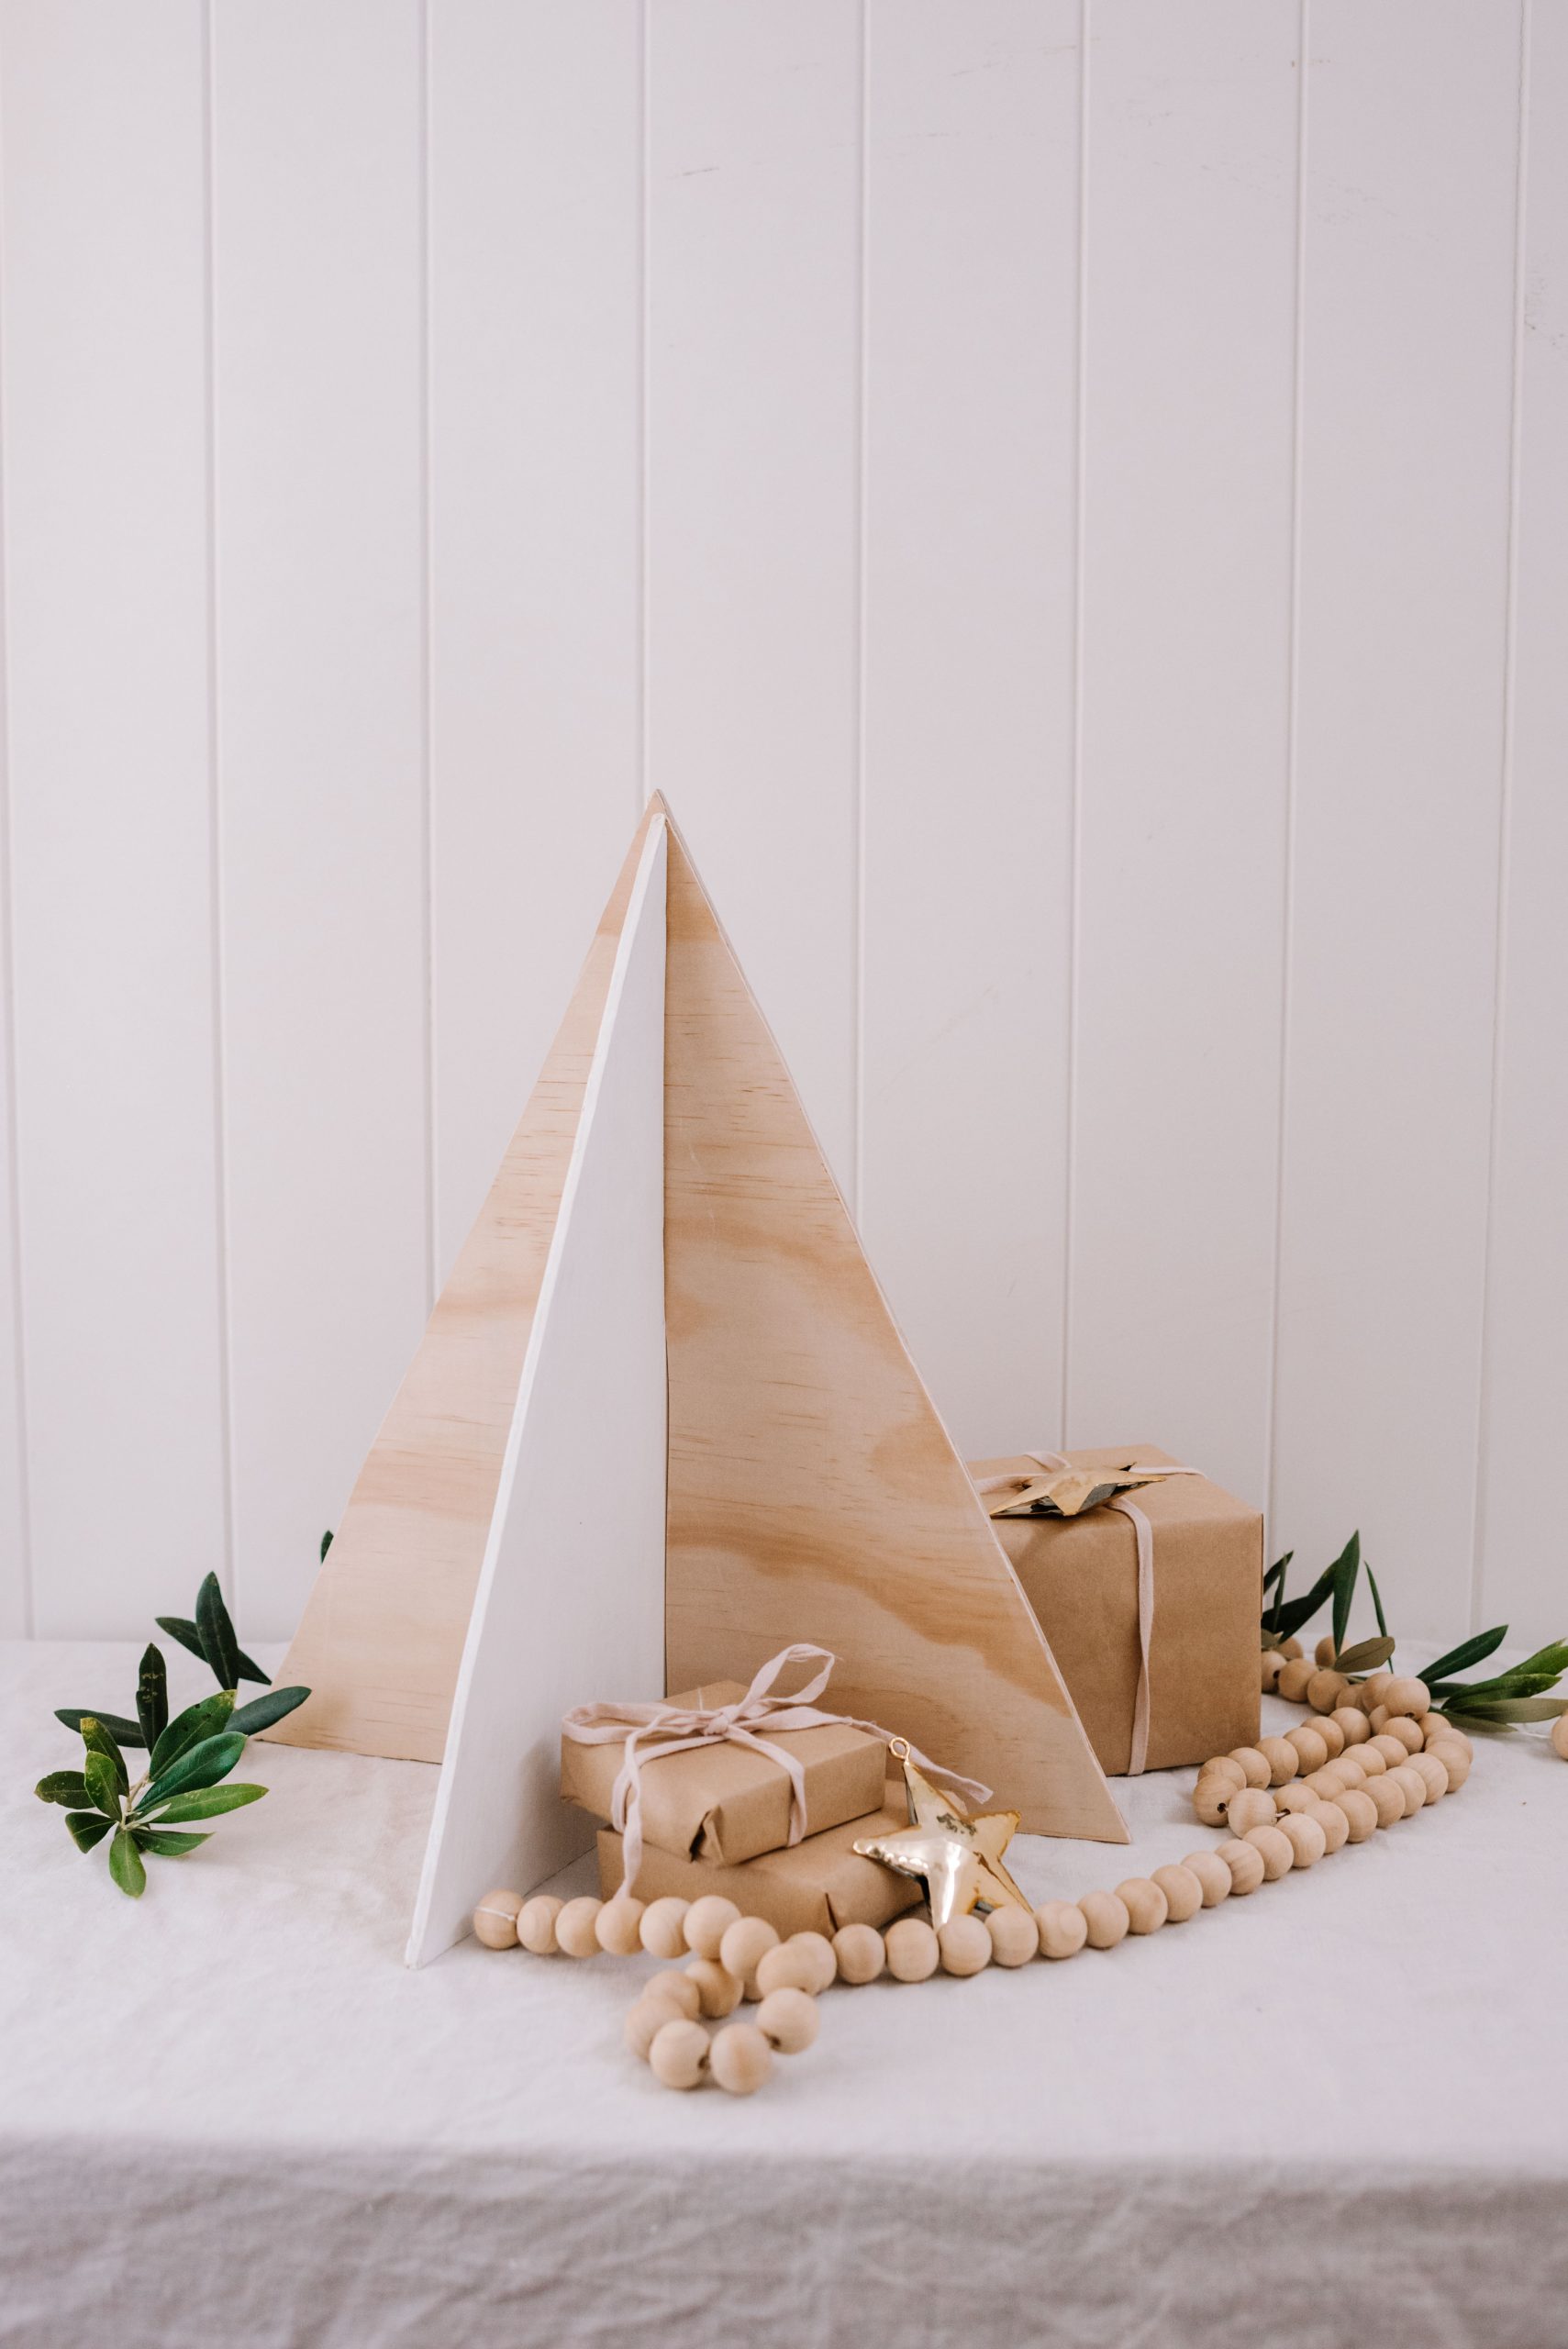
More is more when it comes to Christmas trees in our house, whether they be full sized, in a tablescape or as decoration.
The best thing about this tree is that it’s a beautiful blank canvas. Leave it bare for a minimalist scandinvian look, or add blocks of colour, metallics or painted ornaments! A festive project that’s perfect for the craft lover. For this project I have partnered with Dremel, to show you how to create this at home. The best thing about a Dremel is that they have so many amazing attachments that mean you don’t have to have a huge number of larger tools if you don’t want to.
Watch the video
Materials
- Dremel 4300
- Wood Cutting Wheel
- Sanding Band
- Abrasive Buff
- Piece of plywood
- Zamo III
- 2 Wood Clamps
- Paint and paintbrush (any colour you like, we used white)
- Pencil & plank of wood or ruler
How to
1
Start by measuring and marking up your plywood. We used the Zamo III measuring tool to do this which made it so easy. You simply connect the measuring tape tool and use that to give you exact measurement at the touch of a button.
2
We marked out two triangles, with one inverted to reduce the number of cuts required. The base of each triangle is 38cm and the height is 40cm, but you can make yours any size. You also want to mark out the middle notches required to fit the triangle together, one halfway from the top and the other halfway from the bottom.
3
Clamp your wood securely to the table. Before using the Dremel, ensure you have adequate safety gear including goggles, gloves and a mask.
4
Fit the Wood Cutting Wheel onto the dremel, and then start cutting your wood. Ensure your Dremel is on a high setting to make cutting the wood easier and neater.
8
The next step is to paint. You can paint your wood any colour you like and experiment with different styles. We chose to paint one side so that when put together the tree would have alternating colour. Leave to dry.
9
The final step is to fit your tree together. Take the section with the notch at the bottom and slide it onto the section with the notch at the top. Enjoy decorating!


