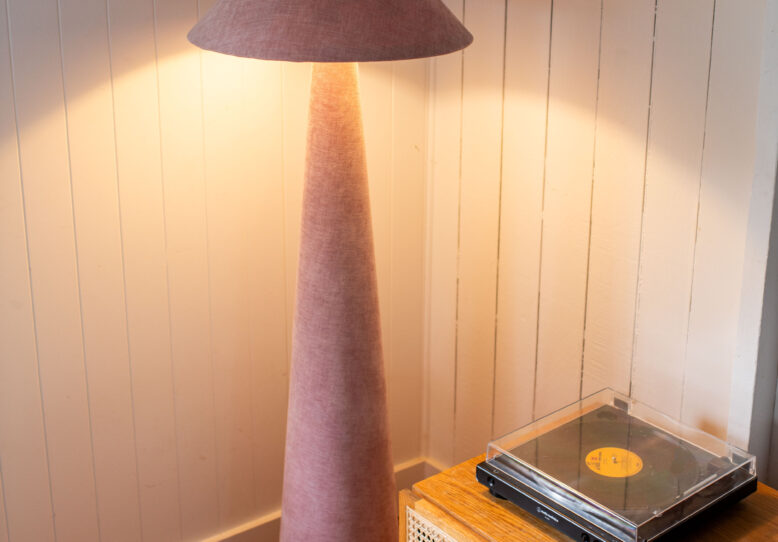
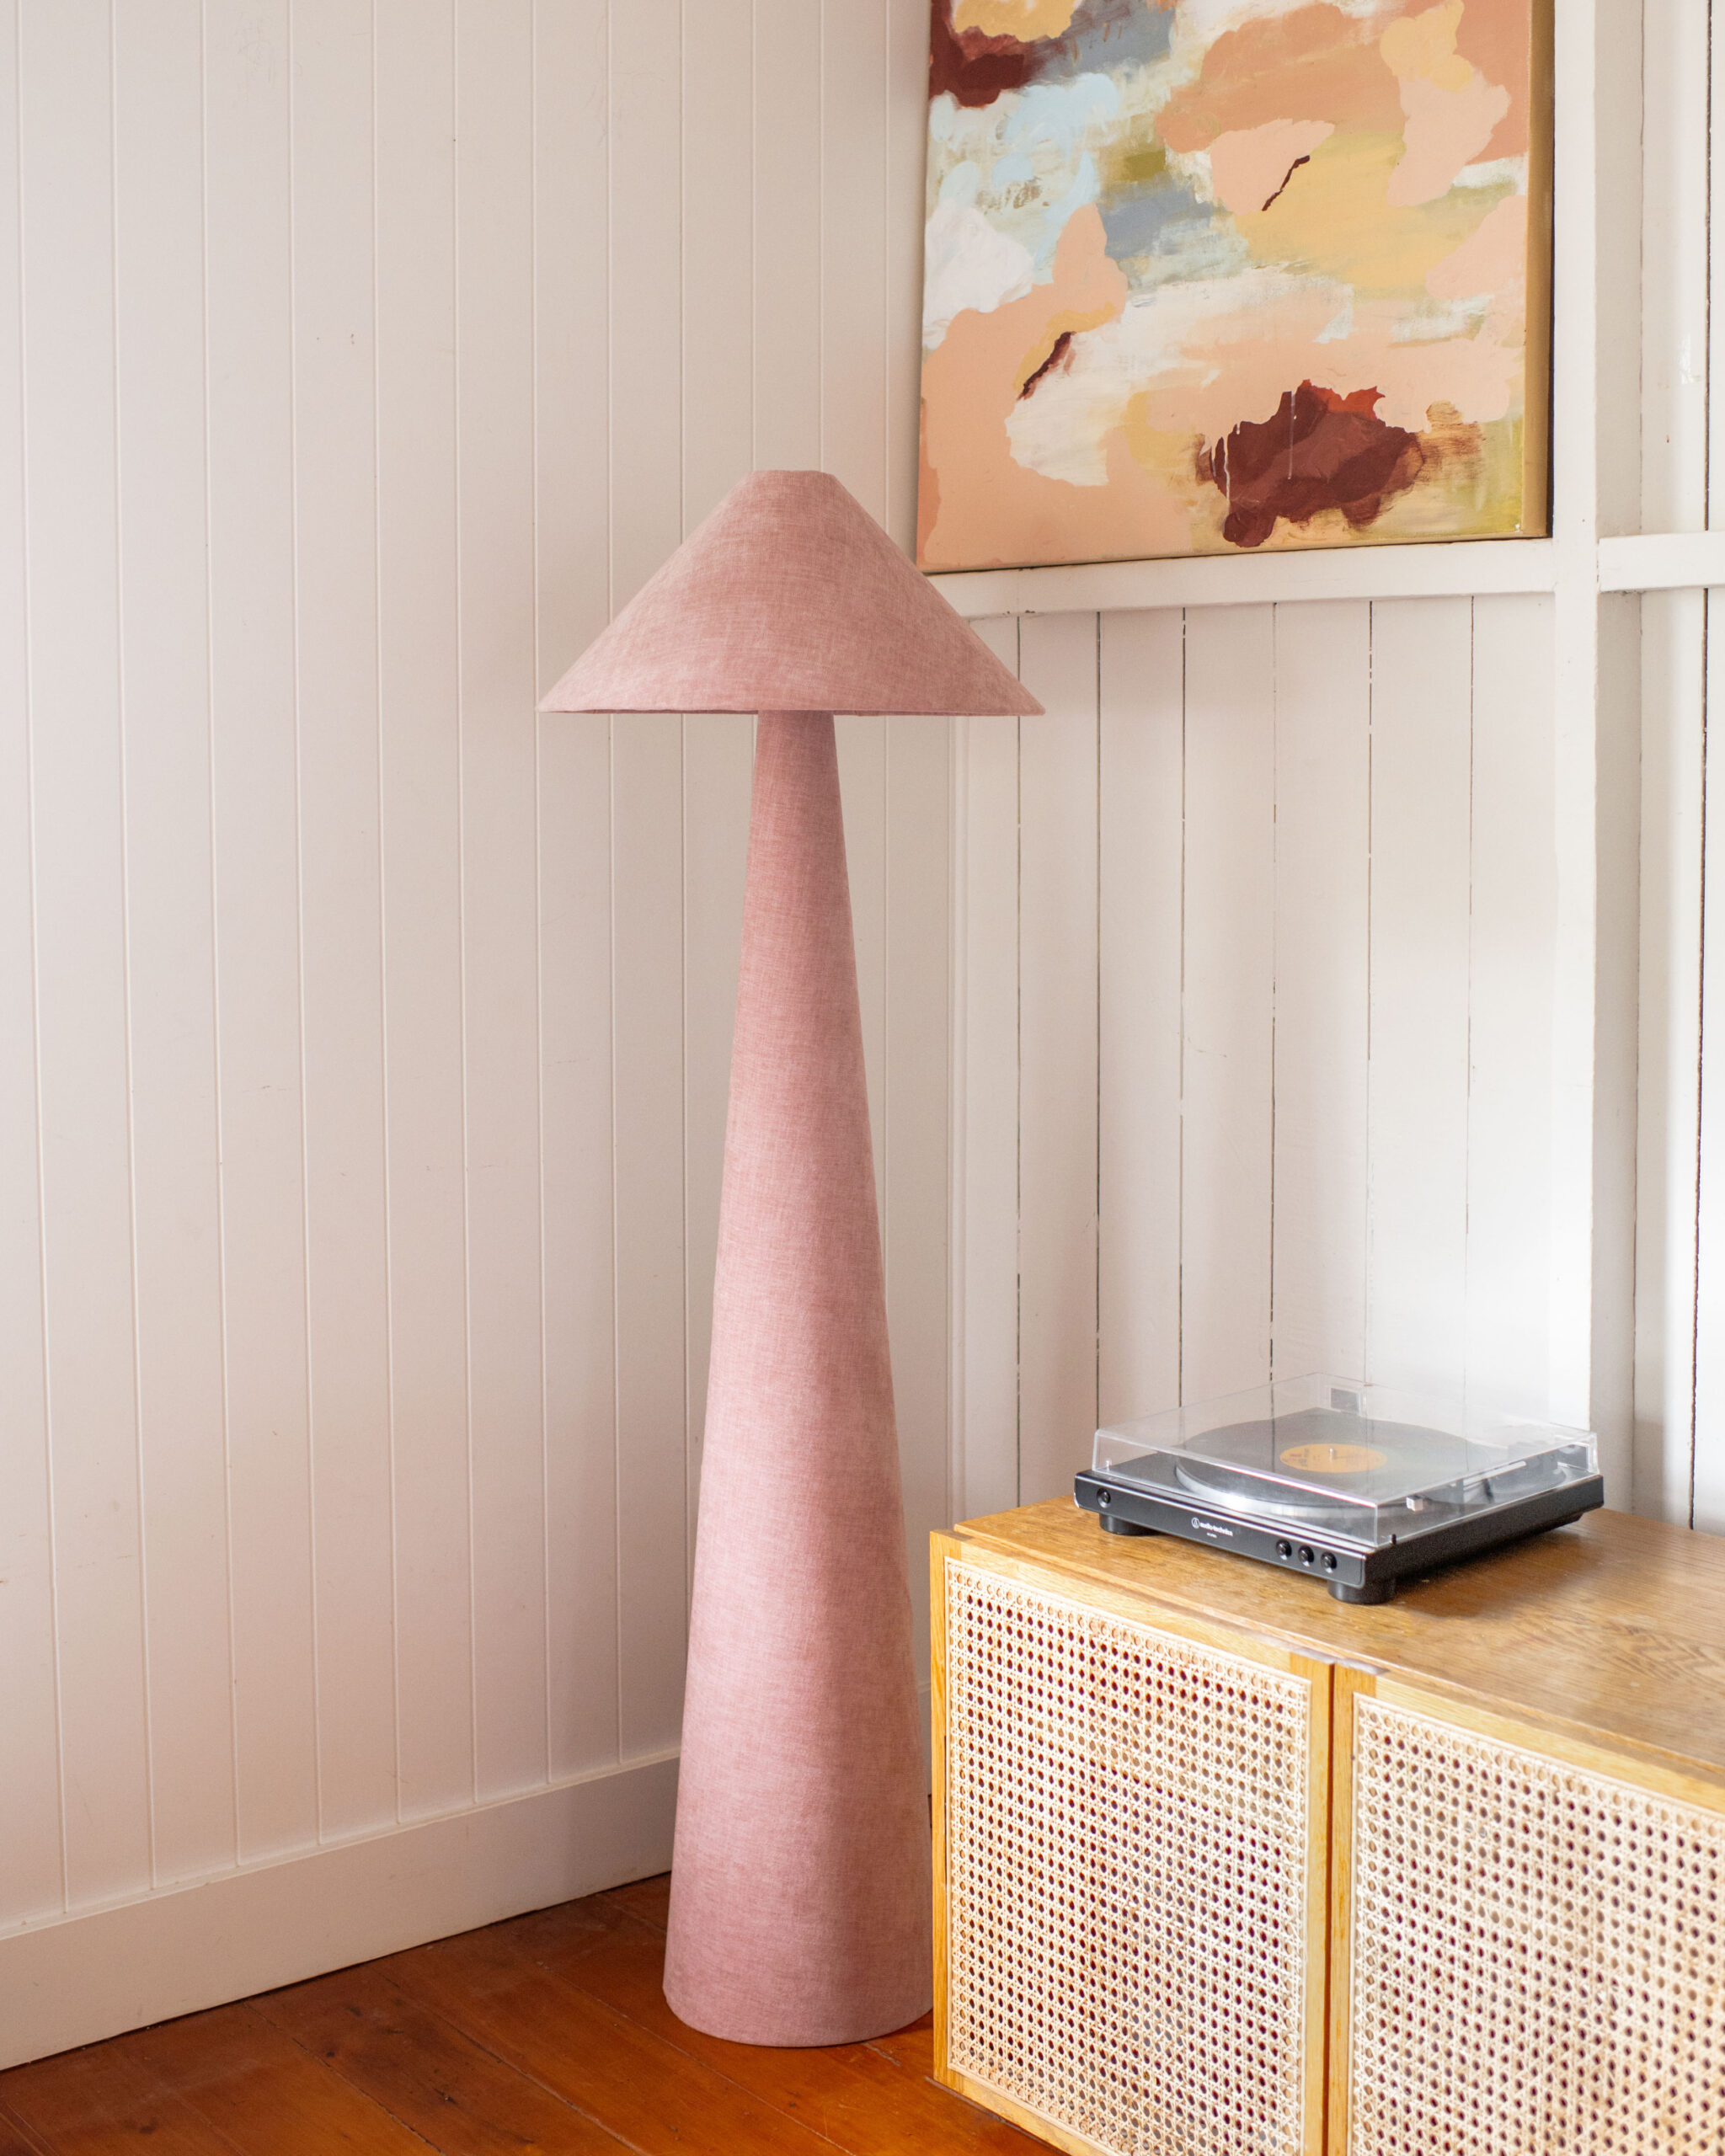
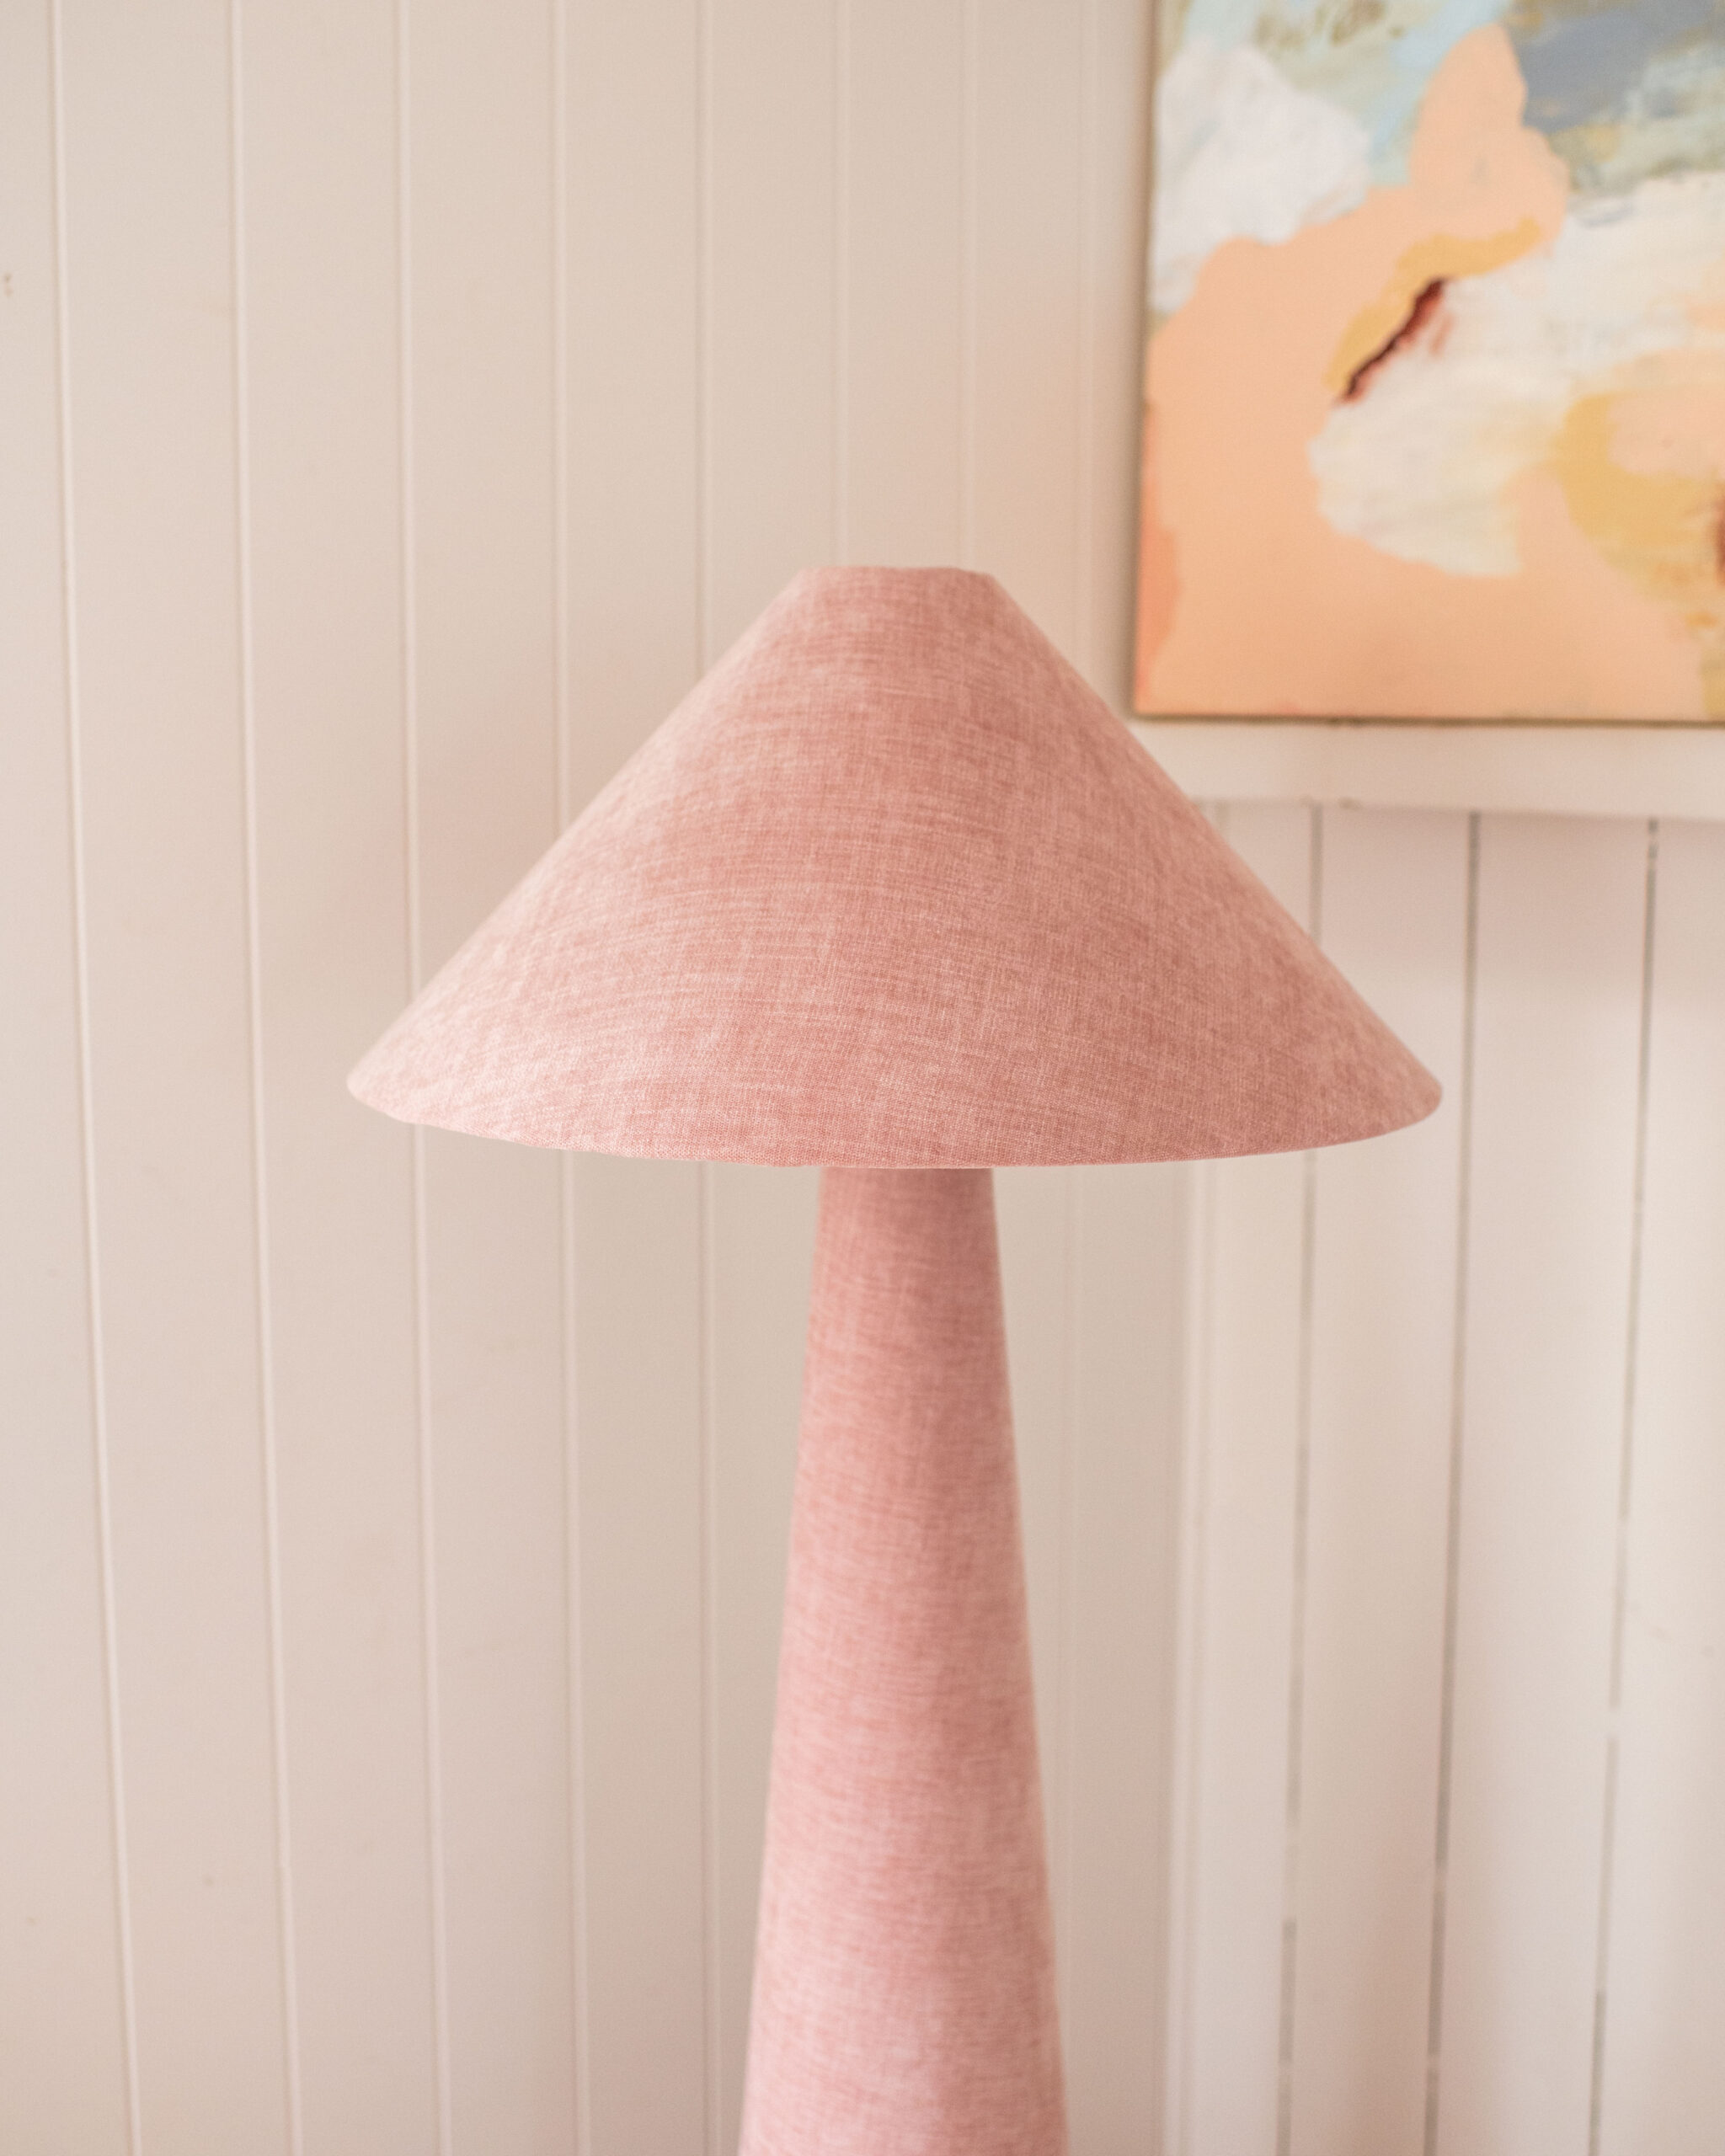
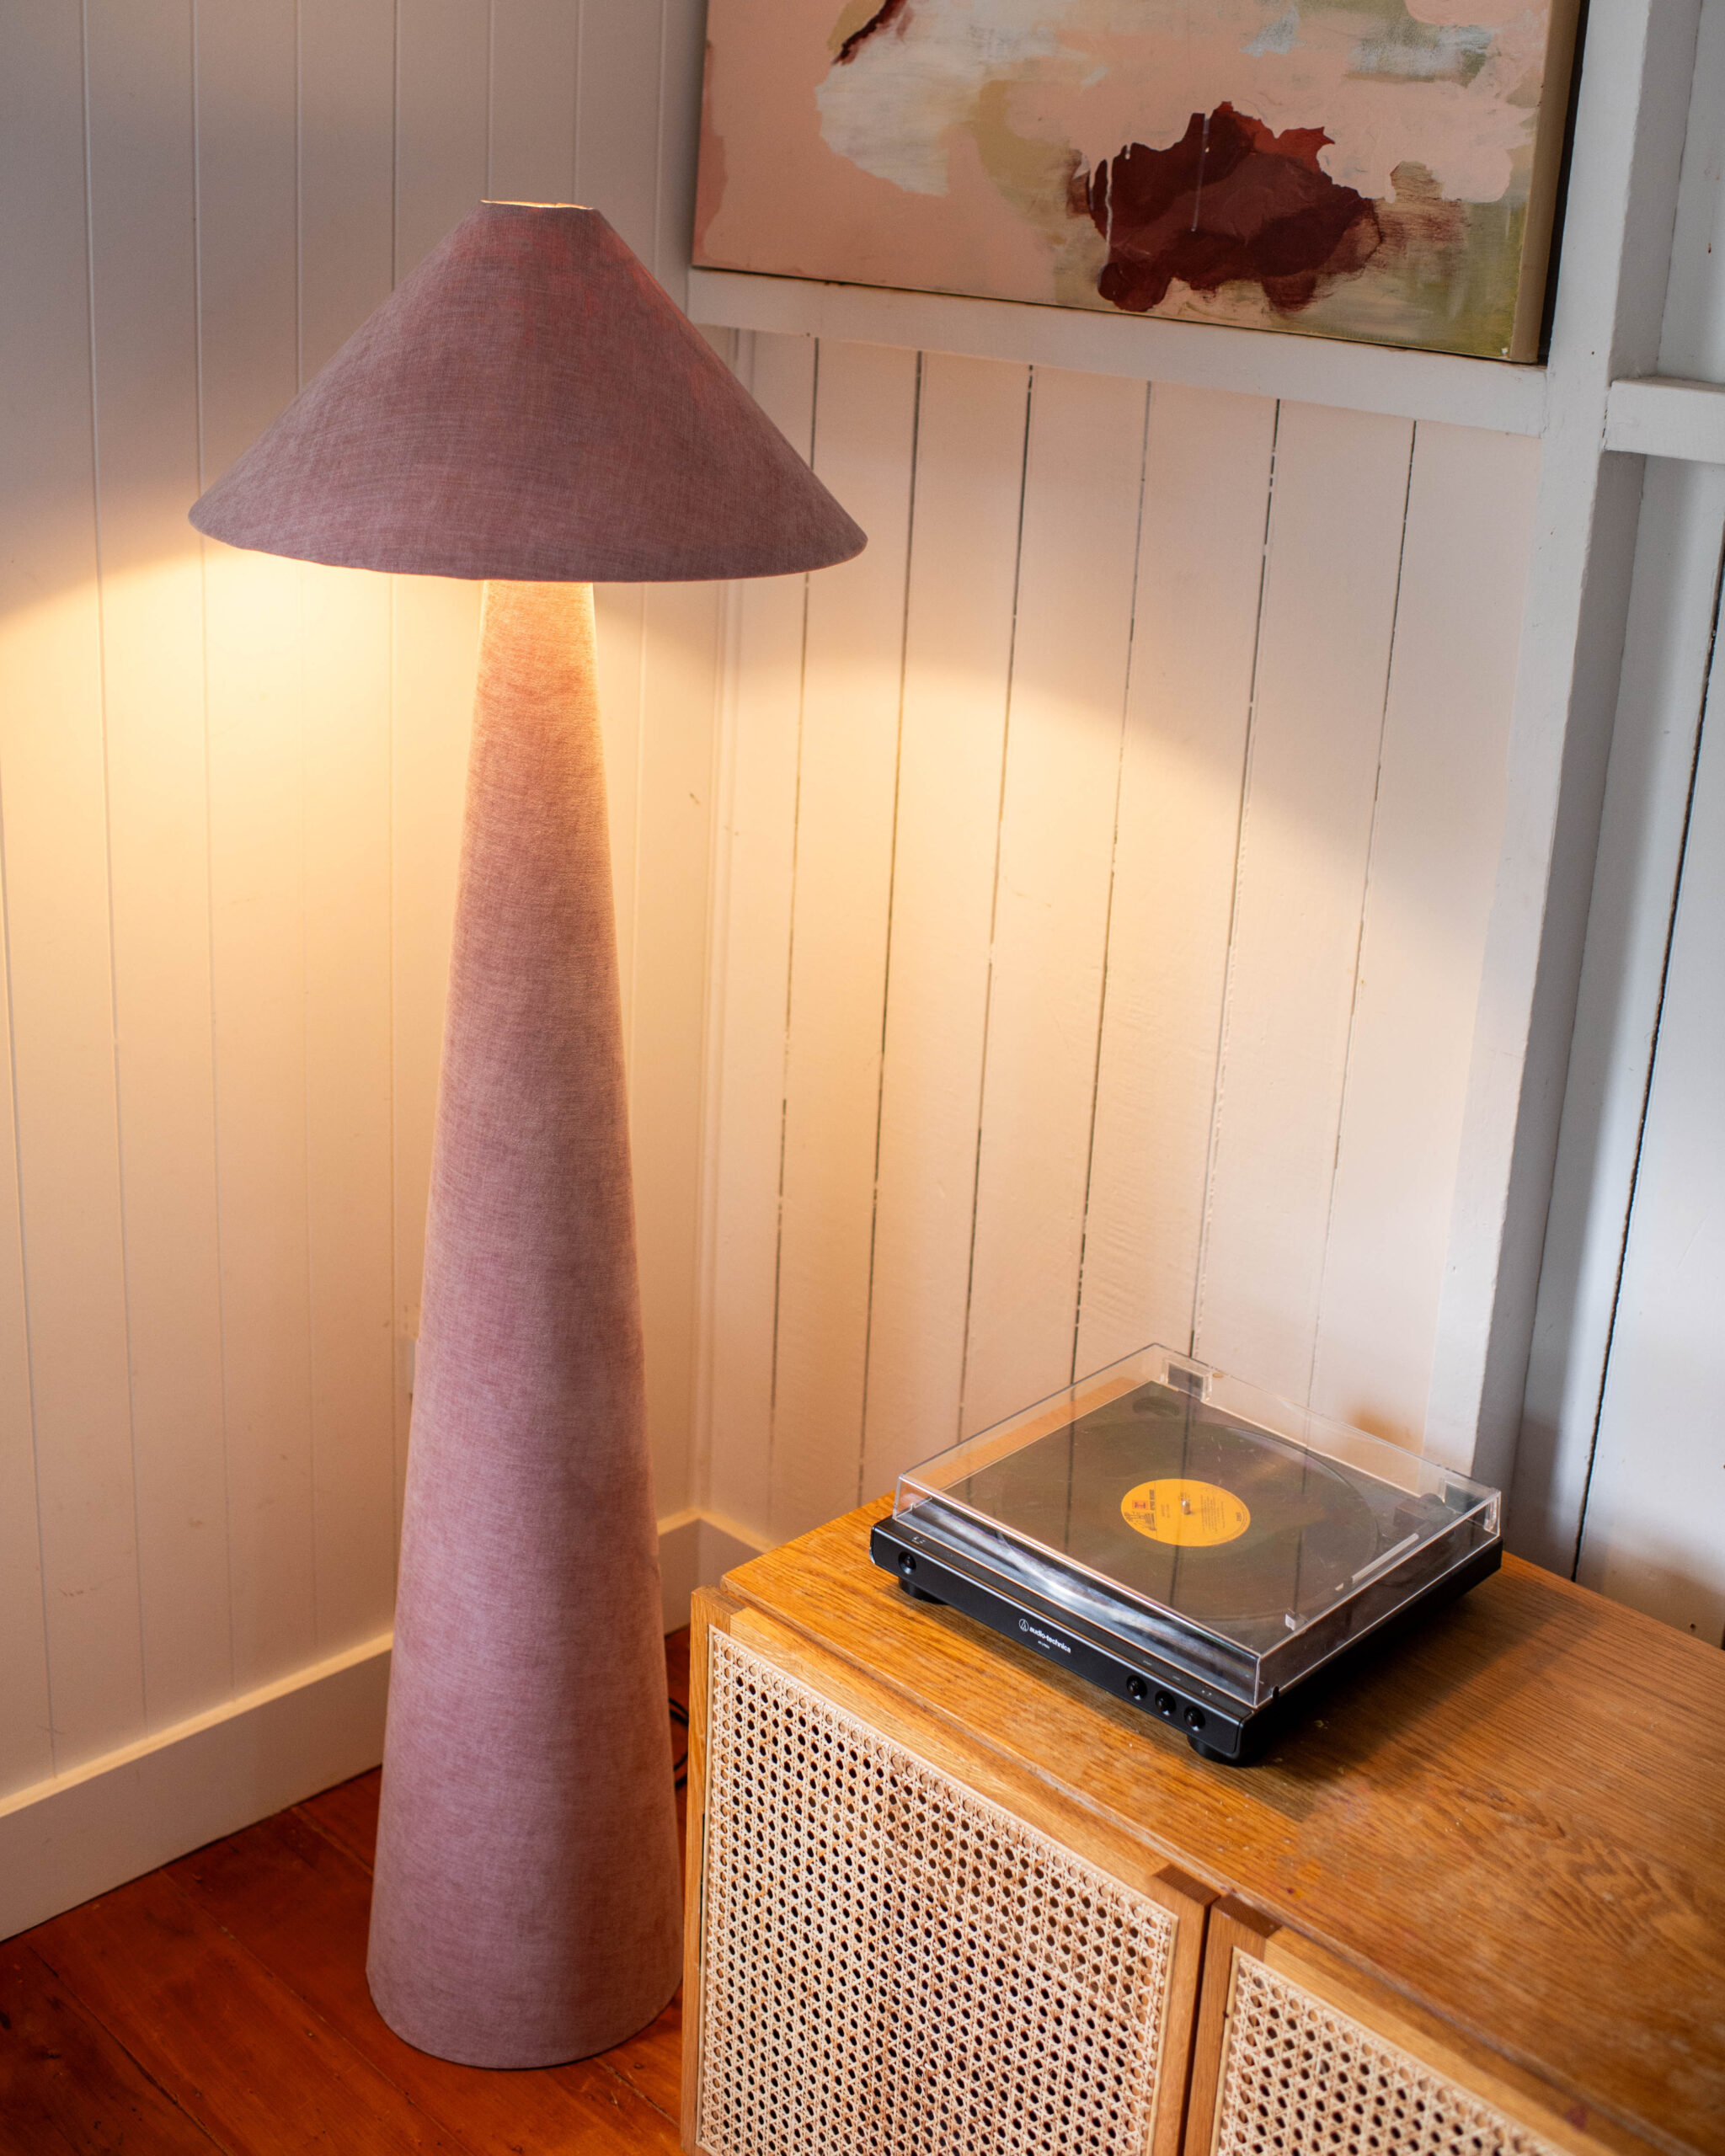
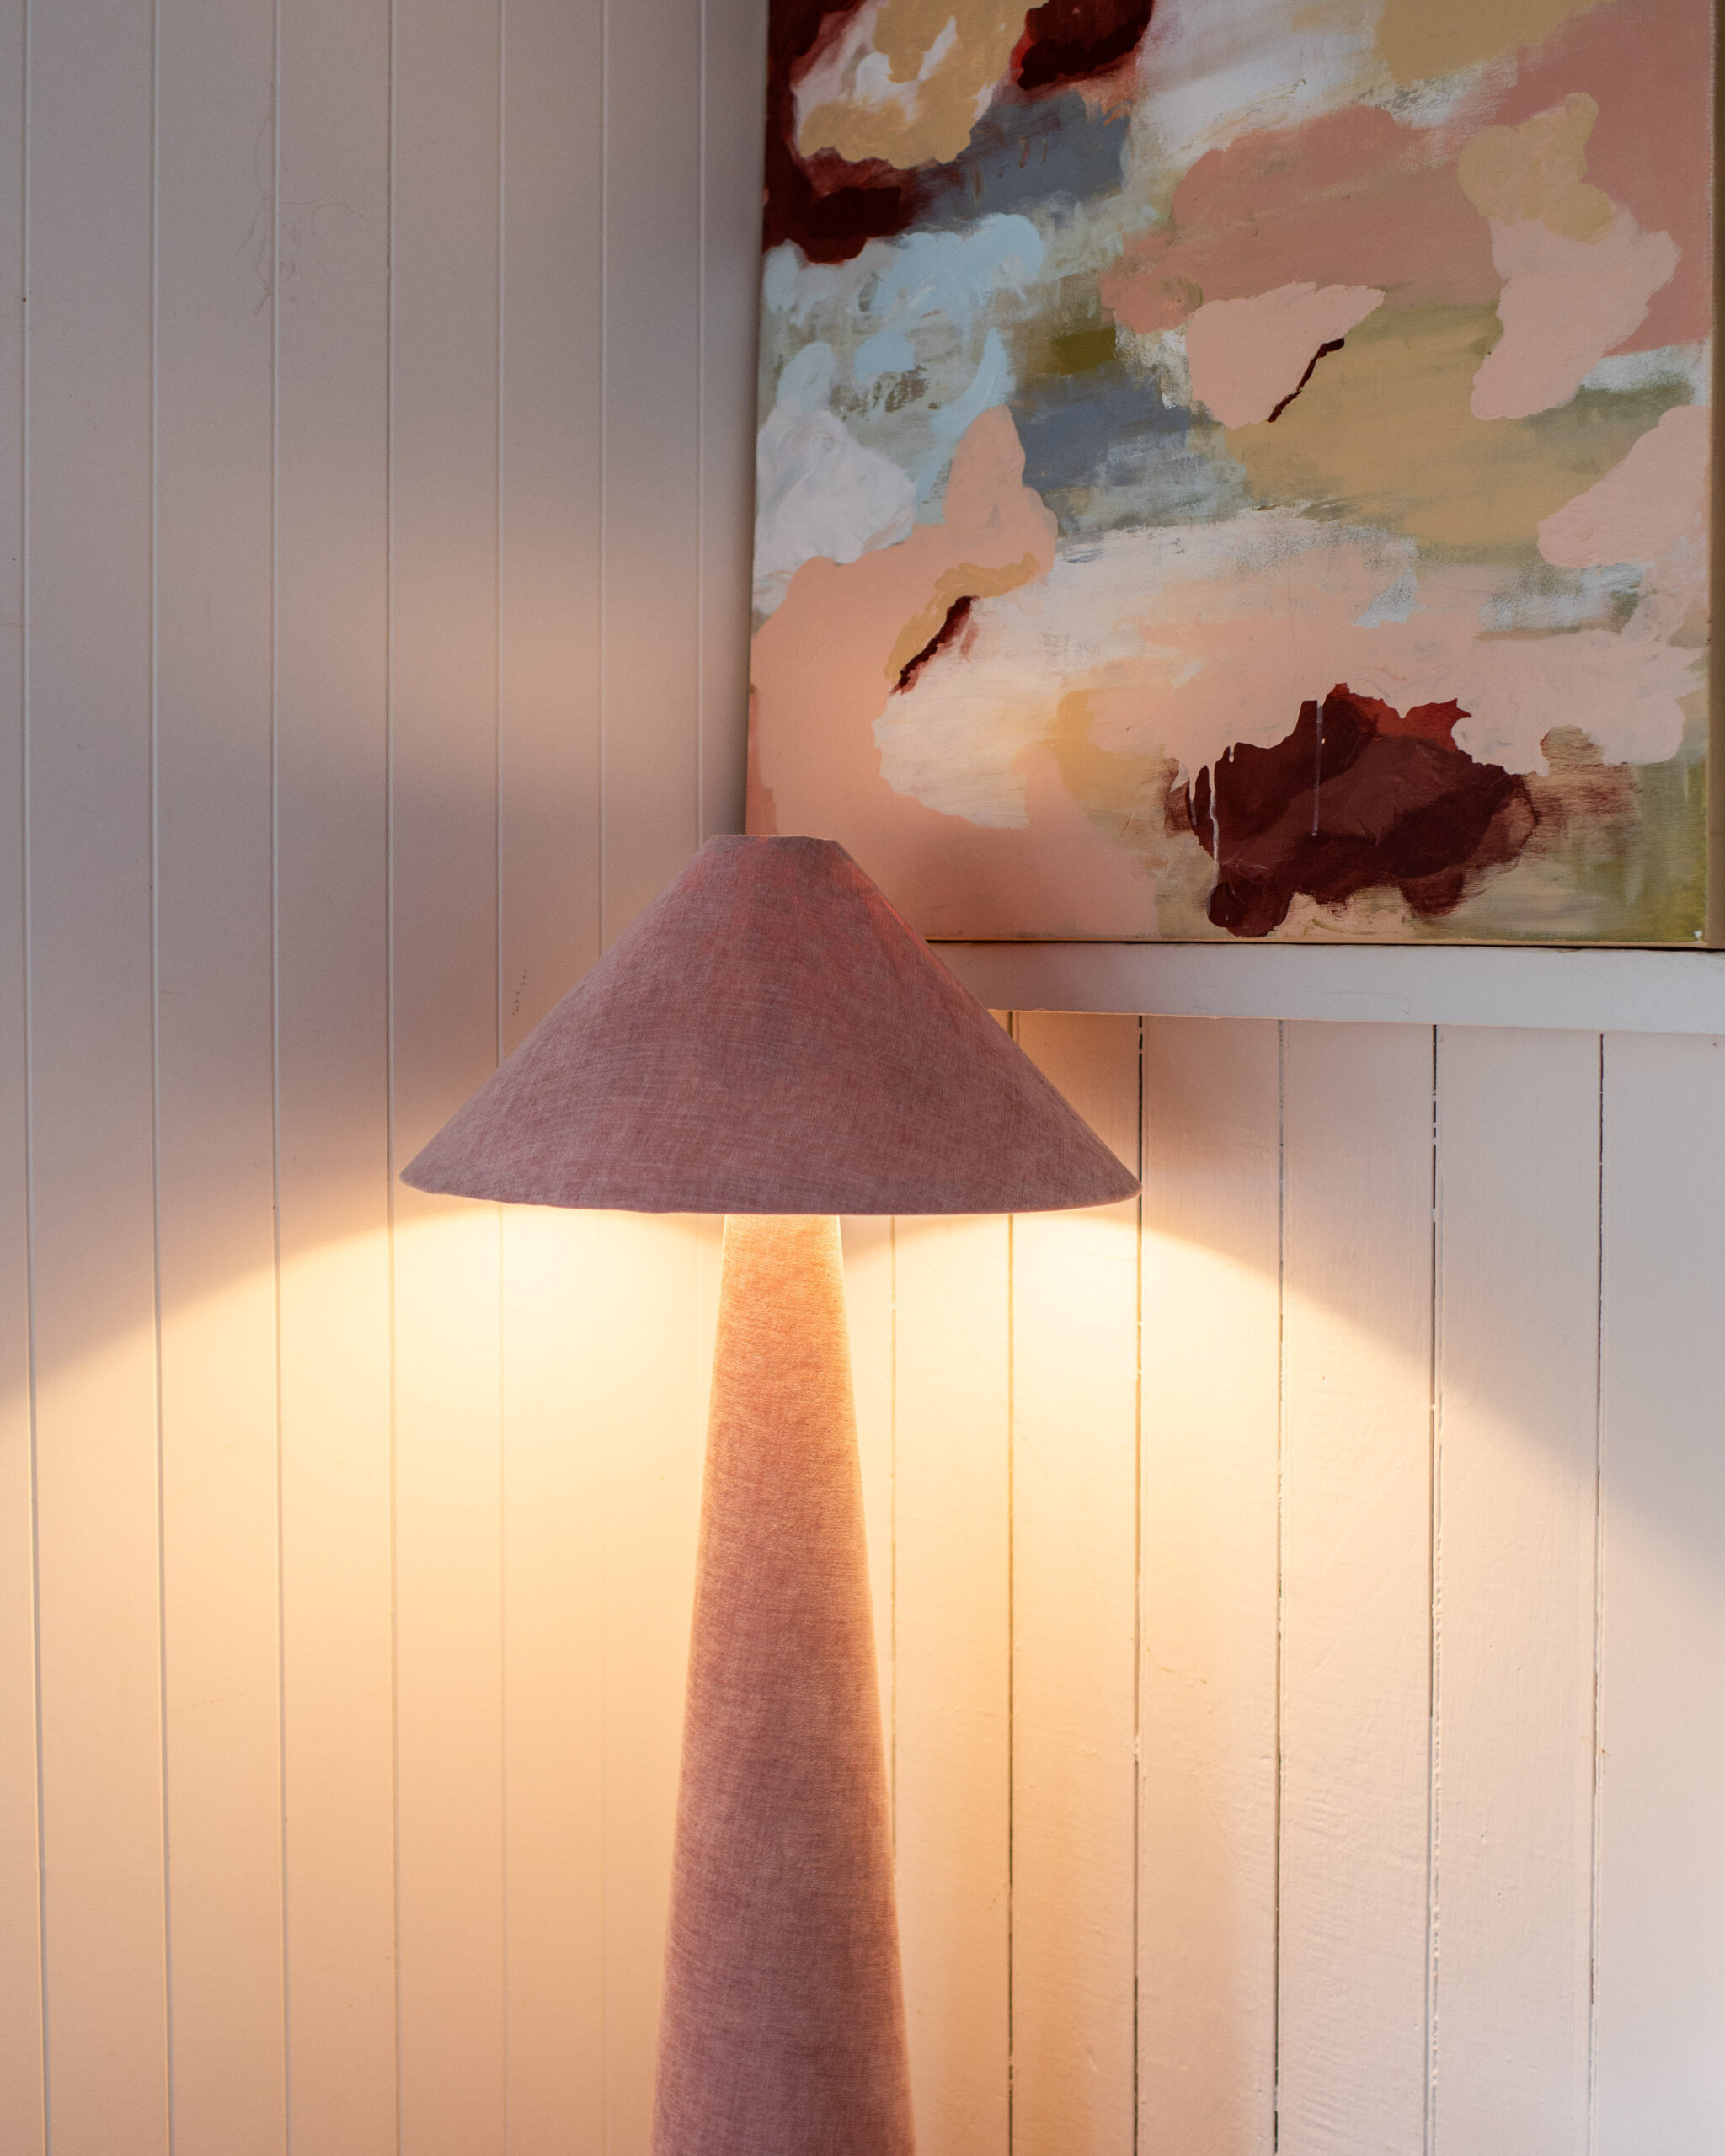
I’ve have had my eye on this lamp from Anthropologie for a while but it was priced at $1300 so I decided to try and make it myself! And I am so happy with how it turned out.
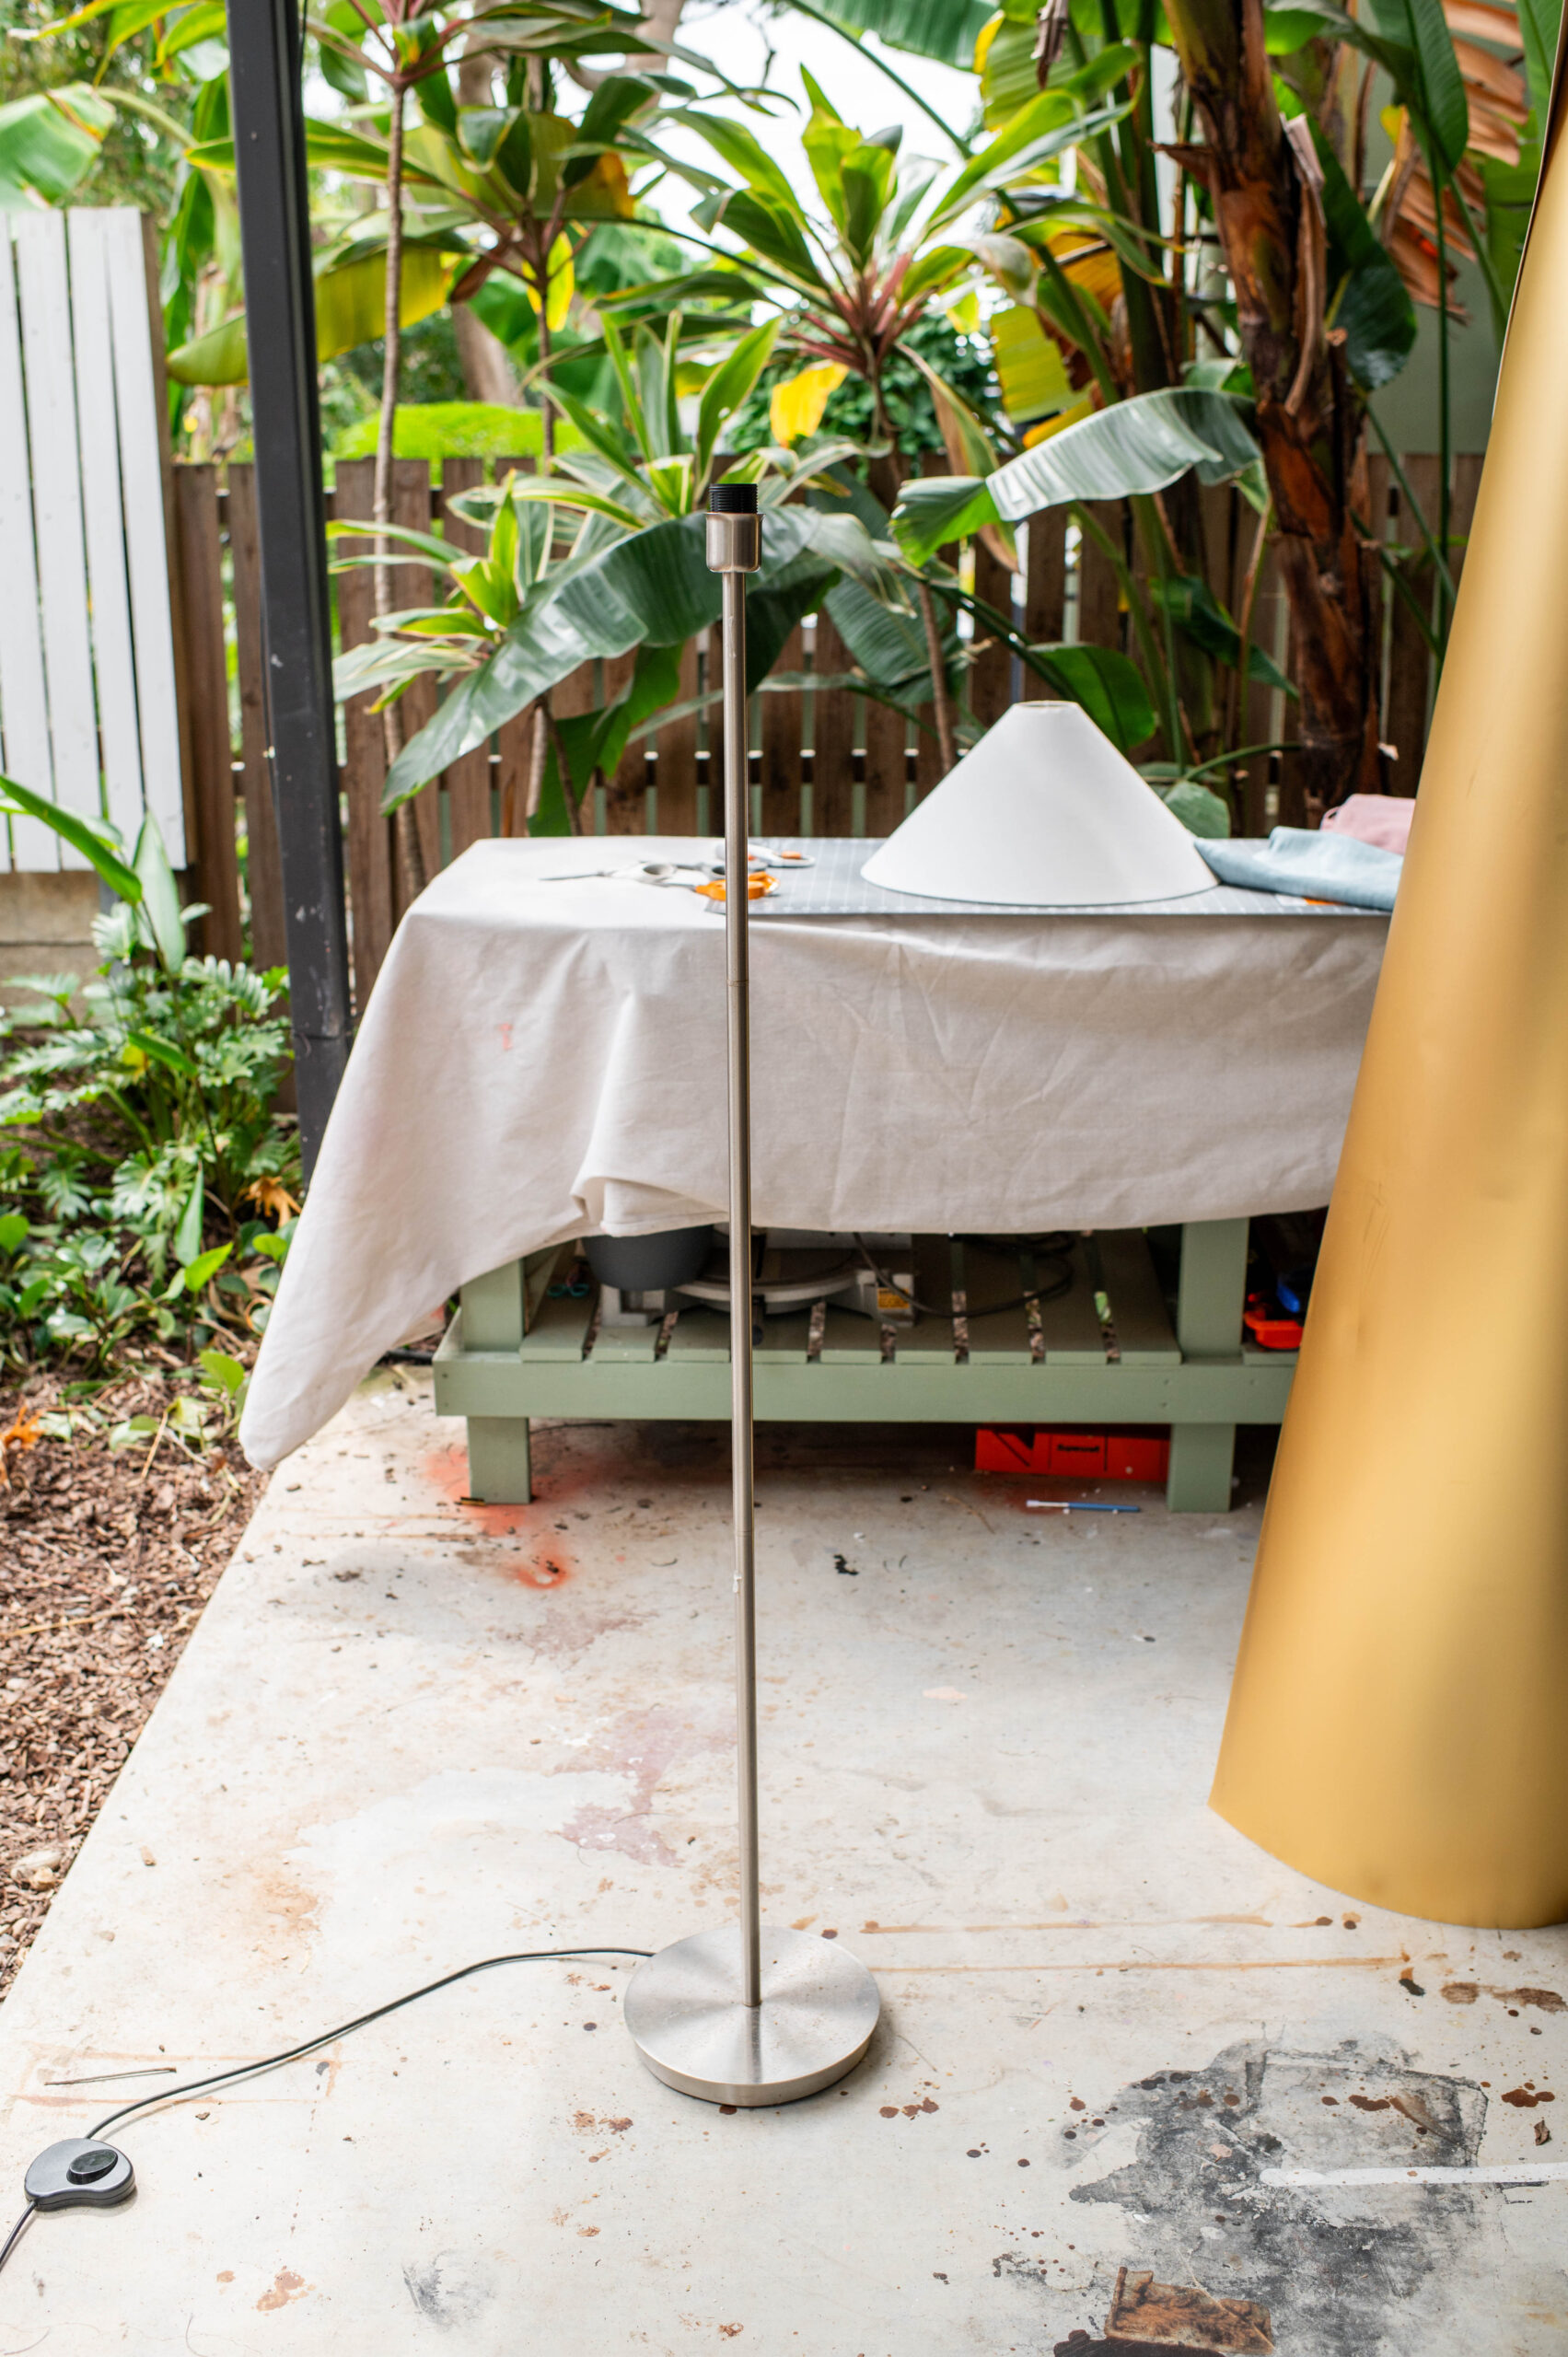
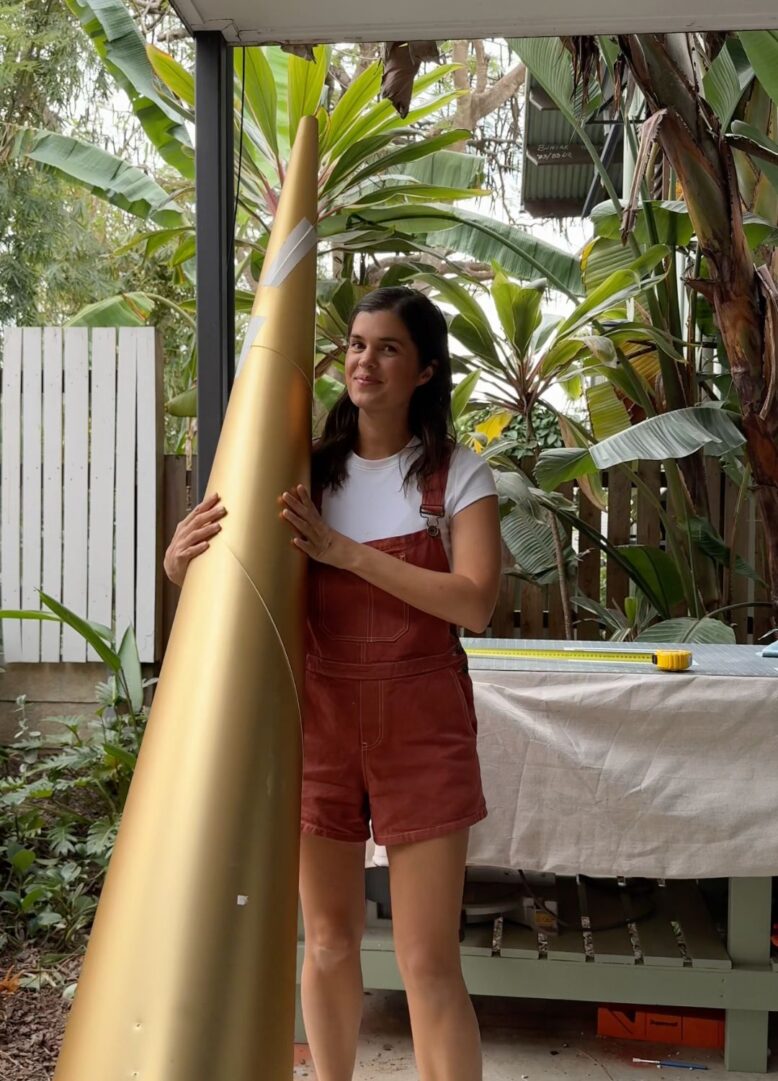
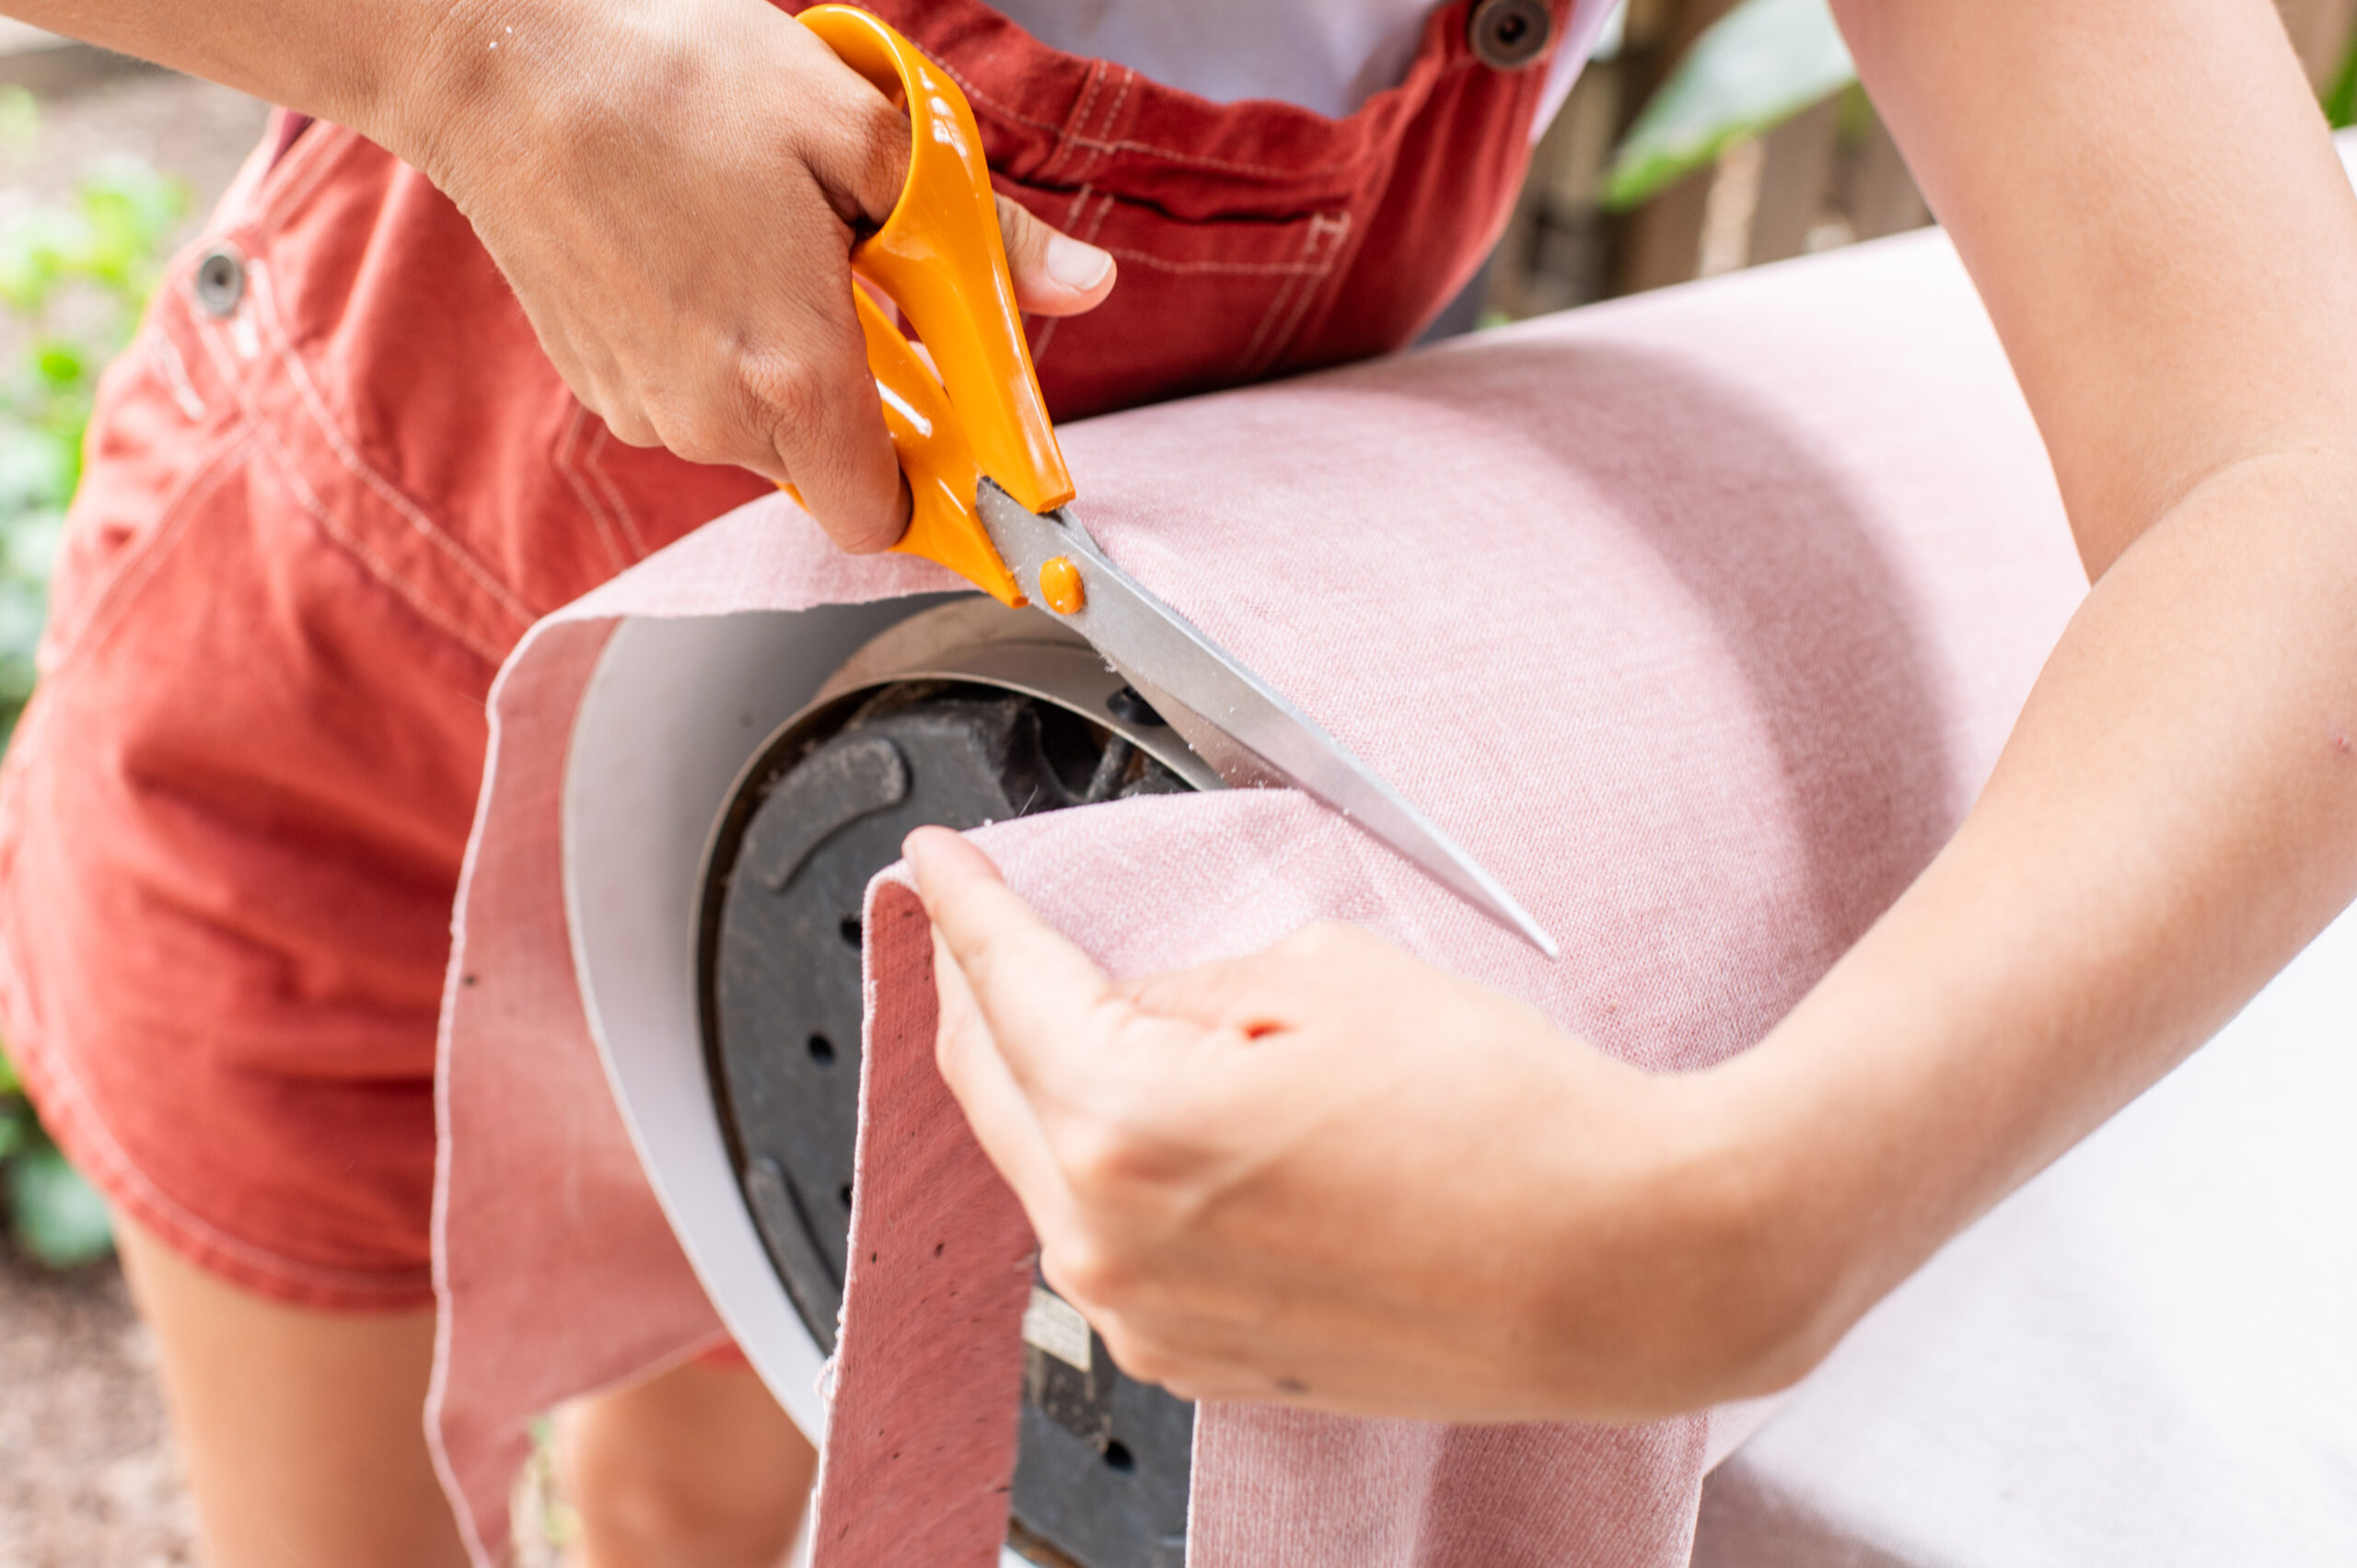
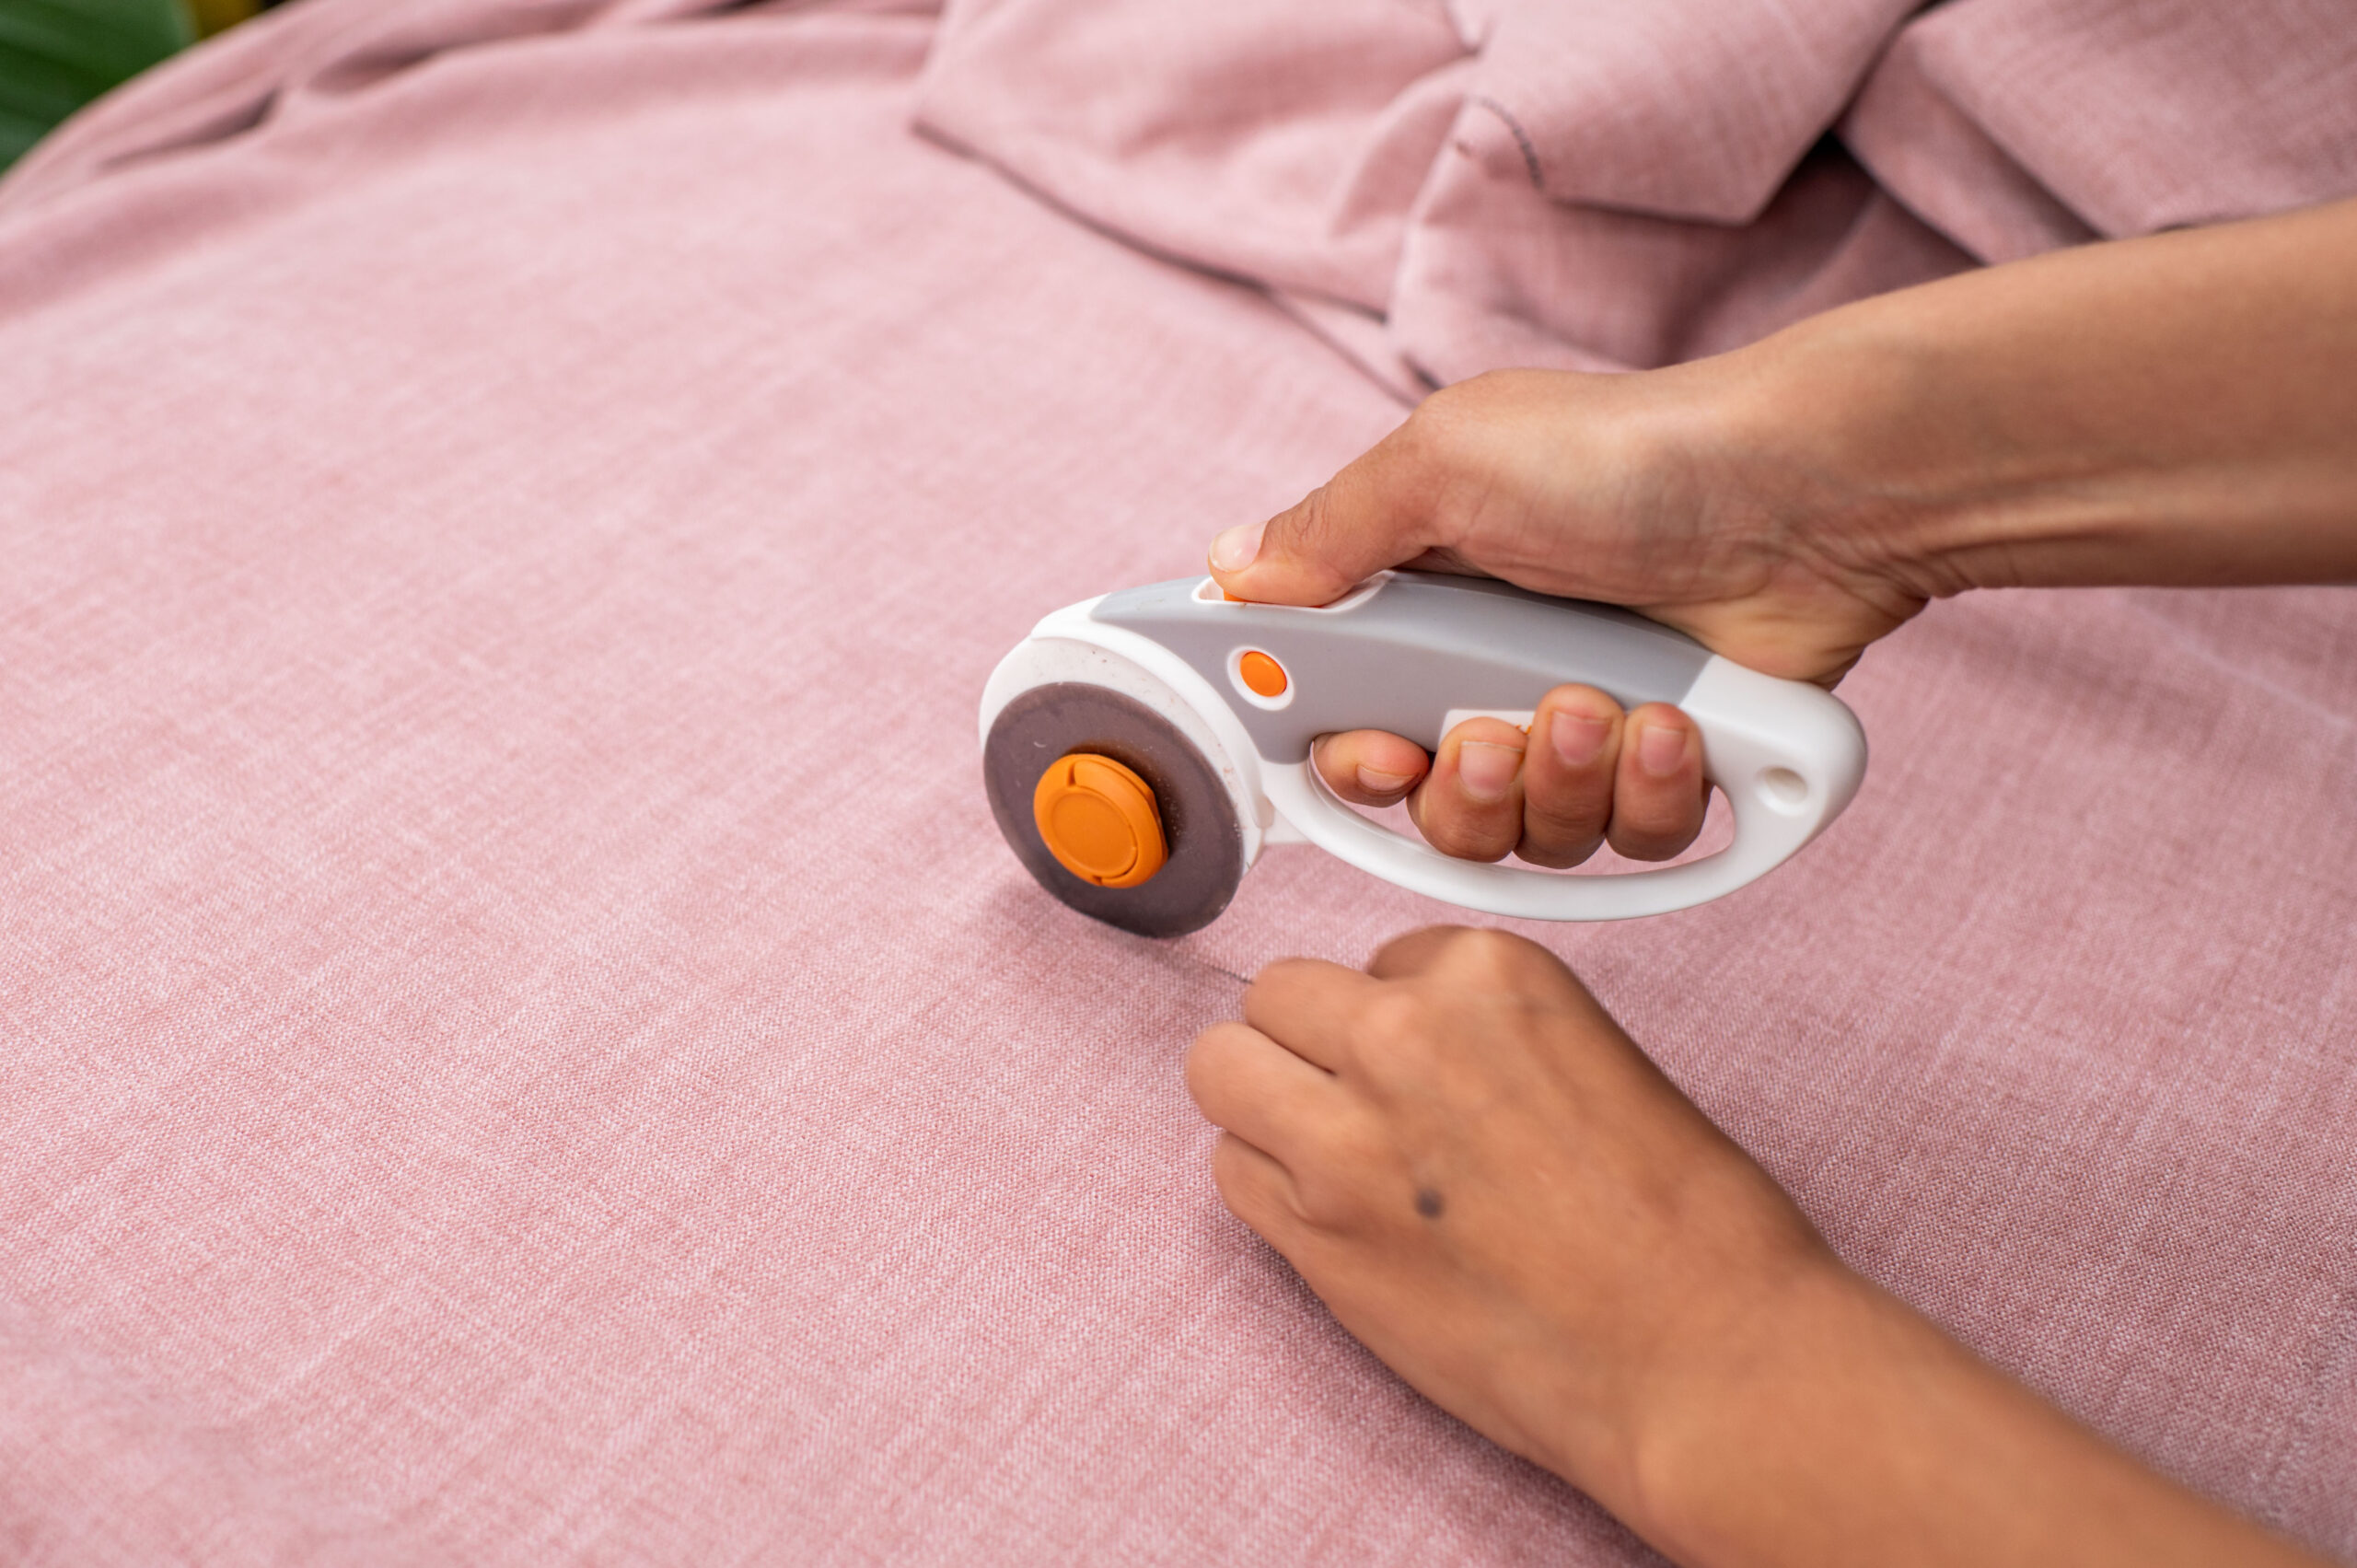
I found an old gold tube ‘thing’ from a secondhand store and while I honestly had no idea what it was meant to be, the outside was perfect to create that cone shape I need for the base of the lamp. This whole project had my brain working hard to work out how wide I wanted the cone to be and where to cut it off but thankfully the cutting itself was easy with my Fiskars PowerCut scissors! After I managed to get the cone just right, it was time to upholster the base and the lamp shade and it turned out so amazing!
- Before
- After
Want to another Anthro dupe? Check out this Sculptural Outdoor Table
Materials
- Large piece of thick cardboard
- Lamp base
- Lampshade
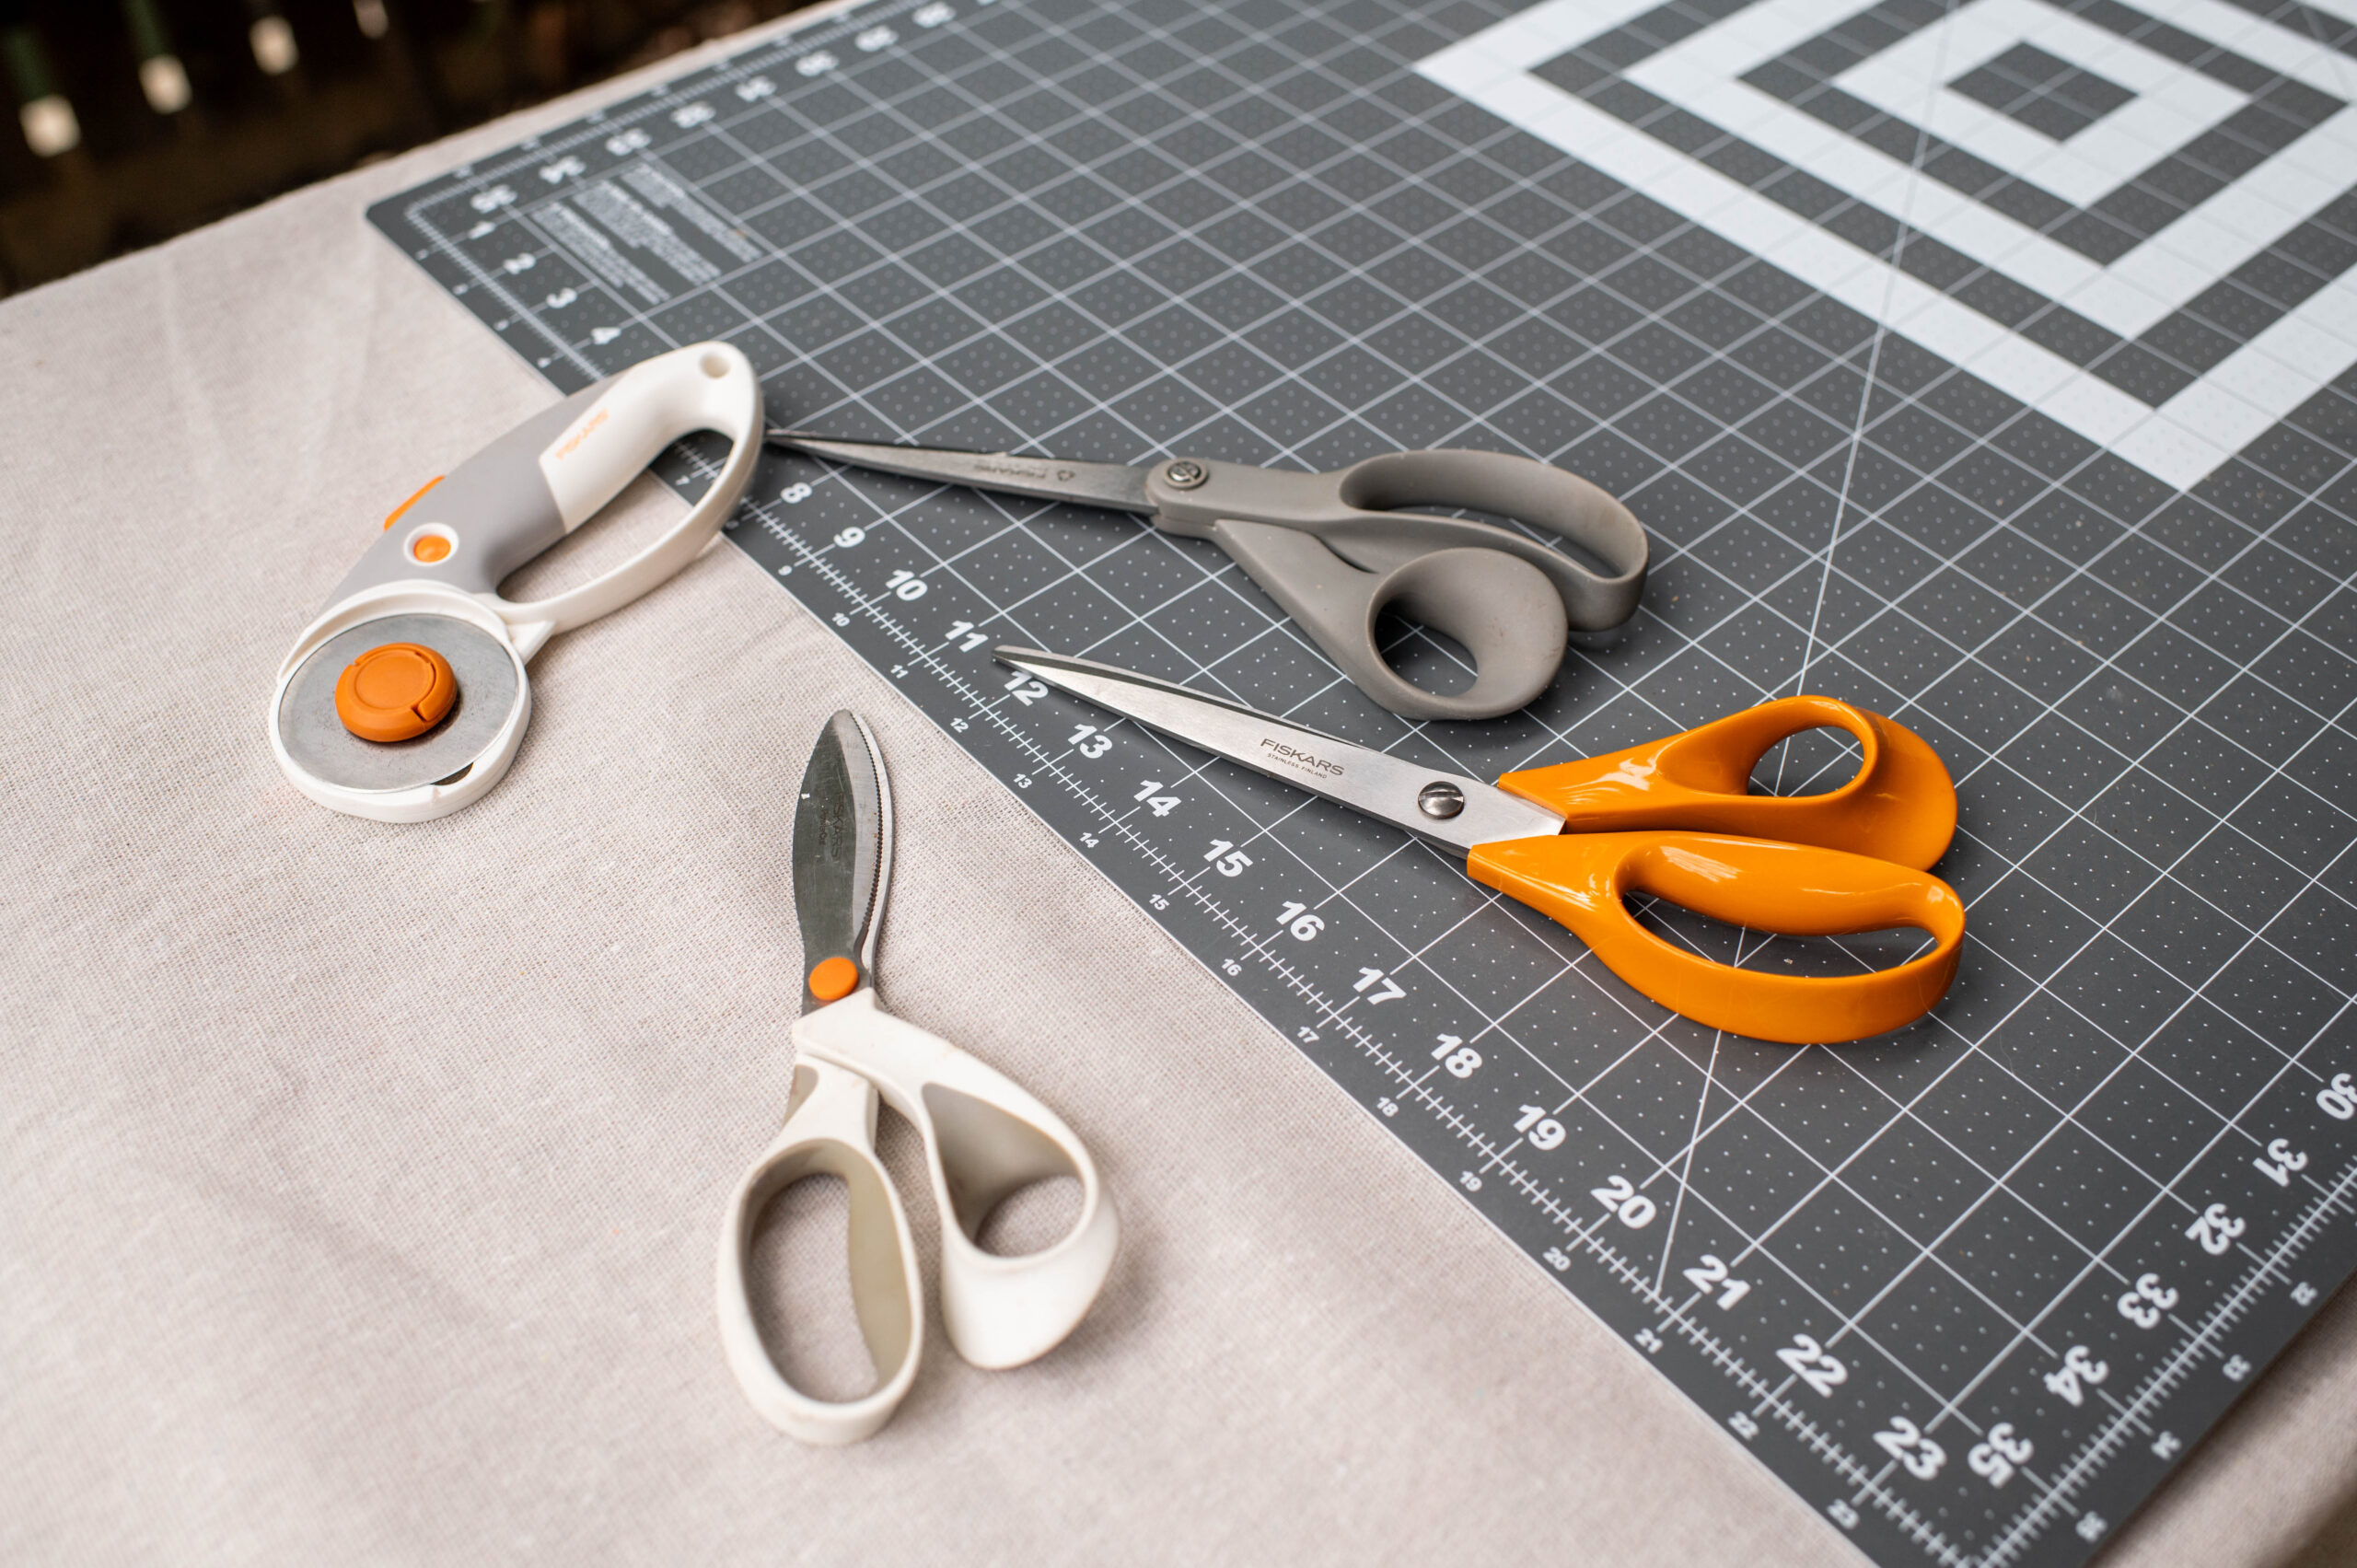
- Fiskars PowerCut Scissors
- Fiskars Rotary Blade
- Cutting mat
- Brushed velvet fabric
- Spray adhesive
How to Make an Upholstered Lamp
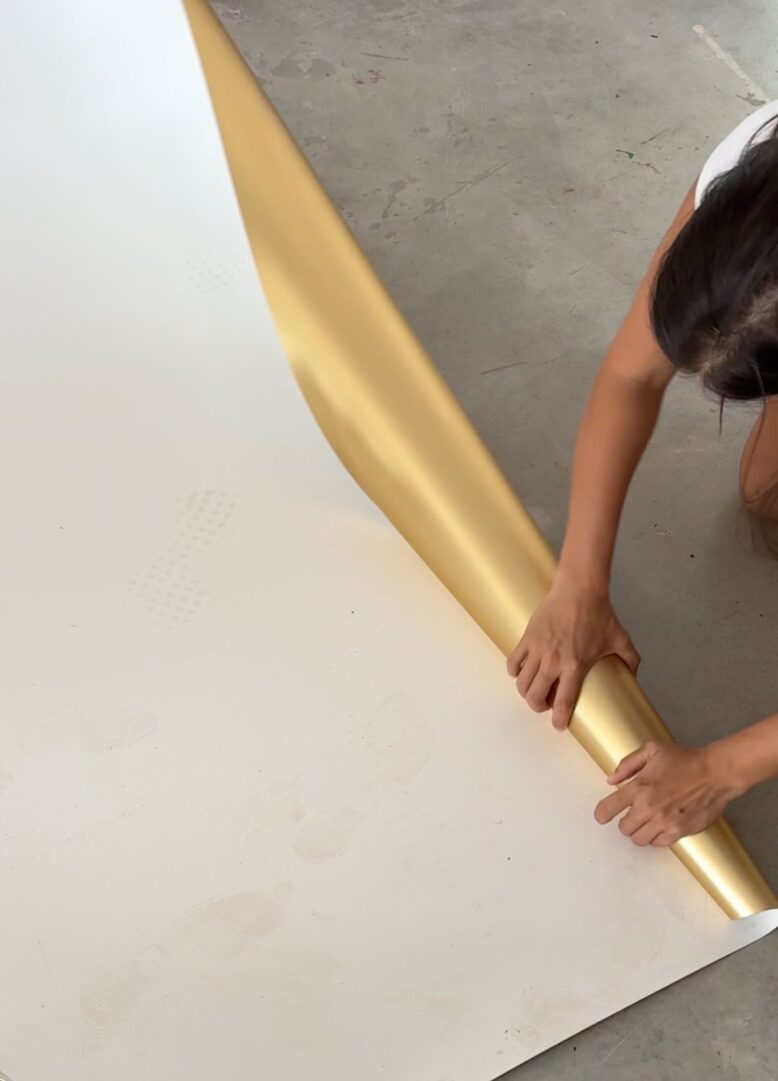
- The first step was the roll the large piece plastic into a cone shape – you could also use some cardboard for this purpose.I had to be really mindful of the width of the cone at the base as I didn’t want it to be too wide or narrow to fit the lamp base into.
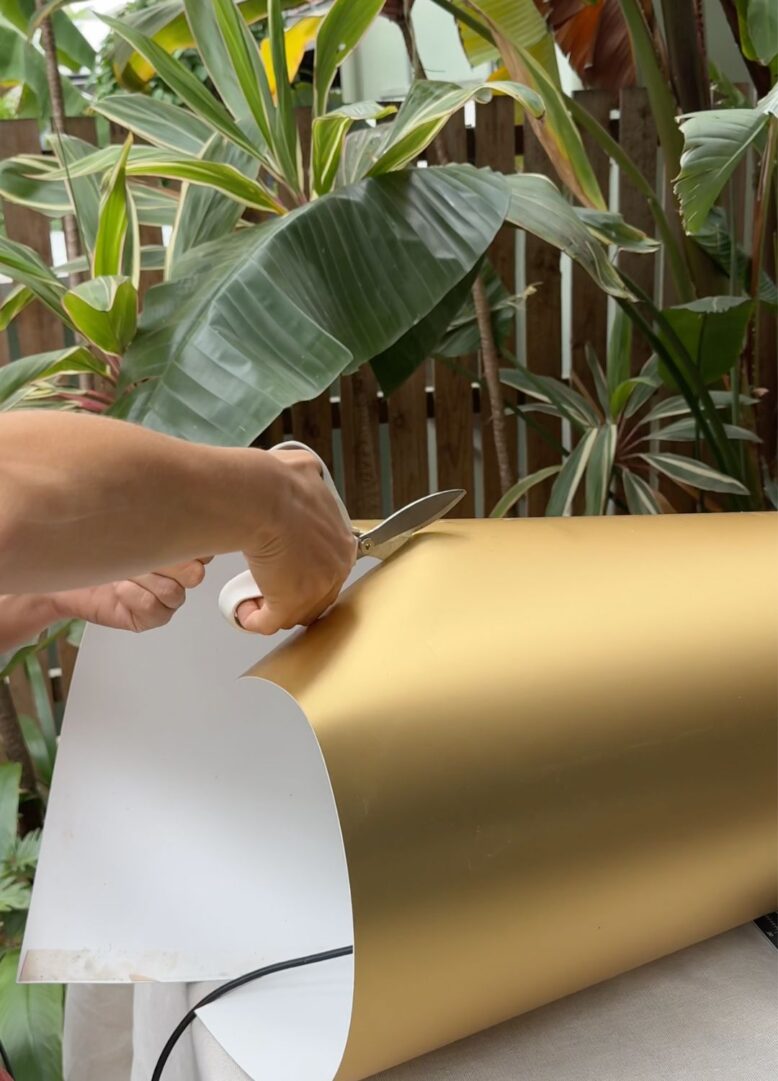
- Next it was time to cut the cone to match the lamp base. I found my Fiskars power cut scissors the best for this job as the thin plastic was a little tricky to cut through.
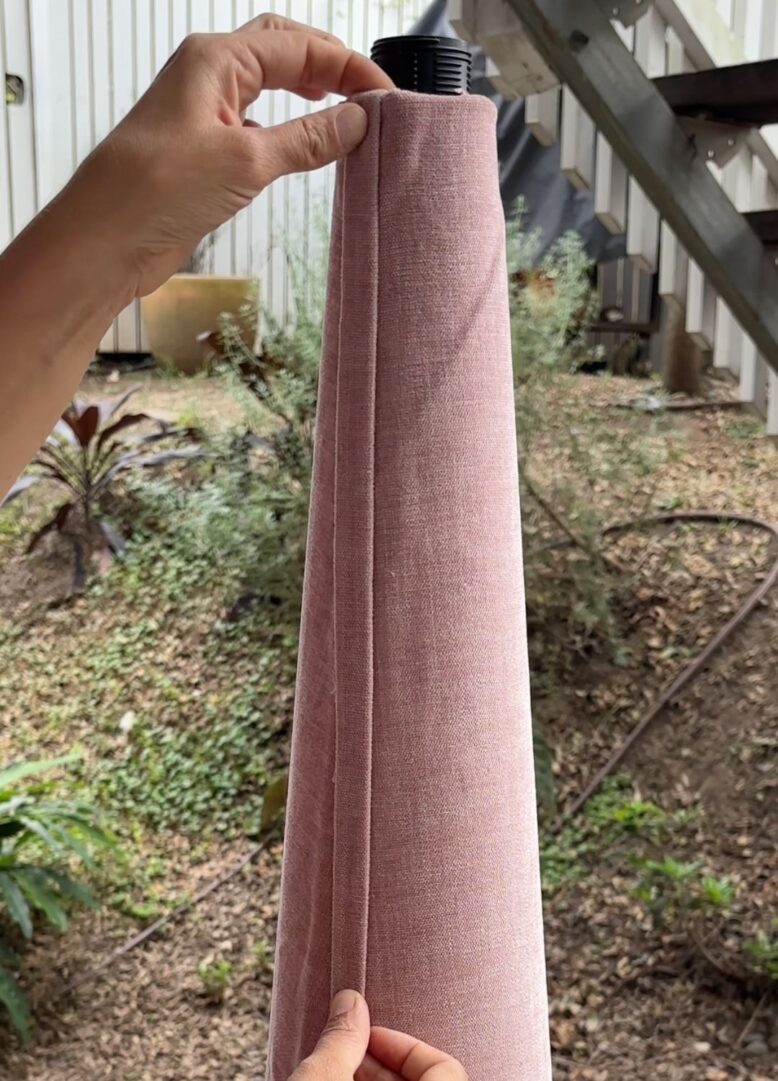
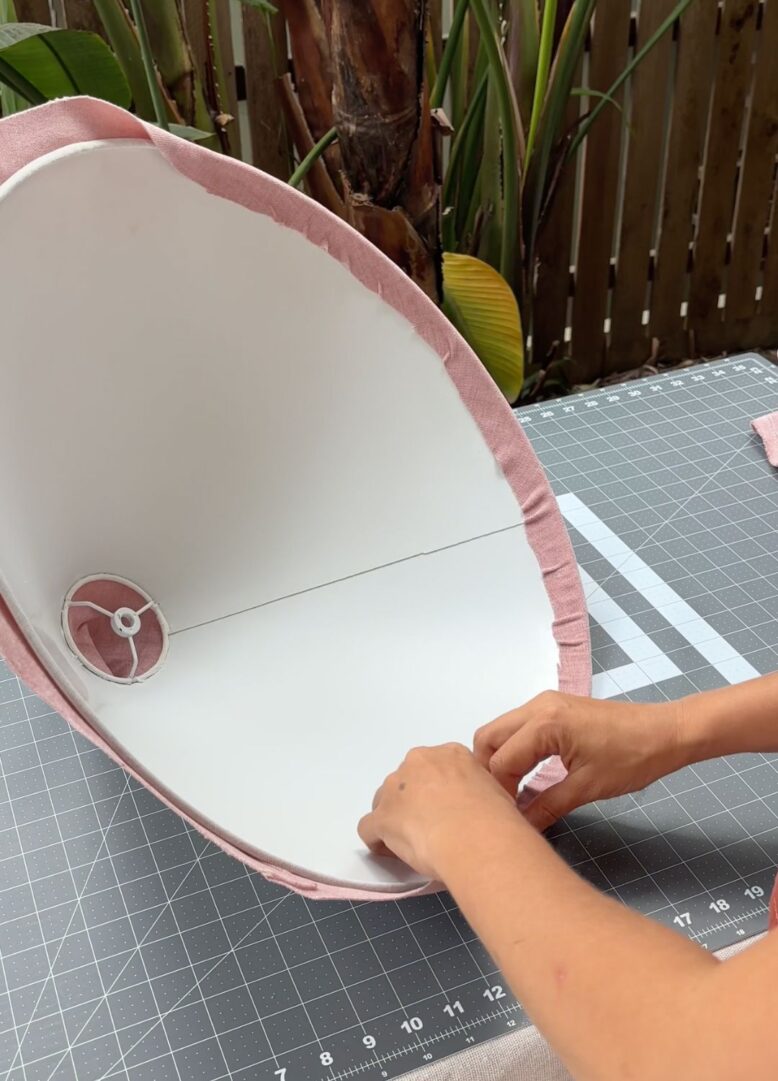
- Then once I was happy with how the cone was sitting in relation to the lamp base – it was time to start coving the cone in fabric! I used some spray adhesive and carefully secured down the velvet over both the cone and the lamp shade, making sure there was no bubbles in the fabric. To finish the edges, trim the fabric down and then fold over the edges using spray adhesive again.
- To make sure the seam of the fabric was hidden, I decided to make some bias binding to cover the join at the back.
Voila
This post is in collaboration with Fiskars.
