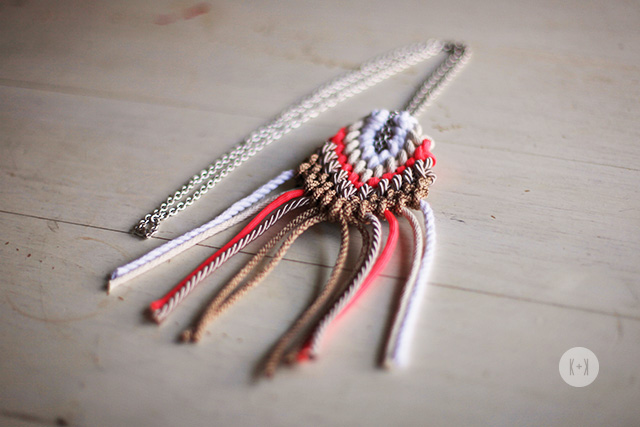
If you haven’t yet heard of Knots & Knits, then you’re in for a real treat. Megan Todd is the talented designer behind this unique label for which she designs and hand makes the most epic clutches, bags and necklaces – painstakingly knitted out of rope using knitting needles as big as tent poles (seriously!). If I had any idea where to start with knitting, Megan might just inspire me to take up my own tent poles, but sometimes this quality of craftsmanship is best left to the professionals. What I love most is that Megan has taken a traditional craft such as knitting and turned it into something so incredibly fashion forward (a hint of neon anyone?). Check out her website if you don’t believe me (hands off the cobalt clutch – it’s mine!).
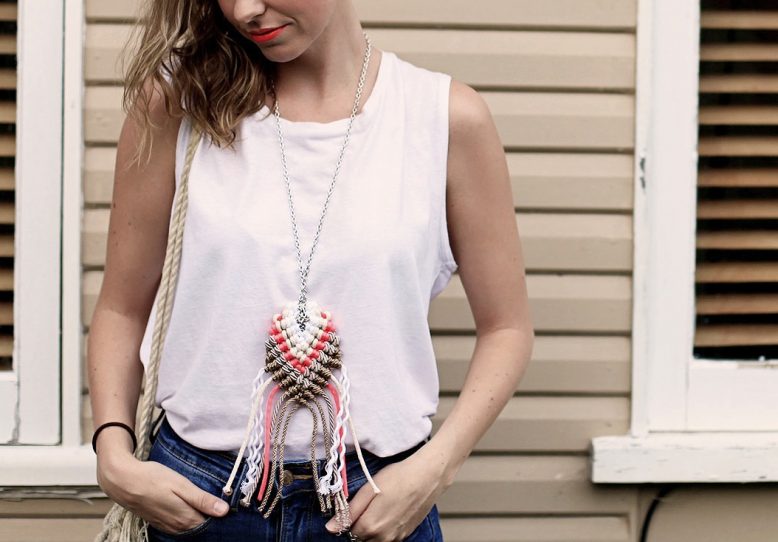
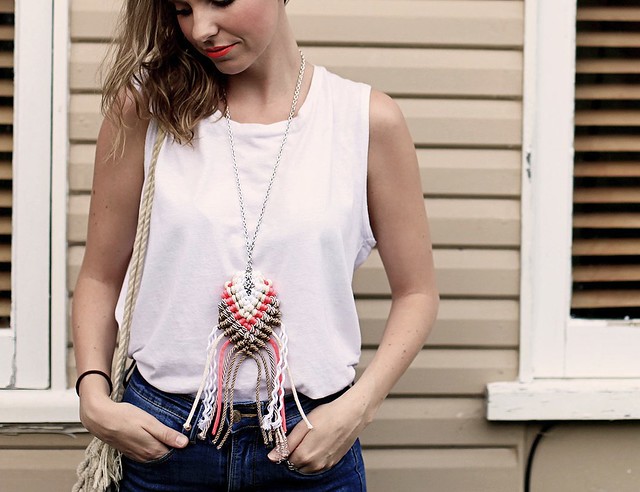
Megan is first up in a new series here on A Pair & A Spare where a collective of your favourite designers and artists will give you an insight into their craft with exclusive how-tos for you to replicate. I asked Megan to give us a peek at her enviable roping skills in action and she made this amazing roped macrame necklace – which turns out to be totally do-able! What more could a girl ask for?
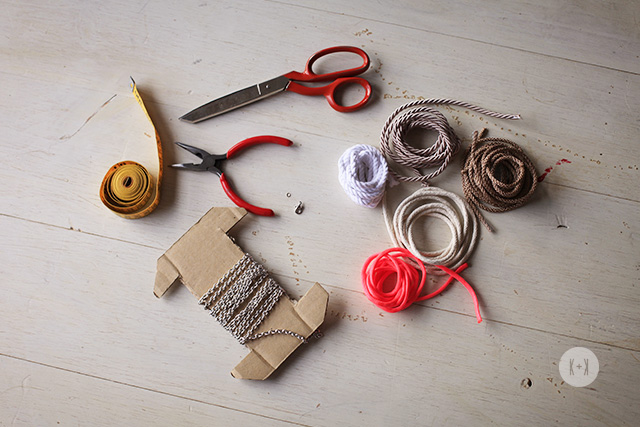
You need:
- Pliers
- Tape Measure
- Scissors
- Masking Tape
- Chain
- 6 Pieces of Cording
- 1 x Jump Ring
- 1 x Parrot Hook
How to:
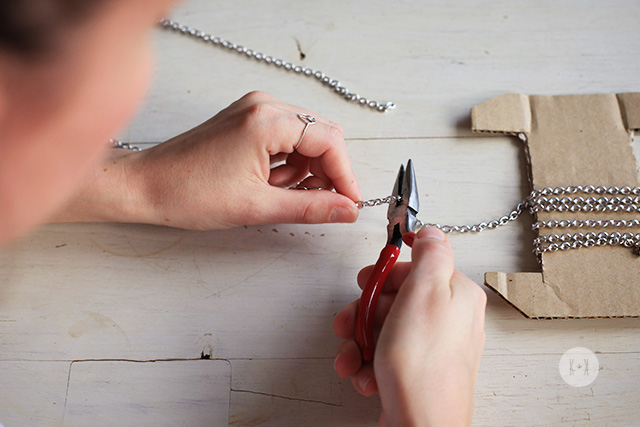
1. Start by cutting the chain with pliers to the desired finished necklace length.
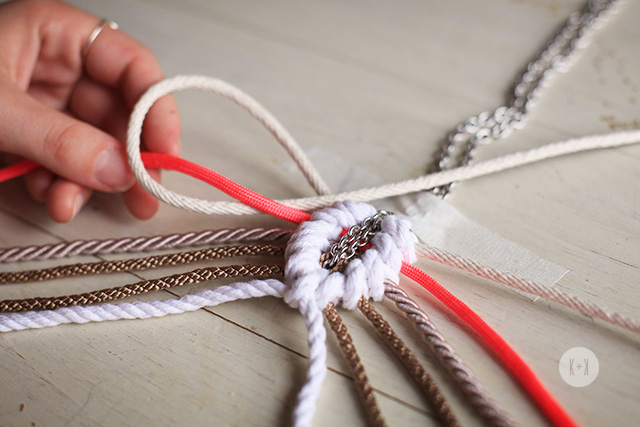
2. Cut 6 strands of coloured cording around 1.5m each in length. (I love how Megan went with neutrals with a pop of neon!) Then lay them in the order of colours you would like the necklace to be finished with from top to bottom. Fold the chain in half and then find the centre point of the cordings, laying them over the folded chain.
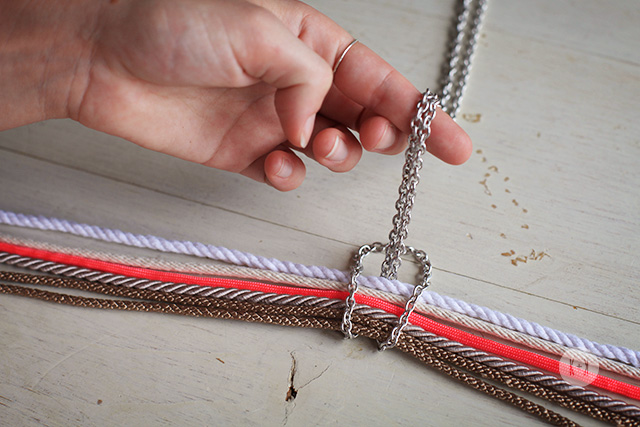
3. Pull the length of chain through the centre point loop and pull tightly towards the top colours of your necklace.
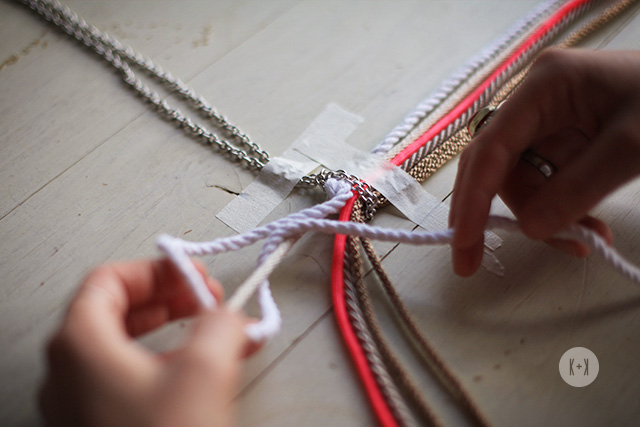
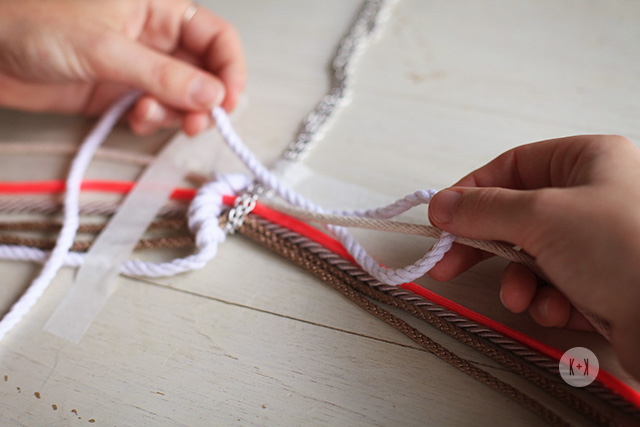
4. Spread out the cordings in their order of colour either side of centre point. Tape down the right side cordings and chain to hold them in place. Then start your macrame on the left side: take the first cord and lay over the second cord. Pull the first cord under and through as shown below.
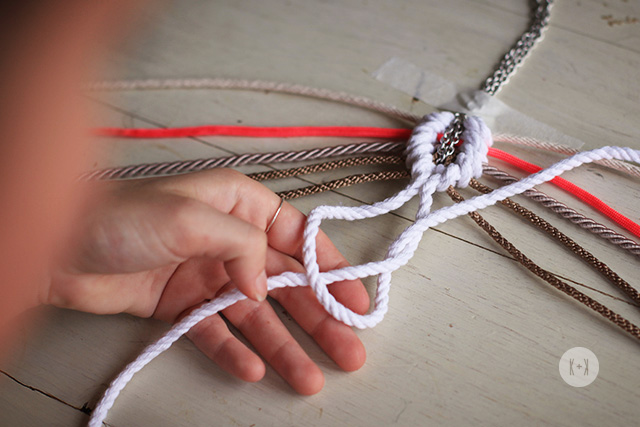
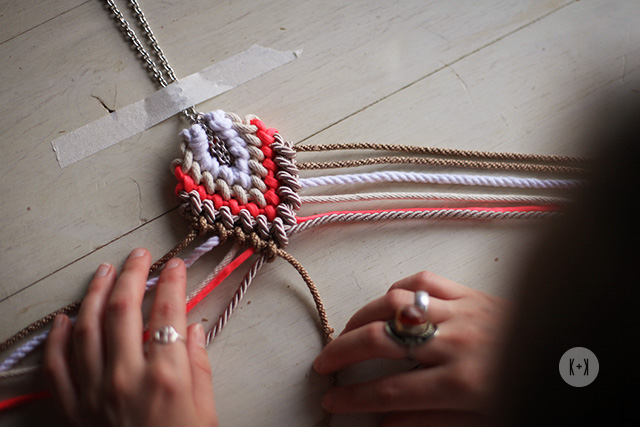
4. Pull tightly and then repeat, so that you have two knots on the same row. Repeat using the white cord along each row of cording on the left side.
5. Repeat the same knotting technique on the right side and work your way down.
6. Once both sides are completed, use the same knotting technique, starting with the left cording over the right. Once you have knotted your two knots in place super tightly, you can start the next row!
7. Begin your next row of series of knots the same as the first row.
8. Continue with all the other colours.
9. Once you have finished knotting all the rows of cording, neatly cut the ends to desired length. (You can also slightly unfurl the ends of the cord for a laid back look like Megan’s!)
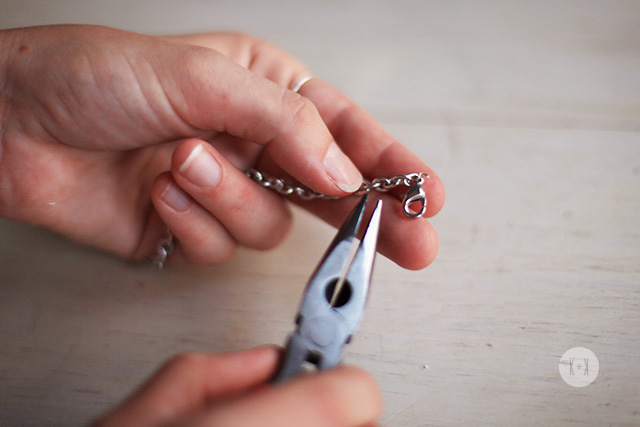
10. At the open end of your necklace, use your pliers to open the jump ring. Hook one chain end and the parrot clasp onto the jump ring and fasten it closed. Now you can fasten your parrot clasp onto the other chain end to close your necklace!
All done! I hope you enjoy your hand made macrame necklace!
Stay tuned for more tutorials and how-tos from The Collective.


