Every crafter worth their salt will have put their hand to a touch of distressed denim at some point.
It’s pretty much the DIY equivalent of a gateway drug – once you start, you can’t stop. But have you noticed just how many different techniques there are for distressing your denim? From power tools to kitchen utensils, everyone has a different approach (I’m all for the tweezer method).
To find out, we got together with our friends from GRANA who have released a line of super comfy (and flattering!) Japanese denim jeans, to test out a few of these methods. Like with all their products, the team at Grana have travelled the world to bring you the best of the best in fabrics, in this case beautiful Japanese denim from the best traditional mills. But just like their silk tanks, because of their innovative pricing model these jeans feel and wear like that of an expensive pair, but actually aren’t. (Don’t worry I won’t tell 
Read on the see our verdict on the best distressing methods.
Wearing: Grana denim skinny jeans in stone wash bleach (left) and stone wash (right)
For the road test we used all the different tools in the office, and focused on the skinny jeans as they have a great amount of stretch which is perfect for distressing. They ended up being so comfy that I wore them on a plane on the way to Thailand, which is pretty much the ultimate test of wearability!
DIY Distressed Denim Techniques Road Tested
Here’s our thoughts!
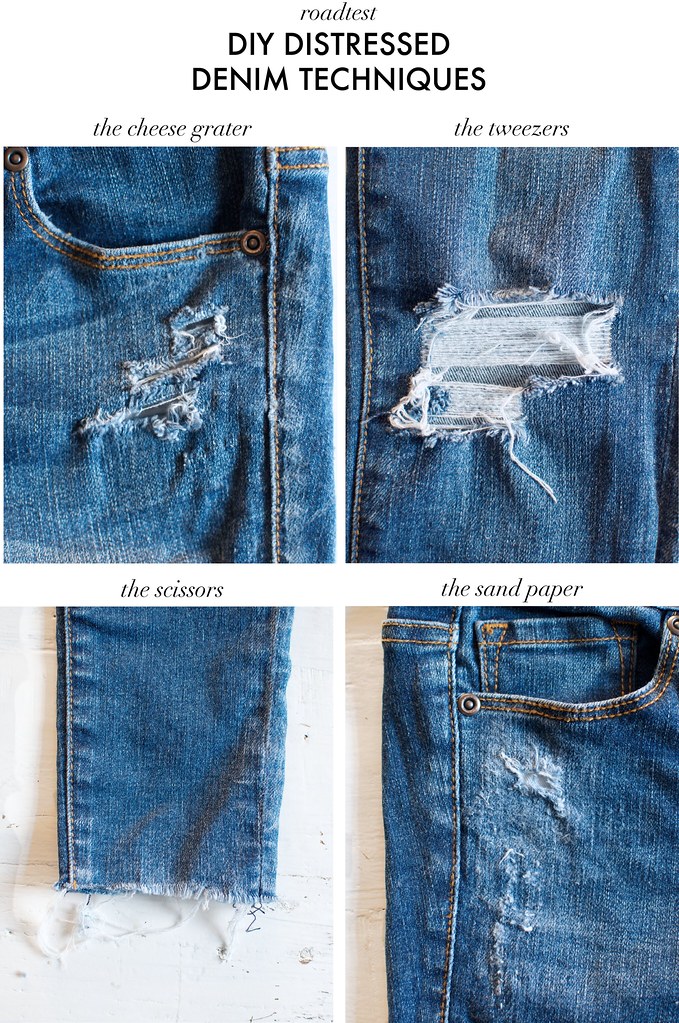
Cheese Grater
Method: Cut a few parallel lines in the denim and then use a cheese grater and rub the surface of the cuts, giving texture to the cuts.
Our thoughts: This one was harder to do without grating off your fingers, and we felt it didn’t produce a very realistic or interesting look, however we think it would wear well over time.
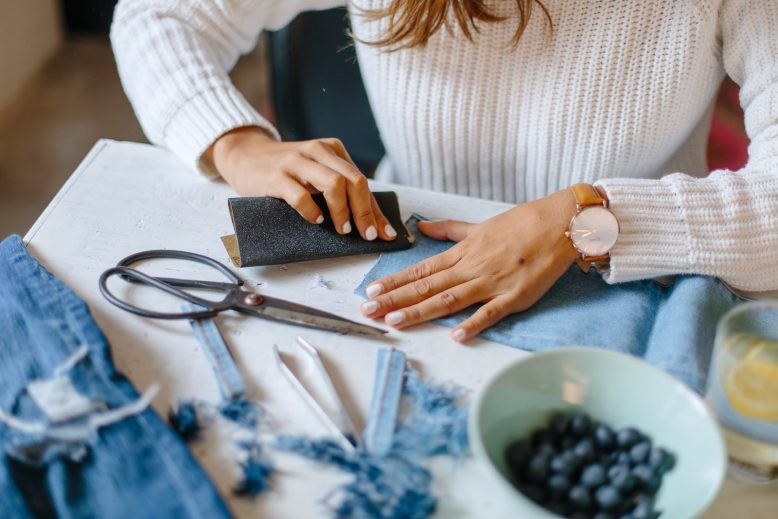
Sandpaper
Method: Rub the jeans with course grad sandpaper to soften the top layer of threads.
Our thoughts: Sandpaper is a quick way to make your jeans look more worn in, we all felt that the sandpaper gave the denim a more realistic look and feel, although was very light in its effect.
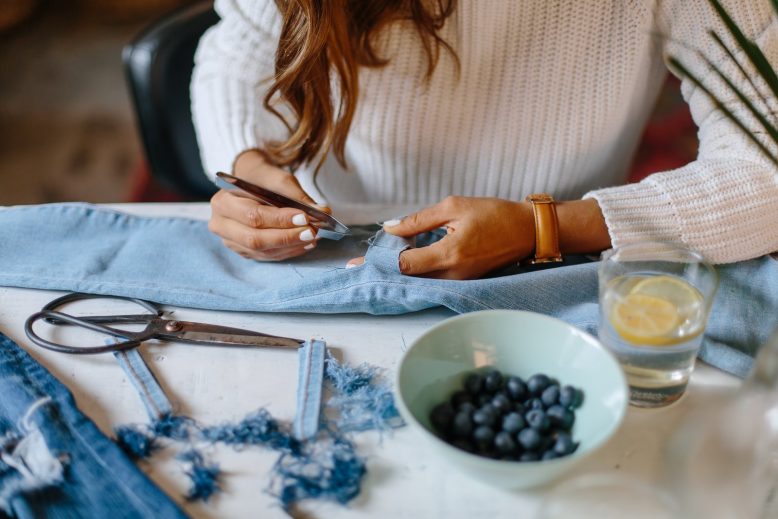
Tweezers
Method: Cut parallel slices in your denim and then remove the blue threads to just leave the white threads (see an example here).
Our thoughts: Many of you will know this is my approach of choice, and I think it produces the most pinterest-esque type of distressing, particularly for skinny jeans. However, depending on how sturdy the white threads are, over time they generally wear down and there is the risk of ending up with larger holes. So this is best done in small sections.
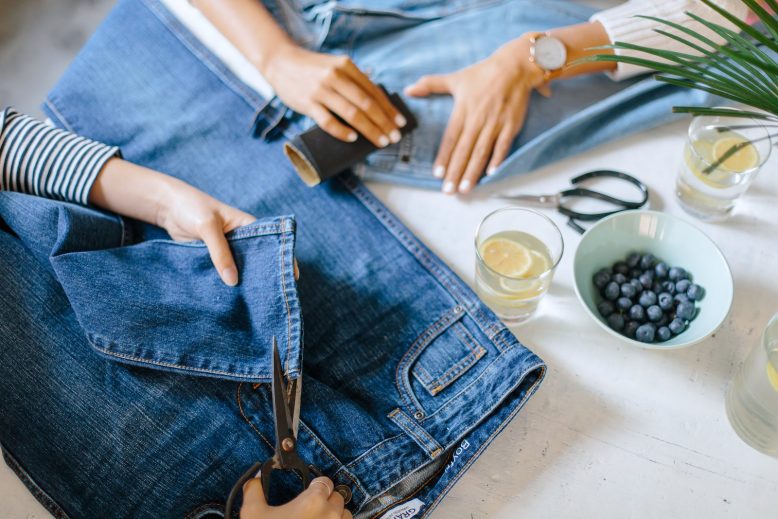
Scissors
Method: Just cut holes into your jeans, or cut off the hems.
Our thoughts: Using scissors on any part of the jeans except the hems didn’t really work for us, as it didn’t give the worn in, natural look we were after. However, as a method of changing the length of a pair of jeans (I’m all about the crop at the moment), and adding an edge to the hems, this is a winner and oh so easy to do.
Tweezing out the blue threads is my favourite technique, although takes FOREVER!
Overall verdict?
Ok so we weren’t that down with the cheese grater, but other than that we felt that all the tools created different and nice effects, and were actually best applied to one pair of jeans. We found the best look was to use the tweezer method on the knees, the sandpaper on the pockets and down the seams to give a worn in look, and cutting off the hems with scissors. I think overall there’s probably no wrong answer, but it was fun to see what different tools did. But I have to say, one of the most important steeps and one not to be missed is to wash your jeans after distressing them, as this makes all your efforts look more natural and as though you haven’t spent 2 hours at them with tweezers. Trust us! case you’re wondering, we had such a fun time doing this, we’re thinking about making it a regular crafternoon. Maybe you should too!
Oh and by the way, meet Alanna guys! She’s joined the studio and it’s so fun having someone to share all the crafting with!
Photos by Nicola Lemmon
This post is in collaboration with Grana. Make sure to check out their pop up shop if you’re in Hong Kong, located on Po Yan St in Sheung Wan during February, where you can test drive some denim for yourself (but leave your cheese grater at home, haha).
Like this tutorial? Pin it on pinterest!


