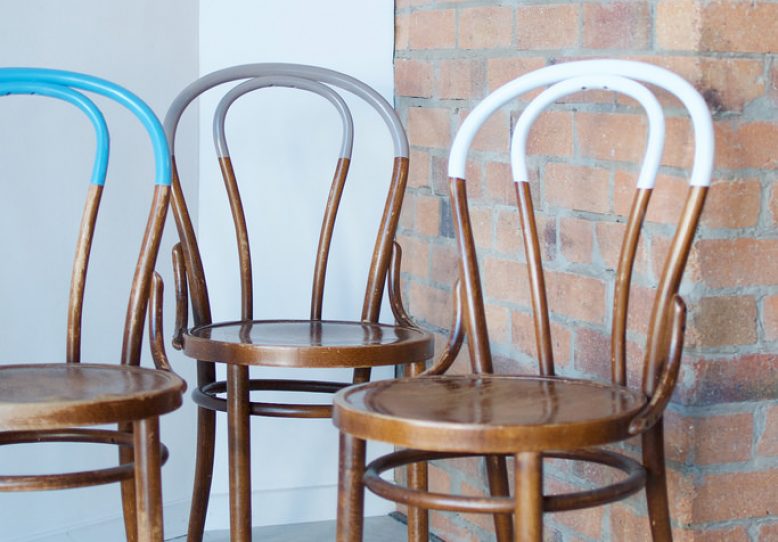
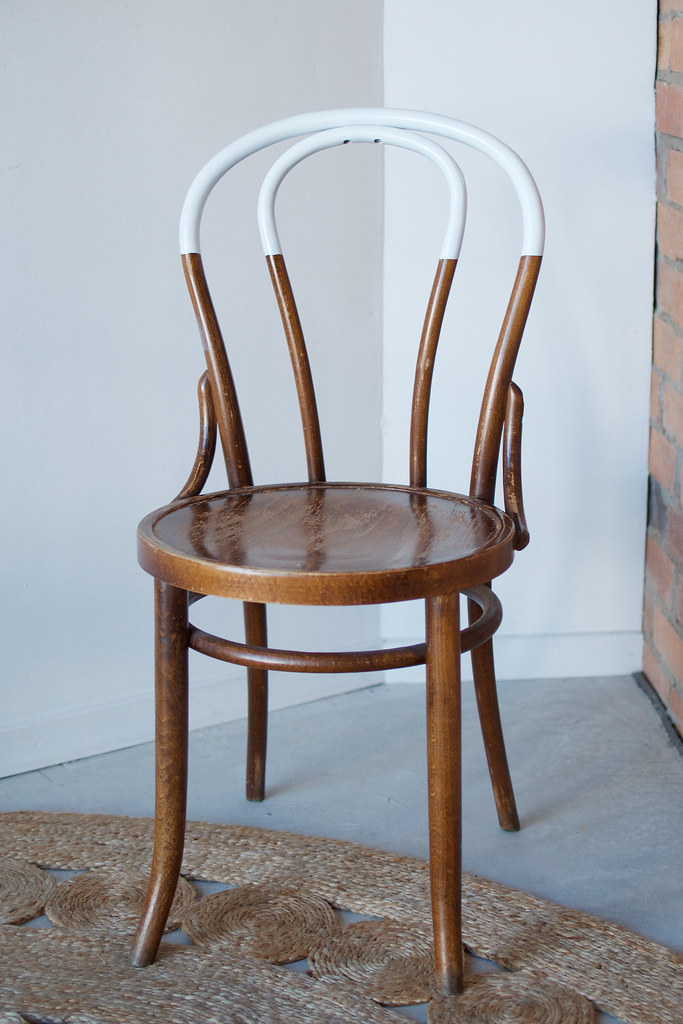
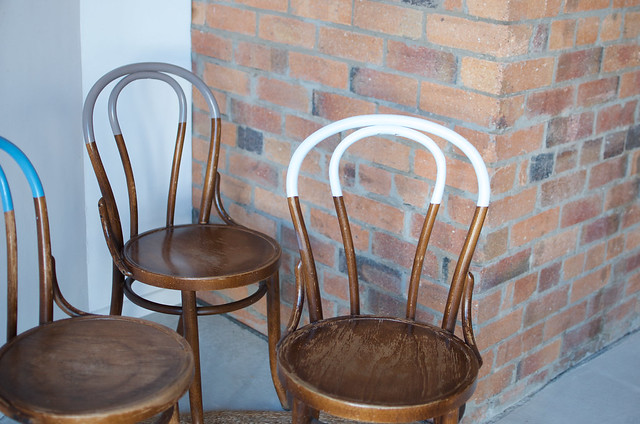
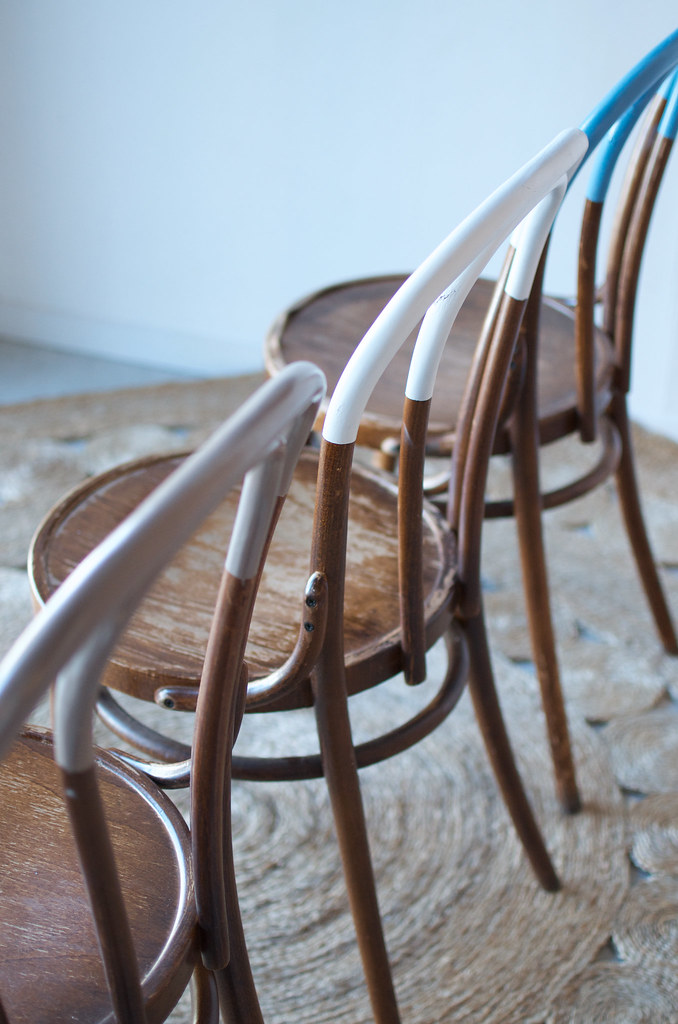
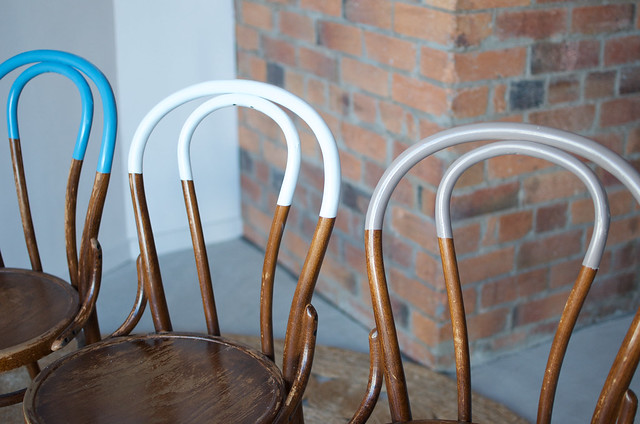
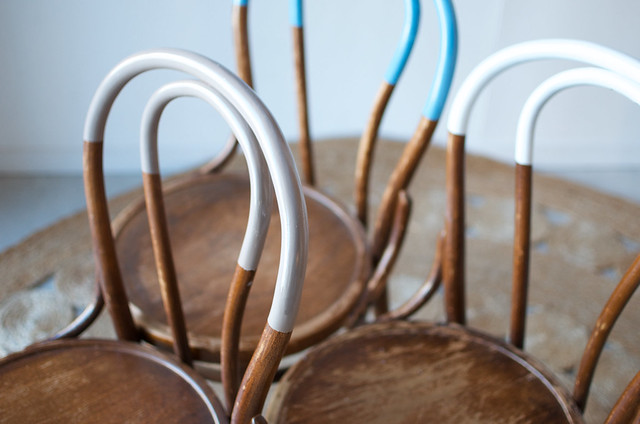
One project that’s been on my list for a while now is paint dipped chairs, let’s just say I have a bit of a soft spot for making something old new (and chic!) again with a lick of paint. My boyfriend’s mother found me these amazing vintage inspired chairs which were a little battered, and knew they would be the ideal host for a super fun collaboration with paint company White Knight. I picked up a few cans of their Squirts spray paints, and we went to town. Hint: It’s so much easier than I originally thought and no where near as messy as I expected it to be.
DIY Paint Dipped Chairs
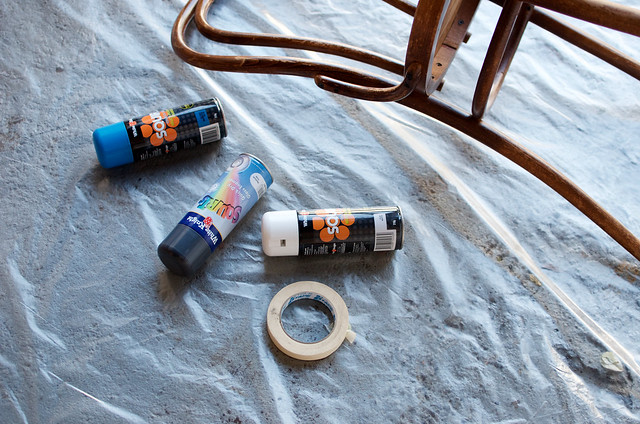
You need:
- Chairs for painting
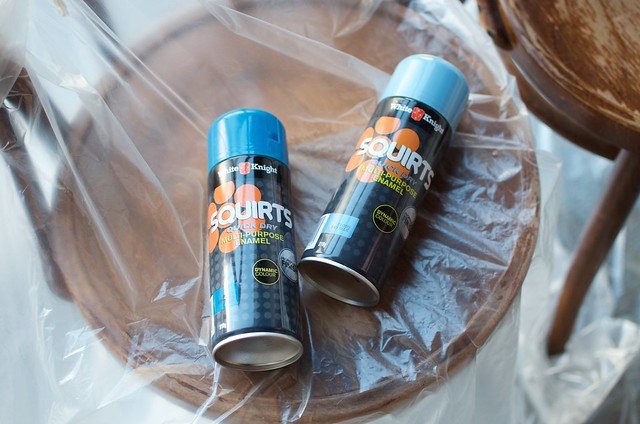
- A few cans of Spray Paint (I used White Knight Squirts in Flat White, Gum Grey, Glossy White and Sky Blue)
- Masking or painting tape
- Plastic
- A Ruler
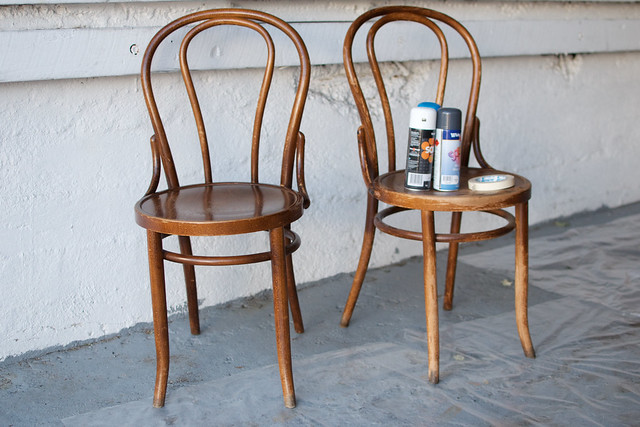
This is the before – they were pretty scuffed which made them perfect for this project!
How to:
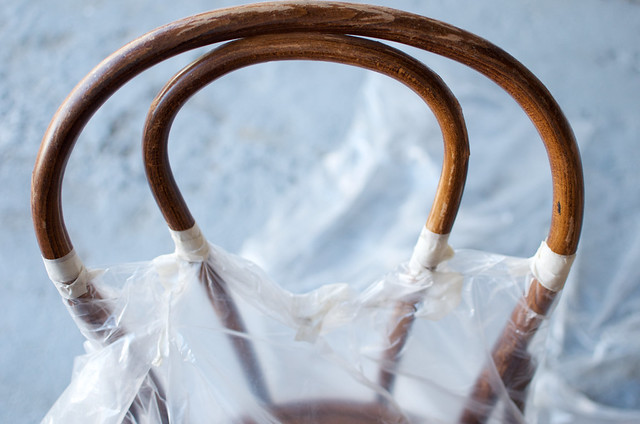
1. First, you’ll want to give your chairs a sand down if they need it. Then decide where to paint the chair – we opted for an kind of opposite tide line equal to the height of a table, around 75cm high. Then mask off the parts of the chair you don’t want to paint. We used a ruler to make sure the horizontal line was perfectly straight, then covered the rest of the chair in plastic so it didn’t get painted.
2. Decide on the colours you want to use, we went with a mix of colours but you can choose just one – plain white would be great in a minimalist home.
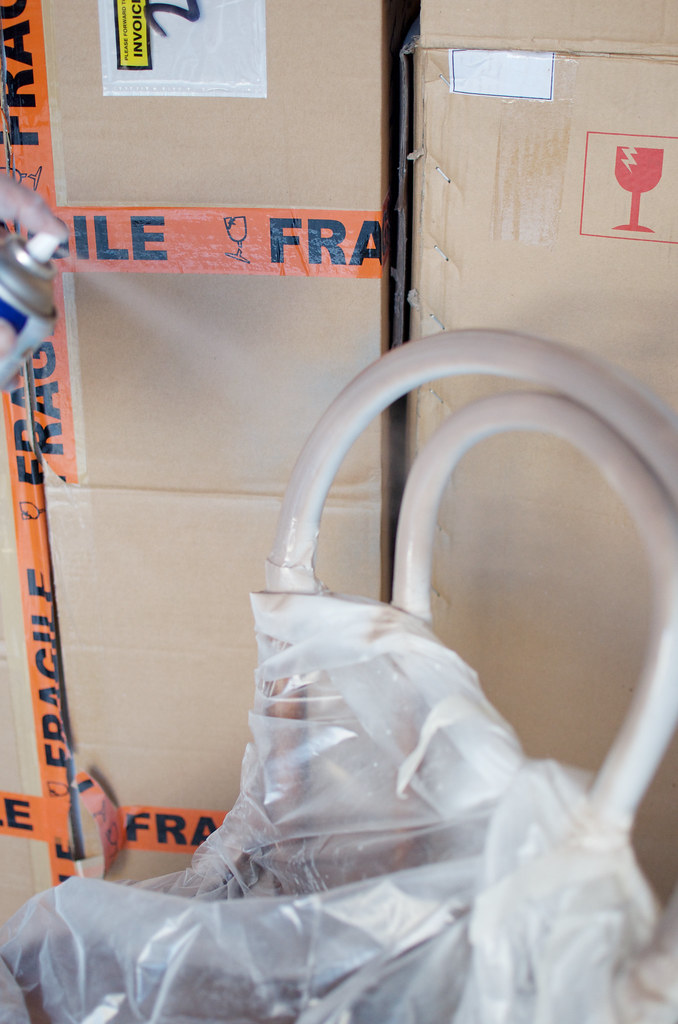
3. First we sprayed the chair with flat white as the undercoat, we allowed it to dry for a few hours. Then we added on top the outer coat of colour or glossy white. We made a little cubby of cardboard to stop the paint spreading, although I don’t think it would have spread much anyway.
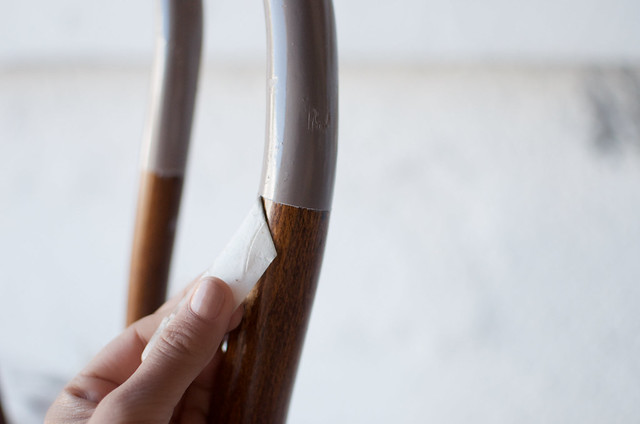
4. We allowed to dry fully over night then carefully removed the plastic and the tape. If there were any drips we used turpentine to remove the paint, although there were surprisingly few!
Voila!
This post is in collaboration with White Knight. All concepts and opinions are my own.


