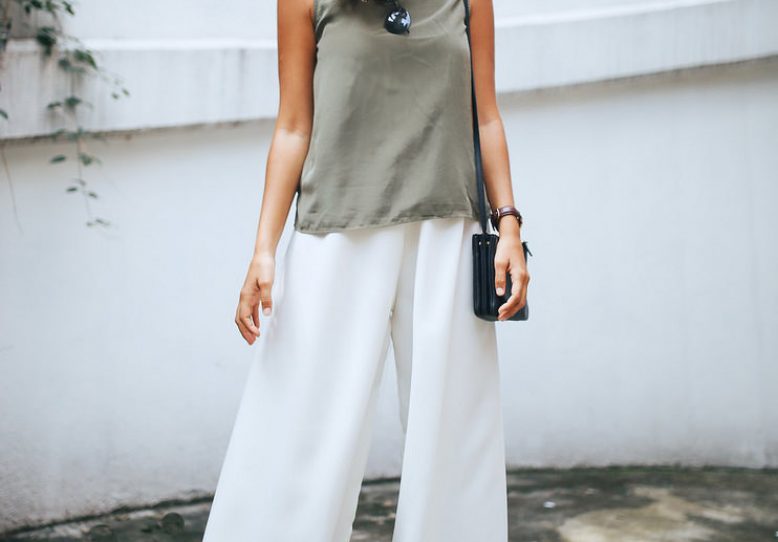
Those of you following along on snapchat (find me: apair_andaspare) will know that I’ve been spending quite a bit of time researching and planning the DIY projects for the site for the next few months, I’m so keen to get some fresh ideas and trends up for you guys to try yourself. I’ve got a bunch of fun before & afters planned, as well as lots of original ideas to make from scratch. Excited! Naturally a style I’ve been really loving (and you can see everyone else is too) is the wide leg trouser. Pretty much the easiest thing to make in the world if you have even basic knowledge of hand or machine sewing. The trick for this project is choosing a nice fabric that moves well, thus taking them from pyjama wear to out on the town wear, although a little bit of both isn’t so bad either…
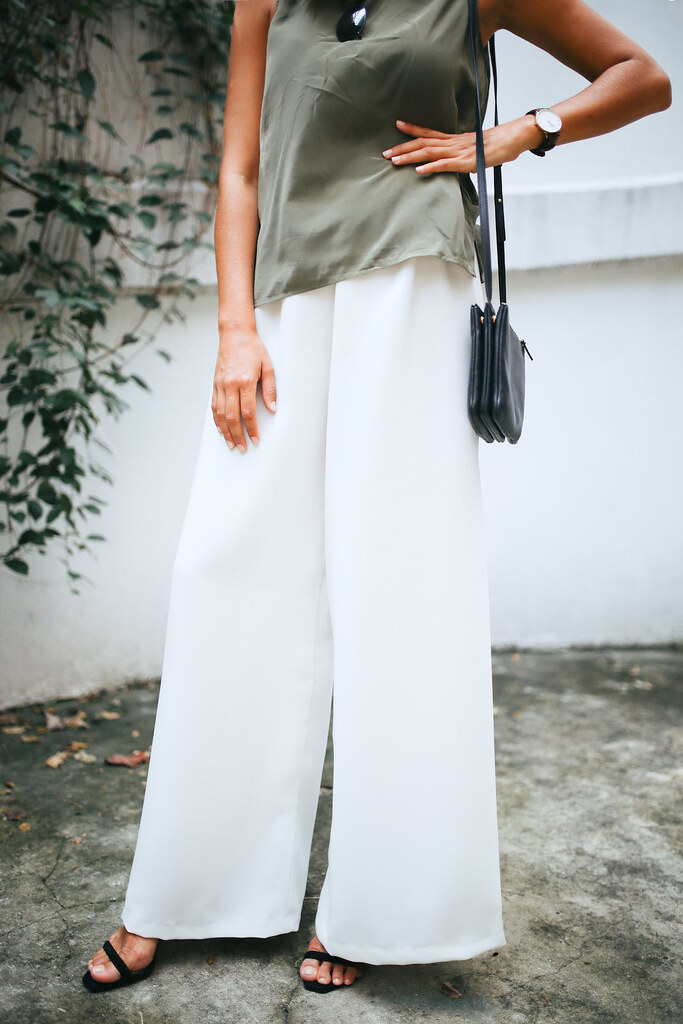
Wearing: DIY Trousers, Grana silk shell top (my new go to top because it’s classy like a camp but you can wear a bra!), Celine Trio Bag, The Mode Collective Heels, Daniel Wellington Watch.
DIY Easy Wide Leg Trousers
This project is a simple extension of a gathered waist shorts pattern – much like these sequin ones and these scarf ones. To eeeeaaasssy I’m telling you.
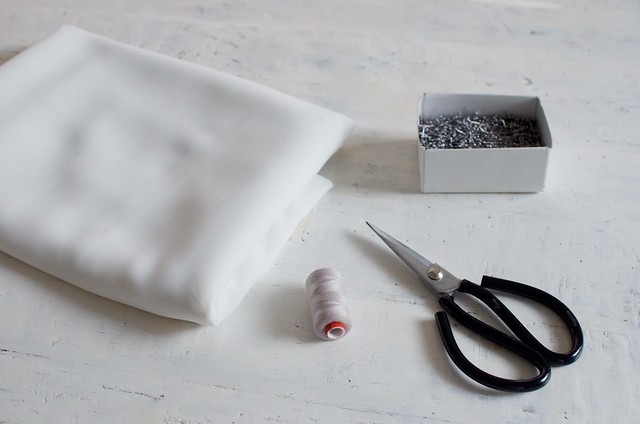
You need:
- 2 metres (2.2 yards) of fabric, we used a nice flowy rayon
- pins
- elastic to fit your waist
- scissors
- thread
- a pair of wide leg trousers or pyjama pants to use as the template.
How to:
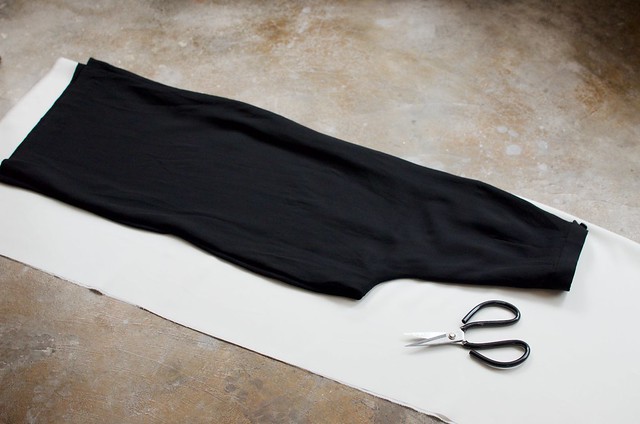
1. Cut your fabric into two pieces lengthways. Then fold it on half. Place the long edge of your trousers on the folded edge of the fabric, as shown below.
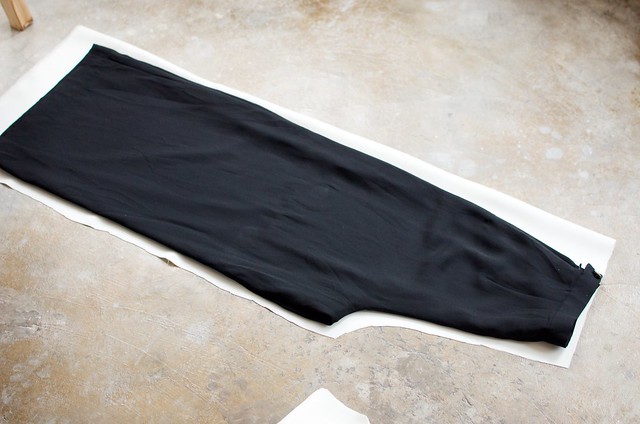
2. Cut around the other side to mirror the crotch of the trousers. Do this again so you have two pieces.
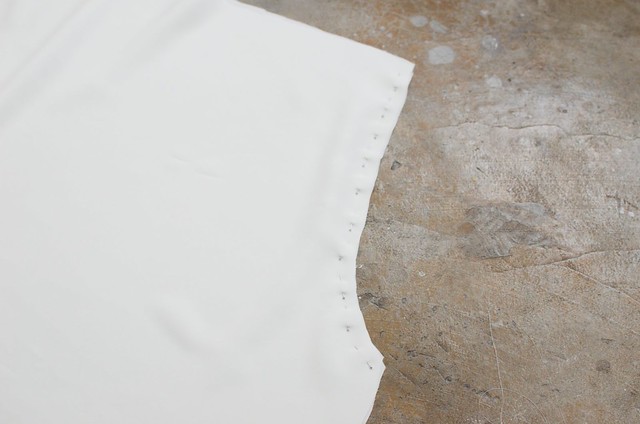
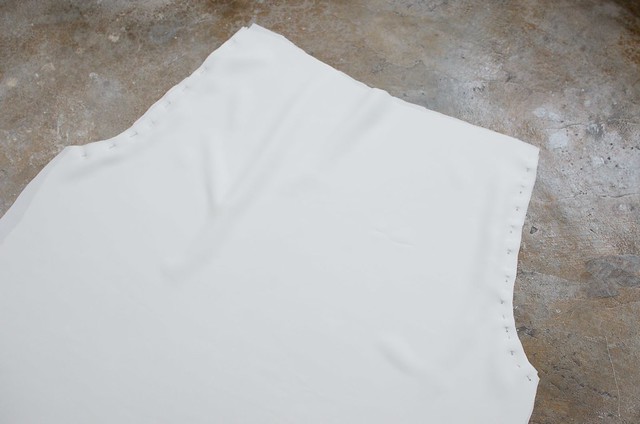
3. Pin your pieces together along both curved edges.
4. The pinned product will look like this.
5. Now for the sort of tricky bit. Switch the outside seams around so they are in the middle of the garment and facing each other. Then pin the leg seams together on opposite sides.
Once you’ve done all the pinning your basic trousers will be created.
6. All you have to do next is to sew the pinned seams, sew the hems and then do an elasticated waistband using this method (fold over the sew down the waistband casing and them thread with elastic). Too easy!
To wear them, I always make sure to cover the waistband either with a top of a belt, that gives them a polished look. And if you dress the finish product up with some nice accessories no one will be the wiser about how easy (and inexpensive) these are.
Finished product photos by Bryant Lee.


