Welcome to a new series of projects all about making the basics in your closet! If there’s one thing you need in your wardrobe, it’s a silk camisole – just the first of thing you can throw on and go no matter the situation… Including fashion week! This was me last Thursday in between shows, I always feel most comfortable in my skin when wearing something I’ve put together myself.
You’ll know I have an addiction to all things silk (as you would have seen in my last post) and recently I decided it was time to tackle the basics myself – the silk square neck camisole. In the past I’ve shied away from these due to the need to (in all likelihood) put a zip in it. Pretty much laziness of my behalf! But with the help of the girls in the studio we realised that as long as you’re going for flow and oversized, you don’t need a zip at all. Read on to see how.
Wearing: DIY camisole and DIY shorts, Mango Trench, Furla bag, Witchery Belt, Asos necktie, Manning Cartell shoes.
DIY Silk Camisole
For this project we used a French Seam – something that is so incredibly easy to do and will change the way you think about sewing.
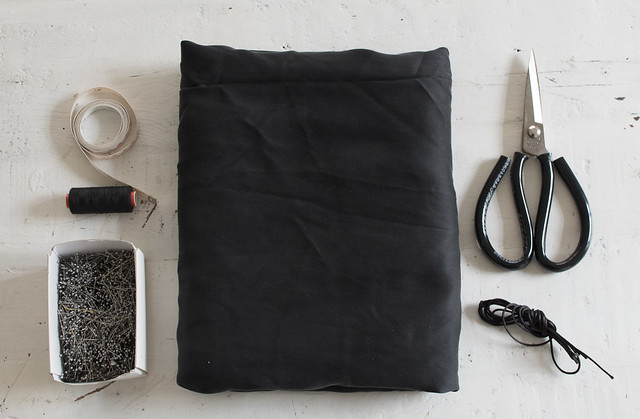
You Need:
- Silk fabric
- Woven cording
- Pins
- Scissors
- Sewing machine and thread
How To:
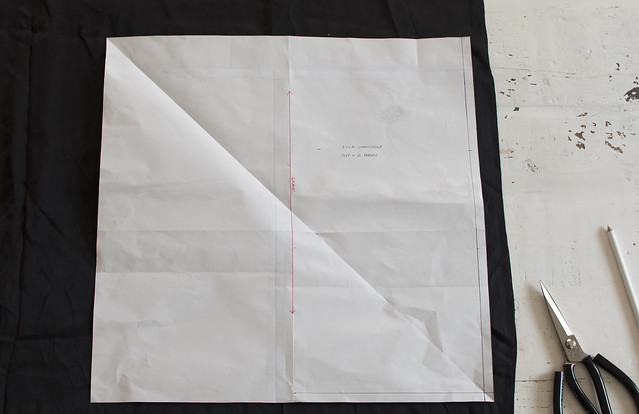
- Cut the fabric into a square, a little bigger than half your bust measurement. We cut ours 42 x 42cm.
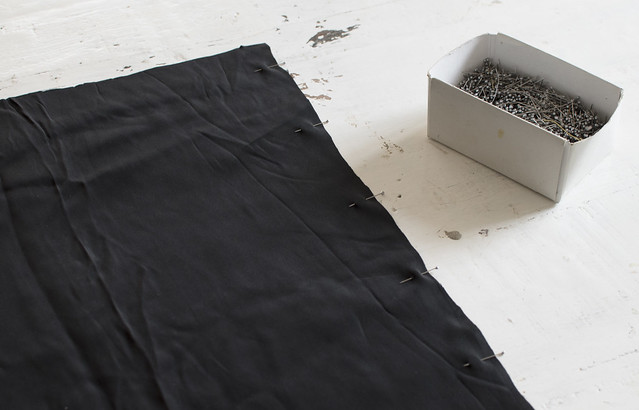
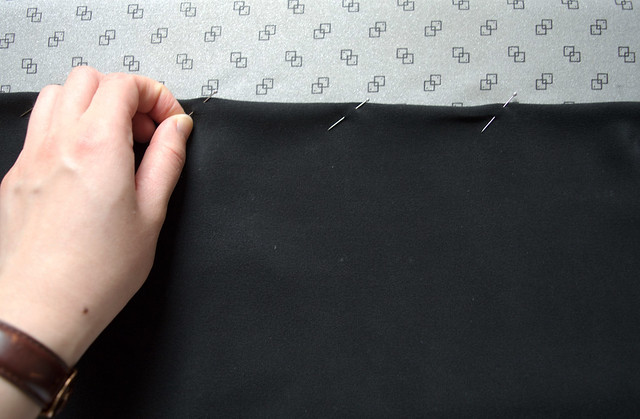
2. Place the wrong sides together and pin. We are going to create a french seam!
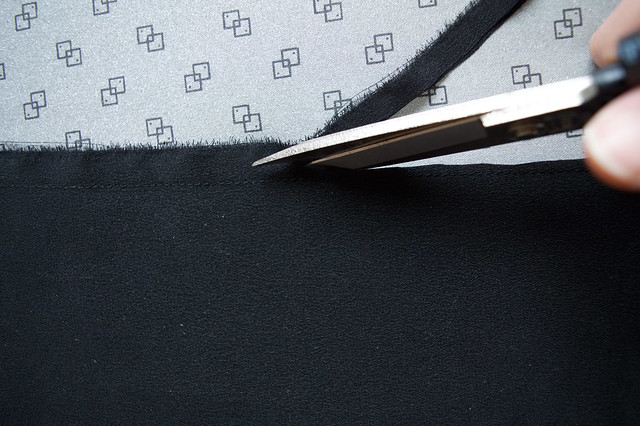
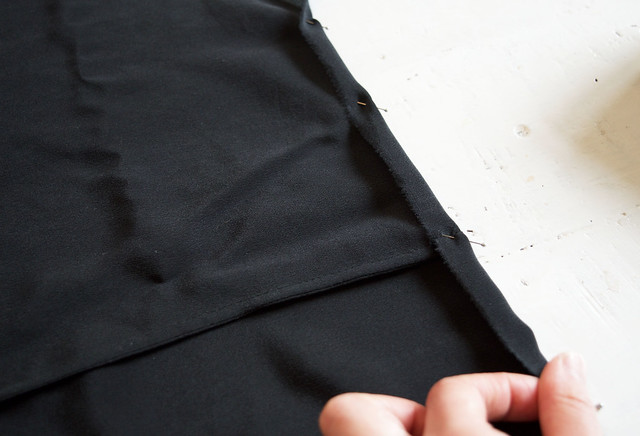
3. Sew the sides together with a 1cm seam allowance then trim back to about 3-4mm.
4. Turn the seam around, pin and sew with a 5mm seam allowance so that the raw seam is now enclosed.
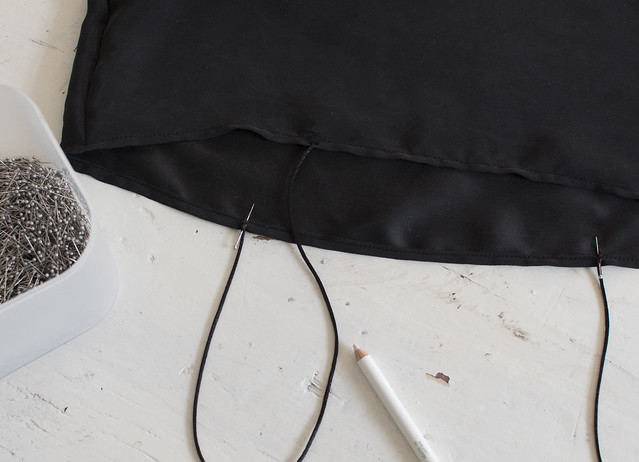
5. You can see the french seam below. The next thing you want to do it hem the fabric at the top and bottom of the tube. Do this by folding the fabric over twice and sewing down.
6. Cut the woven cord to length for the straps and sew to the top edge.
Voila!
Photos by Annie Huang, Holly Burgess and Rachel Yabsley.


