If you’ve had your eye on the streets (or the street style), you’ll know that deconstructed denim is where it’s at right now – a trend started by niche denim brands has pervaded all of the others. What started with a casually frayed hem has morphed into full on deconstruction – from relocated pockets and indigo dyed to seams and cut outs. I’m all for it because it takes a simple pair of jeans of zero to hero (if I can be so cliche!) and it also SO doable yourself. Because why not? To mark all that I love about fashion week – the clothes and the inspiration – I got together with Who What Wear Australia to show you how to do it yourself. Scroll down for the video!
DIY Deconstructed Jeans
Watch the video here
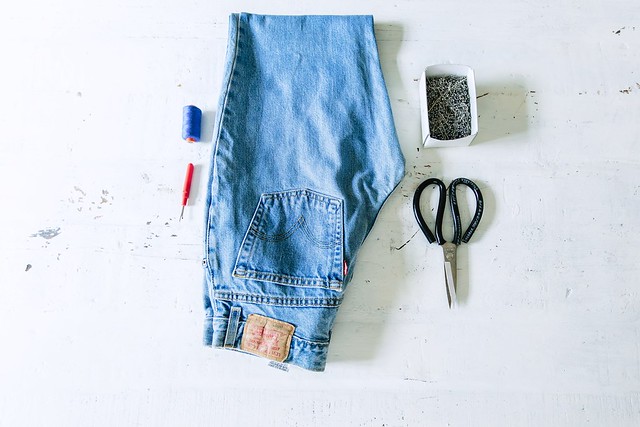
You need:
- A pair of old jeans (these are vintage Levi because they’re cut the best!)
- Pins
- Scissors
- Unpicker
- Sewing machine and thread
How to:
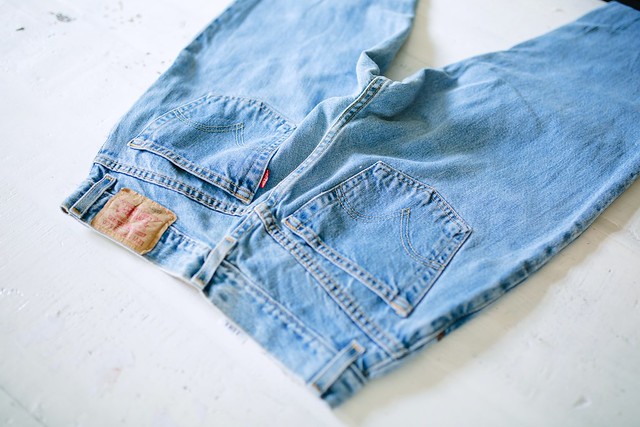
- Lay the jeans flat on the table, back pockets facing up.
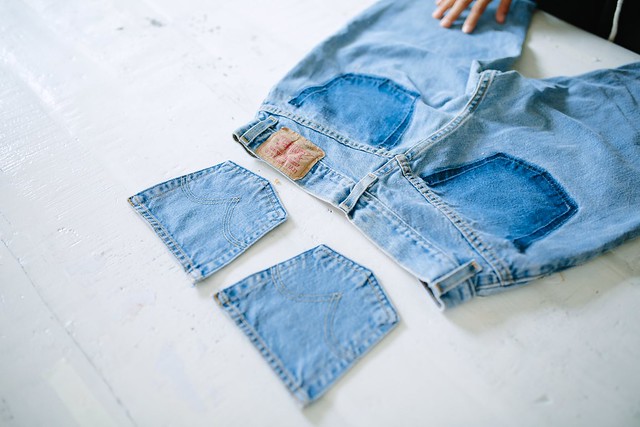
2. Unpick the pockets from the pants. I found it easiest starting from the corners.
3. After unpicking a couple of centimetres, you can move things along faster by ripping the pockets off.
4. Decide on the position you want to re-sew the pockets. This will depend on how much of the dark pocket imprint you want to show-off.
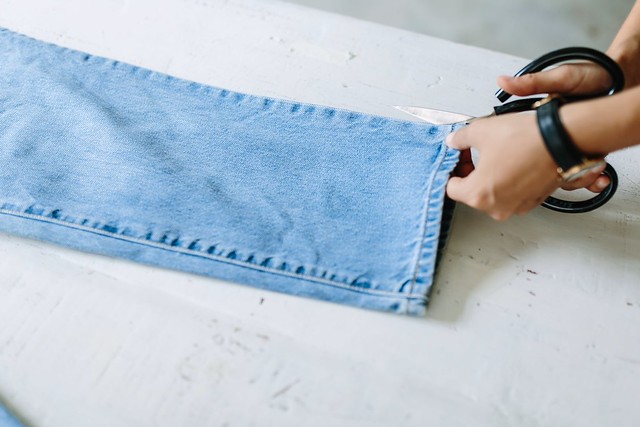
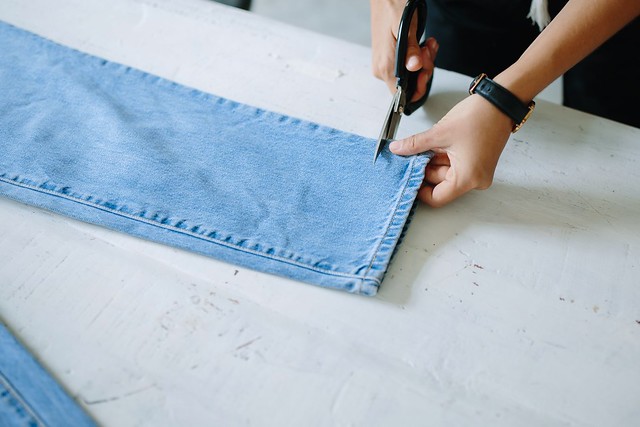
5. For the hem, cut up along the side seam about 5cm.
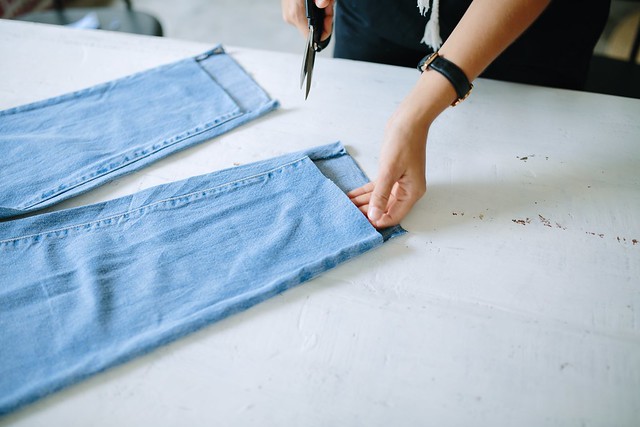
6. Then cut straight along the front of the pant leg.
7. You will end up with a “step” in the leg hem. Cut the hem off the back of the leg to make that a raw edge too.
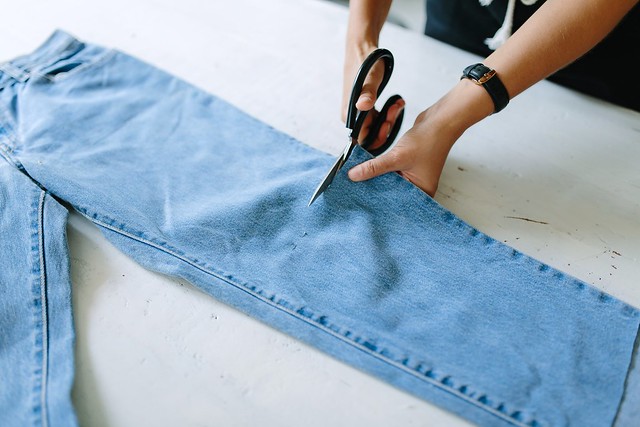
8. To make the seam line in the leg of your jeans, mark with a pin at the height of your knees and cut straight through.
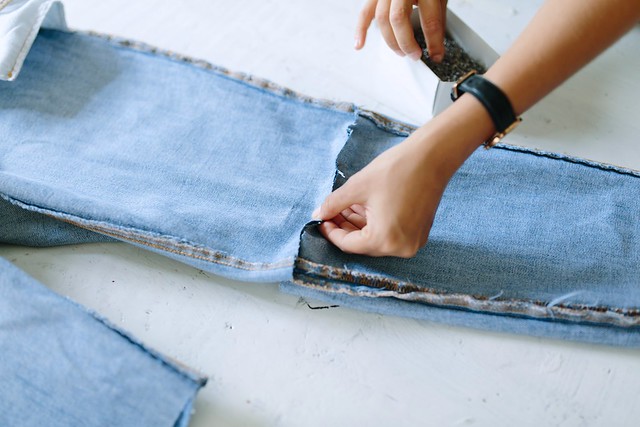
9. Flip the jeans inside out and pin the two pieces back together.
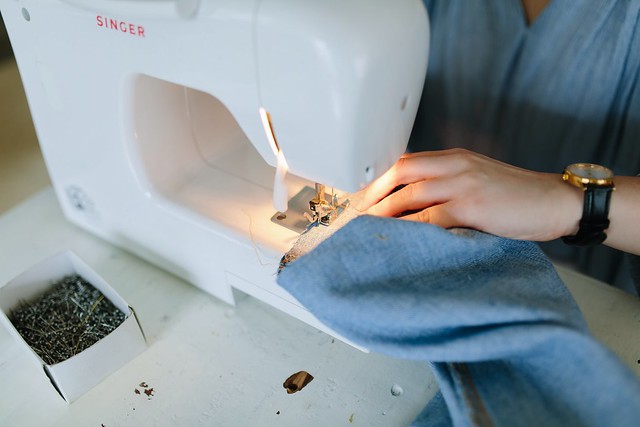
10. Sew the legs back together. To avoid making the jeans too short, keep the seam allowance to a minimum because this will affect the length of your jeans.
11. Sew the back pockets back on in their new position and you’re done!
Voila!
Photos by Nicola Lemmon


