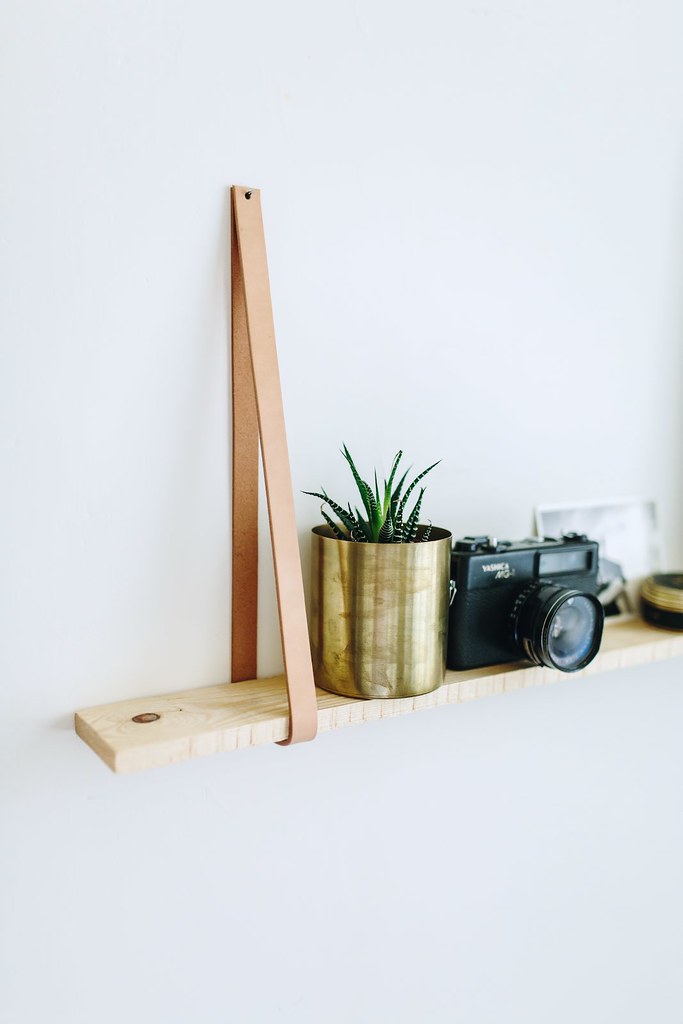
Shelfies! I mean who doesn’t love them? I
for one am an enthusiast… Ok more like an addict. In the spirit of super easy, space saving and thrifted DIYs, this hanging leather shelf ticks all the right boxes. Perfect for the new apartment overhaul! (In case you’re wondering, it’s coming along nicely… only 12 (!) more major things to make for it before I can show you).
I love this project because it’s something you can use anywhere (bedroom, bathroom, tv room… wherever!) but you can pretty much make it out of scraps. I mean, we sourced the shelf from recycled pallet wood and the leather strap was originally bought for making a belt. What a win! It’s so quick and simple we had to stop ourselves from covering a whole wall in the studio with them. Watch. This. Space. Or rather, watch this video:
(Can you tell how much I love shelfies from that vid? Hahaha).
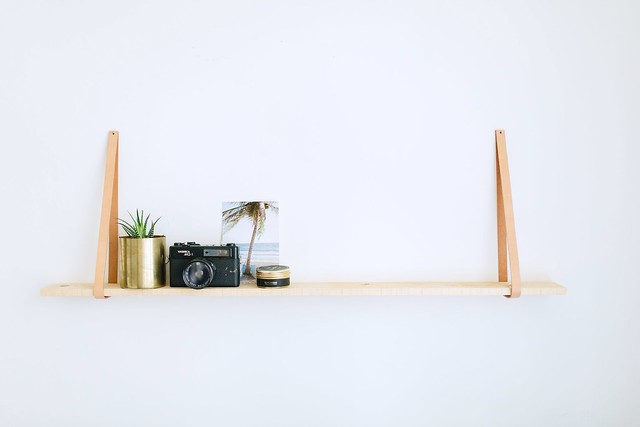
DIY Hanging Leather Shelves
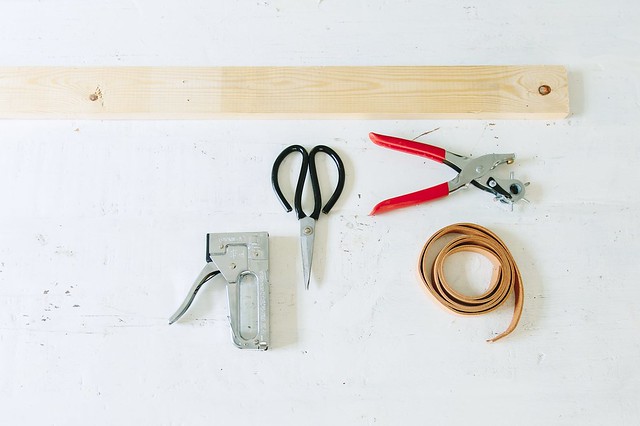
You need
- A plank of wood (or plywood measuring about 12 x 107cm or 5″x 42″)
- Staple gun
- Leather strap (or an old belt about 1.6m or 1.7yd in length)
- Leather hole punch
- Scissors
How to
- Cut two lengths of leather measuring 75cm (18 in) long. You can make this longer or shorter depending on how far down you want the shelf to hang.
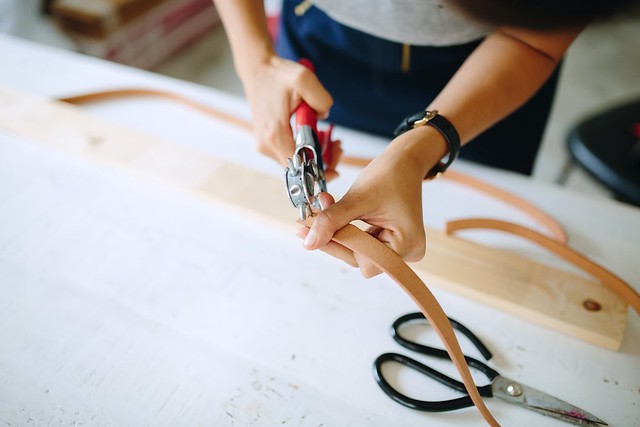
2. Using the leather hole punch, make two holes on either end of the leather strap.
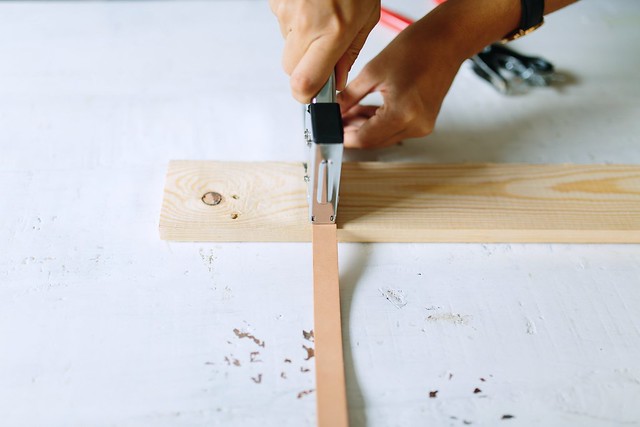
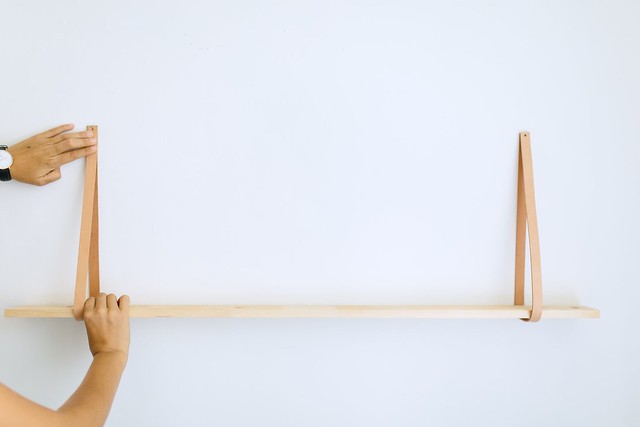
3. Now you’re going to secure the leather straps to the shelves so they are nice and study. To check where to do this, you can hang the leather straps to the wall and slide the plywood into the straps adjusting the wood until it is balanced. Then, mark the position of the wood on the leather and remove from the wall. Using the markings on the leather as a guide, secure the leather strap to the underside of the plywood using the staple gun.
4. Hang the finished shelf onto the wall. You may have to adjust the straps a little if they are off – the front one will be longer than the back one so dont worry if you have to adjust it. To adjust, simply add a new hole in the front leather strap and trim the excess.
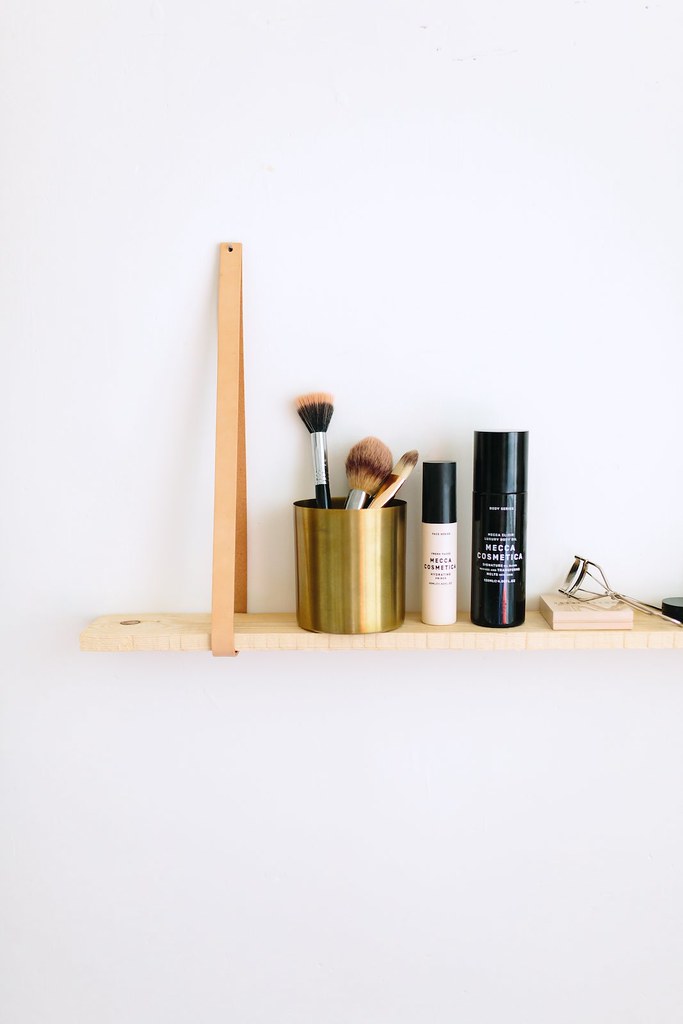
I put all my fave beauty products on there, all I need is a big mirror and I have the perfect little beauty nook.
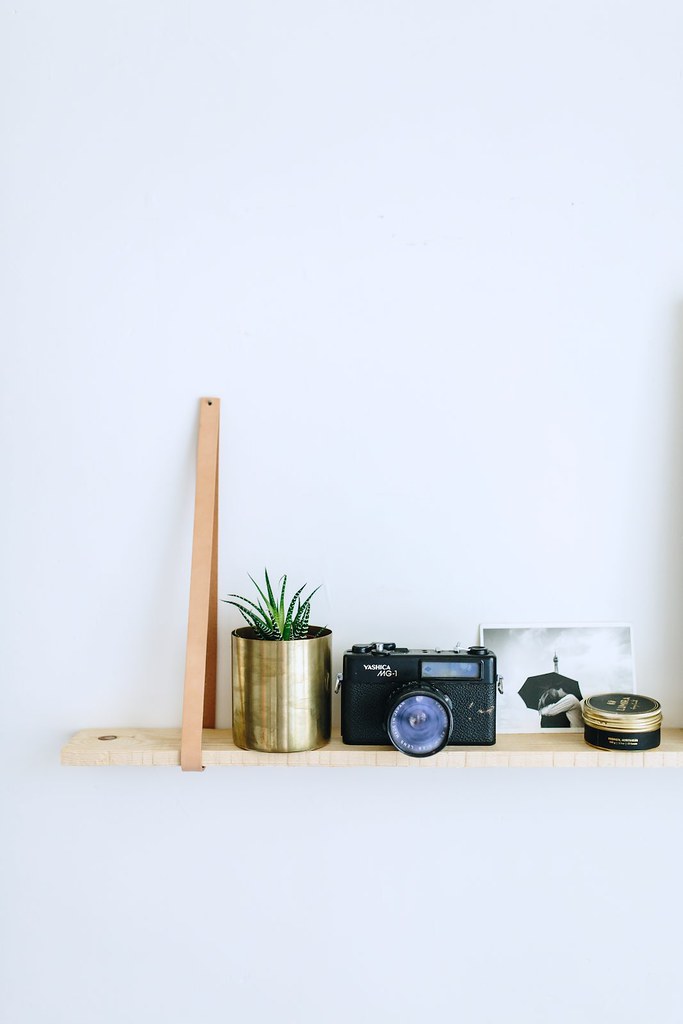
But it works just as well with a few holiday trinkets and postcards as it does for beauty!
I’m super excited because we recently made a whole bunch of these shelves for hanging at one of the new restaurant Ben and his team designed – it was so fun to go there on the weekend and see them in action! I’ll be sharing some pics of the shelves and the rest of the gorgeous space soon. xx
Photos by Nicola Lemmon


