You know me guys, always hunting for diamonds in the rough!
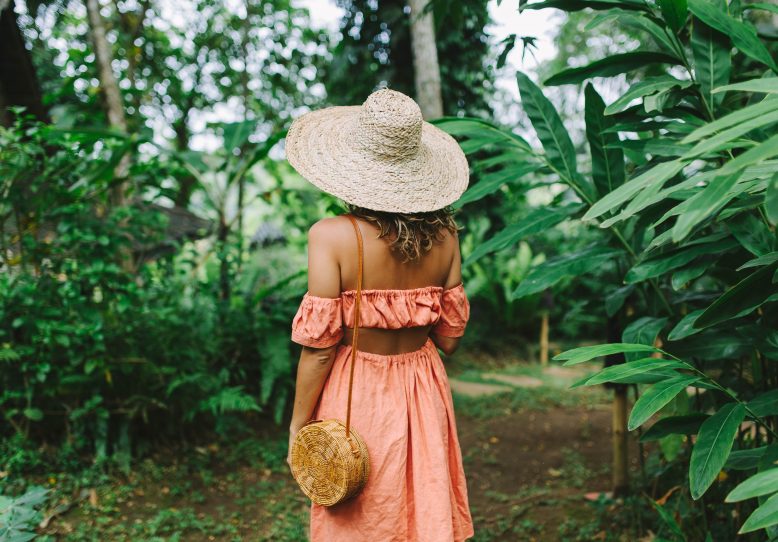
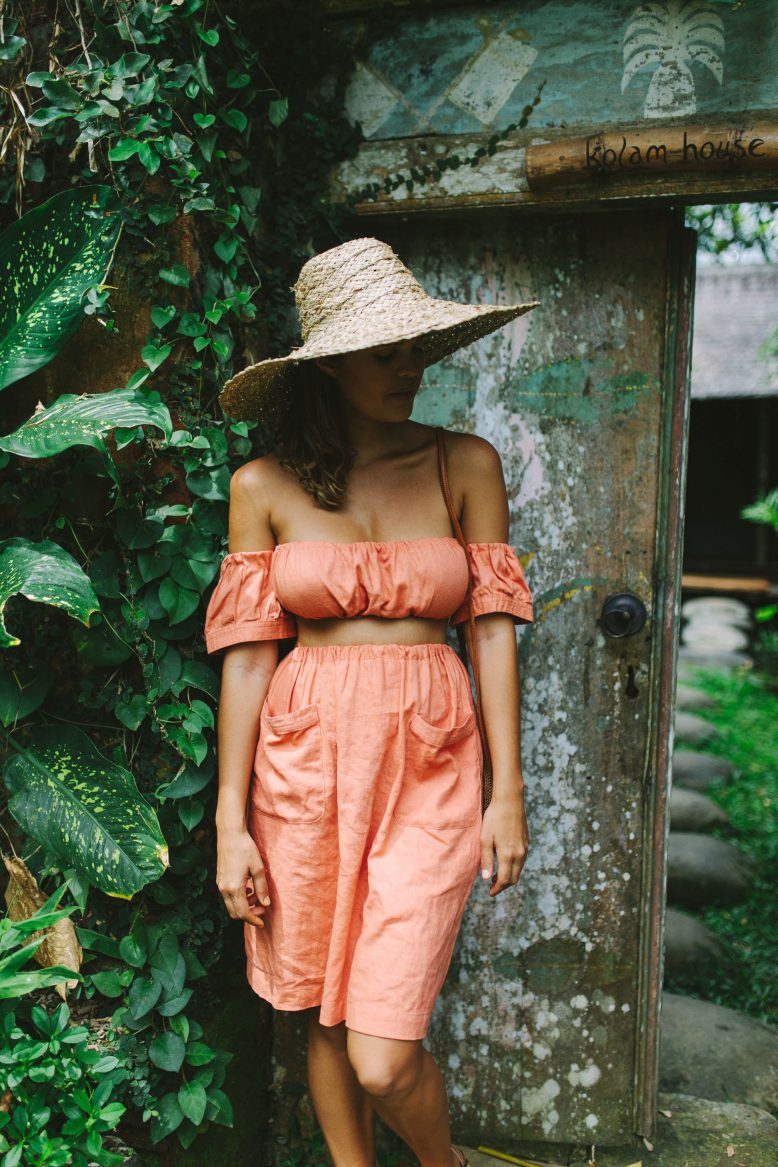
There’s nothing I like more than planning a travel wardrobe filled with DIYs and pieces I’ve made myself. It’s sometimes hard to find the time in the lead up to a big trip, but nothing fills me with more joy when I can fit it in. This trip I’ve created 4 different pieces, and I’ve been loving putting them to the test in the humidity of Bali! This top and skirt set is the first one I wore and am excited to share it with you.
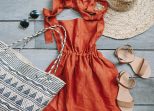
I stumbled upon this orange dress (see a pic below – ick!) in a secondhand store and whilst it was pretty unappealing, I was immediately drawn to the natural linen feel of the fabric and the holiday vibes of the colour (you’ll remember from this blog post that I’ve had these colours on my mind). She’s got potential guys! I didn’t know what I would do with it at the time, but once back in the studio I decided on a top and skirt set. Read on to see how to do it yourself.
Wearing: DIY Two Piece Set, The Simple Sandals in Nude, Basket bag and hat from Bali.
Off The Shoulder Top And Skirt Set
I like the idea of keeping the pockets of the dress on as part of the skirt, and also utilising the capped sleeves so the finished product looked a little more legit.
- Before
- After
You need:
1
First, you want to cut the dress into two pieces, the top and bottom sections. To do this, you need to determine how long you want the skirt to be. As you can see the dress had cute pockets that I wanted to keep for the skirt, so that determined how high I had to cut the section section, keeping in mind the need to leave enough room to insert the elastic waistband. If you want your top longer or more roomy you should make sure to cut the top section longer.
2
Using a simple gathered waistband approach (nothing fancy here!), you want to hem the top edge of the skirt, leaving enough room and an opening g to create casing for the elastic.
4
Next, it's time to get to work on the top. First, you want to cut off and set aside the sleeves - these you're going to want to use so don't throw them away!
5
Now, you're going to want to assess what you have left. You want to choose the section of fabric that has the most fabric in it so that you can create a good gather. A tight boob tube will be impossible to get on! For me that was just below the armholes. You'll note there are still a few ugly buttons left on there.
6
I cut those buttons out and then sewed the tube back together - which left me with the tube. A little more width would have been great but keeping the pockets meant it had to be this wide - if you want more length I suggest cutting your dress further down.
7
To make the top I followed this tutorial, using the sleeves from the dress as the sleeves for this new top. I added elasticated bands to the top and bottom of that tube, and then added elastic bands to the ends of the sleeves, sewing them all together by hand. Easy! I like that we could keep the finishing of the sleeve edge for a more detailed look.
Voila!
I’m always wearing my simple sandals! Perhaps it’s time to add them to your wardrobe? In case you’re wondering, this outfit ended up being something I’ve been wearing around the hotel as opposed to down the street in Bali – if you want to make the top longer just cut the dress in half further down.
If you love a good before and after project, check out this DIY Tie Front Dress, Men’s Shirt to Off the Shoulder Dress and DIY Nautical Skirt.
Photos by Nicola Lemmon.


