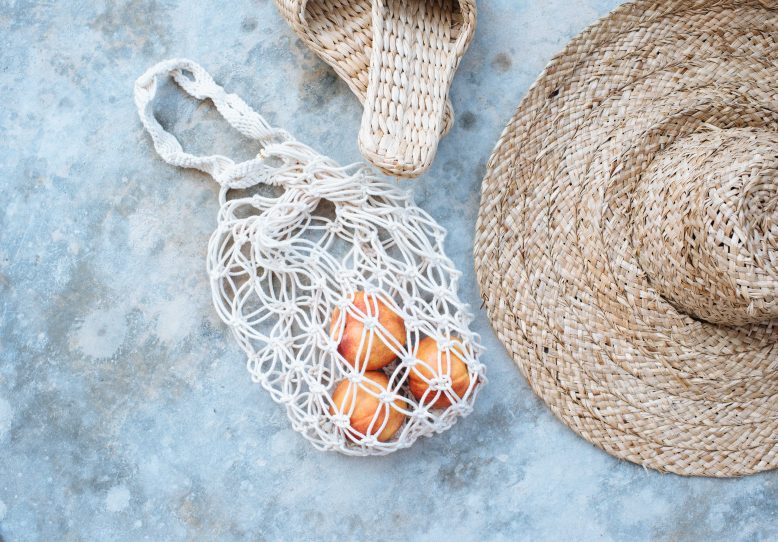
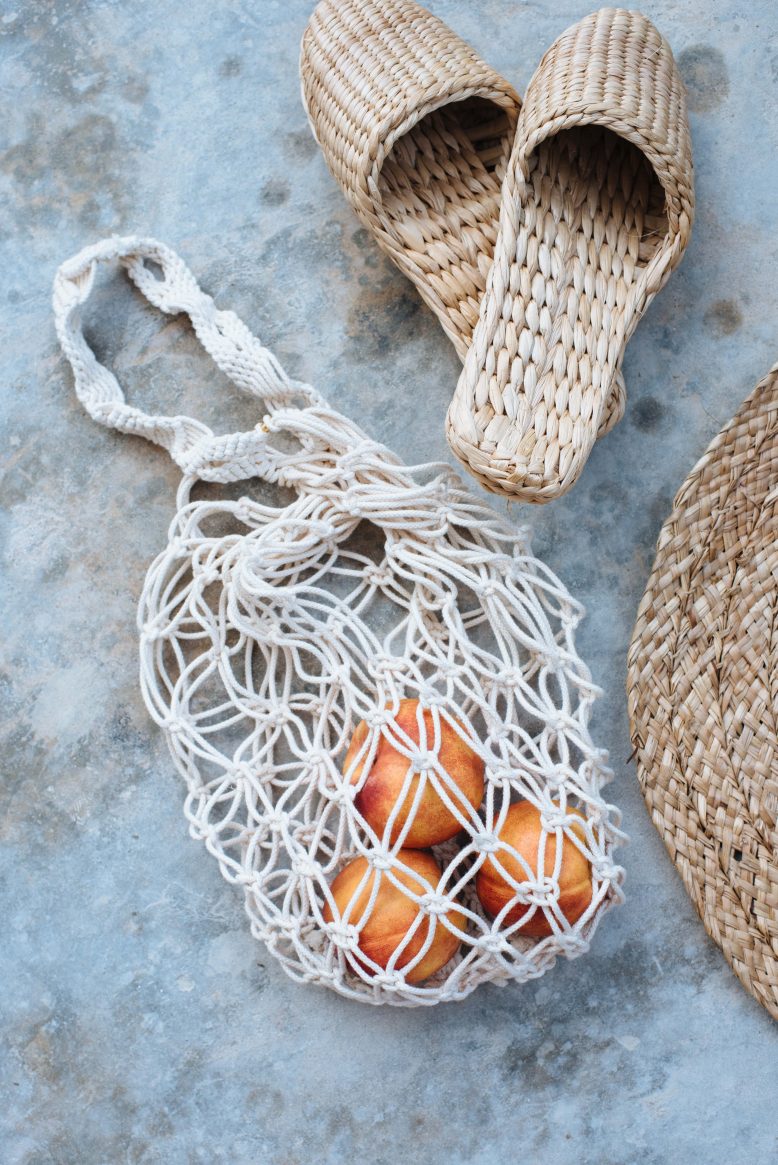
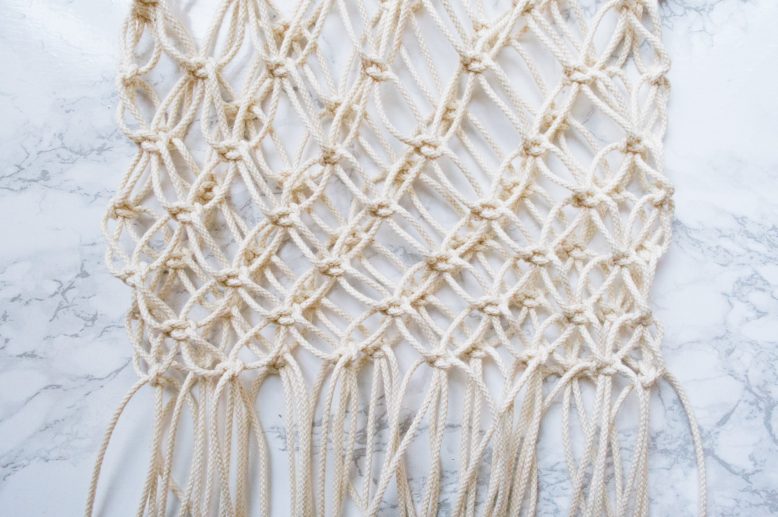
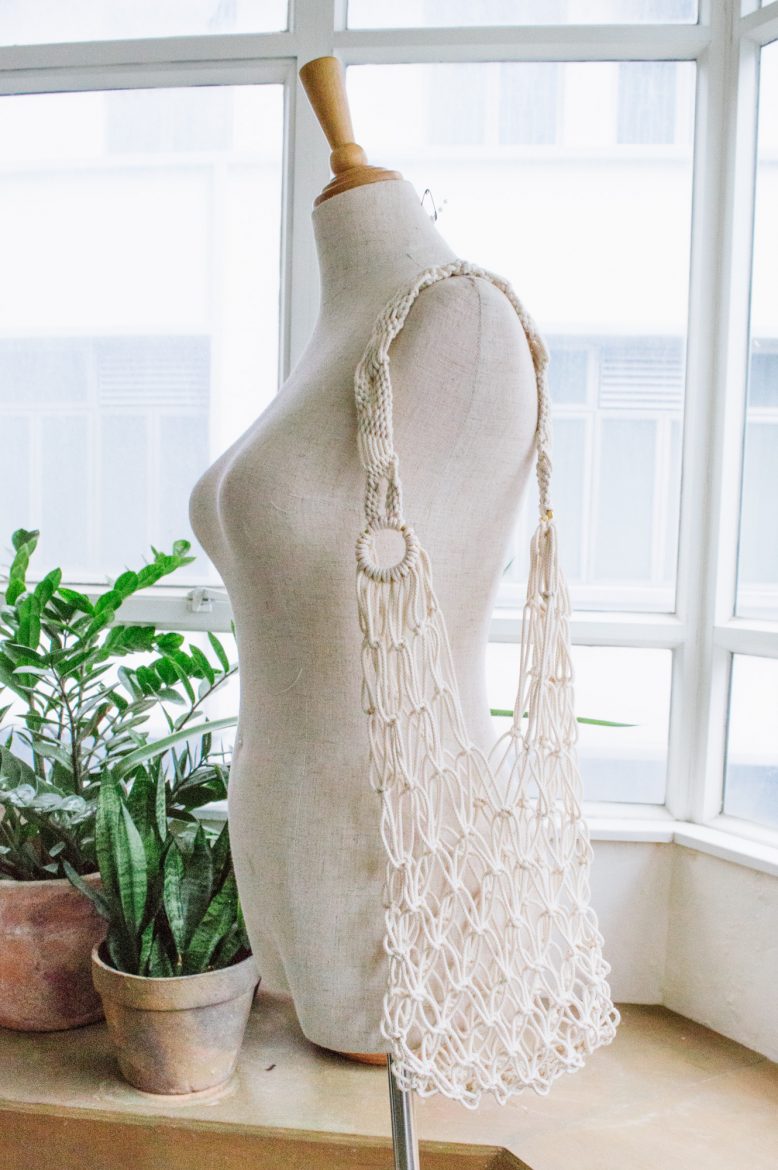
Oh hi there! Welcome to the second version in our journey to the perfect macramé bag. Before you get started, make sure to check out our updated knotting guide here!
Like with anything, the more you practice the better you get, and I have to say we’ve been really enjoying blowing off some steam making macrame rope bags, fun to make and (luckily) oh so on trend right now! You might have seen our other version here, and this new one builds on that style that we did and adds a few extra steps too. Enjoy knotting!
DIY Macramé Bag
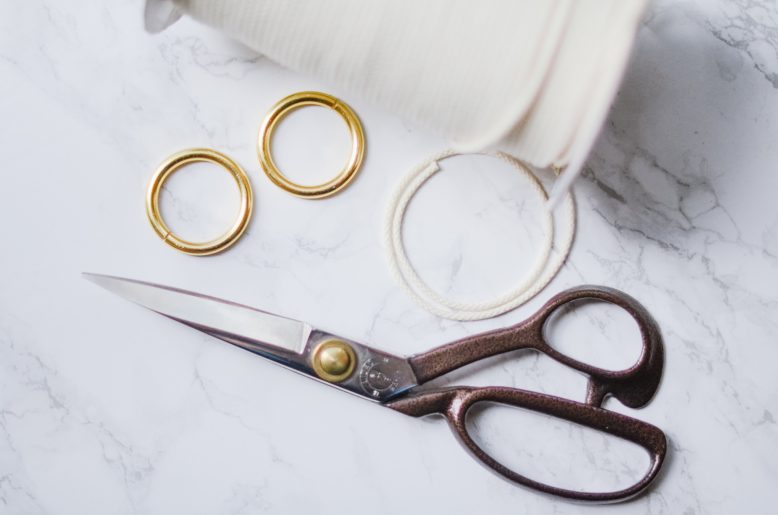
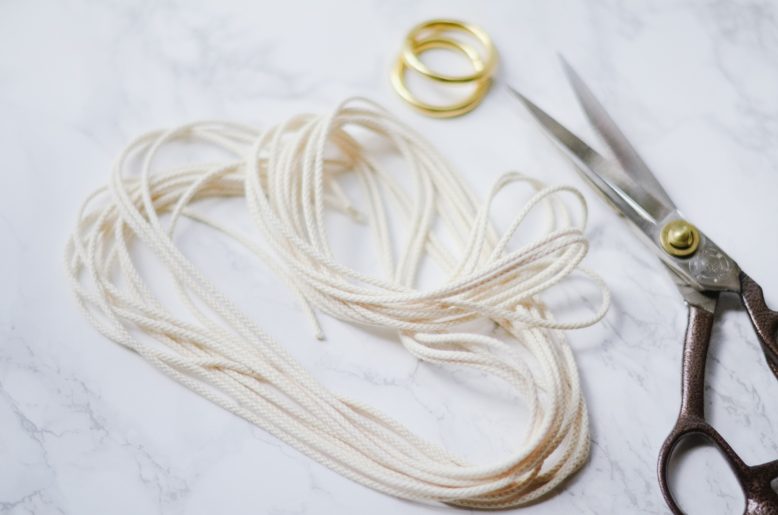
What You'll Need
A little note, for this one we have done a macrame strap as well as a macrame knotted bag section. That said, if you wanted to just do the knotted bag section, you could just attach a leather strap to the gold rings. It’s totally up to you!
To Make the Handle
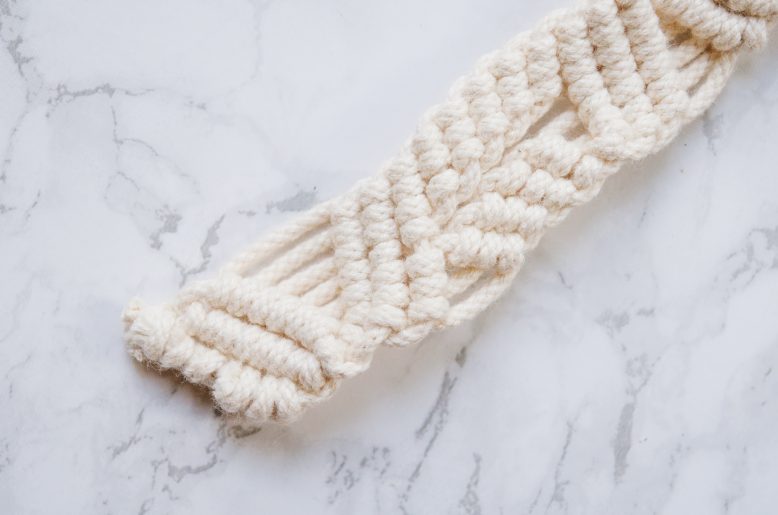
This strap might look daunting but in reality it’s really just one underhand knot style done a few different ways. Read on and see!
1
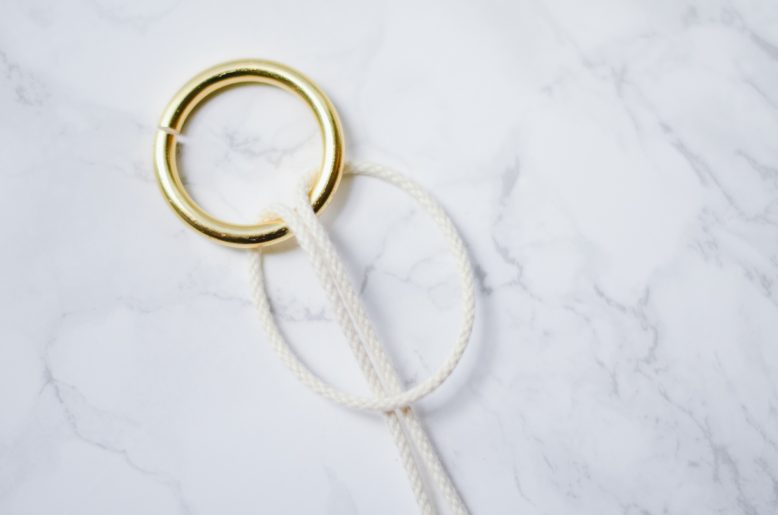
We'll begin by knotting the strap of the bag. You'll need to knot each half of the strap separately, so the length of each piece of string needs to be half of the total length of the strap, times 4. As reference, our straps were to be a total of 45cm (18''), so the string pieces we cut were half of that times 4.
4
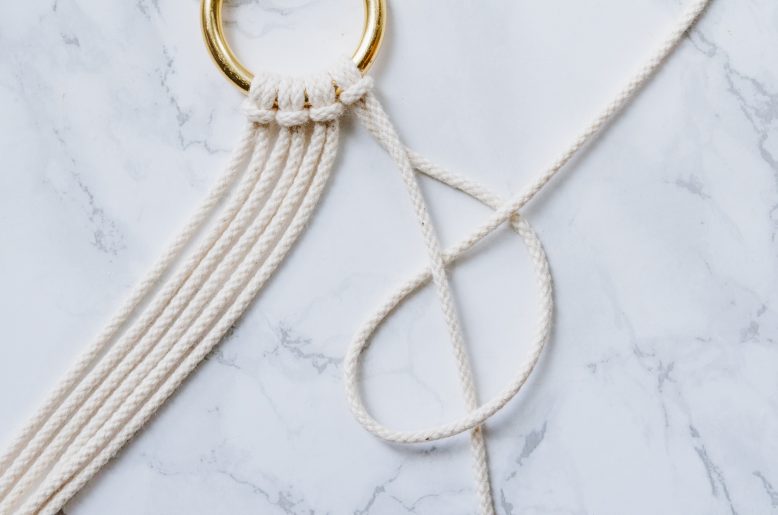
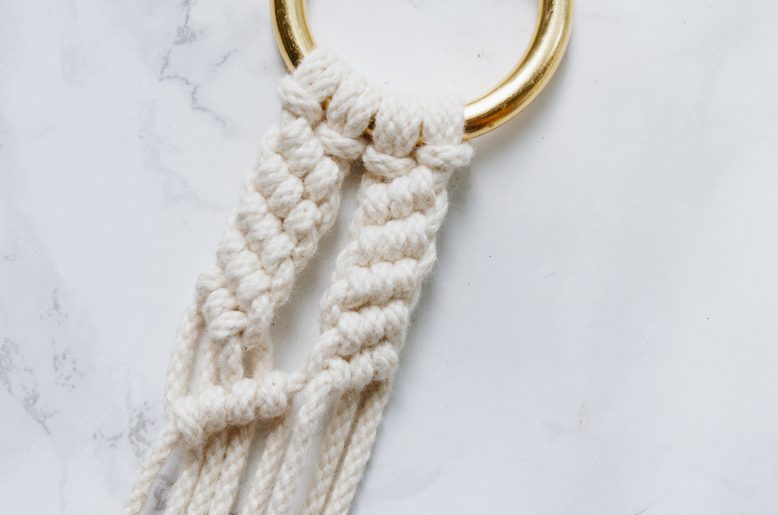
Starting with the knot on the right, take the inner string and loop it around the outer string.
8
Knot the other side of the straps using the same knotting method, only reversing the direction this time.
11
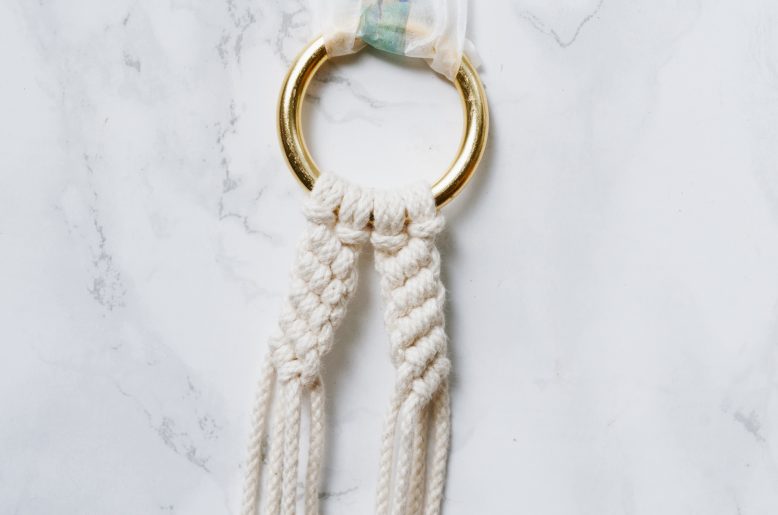
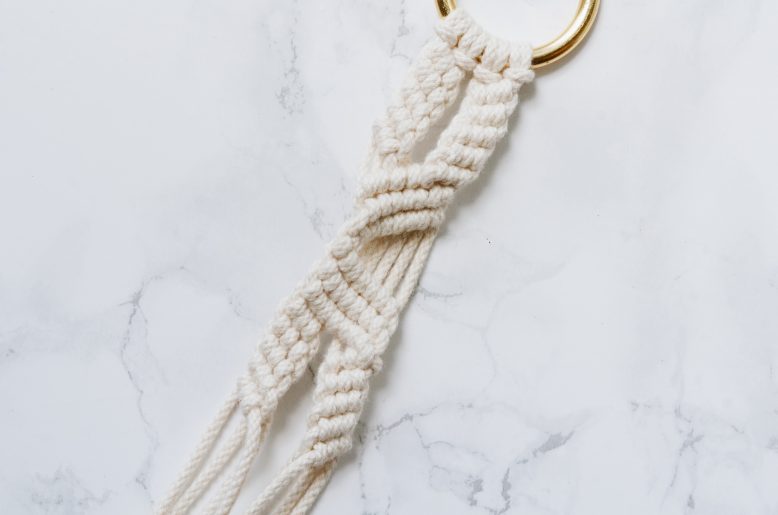
Again, using the same knotting method, connect the two strands by extending the knots.
15
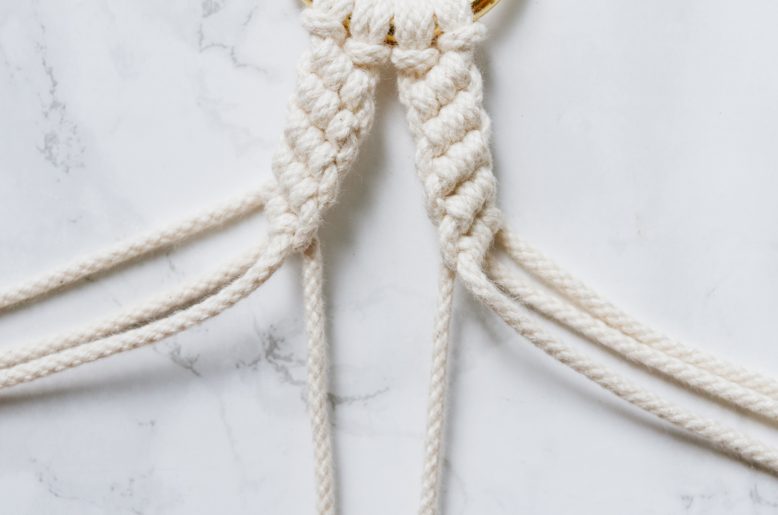
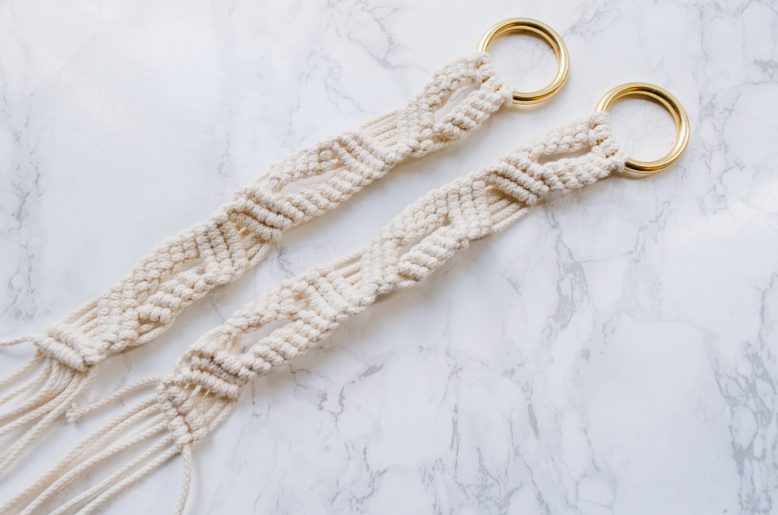
Then repeat the side knots again. Once you've done this you have finished half the strap!
18
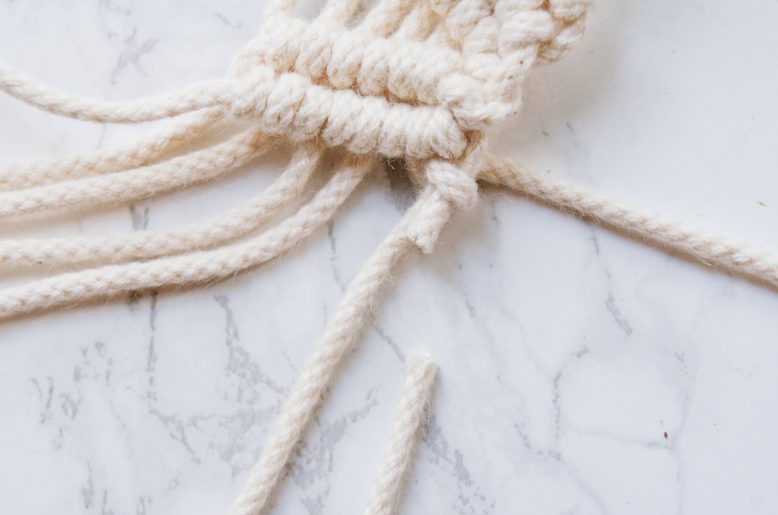
Snip off one of the strands in the knot, then continue the tying a new knot using the next strand.
20
To attach the straps together, line up the ends and sew together with needle and thread.
To make the main part of the bag
21
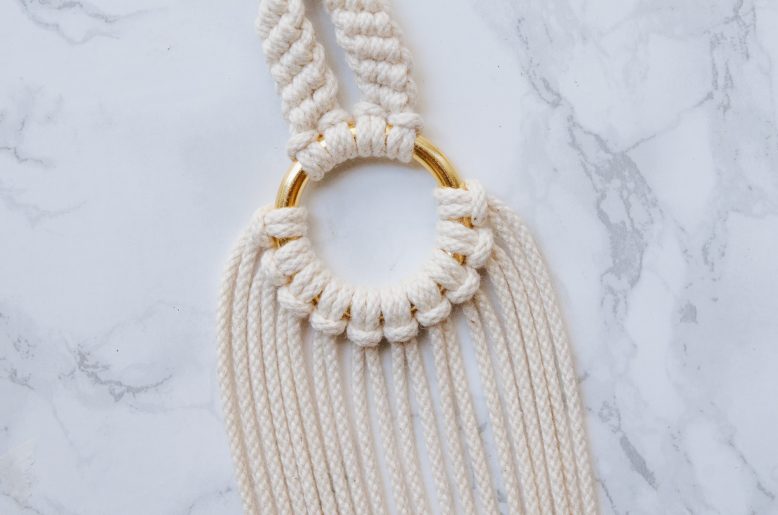
To create the body of the rope bag, cut 10 pieces of string that are 4 times the desired length of your bag. As reference, the bag we made is 15'' (38cm). Knot it onto the gold hoop using the folded end like before.
22
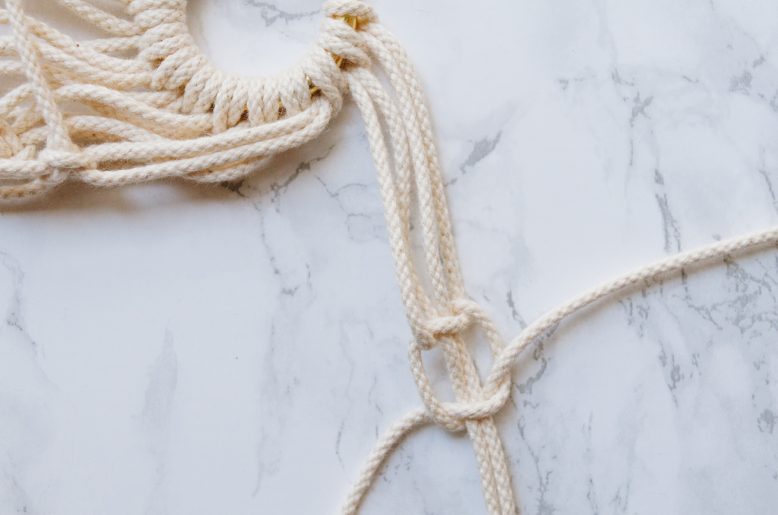
The body of the rope bag will be done with box knots. Taking two strings on the side, loop it around the two middle strands.
24
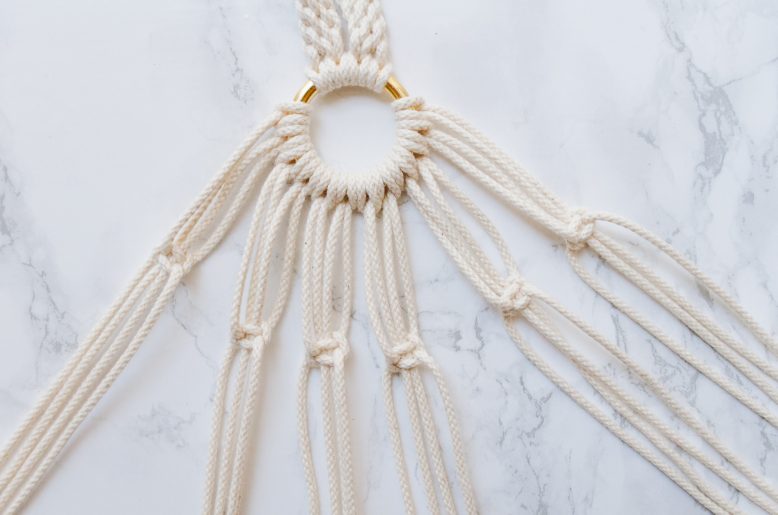
Repeat the knots on the rest of the strands, remember to keep the distances between the knots and the hoops the same.
We did ours 3'' down from the hoop.
25
Continue doing box knots for the second row, only using the strings one strand over this time.
26
Knot 3 rows of box knots on both sides, before knotting the sides of the bag by using two strands from either side.
28
Snip off the ends of the strings if you do not want any tassel ends, and dab a bit of glue into the knots to secure them. Flip the bag out.
Voila!
We’ve noticed you guys really love anything macrame, would you be interested in some sort of knotting guide? Let us know! xx
Like this macrame bag DIY? Pin it on Pinterest!


