You know me, always skirting the issue
It’s that time of year again when I start reaching for everything red, sequined or with a bow on it. Which is something I’m really into because let’s face it, the rest of the year my style is pretty simple and minimalist… So I feel why not go all out once or twice a year? This project is something I’ve been wanting to show you for a while – a wrap style skirt that’s slit to the thigh (oh my!). We went for midi length to balance out the split, it’s not a length I wear a lot but if there ever was a time of year to experiment with silhouettes it’s now!
DIY Linen Side Split Skirt
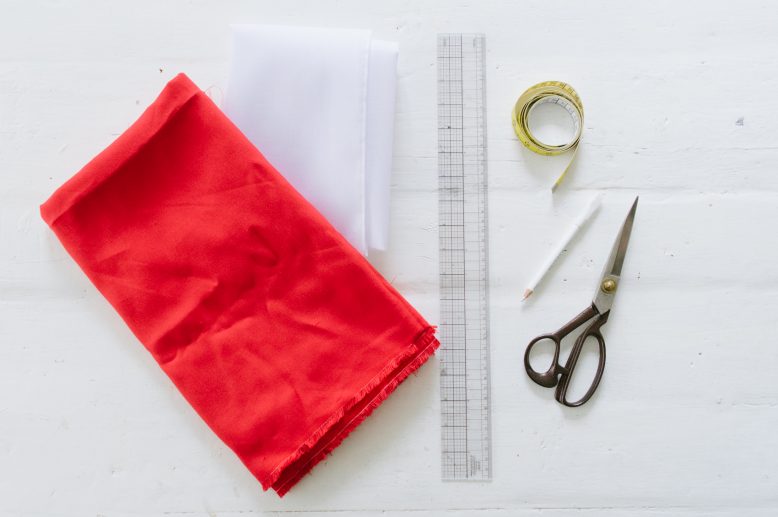
What You'll Need
1
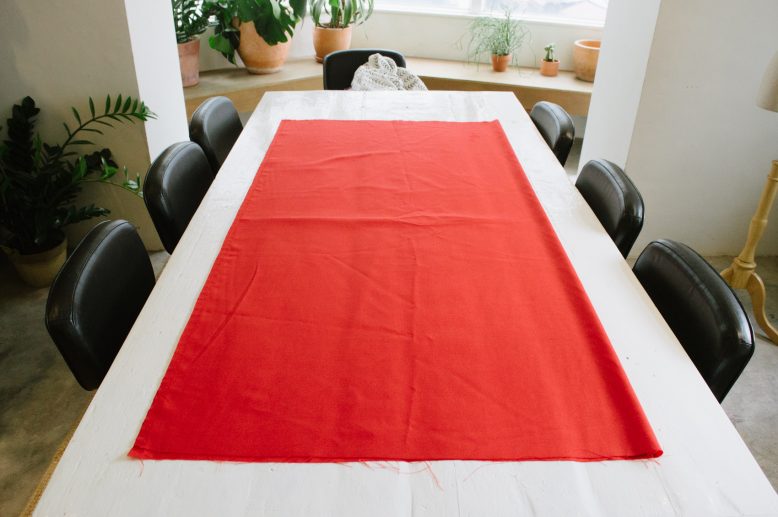
Fold your fabric in half and lay it on a flat surface. You will be drafting on the wrong side of the fabric.
2
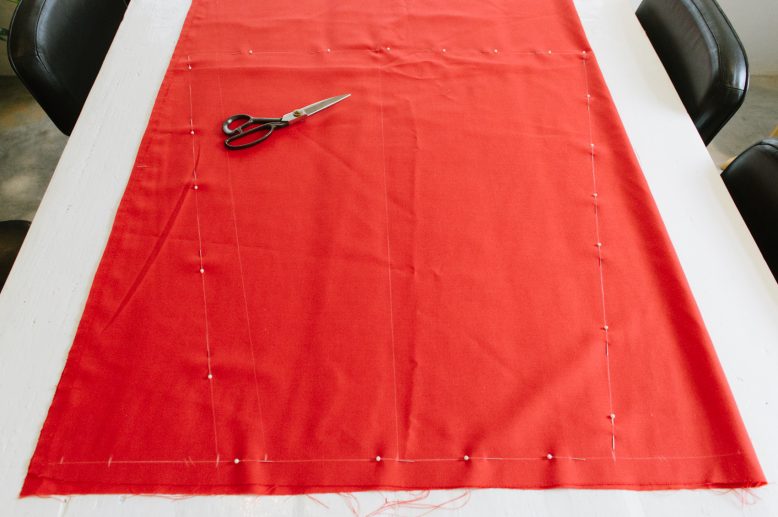
Pin the two layers of fabric together along the drafted pattern lines. Leave seam allowance and cut.
3
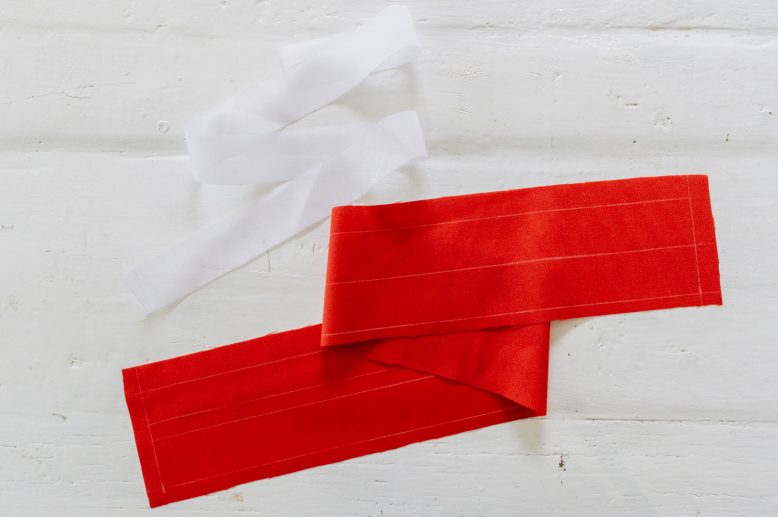
Cut out a strip of fabric and interfacing for the waistband. Then iron the interfacing to the waistband.
4
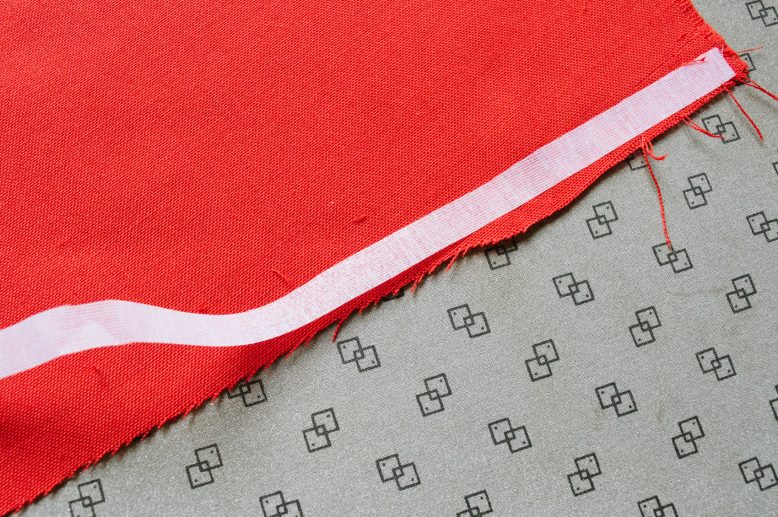
We also cut a thin strip of interfacing and ironed it onto the edges of the skirt before sewing a rolled hem.This stops the fabric from fraying and being pulled out of shape during the sewing process
6
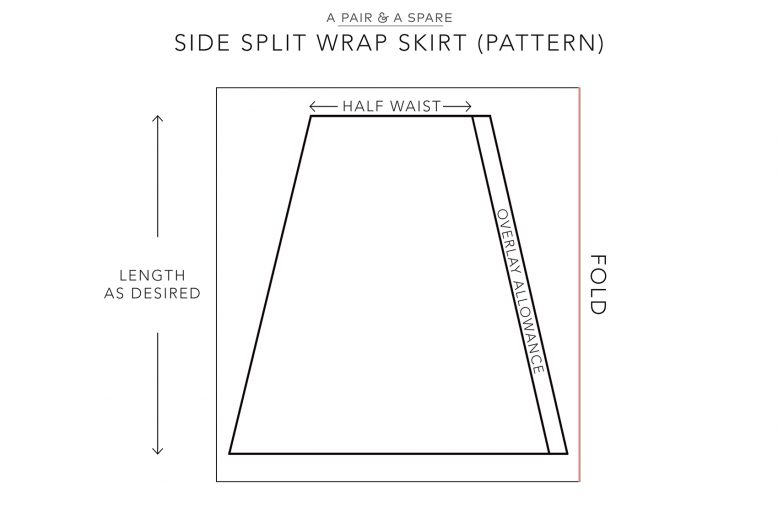
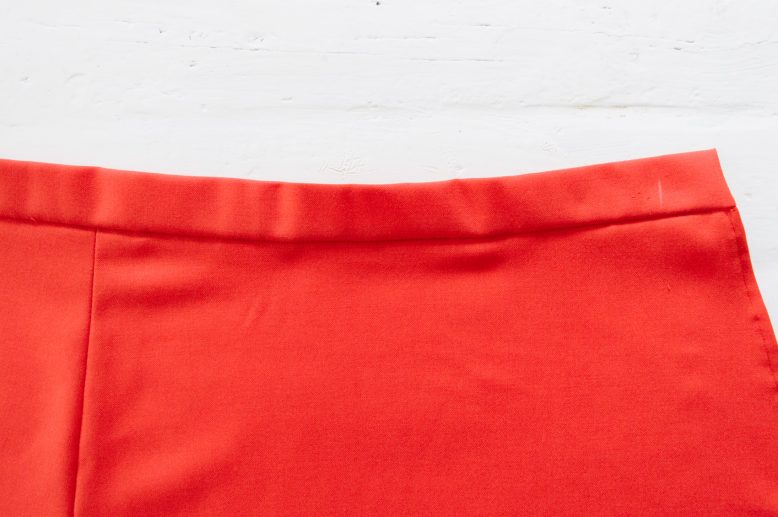
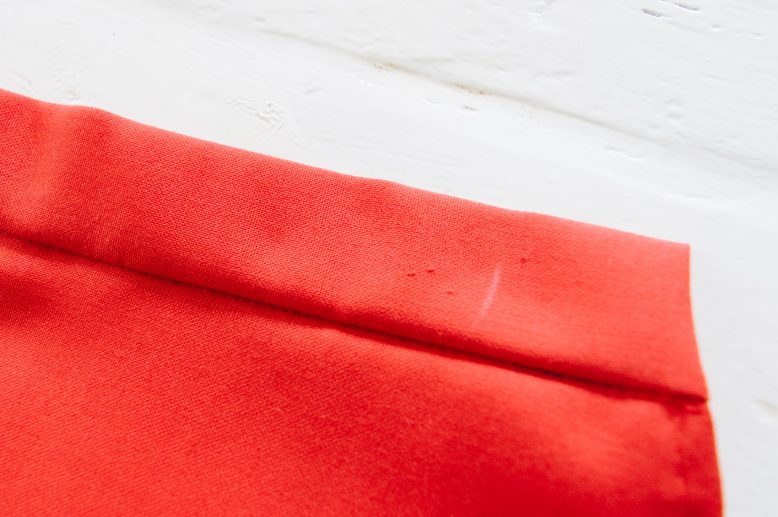
Remember that the waistband will also overlap, so leaving an allowance for overlapping is also necessary.
7
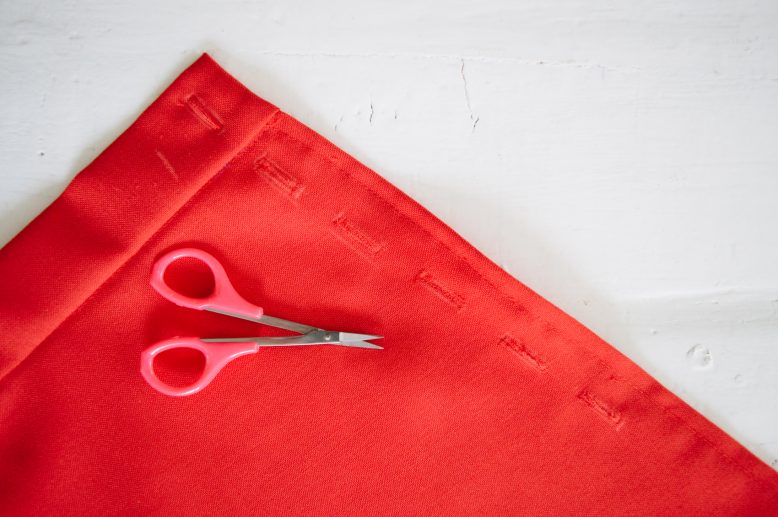
Mark the buttonhole openings and either use the buttonhole function on your sewing machine, or just sew buttonholes with the shortest straight stitch. Remember you can put more buttons on if you want your slit to be less revealing. Then open the buttonholes with a pair of small scissors.
8
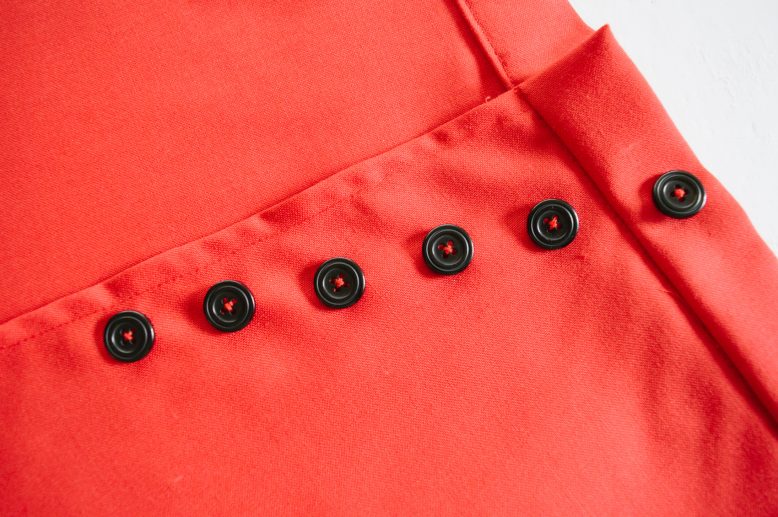
Overlap the skirt edges, then mark the placements of the buttons on the other side of the skirt through the buttonholes. The final step is to then sew the buttons onto the skirt.
Voila!
Pin this DIY on Pinterest!
If you loved this DIY… you’re gonna love more of these DIY Skirt guides! DIY Wrap Skirt | DIY Ruffle Hem Wrap Skirt | DIY Sequin Maxi Wrap Skirt | DIY Split Wrap Skirt


