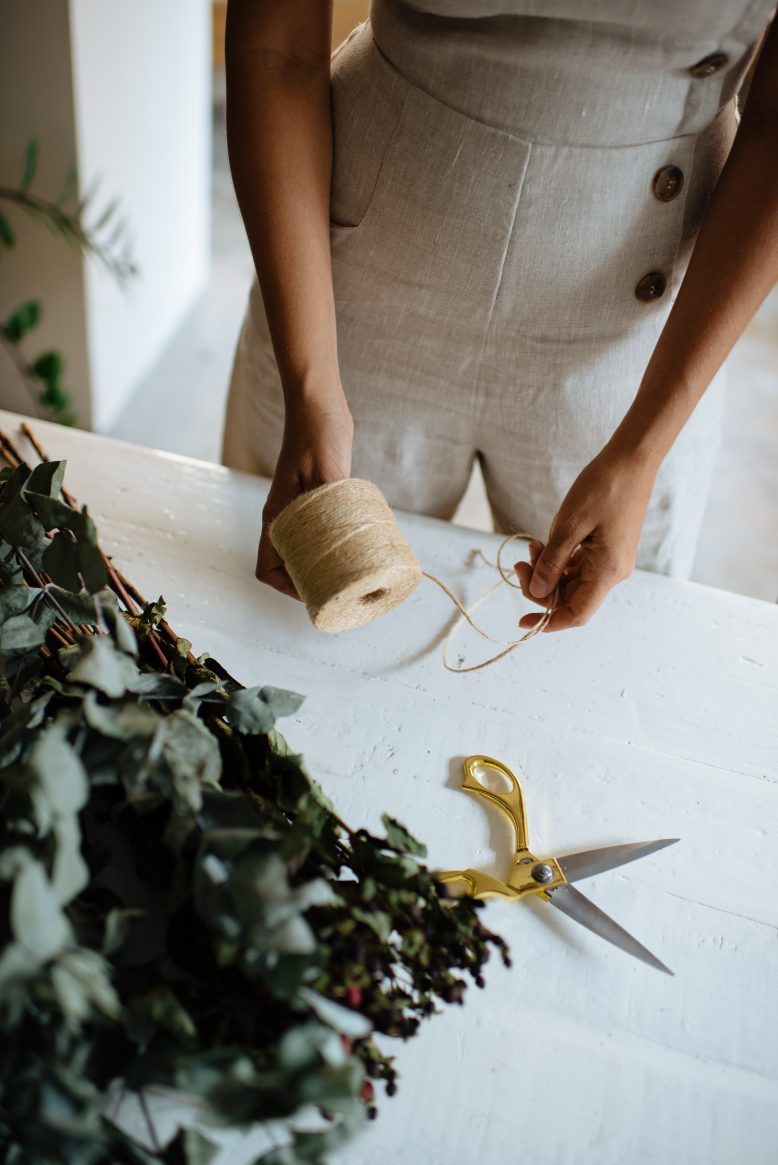
One floral trend that I have noticed lately and absolutely love is dried flowers. I first noticed it in Japan a few years ago, and like all Japanese trends, I’ve since noticed it everywhere.
Drying flowers is such a great way to give your favourite blooms a prolonged life, meaning you don’t have to throw them out as soon as they die (that’s kinda the point) and you can also forgo buying any new ones for a while. It’s a win-win! Once we got started researching the world of dried flowers, we discovered that there are a multitude of ways to do it, all of which are easy and make for beautiful centrepieces you’ll want to keep around. Read on for 5 ways to do it yourself.
Fives Ways to Dry Flowers
Option 1: Air Drying
This is the most traditional way of drying flowers. All you need to do is gather up a selection of flowers and tightly bind them with a rubber band by the stem. Then, hang your bouquet upside down in a well-ventilated area, but making sure to avoid direct sunlight. Over the weeks, you will find that the petals change form and colour, and are transformed into delicate vintage hues. These bouquets become great centrepieces!
Option 2: Pressed
Another technique for drying flowers, you’ll be familiar with the flattened look of a pressed flower. Using any heavy book you can find lying around, line a page with parchment or wax paper and arrange your flowers on the page, then close the book. It’s best to position the flowers facing downwards, and make sure that they don’t overlap. The next step is to wait between 7 and 10 days, checking now and again for your perfectly pressed flower to emerge! Read more on pressing flowers here.
Option 3: Silica Gel
Silica gel is made up of miniature blue and white gel beads, which you can find in an Arts & Craft Store. What it does is absorb the moisture from the flower petals. Simply place your flowers in a large airtight container filled with the Silica Gel, making sure the gel covers the flowers. Leave the flowers for 1 – 2 weeks, after which they will emerge perfectly dried. This method is good if you are looking to maintain the shape and structure of the flower which may be lost with pressing or air drying.
Option 4: Sand
Sand is also a great way to dry flowers! Who knew? All you have to do is pour a half inch layer of sand into a sturdy box and gently place the flowers on the sand. Then, evenly pour sand on top of the flowers, and cover completely. Leave the box sealed and in a warm dry place for around 2 weeks. Once ready, gently pour out the sand, and you’ll have your dried flowers!
Option 5: Oven
This porcess is the speedy version, but does come with the risk of burning them so be careful. First, distribute the flowers on a baking sheet on top of a wire rack. Set your oven to 150-180 degrees and bake the flowers for 1.5 to 2.5 hours. Make sure to keep a close watch on your flowers every 30 mins to avoid any burns. When the flowers are crisp and dried, remove from oven and let them cool.
Enjoyed this post? Here’s another DIY on How to: Press Botanicals that we think you may be interested in!


