One material that I absolutely love working with is clay. It’s just so fun! But let’s be honest, the process of building with clay and then tracking down a kiln to fire it with can be a little tricky (and messy!), and I’m always looking for interesting materials as alternatives.
Which is why I was so excited to work with Sculpey! In case you’ve never heard of Sculpey before, it’s a polymer clay that’s easy to work with and simple to bake in your own oven. I couldn’t wait to get my hands dirty! The particular type of Sculpey I was working with is the Soufflé version, with a really nice suede like finish.
Choosing Colours
What I really like about the Sculpey Soufflé is the gorgeous colours available. Often these types of clay are only available in primary colours, but this one comes in lots of gorgeous warm tones that I knew would complement my decor perfectly.
Getting started
What I loved about working with this polymer clay is how easy it is to start working with, just grab yourself a nice flat surface, a rolling pin and away you go!
You need:
- 2 bars of Sculpey Soufflé (mine is in cinnamon)
- Stanley knife
- Skewer
- A flat surface
- A rolling pin or bottle
- An oven
- Jump rings
- Brass pipe or thin dowel
1
Firstly, take out the clay and using the heat from your palm, shape it into a ball so it's easier to roll it out.
3
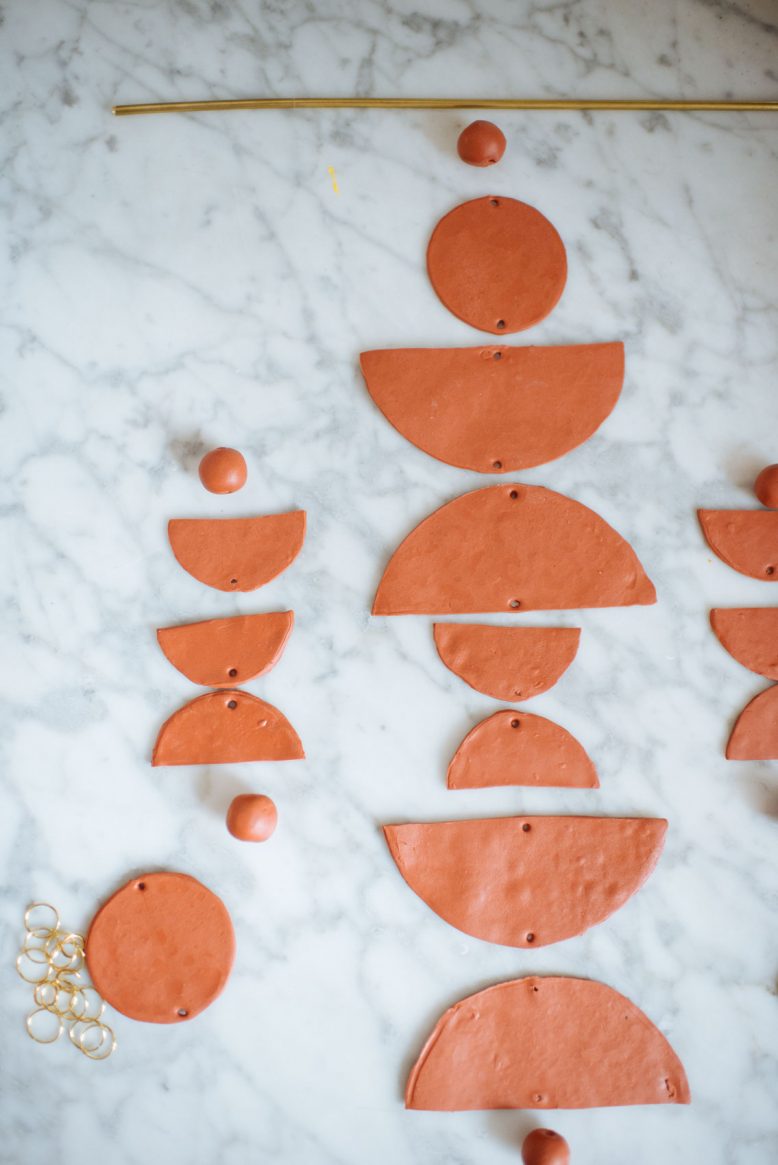
Using a circular template (I used jar lids), cut out circles of clay. I cut 2 big ones and 5 small ones, and also rolled some small clay beads.
4
Bake the clay. The instructions say to bake at 275 °F (130 °C) for 30 minutes per 1/4 in (6 mm) thickness. Because mine were quite thin I baked them for 15 minutes. Remove them from the oven and let them cool.
5
Now it’s time to put together the wall hanging! Lay out your desired pattern, and then use the jump rings to attach it together. If you find you want to attach with a jump ring somewhere that you didn't previously put a hole, I found it's quite easy to add a hole using a needle.
One thing I learnt during this process is that polymer clay isn’t as brittle as normal clay, meaning you can trim edges or add more holes once it has been baked.
Finally, once I put it together I decided to add tassels on the ends, along with some of the clay beads on either side. I made the tassels by hand using some twine. So simple!
I am so excited to make a lot of other home decor projects with this clay, it’s so easy to use and the result is really professional. Stay tuned for more!This project is in collaboration with Sculpey.


