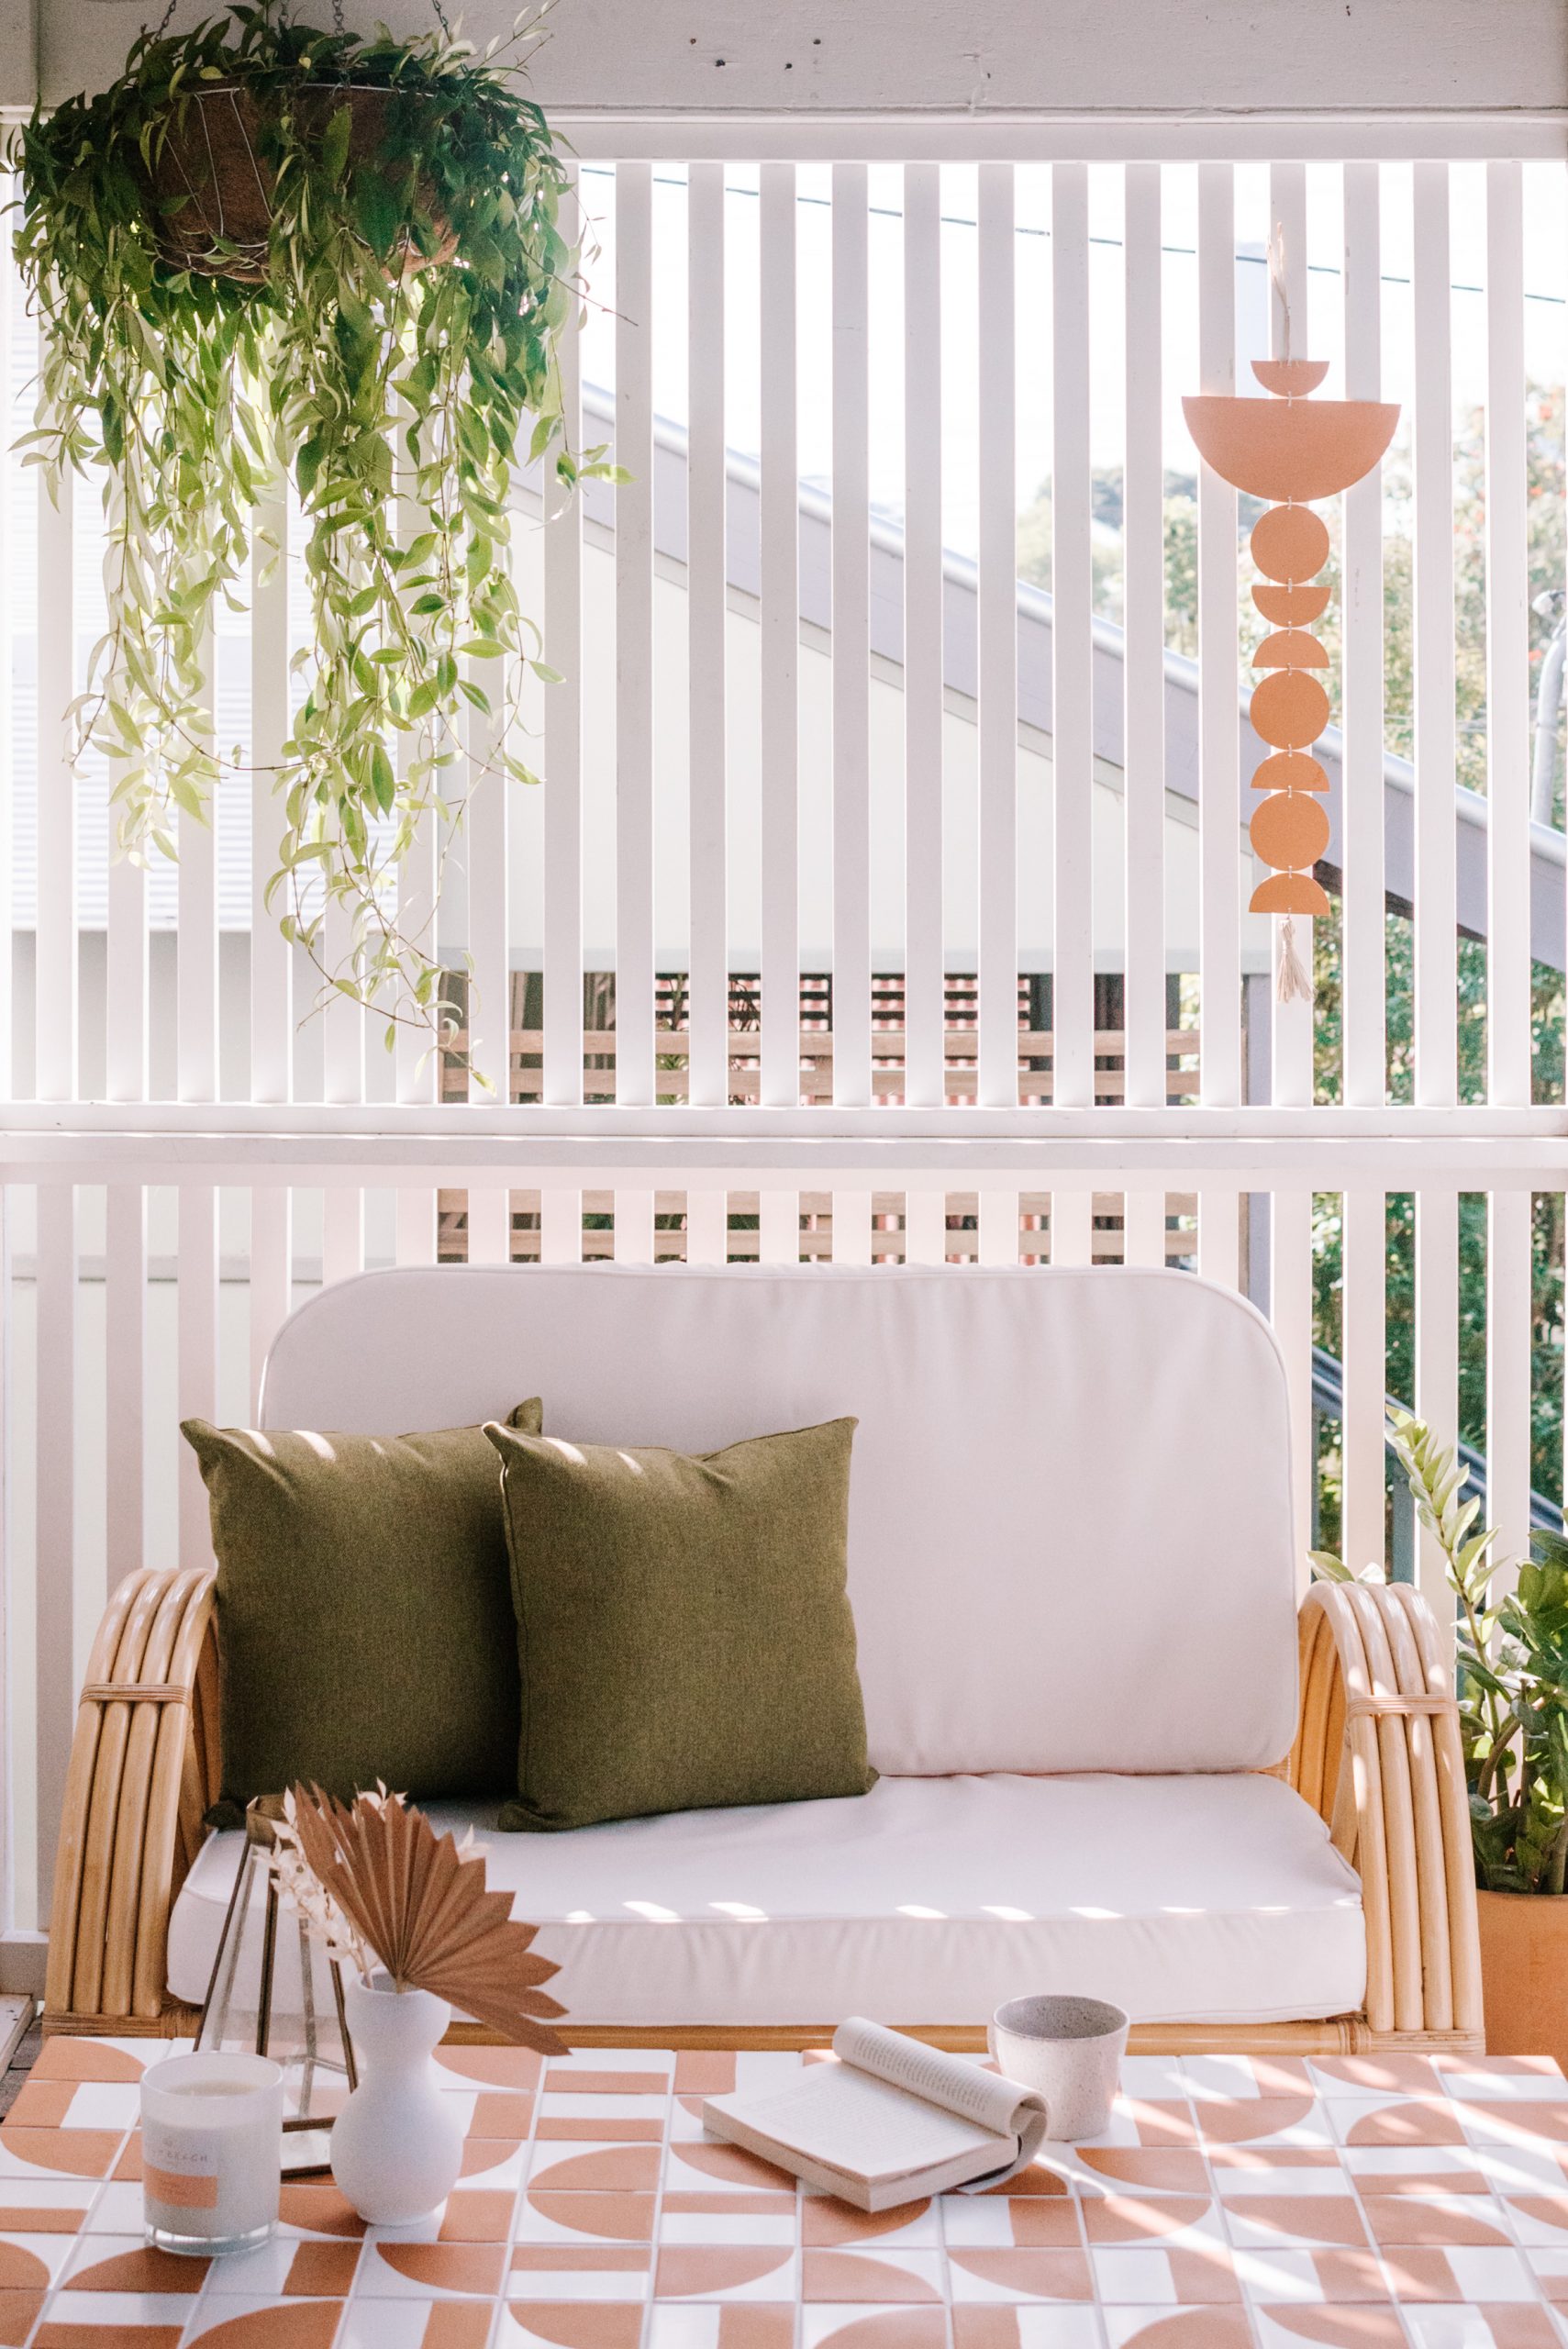
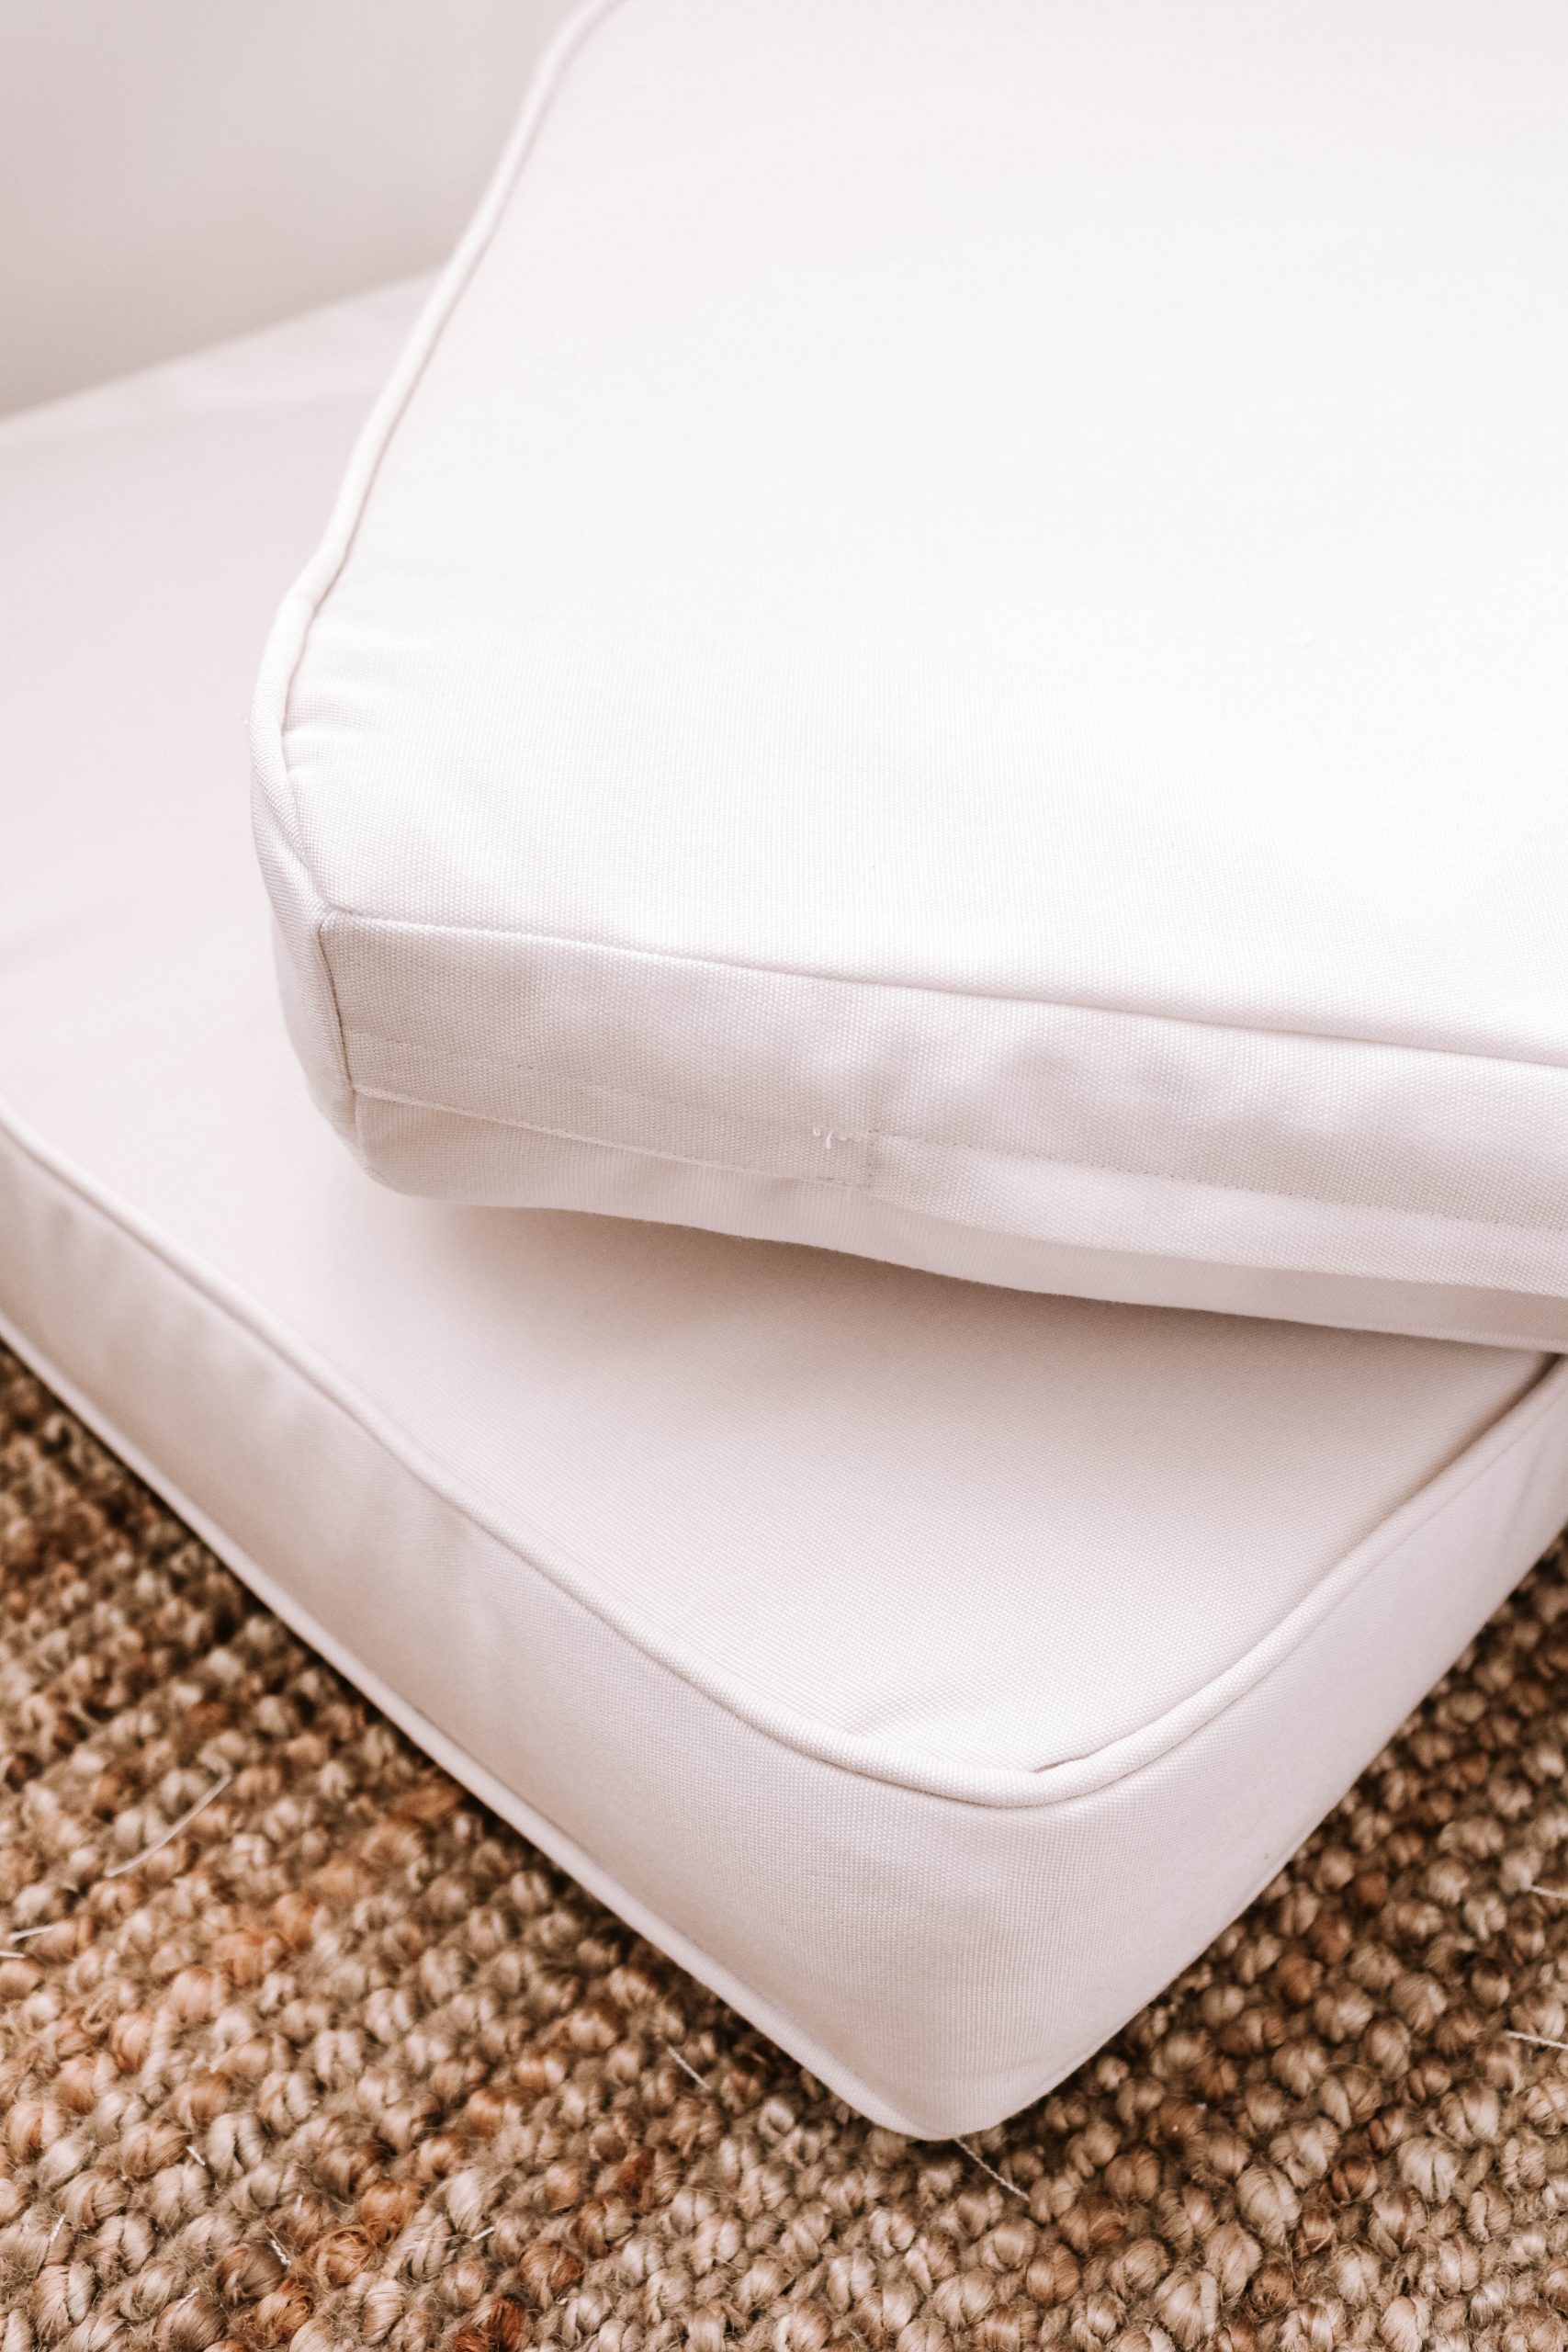
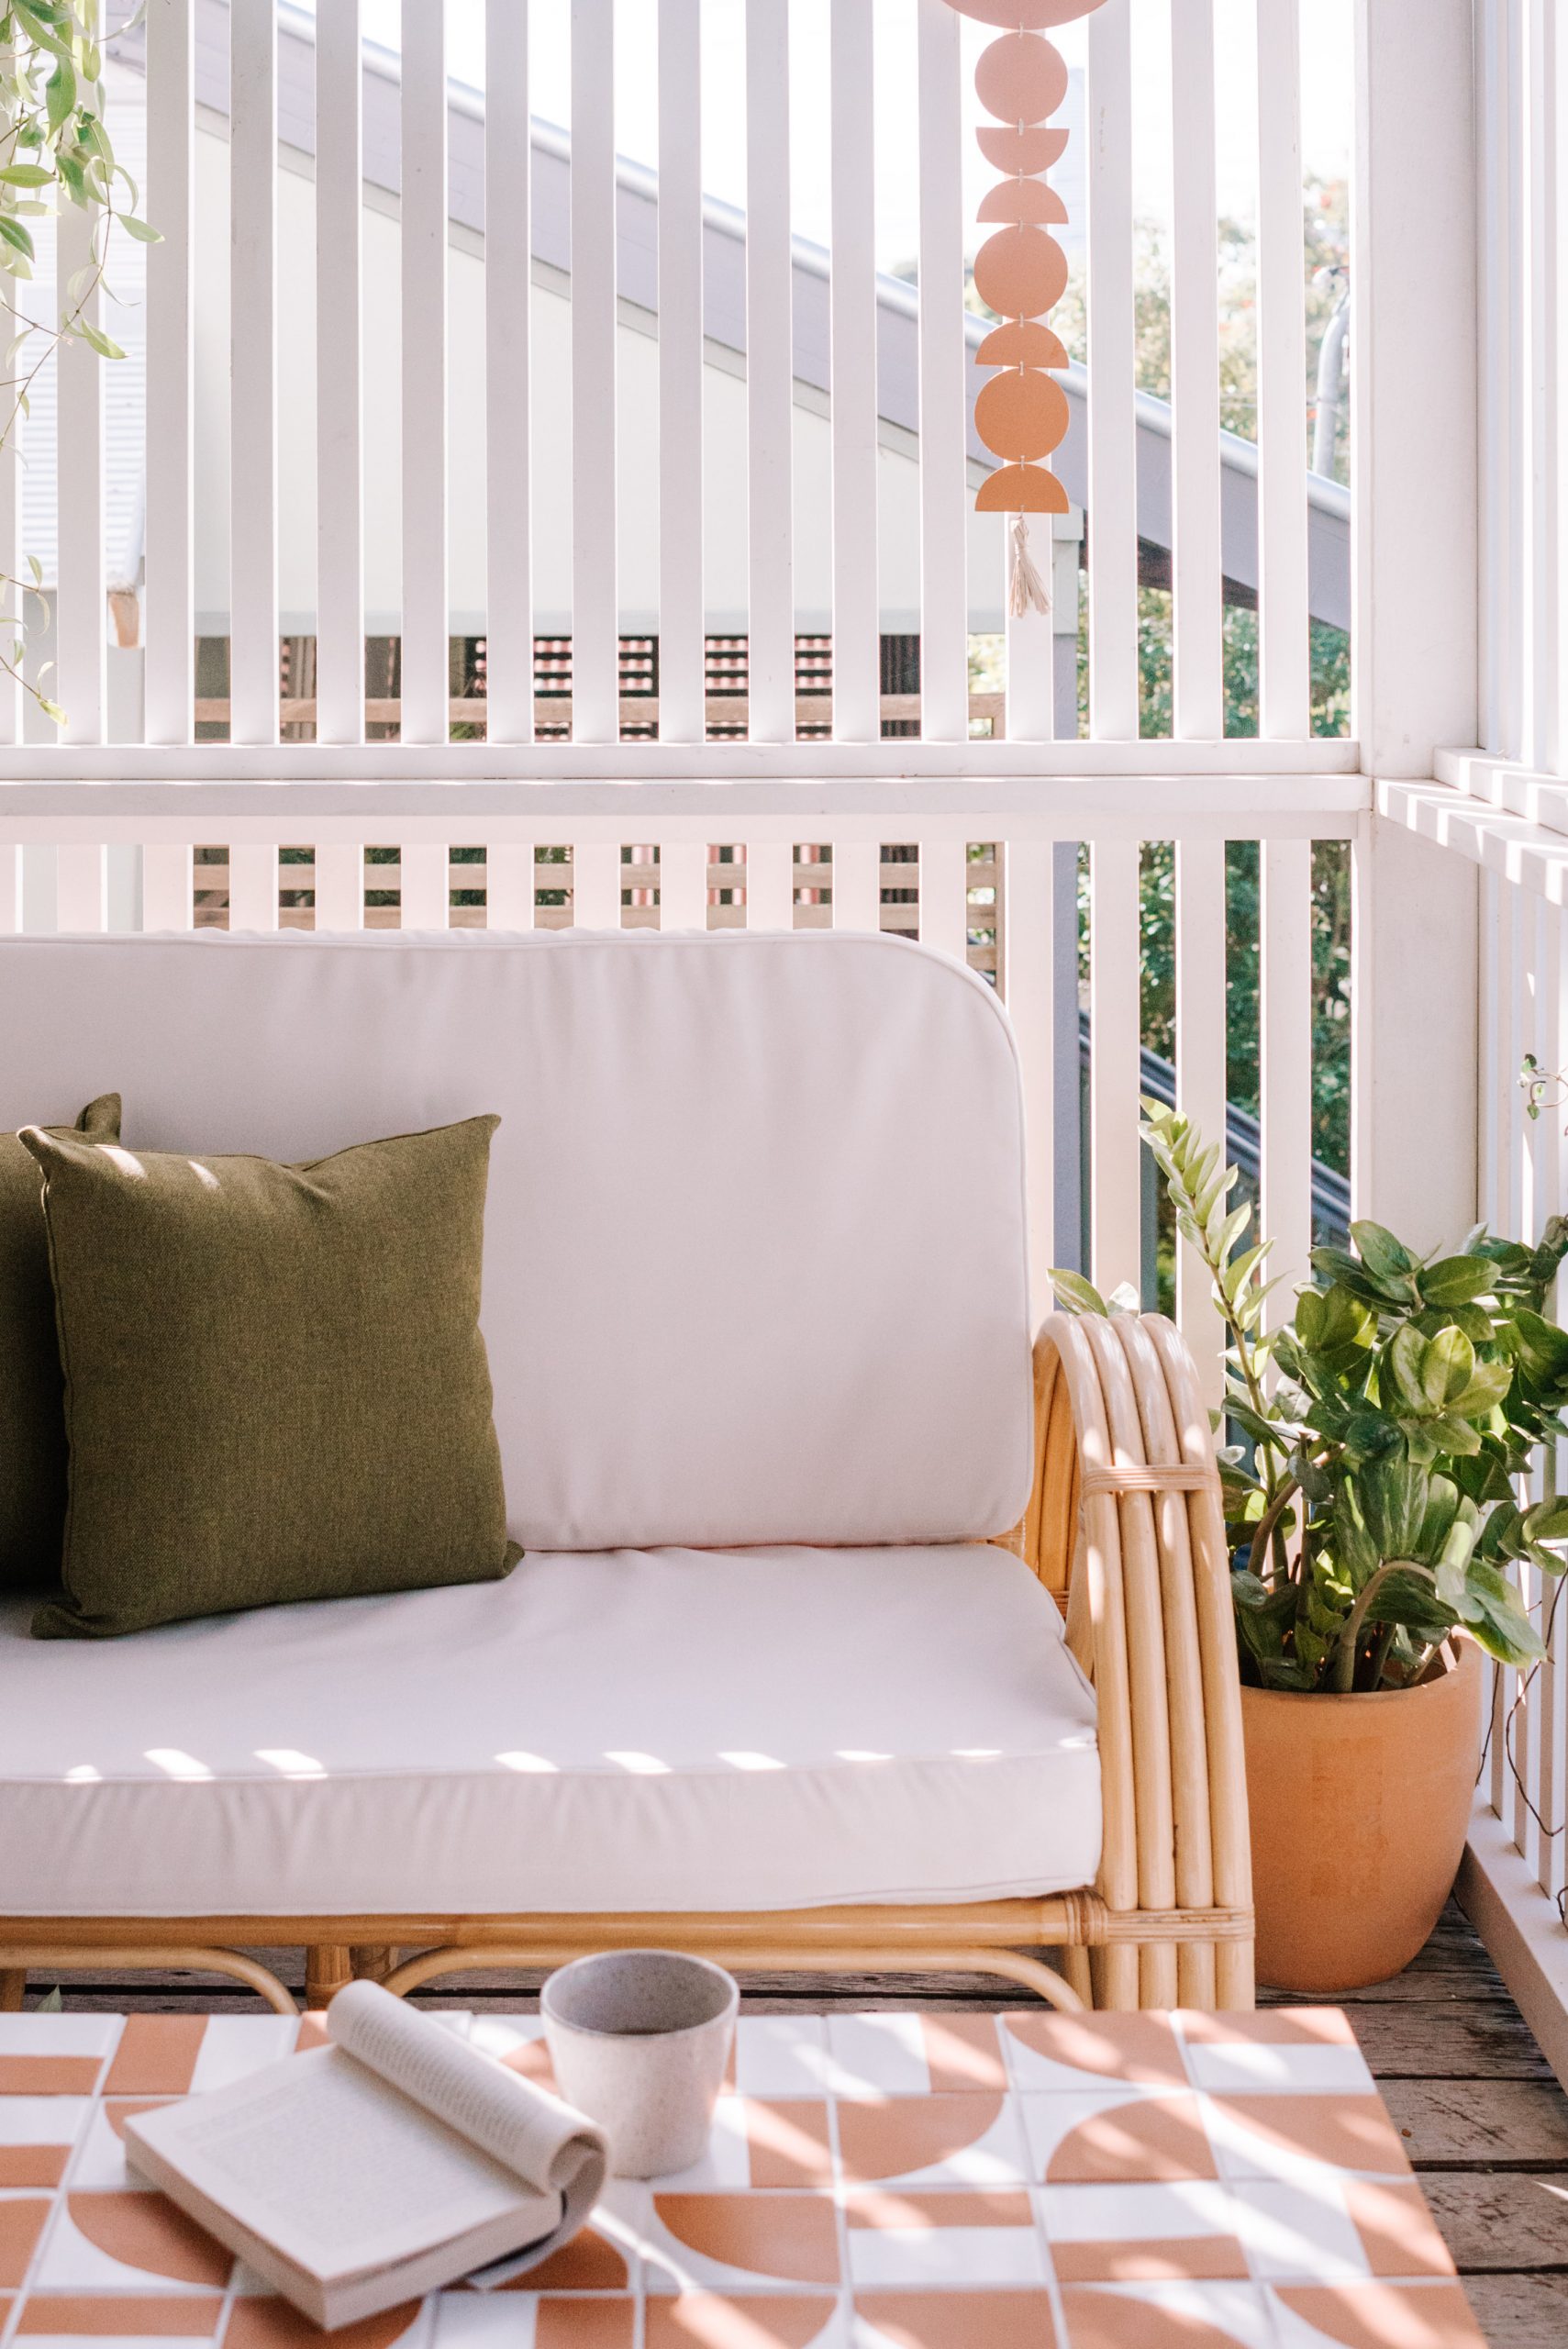
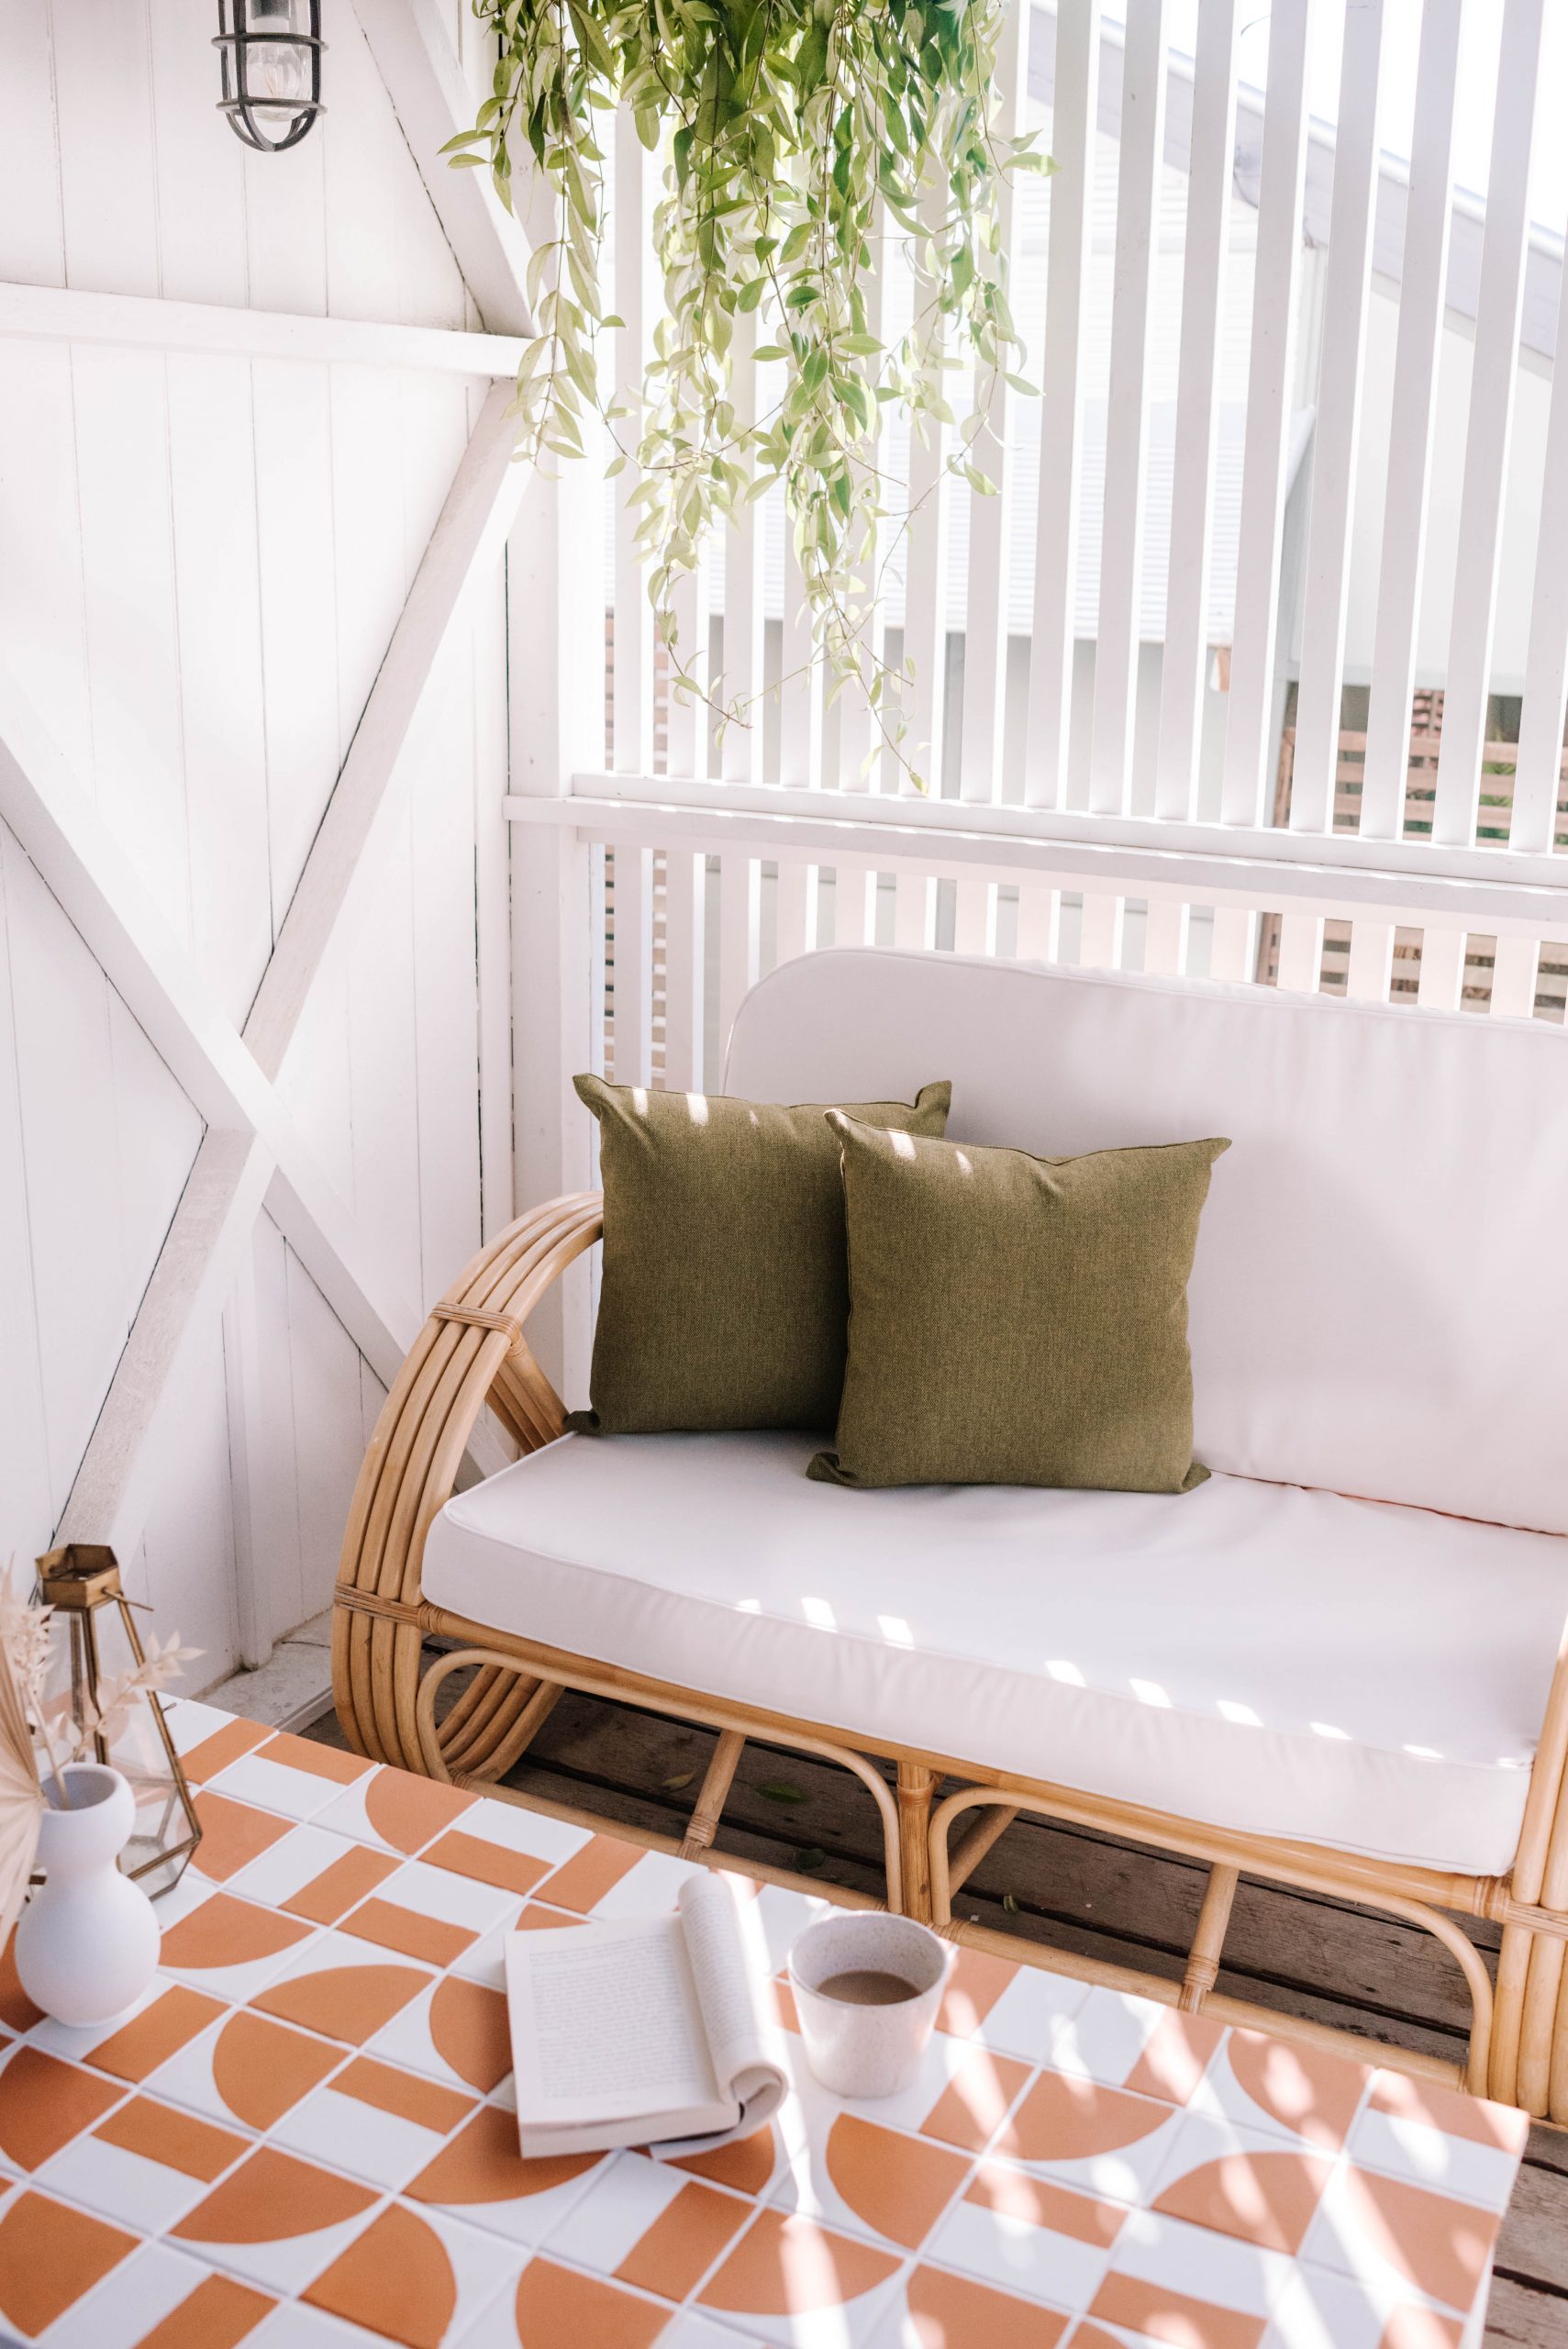
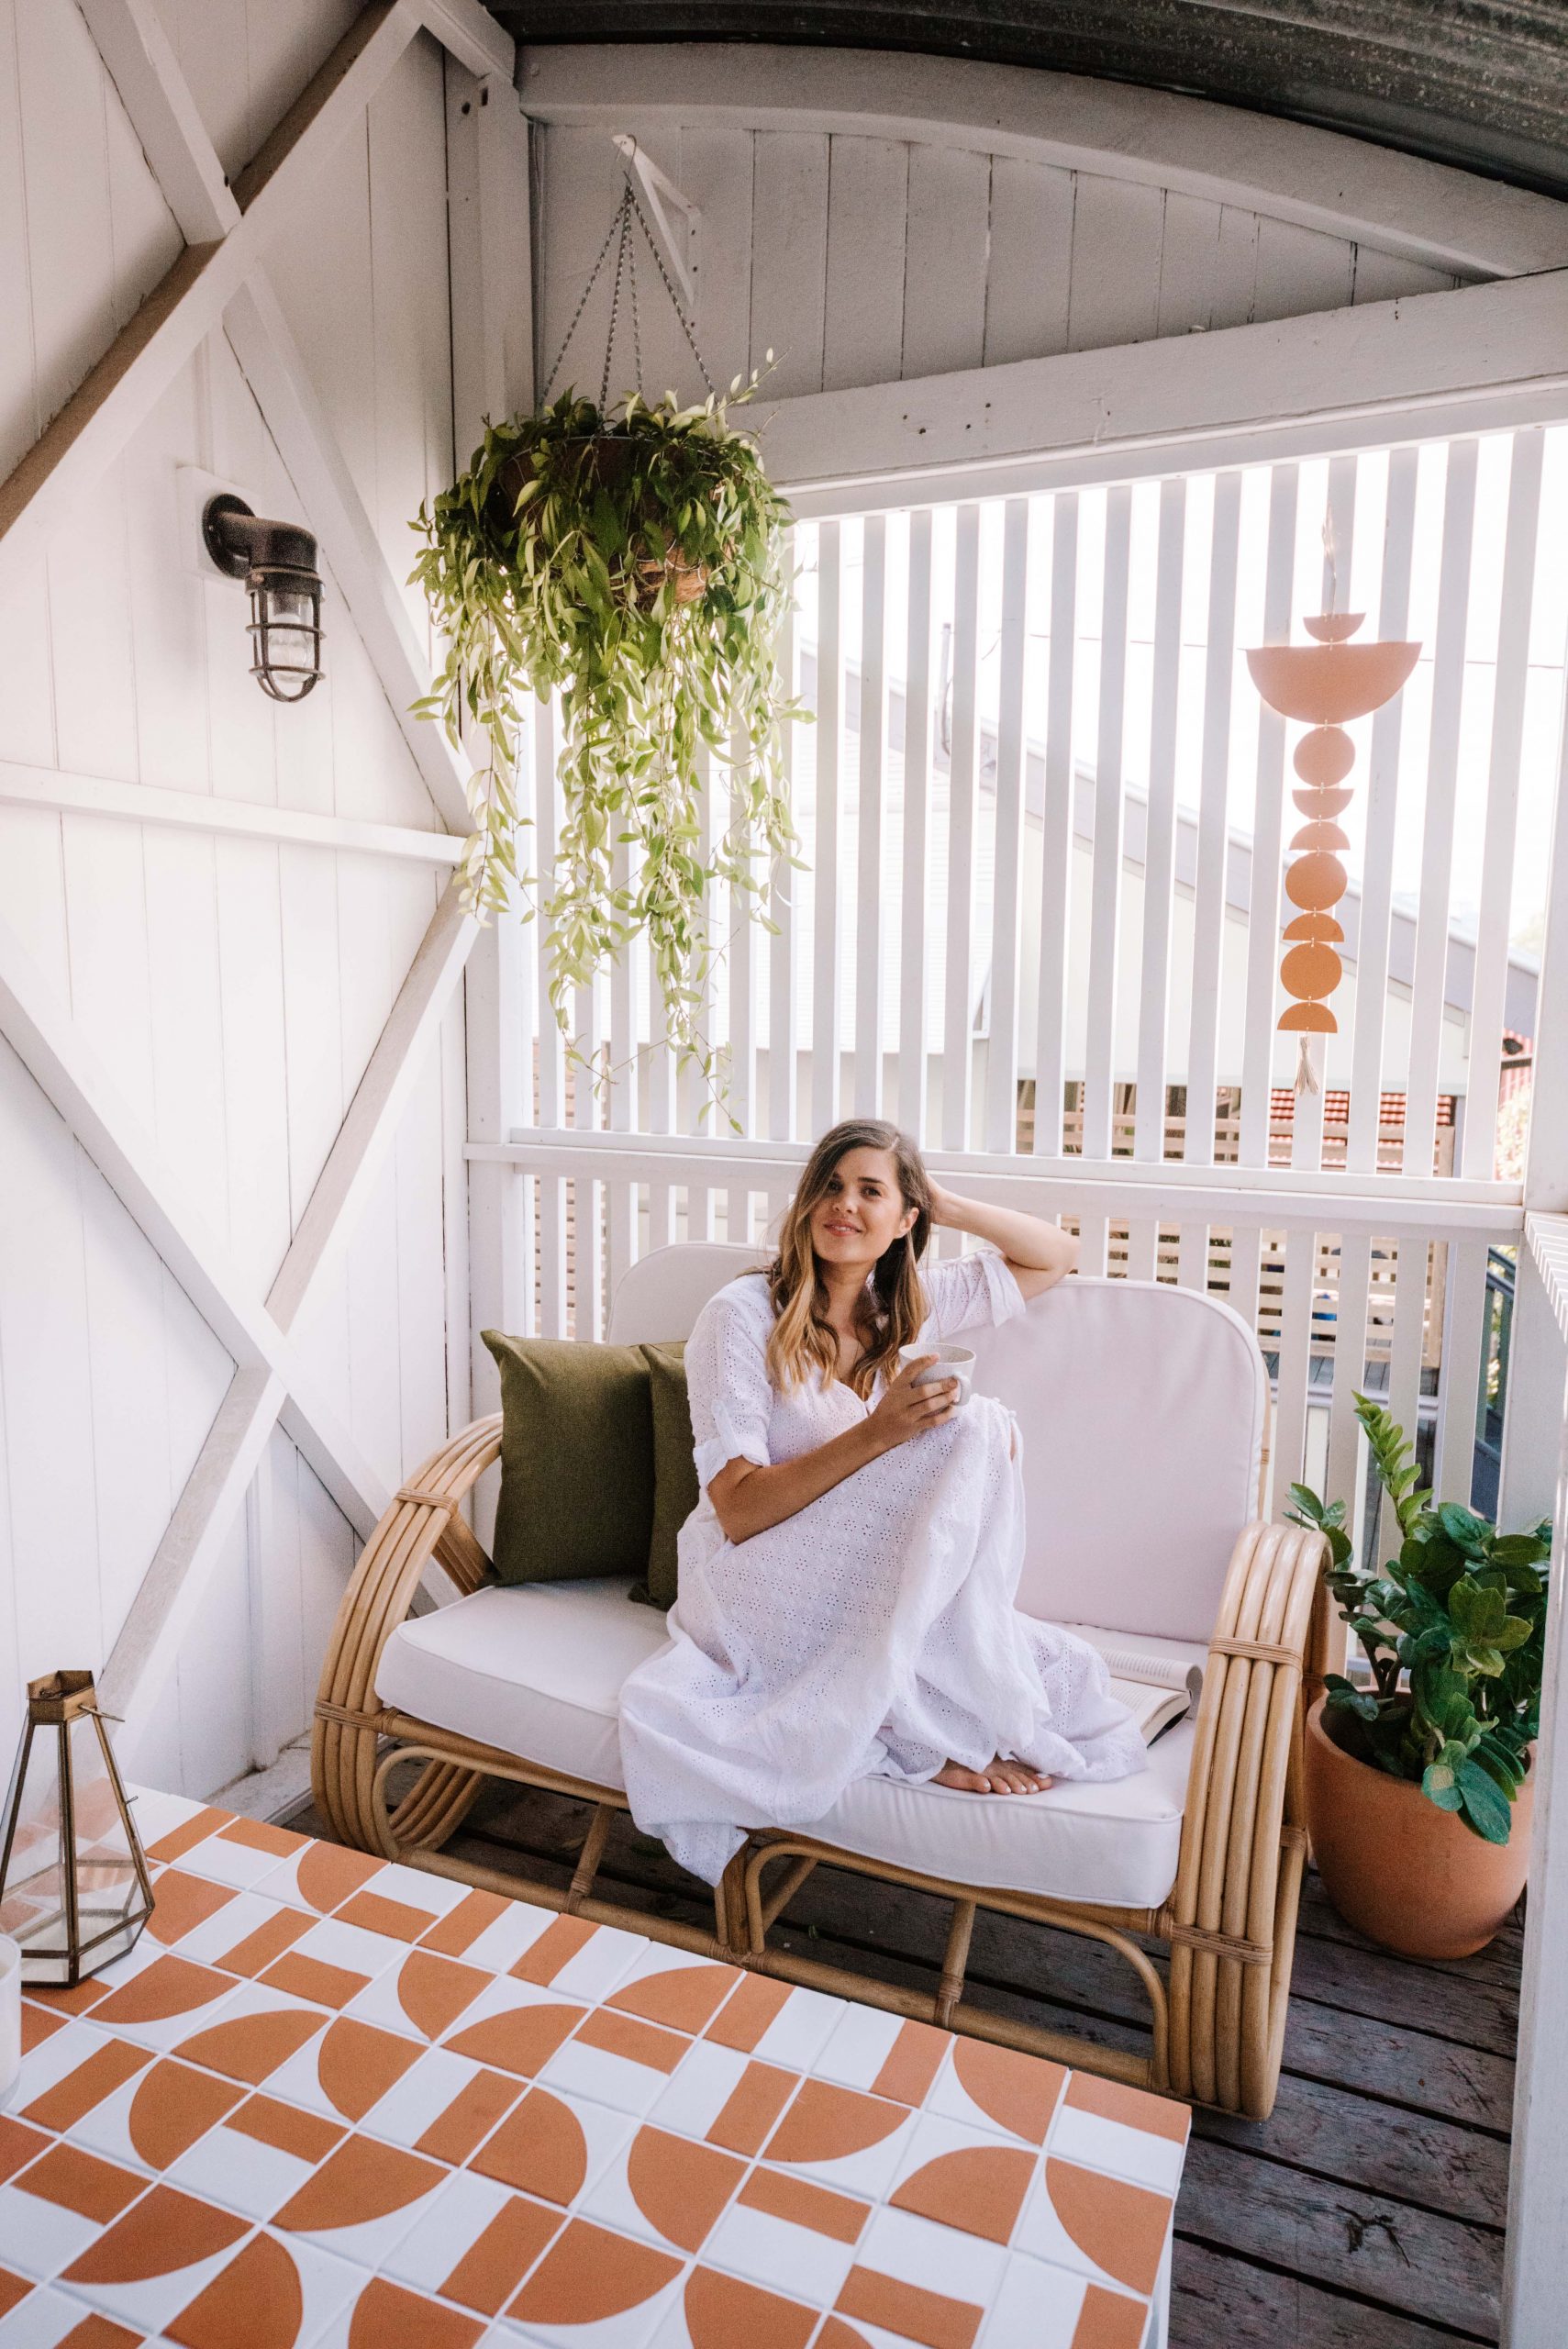
A few weeks ago we shared a front veranda makeover, with a lovely little upcycled rattan sofa. Lots of you wanted to know how we made the cushions for the sofa, so today we’ll be sharing the tutorial.
For these covers we created a piped edge for a more polished finish, and to reflect the vintage style of the sofa. If you’ve never done this before, don’t stress – it’s easier than you might think! That said, you can also skip the piped edge if you like and simply make the cushions without, it’s the same steps.
This is a really versatile project that you can use in many different ways, you can update an existing sofa you have, use this tutorial to make a bench seat or replicate the piped edge for simple throw cushions. We worked with Sunbrella to make over this space and used their natural canvas outdoor fabric for cushions that will continue to look great over time. It’s a good idea to pick a hardy fabric if you plan to use it outside!
You will need:
- Fabric (We used this)
- Sewing machine with a zipper foot
- A sturdy sewing machine needle (especially if you’re using a heavier fabric like this canvas)
- Scissors
- Measuring tape
- Thread to match your fabric
- A zipper for each cushion – as close to the length of your cushions as possible.
- Piping cord (we used a cotton cord, 7.5mm (¼ in) thickness)
- Cushion foam
How to Cut Out Your Pattern
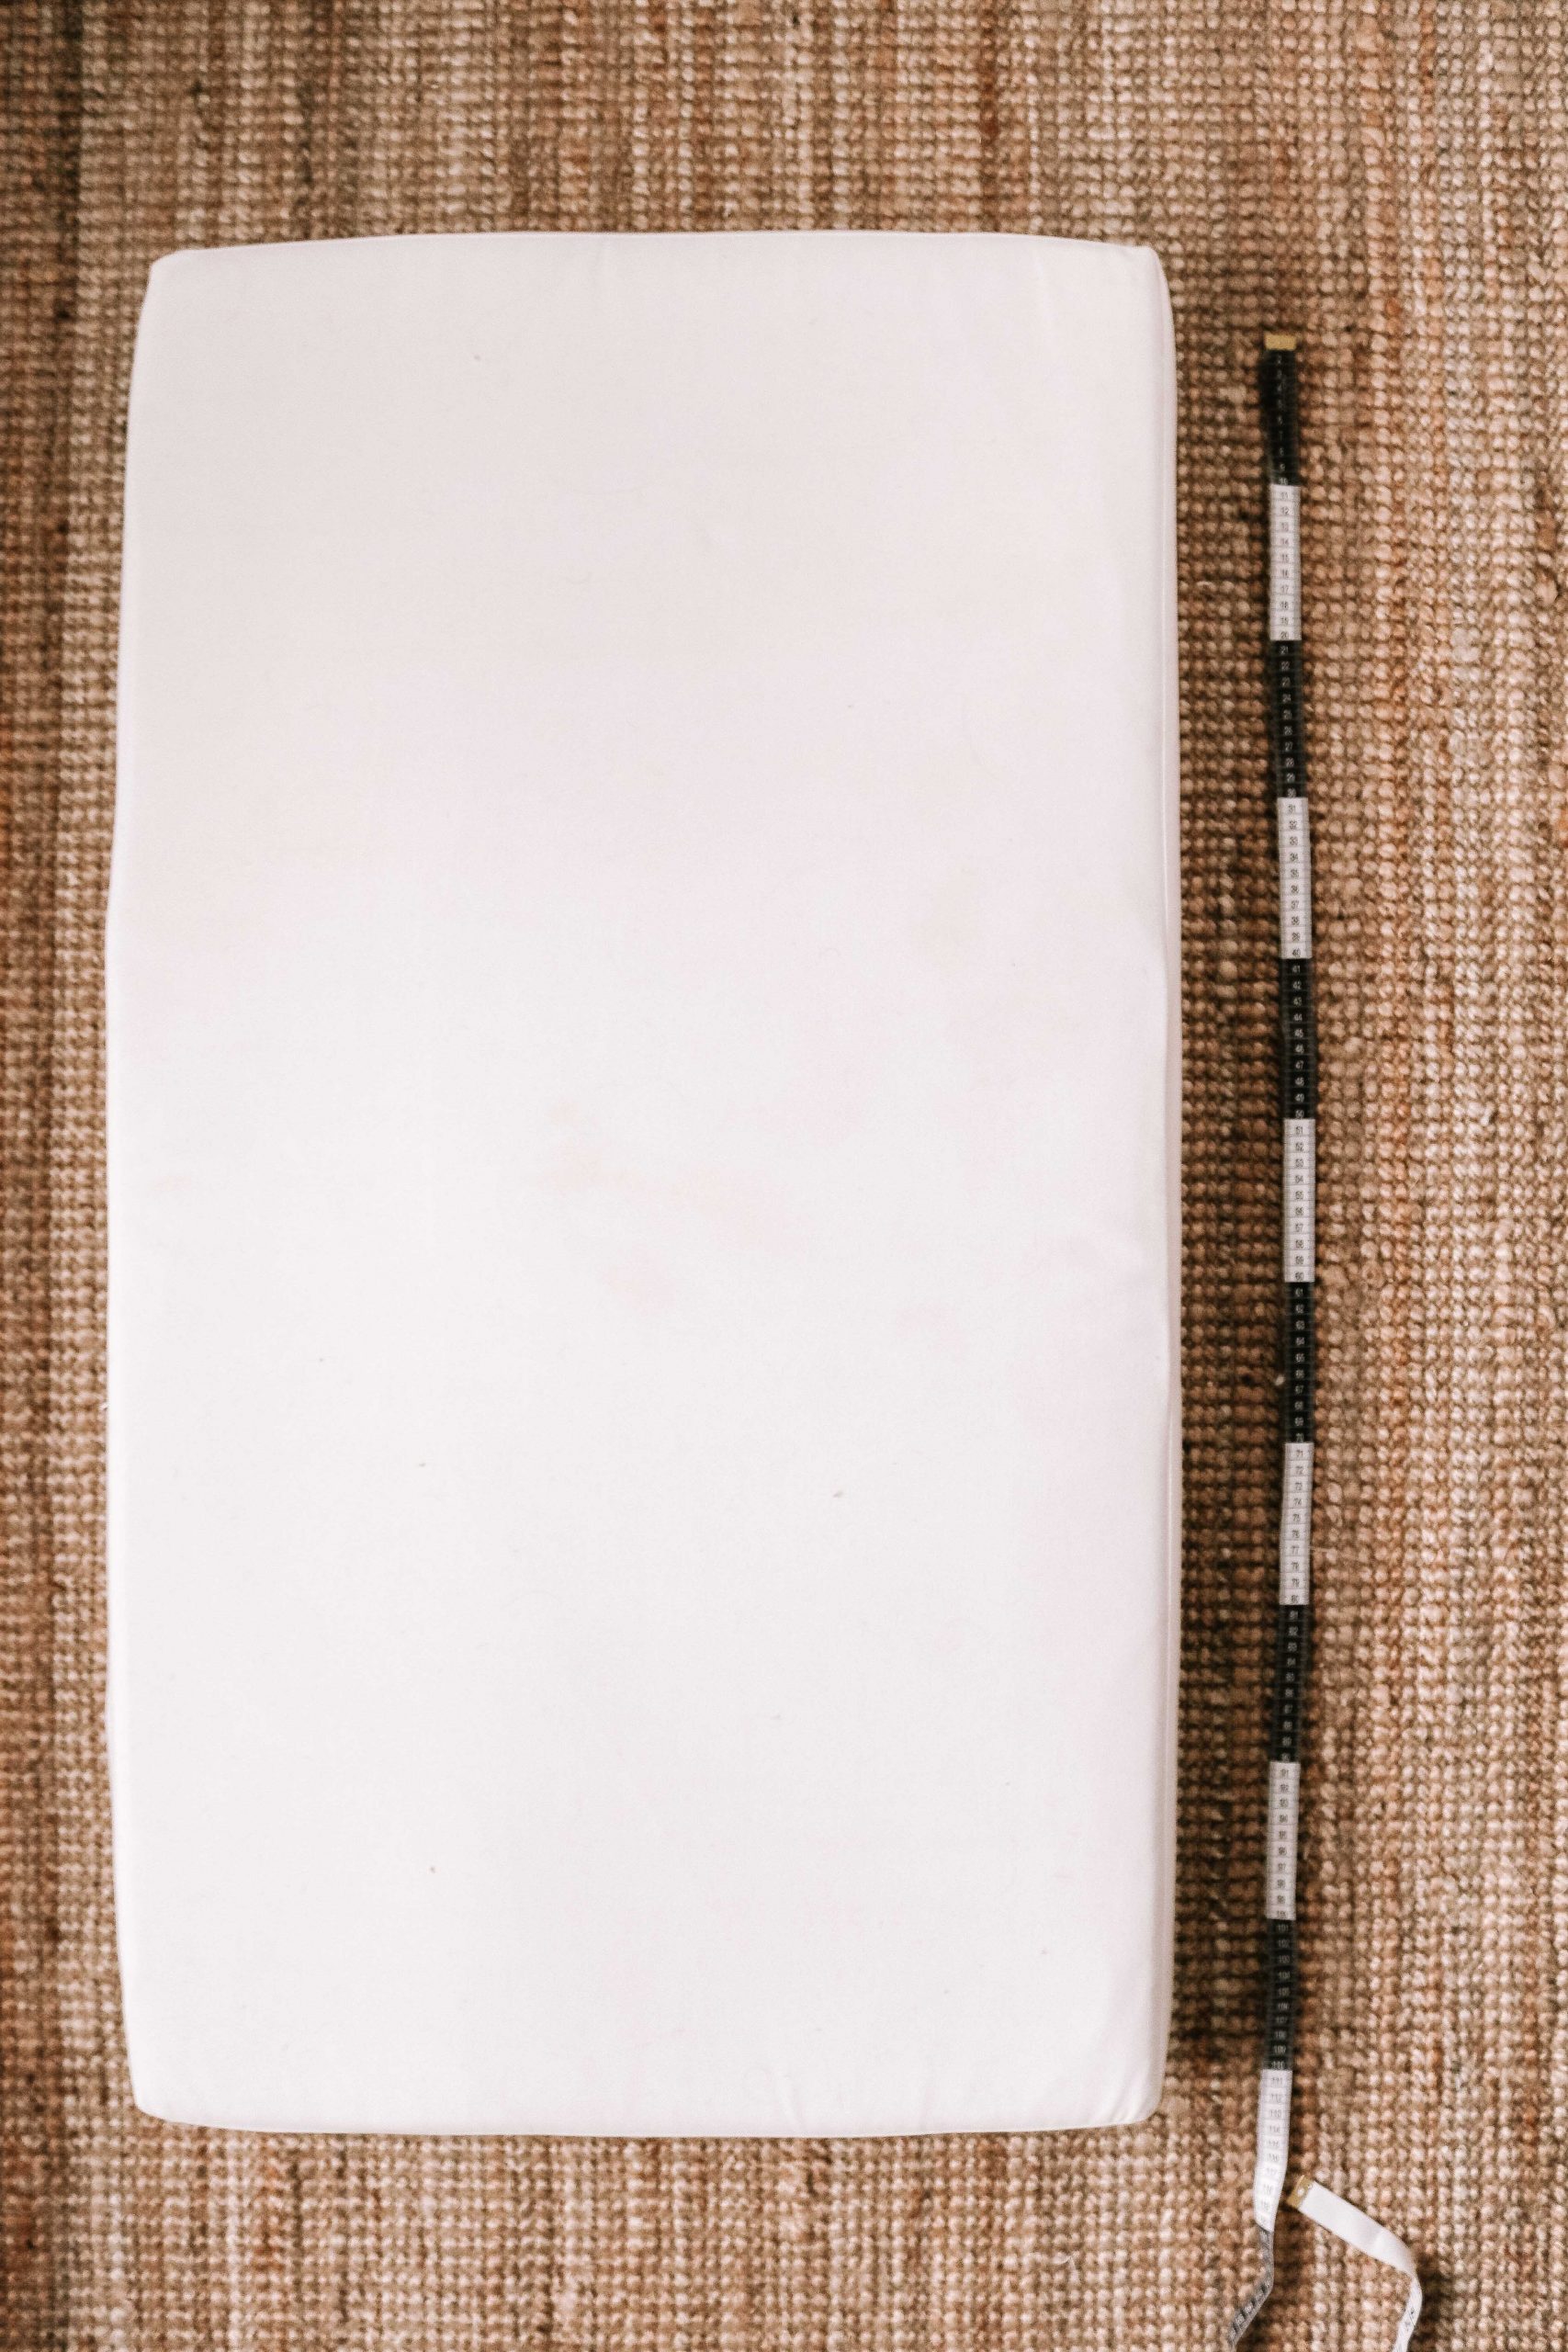
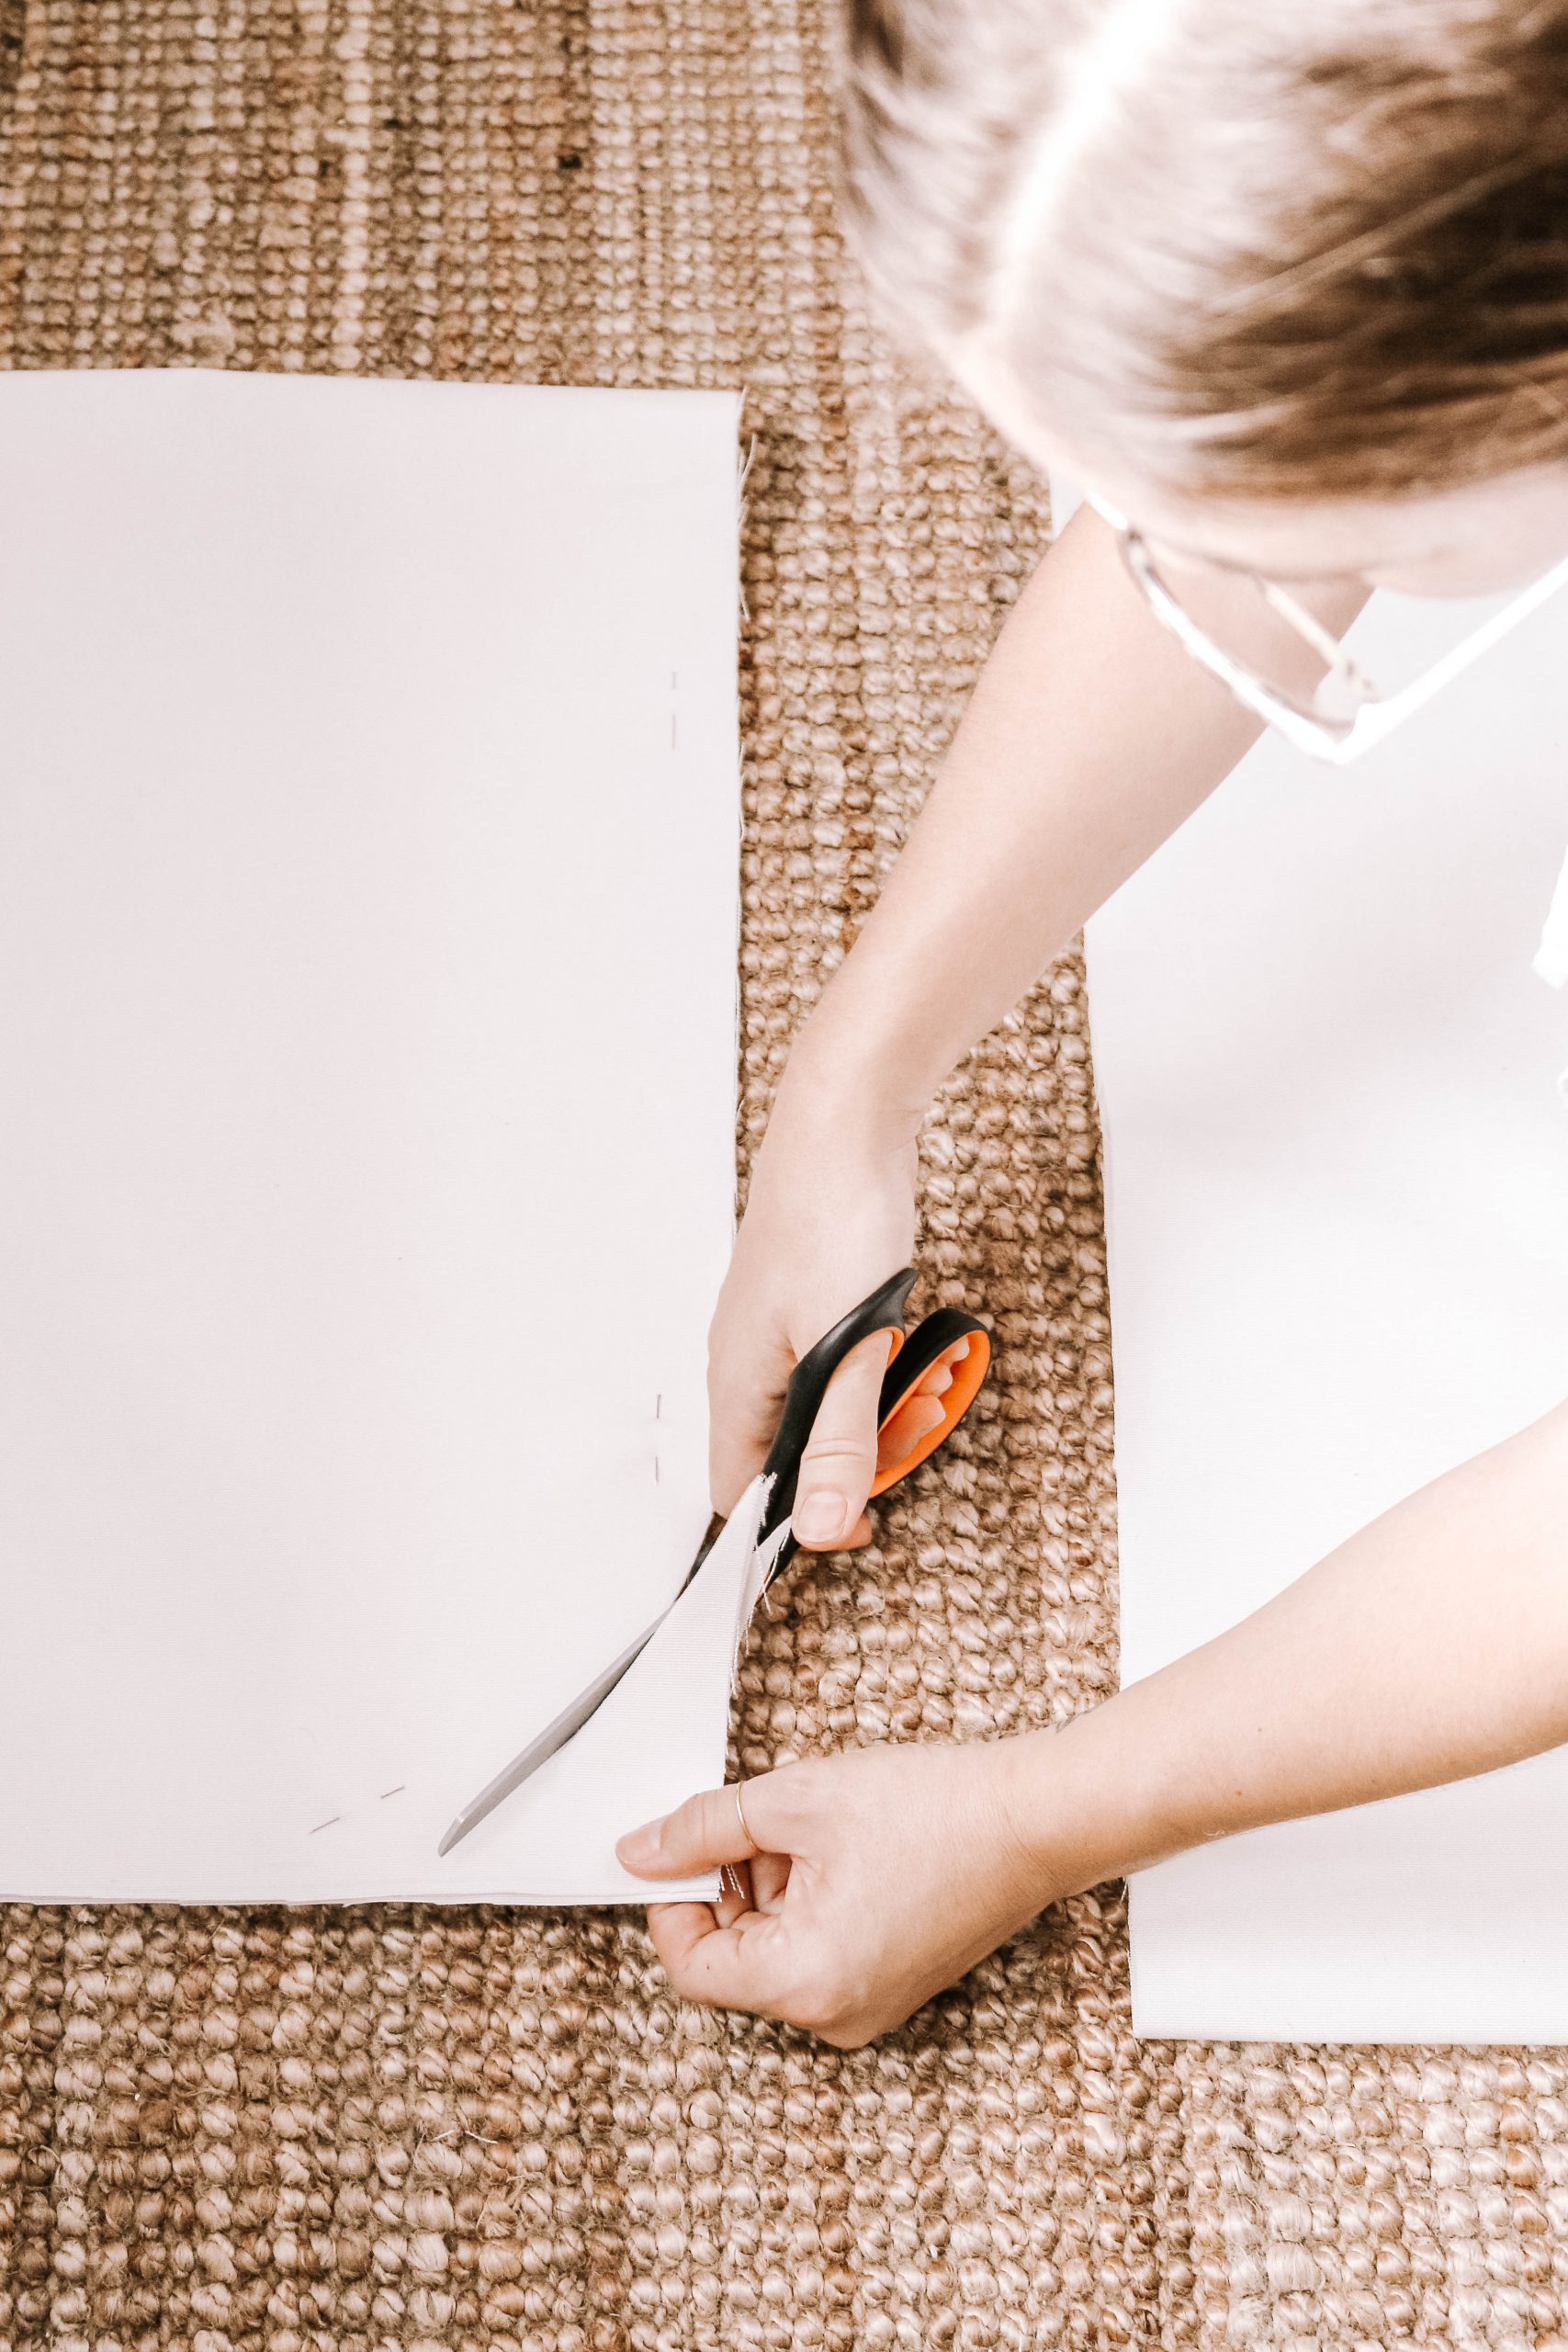
Cutting out your pattern is one of the key tasks for this project. If you are making them from scratch with no previous cushion to use as a template, you will need to measure your sofa to get the right measurements. For us, we had the old sofa cushions and needed to simply use those measurements to do it.
For each cushion you will need:
- two large rectangular pieces for the top and bottom panels
- an extra long rectangle that will span the two short sides and the front
- two shorter lengths for the back panel where the zipper will go.
- two long strips per cushion for the piping
If you have cushions that you are working from, and are simply recovering them, use the cushion covers as a base, making sure to add 1cm around each piece of fabric for seam allowance. If you are working from scratch, measure the sofa area to work out the size of the two large panels, and use the height of your foam to work out the size of the side panels.
To create the the zipped back panels, take the measurement of the cushion thickness (ours was 9cm) then halve the measurement. Add 5 cm to the width of one piece (so for us: 9/2=4.5 then +5cm=9.5cm), and 3cm to the width of the other. This includes your seam allowance. The length of this piece is simply the length of the cushion plus 2cm total (1 in) seam allowance. The reason we add more width to these pieces is so that the zipper will be covered in the final product.
How To Sew Piped Sofa Cushions
1
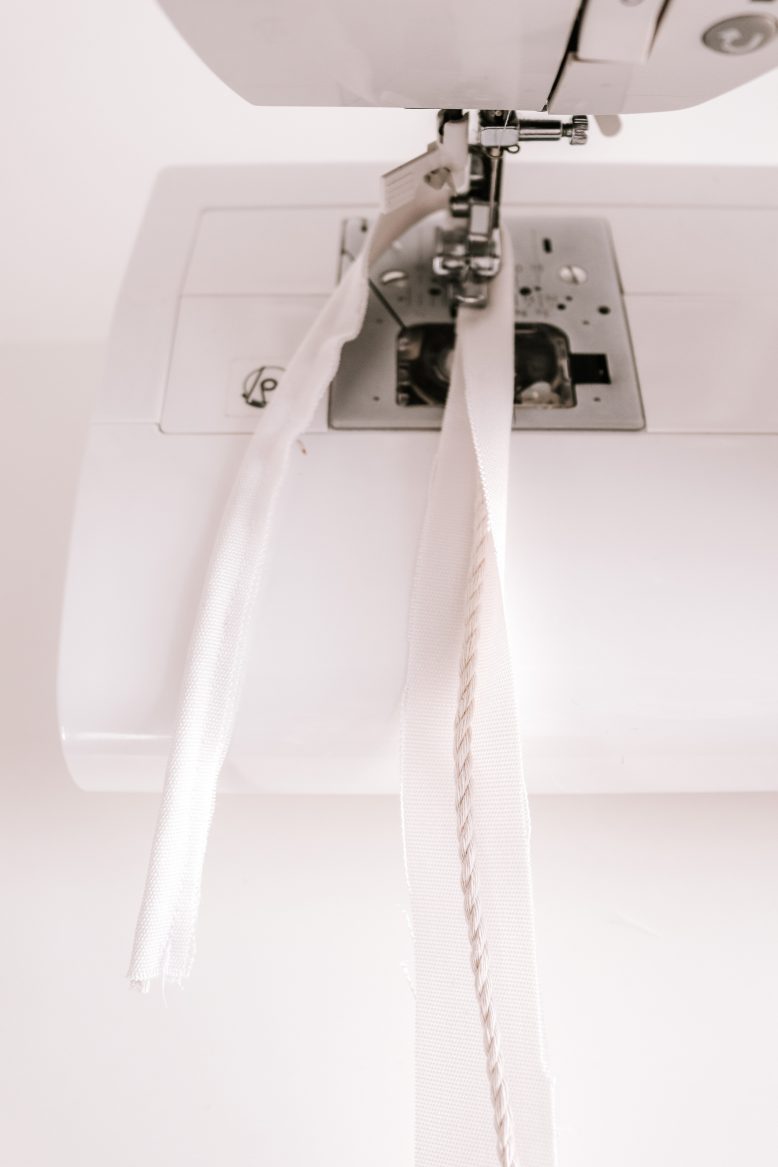
Start by covering your piping. Take your long fabric strips and fold them in half down the length of the strip, tucking the cord into the fold. Using a zipper foot on your sewing machine and a straight stitch, sew as close to the cord as you can. This doesn’t have to be an ultra tight fit, but if the cord is loose it will result in the finished result of the piping being misshapen and uneven. Repeat this process with both piping lengths for each cushion.
2
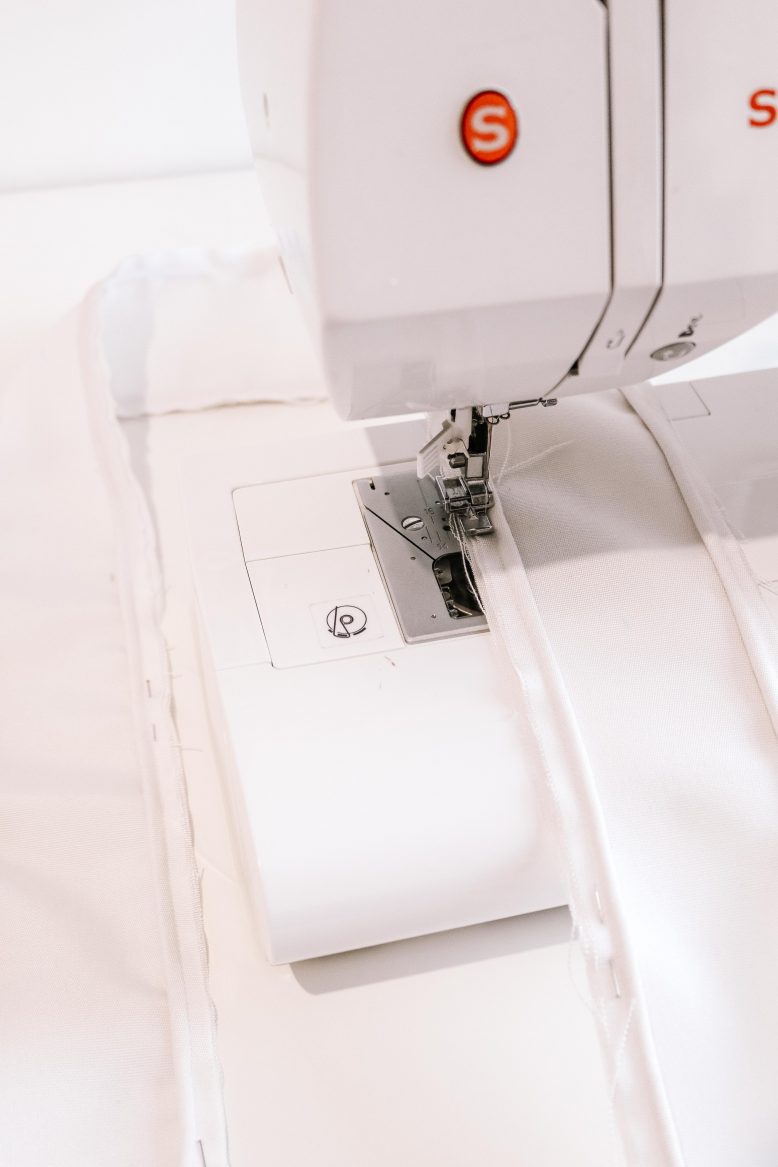
Taking the long side panels for each cushion, we’re going to secure the piping in place. With the right side of the side panels facing up, join the piping length along the long edge matching up the raw side of each piece.Still using the zipper foot on your machine, sew a straight stitch along the outer edge of the cord. The purpose of this step is to secure the piping, although it helps to try and sew over the line you created in step 2 for a tidy finish.
3
Start to attach this side piece to your top and bottom panels. Matching up the raw edges of the side panel and your top/bottom panel around the perimeter. With your zipper foot still attached to your machine, sew around the outside perimeter. Feel for your piping as you go and ensure that you sew as close to it’s outer edge as possible.
When you reach the corners….
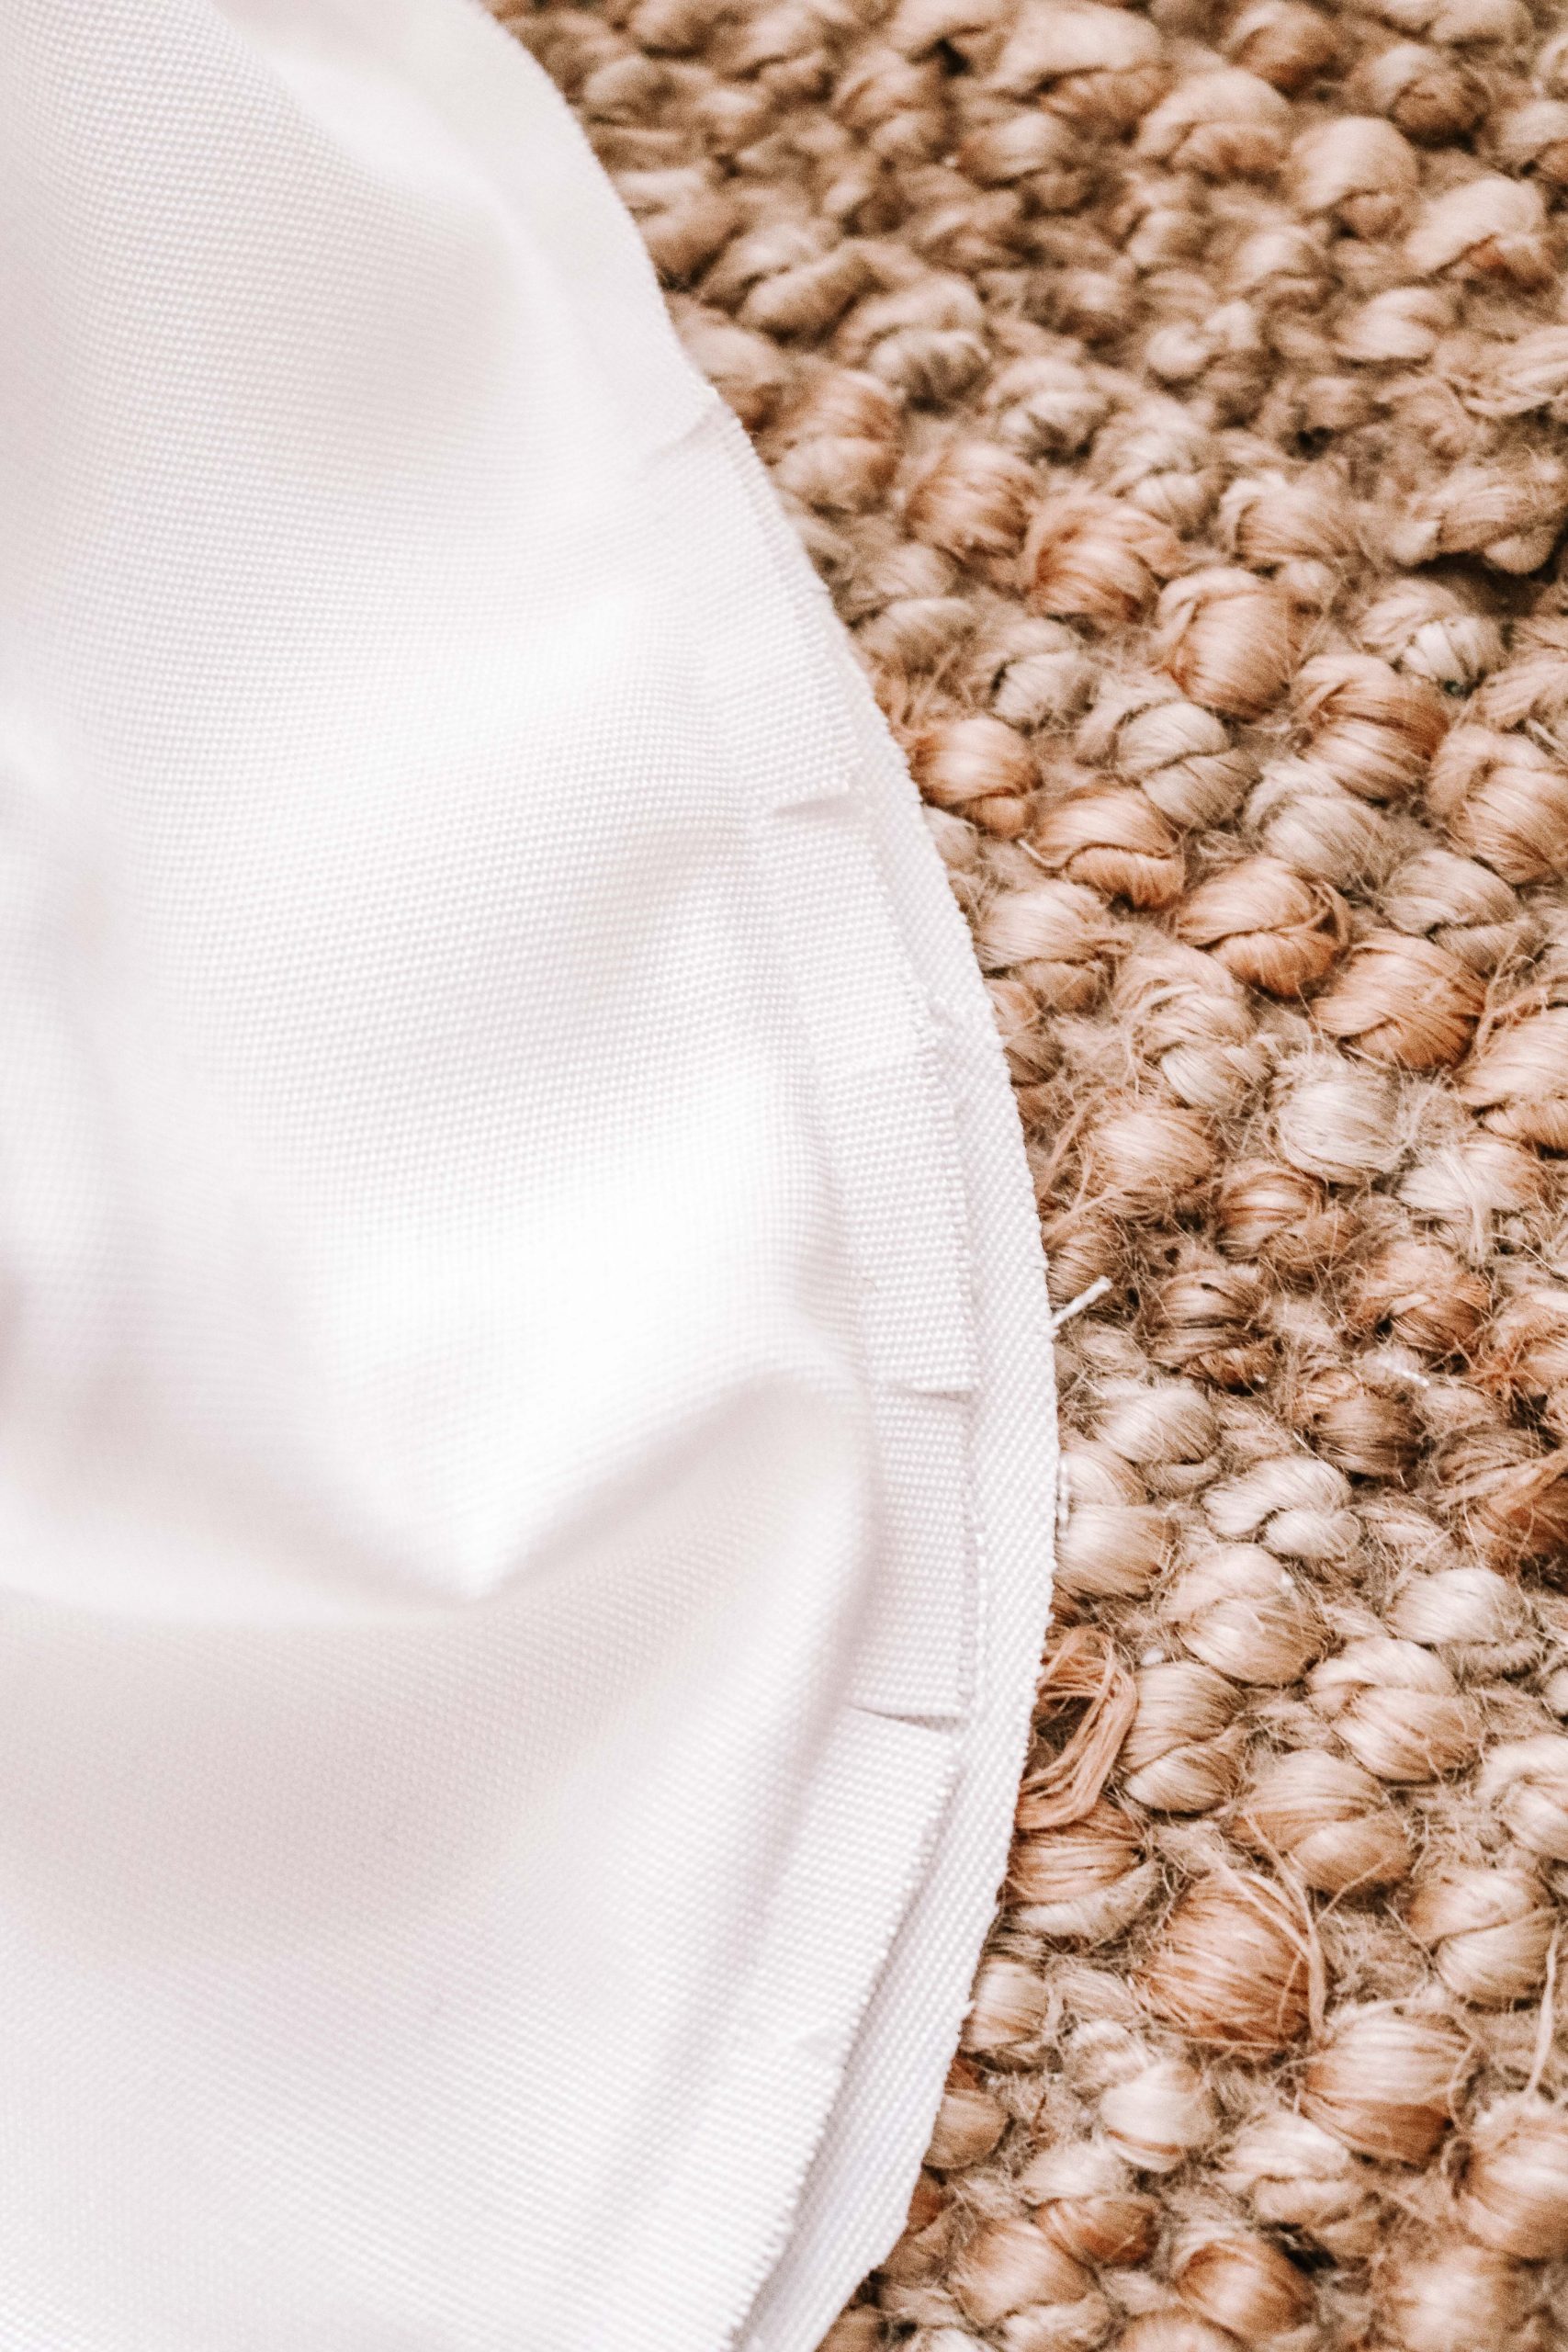
- For rounded corners make 1cm (0.5 in) incisions around the perimeter of the curves so that the fabric doesn’t pull.
- For squared off corners simply make a diagonal cut 1cm (0.5 in) in from the corner for the same reason.
4
Next we’re going to prepare the back panel with the zipper. Take your thinner strip, fold back 2cm from one of the long sides and iron flat. With the folded side facing up, lay your zipper face down on top. Align the outer edge of the zipper with the folded edge & make sure that the zipper is located in the centre of this strip. Pin the zipper in place, then sew along the zipper edge towards the side with the folded edge.
5
Taking your second, thicker back panel this time fold back 4cm and iron flat. Place this down with the folded side facing upwards, then lay your zipper face-down on top. Pin the zipper down, then sew this side to secure.
6
To close the ends of this strip on either side of the zipper, with the back of the zipper facing up make a small cut in the fabric at the end of the zipper that allows you to unfold the fabric.
7
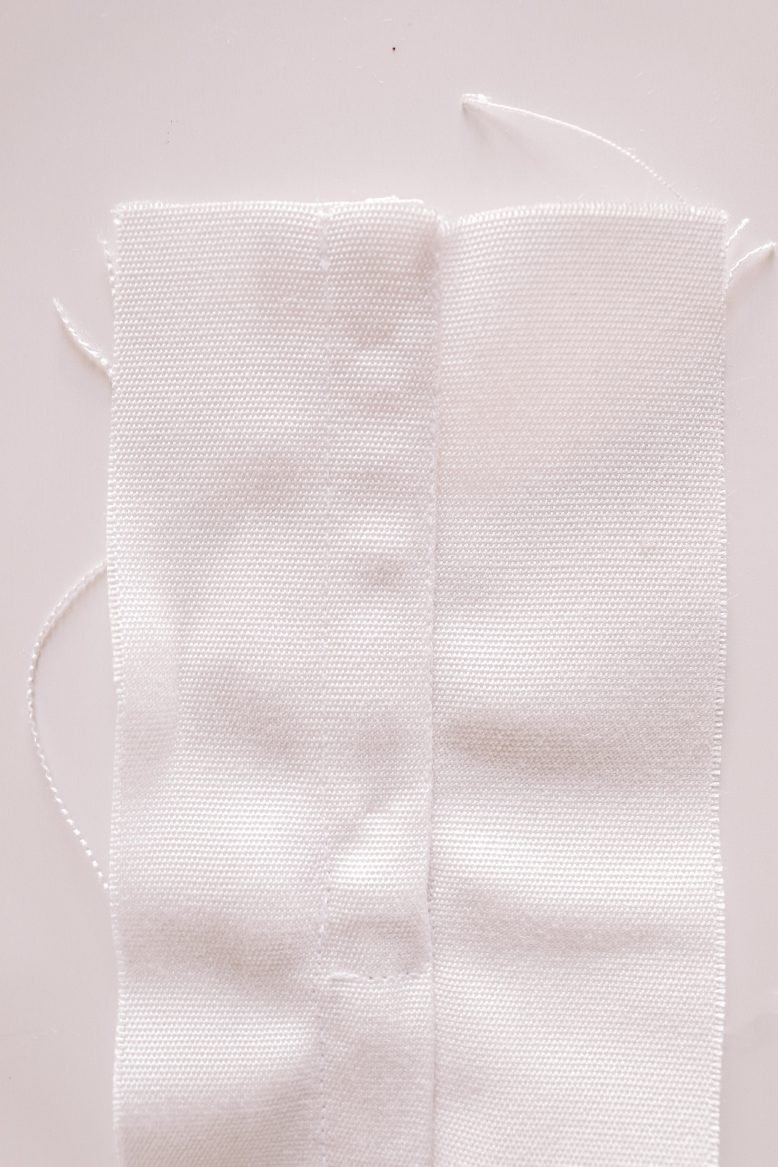
Pin this down then sew two lines, extending the sewn lines you created in the previous step on either side of the zipper. If you turn over, you should have a neat finish as shown here.
8
Finally, you’re ready to assemble everything together. With your larger piece turned inside out, and the underside of your zipper piece also facing the wrong way out, start to pin these pieces together around the open edge. Match the raw edges together as you go and before you’re ready to sew open the zipper just a little so that it’s easy to turn the cover the right way out when you’re done.
9
Change your sewing machine foot back to a regular foot then sew a straight stitch to close up the remaining 4 open edges. Turn the cover the right way out and you’re ready to put your cushion inners in!


