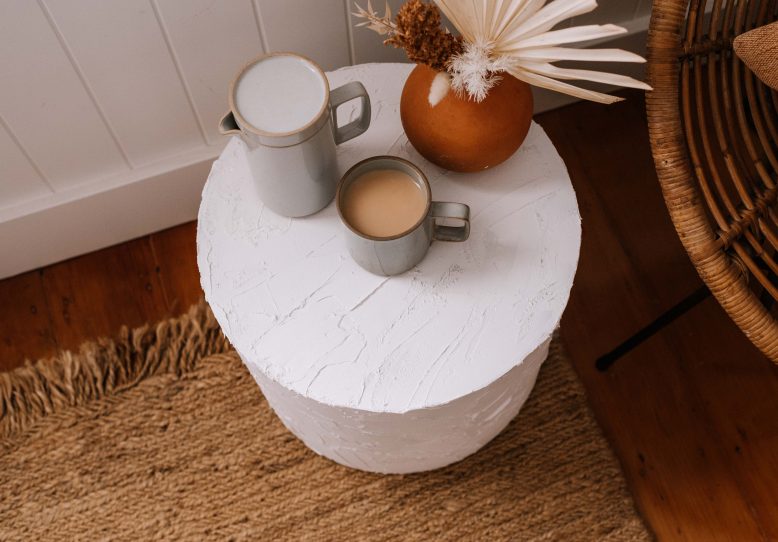
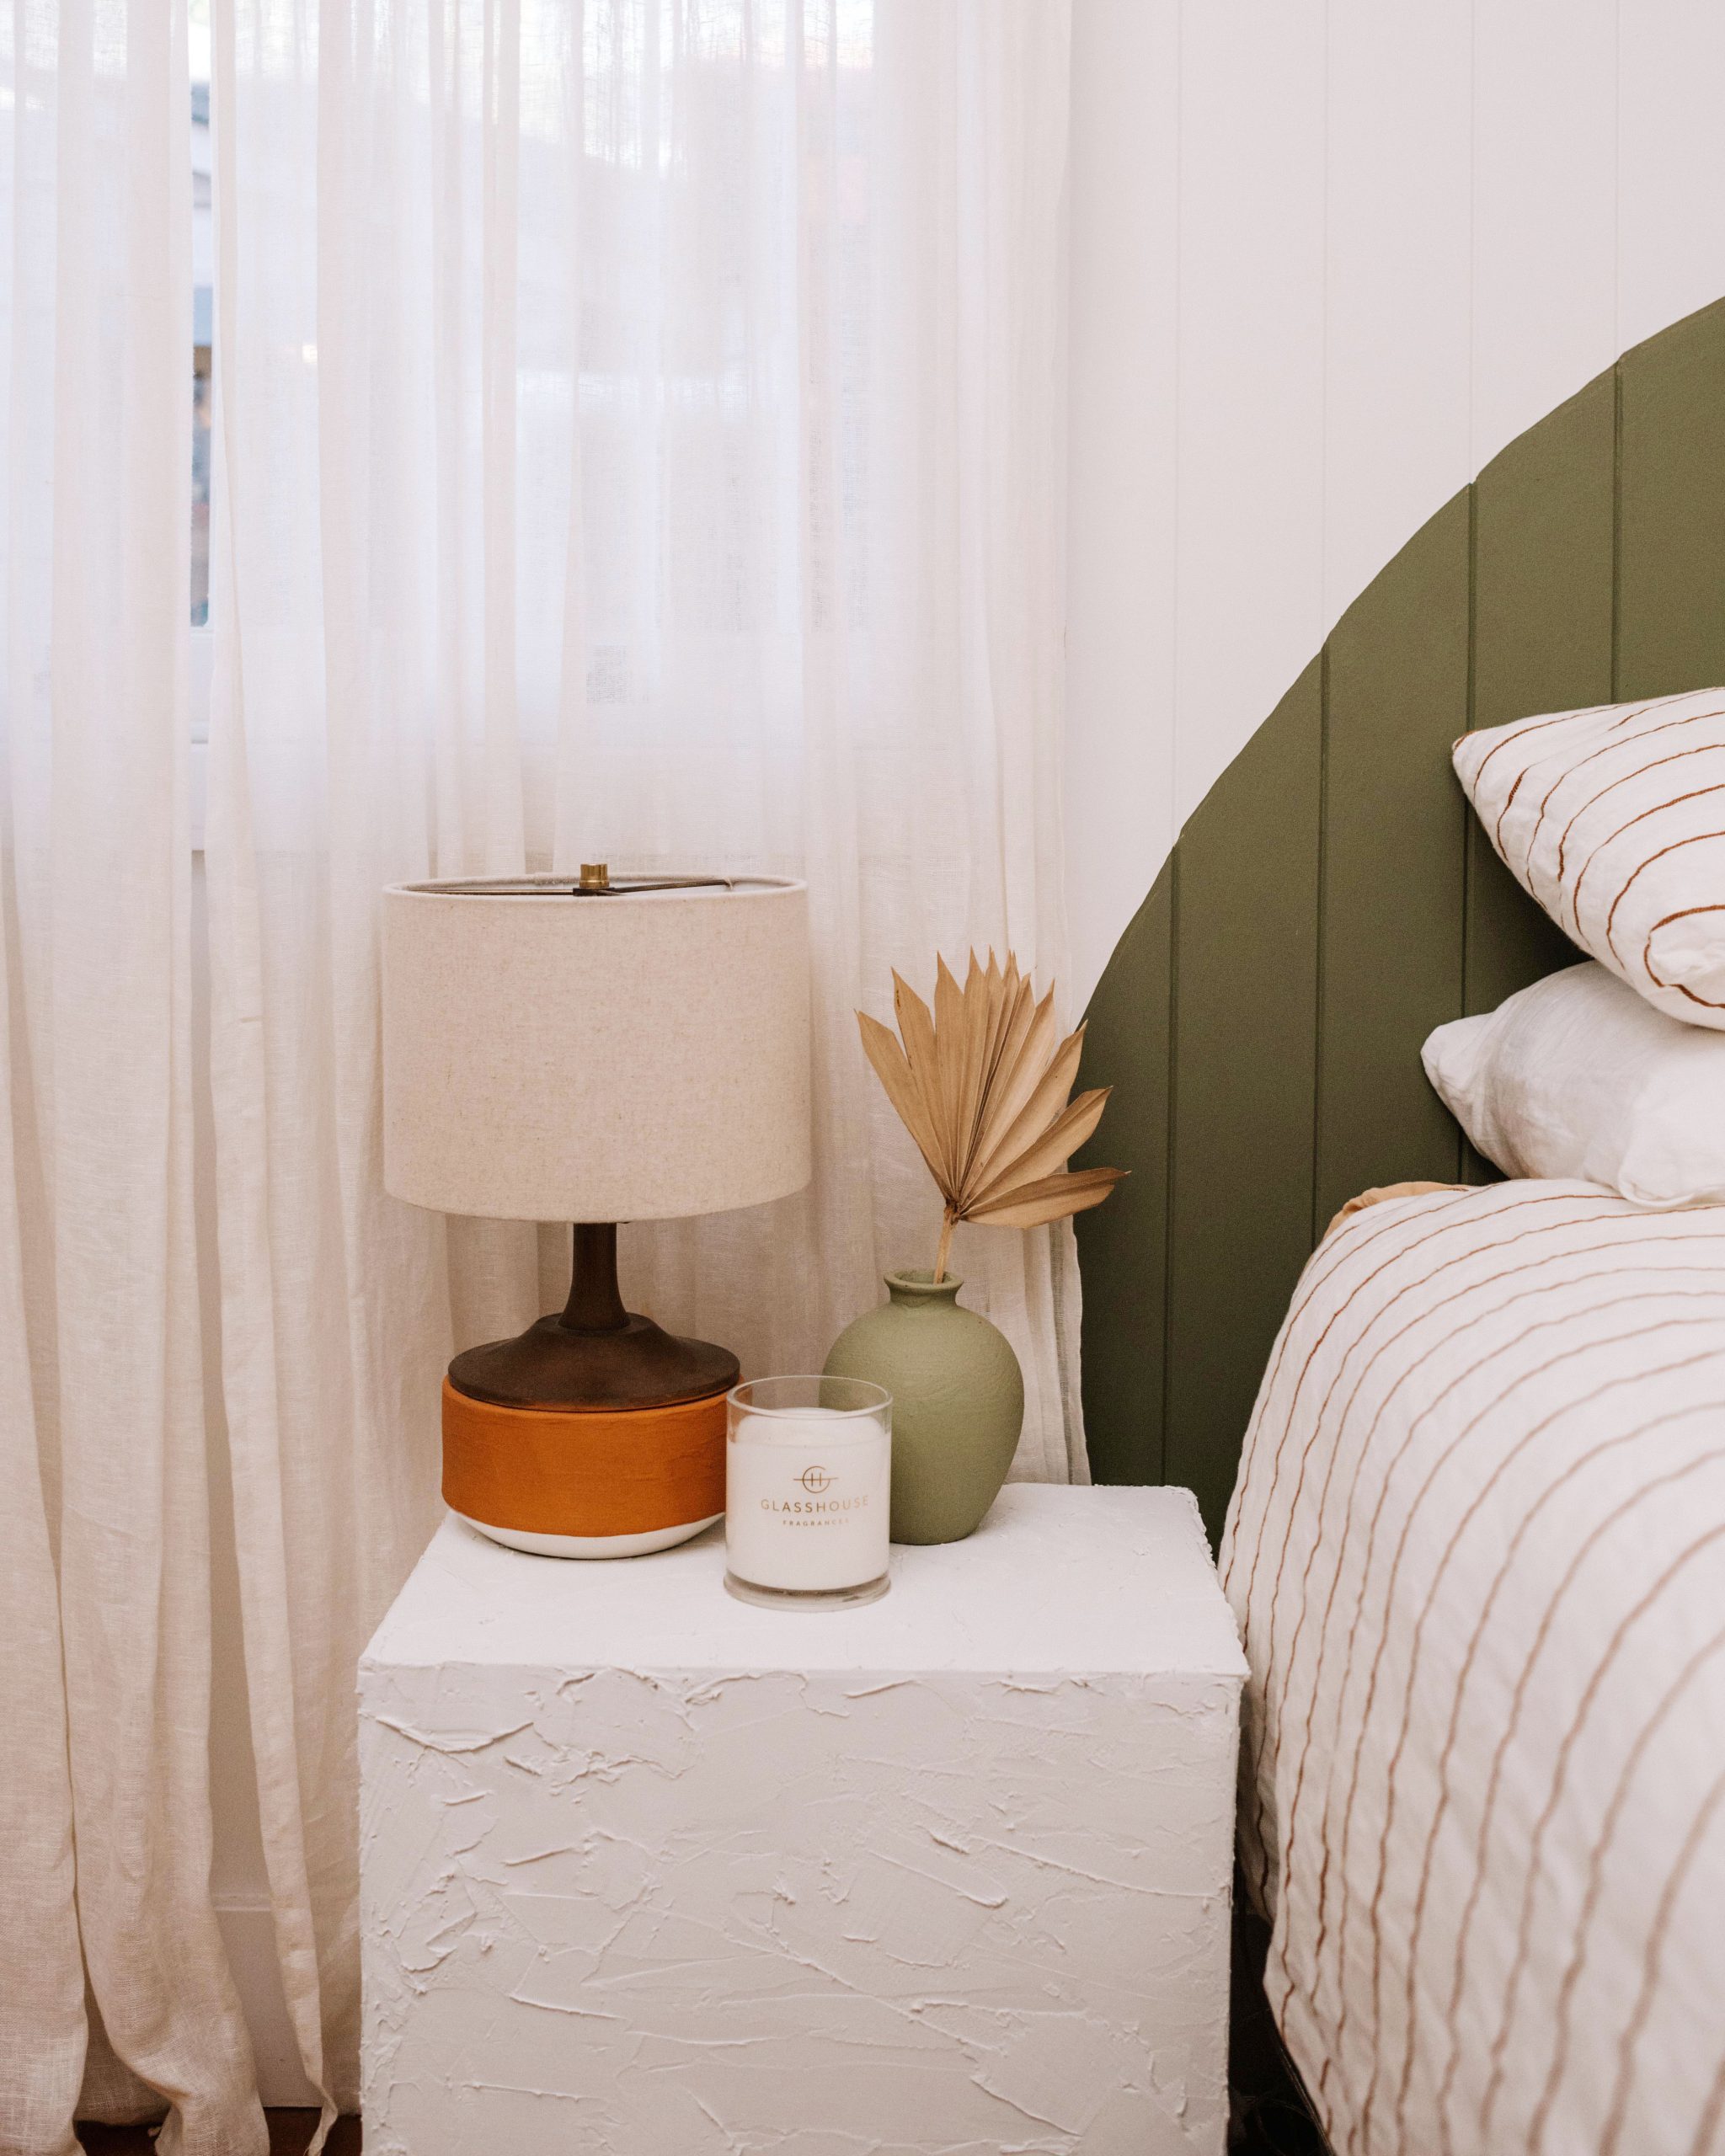
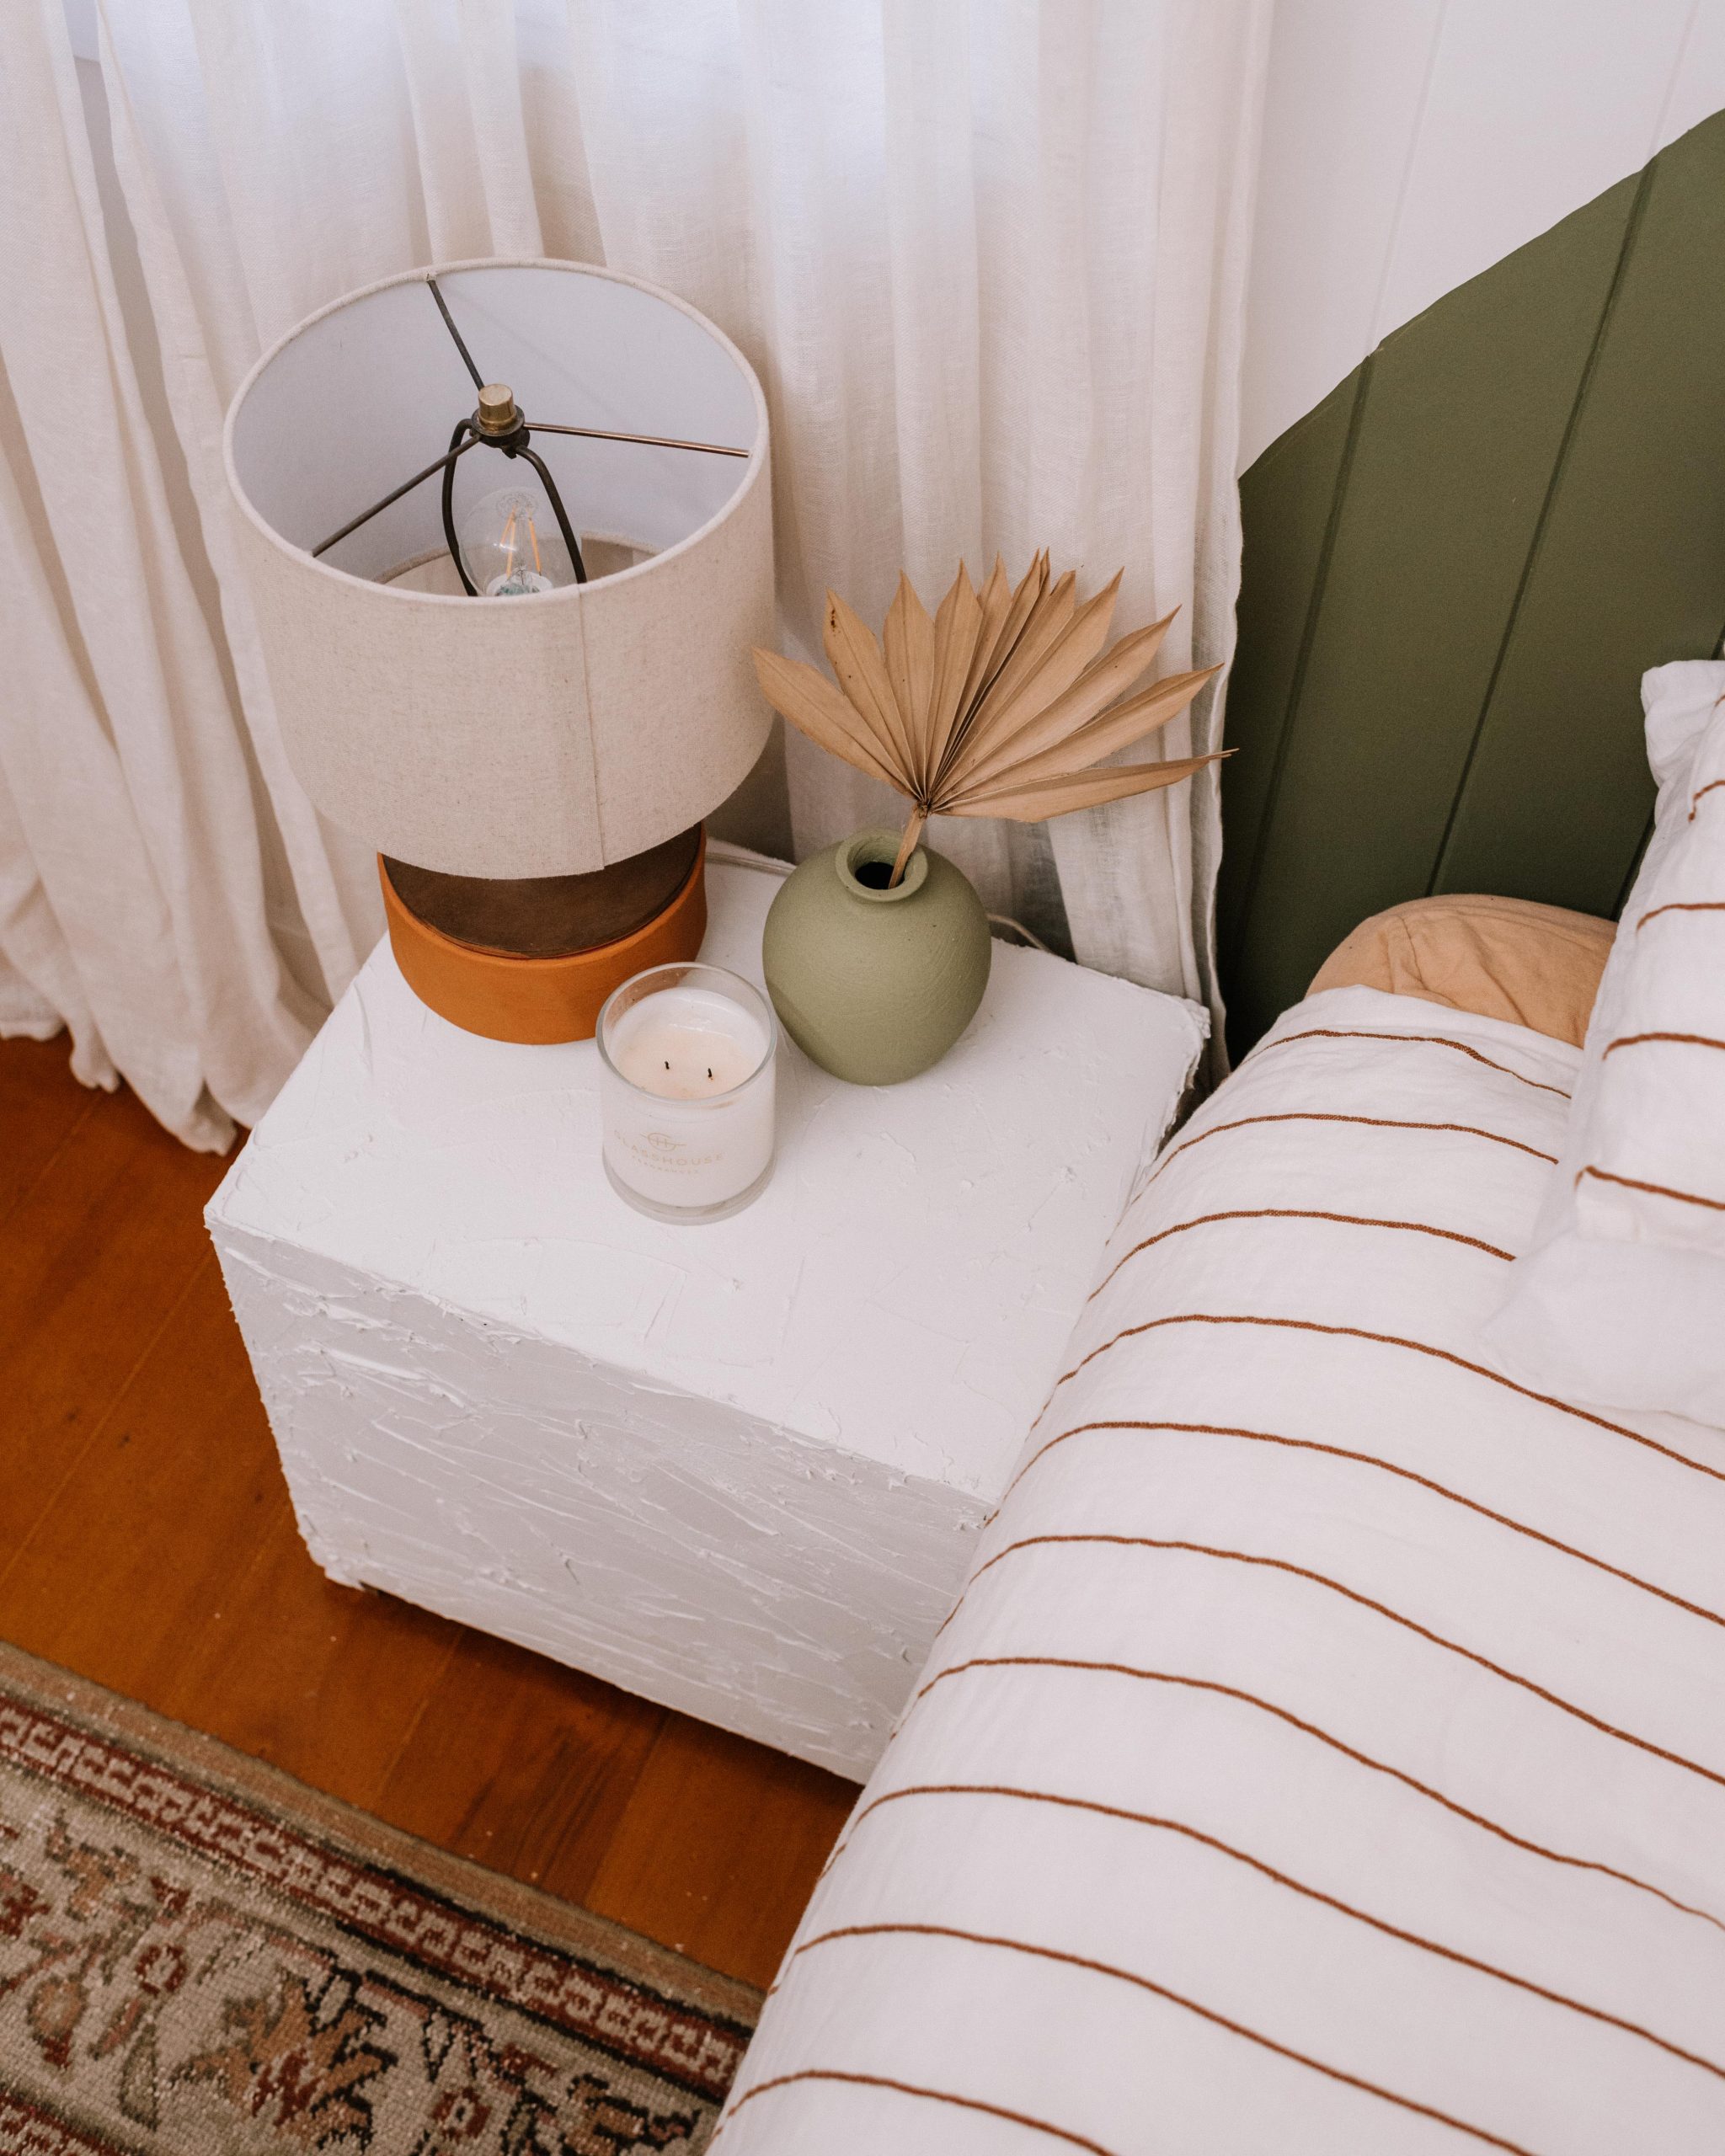
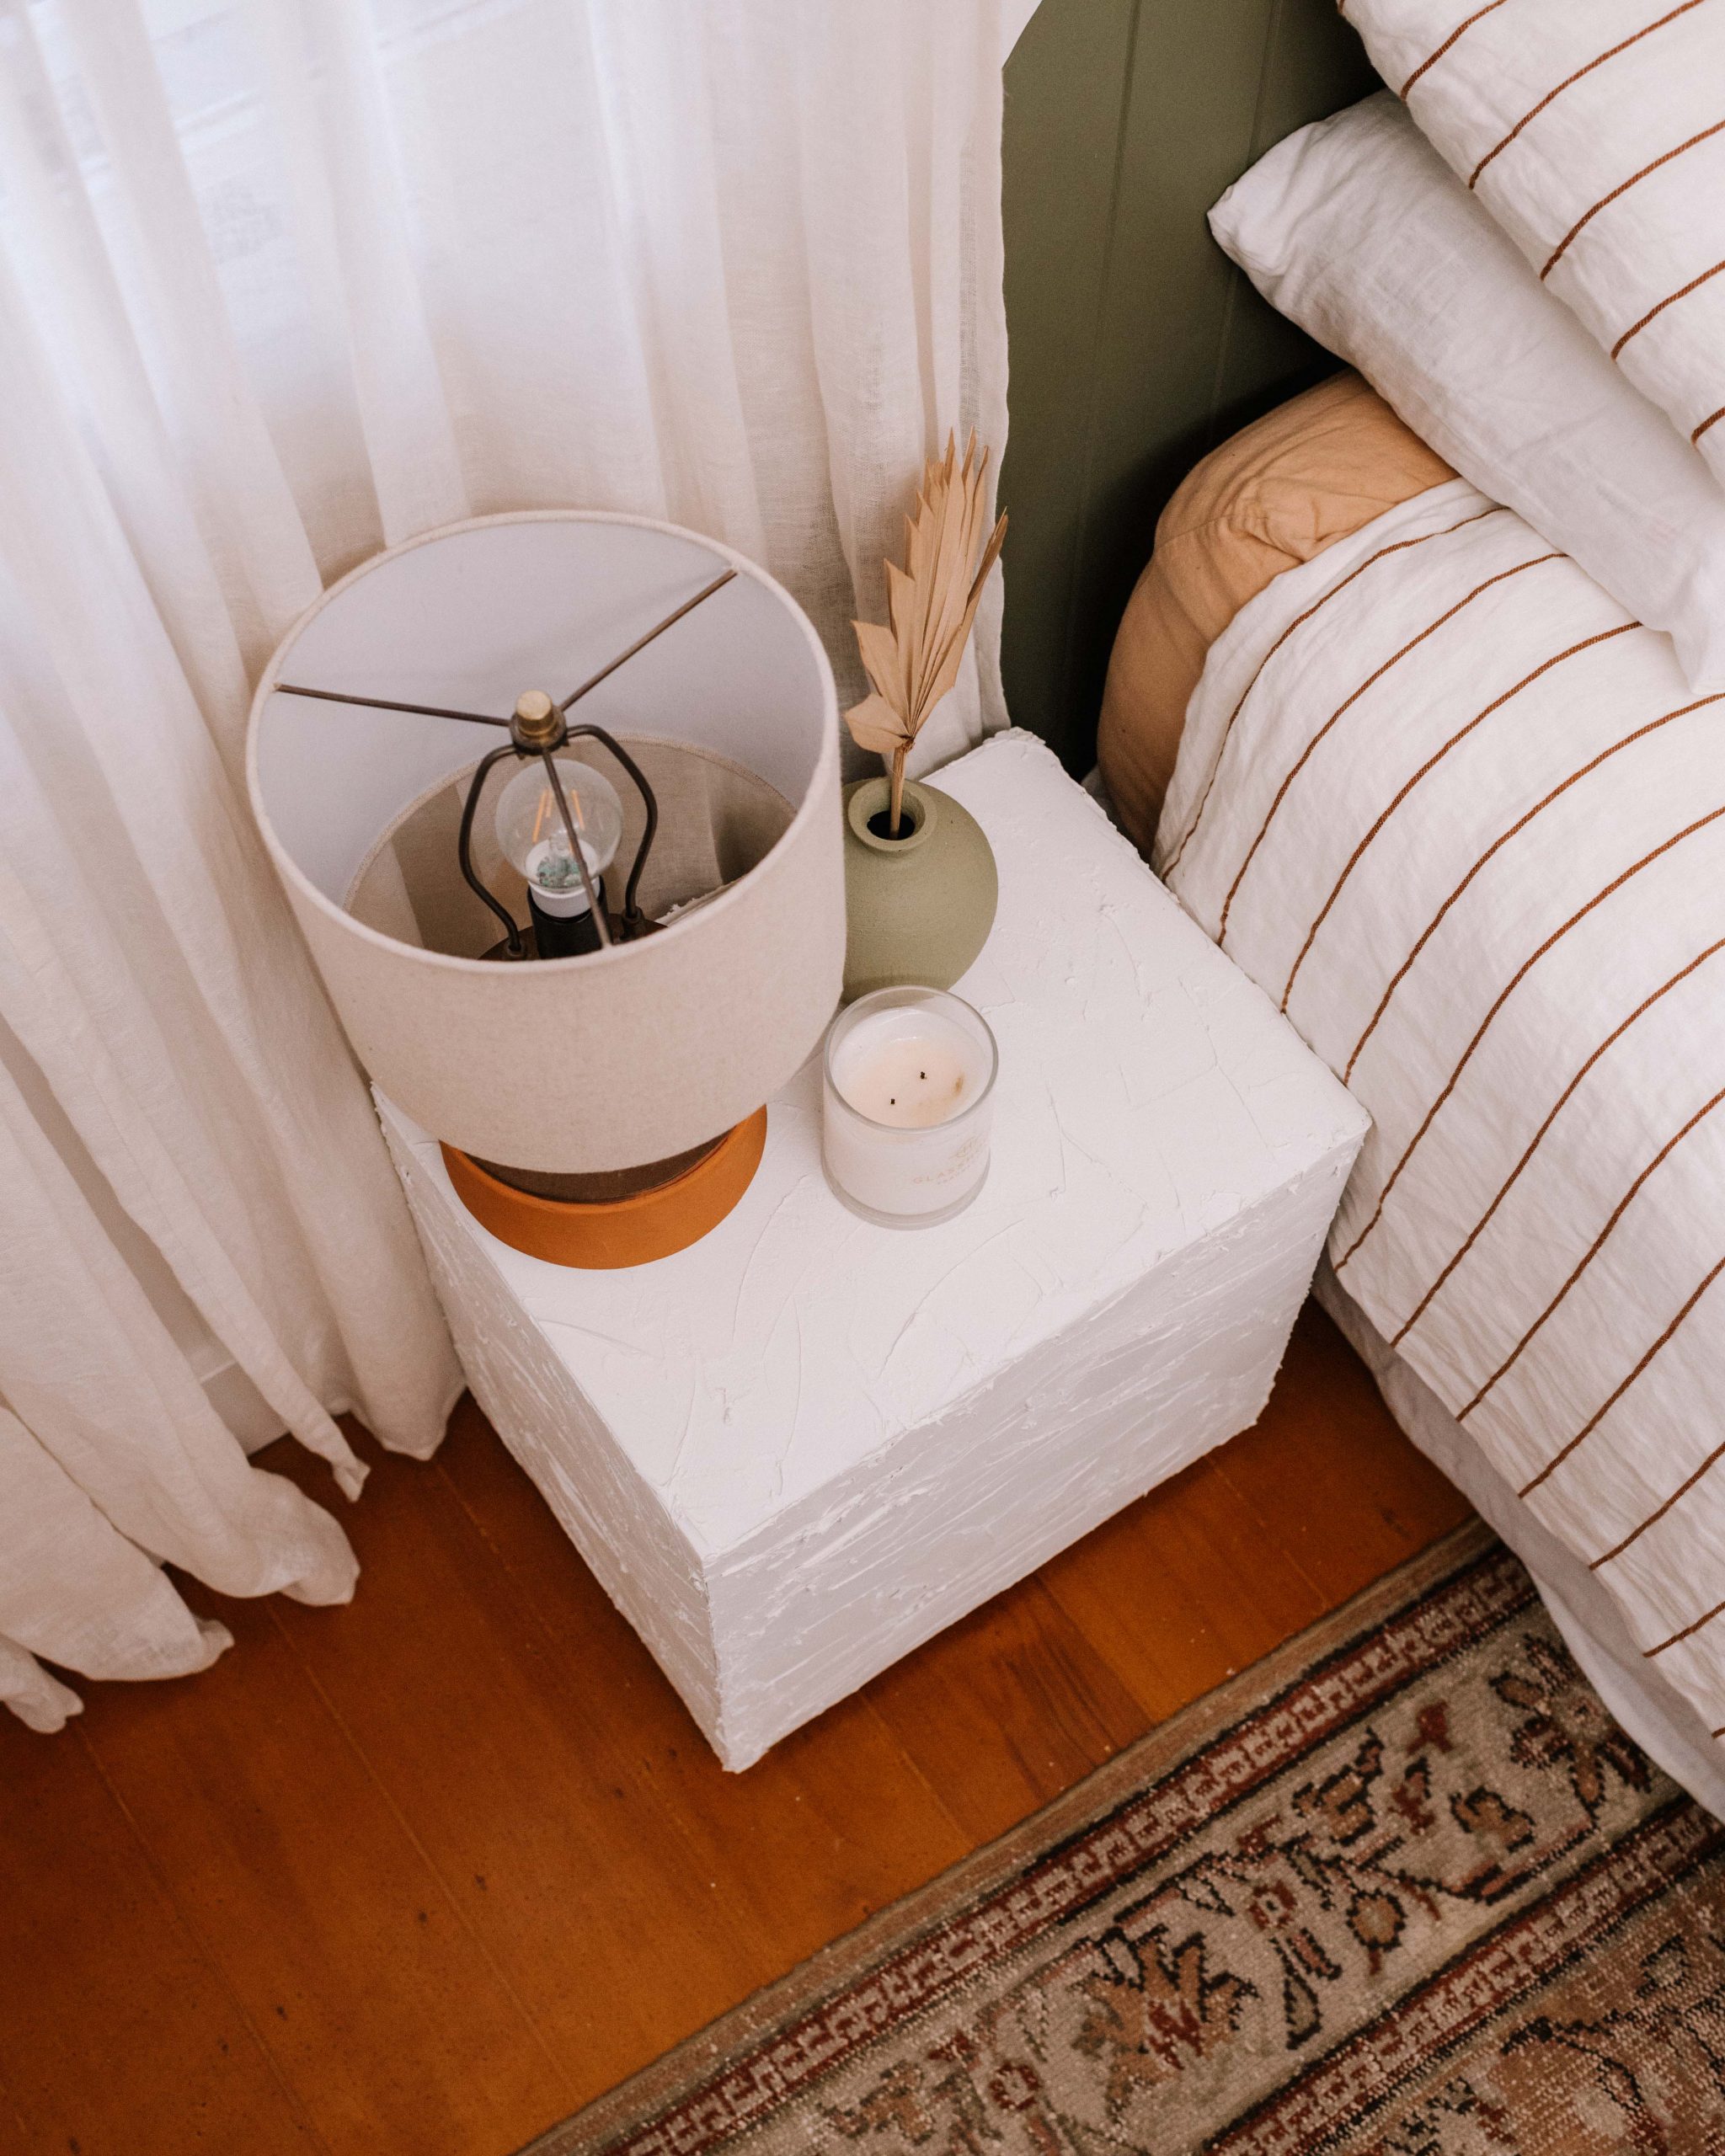
I am so inspired by all things rendered and plastered at the moment, I love the minimal and raw look it creates in a space. Recently, I had a go at transforming a few simple pieces into plastered beauties!
I’m honestly always dreaming of the next thing I can make, and a rendered look has been on my mind for a while! I bought a few things to make this agess ago, but never got around to it. A recent feature of amazing rendered pieces in a magazine inspired me to have a go. It turned out to be SO easy and very worth doing.
Materials
- Selley’s White For Life Grout
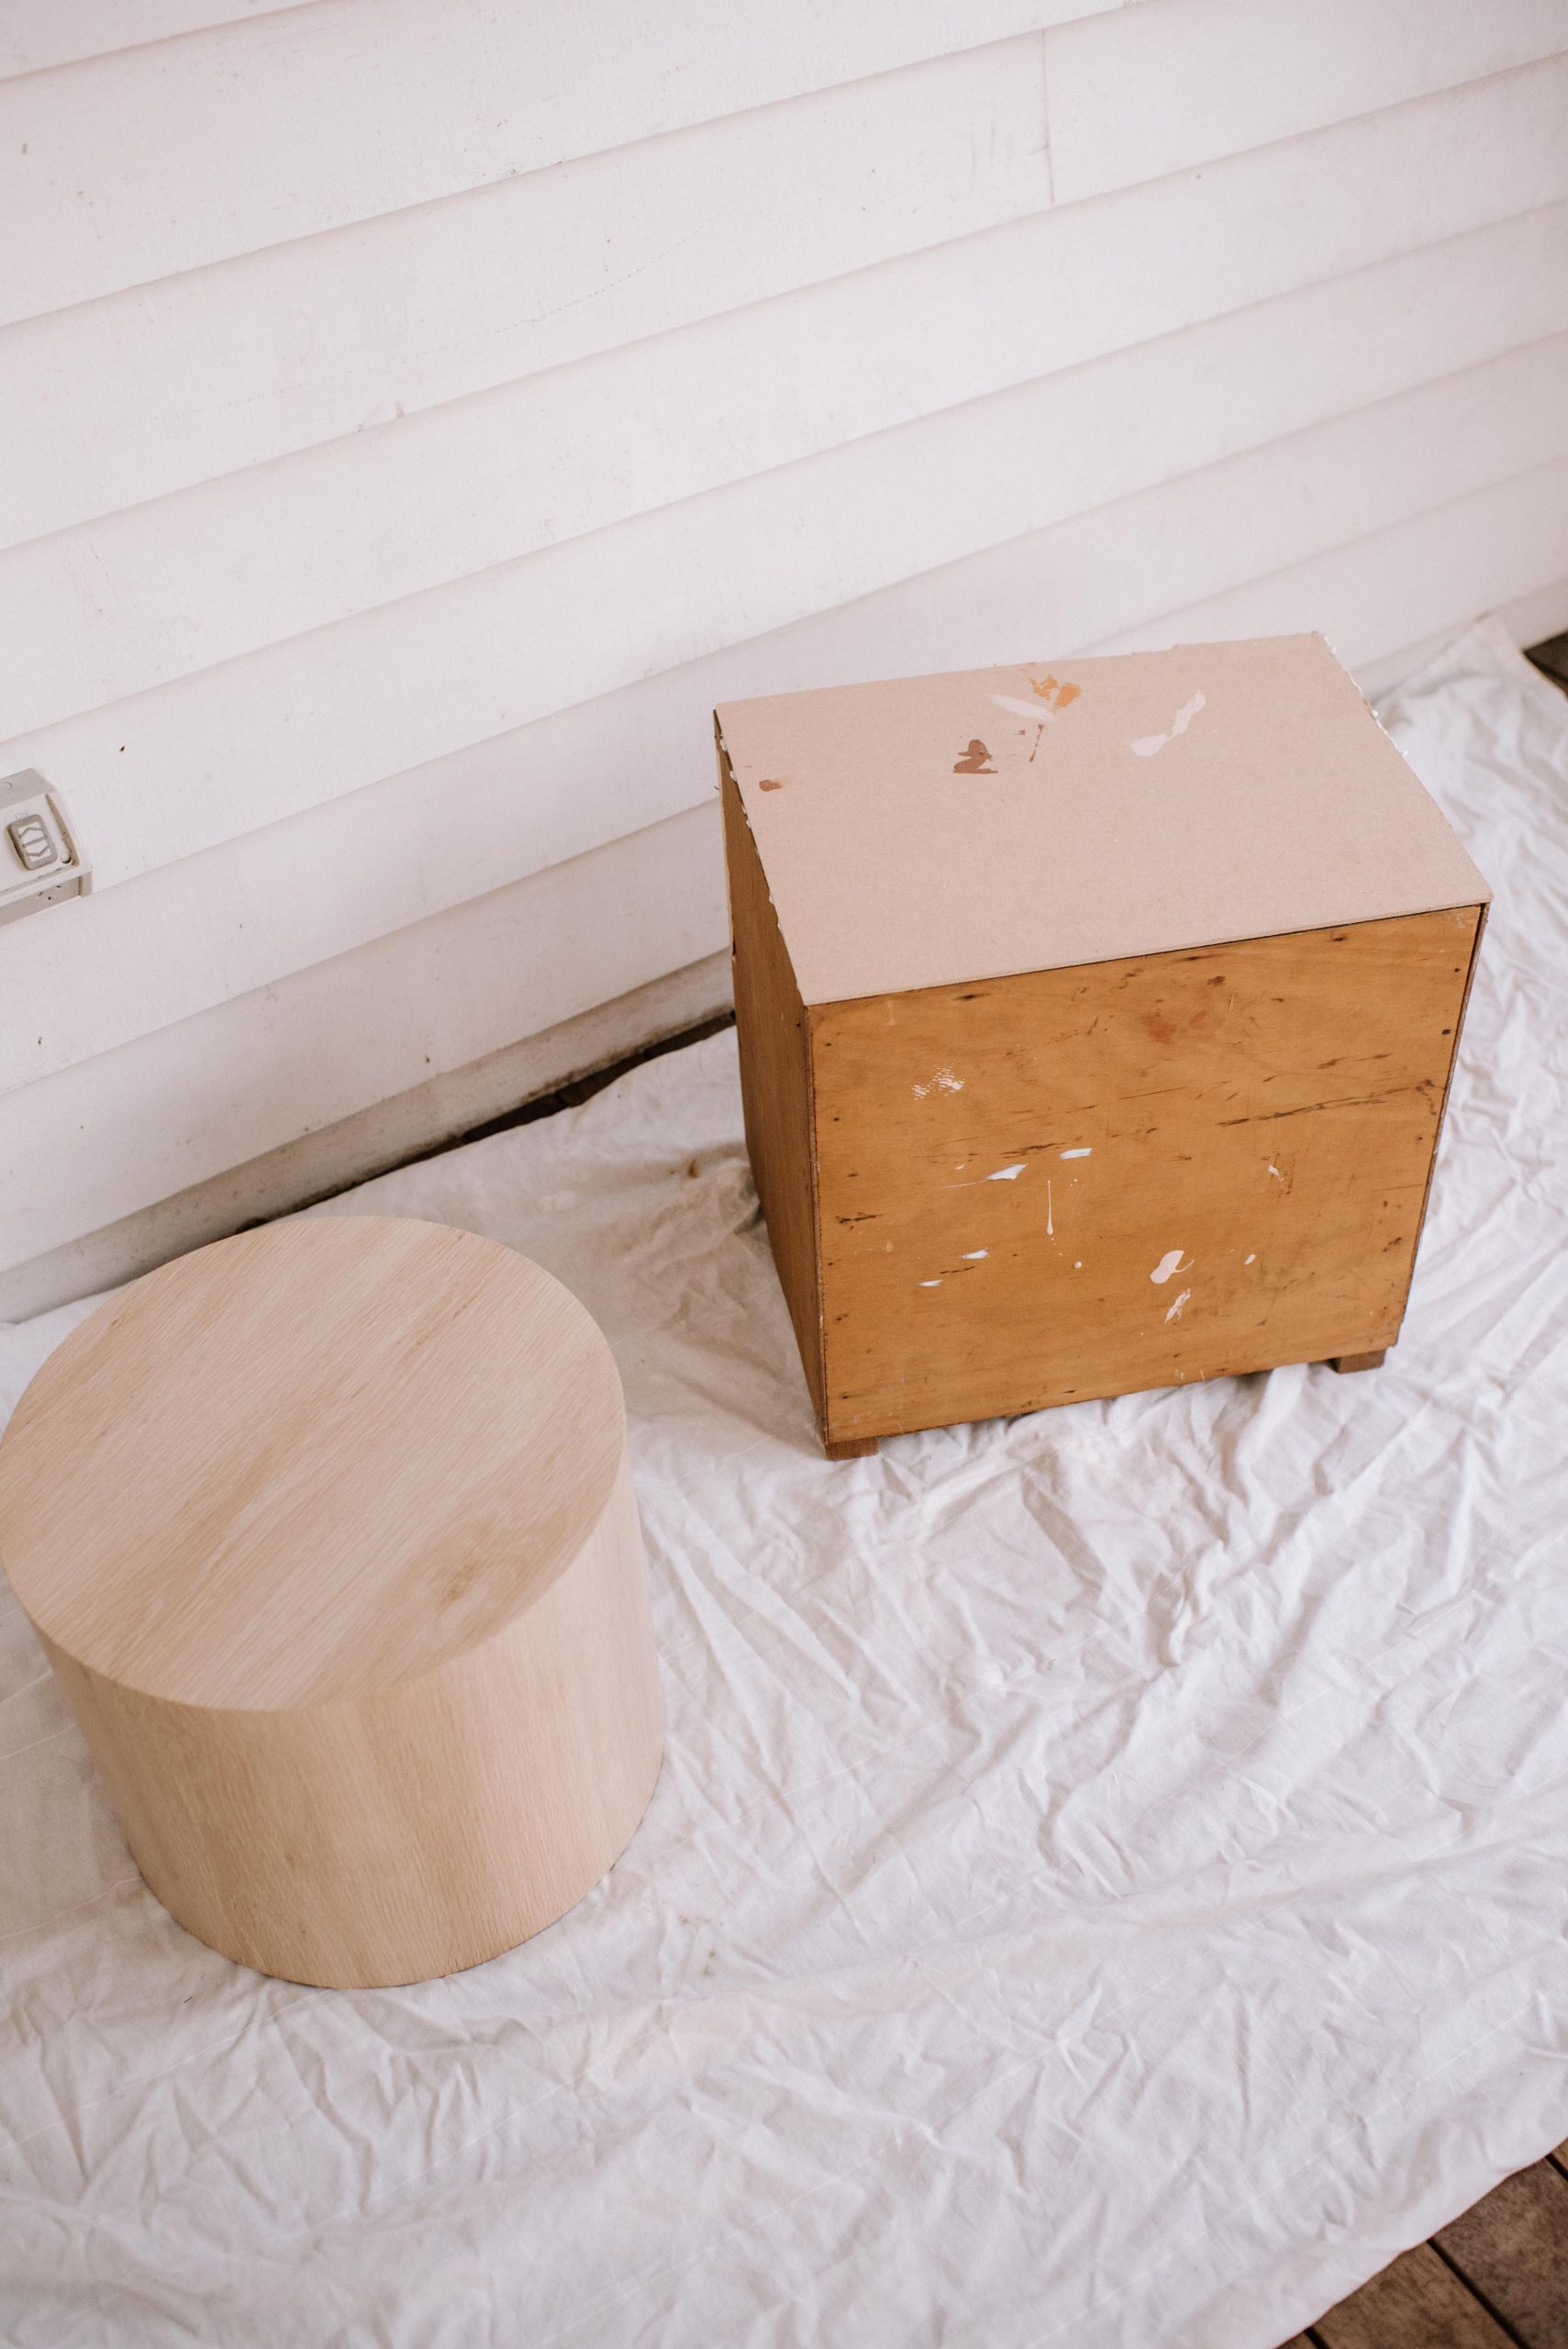
- Wooden box
- Veneer cylinder side table (this one is from Kmart)
- Drop sheet
- A small spatula/applicator
- Matte sealant spray (optional)
You can use this technique on any side table or box that you have, it works on all surfaces!
How to
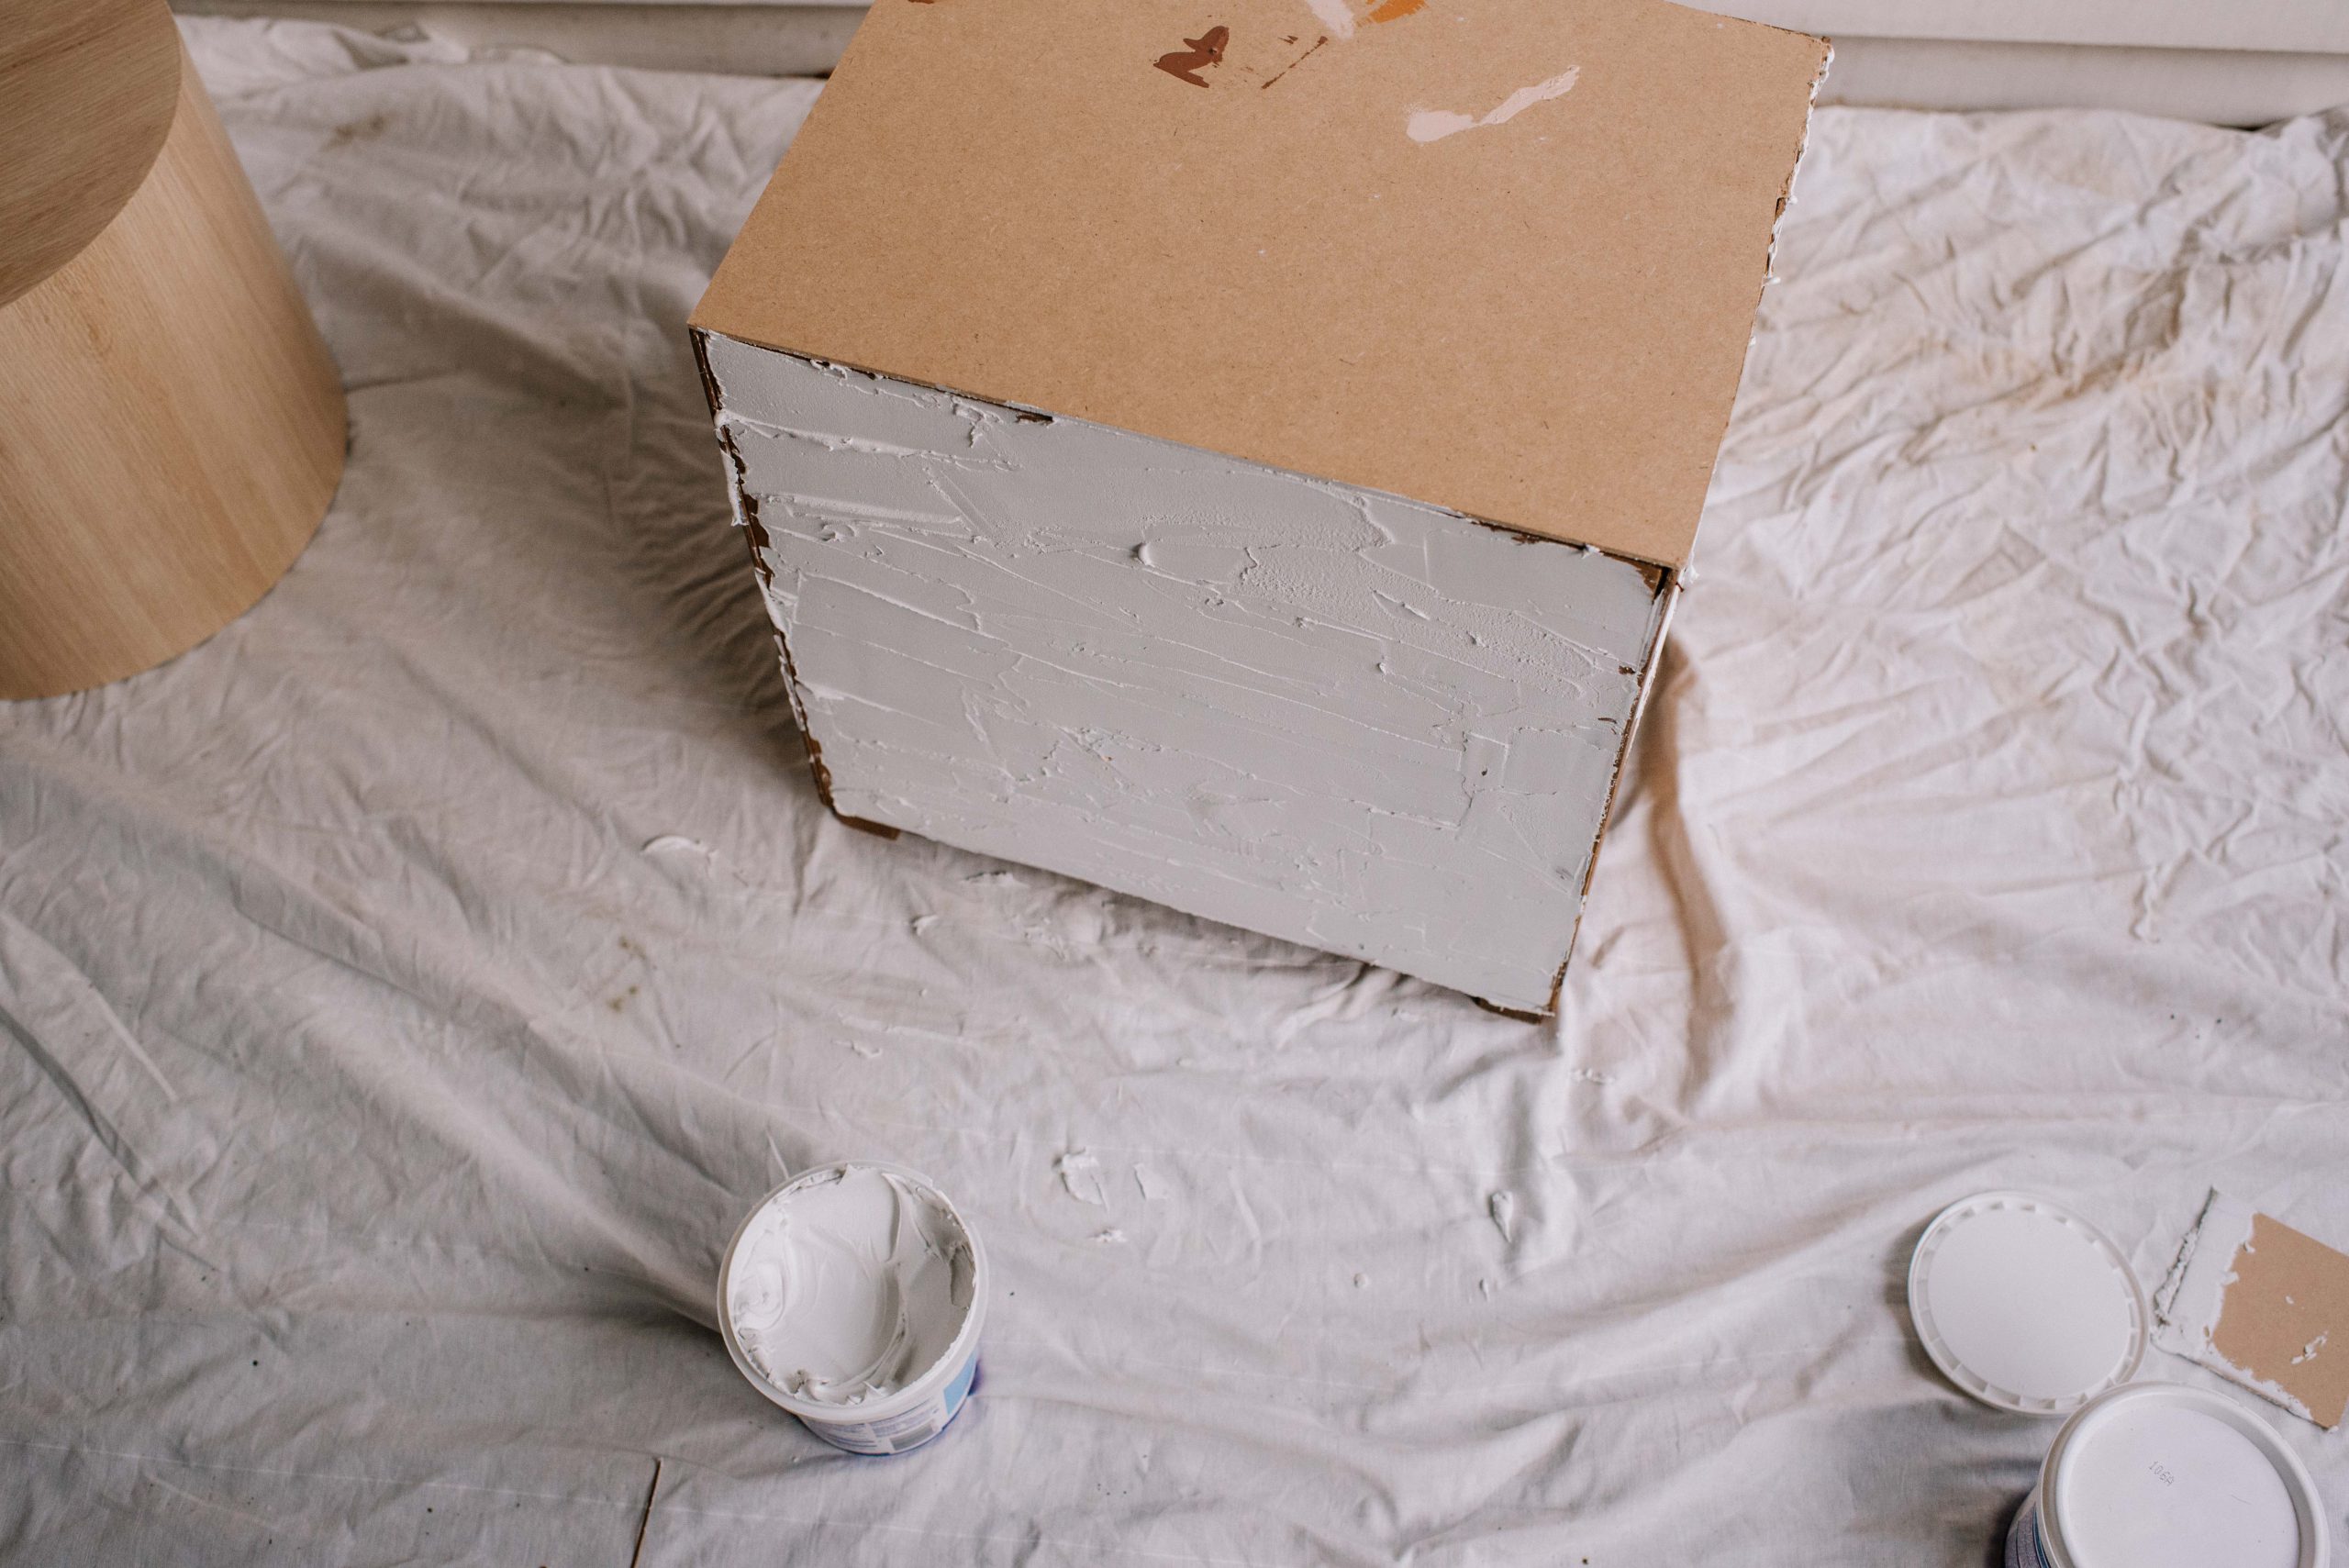
- Lay out your drop sheet to cover the ground. The grout can be hard to remove once it dries!
- Clean your box or side table so that it doesn’t have any dust on it.
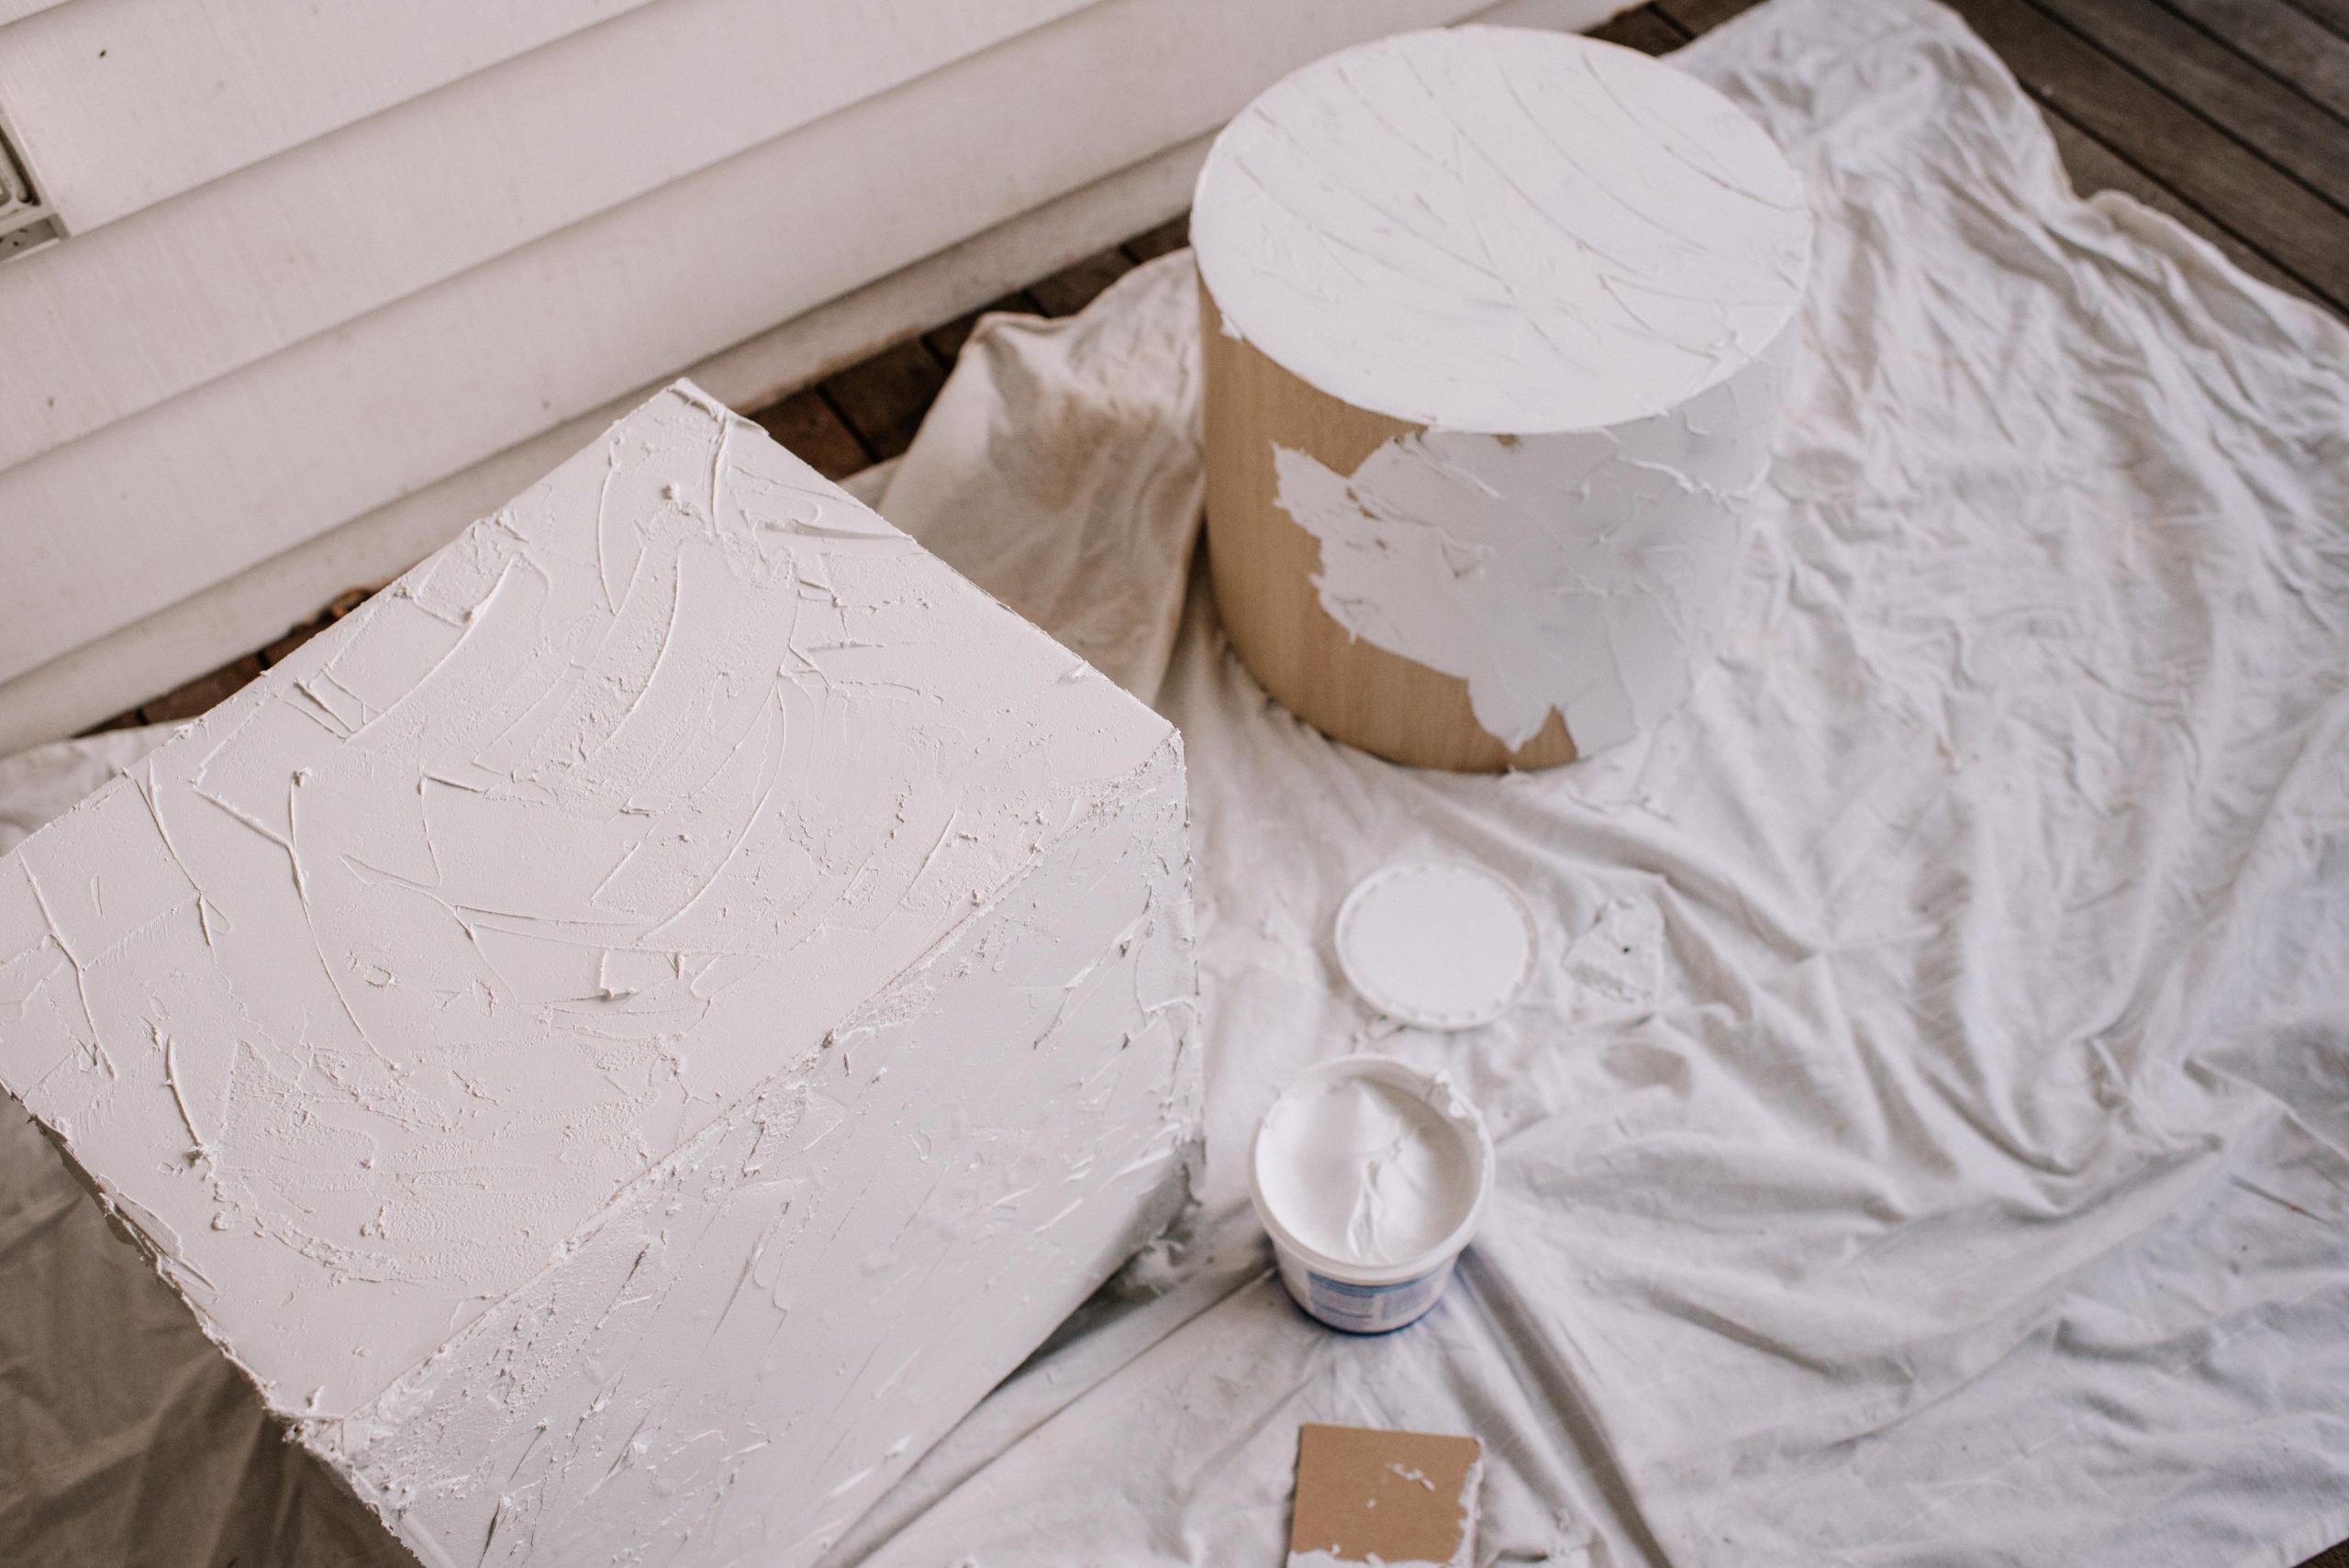
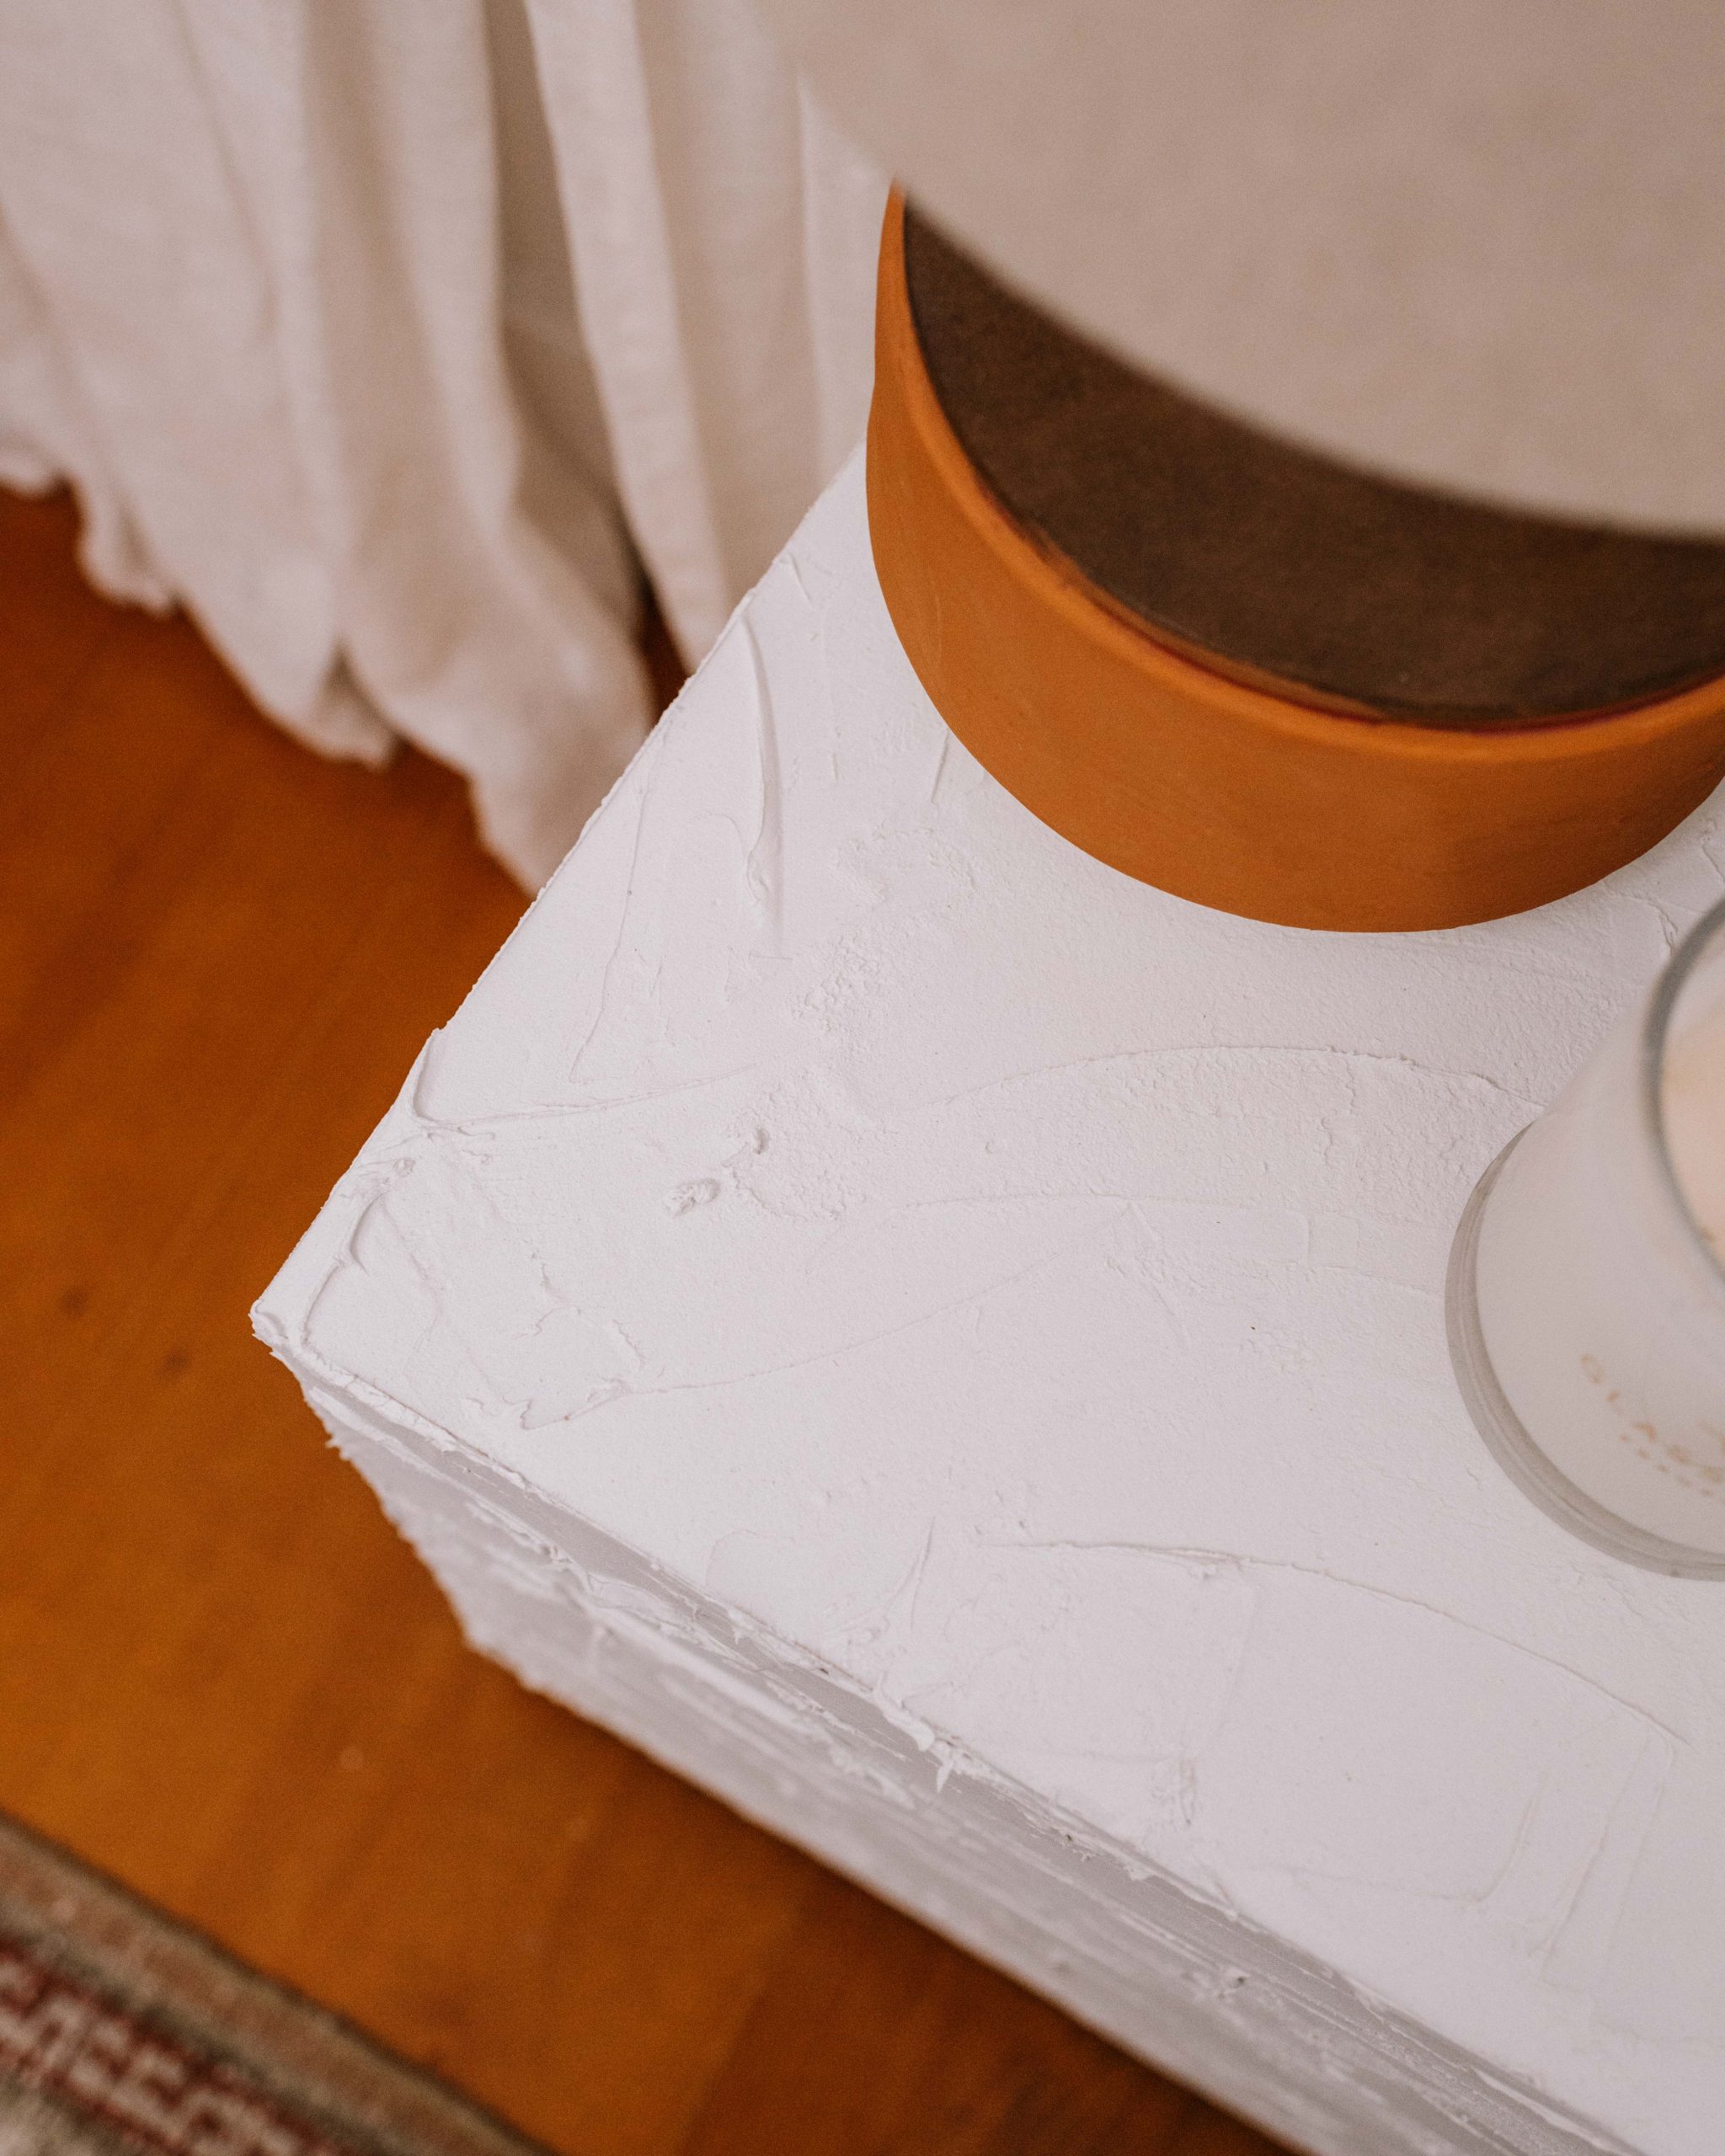
- Start applying the grout, using the applicator. There are lots of different motions you can use to create various patterns. I just treated it like I was icing a cake! Note that it’s good to smoothly remove your hand, rather than lifting which can cause spikey bits to form.
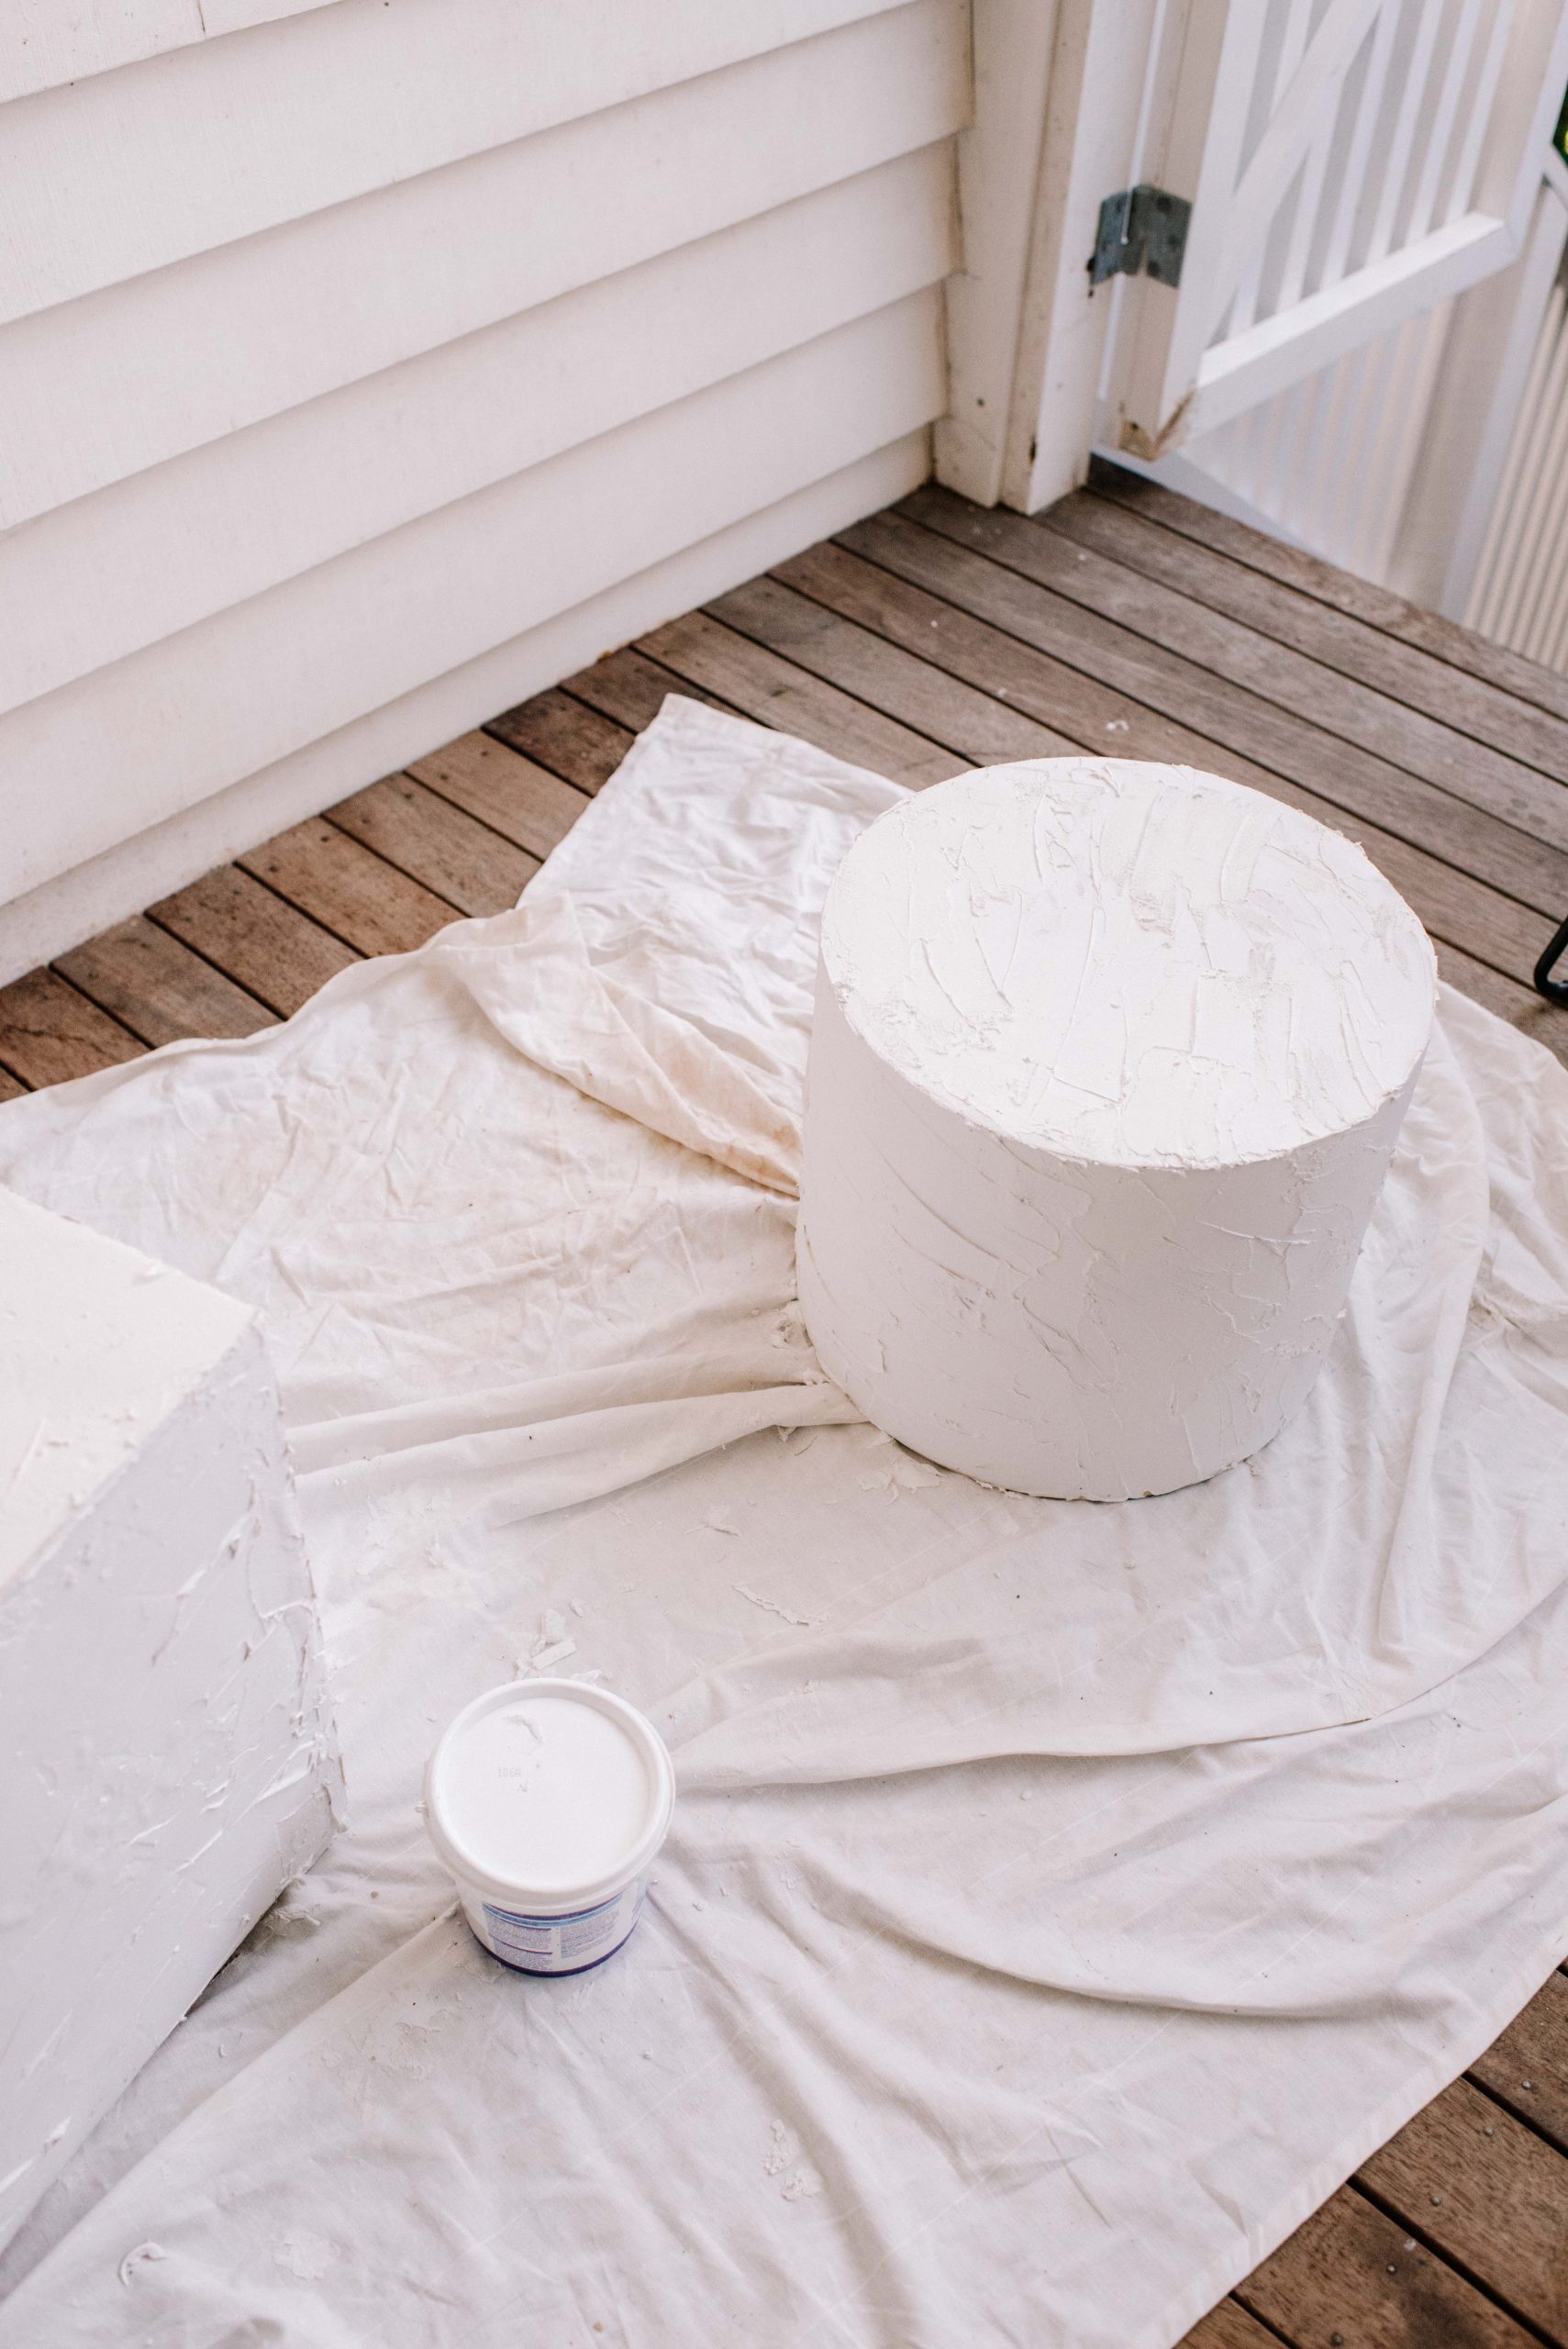
- Continue all the way around the box or cylinder, making sure to cover the edges. Leave to dry for half a day or overnight.
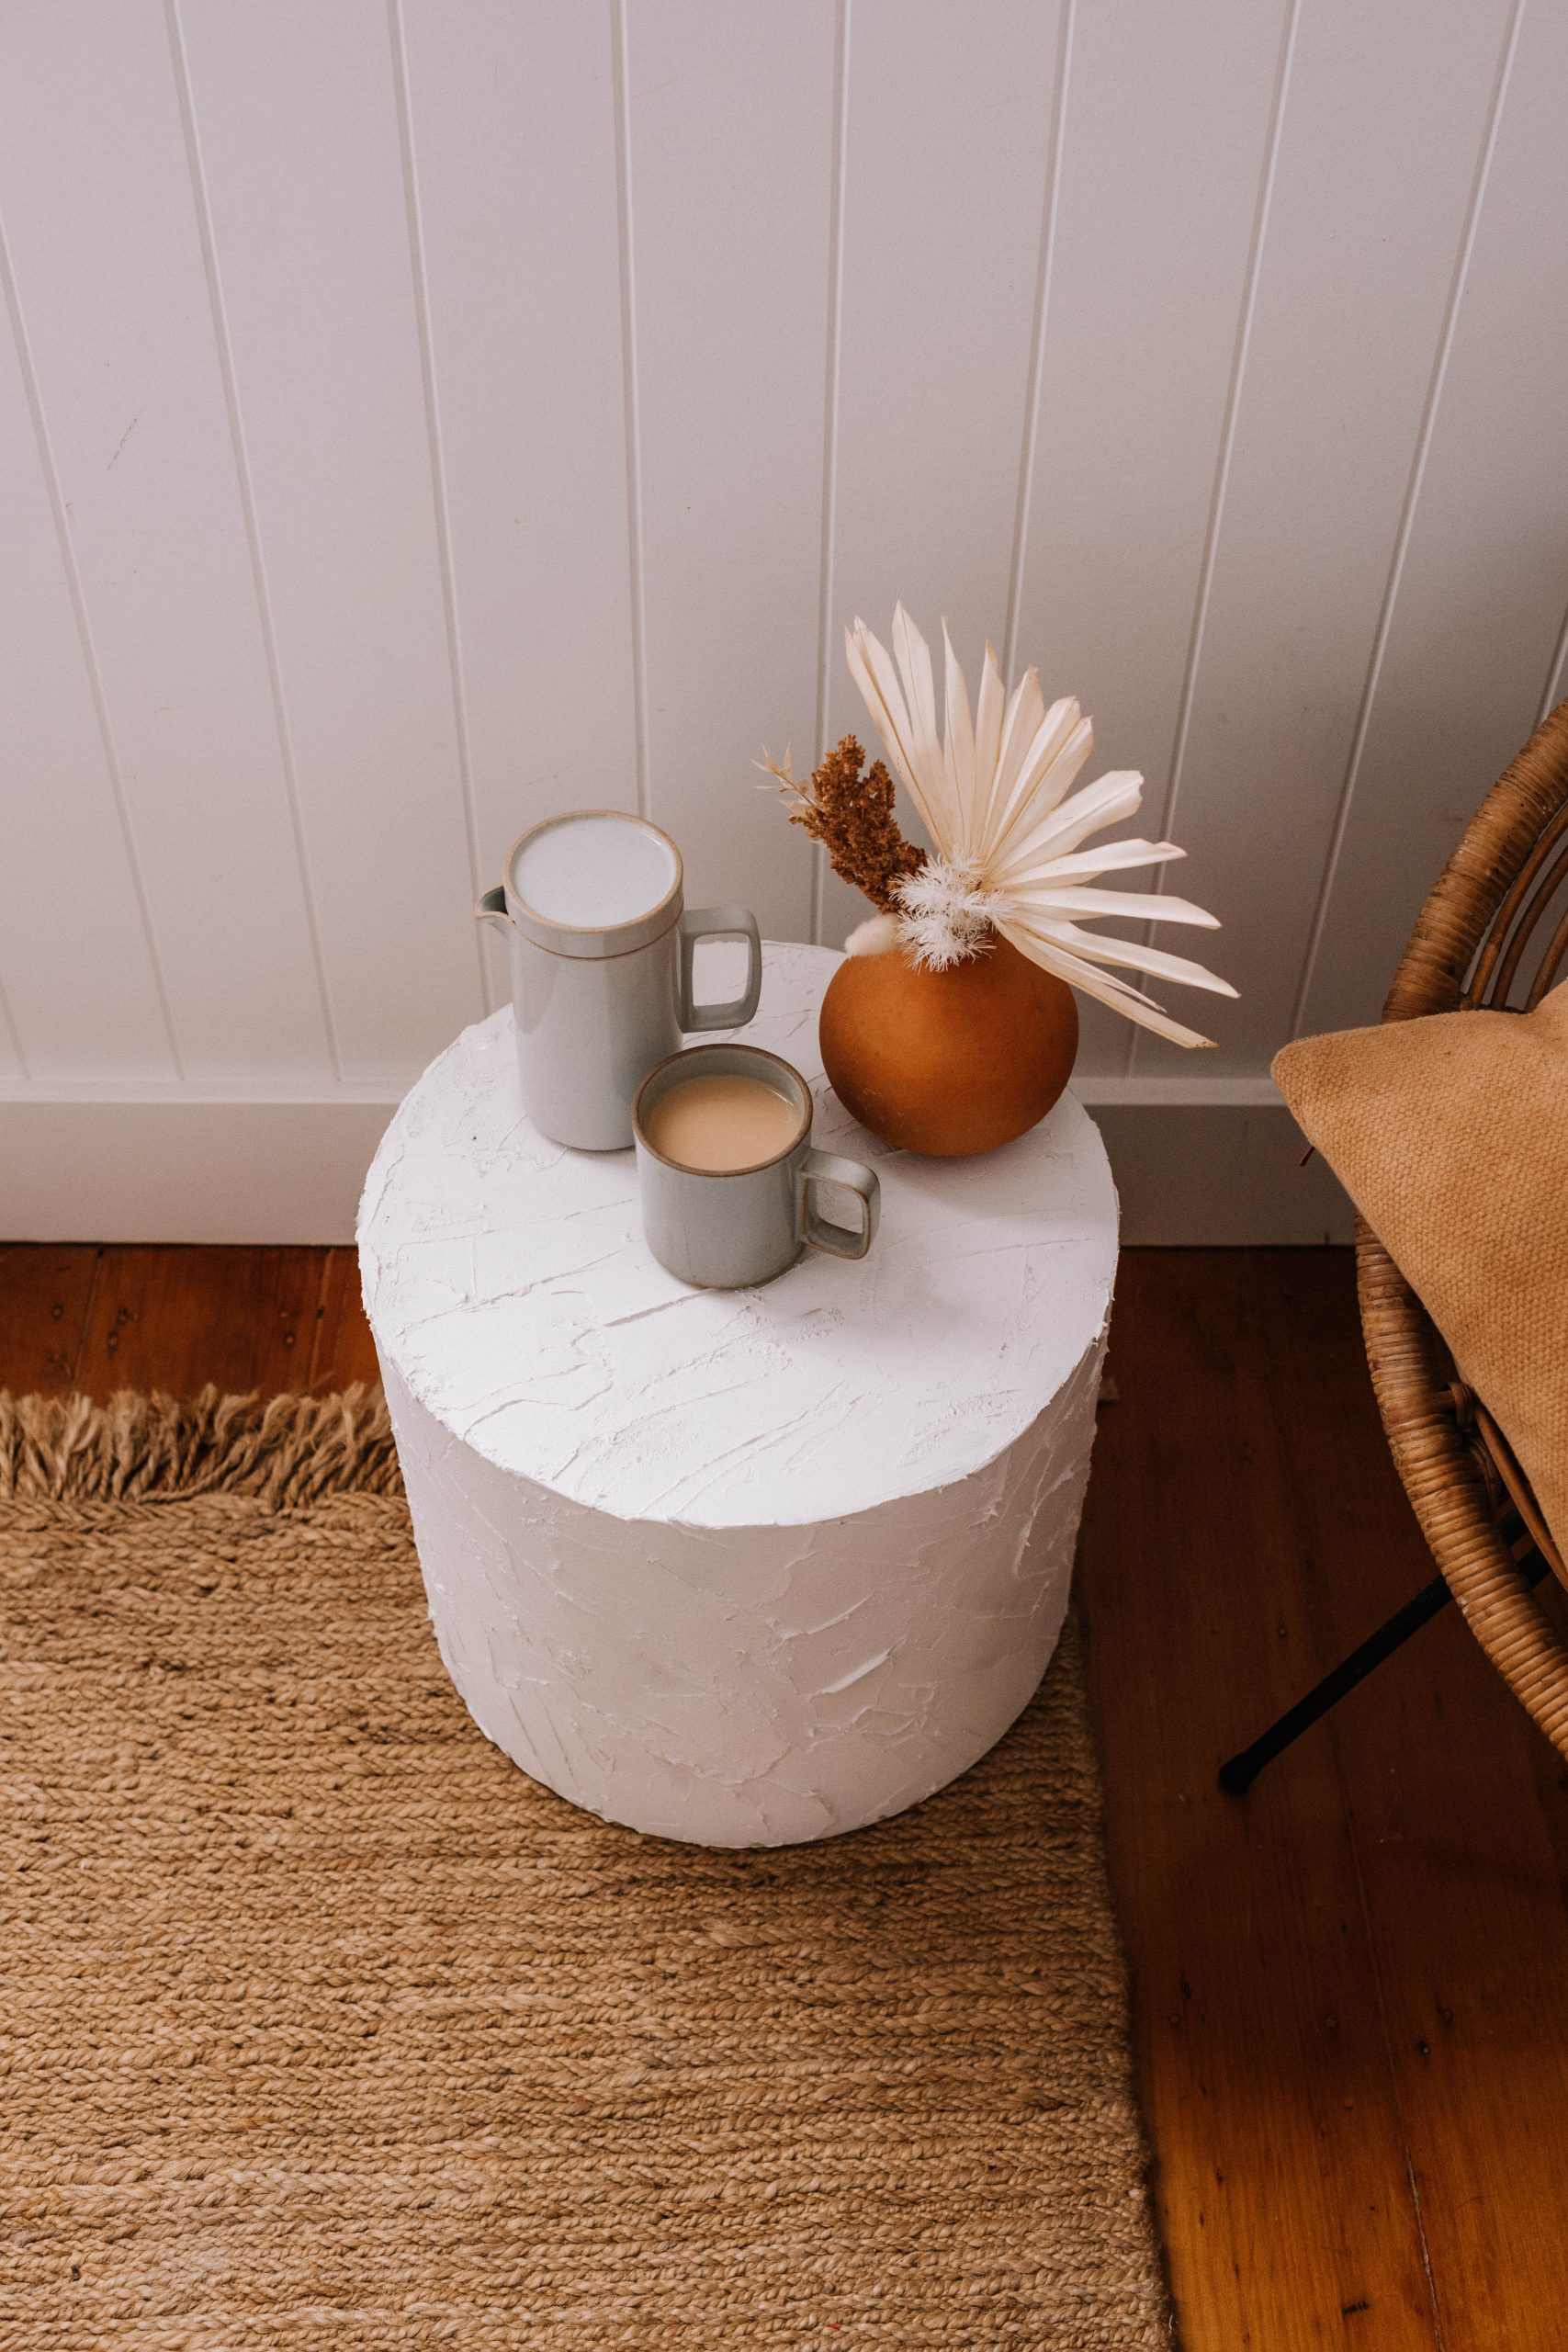
- The last thing to do is apply a matte spray onto the side table to make it easier to clean.
Voila
There are so many options for what you can use for this type of project, and recently I’ve been testing various fillers and grouts. I’ll share more here about that soon!


