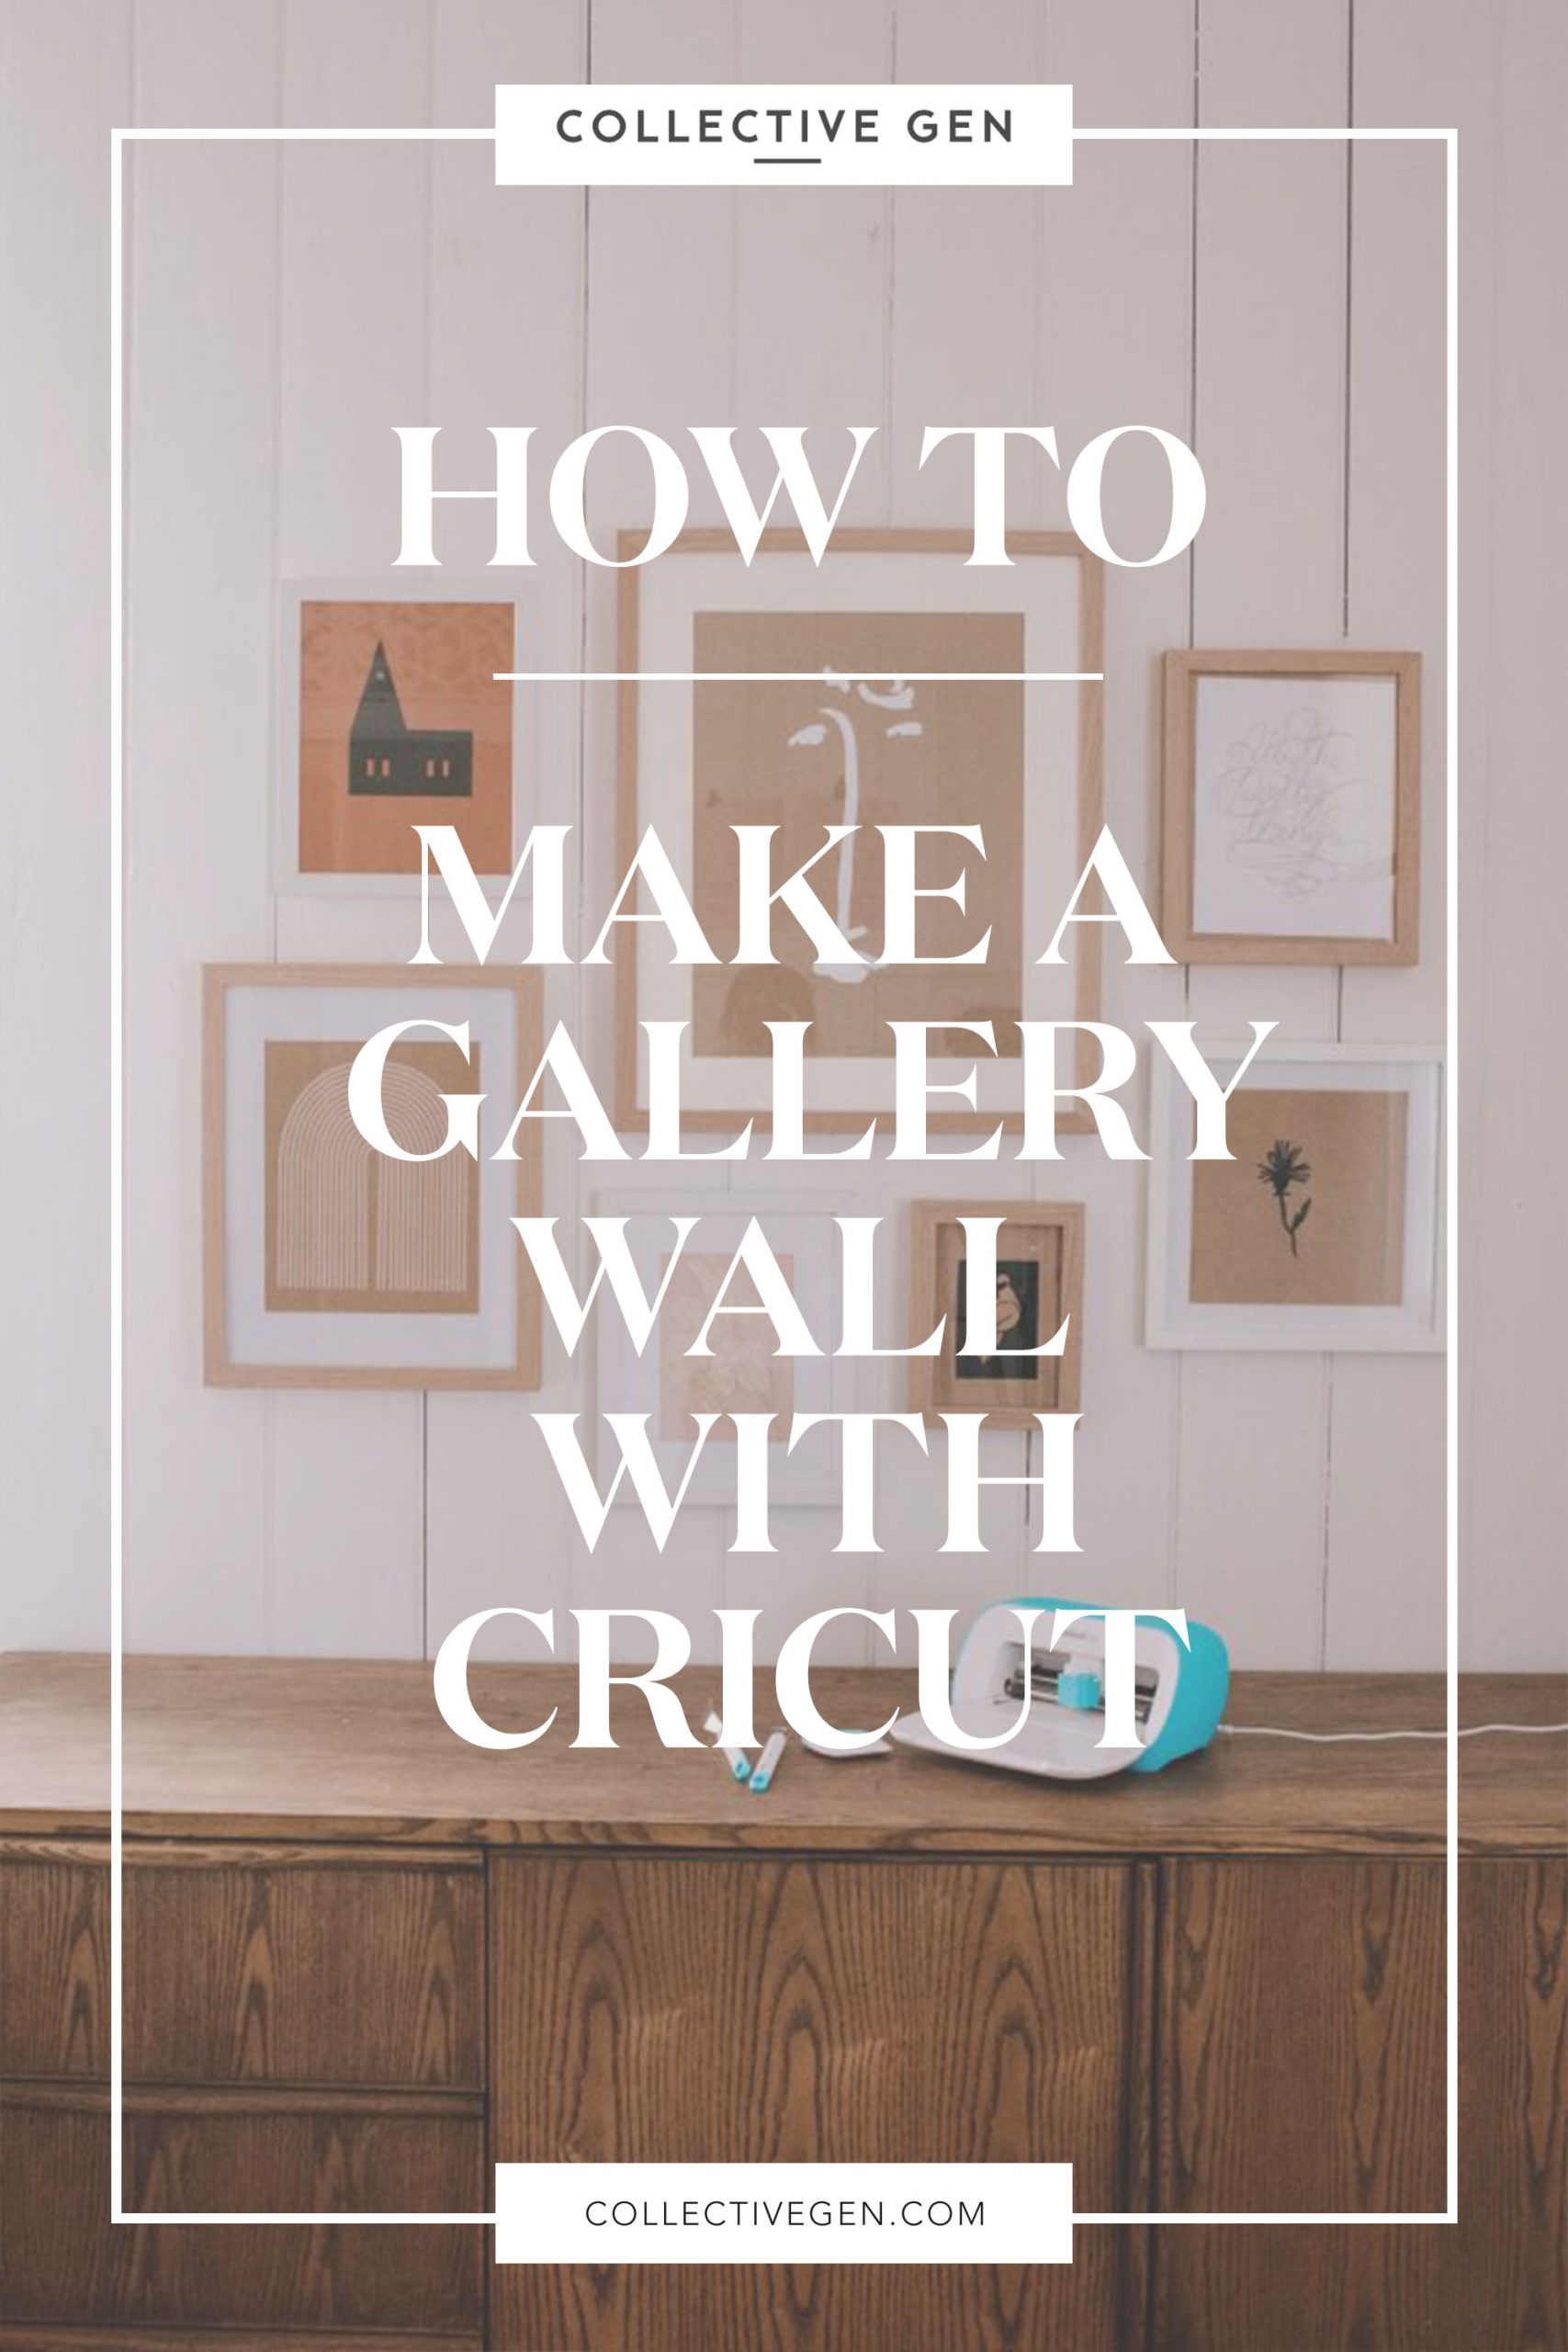
I’ve always been a huge fan of gallery walls in my home as a way to create focal points, and to frame beautiful memories.
When I re-styled our second bedroom, I found the perfect blank canvas and I knew that a collection of frames, colour and art on the blank wall would tie the space together perfectly. This was also a great opportunity to use some of the designs I had my eye on in the Cricut Design Space app. I’ve been using the Cricut for a while now on a variety of projects, and I had saving up a few fun designs that all complemented each other for this gallery. I absolutely love how this project turned out. Huge impact that was easy to achieve!
You Need
- Cricut Joy
- Cricut Smart Adhesive Vinyl
- Coloured Cardstock
- Cricut Transfer Tape
- Cricut Weeding Tool
- Cricut Scraper Tool
- Scissors
- A selection of frames, these are from Harvey Norman
Creating My Designs
I used the Cricut Design Space app to find these designs from Wit & Delight and The House The Lars Built. I love gaining inspiration from the extensive catalogue of graphics in the app, and finding these images didn’t take much time at all! When planning your designs, it’s useful to create a colour palette in your mind, and use various materials and mediums to demonstrate the palette. Use vinyl, cardstock, paper and other materials to show the tones and colours in your gallery wall.
How To
- Start by selecting and setting up your design in the Cricut Design Space app.
- You may need to resize the image to suit your frame size.
- Load your Cricut Vinyl Acrylic Smart material into the Cricut Joy, and press go on your app. Wait while your machine cuts out the design.
- Unload your material from the printer and you will be able to see the printer has cut out the design.
- Using your Cricut Weeding Tool, weed your design to remove all the negative space.
- Using your Cricut Transfer Tape, carefully cover your design and use the scraping tool to make sure it is perfectly bonded with no air bubbles.
- Remove the white backing from your transfer tape.
- Press the design and transfer tape onto the cardstock, being careful to locate it in the right place to be in the centre of your frame, and use your Cricut Scraper Tool for a seamless bond.
- Carefully remove the transfer tape from your design, leaving the design on the cardstock.
- Place the art into your frame.
- Hang your gallery on the wall.
Tips & Tricks for A Gallery Wall
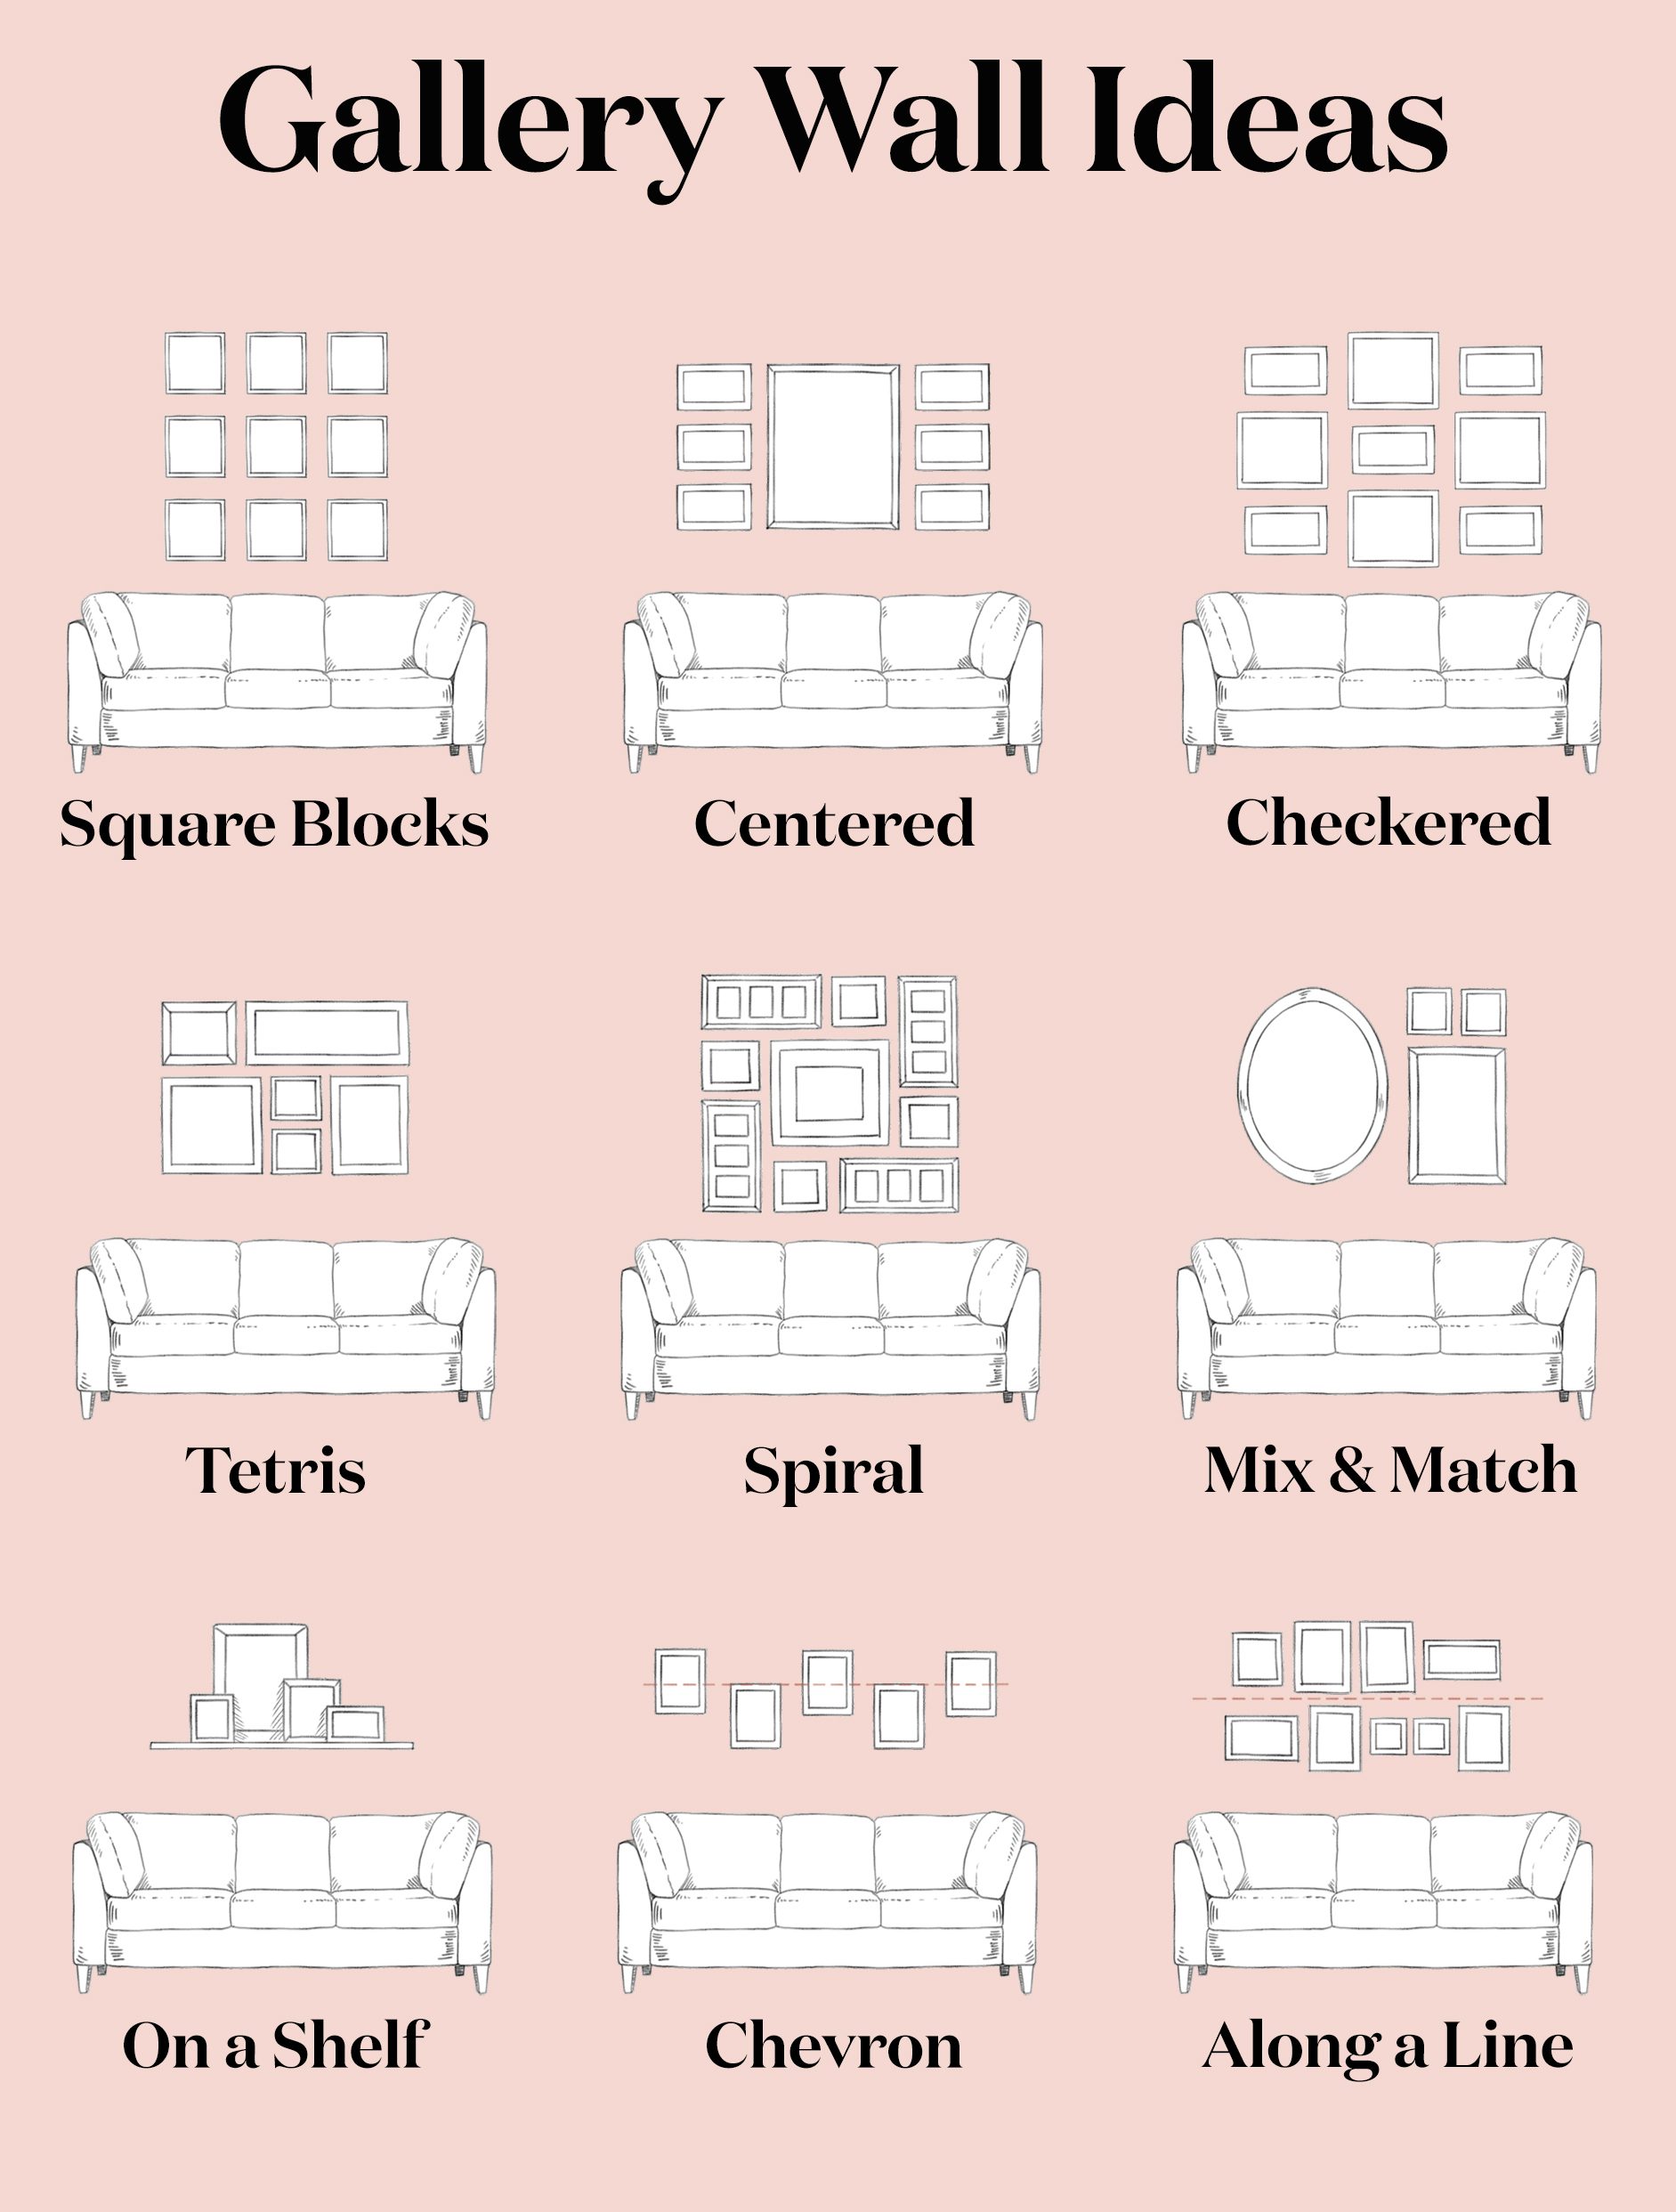
- When deciding the layout of your gallery wall, it’s a good idea to place your frames on the floor or on a bed to decide on the best layout. You can also use some paper cut to the size of your frames to work out the best layout.
- What you’re looking for when you put up your gallery wall is balance – amongst the frames, the shapes and the artwork.
- I like to start with the largest piece in the gallery wall and then build in other pieces around it.
- It’s a good idea to keep an eye on your palette of colours and to balance out the colours across the wall, to avoid clustering the colours together which can make it feel unbalanced.
- If you are mixing up the frame colours, make sure to balance the different tones by looking at the whole gallery as you go.
You can find more info and local retailers for Cricut here.
This project is in collaboration with Cricut.


