The lion toy cart gets a buddy!
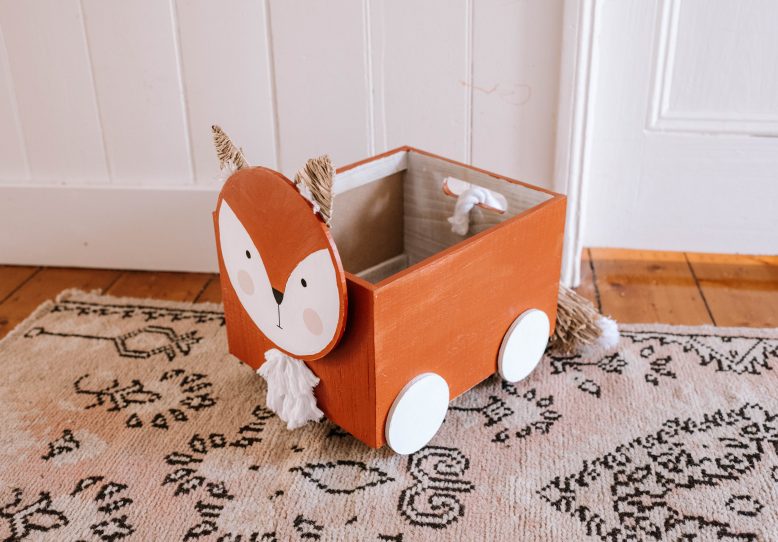
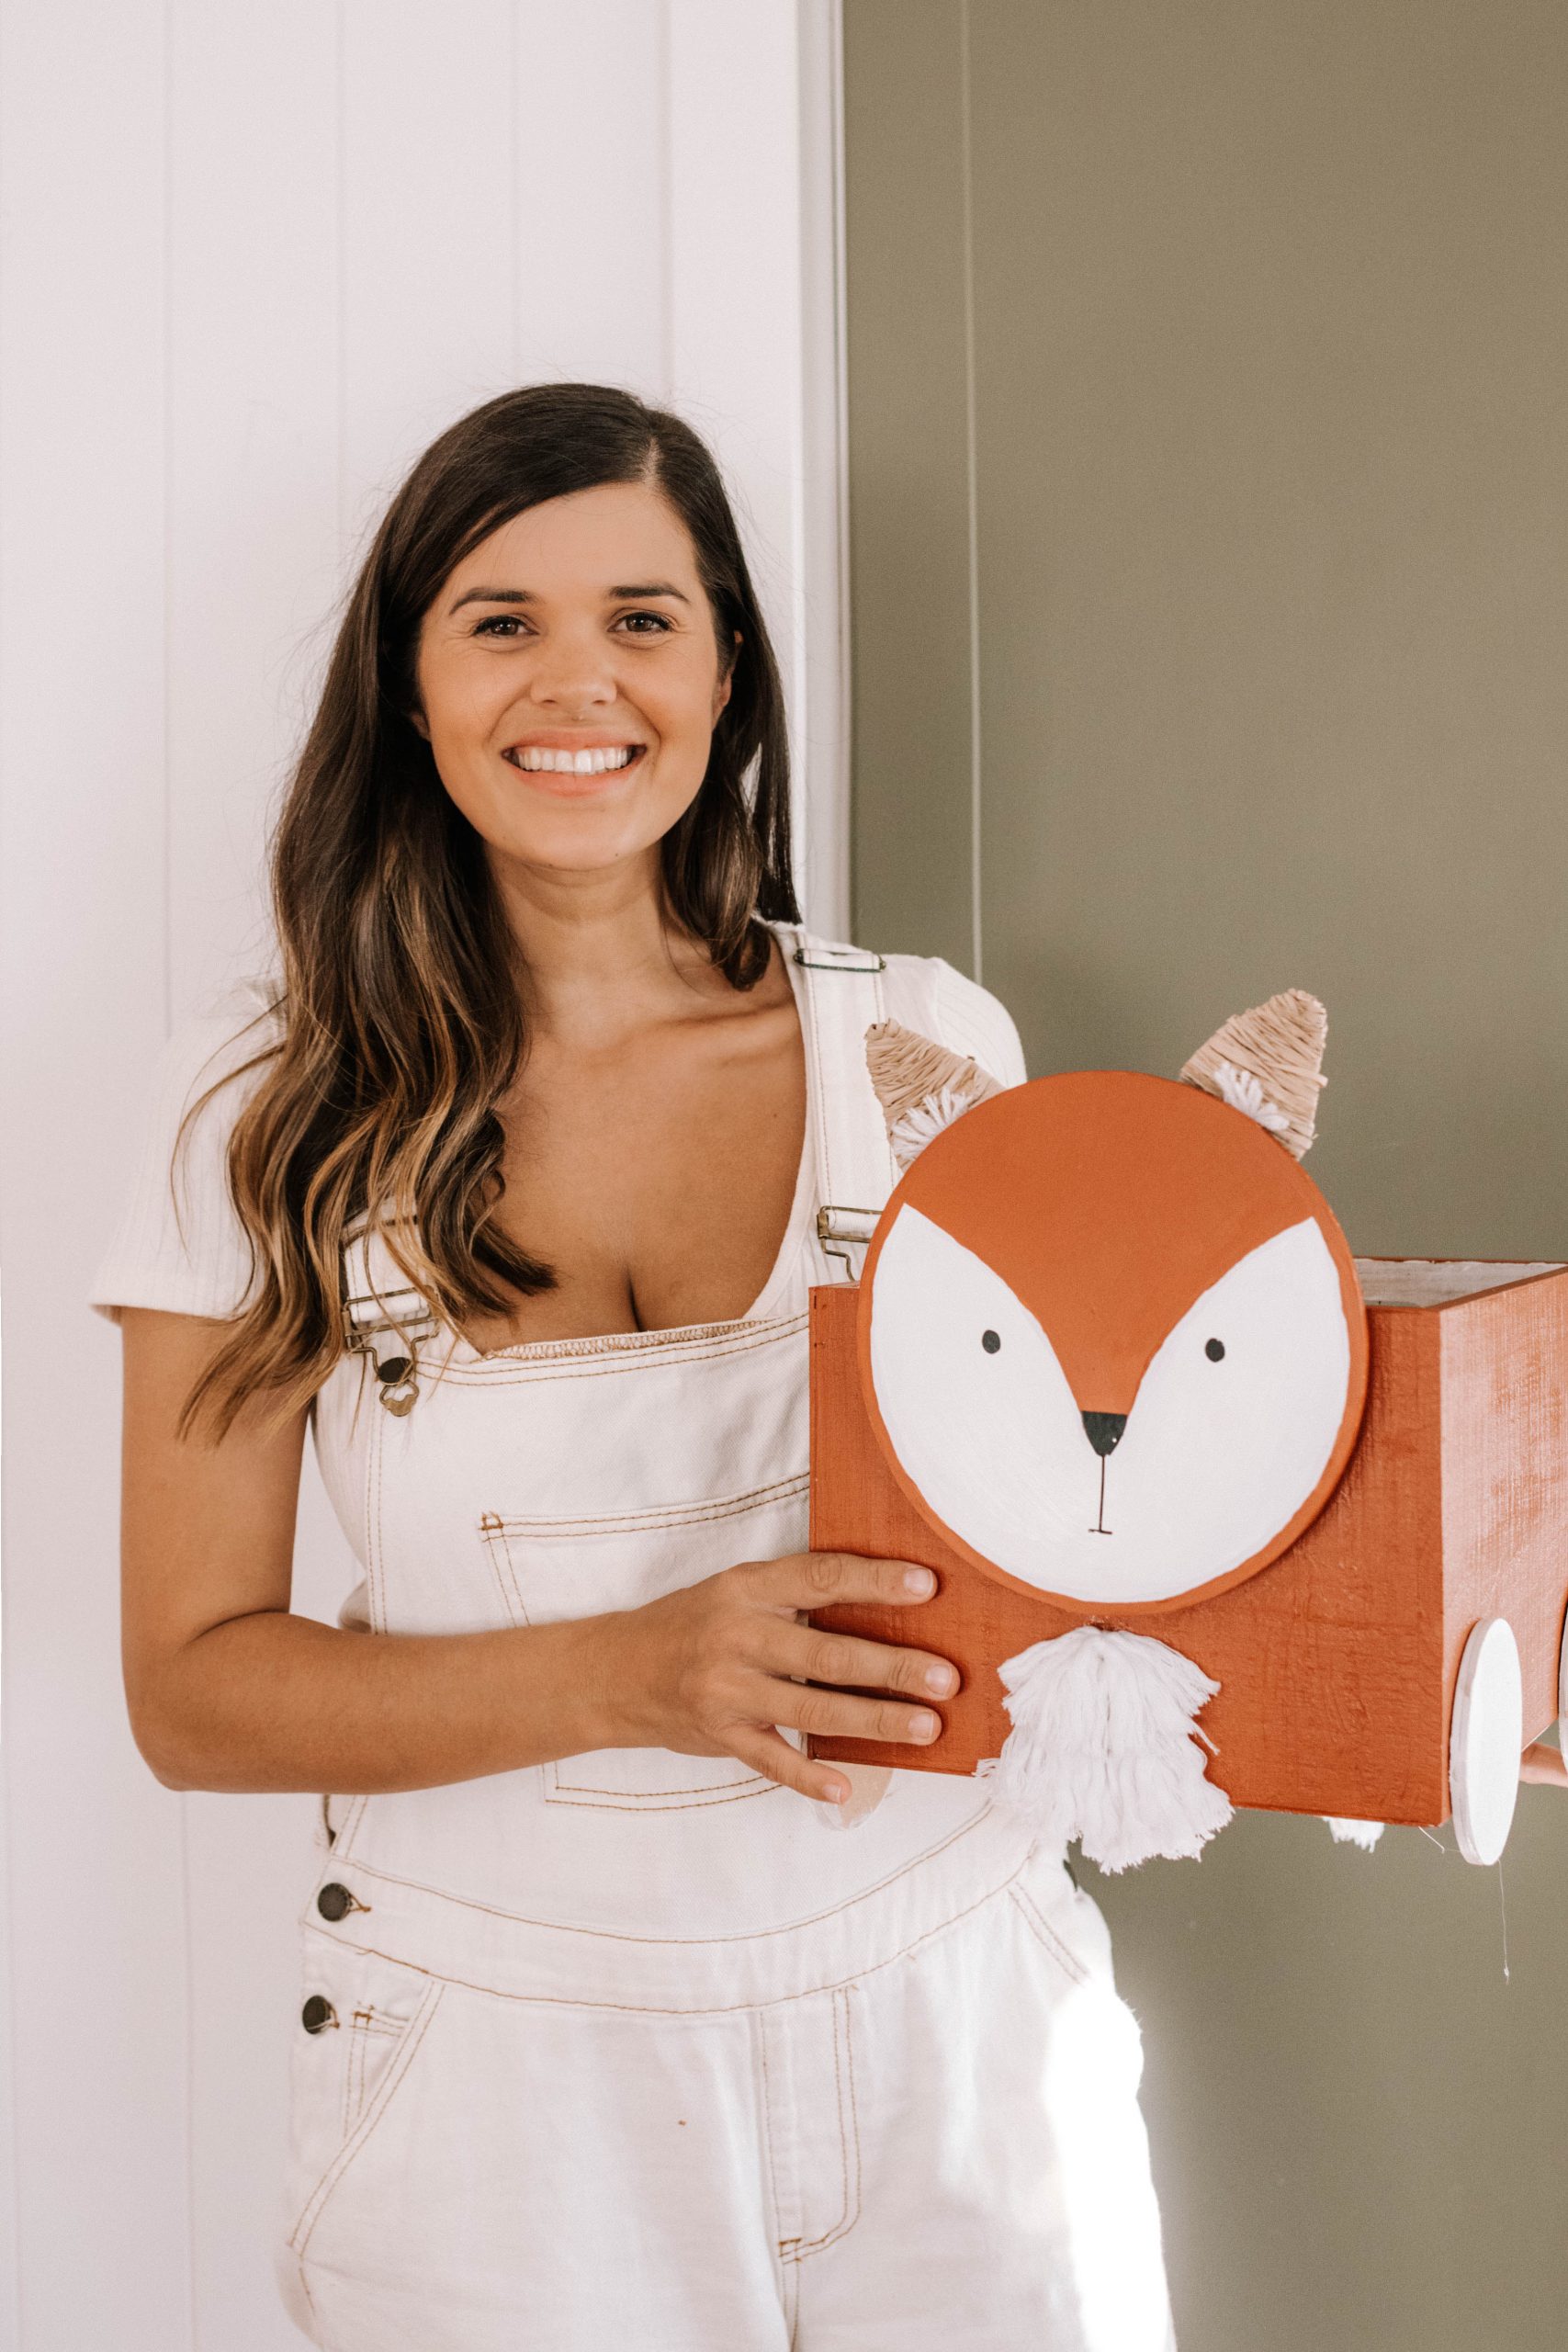
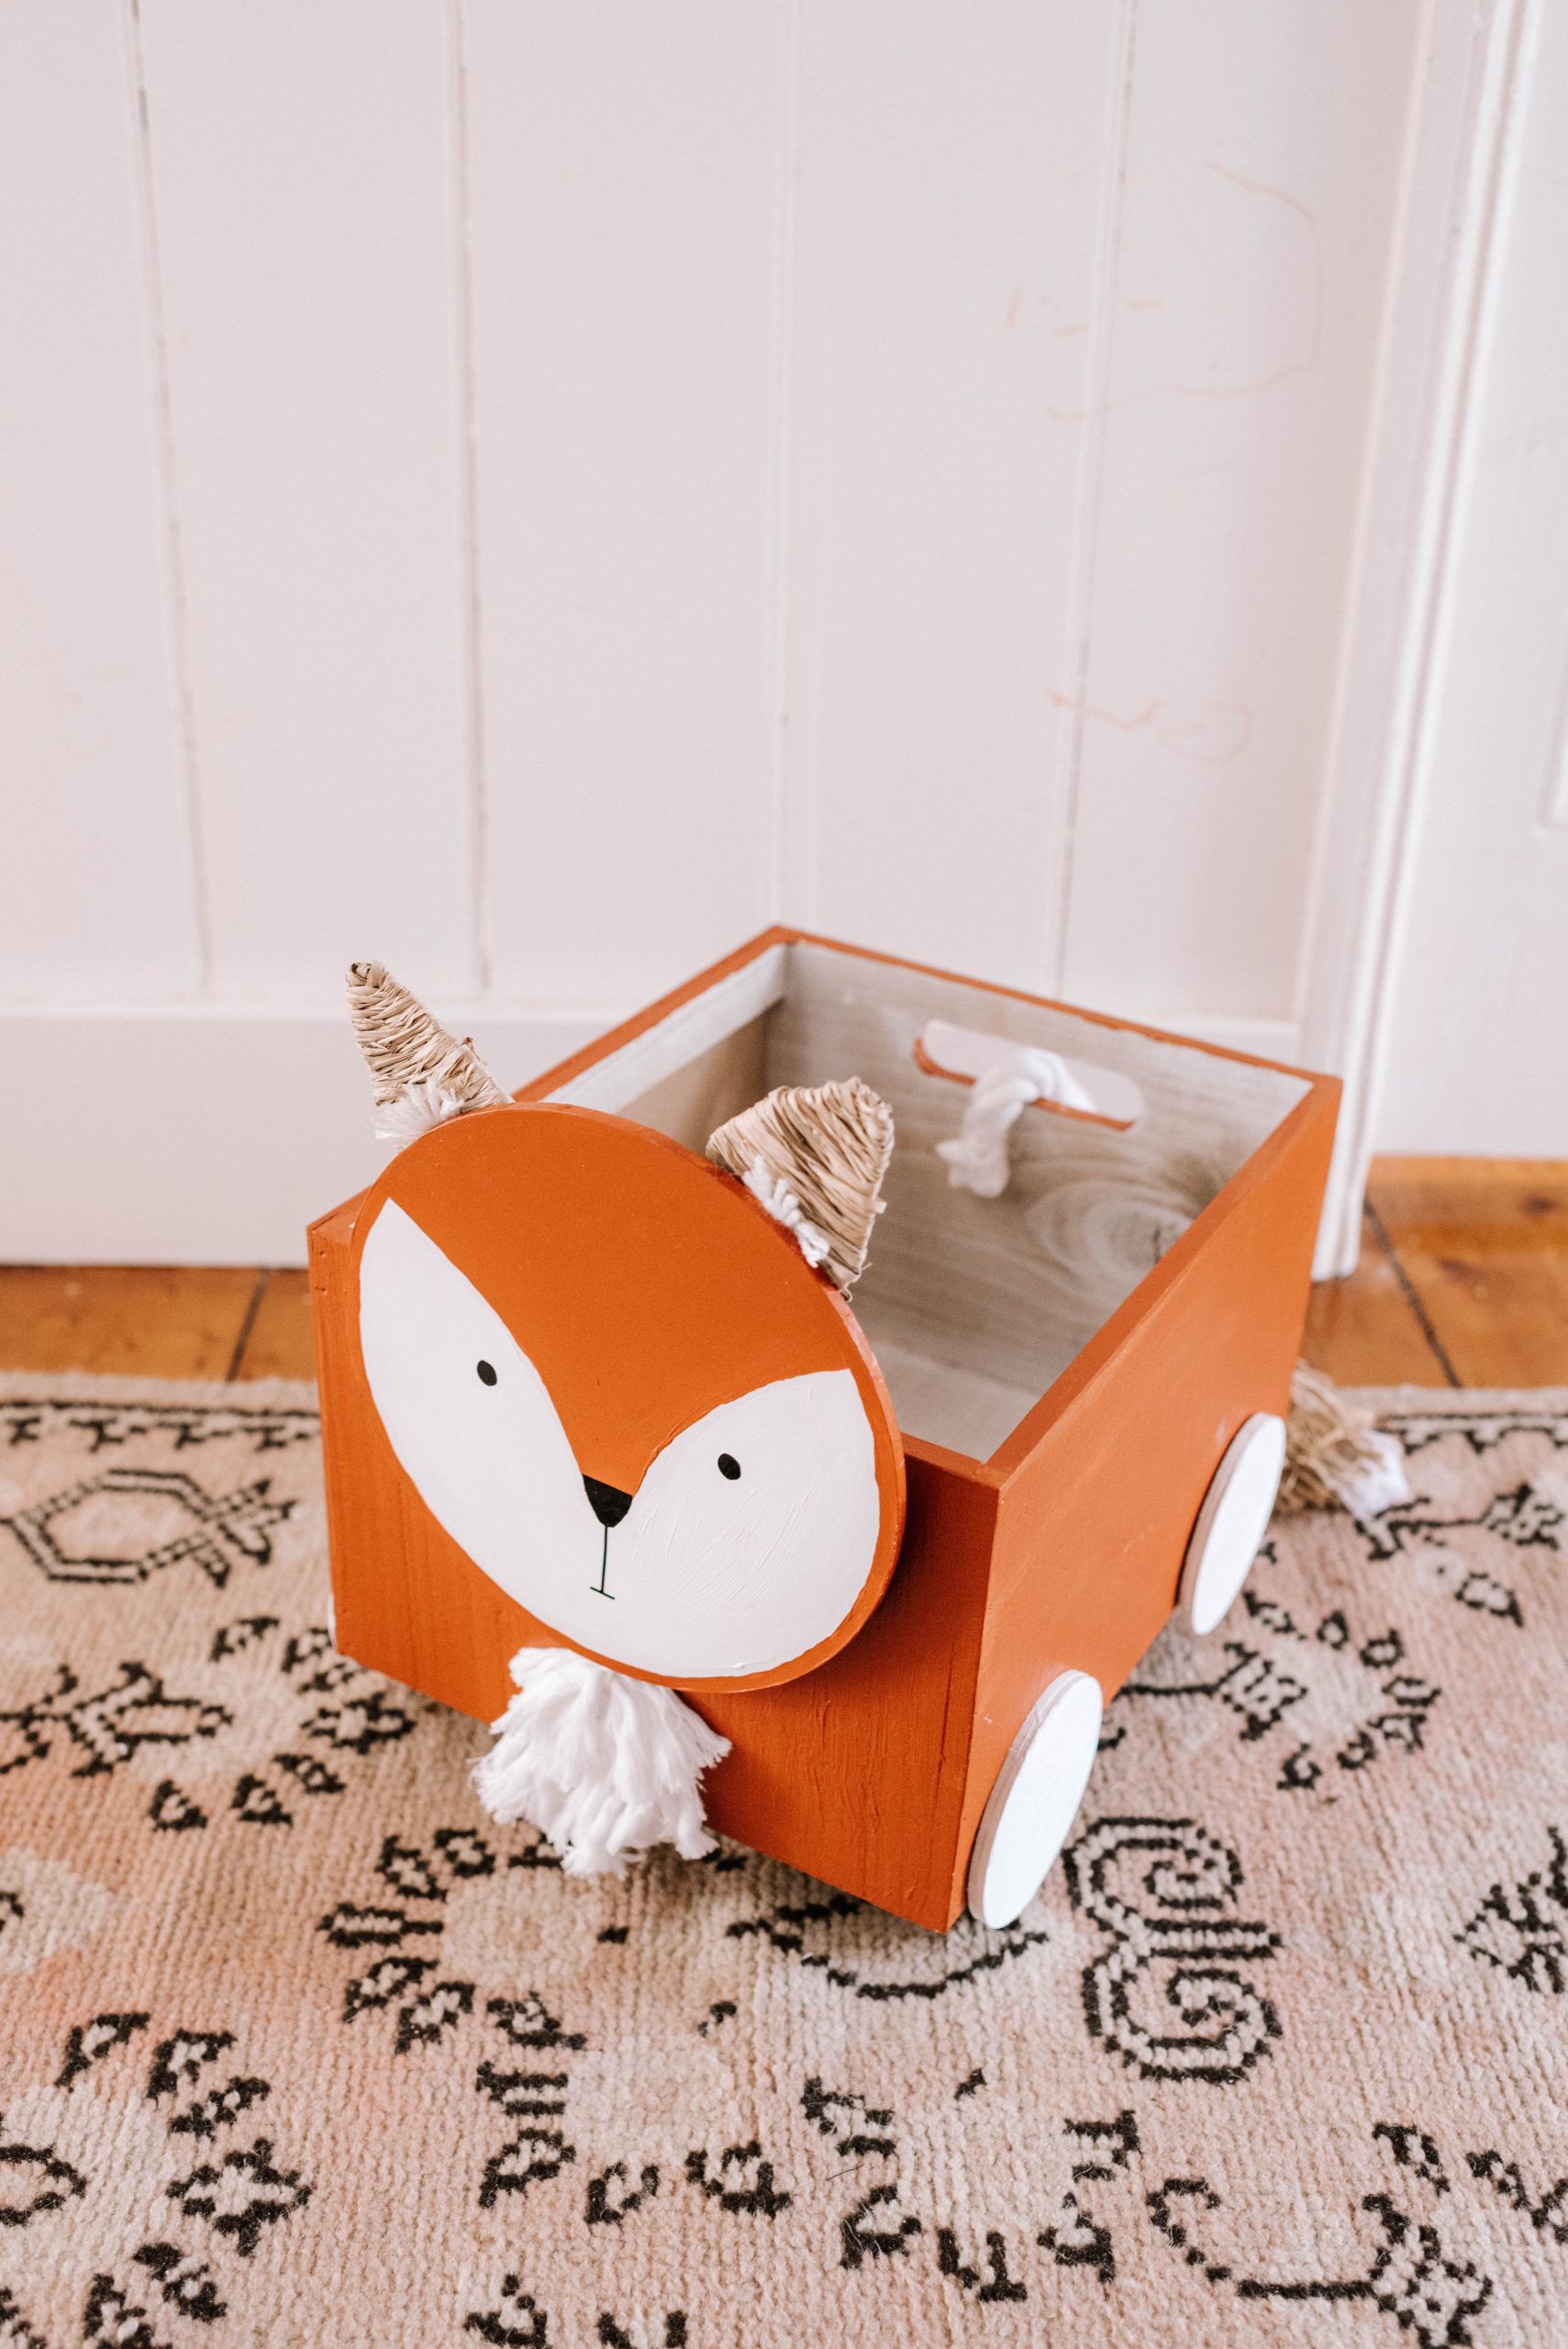
You might remember that just before I had Bobbie I made Frankie a little present just for her – a Lion Toy Cart. She loved it (+ tried to sit in it lol) and still walks around the house with it filled with her toys. But as soon as the baby was born she had a request – I needed to make one for Bobbie! I love this about her, she’s very giving and always wants to shower everyone around her with gifts. I had to comply. So I made this fox version.
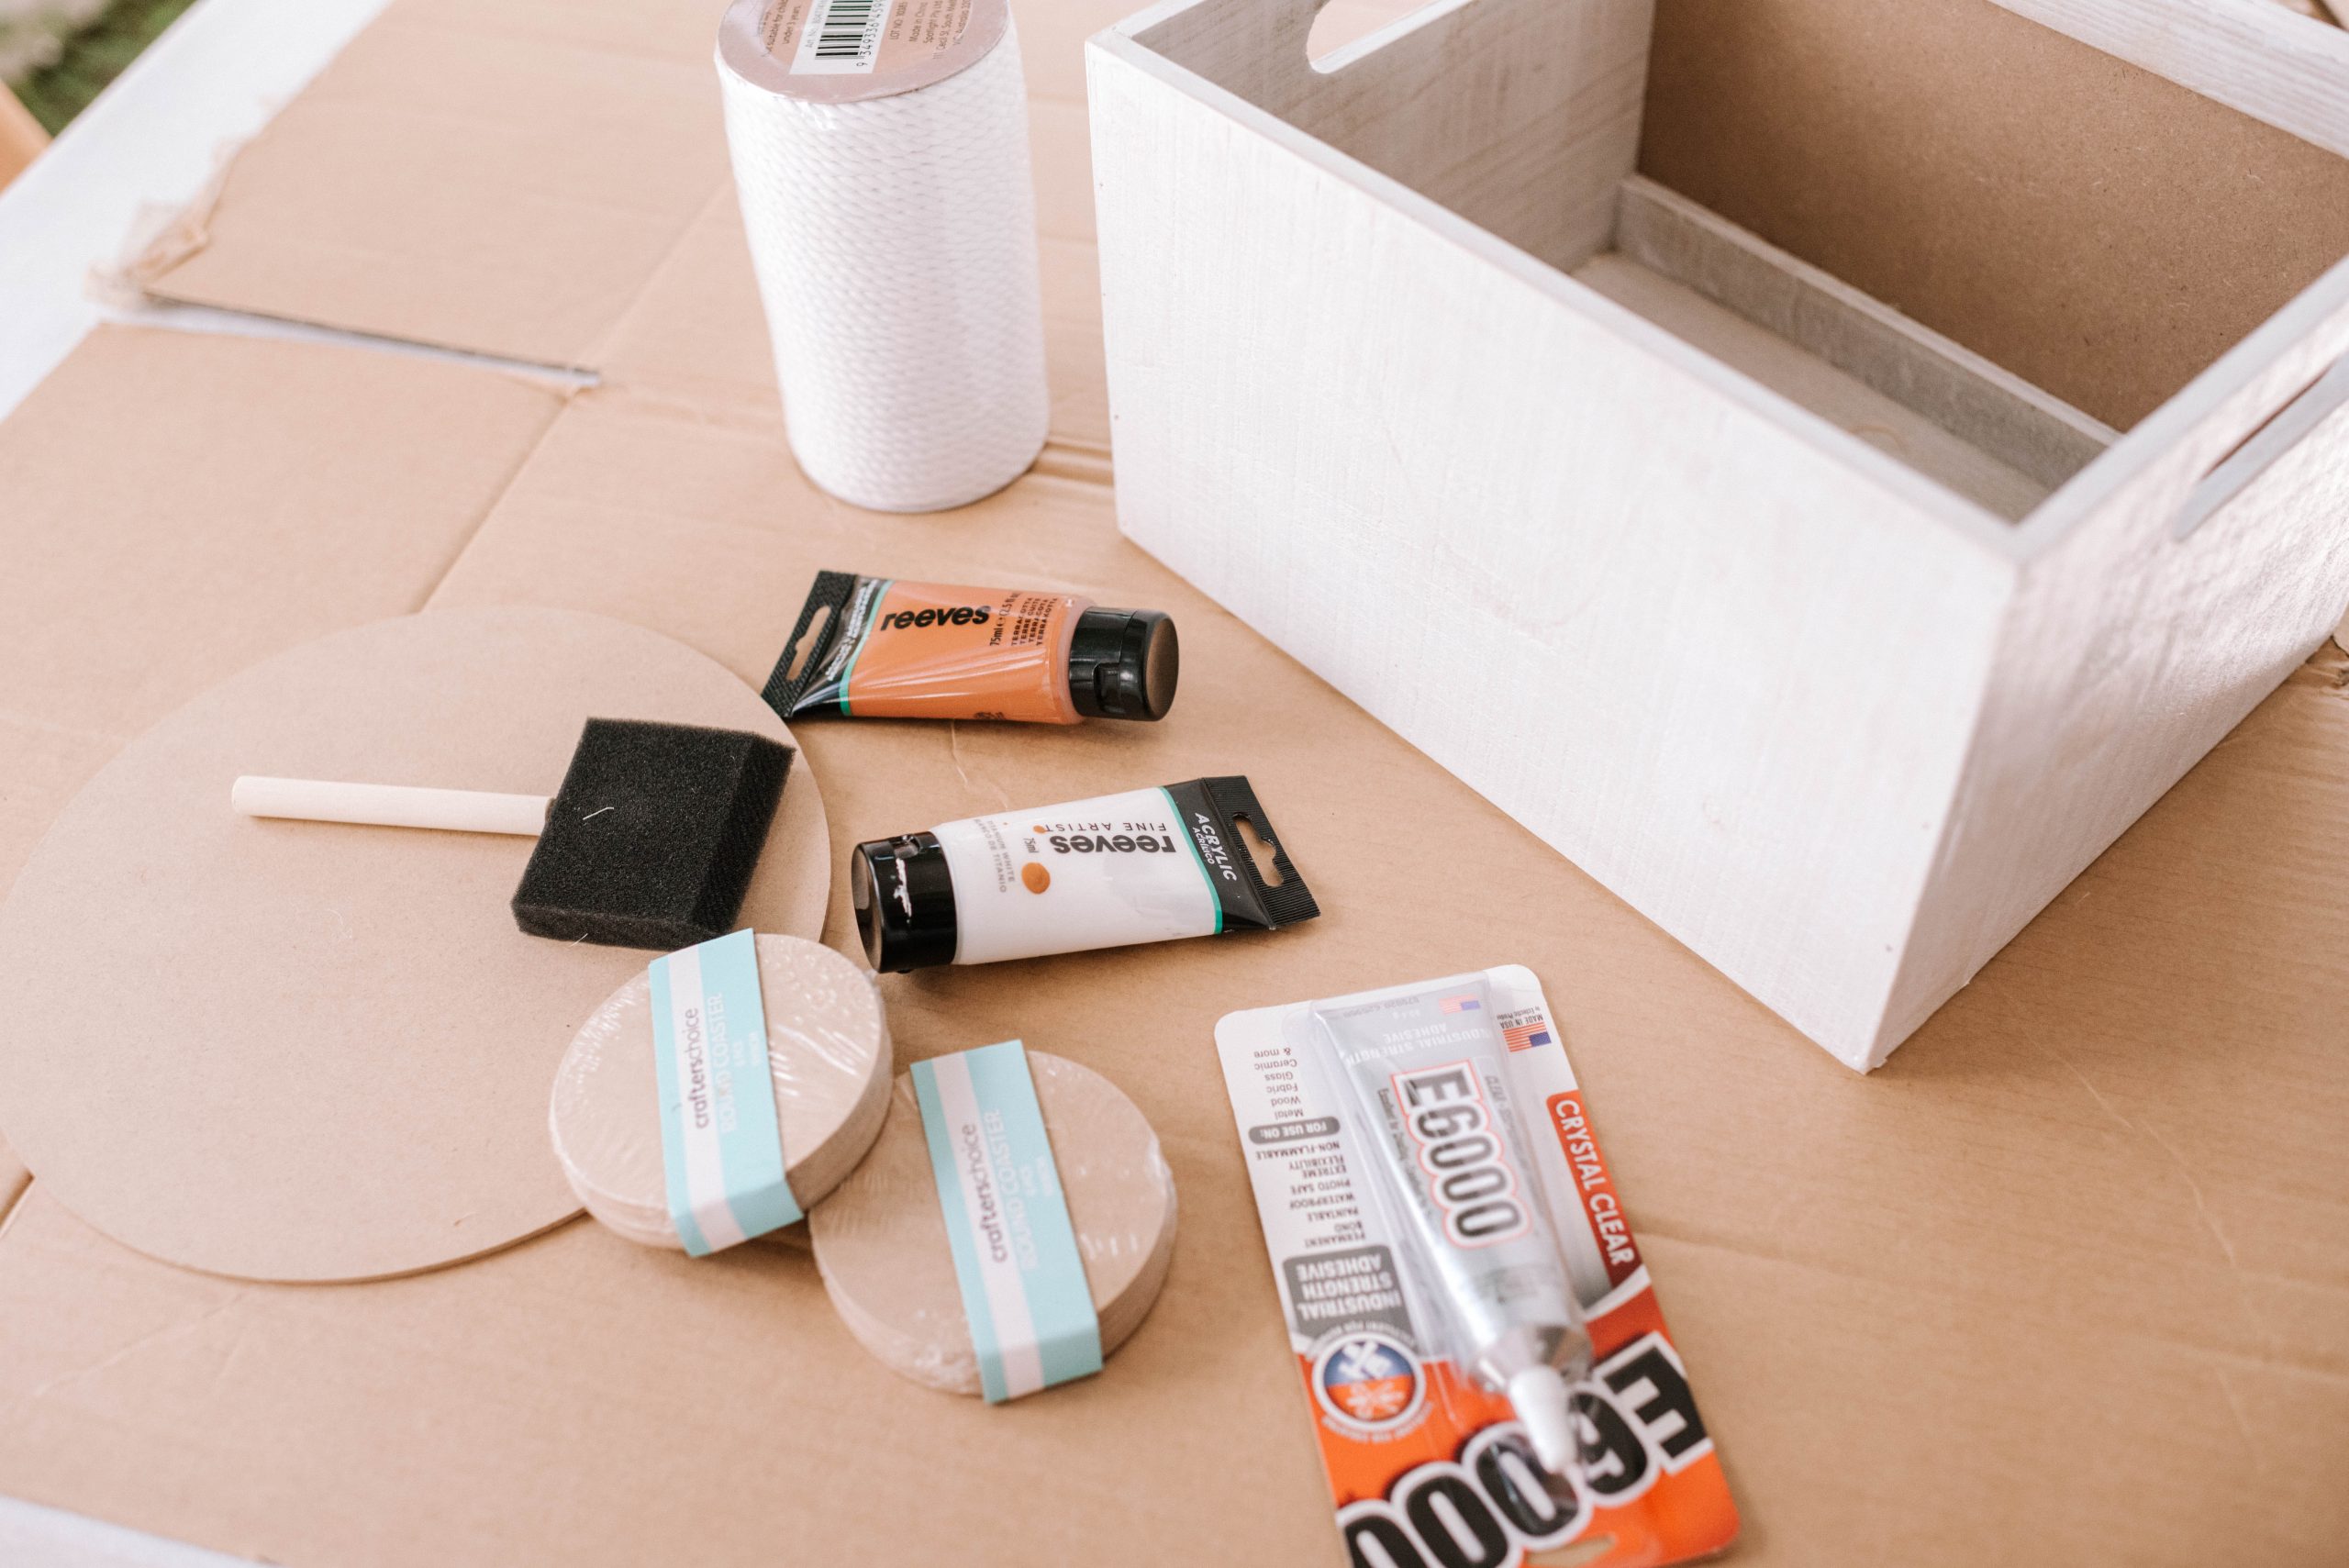
What you’ll need:
- A wooden crate
- 1 x 20cm wooden placemat or round cake board
- 8 x small wooden coasters
- 20cm of chunky rope
- Acrylic paint
- 1 x raffia pollot
- Superglue
- Scissors
- Paint brushes
- Cricut Joy and Smart Vinyl (optional)
- Screws to assemble the wheels including one long bolt, 4 washers and a lock nut.
- Drill
- White wool
How to
- To start, make the wheels by gluing together two coasters, to create a set of four.
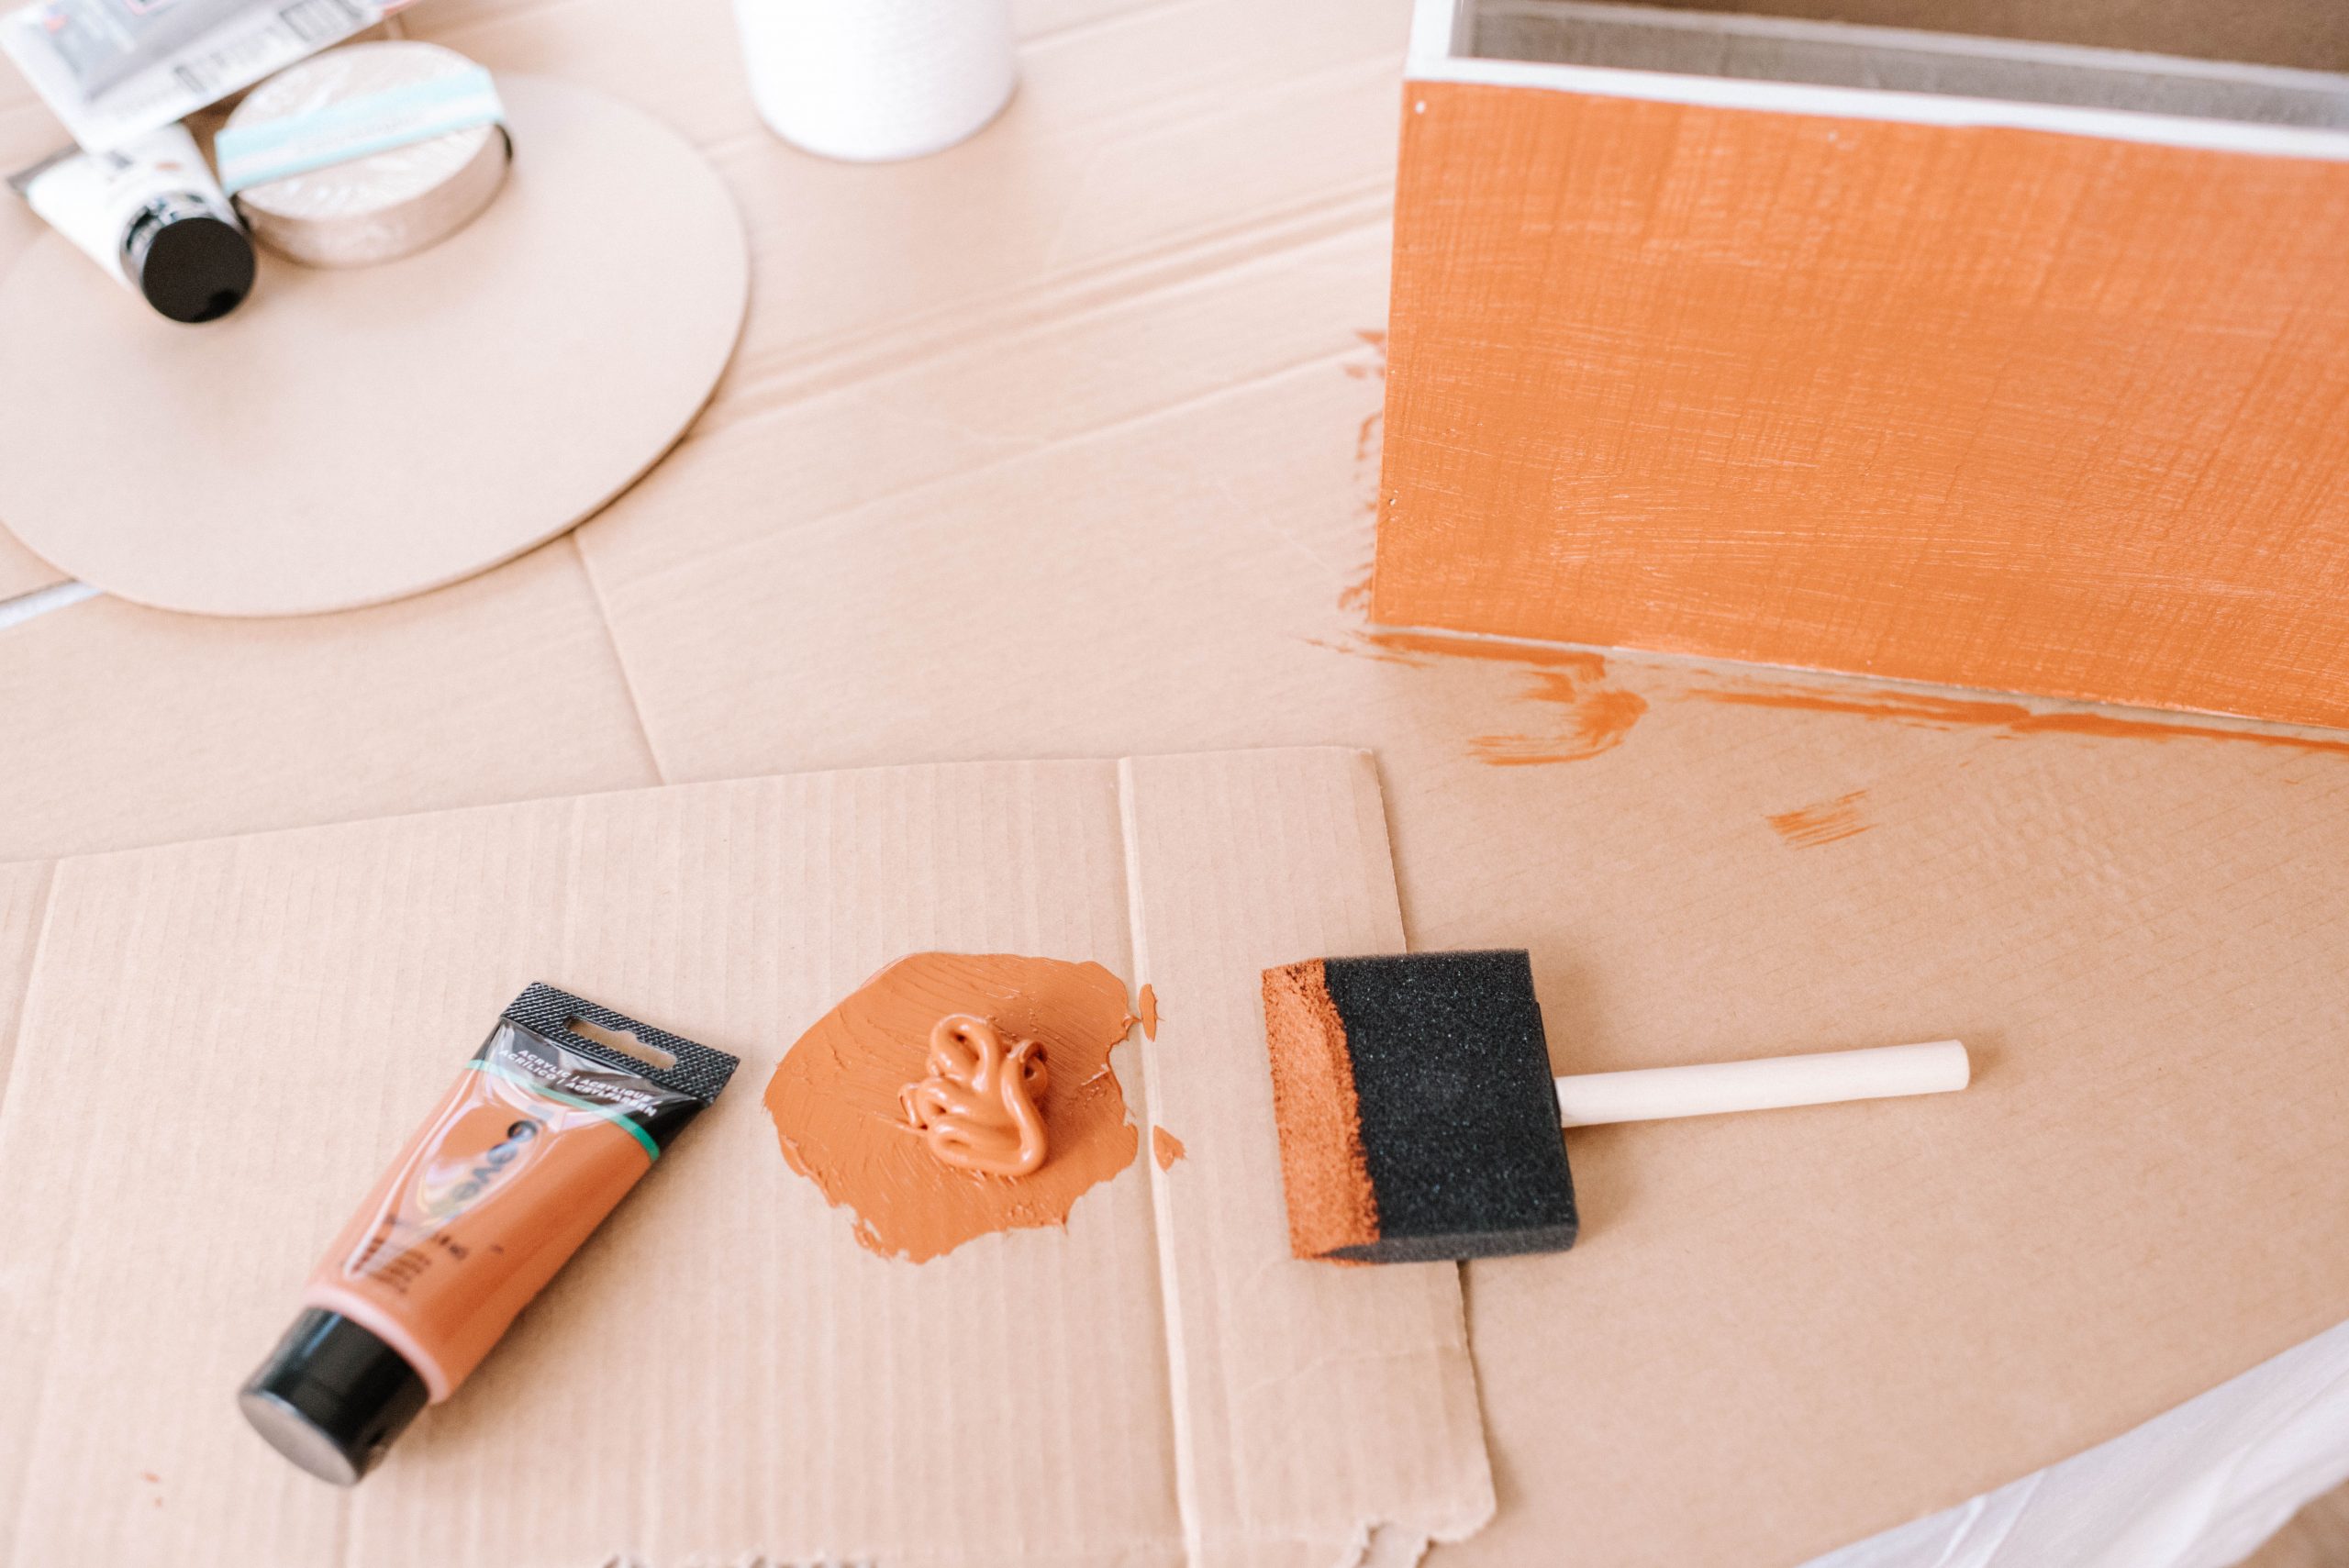
- Paint the box, large round placemat/cakeboard and the wheels (once the glue has dried). For this project I used a red tone and white for the wheels. Let those dry.
- Once the separate pieces are dry, drill holes in the centre of the wheels, and into corresponding positions on the box.
- Place a washer on top of a wheel face up, then insert the bolt. Push the bolt through the hole on the box, and then secure on the inside of the box with another washer and lock nut. Use a screwdriver and spanner to tighten. You can also simply glue the wheels on if you don’t need them to spin.
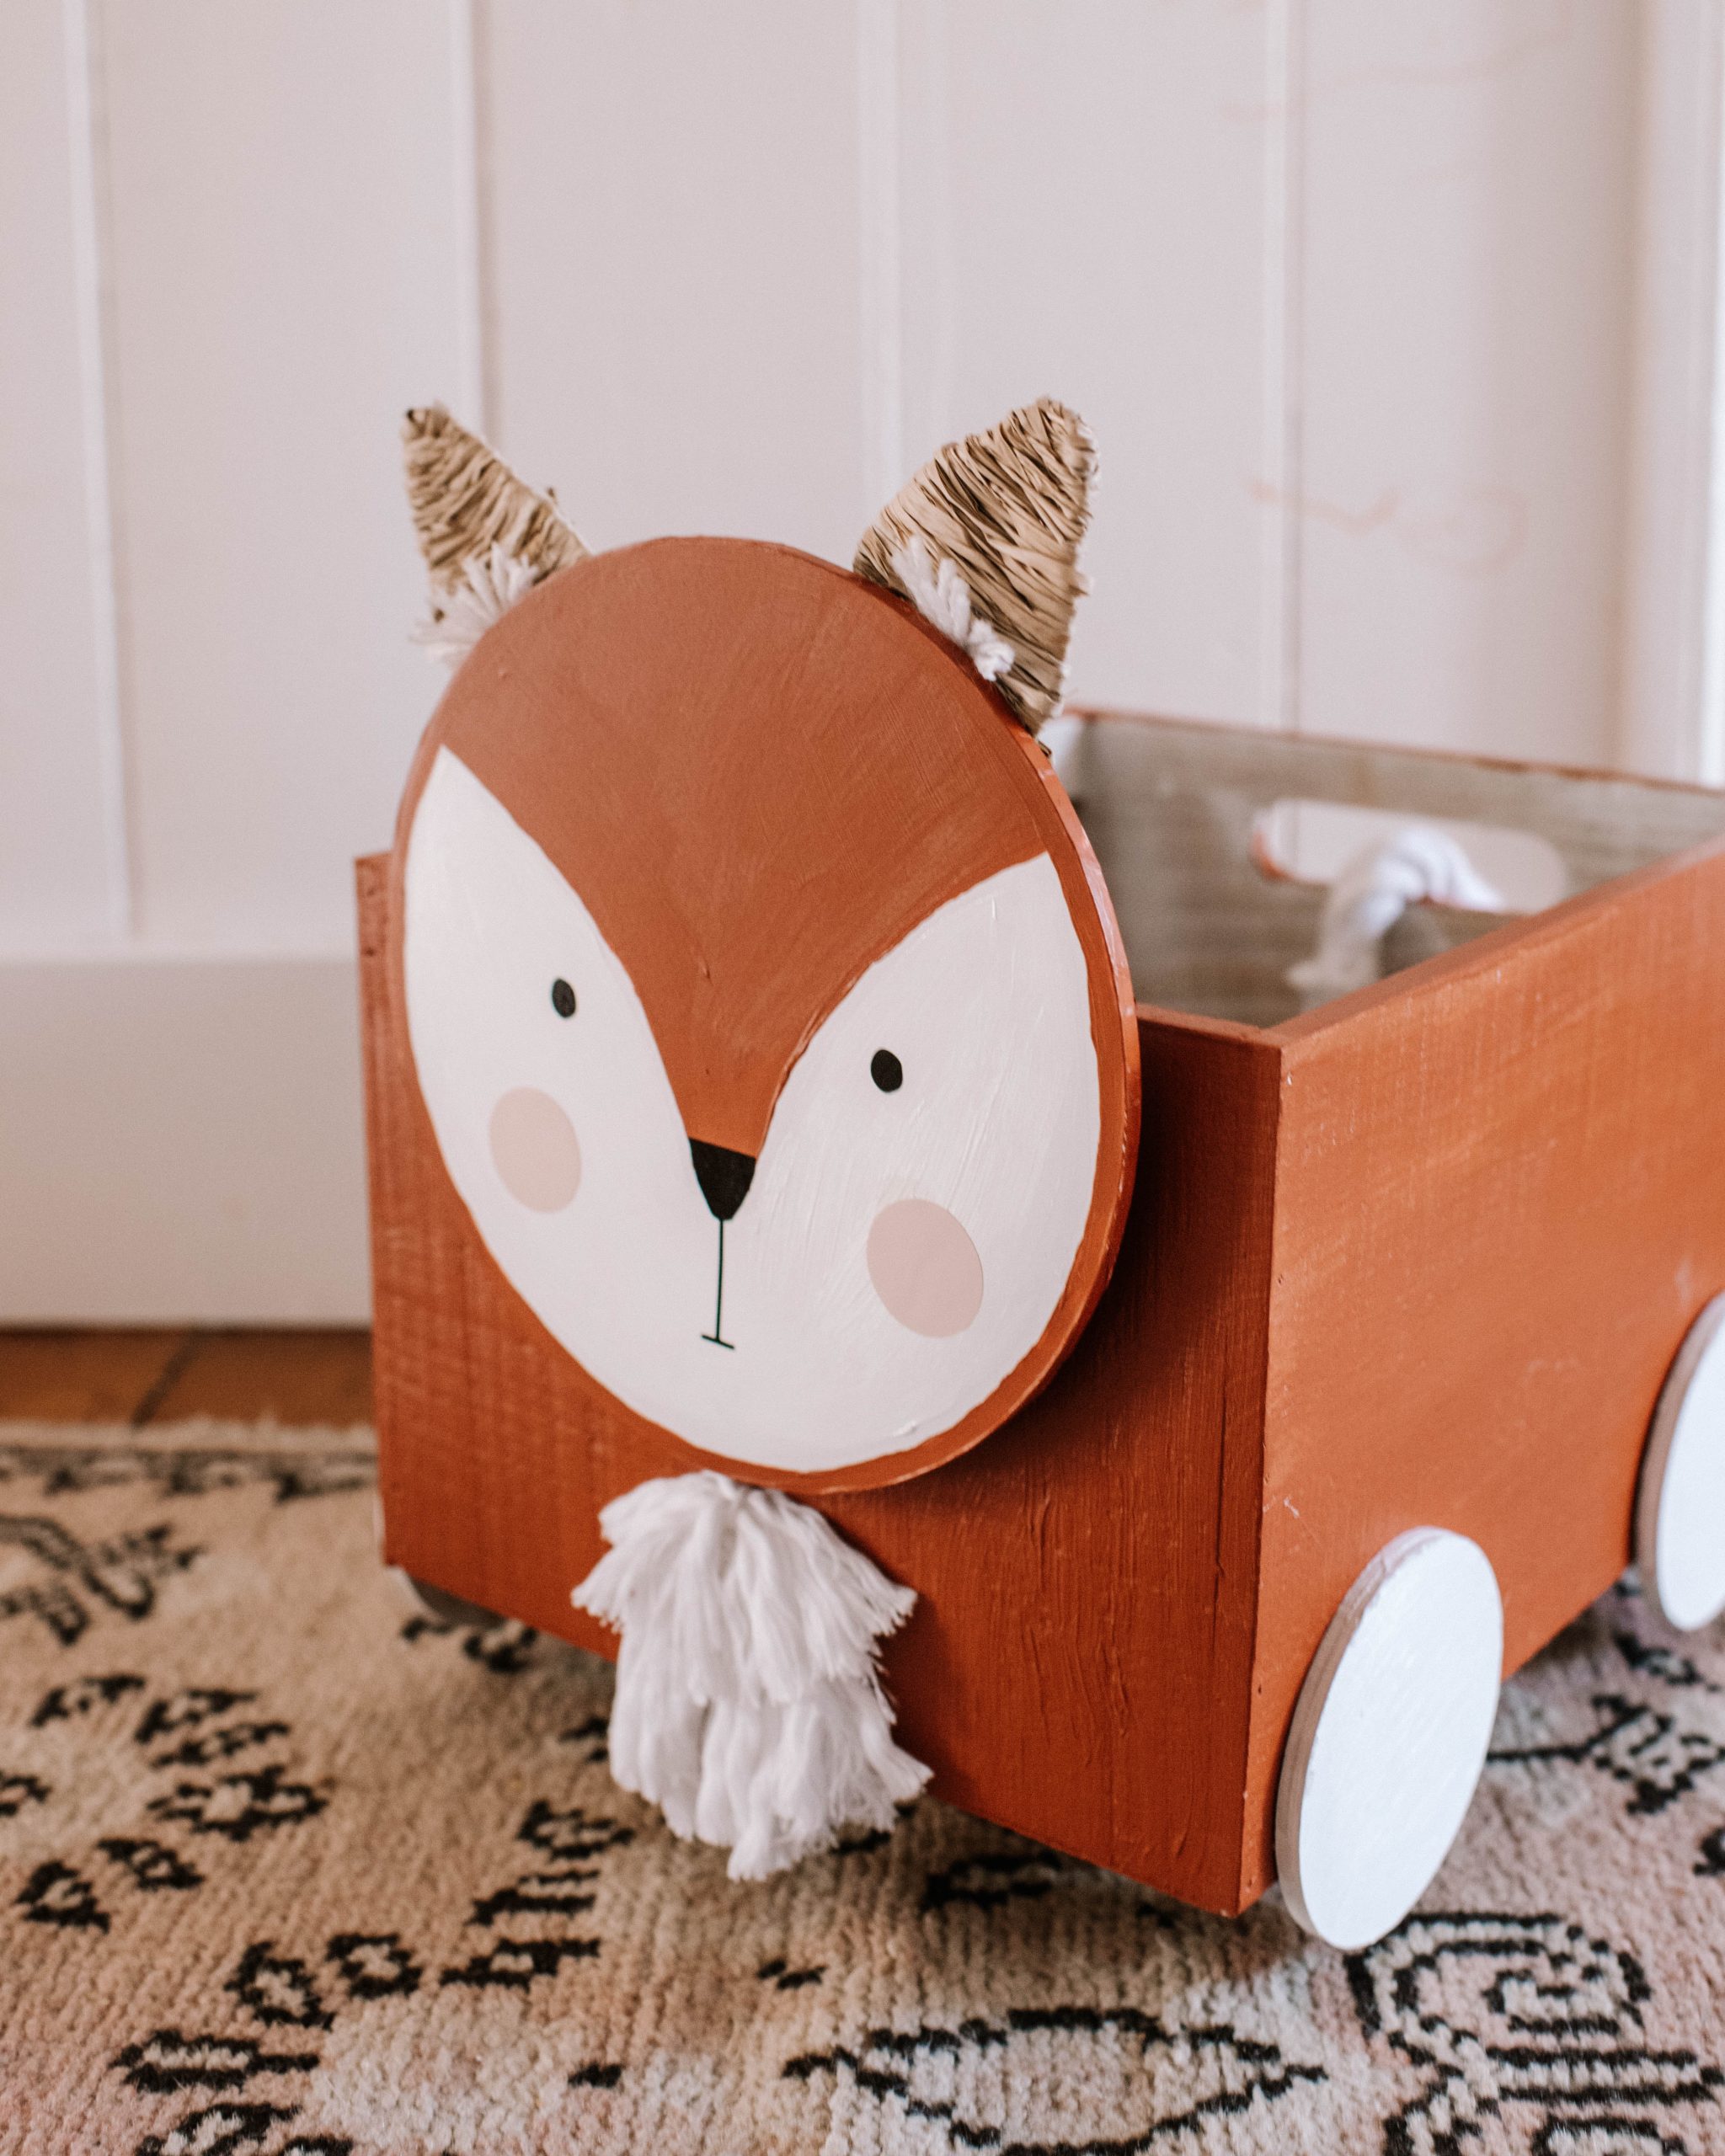
- Now it’s time to make the fox face. First I painted the nose and then added detail using my Circuit. I tweaked the lion face design that I used last time to match the nose and I also used two circles from Design Space. You can also simply paint the face by hand if you don’t have a Cricut, but the vinyl gives a more elegant look.
- For the ears, I made two V shaped pieces of wire, and then wrapped them in raffia, adding little which wool tufts. I then glued these to the back of the head.
- Glue the face onto the front of the box using superglue.
- For the chest tufts, I simply made a V of rope and then used a comb to fluff out the ends, and then glued two layers onto the chest of the box.
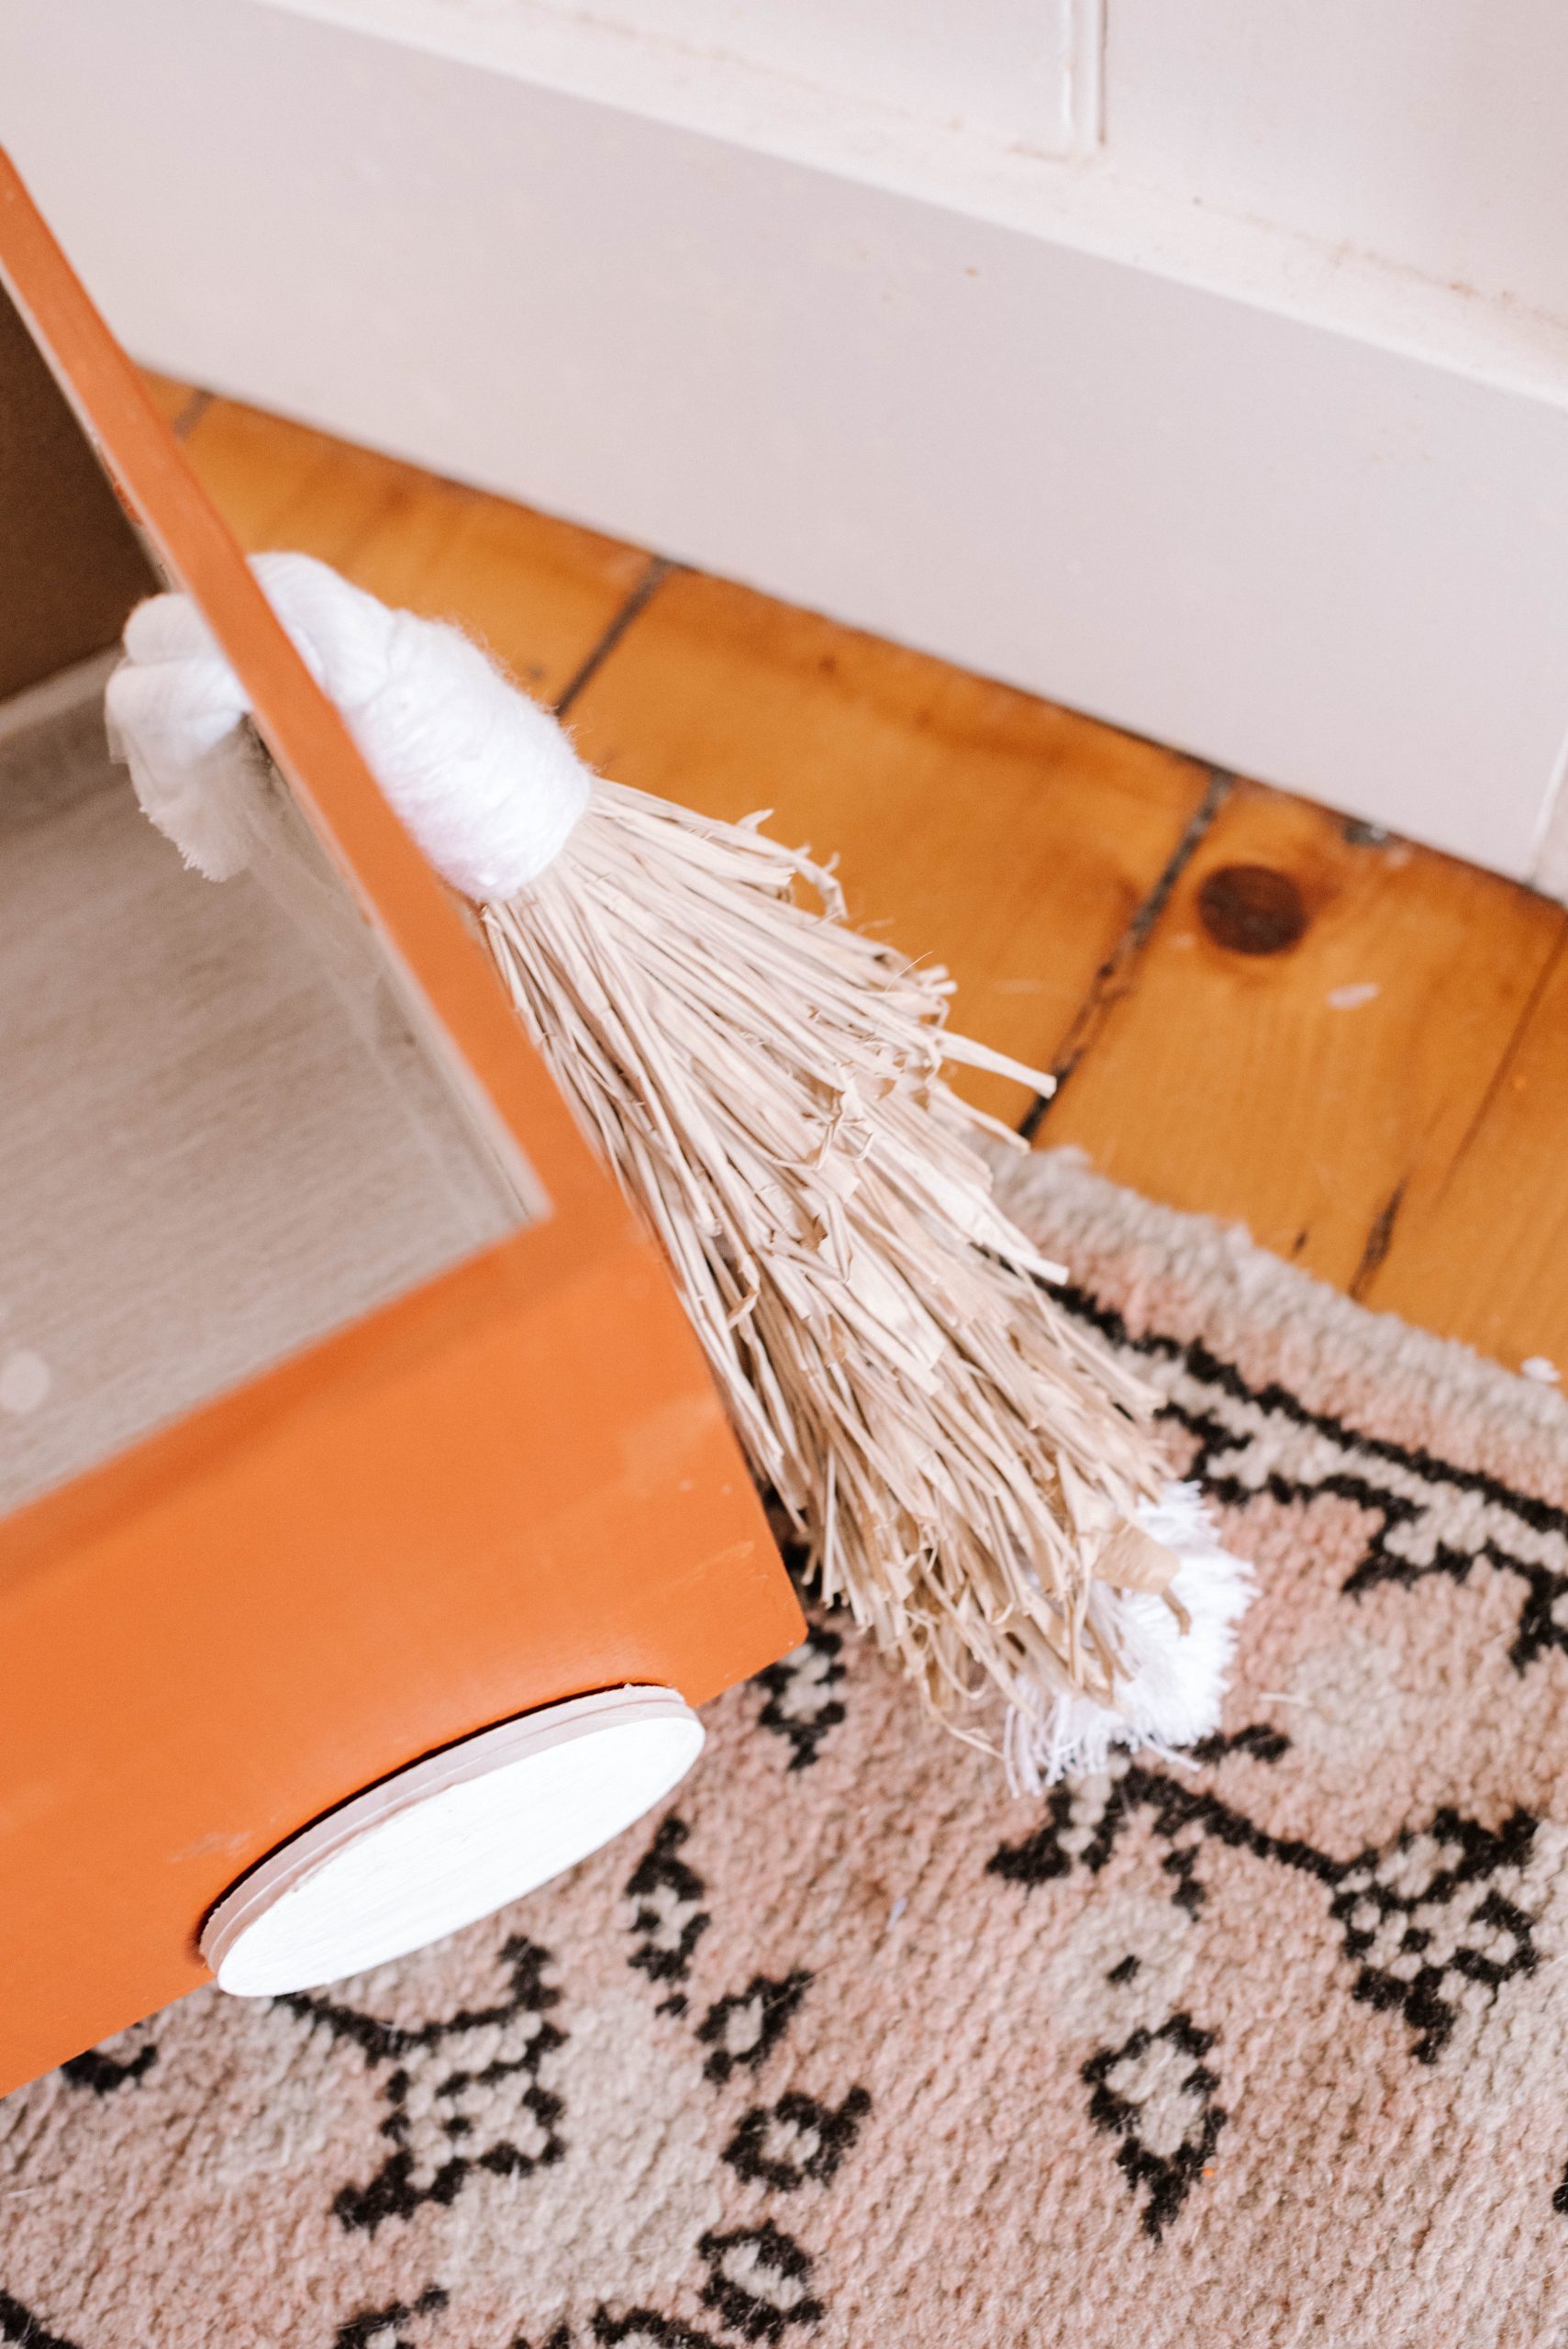
- To make the tail, I cut a length of chunky rope, and tied off close to one end using raffia. I then used raffia tufts all the way down and left the end of the rope showing at the end of the tail.


