Time flies when you’re having fun, and having babies, so it seems!
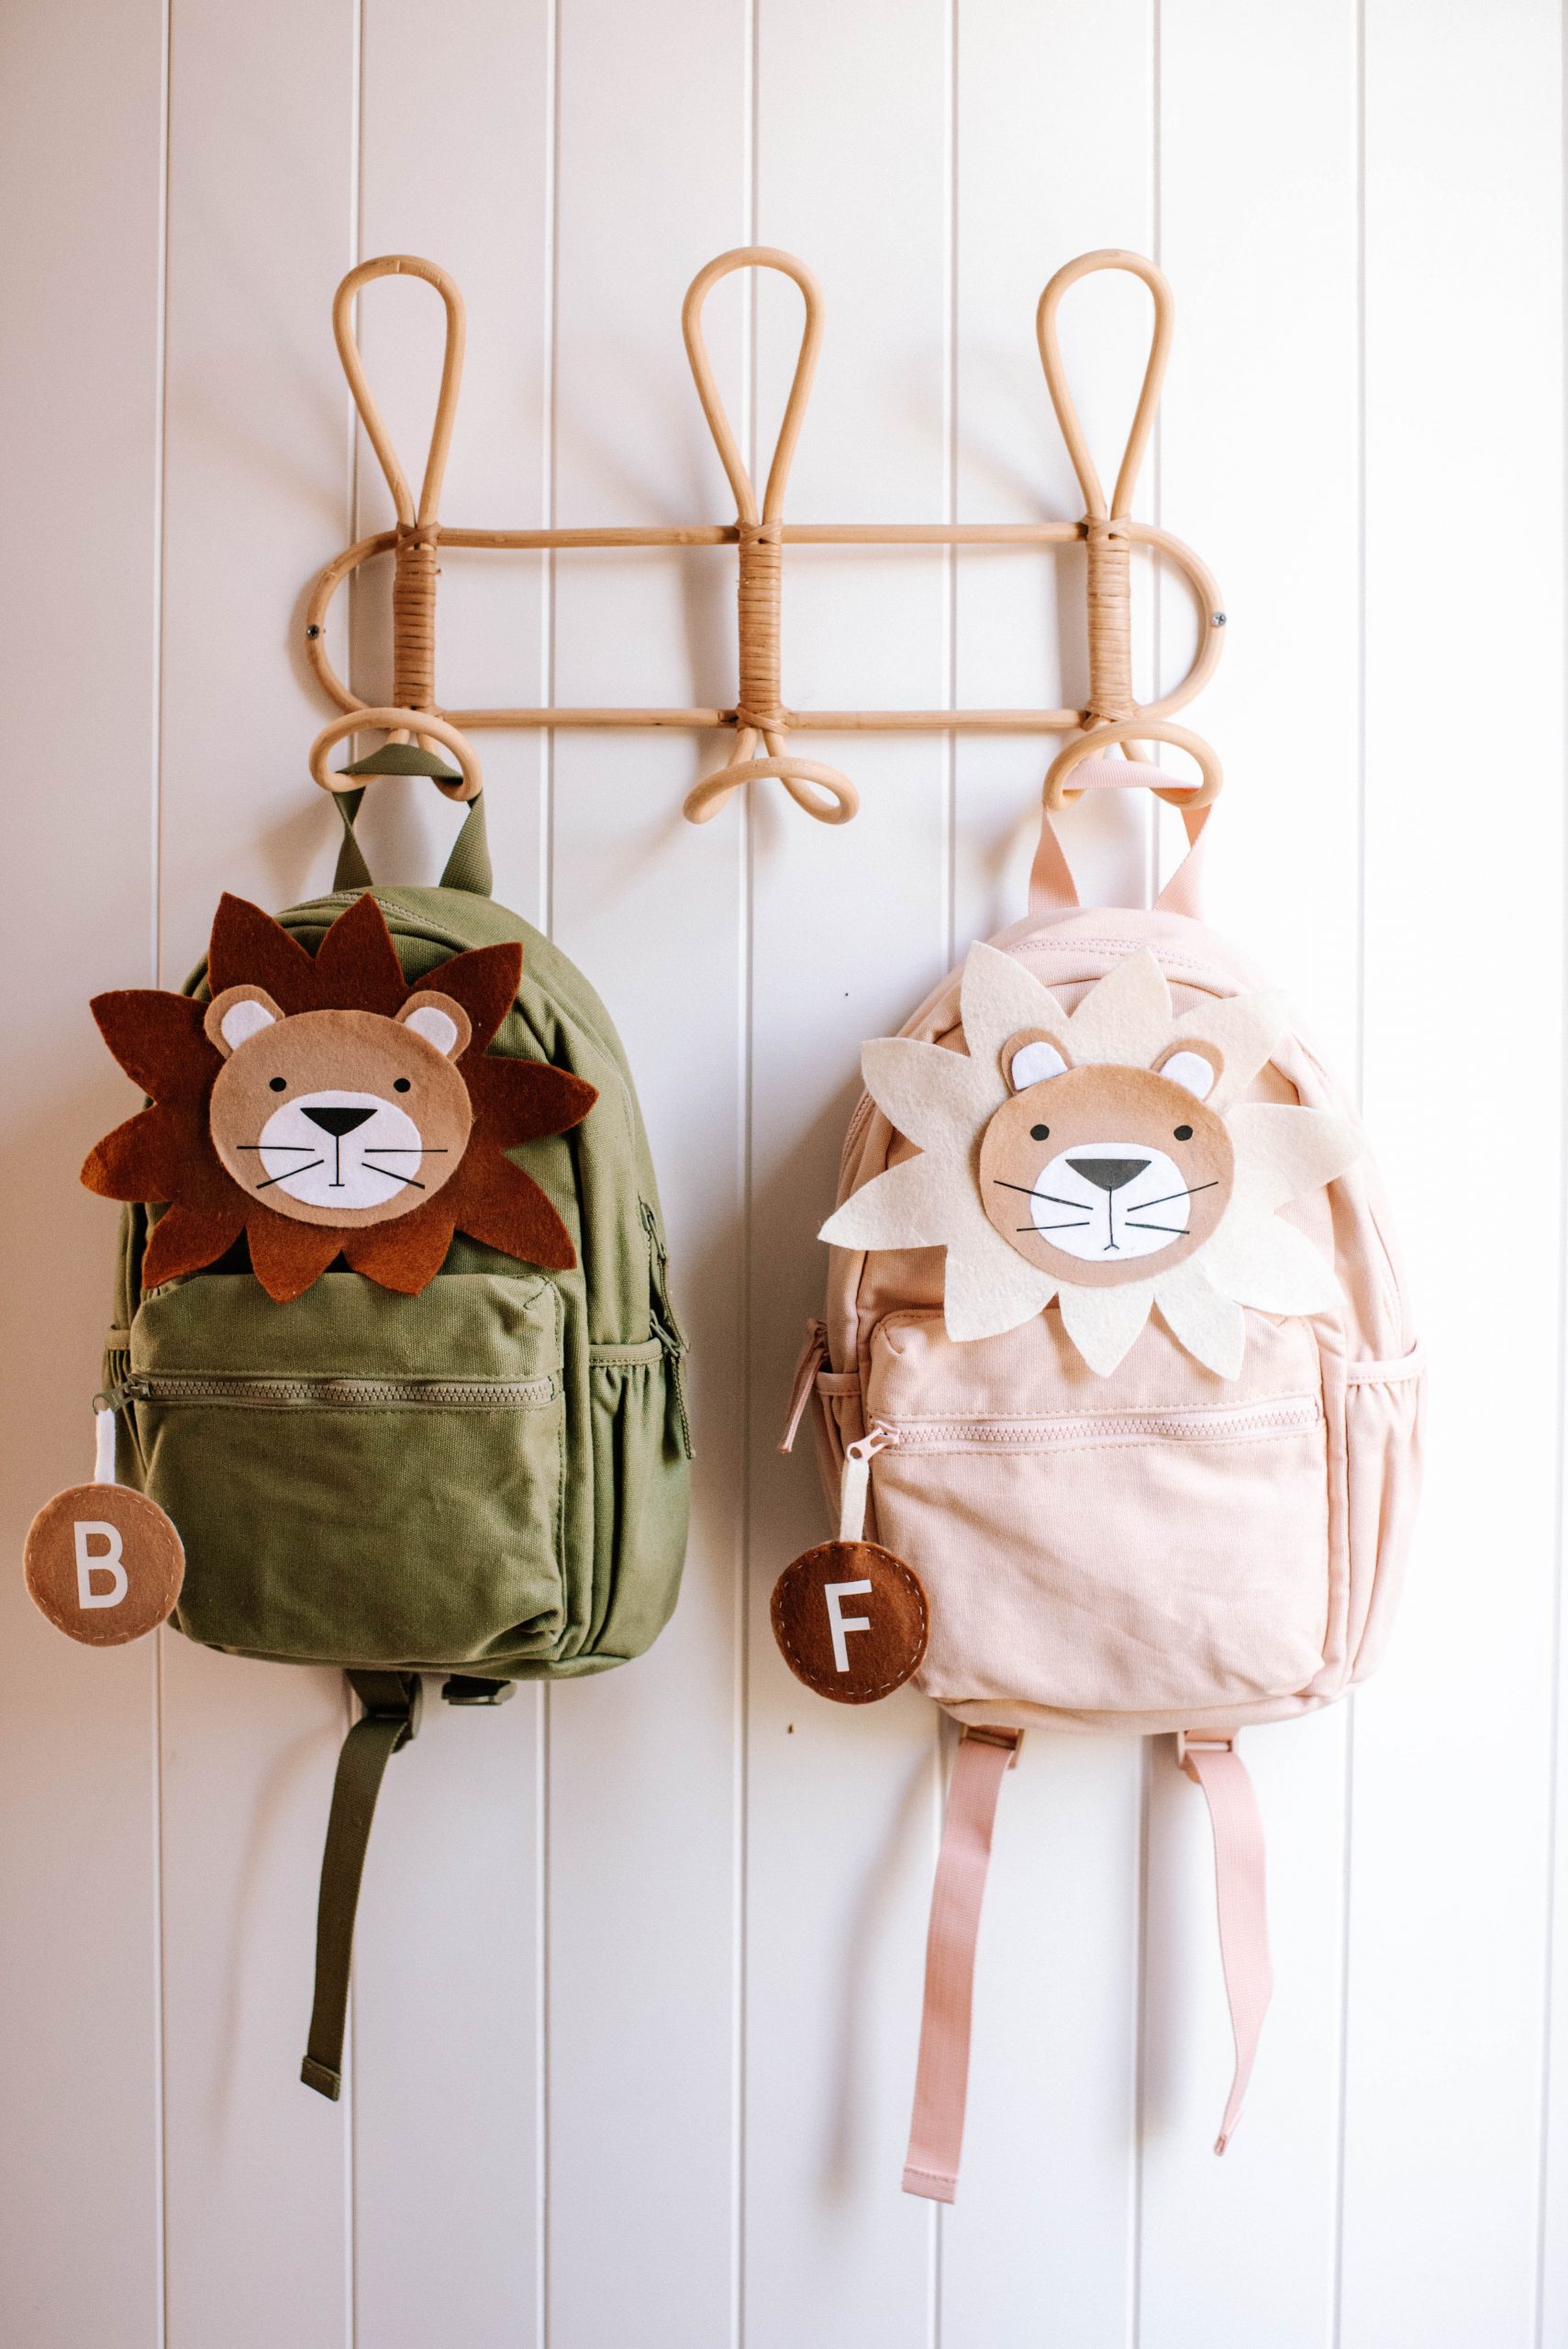
Honestly, I can’t believe Bobbie is only a few weeks off turning one. Time really has gone so fast in the last few years. She recently started going to kindy, and she loves it so much! I thought it would be nice to create a special backpack design for her and Frankie. They’re both our little lions so it made sense to use that as the inspiration. This is such an easy project and perfect for creating something cute for going back to school.
You Need
- Maker 3 Machine
- Cricut’s Iron On Smart Vinyl in Black and White
- Felt in various colours (this is from Spotlight)
- A strong grip cutting mat
- Cricut tools such as a weeding tool and the scraping tool
- Scissors
- Cricut EasyPress Mini (or an iron)
- Glue
- Needle and Thread (optional)
- Canvas backpacks (These are from Target)
Creating The Design
For this project, I measured the area of the backpack I wanted to place the lion, and used that
as a guide for creating shapes for the lion’s head and mane. I then found a lion image using the
image library and hid a few of the elements, leaving the face. I also wanted to make a little initial
tag to go on the bag, so I chose a font and size for the letter and laid it out on the canvas.
How To Make A Lion Backpack
2
Select Make It in the Design Space App and follow the prompts for cutting out the design (I used the fine point blade as indicated by Design Space). I made sure to colour code my design in the canvas section of the app, so that I could swap out the different colours of felt I wanted to use.
3
Then, I placed the black Iron On Transfer into the machine (you don’t need a mat if you are using the smart materials) and cut out the face, and then the initial in white.
4
Once you have all your pieces, it’s time to put the lion face and initial tag together. I took the felt and layered it on, first doing the ears and then main part of the face. I used glue to stick these in place.
5
I then took the EasyPress Mini and transferred the iron on transfer designs onto the felt part of the face.
7
To attach the face to the bag, I sewed it on by hand using a few small stitches, but you can also use glue for this. Finally, I attached the initial name tag to the zip at the front of the bag.
I love these bags and I know the girls are going to love them too. And they were so easy to make!
This project is in collaboration with Cricut.


