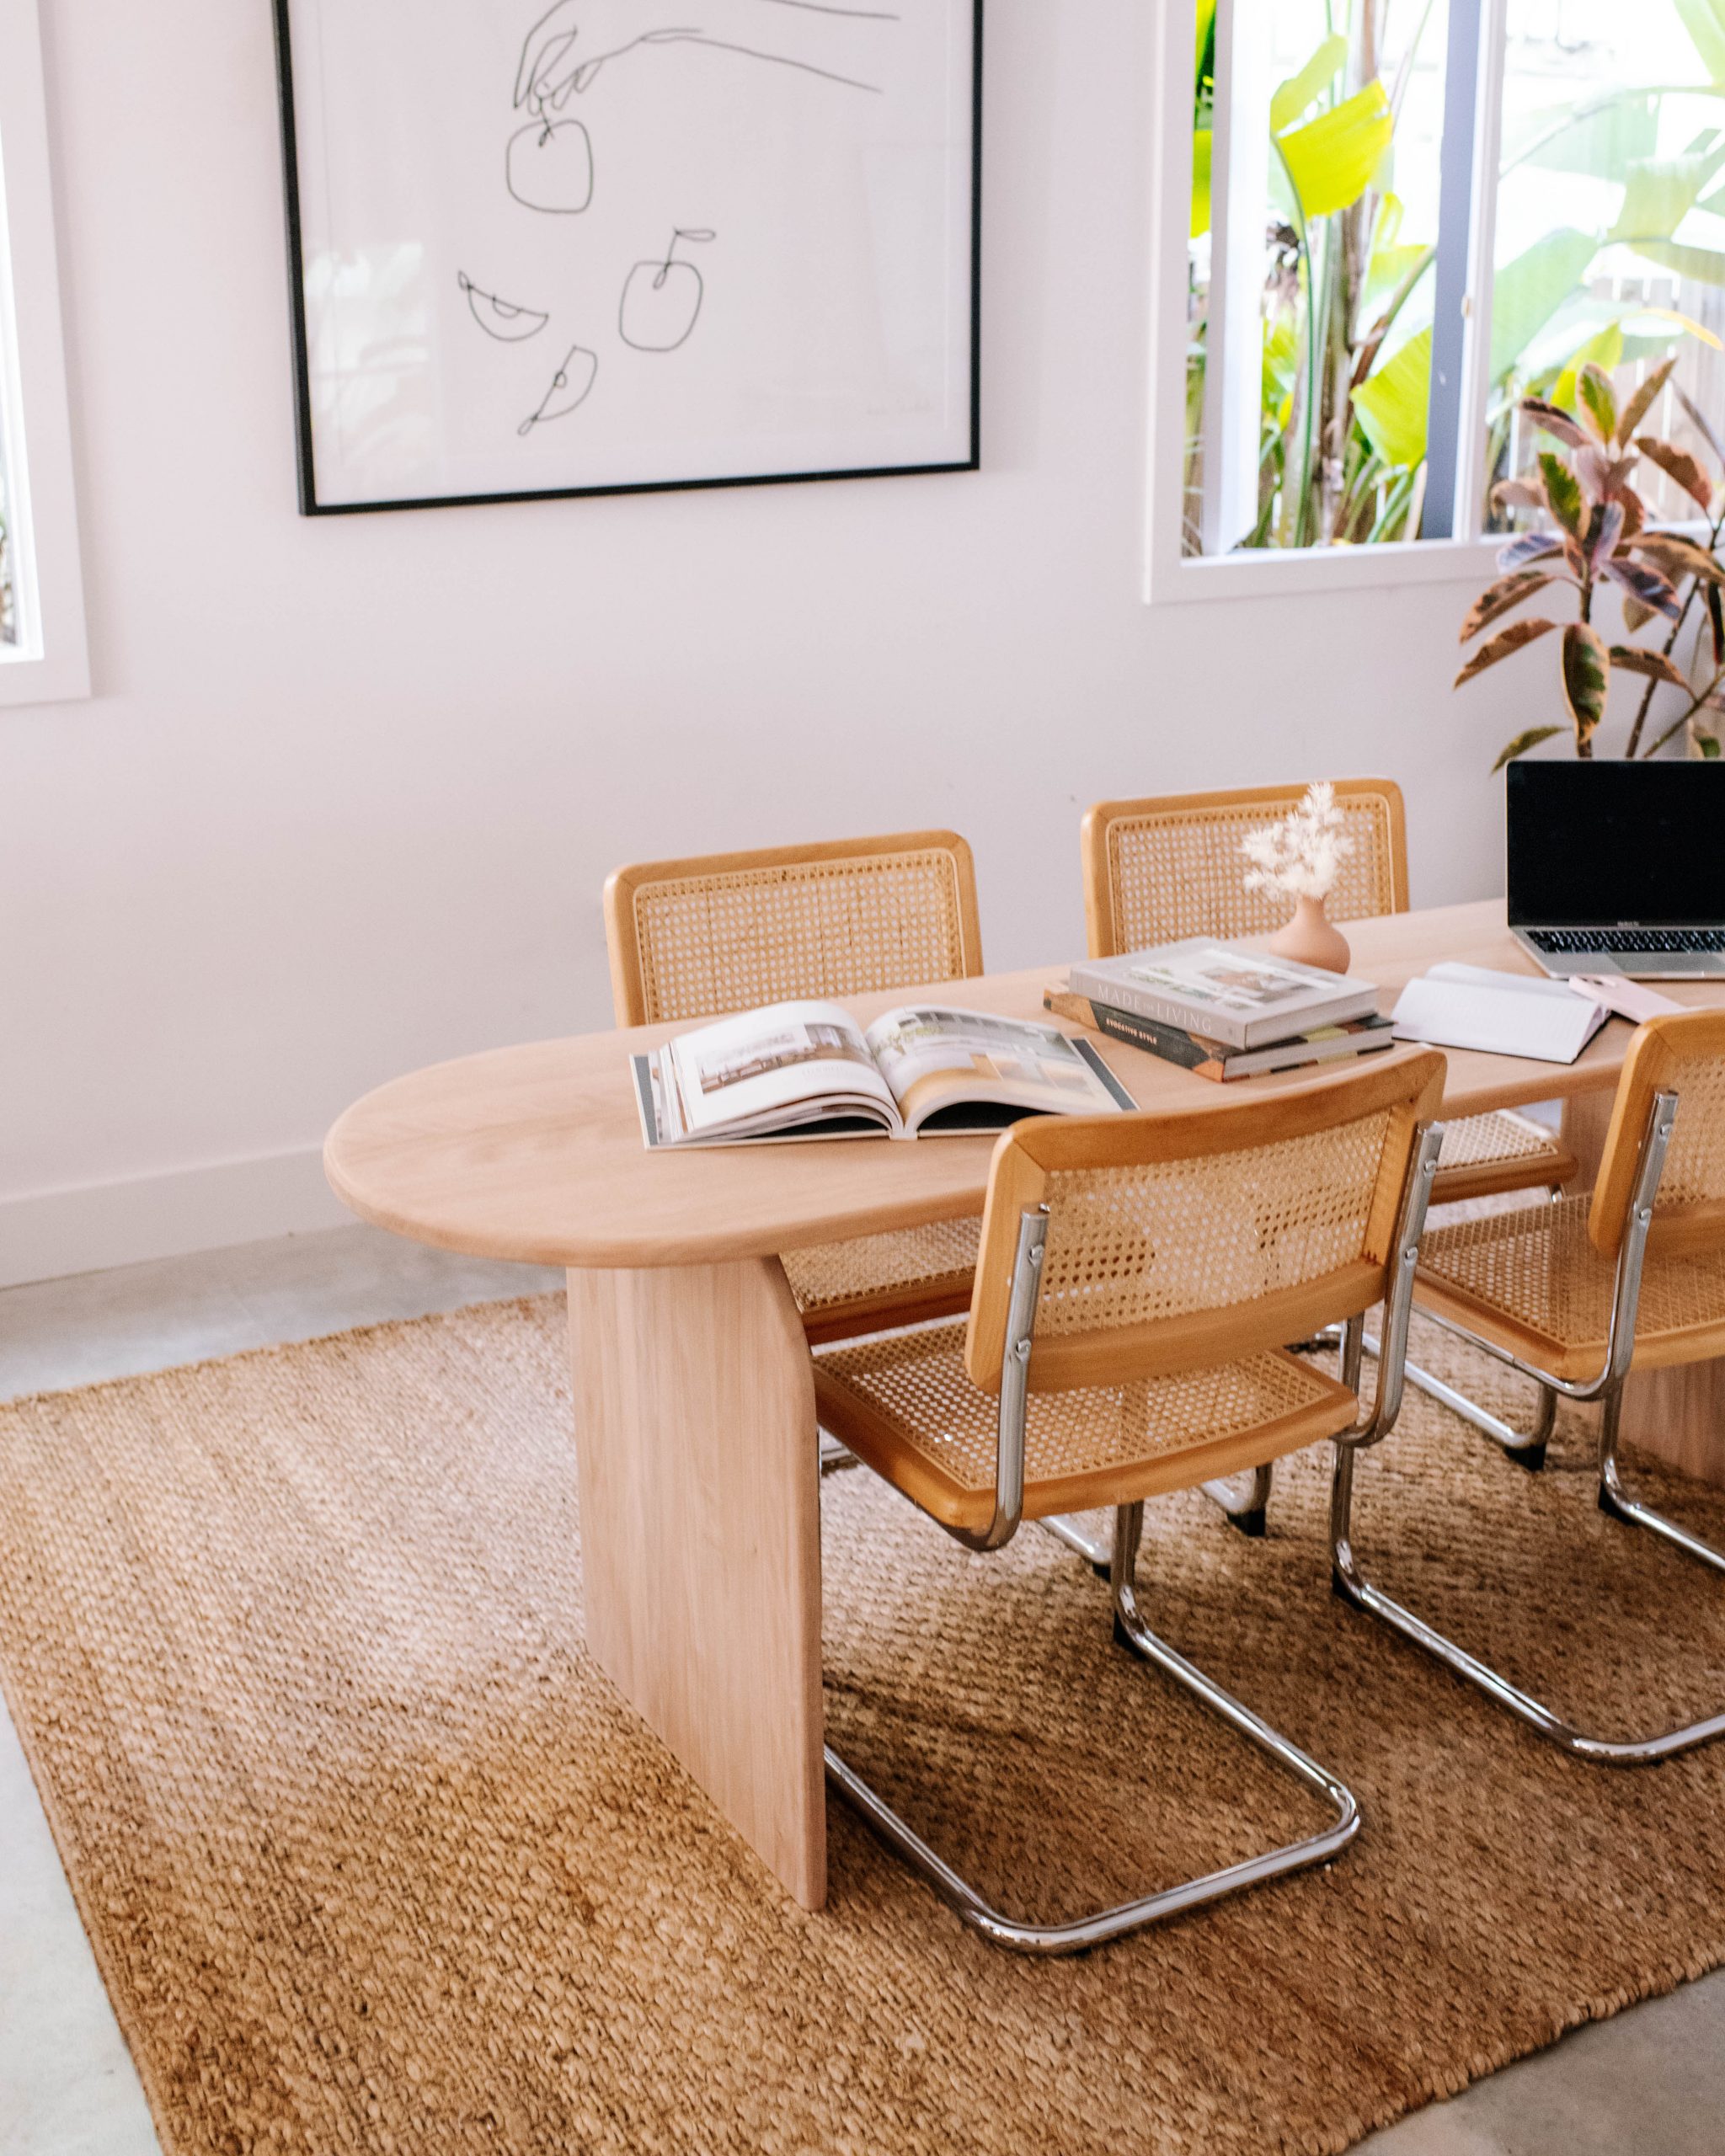
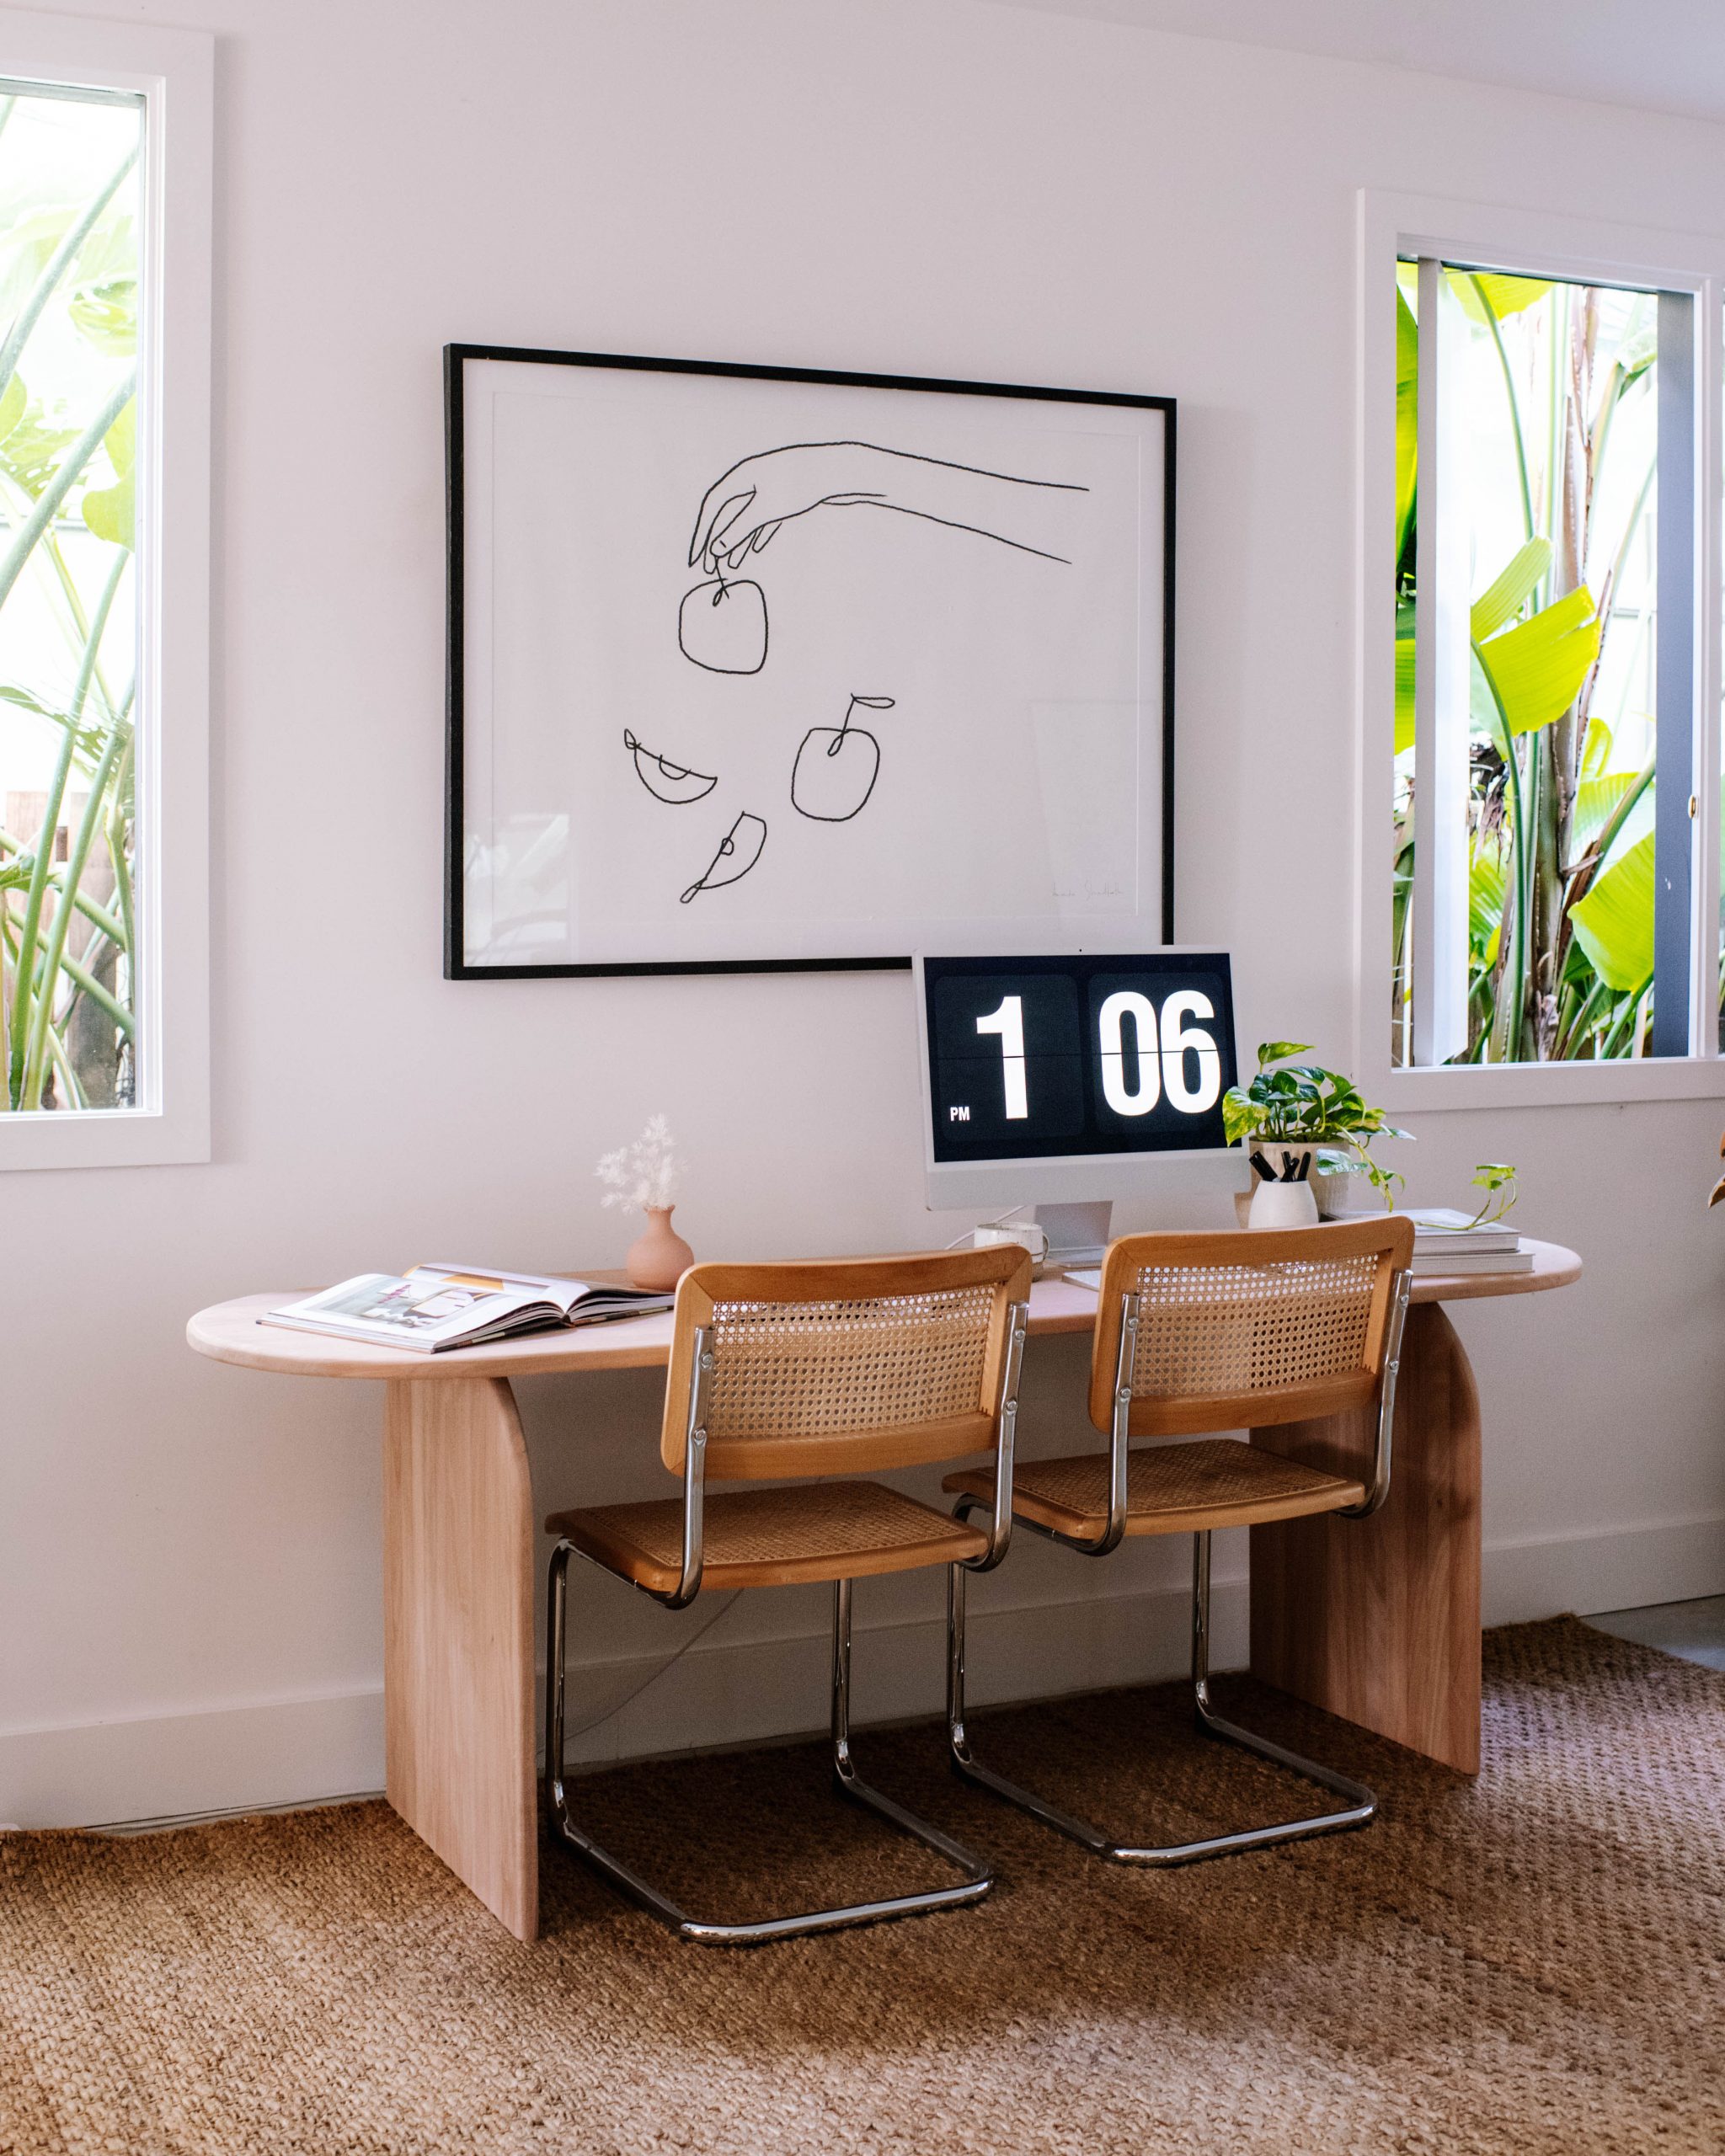
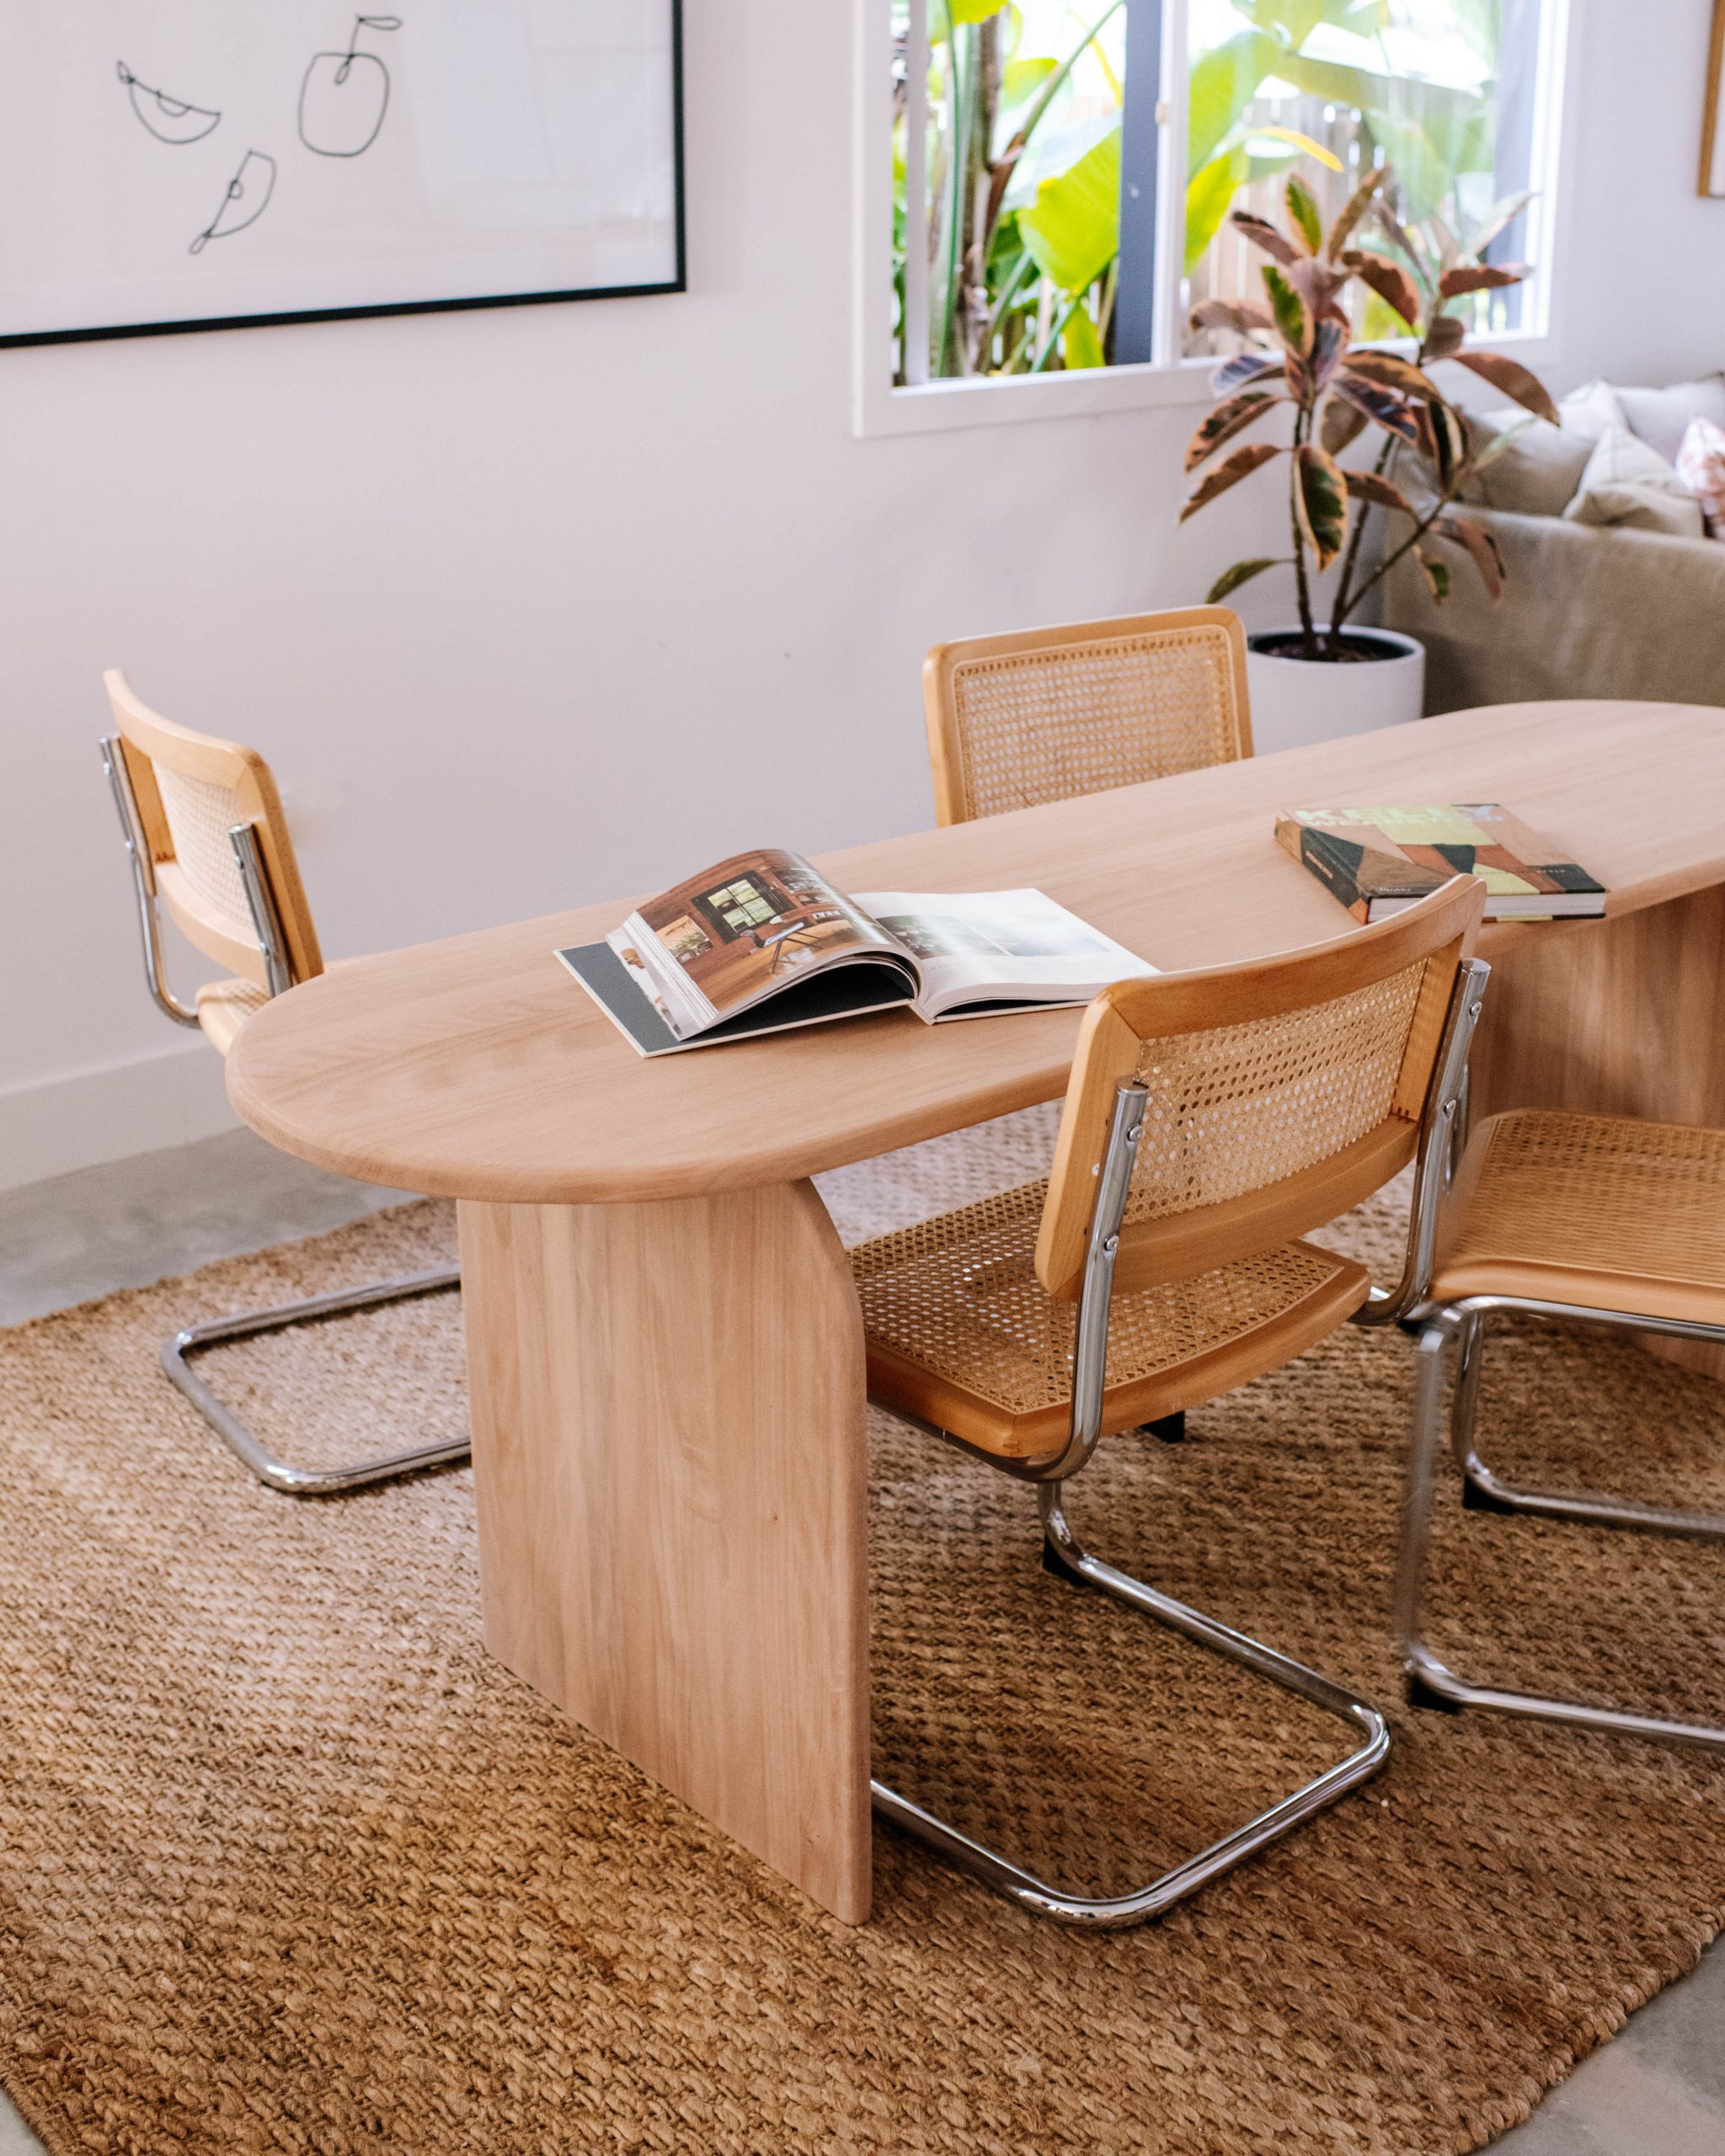
The team is growing, and I’ve needed to add some more desks to the office. But I’ve always struggled to find desks that suit my style and compliment the space as a whole. So I made my own!
I recently started dabbling with wooden furniture projects made from scratch like this TV unit and considering it’s DIY July, I decided to give desk building a try. I was inspired by soft rounded curves and the supple quality of these gorgeous wooden panels to make this desk.
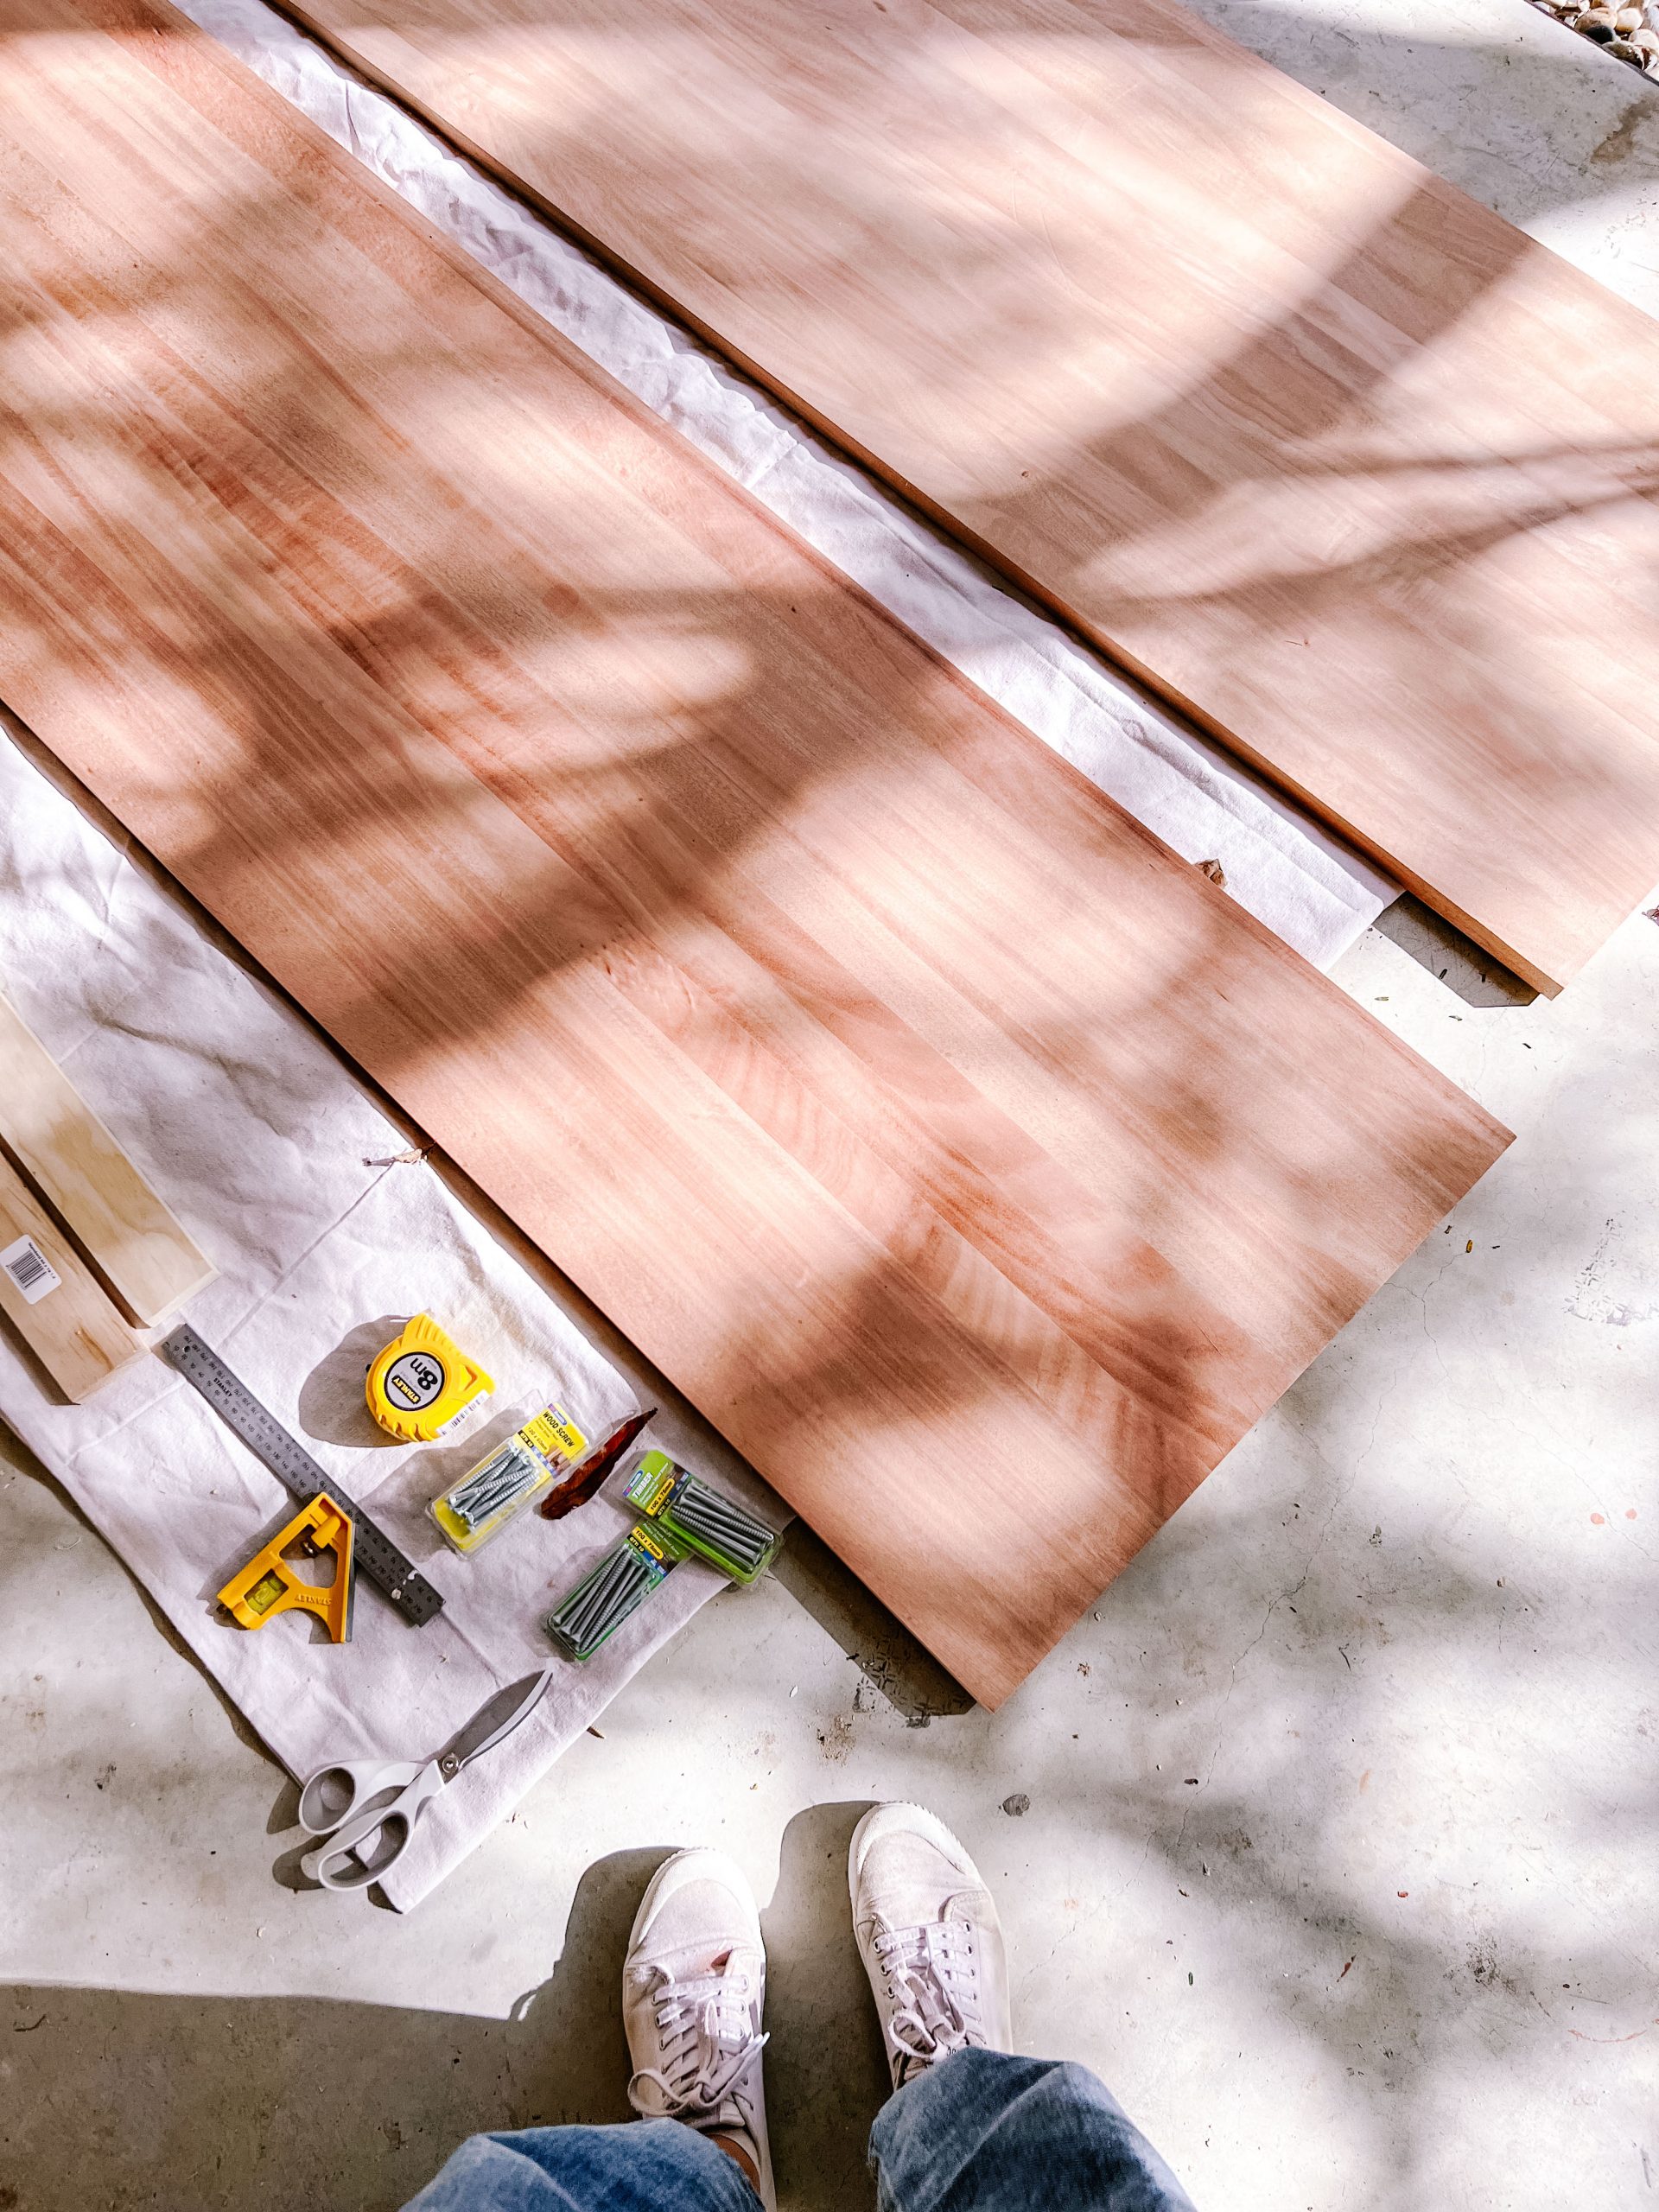
Materials you’ll need to make a timber desk
- SpecRite 2100 x 600mm 26mm Timber Panels (2)
- 20 x 20 x 15 x 1.4mm White Round Angle Brackets (4)
- 50 x 50 x 20 x 1.8mm White Round Angle Brackets (4)
- Sander
- Jigsaw
- Timber Floor wax (I used this one)
- Drill
- Wood Screws
- Measuring Tape
- Pencil
1
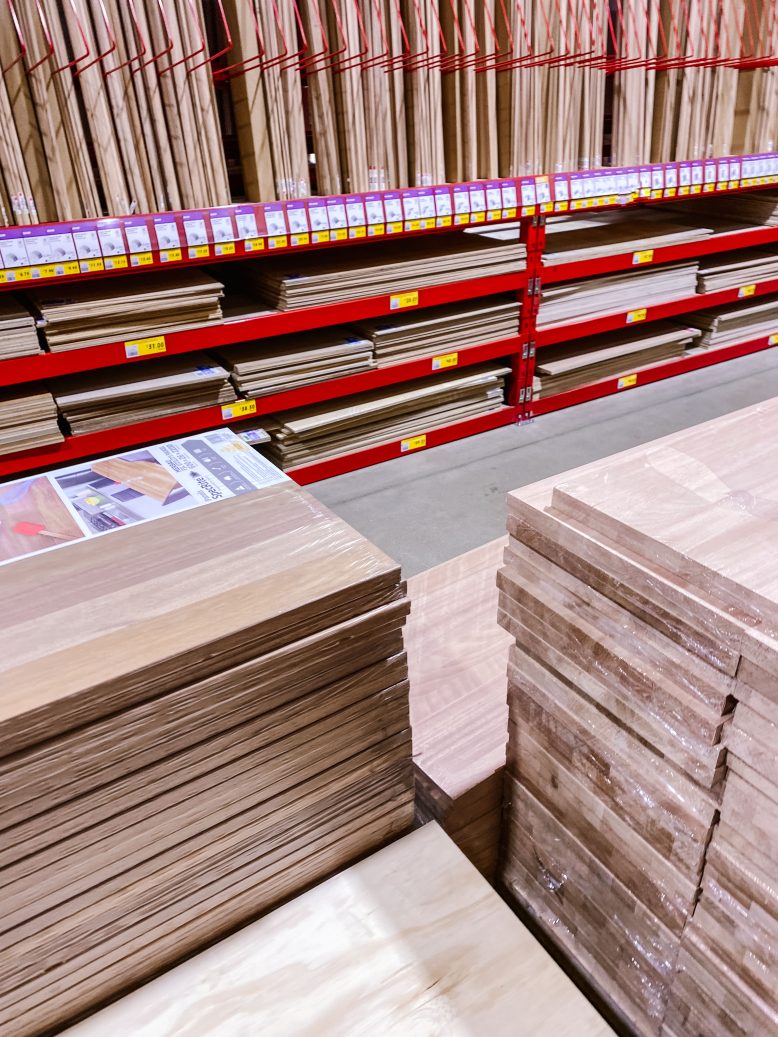
First I stopped by my local Bunnings and picked up two Specrite Timber Panels, one for the top and one for the legs!
2
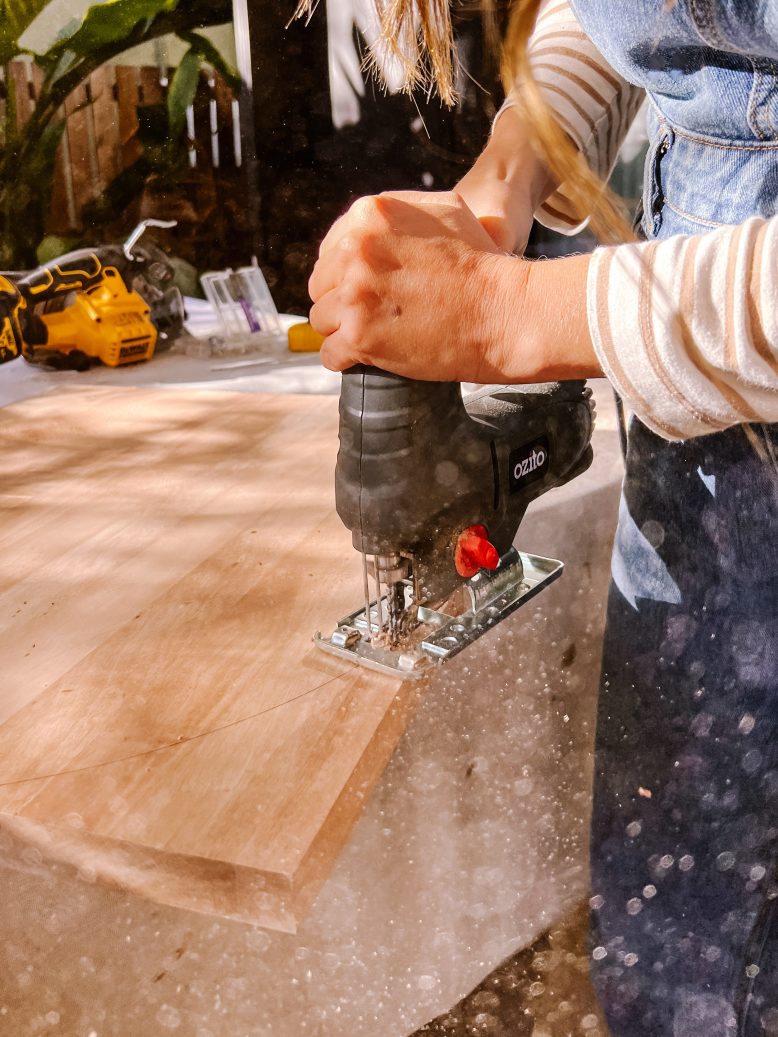
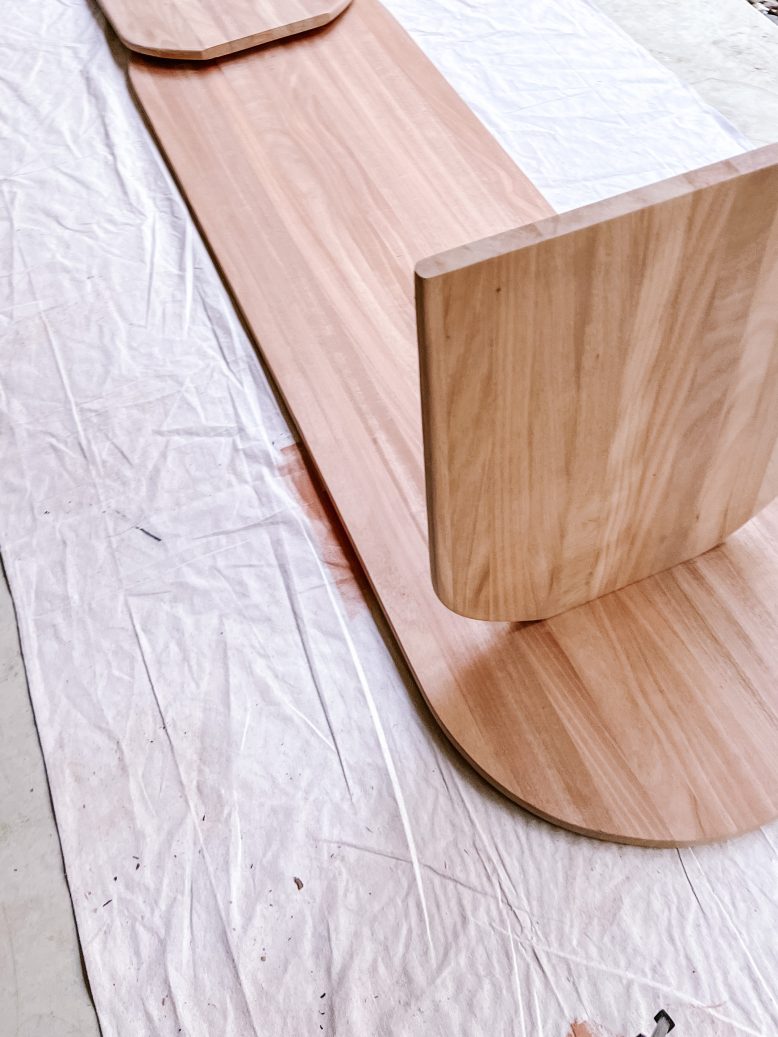
Once I picked up the timber panels from Bunnings, I had to round out the corners of one for the desk top. I decided to use the pencil and string method to achieve this.
3
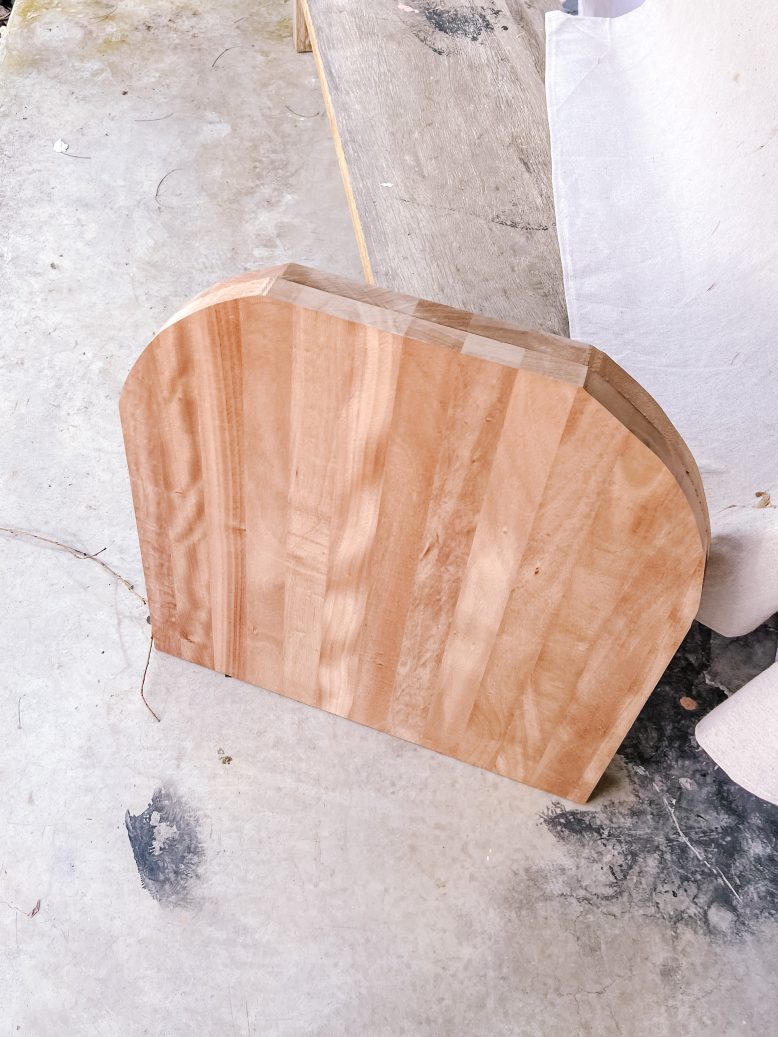
Next is the legs! I cut these to around 750mm which is the perfect height for a desk, and used the same pencil and string method to create an arch, but this time left a flat section to allow the table top to attach. Make sure you leave a flat surface on the top of the arch so that they sit flat under the top.
4
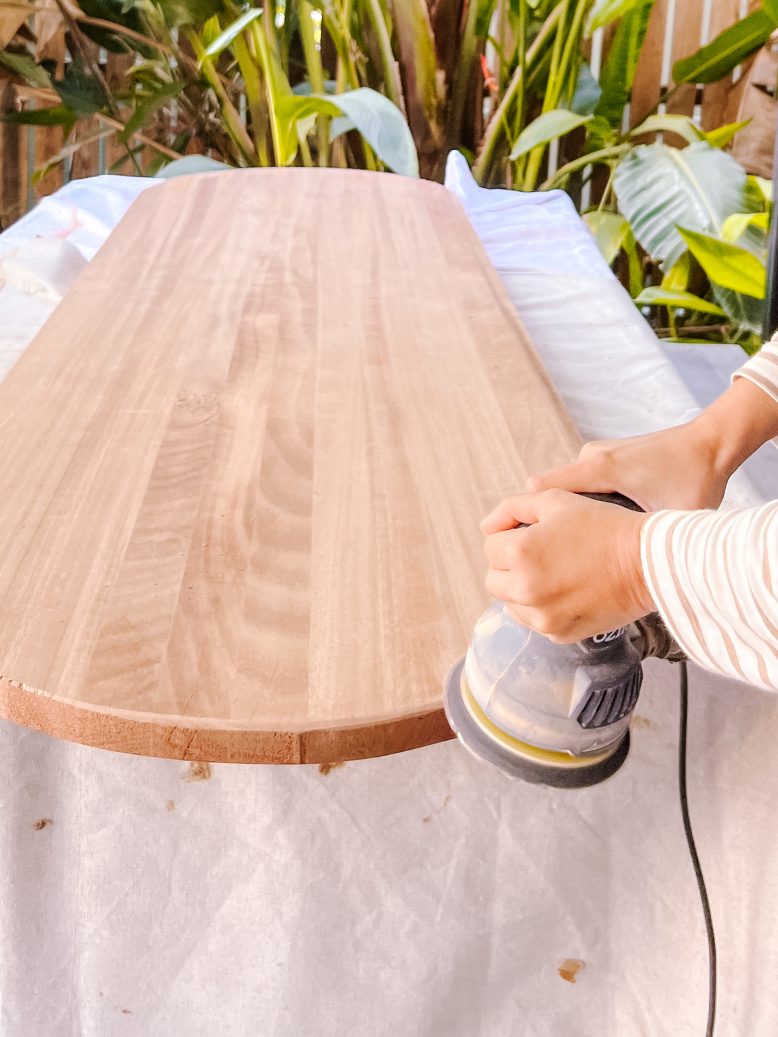
Because I wanted a nice and smooth rounded edge, I decided to start the sanding process with a 60 grit sandpaper and then switched to a 180 to finish up. I sanded all the edges to give a soft rounded look. I feel like this made the most difference to the look of the wood.
5
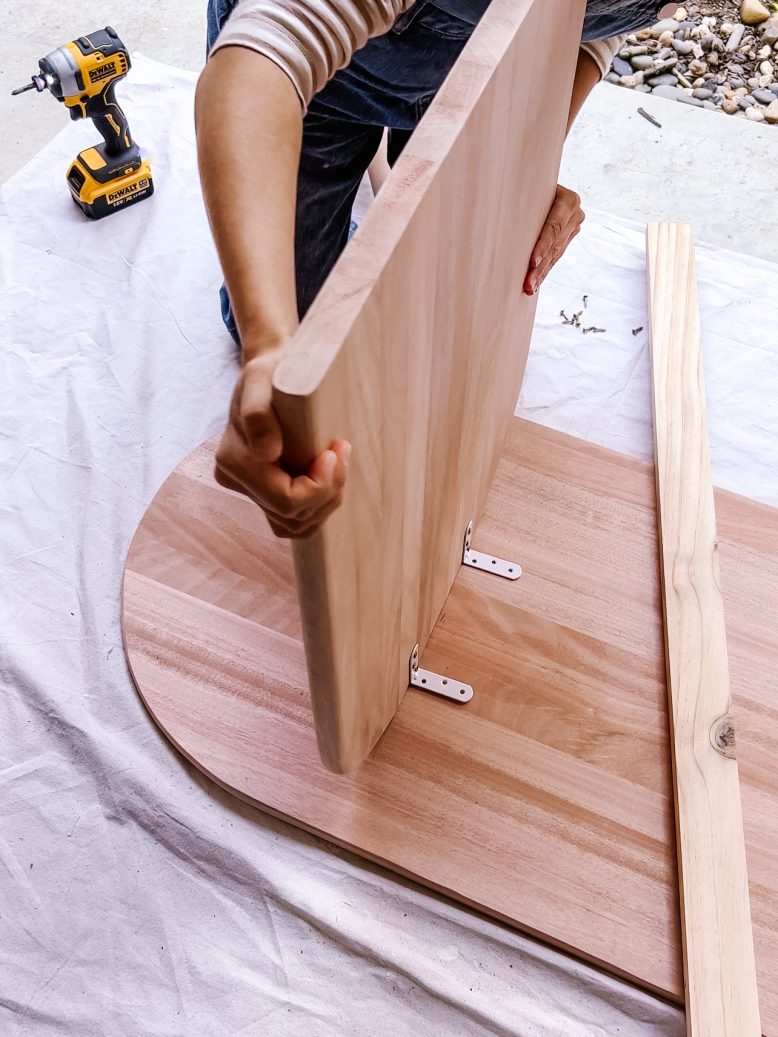
Now to assemble! Because I'll only be using this piece as an office desk, I chose to keep the method of assembling fairly simple with two different sized brackets. The larger bracket for the inside half and the smaller brackets for the outside (sod it's less visible). Note: If you're wanting a really solid/stable piece, I would suggest adding a cross bar connecting the legs. I didn't add this simply because I knew it wouldn't be required for the purpose I was building it for.
6
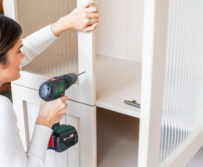
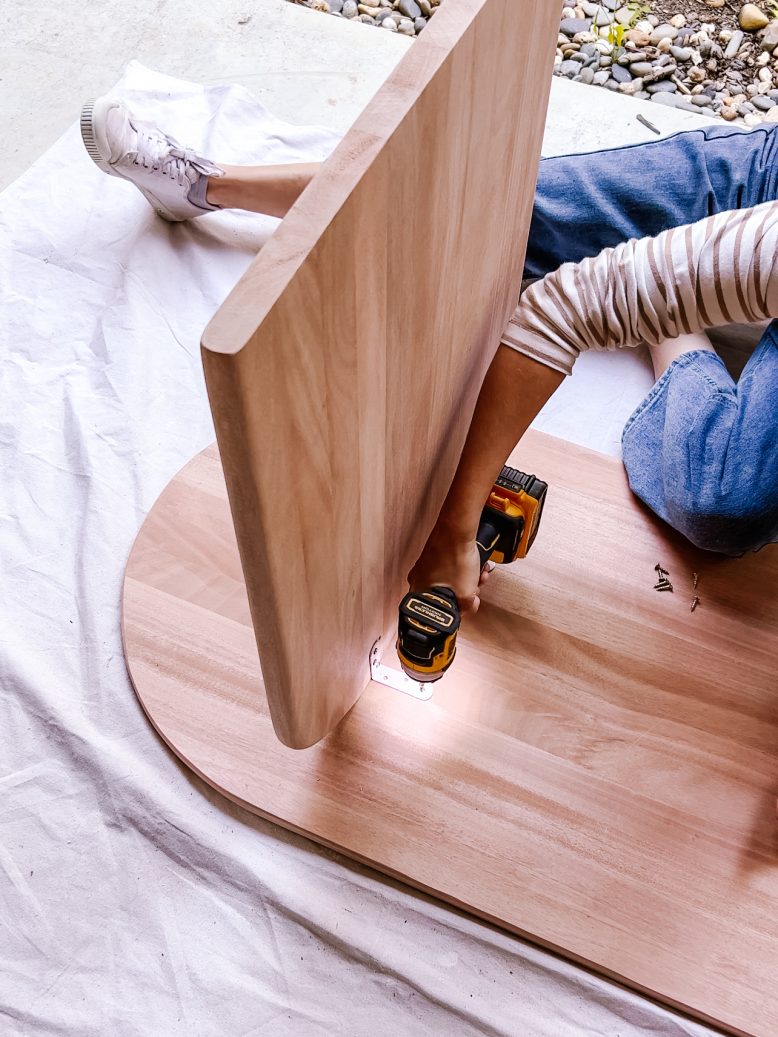
To centre the legs perfectly, I would suggest drilling the inside (larger) brackets first to the leg and then standing the leg up and screwing it into the top once centred.
7
After drilling in all eight brackets I finished this project off with a coat of timber floor wax to protect the wood but maintain the beautiful natural colour.
Voila!
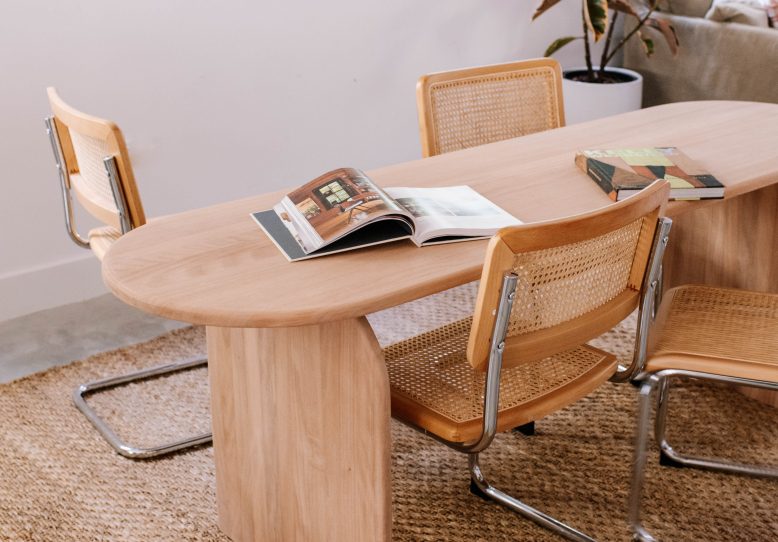
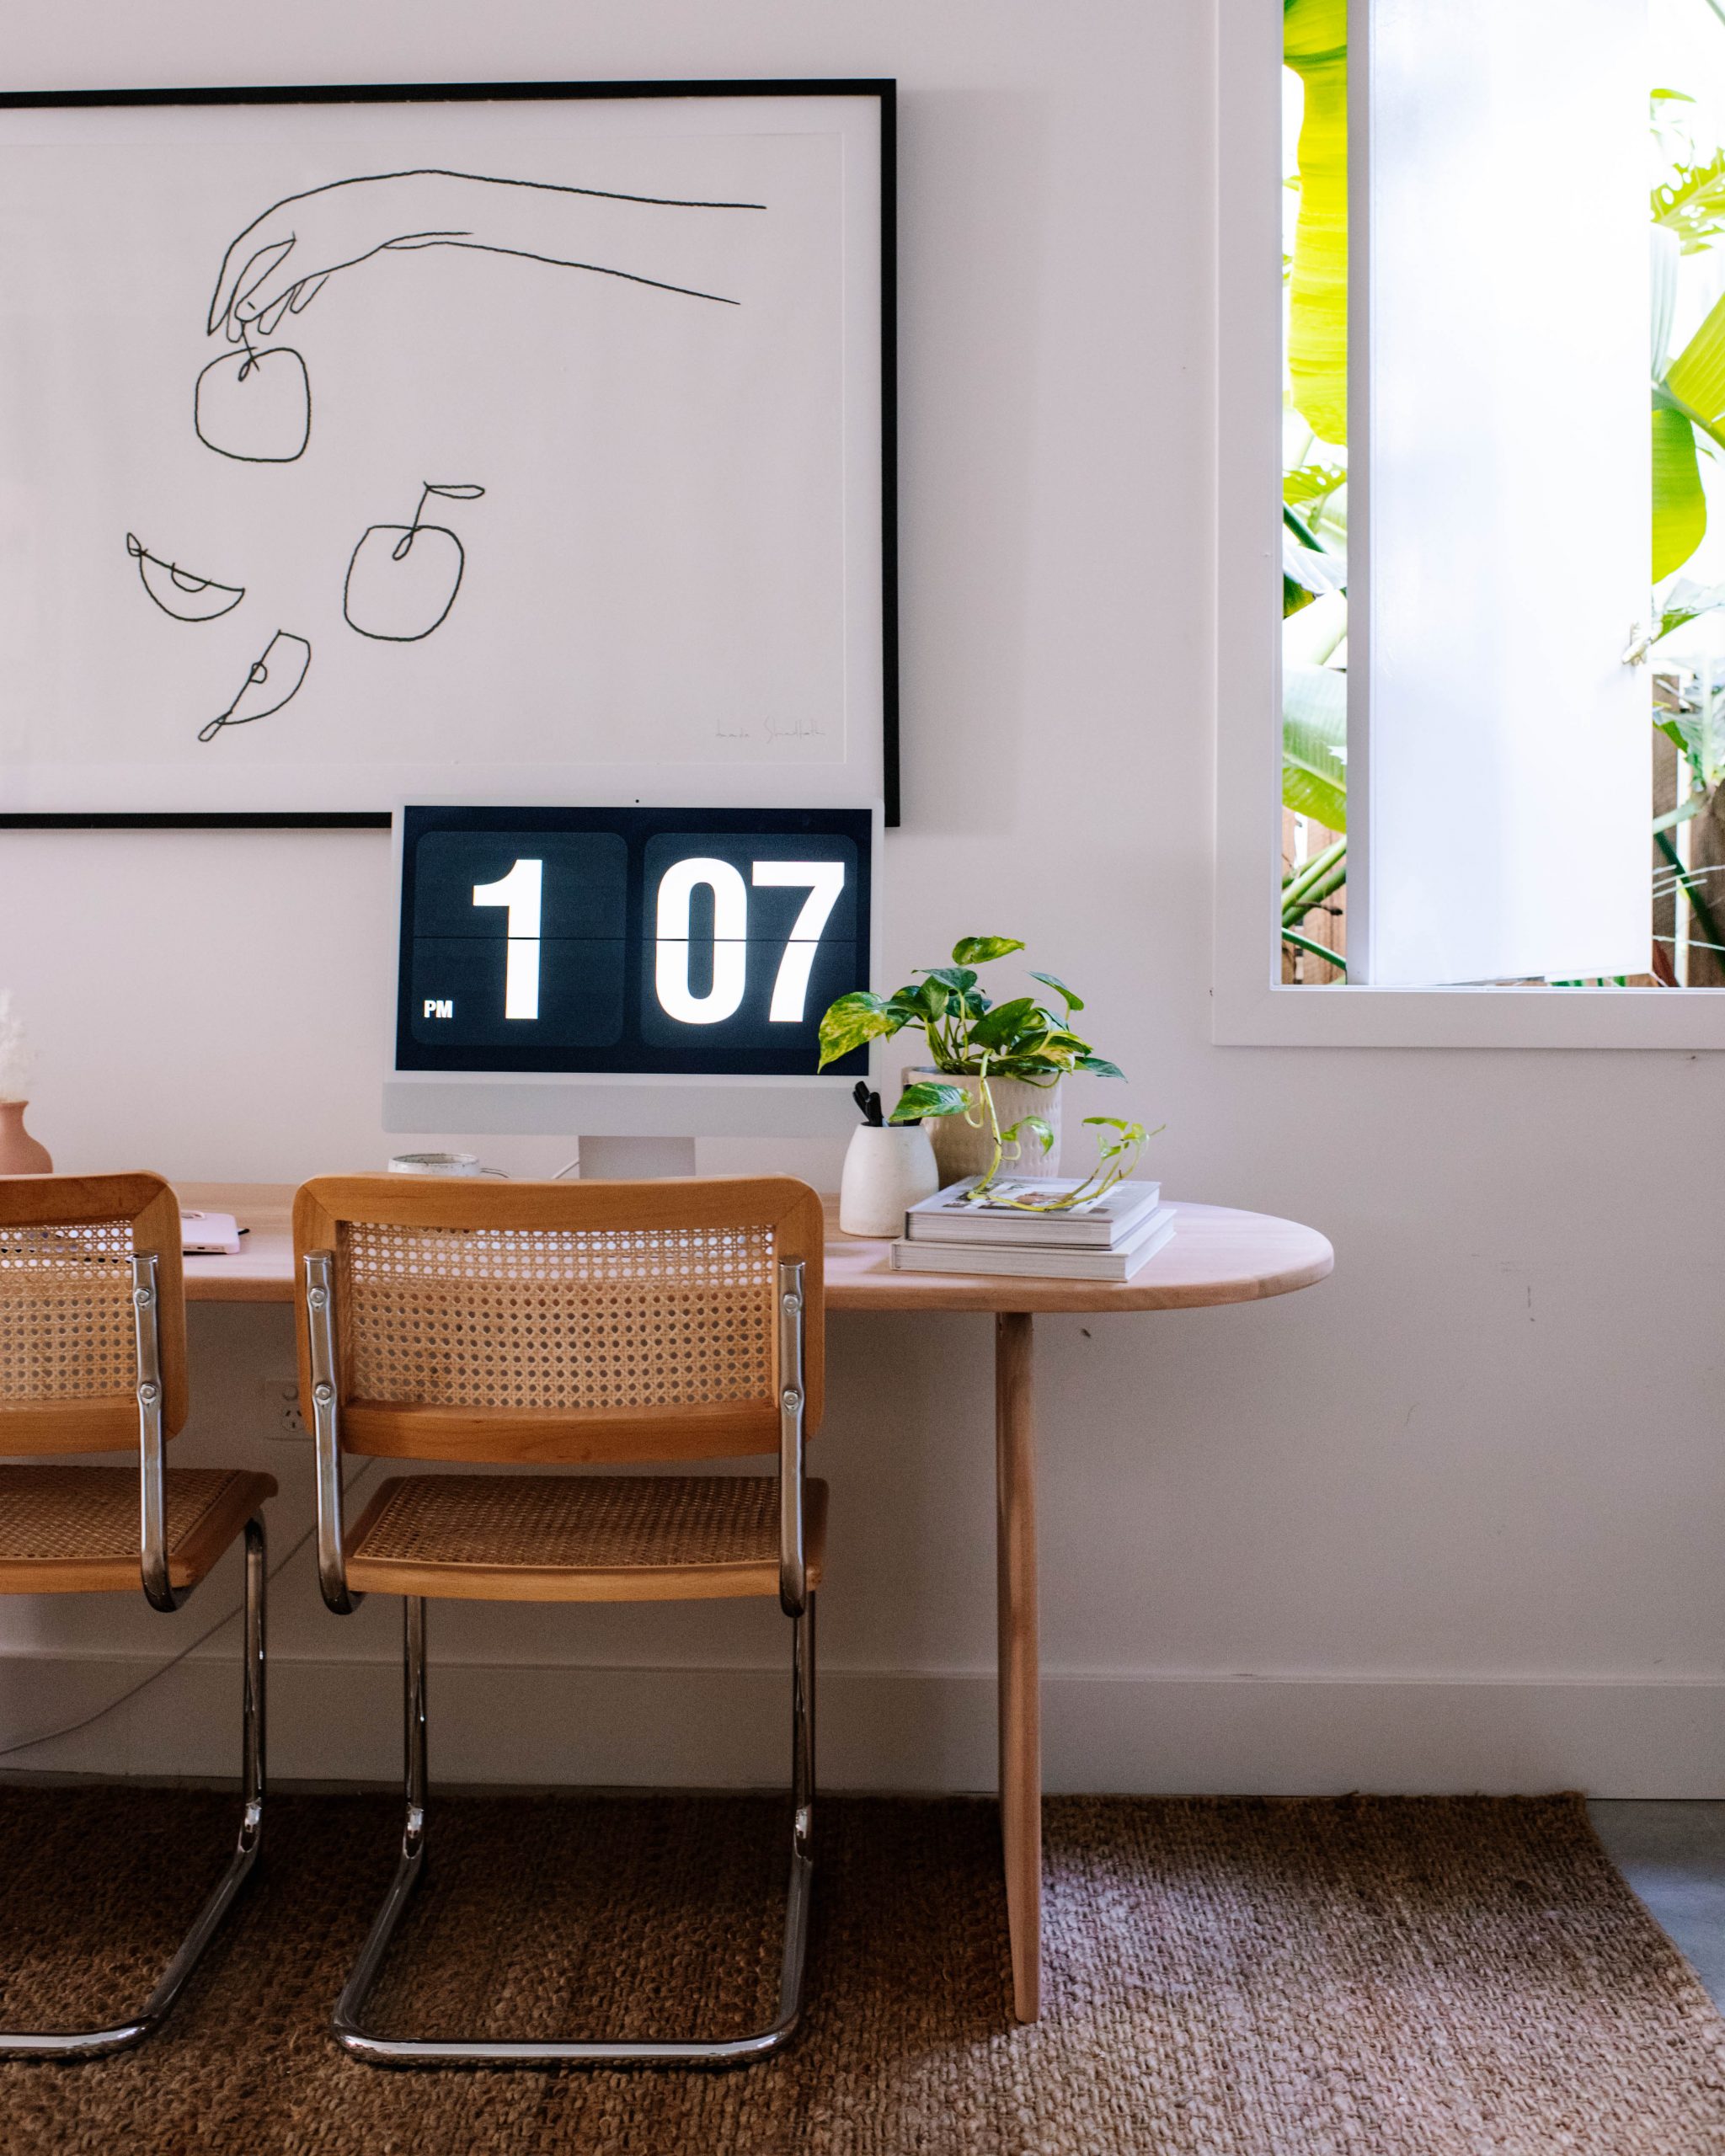
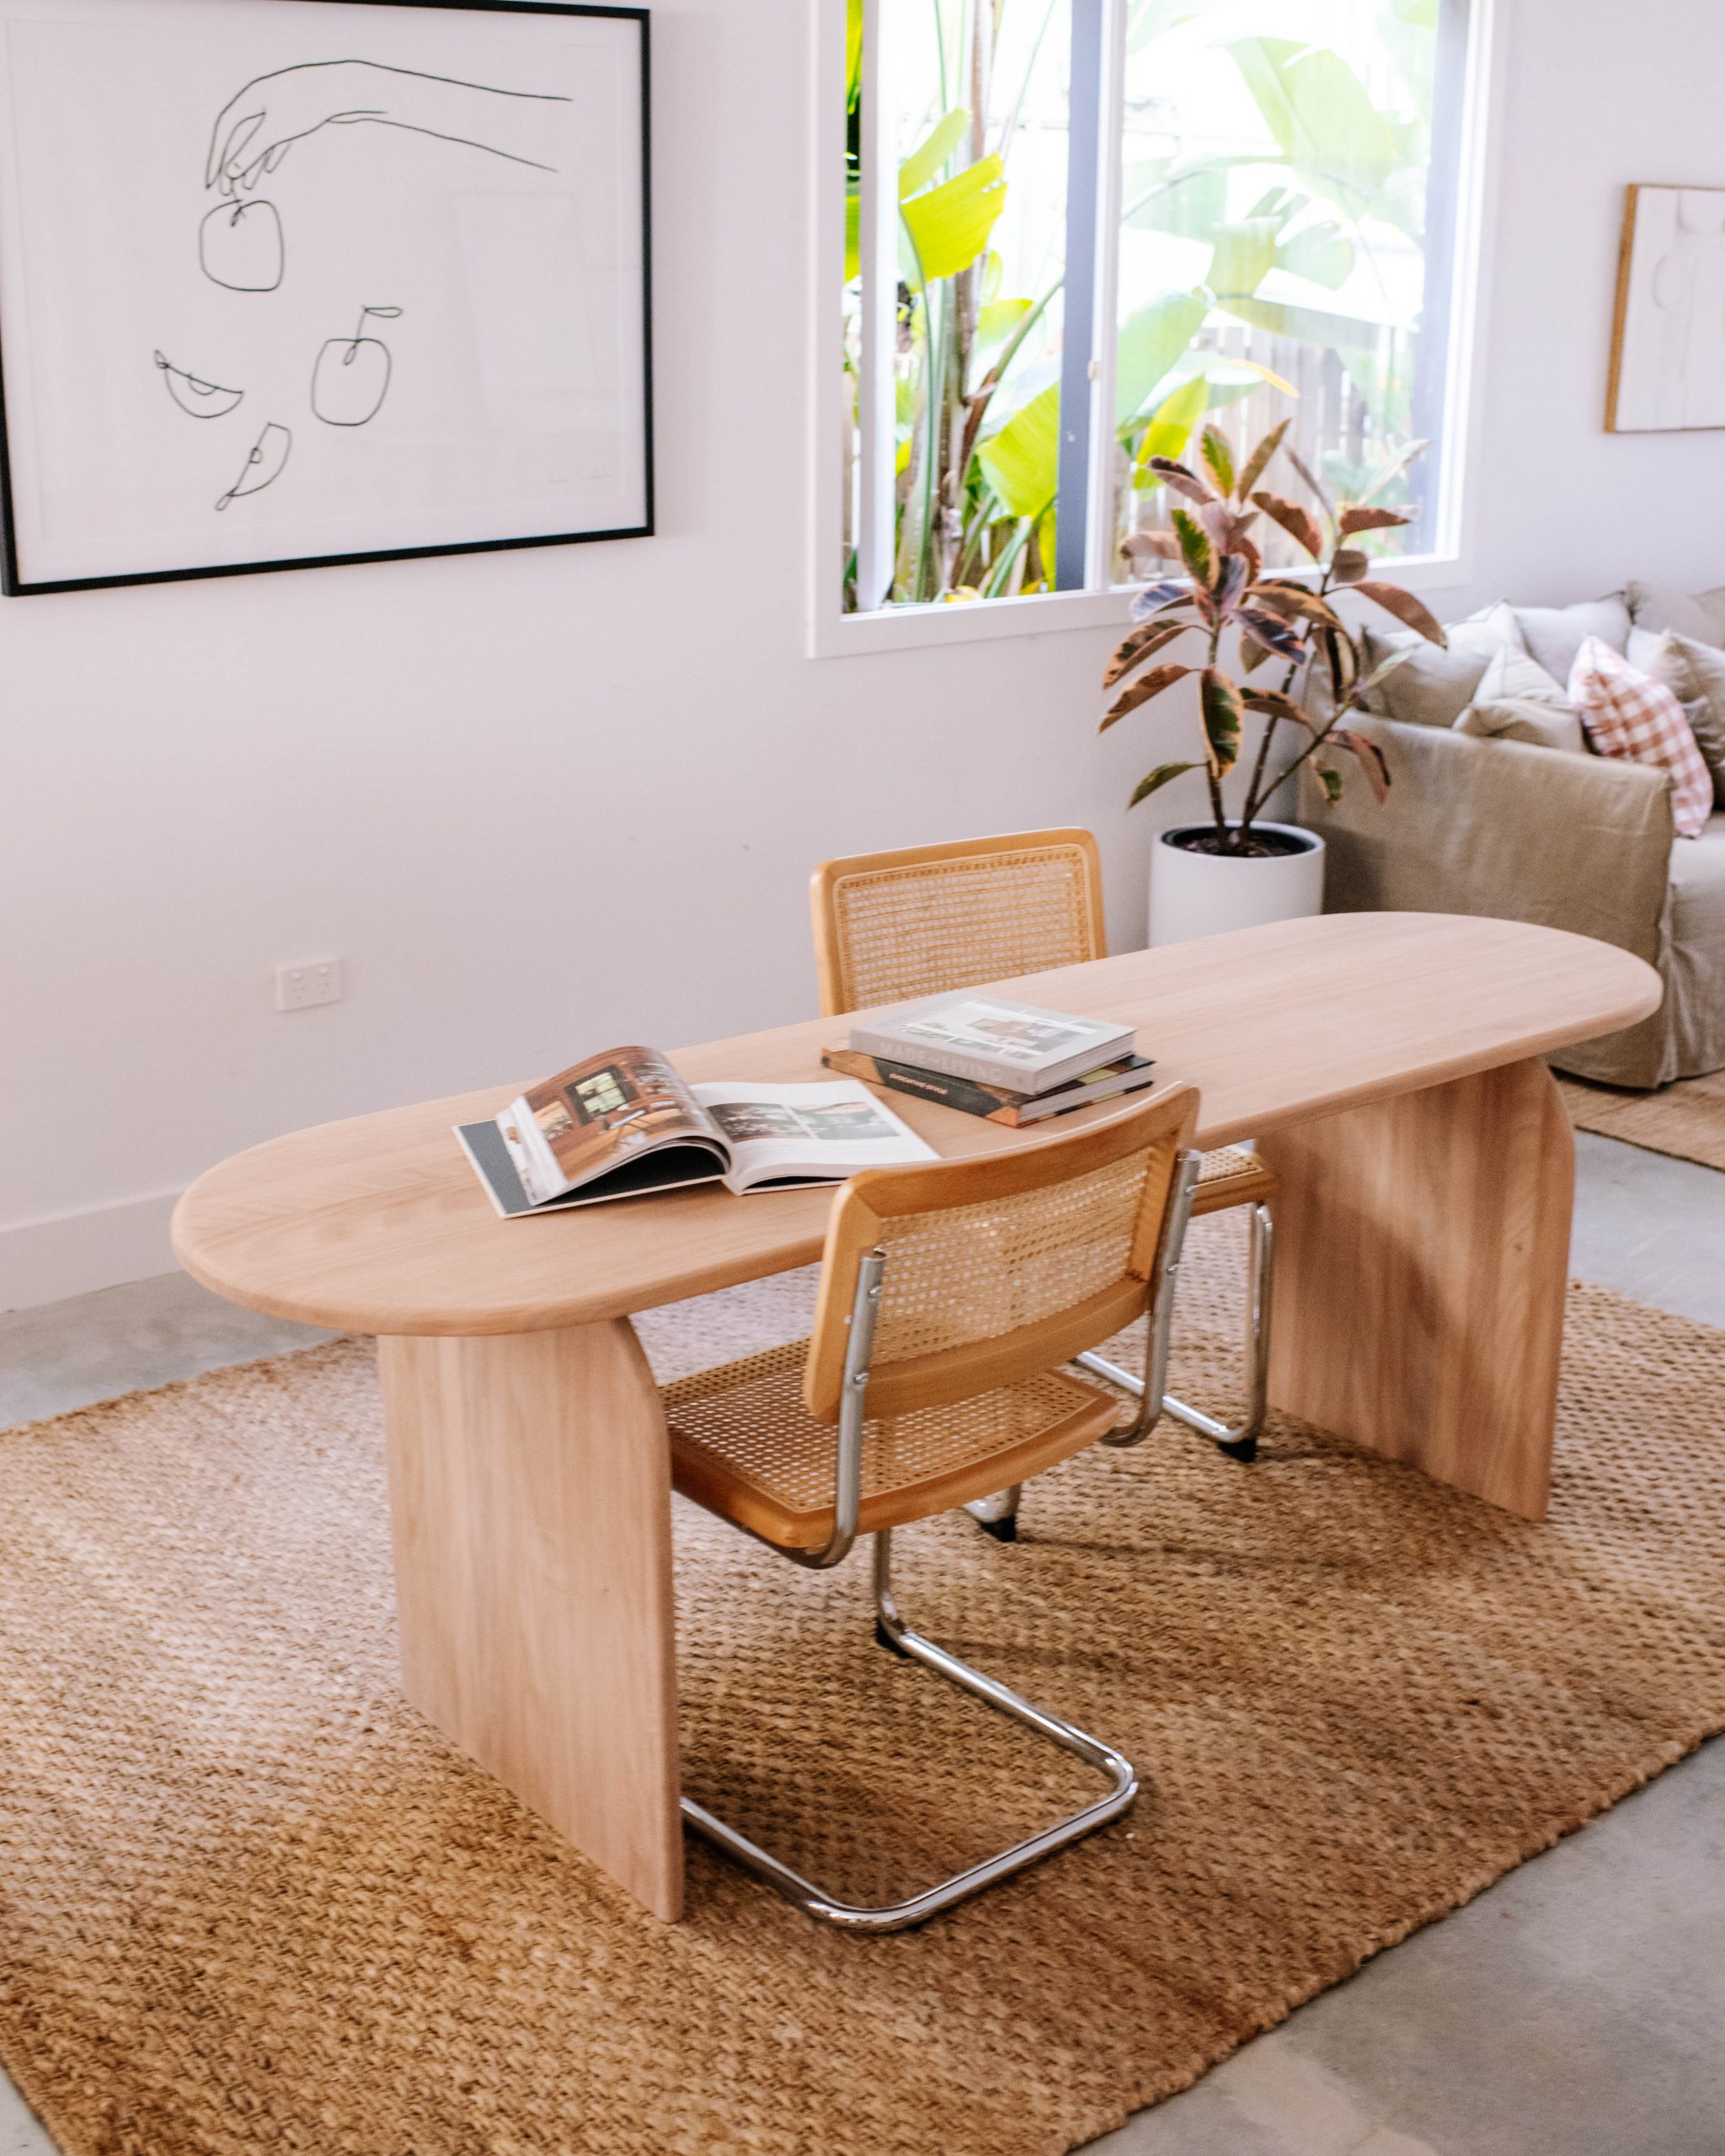
I was so happy with how this project turned out and decided to style it two different ways to show its versatility as a desk as well as a workshop/collaboration space!
Adding up to a total of about $180, I definitely would consider this piece a win!
