There’s nothing better than refreshing a piece in your home and giving it new life.
I’ve been wanting to make an upcycled upholstered bed for a while, and when my brother recently mentioned to me that he and his wife wanted to do something with the bed in their spare room, I offered to help him out! This is one of my favourite projects, it only took only a few hours to finish and the cost came to about $50! Just add some gorgeous new linen from Sheridan and you’ve got the kind of guest room that your guests will never want to leave.
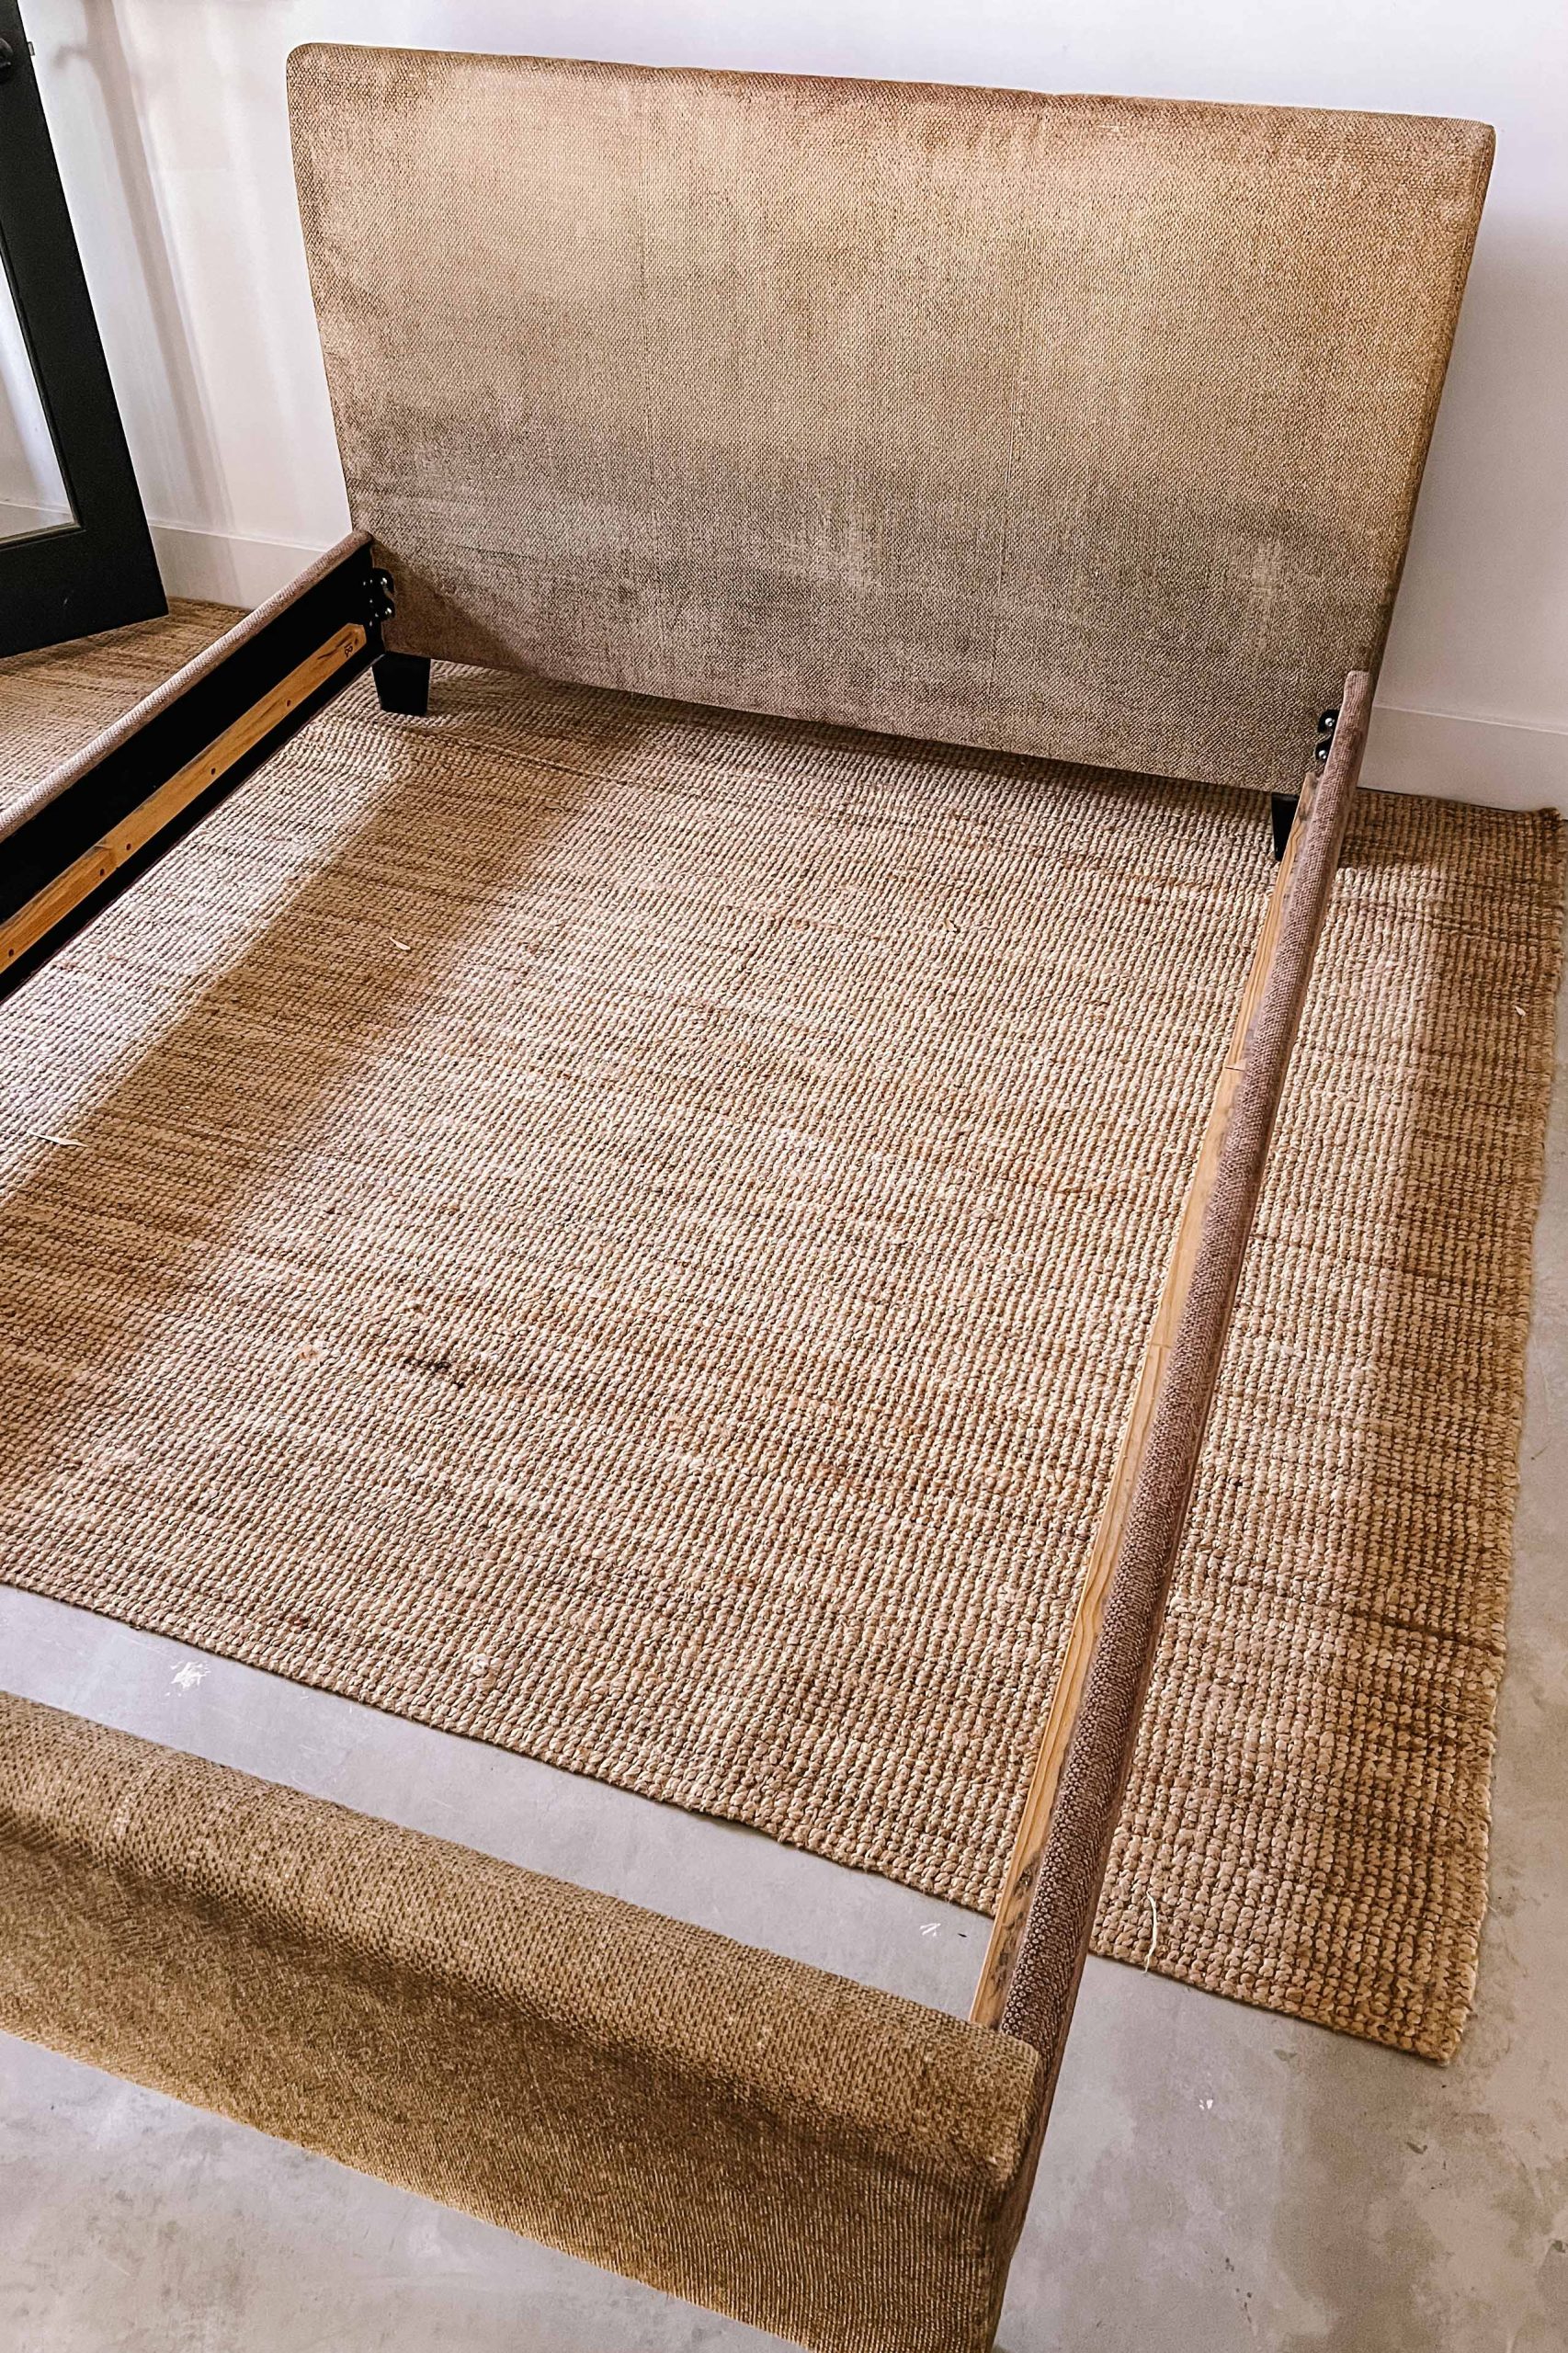
- Before
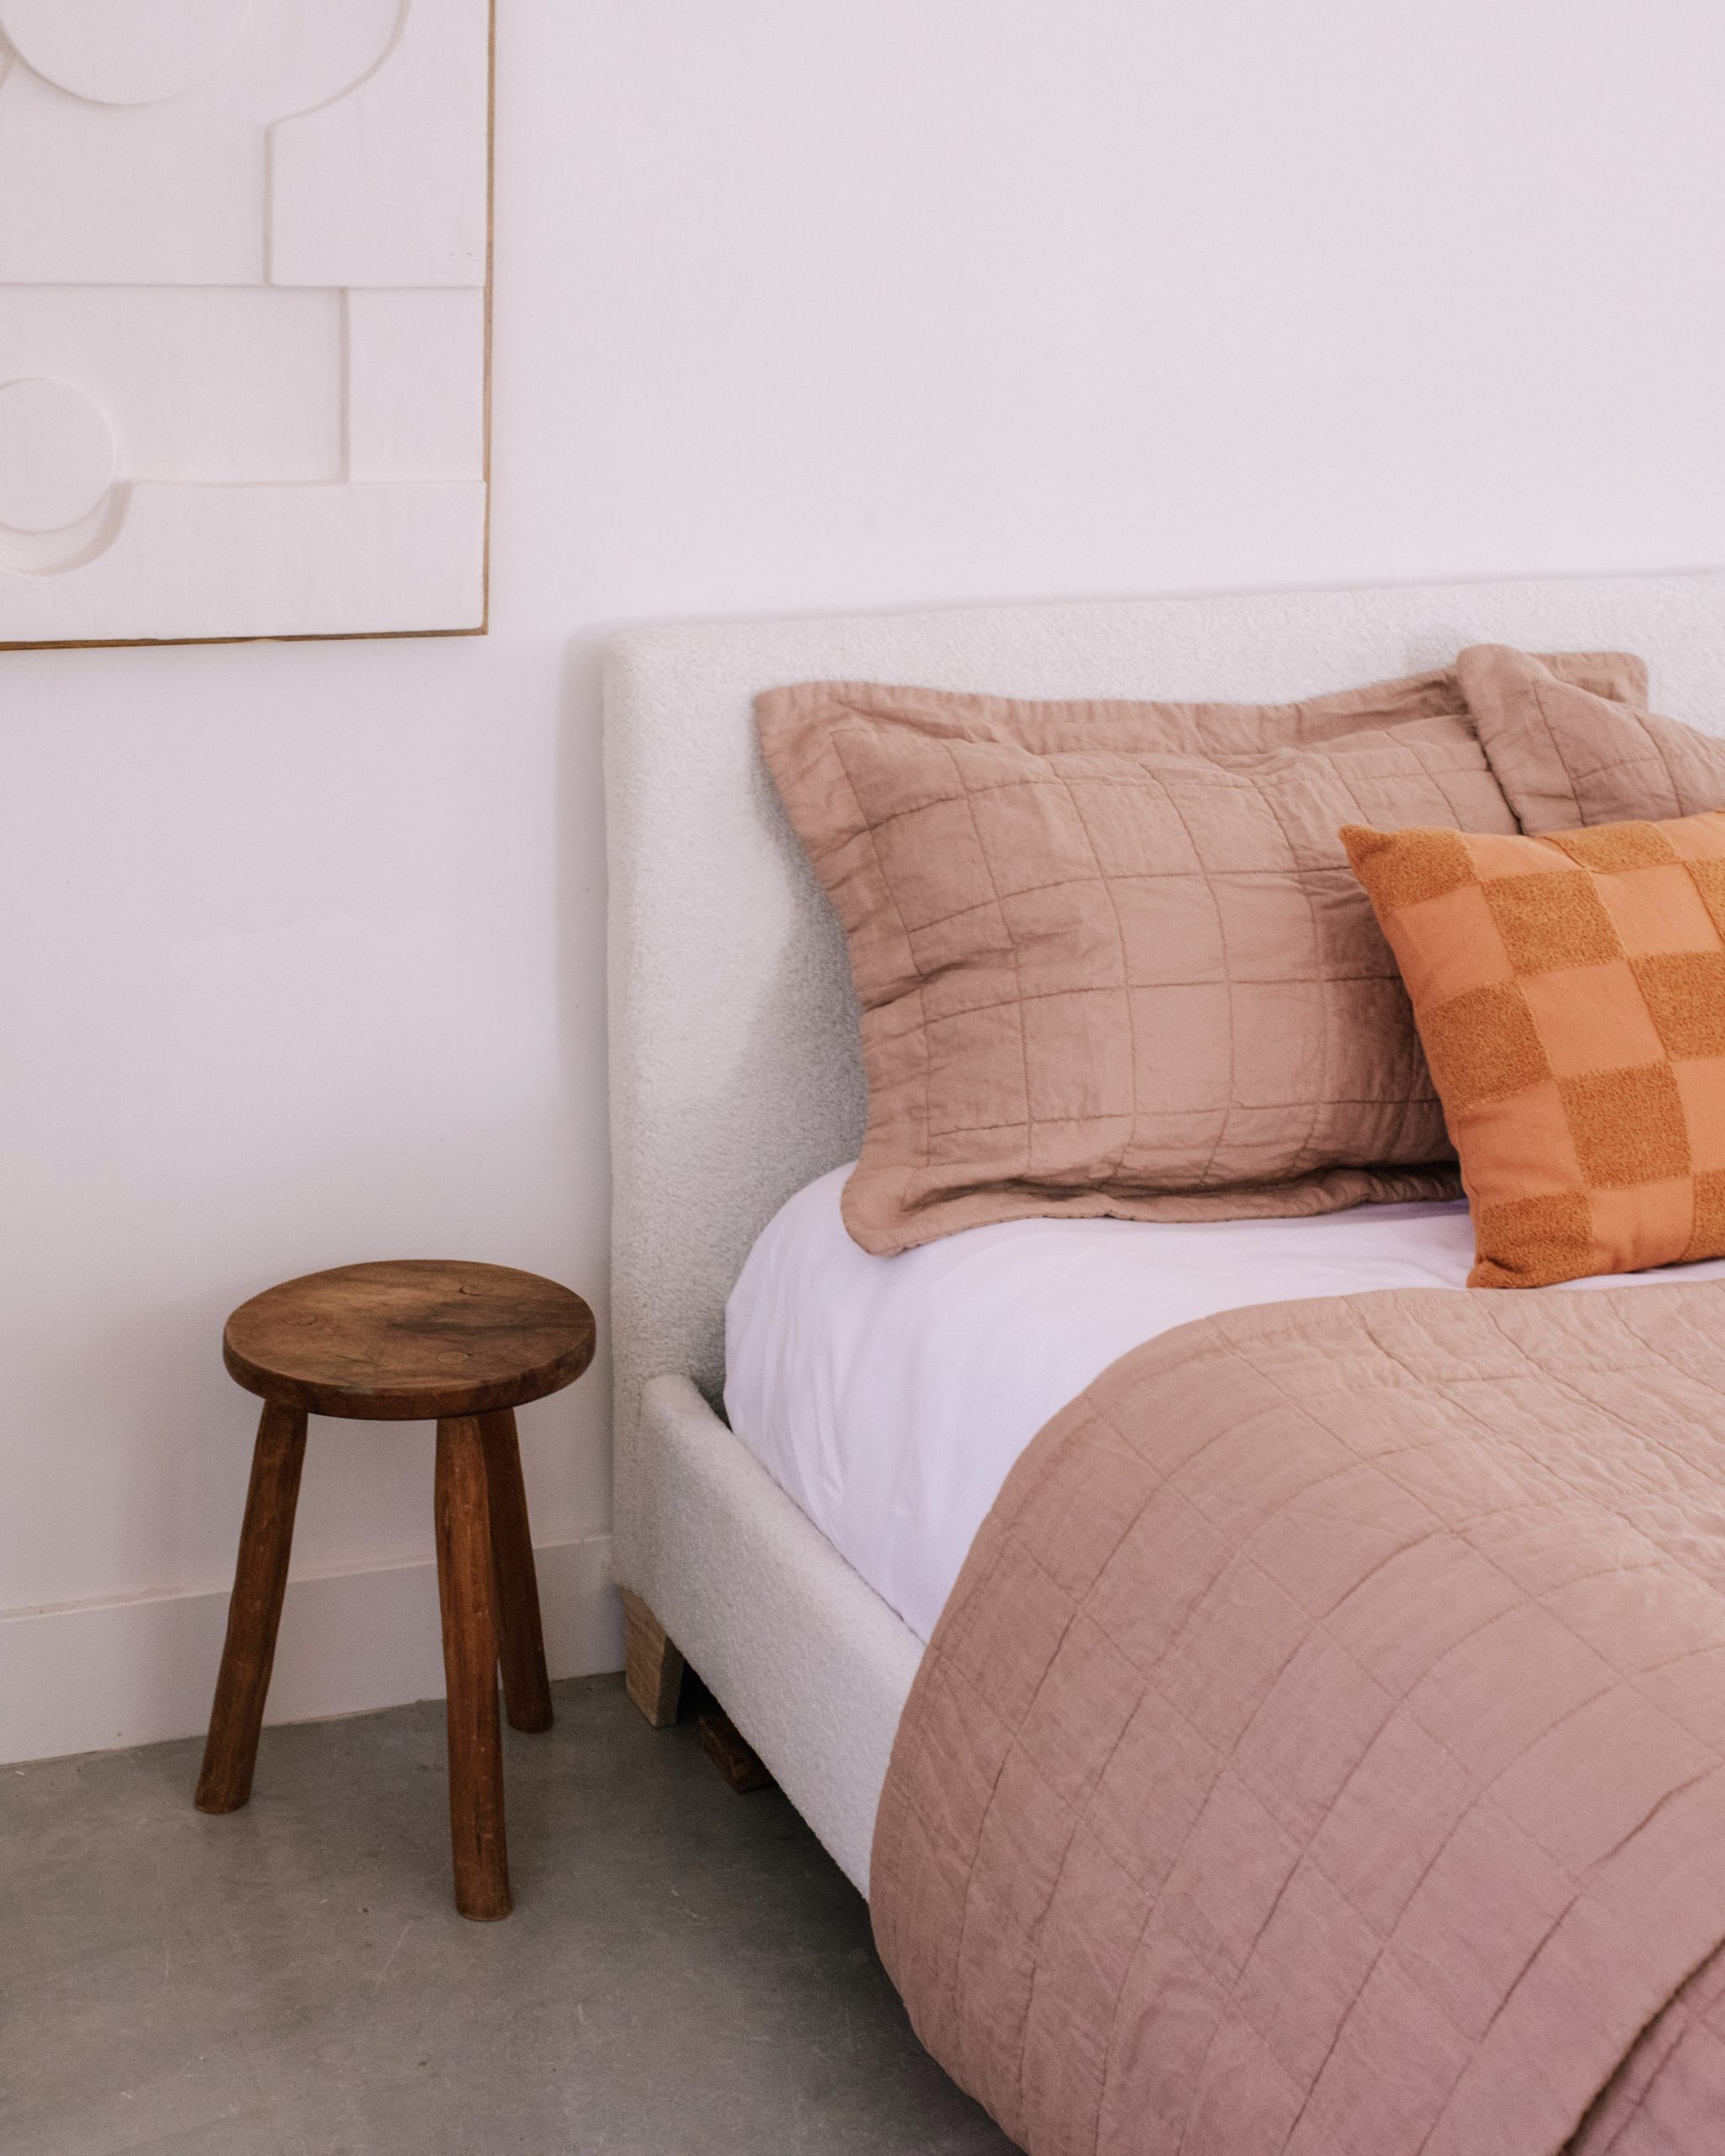
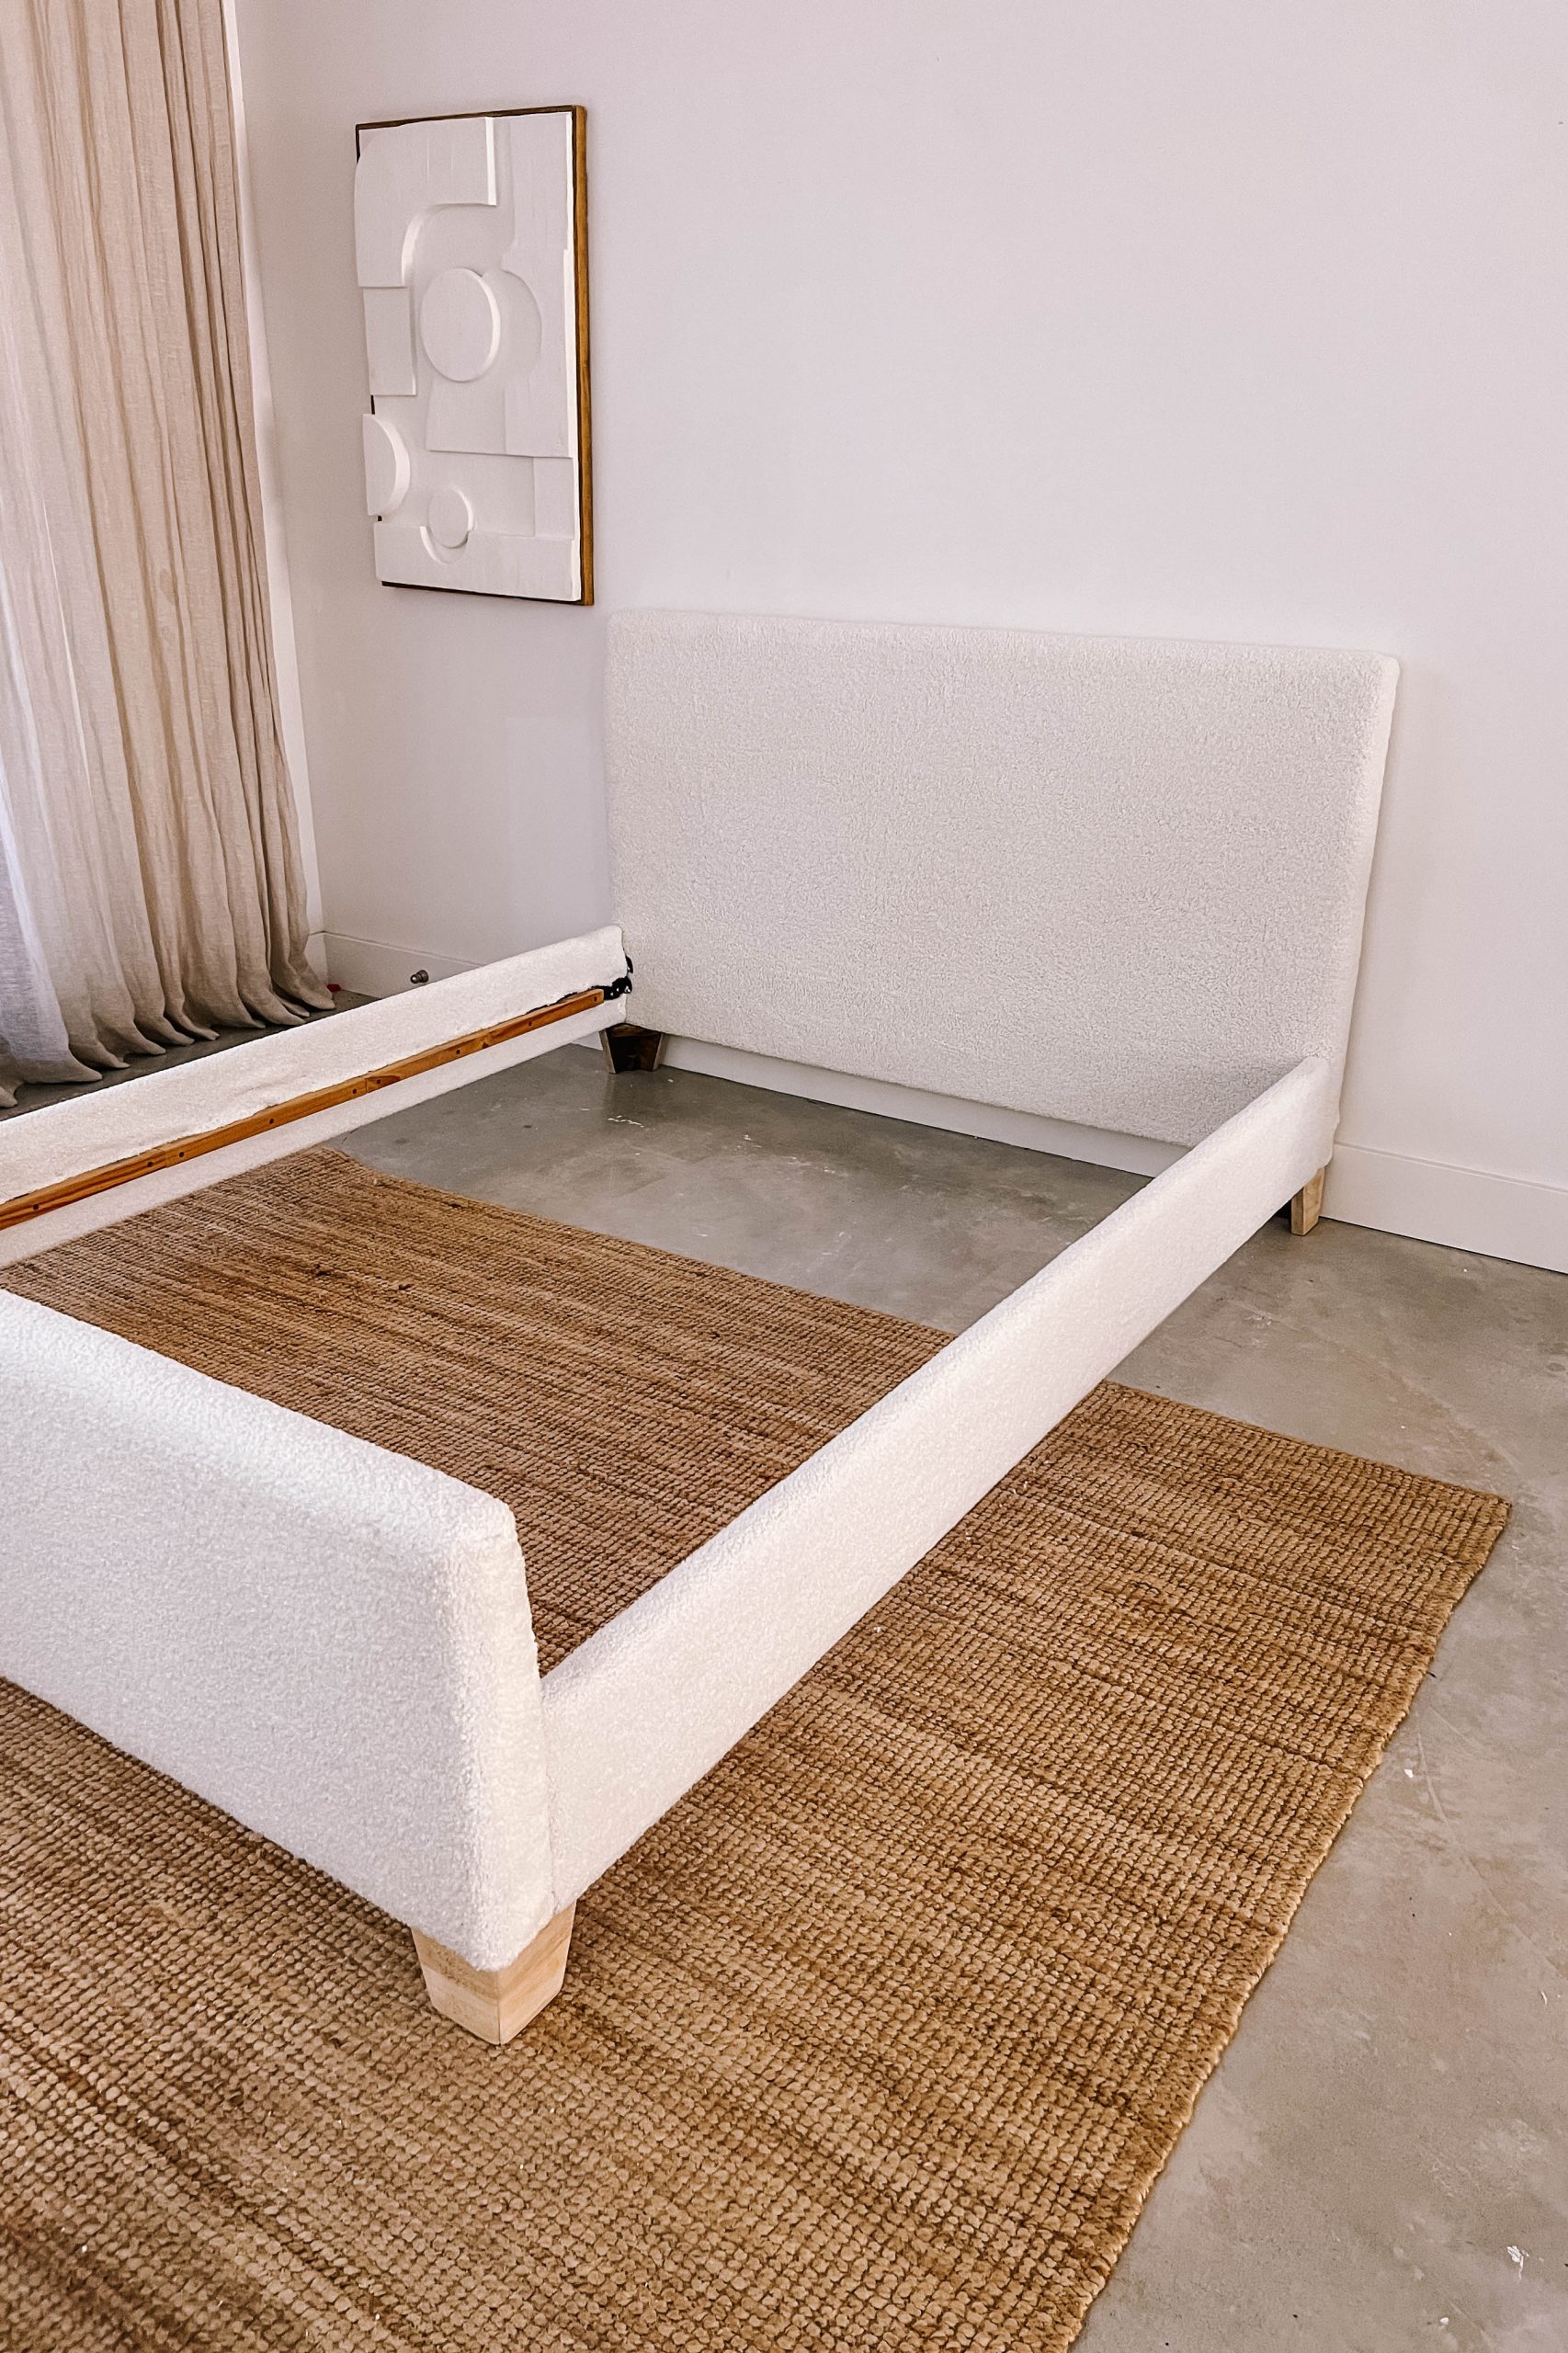
- After
Materials You’ll Need:
- An upholstered Bed Frame
- Around 5m of fabric of your choice (I used this teddy fleece boucle material from Spotlight, it was 50% off)
- Scissors
- Staple Gun and staples (This is my favourite)
- Needle and thread (optional)
- Sandpaper
- Wood Varnish (optional)
How to choose a bed frame
When looking for a bed frame to reupholster I would suggest keeping an eye out for simple shapes – the more basic the shape is, the easier it is to upholster! I would also recommend looking for a bed that can be taken apart. This makes the reupholstering process so much easier as you can lay out all the pieces, measure the fabric and staple them evenly. My last tip for choosing the right bed to reupholster is to consider the colour of the bed. If you choose a darker coloured bed and want to reupholster it with a white or lighter coloured material, you may need to add a light coloured sheet or extra piece of material to ensure the darker colour doesn’t show through. I thought about doing that for this project and tested out what it would look like, but I actually preferred the single layer of boucle material – never hurts to test it out and see though! Note that the amount of fabric you will need depends on the design of your bed, this is a queen sized bed and we needed around 5 metres but it may be more or less depending on the bed you have. It’s a good idea to measure before you head to the fabric store.
How to reupholster a bed frame
1
To begin, I dismantled the entire bed (including the legs) and lay each piece out to gauge how much fabric was needed.
2
I removed the legs from the base of the bed sections by detaching the screws, as it's easier to upholder the whole bed without them on.
3
I then measured each section of bed and cut my fabric, ensuring some extra to be able to fold the pieces over and staple down. After cutting out the fabric I laid down each fabric piece (boucle side facing down) and placed the matching bed piece on top (plush fabric side facing down).
4
I then began to staple the fabric onto the bed frame pieces. A good idea is to staple along one side first, and then pull the fabric tight and keep the fabric taught throughout this process to ensure you don't get any wrinkles or sagging. You want to make sure that you are stapling into the underside or the back of the bed frame so that you don't have visible staples. For the main headboard part, you want to make sure you have a clean look with no seams at the front, so it's usually best to run the fabric horizontally and staple at the back.
5
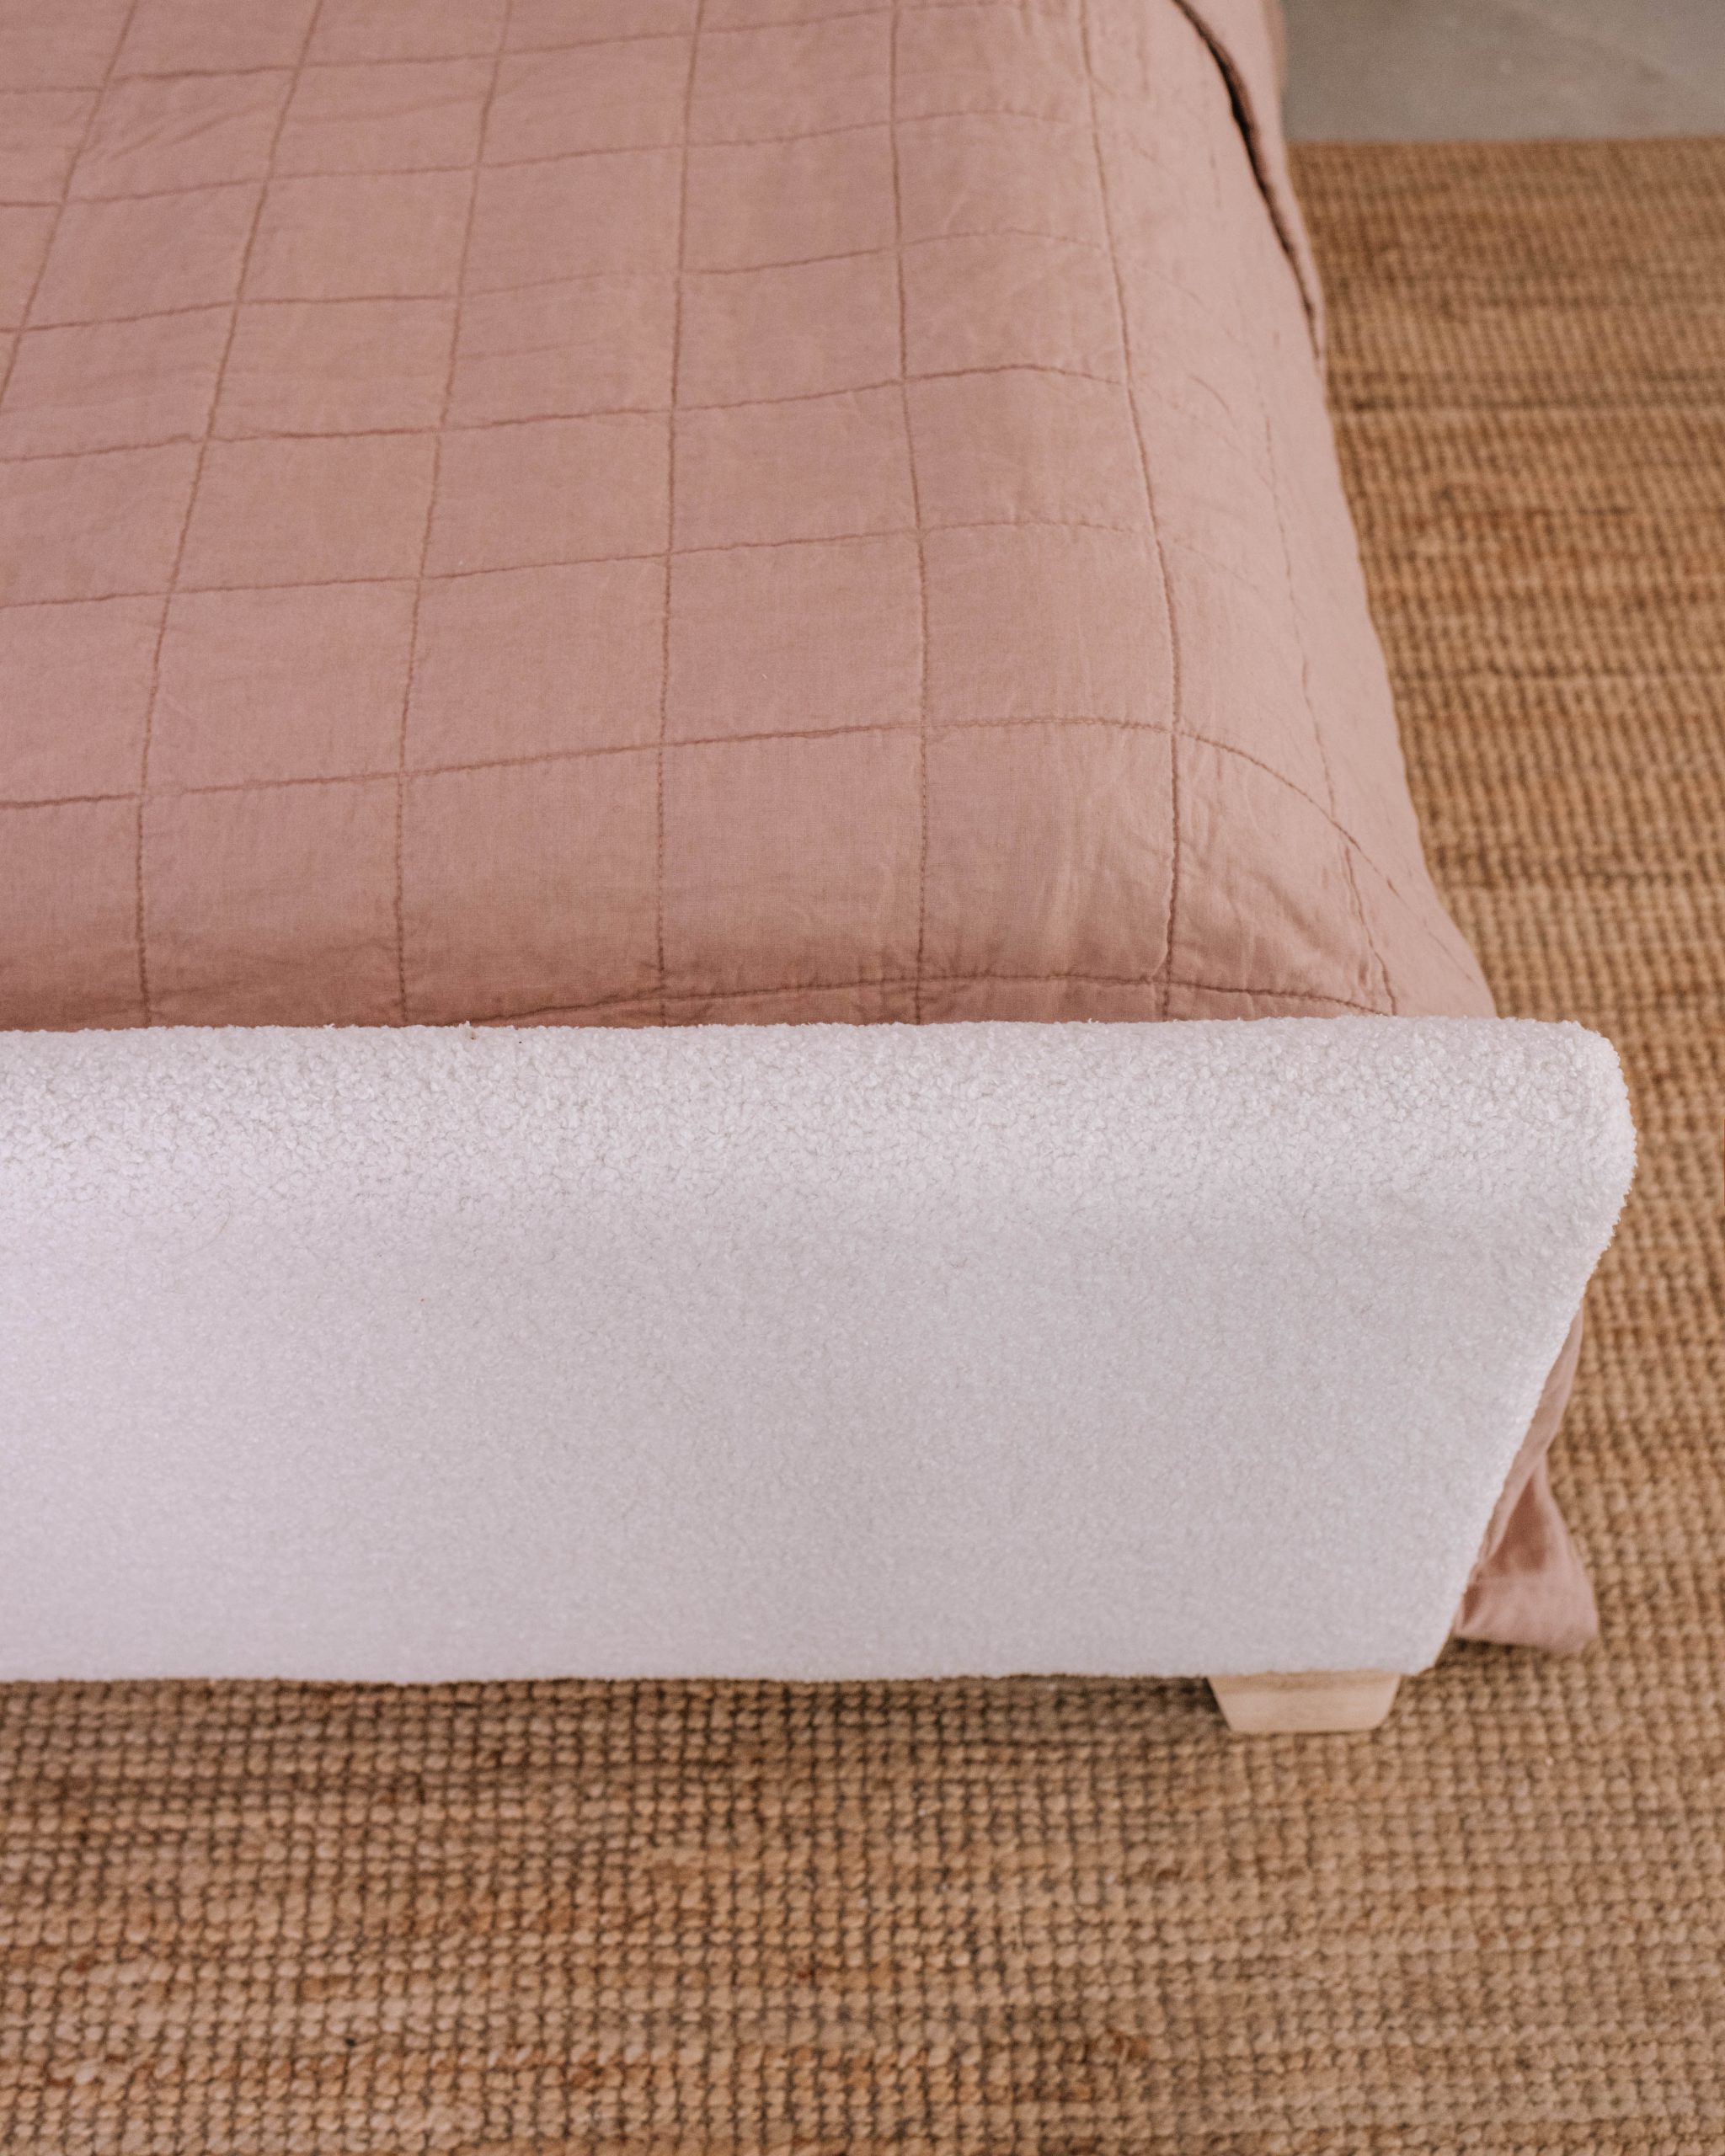
For most of the bed, it will be possible to hide the staples at the back or the underneath. If there are any joins where the staples will be visible, you can also use a needle and thread, doubling over the fabric to create a less obvious seam. I did this along the edges of the front baseboard of the bed.
6
Once I had done the double it became obvious that those black legs wouldn't work. On a whim I gave them a sand down and they turned out so great!
7
Once the whole bed was upholstered, I used scissors to cut out the bolts that help put the bed together.
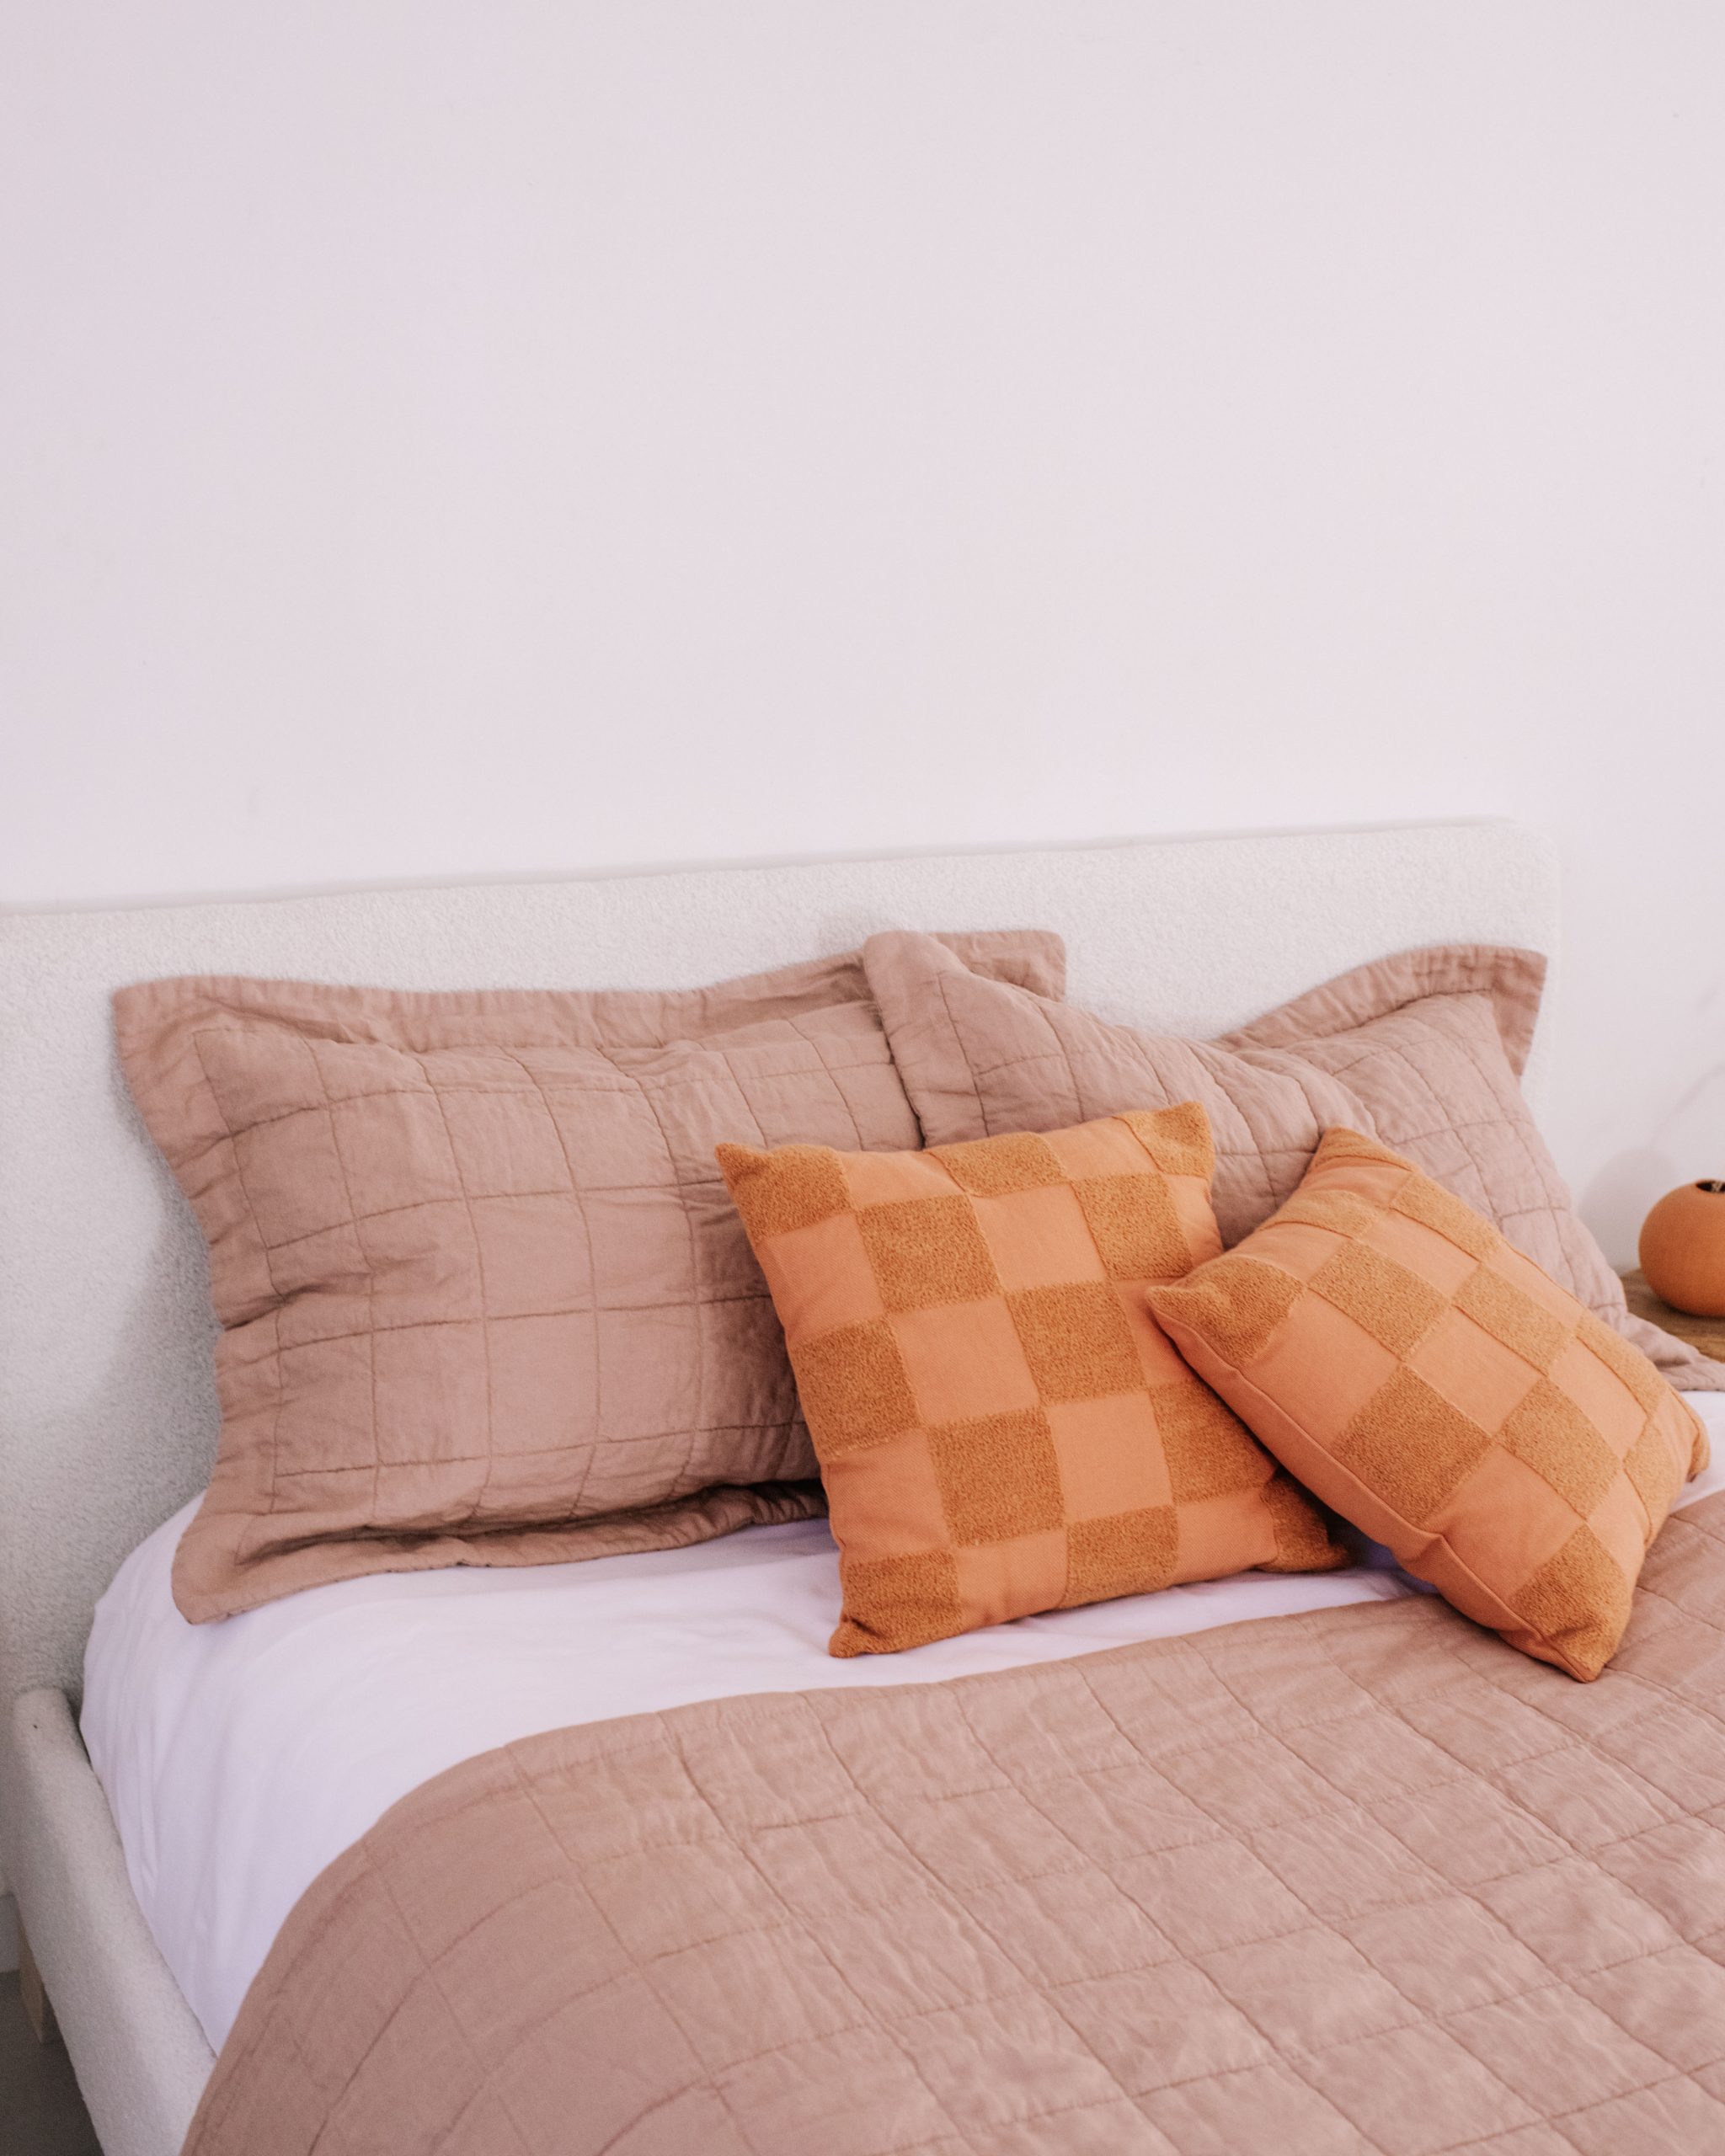
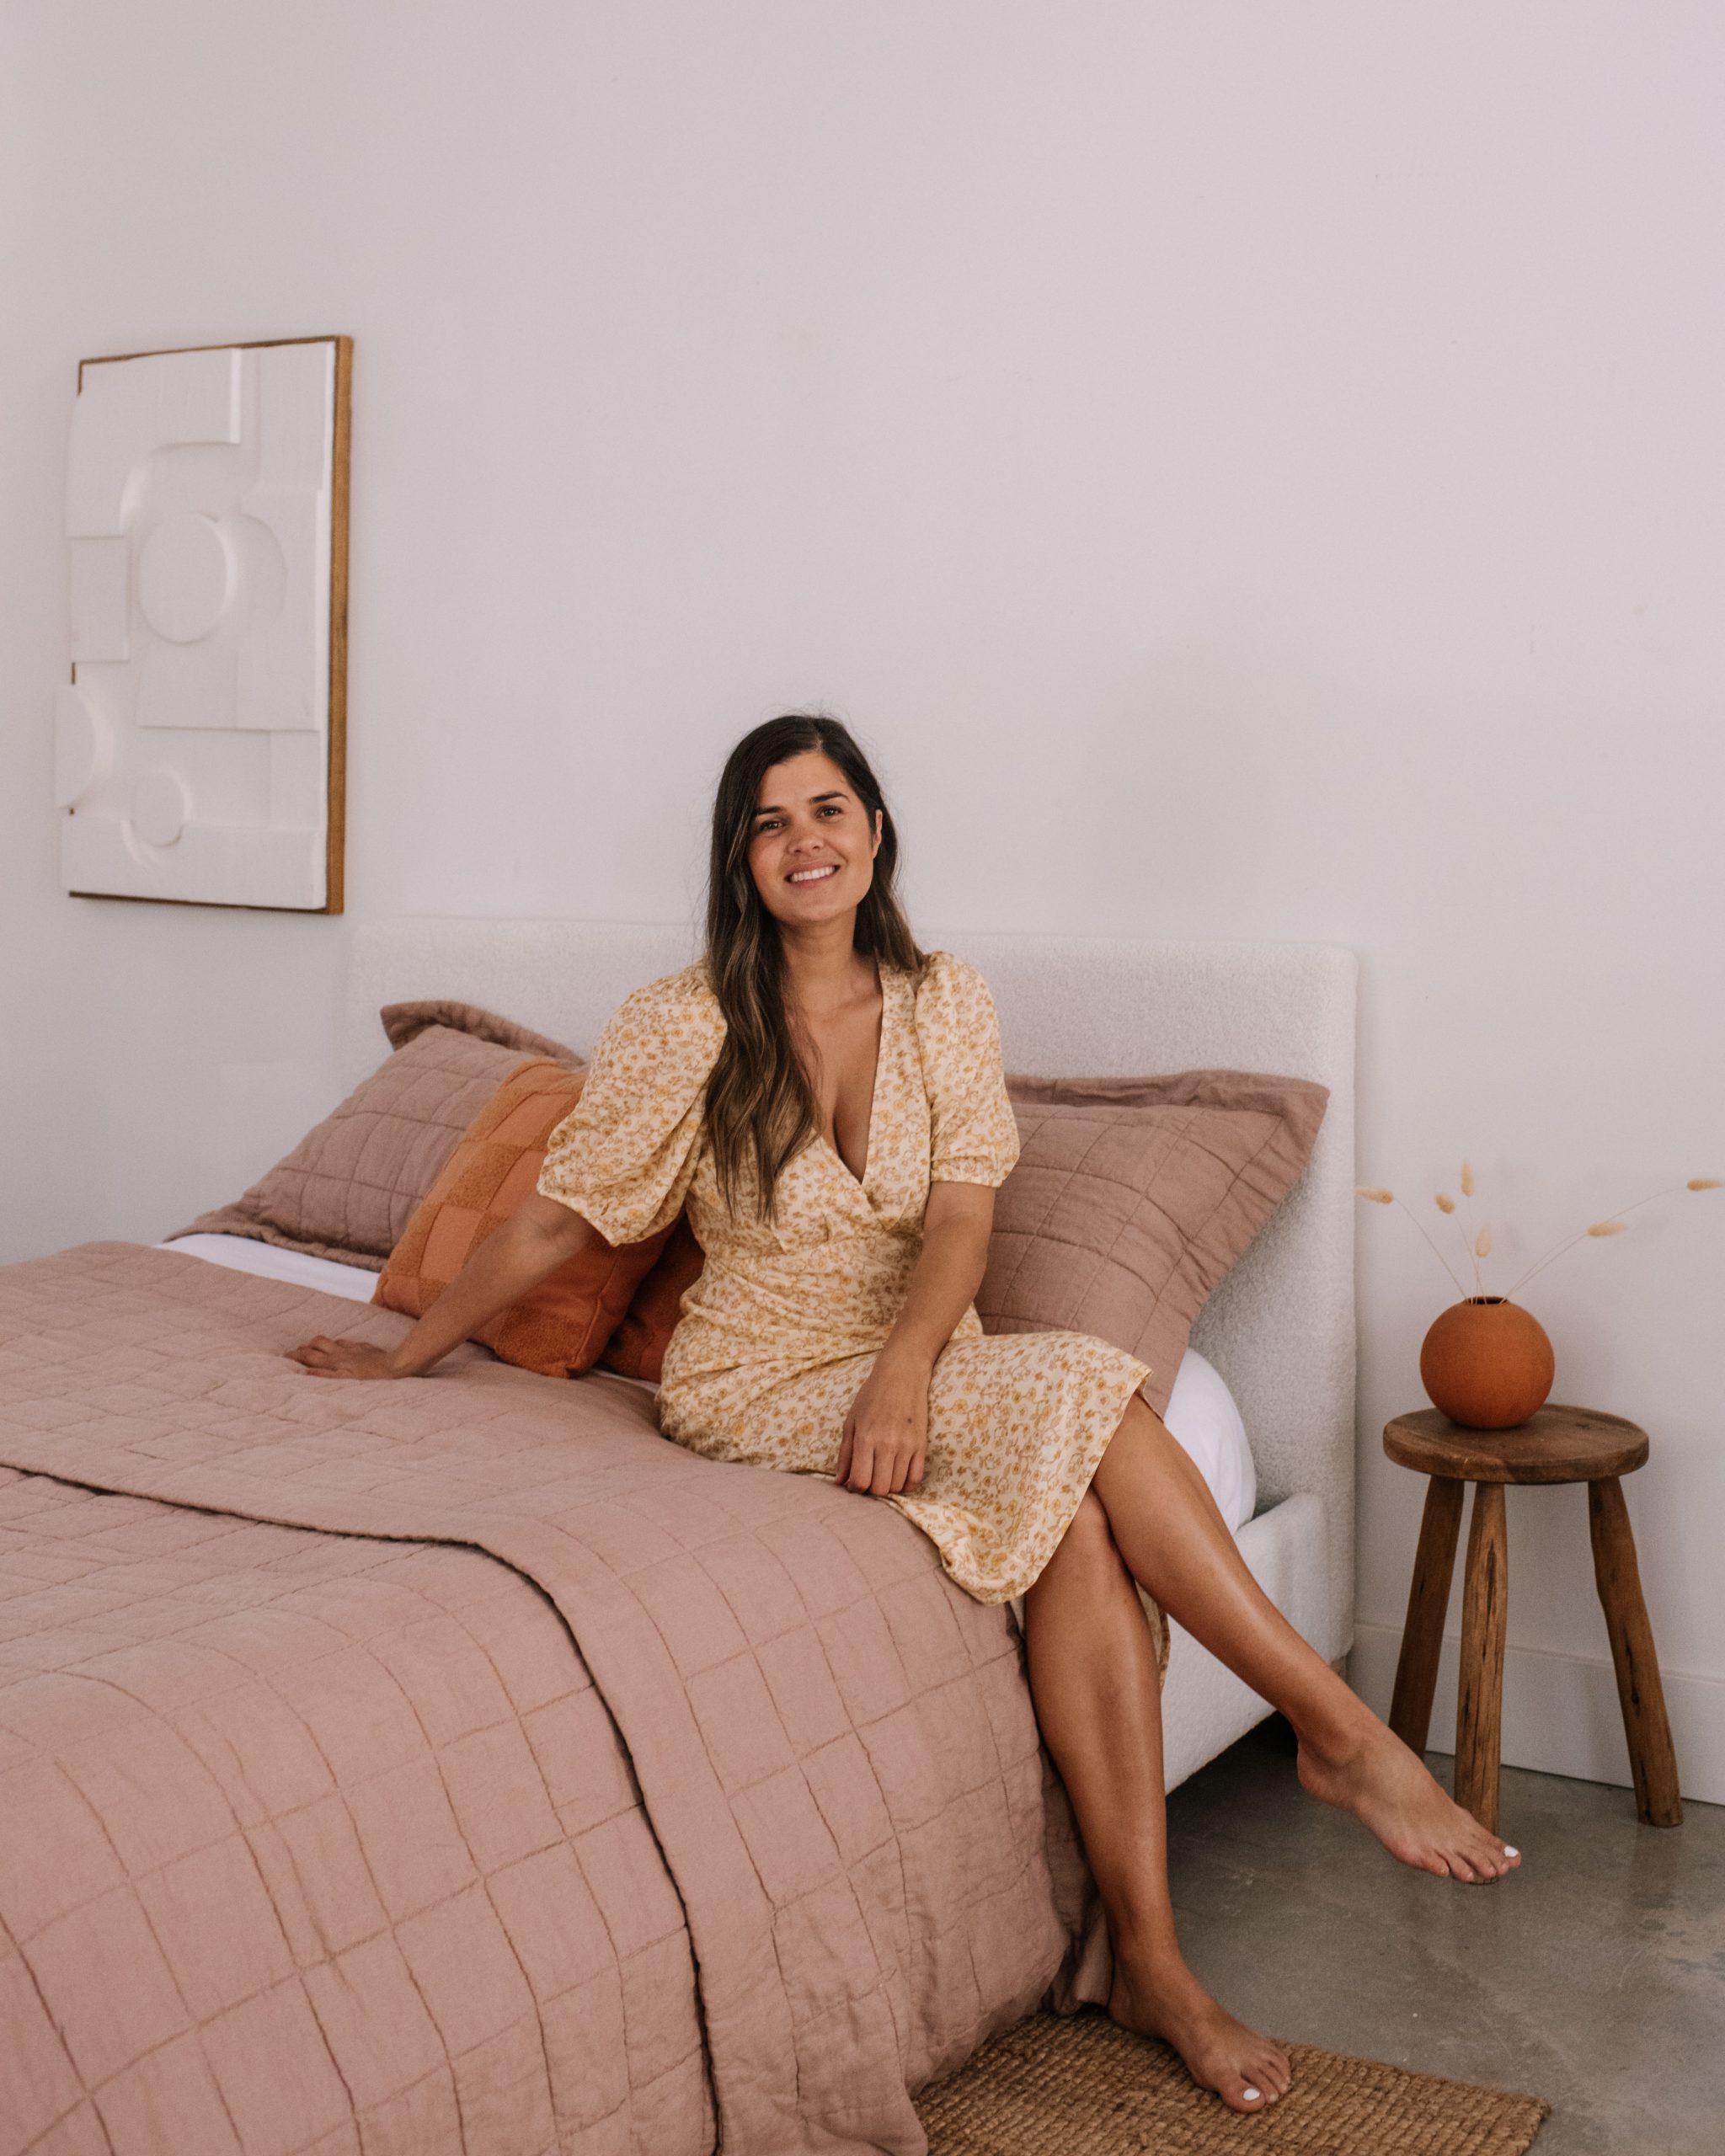
This was such a simple project and I love the way it turned out, especially with the soft pops of colour from the Sheridan bedding! If you’re interested in which pieces I have, I’ll list them below.
I matched the Abbotson Linen flat sheet, fitted sheet and quilt cover with these amazing Woodsdale checkered cushions.
This project is in collaboration with Sheridan.


