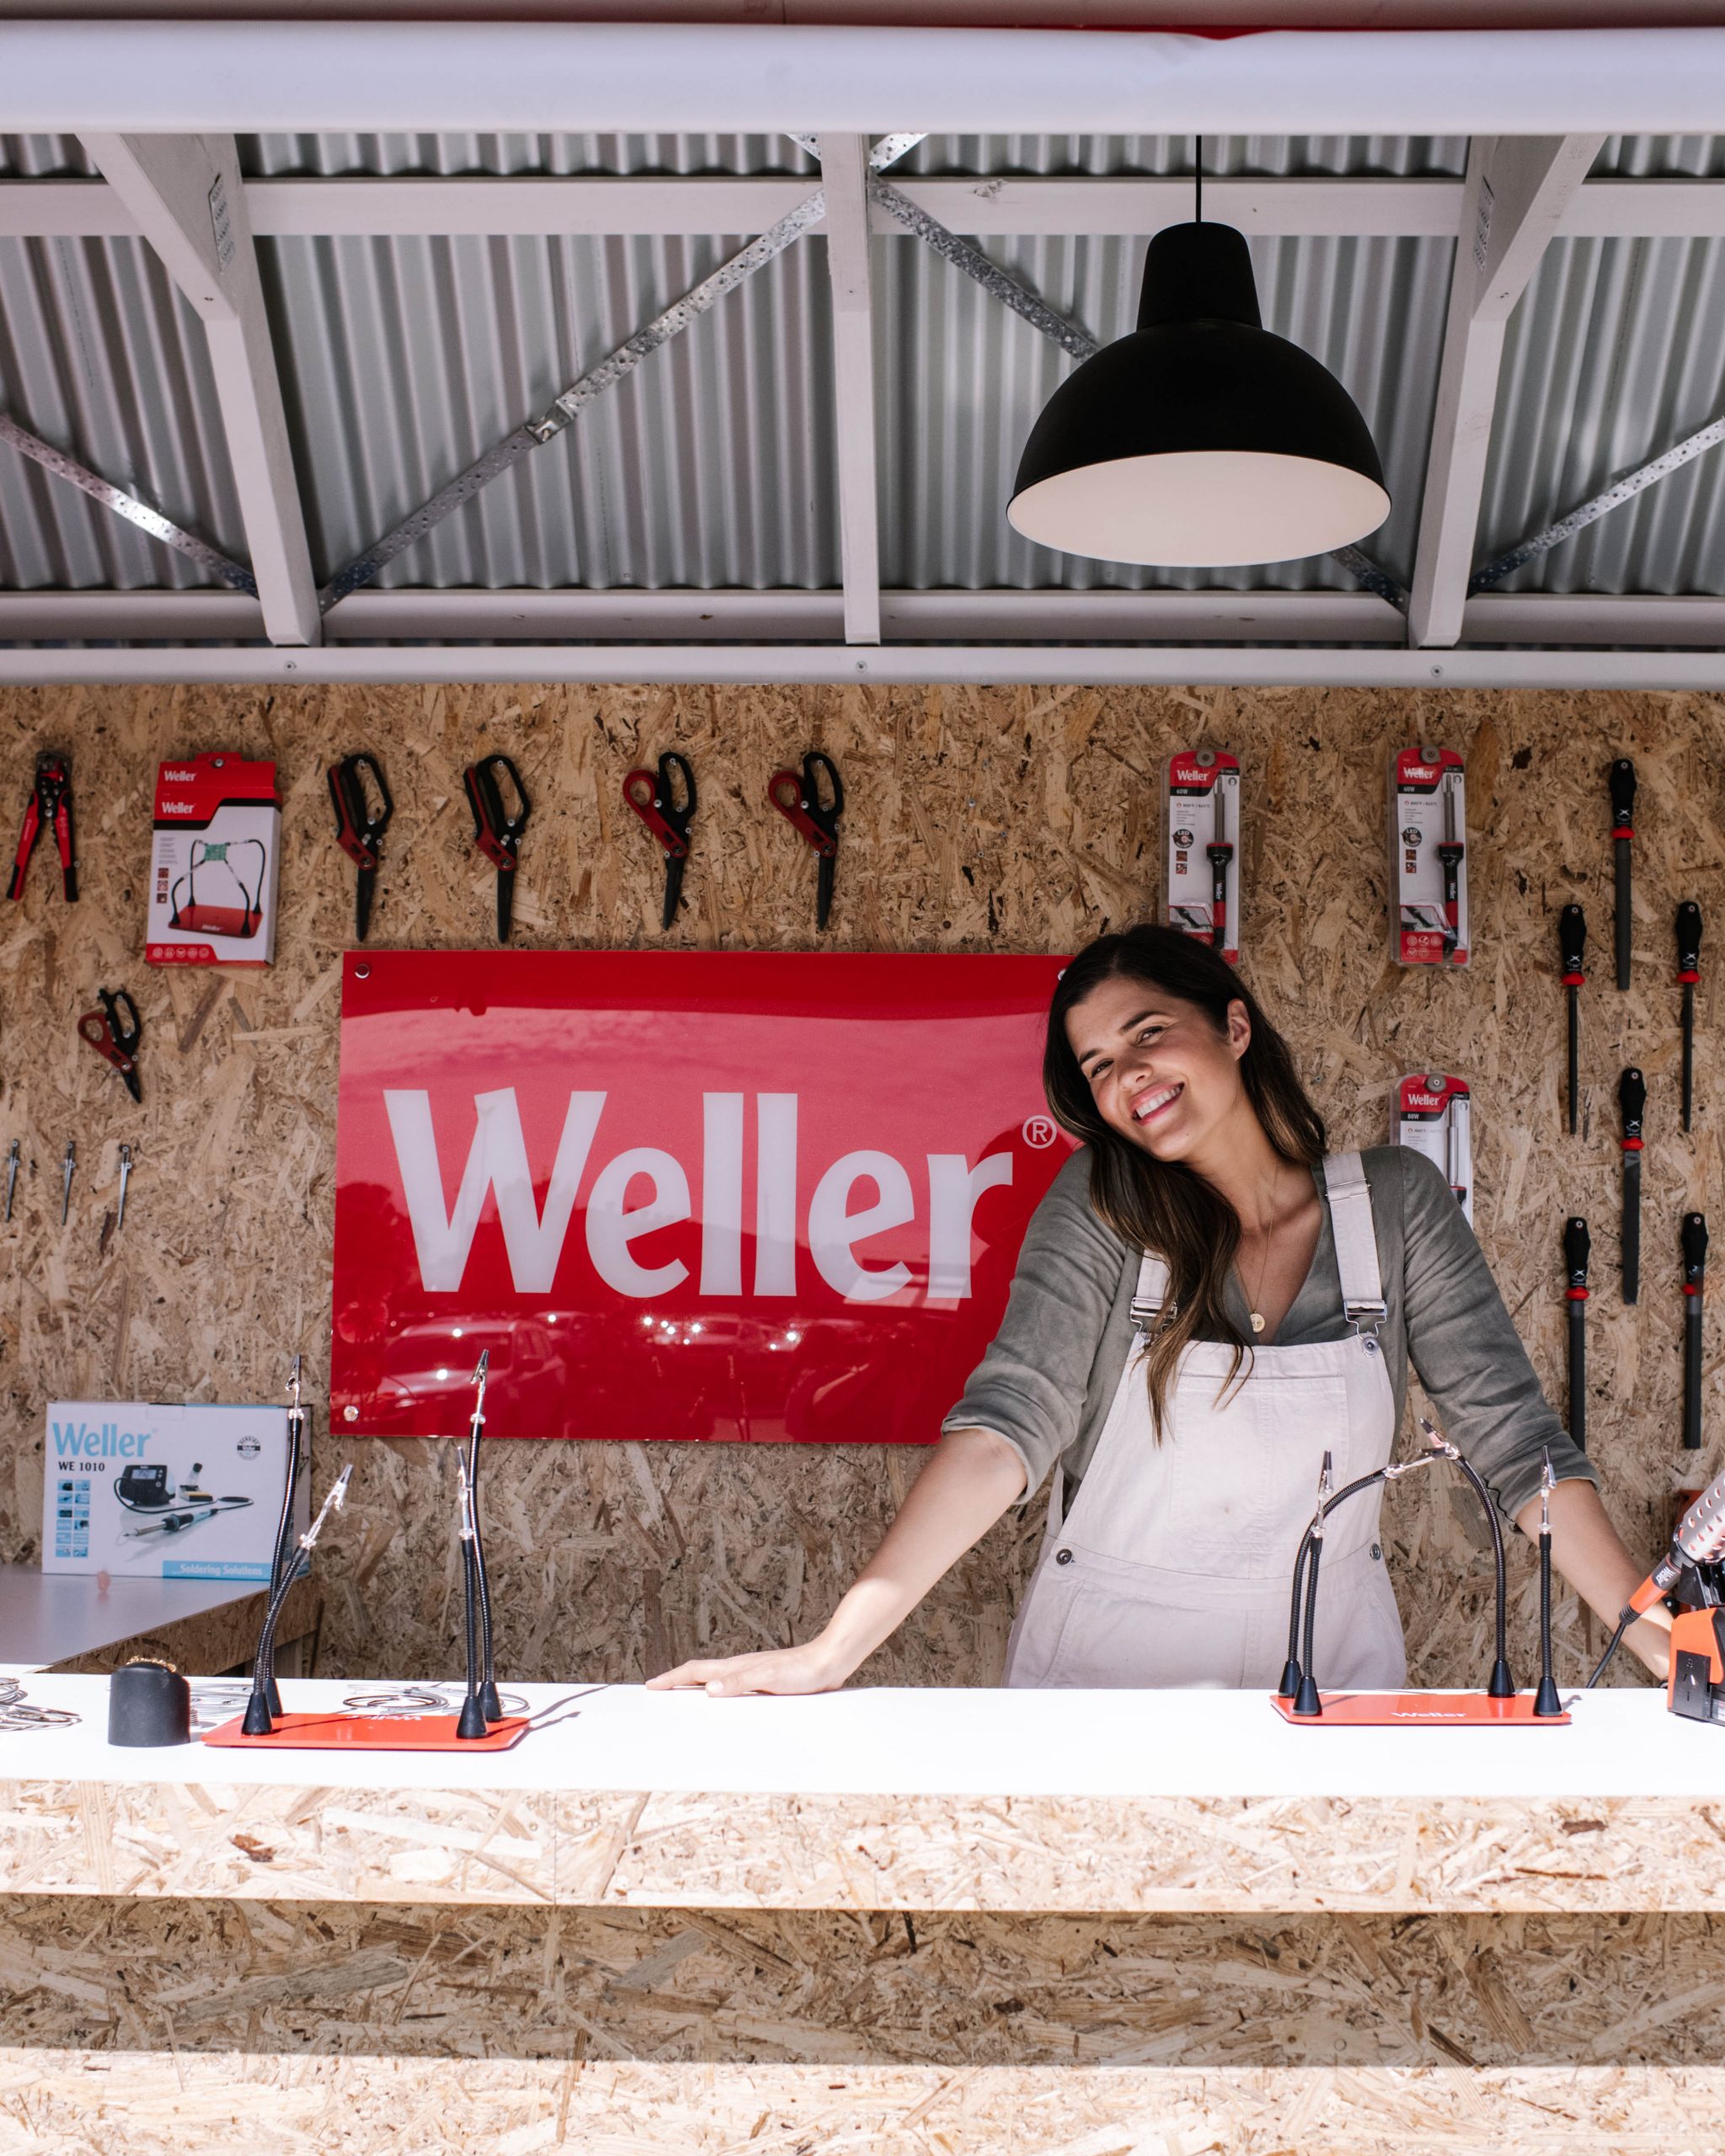
As you probably already know, I love experimenting with different tools, and getting the opportunity to make new projects!
So when Weller approached me about teaming up to demonstrate a soldering project at a local Brisbane Bunnings, I jumped at the chance to share this new found passion with others! I chose to make this metal vase, and after a few of you asked for me to share the tutorial, so I decided I would share it here.
You can watch the video for how to make this here.
WHAT EXACTLY IS SOLDERING?
If you’re unsure, soldering is the process of joining two or more metal parts together by melting solder to act as a sort of ‘glue’. Solder is a metal alloy and when it cools it creates a bond between the parts. One of my favorite things about soldering is that the projects you can make are endless – so it was actually pretty hard to pick just one to share. I decided to go with these simple metal decorative vases, which are perfect for dried flowers, fresh cut flowers or displaying greenery.
Materials You’ll Need To Make A Soldered Vase:
- Weller Soldering Iron
- Solder (I like to use a 1.6mm tin/lead solder, Also referred to as ‘soft solder’)
- Flux (Flux can be likened to paint primer for metals. It cleans and prepares the surface and removes any oxides. Using flux is a great way to ensure your solder bonds more easily and helps the while process go much smoother. A general purpose flux like this one works well for these types of projects.)
- Metal Rings (Metals that can easily be soldered with soft solder are tin, silver, gold, copper, bronze, and brass. Metals such as Aluminum and stainless steel both require a higher melting point and need a different solder.)
- Bass or metal Sponge (Metal sponge is important for cleaning the tip of the soldering iron before and after you solder, also known as ‘tinning the tip’. I also find it helpful to clean the tip throughout if it gets a build up on it. Cleaning is an important part of keeping the tip working well for longer.)
- Helping Hands Soldering Clips (Clips are really handy to have on projects that need to be lined up really straight. They act as a second set of hands and keep pieces still as you solder them together.)
Before You Solder
The tip of any soldering iron is the most critical component in the performance of the tool. Therefore, you should tin your tips before and after each soldering session, as well as in between soldering every two to three joints. You want to keep your tip tinned at all times, from the first time you use it until you discard it. When you tin a tip, you cover it with a thin layer of solder. Tinning stops your tips from oxidizing by creating a protective layer between the air and the iron. It’s essential to keep your tip tinned, since iron oxidizes rapidly. Oxidation prevents the tip from transferring heat efficiently. Preventing oxidation through tinning extends the life of your tips.
How to make the metal vase
- Take metal cutters and cut the metal circles to create the vase outline. You need one circle for the base, one cut in half for the sides, two straight pieces of equal length for the neck and a smaller circle for the top.
- Lay all the pieces out into the shape of the vase.
- Set up your ‘helping hands’ clips in front of you and put the side pieces onto the clips,
one at a time. - Place the base circle on the table and line up the side pieces so they just touch the
circle. - Paint a small amount of flux into the point you’re going to connect. Use your soldering iron to heat up the metal components. Optional: For any pieces that have a shiny finish, use a small piece of sandpaper to rough up the surface before adding the flux.
- Hold the solder and the iron over the joins and let the iron melt the solder to create a bond.
- Next, lay the vase on the table with the base circle sitting off the edge of the table. Then
lay the straight pieces flat at the top and solder them on, being careful to keep
everything straight and lined up. - Place the top circle on the table and turn the vase upside down to solder the circle onto
the top. - Finally, spray paint the vase to finish it off.
Soldering Safety Tips
- The tip of the iron gets extremely hot so safety is really important.
- Work in a clean tidy space so that nothing else could accidentally come into contact with the iron.
- Consider the surface you are soldering on top of as drips of solder will likely fall onto the table.
- Choose a well ventilated area and don’t solder for hours and hours at a time and its good to have breaks from the fumes
- Always wash your hands after touching solder and flux and clean down your work space
- Always place the iron back in the holder when not using it. Do not rest it on the table and do not try to pick up other objects or scratch your arm while holding the iron!
- Never touch the metal piece you have just soldered until it has cooled down as the whole piece can get quite hot.
I had a blast sharing this project at the Bunnings Weller workshop! If you haven’t tried soldering – I’d definitely recommend!
This post is in collaboration with Weller


