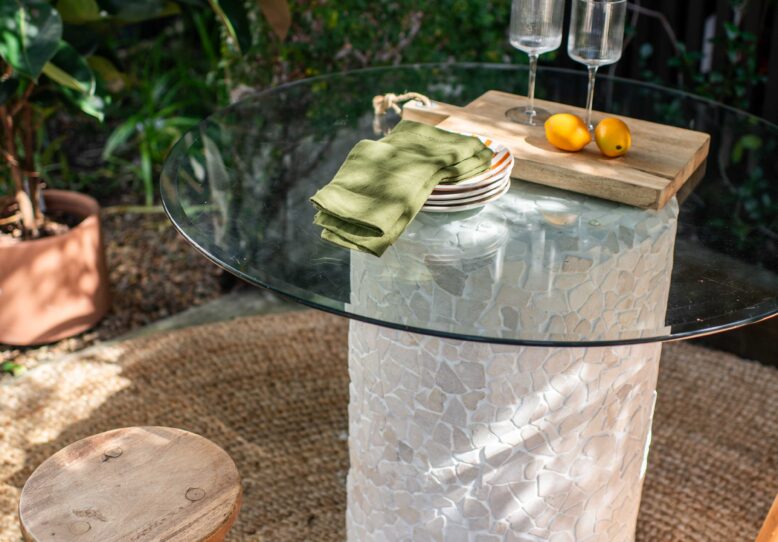
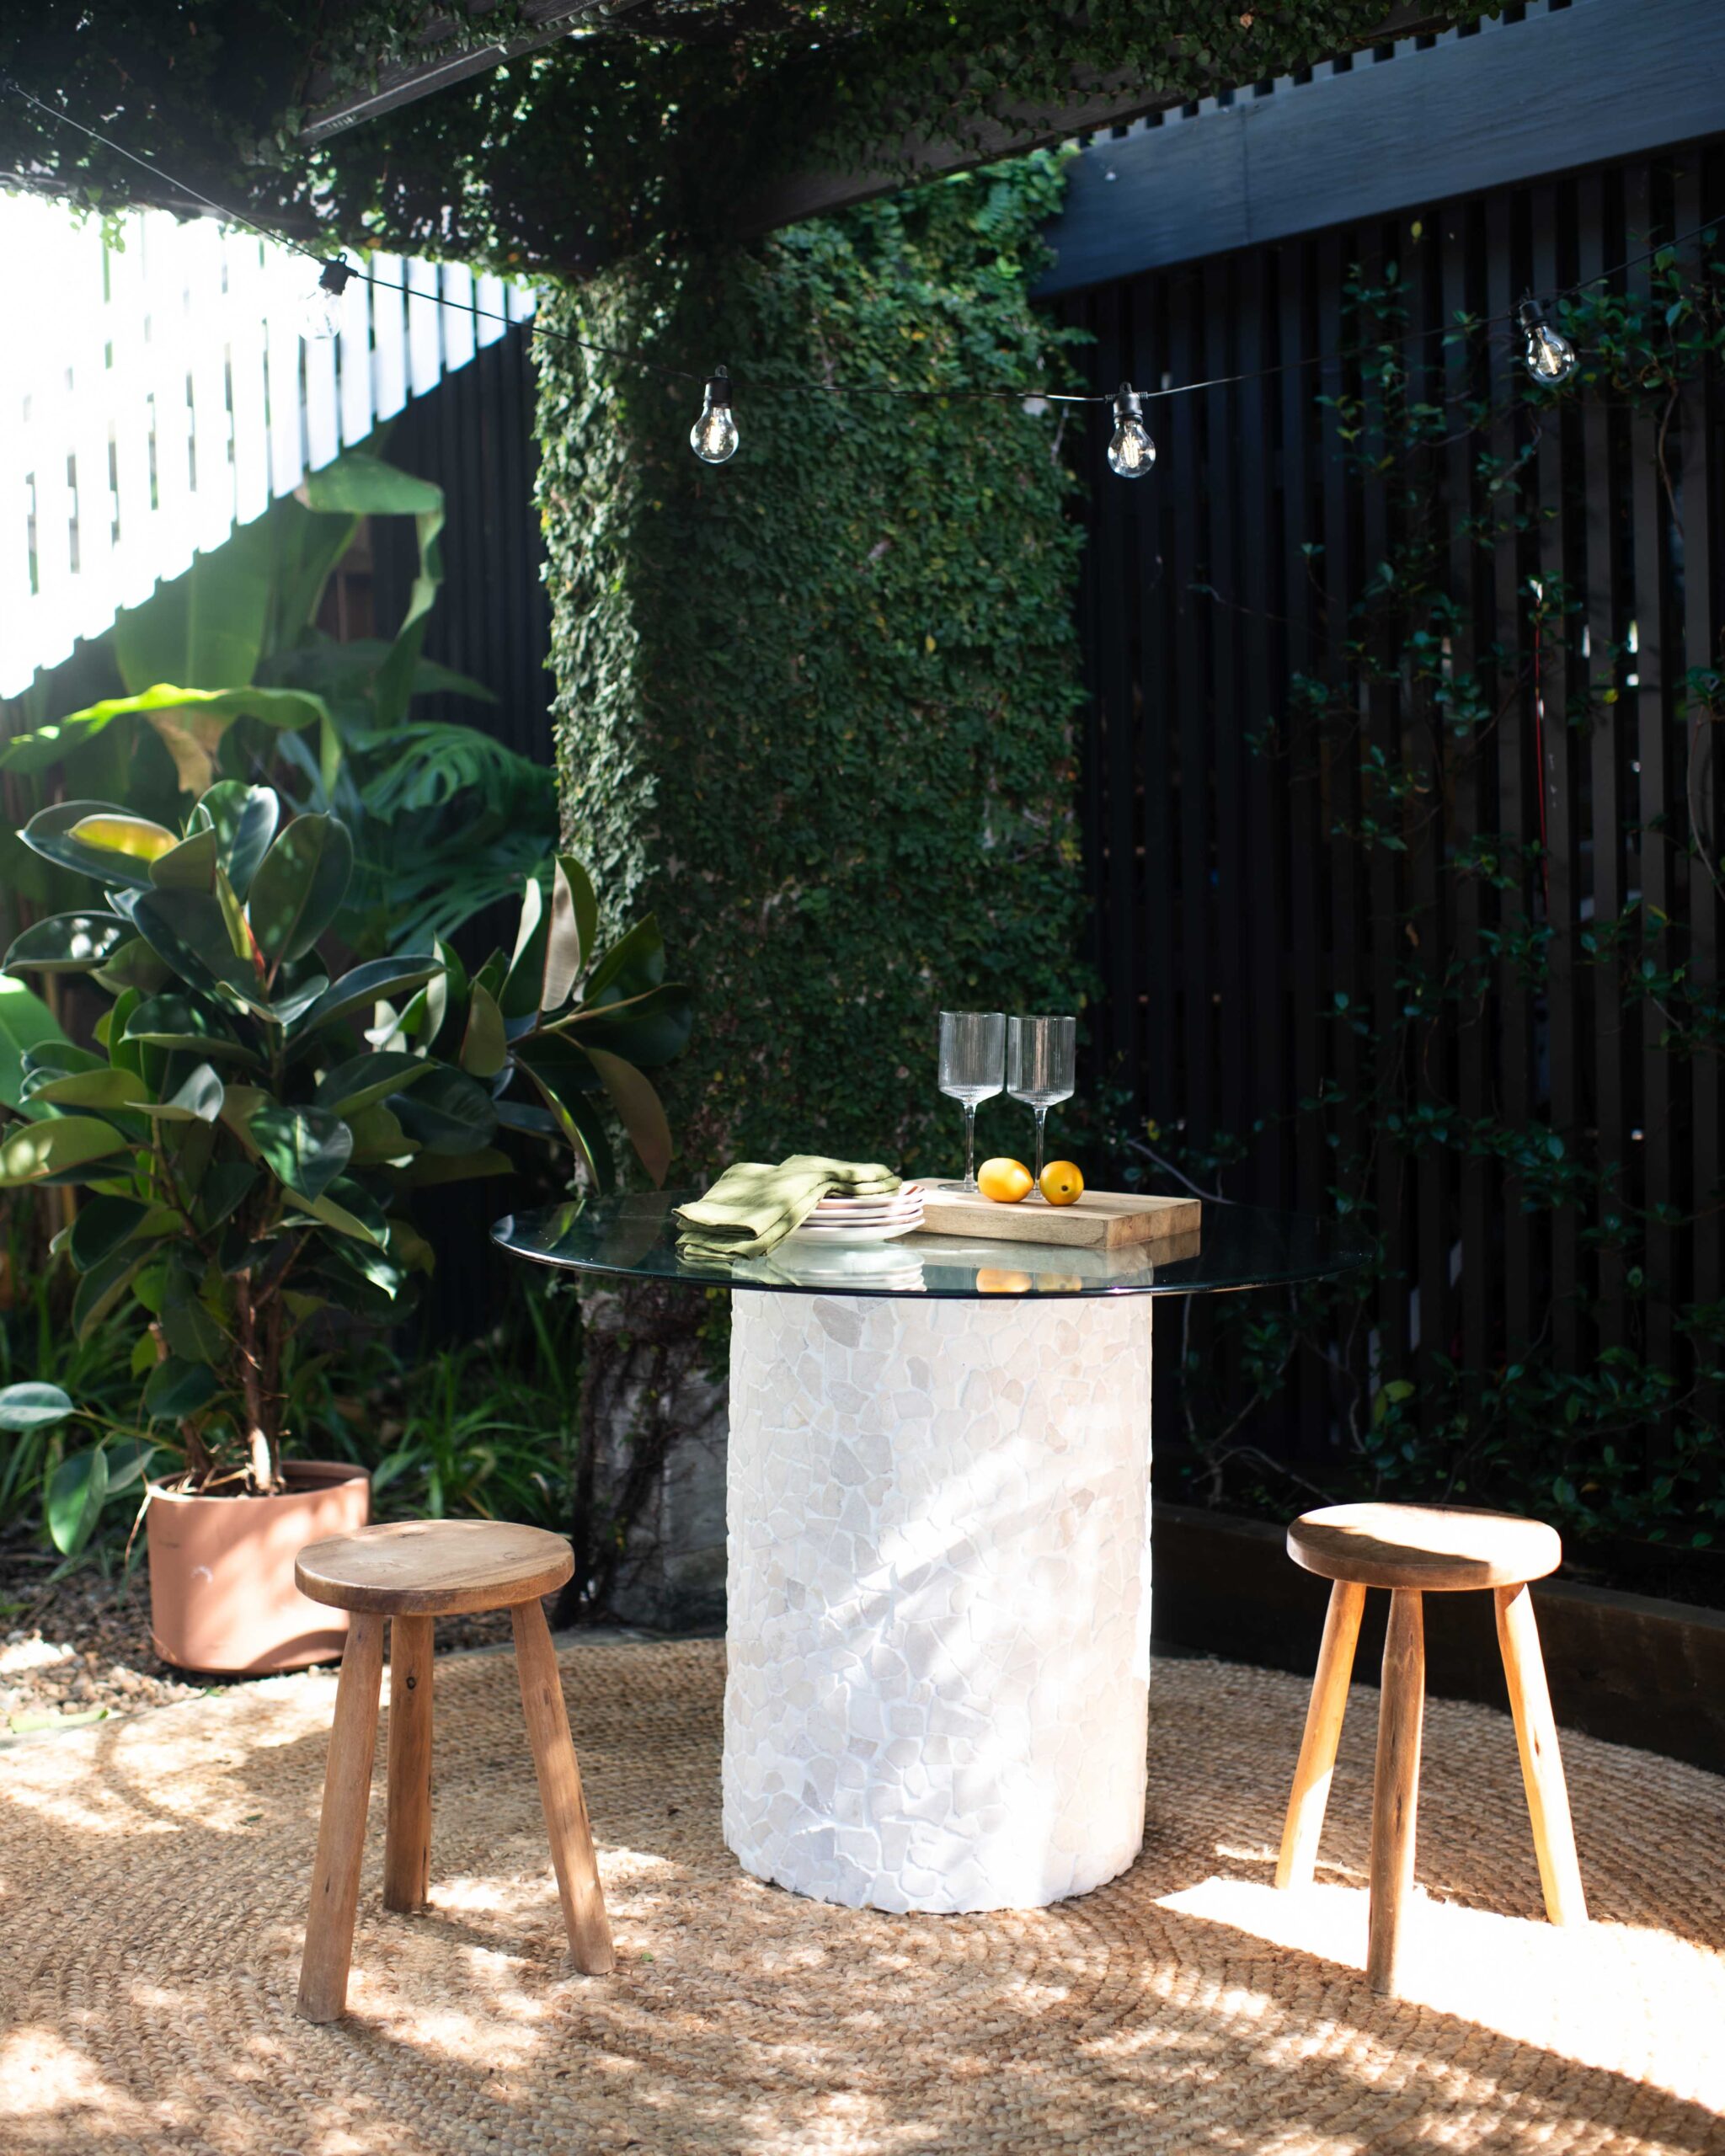
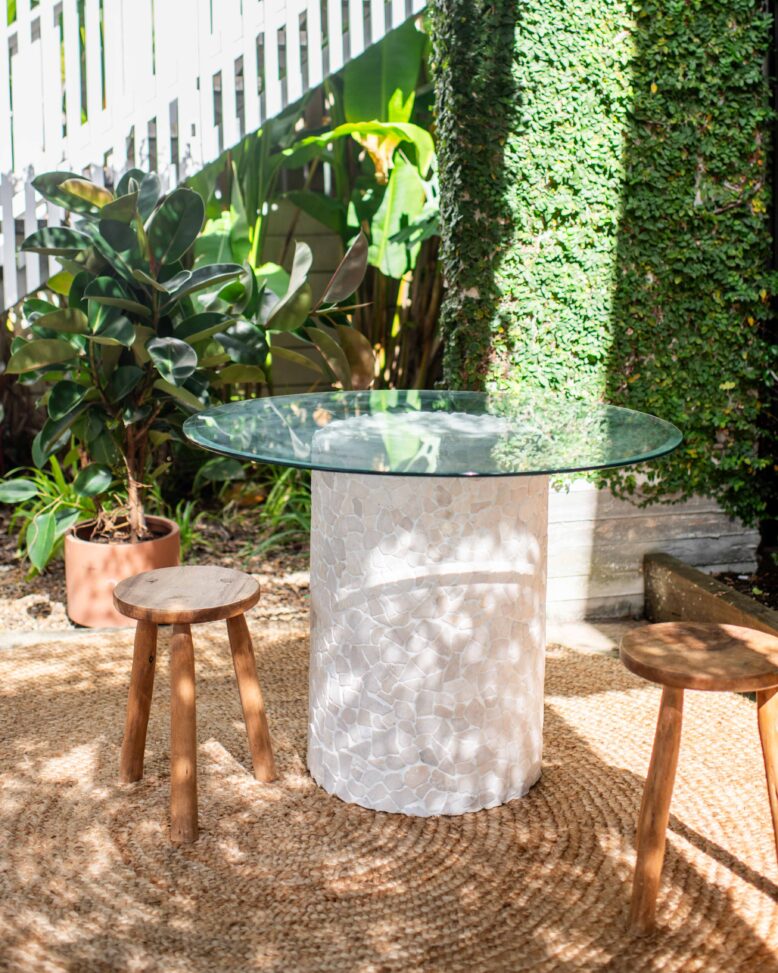
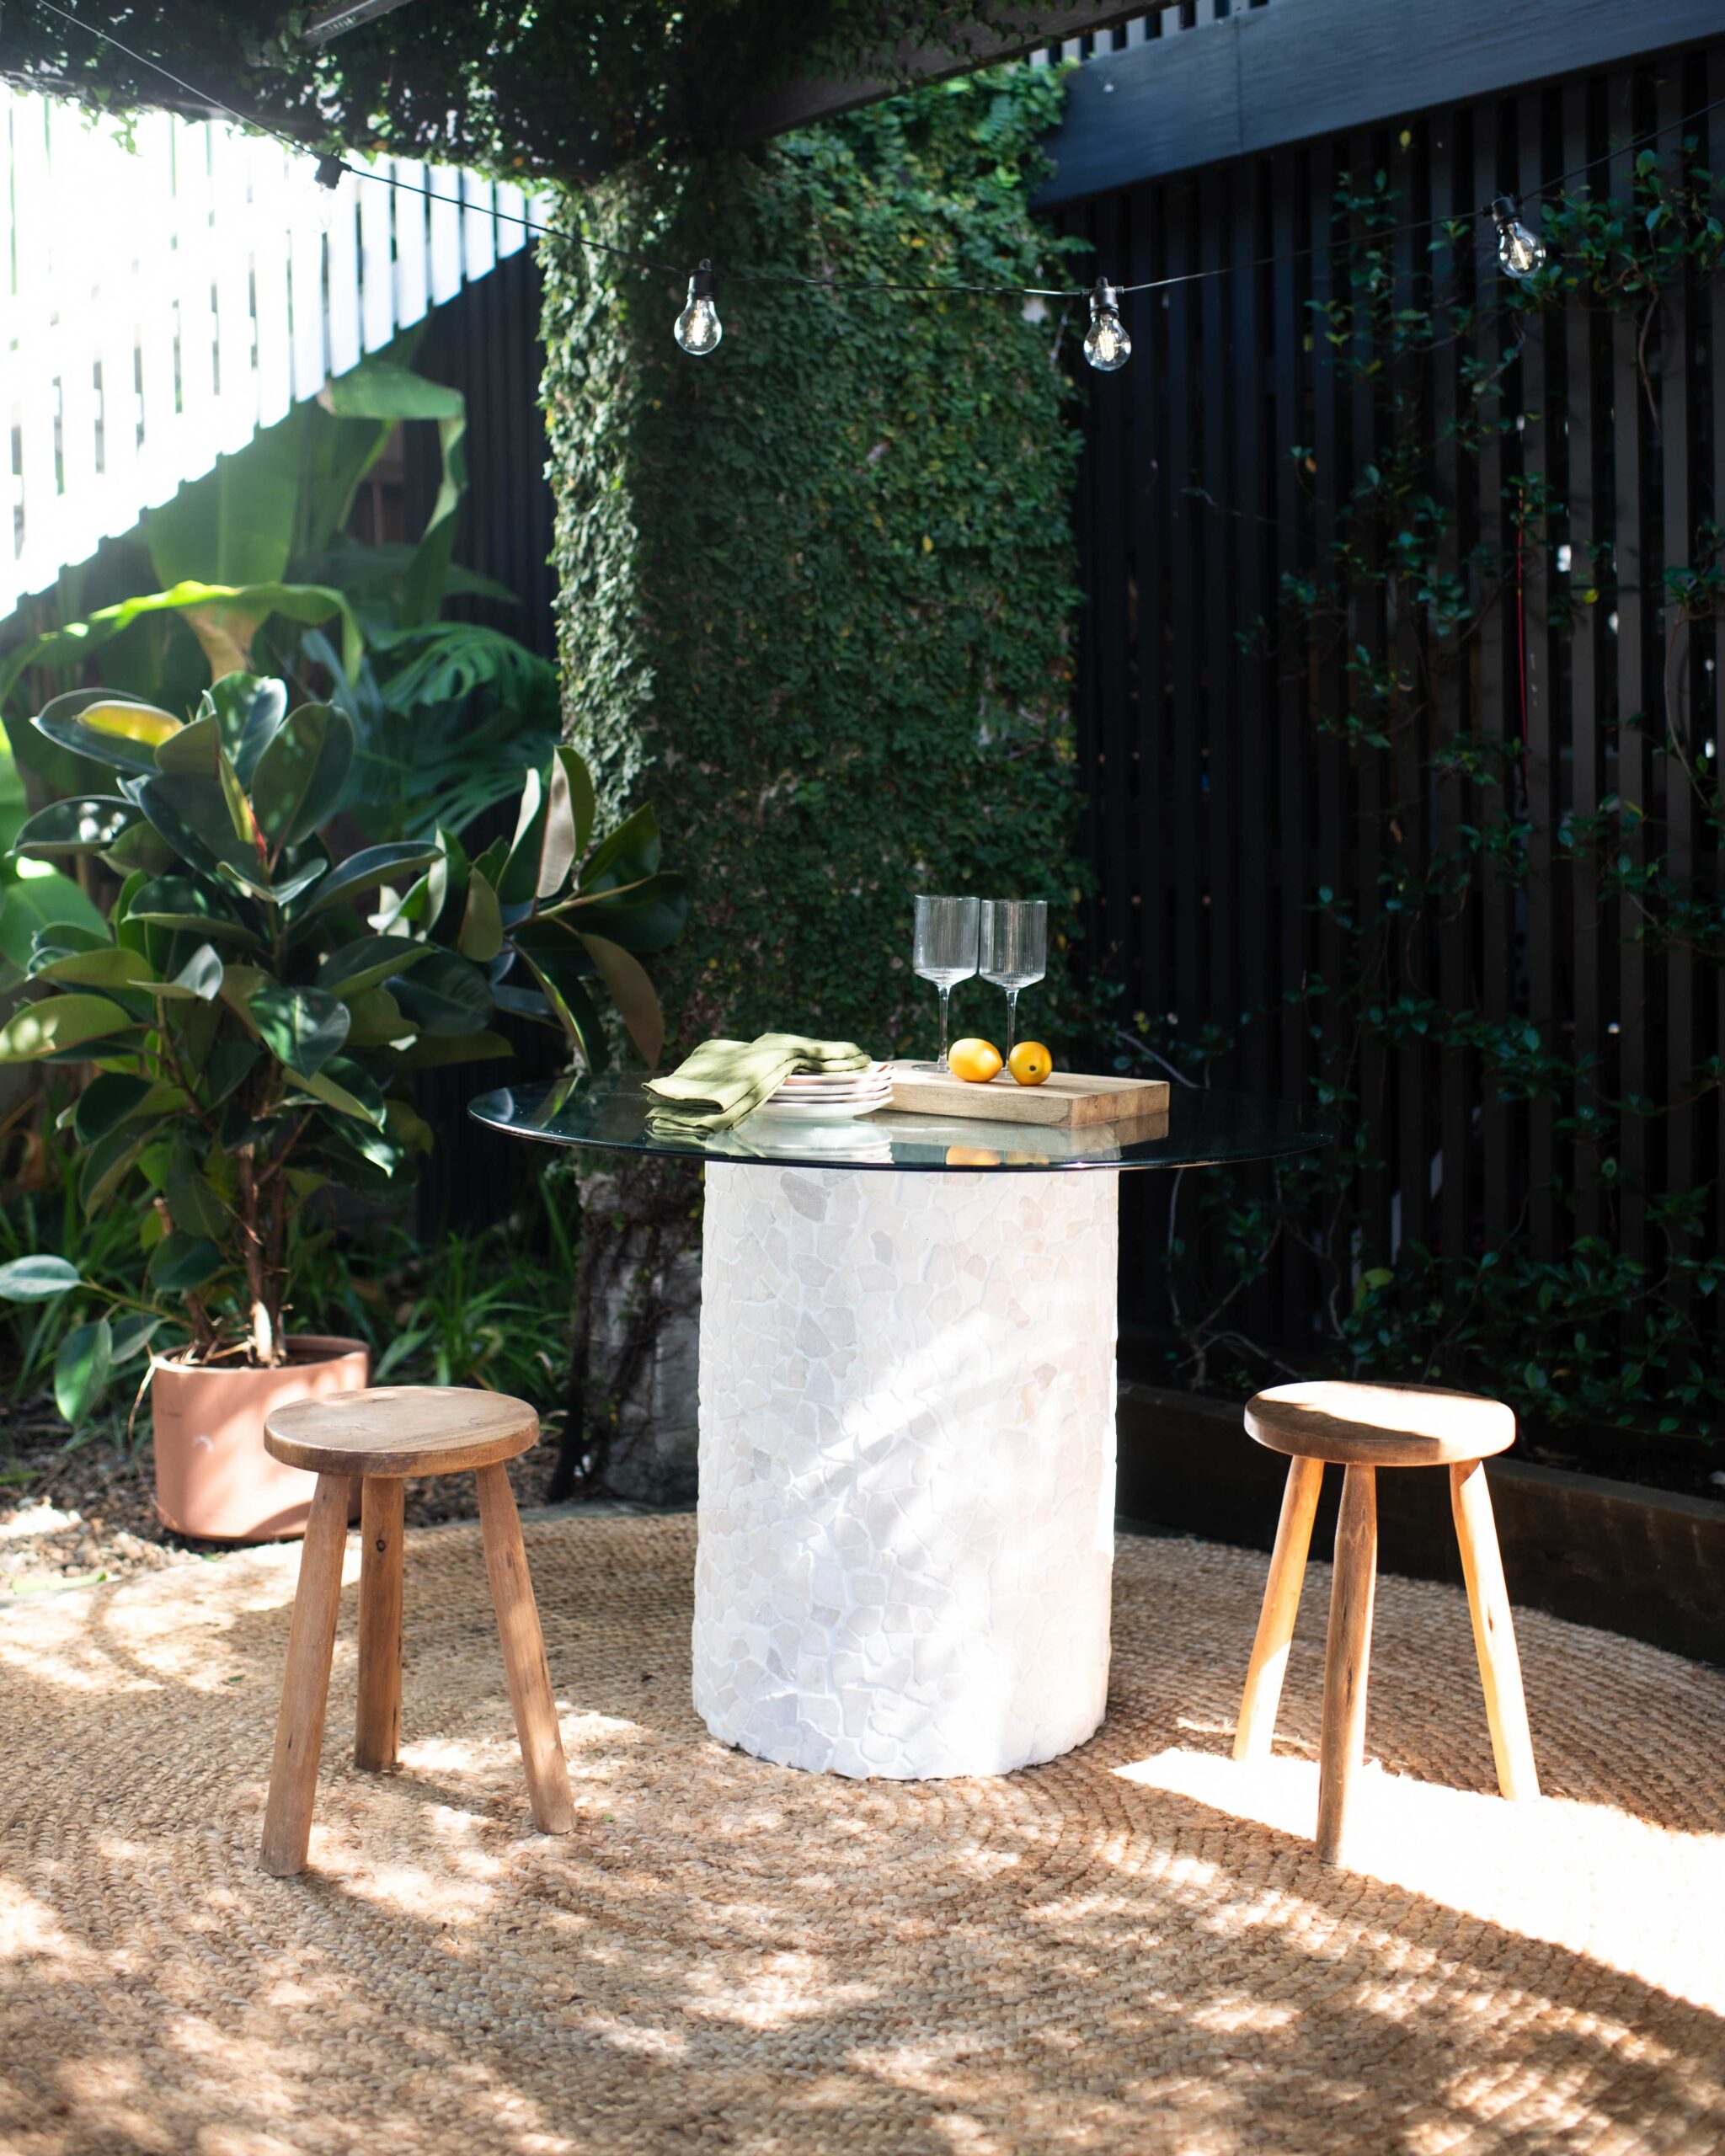
Welcome to my brand new ‘Aisle Upcycle’ series – where I upcycle projects from trash into treasure using what I can find in the aisles at Bunnings! And my first project is this stone pedestal outdoor table.
It’s my favourite time of year with the kerbside cleanup happening in my area, so I set myself a challenge to find items that are other people’s rubbish and upcycle them into new pieces. For this outdoor table, I was inspired when I found a round glass table top that was missing its base. So I decided to create my own with a large pot, some tiles and grout from Bunnings!
Materials
- Large Tuscan Cylinder Pot
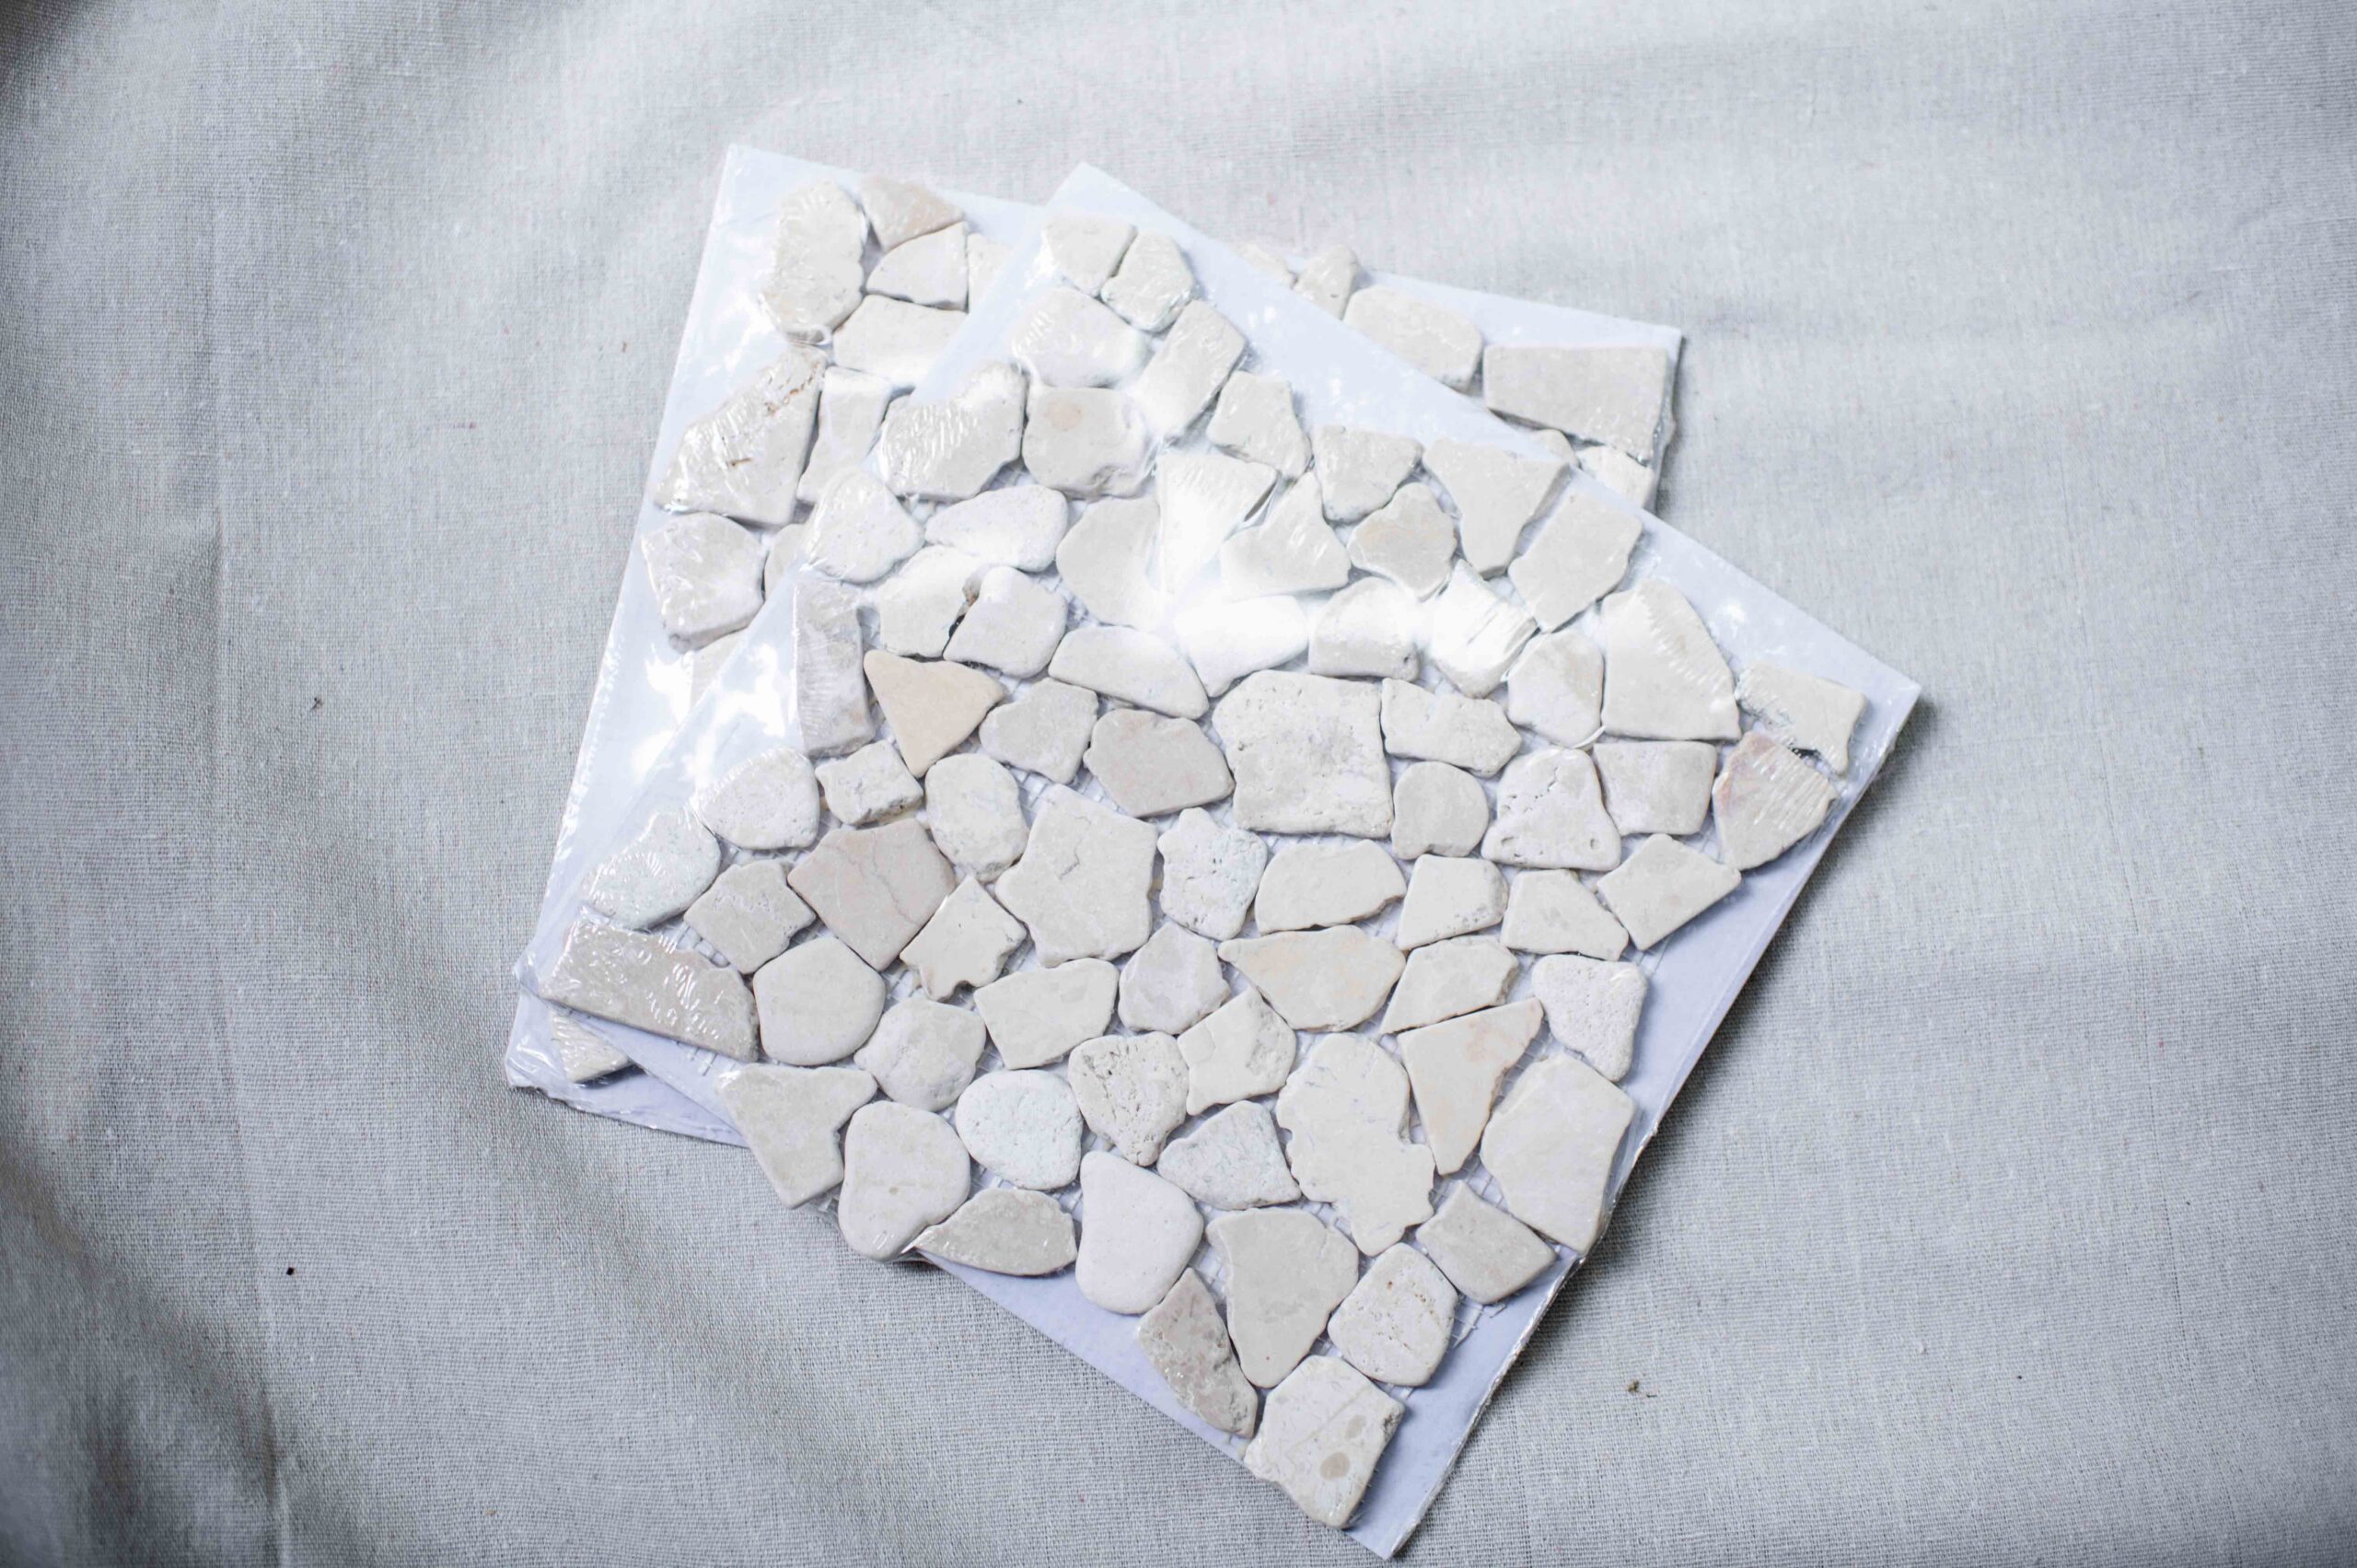
- Decor8 Marble Mosaic Tiles (see below)
- Selleys Liquid Nails
- Davco Easy Grout in White
- Sponge
- Rubber Bumpers for the glass
How to Make a Stone Pedestal Outdoor Table
1
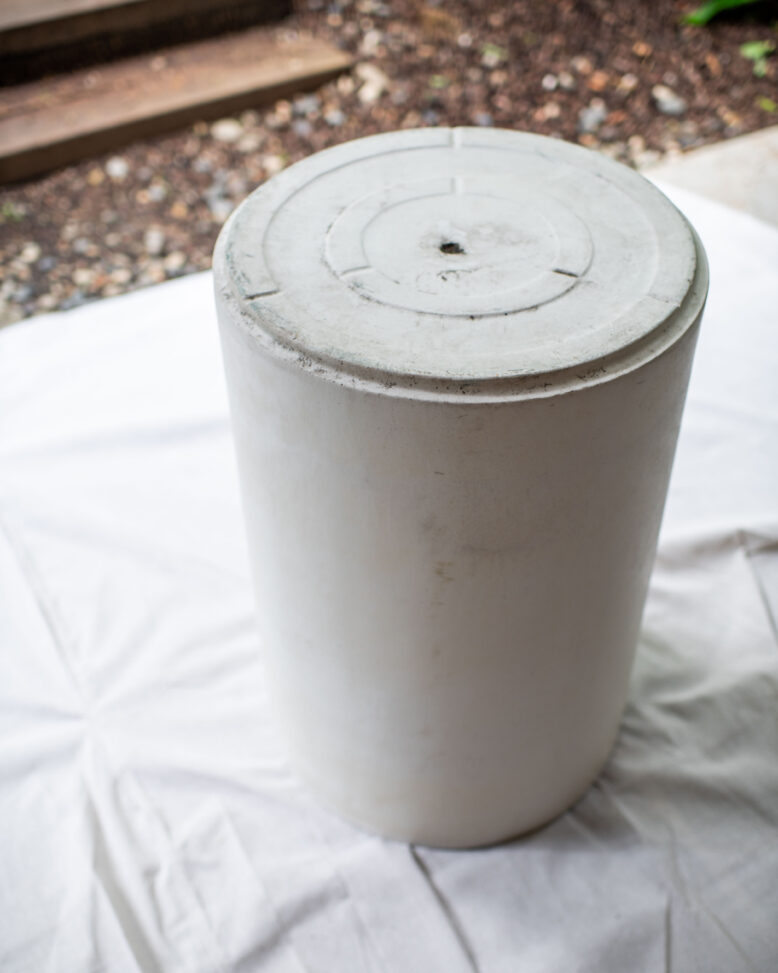
The first step was to tile the pot that was going to act as the base of the table. Simply turn the large pot from Bunnings upside down and prepare your work zone for tiling.
2
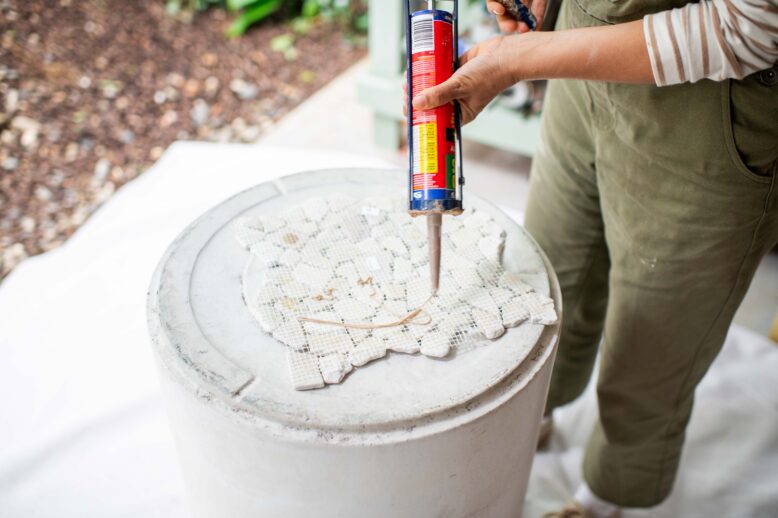
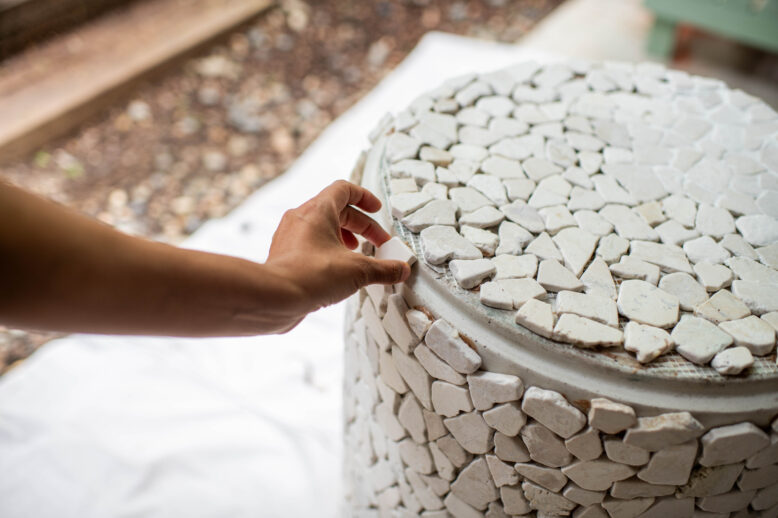
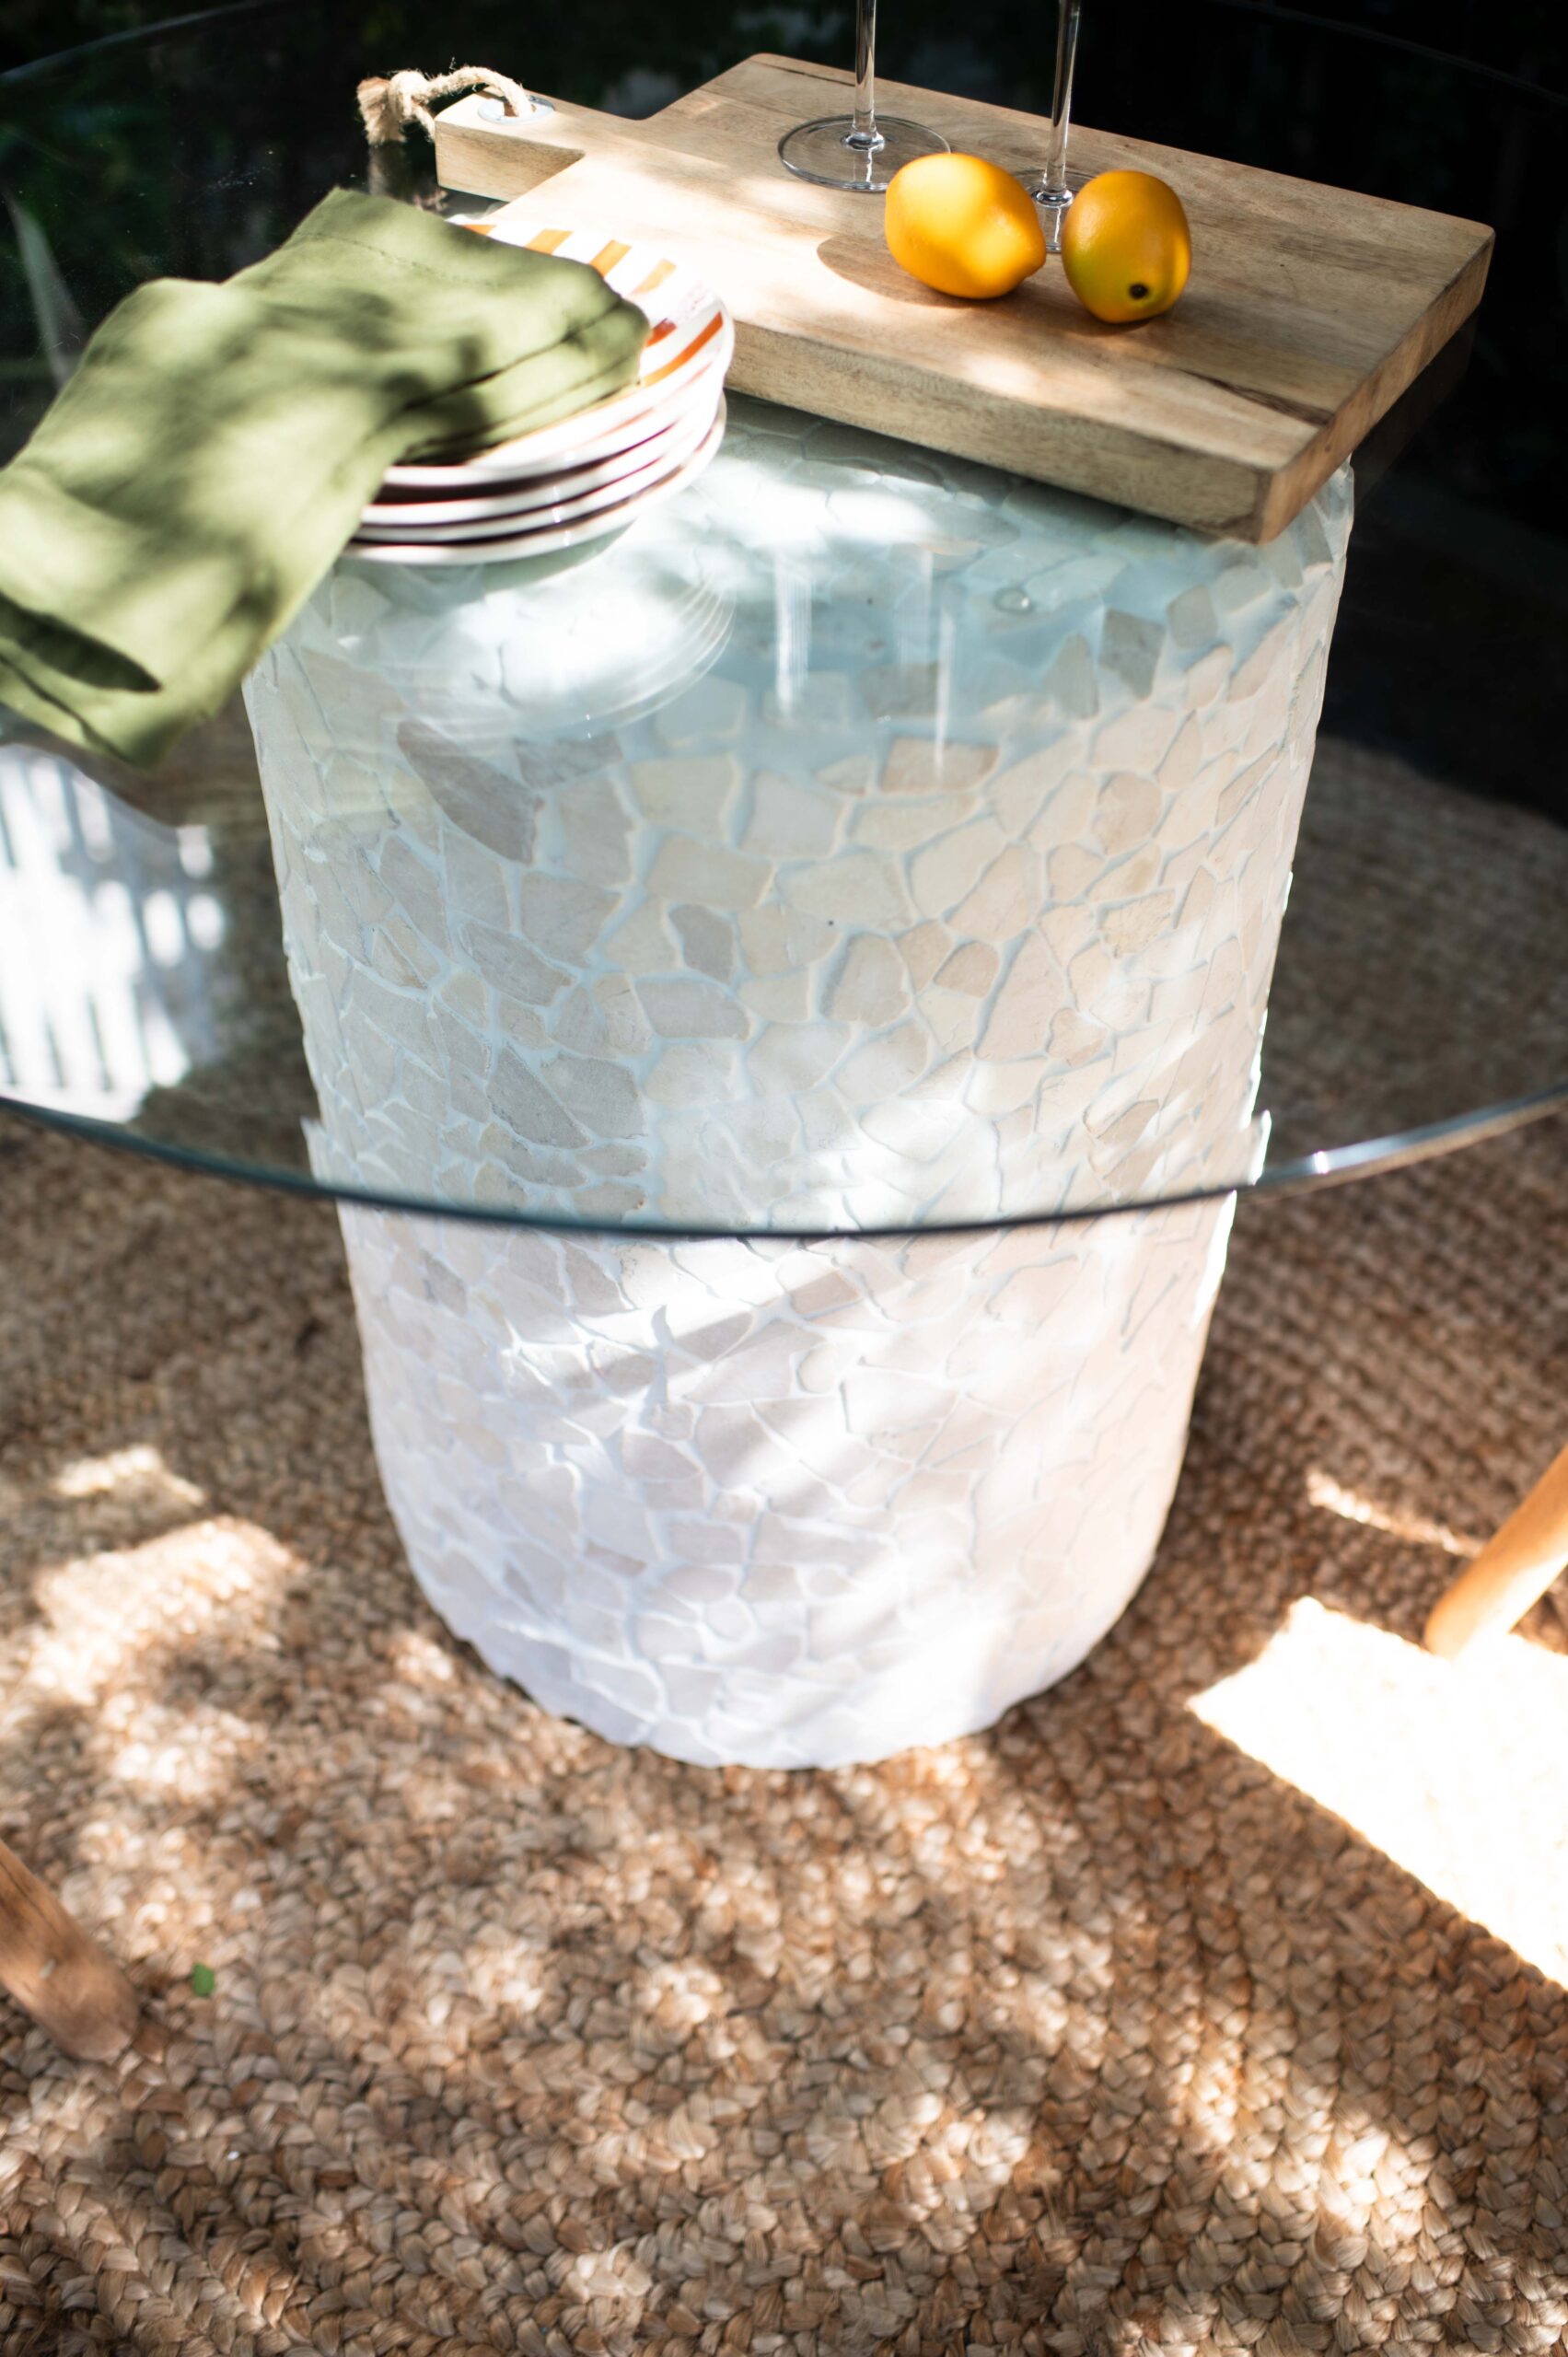
Start by placing liquid nails on the back of the tiles and place them on the top of the pot. The whole project was made easier because I chose tiles with netting on the back, so keep that in mind while picking what tile you want to use.
3
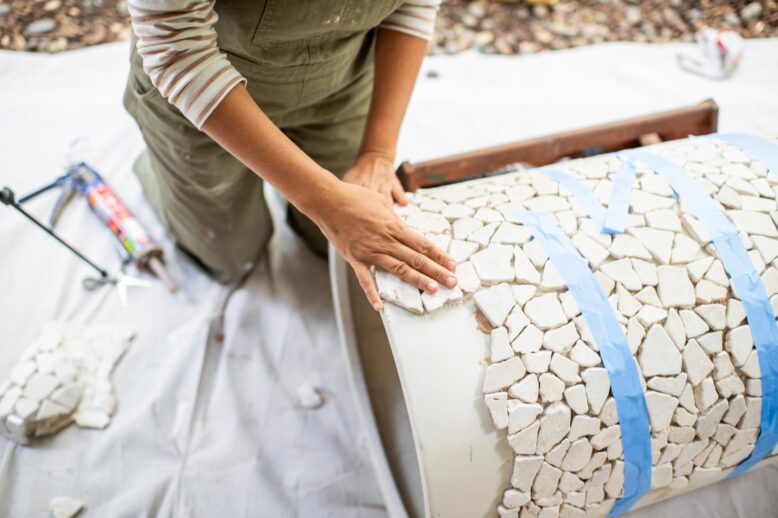
Work in sections adding more tiles to the pot. When the top is dry, gently turn the pot onto its side and continue to glue the tiles to the side of the pot. You might find it helpful to use some tape to hold everything in place while it dries.
4
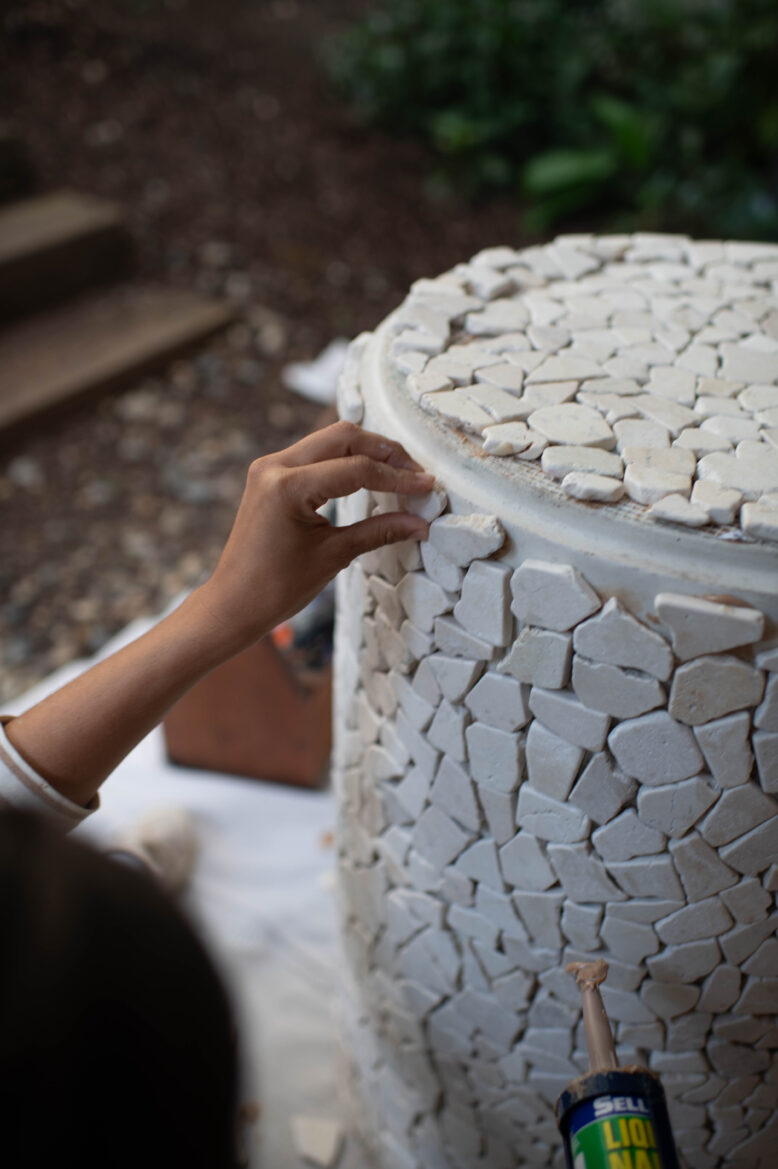
As needed, cut the marble tiles off the net backing and glue them individually to fill in any gaps along the edges.
6
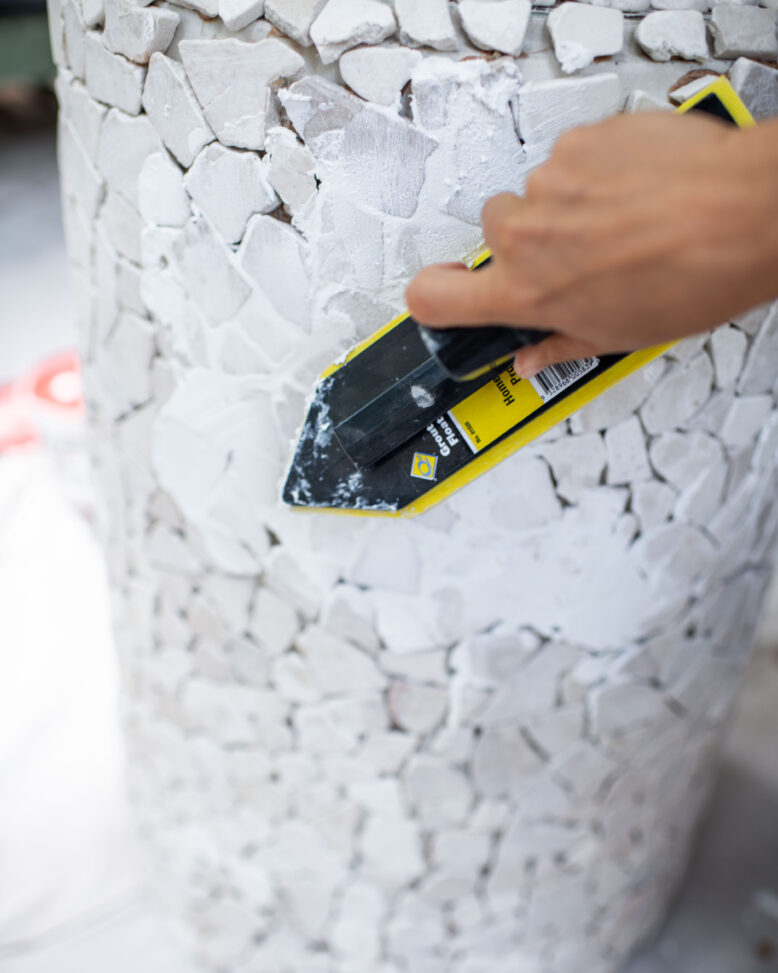
Once you are happy with the placement of the tiles and the glue is dry, it is time to grout the tiles using Davco easy grout. Make sure you follow the directions on the packaging.
7
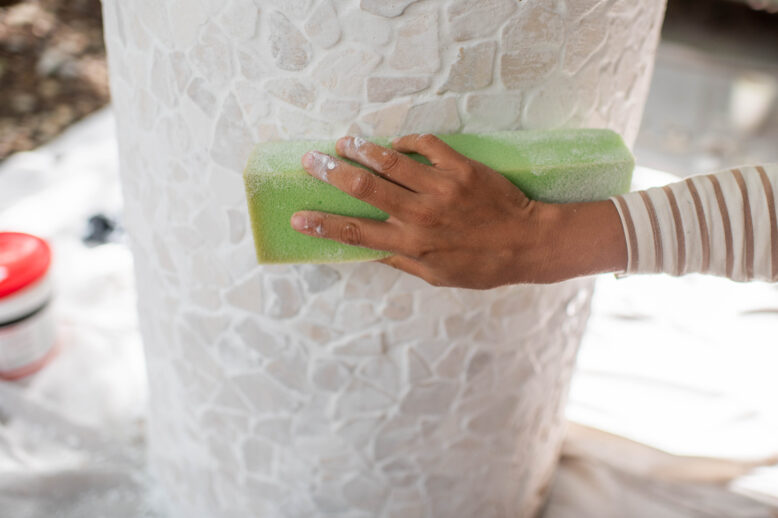
While the grout is still drying, carefully remove the excess grout from around the tiles using a wet sponge. These tiles are quite porous, so you don't want to leave this step too long or you might find it hard to remove the grout from on top of the tiles.
8
Once the grout is completely dry, carefully place your pot where you want the table to be and place some rubber bumpers on top of the tiles where the glass will sit to protect it from sliding and hitting the tiles. Place the glass top carefully in the centre of the pot and you are finished!
Voila
If you enjoyed this upcycled project, make sure you check out my other upcycling tutorials here. Stay tuned for my next ‘Aisle Upcycle’ project coming soon!
This post is in collaboration with Bunnings.


