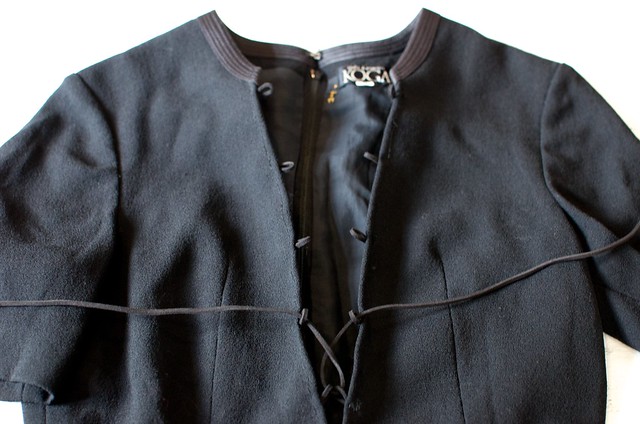
Greetings from down under guys! I’ve just arrived in Sydney to spend a few weeks here – for fashion week and for a few other things that I’ve been working on. It’s so nice to be on home soil -there are gorgeous rosella birds sitting on the veranda watching me type as we speak. To kick off a week of fun and fashion that is MBFWA (and a bunch of fashion inspired projects that I have lined up for you) I thought I would share with you a little before & after – taking a simple black dress and turning it into something different, special and, well, oh so Spring 15! If you haven’t noticed lacing has been everywhere recently, I have to say I’m loving the whole 70’s vibe! This is the first of two ways to add some laced detailing to your dress/top/whatever, and it wasn’t too hard either!
DIY Lace Up Dress
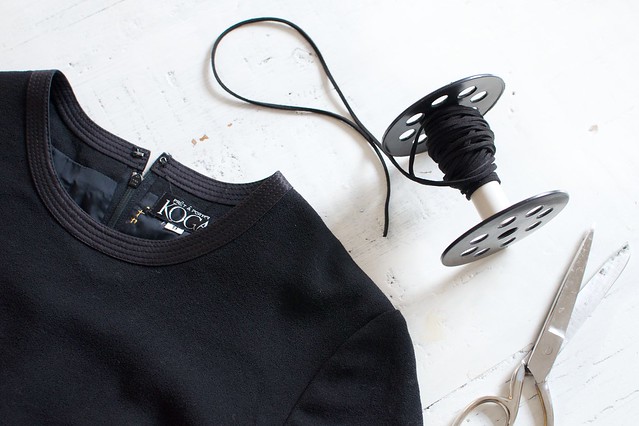
You need:
- An old dress with a high neckline
- Leather Cord
- Scissors
- Needles, thread and pins
- Sewing Machine
We used a simple fitted dress with a high neckline and a seam around the waist, which made it easy to create this cut out whilst still keeping the structure of the dress.
How to:
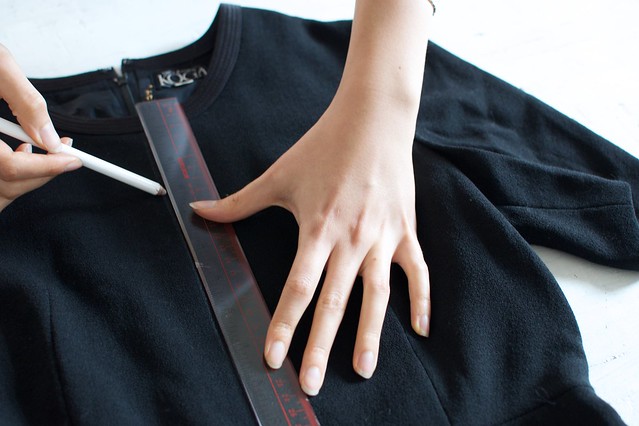
1. Draw a line down the centre front of your dress to where you want your V-neck to start and end. We made this one quite low, it went to the waist seam, but you can make it as low or high as you want depending on modesty – this version isn’t something you’d wear to work haha.
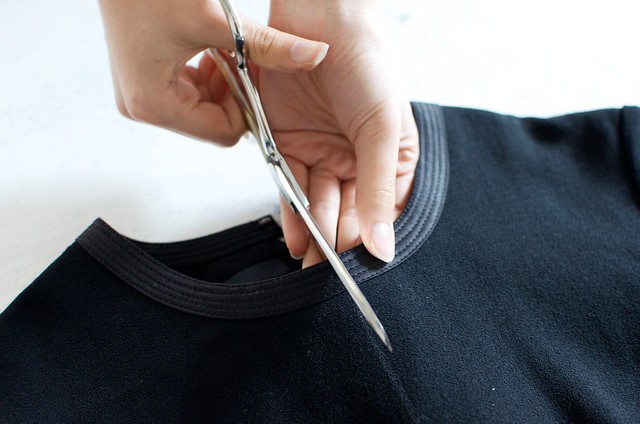
2. Cut along the line. If you are going to the waist seam cut all the way down, otherwise cut to your chosen depth.
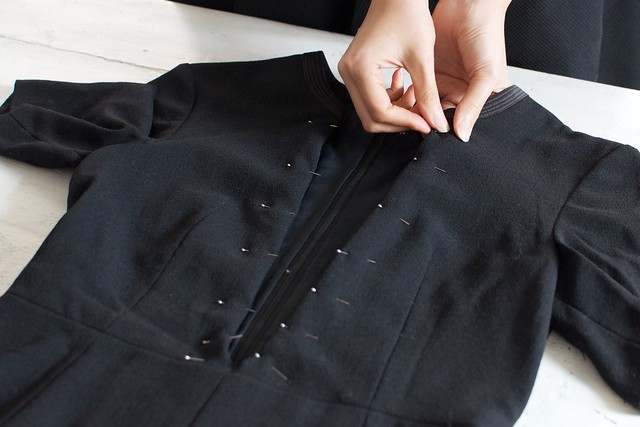
3. Fold the two sides under to create a V-neck and pin them into place. You will need to reinforce the bottom of your V if you don’t use a seam to end the cut.
4. Decide on where you want to start lacing your front from. From this point measure up to the top and divide by 5.
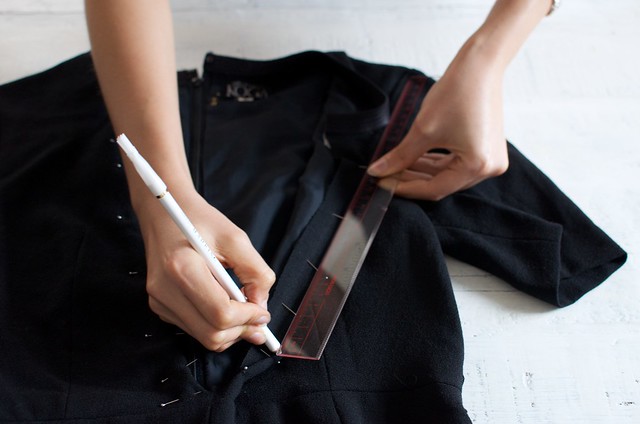
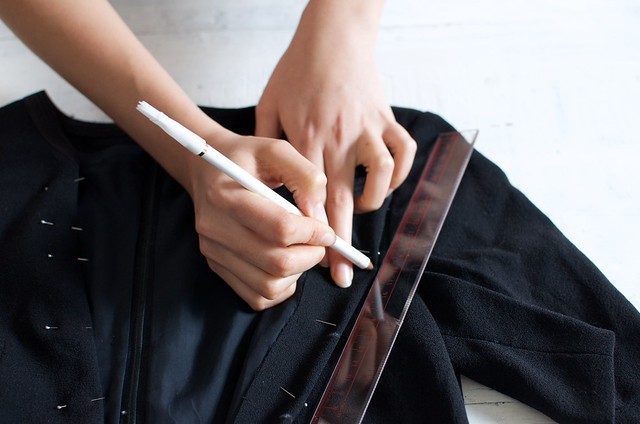
5. Mark the 5 points with your chalk pencil.
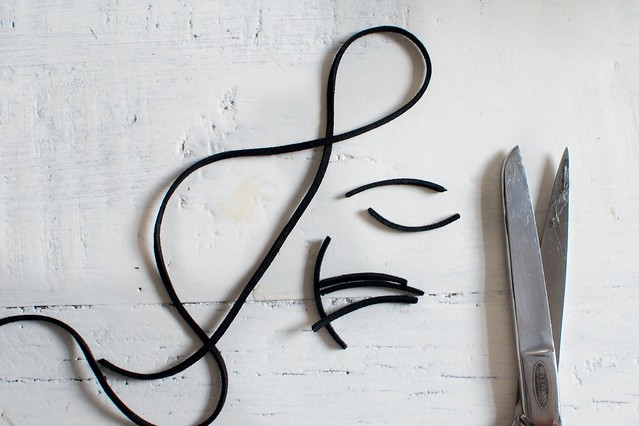
6. Cut small sections of leather cord.
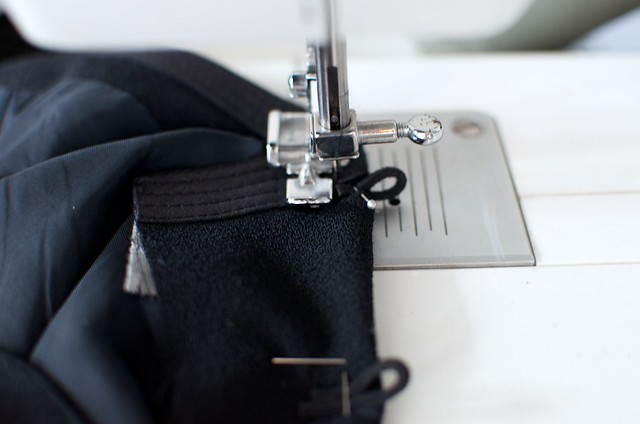
7. Fold these leather cords in half to form loops and pin them along the four points. Sew along the edge to reinforce the edge and also to attach the loops. You can also hand sew the loops on for extra security.
8. Once the loops are in place, take your leather cord and start by weaving from the bottom criss crossing through the loops from side to side.
Voila!
Outfit photos by Nicola Lemmon


