Pleated skirts have, for years, been the type of project I would avoid – all that maths seemed way too hard to deal with.
Not because I didn’t like maths, but more from the perspective of ‘why would I do maths on my weekend’ sort of situation. However, recently we took some time out in the studio to figure out a way to do pleats as easily as possible, and we came up with this approach – it was actually very simple. Shock horror! It takes a little bit of precision, which frankly isn’t something I enjoy, but the result was well worth it, trust me.
Stay tuned to my instagram to see how I wear it at Sydney Fashion Week today!
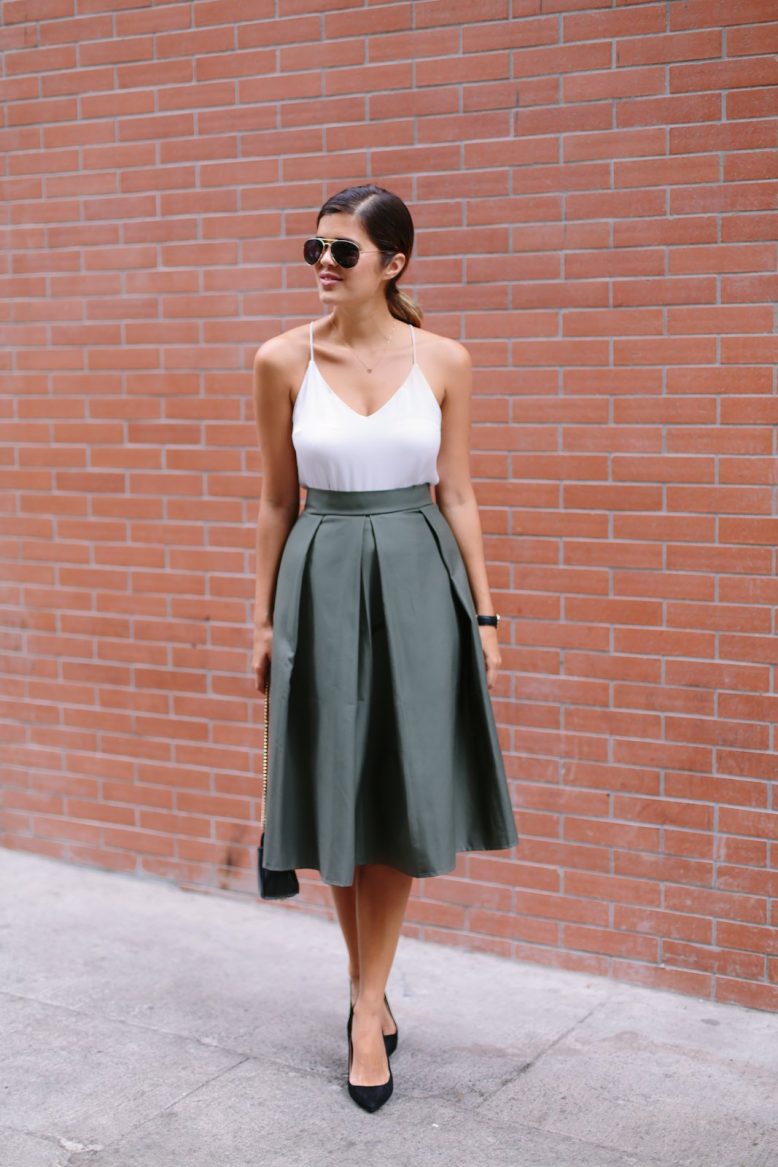
Wearing: J Crew tank and heels, Khaki skirt, Dylan Kain bag.
DIY Pleated Midi Skirt
For this project, we wanted to created a piece of pleated fabric that would go all the way around my waist, so all we had to do was put a zip at the back, rather than sewing three pieces together. This may not be the traditional way to do it but we found it much easier. SO when you buy your fabric make sure it is around 3 times in length (and suitable in terms of drop or width to be midi) of your waist size so you can make the pleats. For the cotton fabric, I found I needed at least 3m (3.3 yards).
1
First we're going to create the pleats in the fabric. Take your piece of fabric and fold it in half length ways to find the middle - this is the mid point which all your pleats are going to face towards.
2
So we have chosen 10cm (4 inches) as the pleat size, but you can use any size you like. Using your chalk, mark 10cm on either side of the centre point and then continue these interval marks all the way along the edge of the fabric.
3
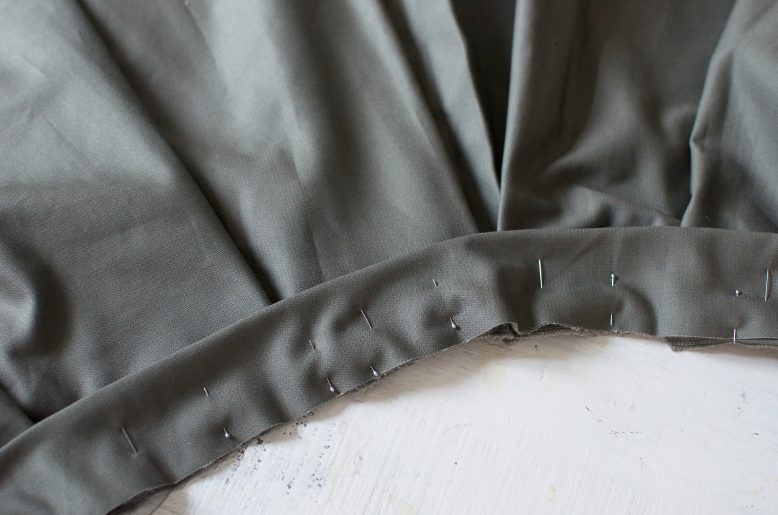
To make the pleats, take the second marked point, (20cm/8' from the centre point), fold it over and line it up with the centre point to create your first pleat. Pin it in place.
10
Fold the skirt in half with the right side facing each other and pin in place. Start from the bottom and sew along the open edge leaving room for a zip at the top.
13
Hand sew a hook and eye to the top of your zip. Lastly, hem the bottom of the skirt by folding the edge under by 1cm and sewing along the edge.
Like what you see? Or just want to save it for later?
Pin ItVoila!
Outfit photos by Nicola Lemmon


